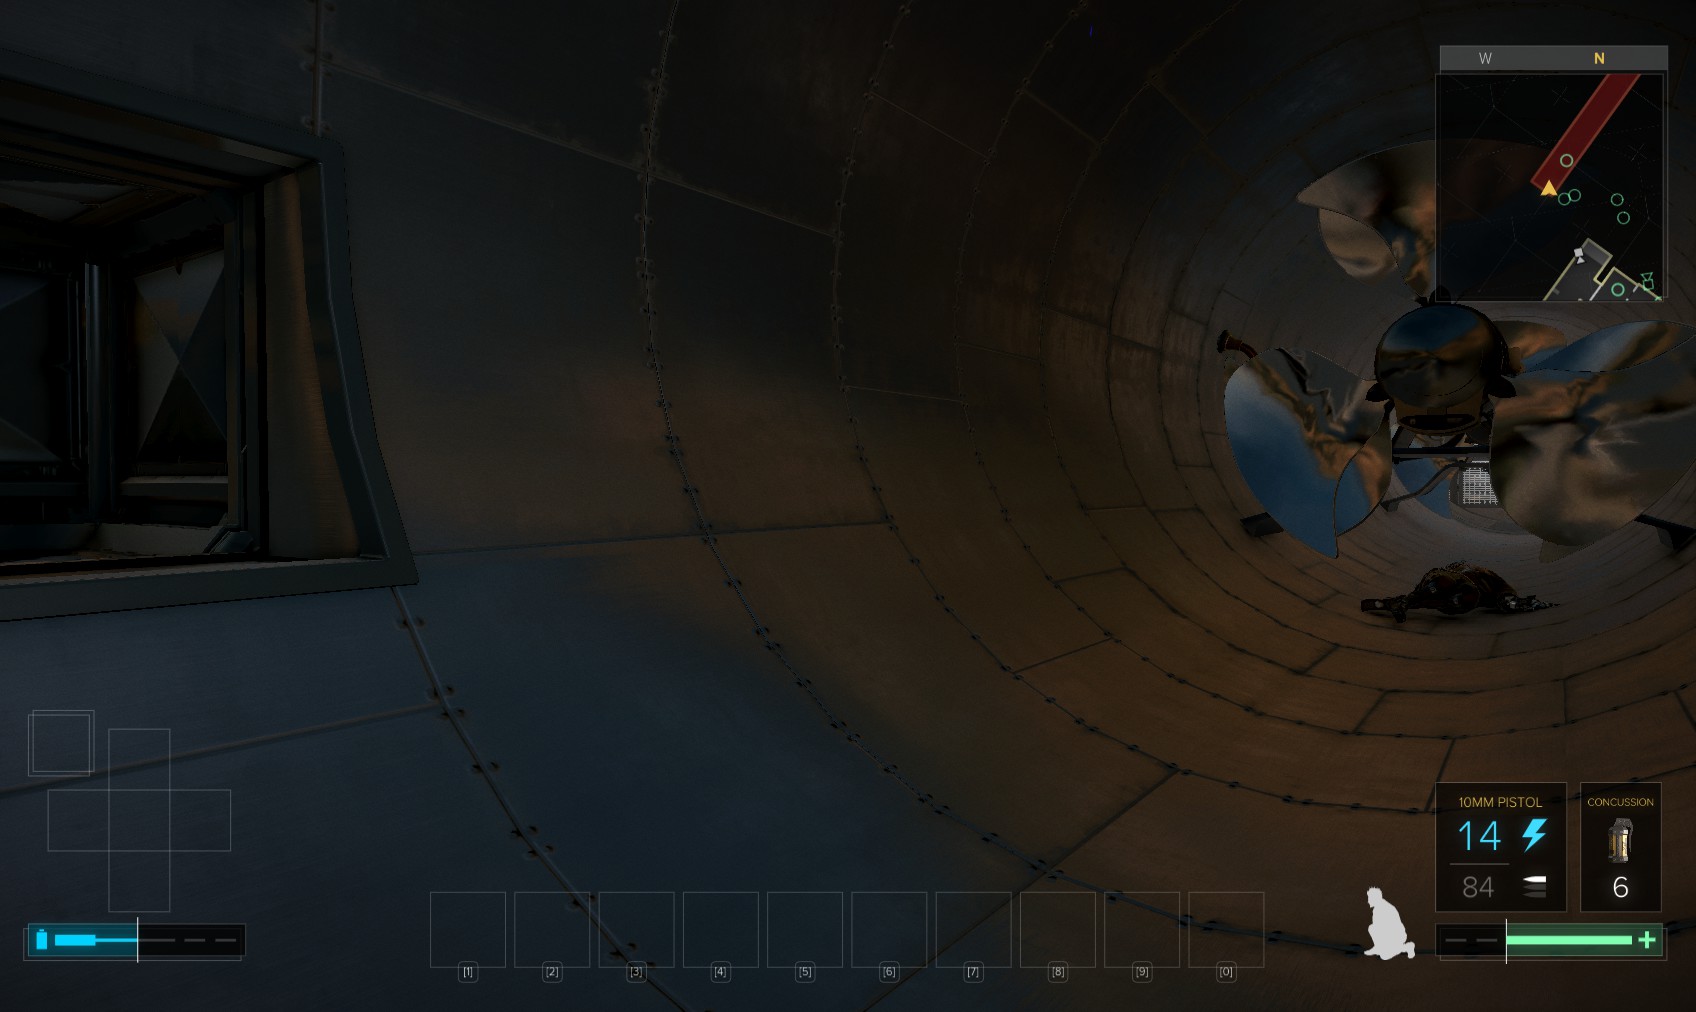
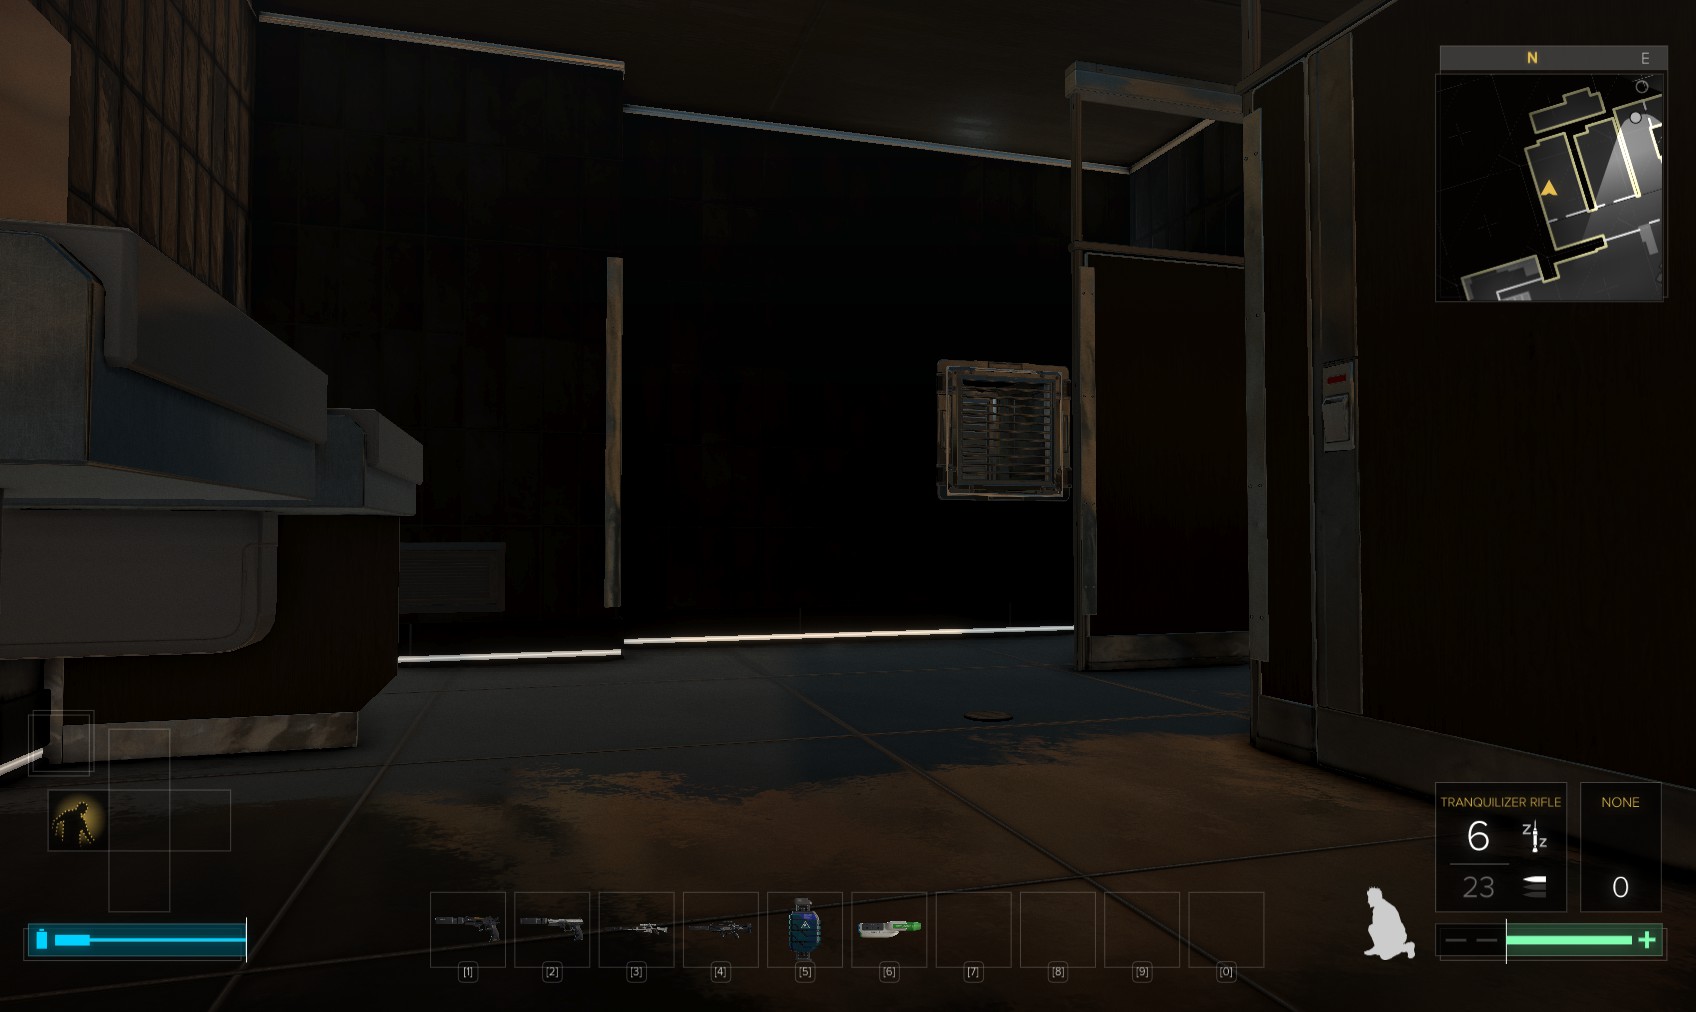
1. The duct emerges here.
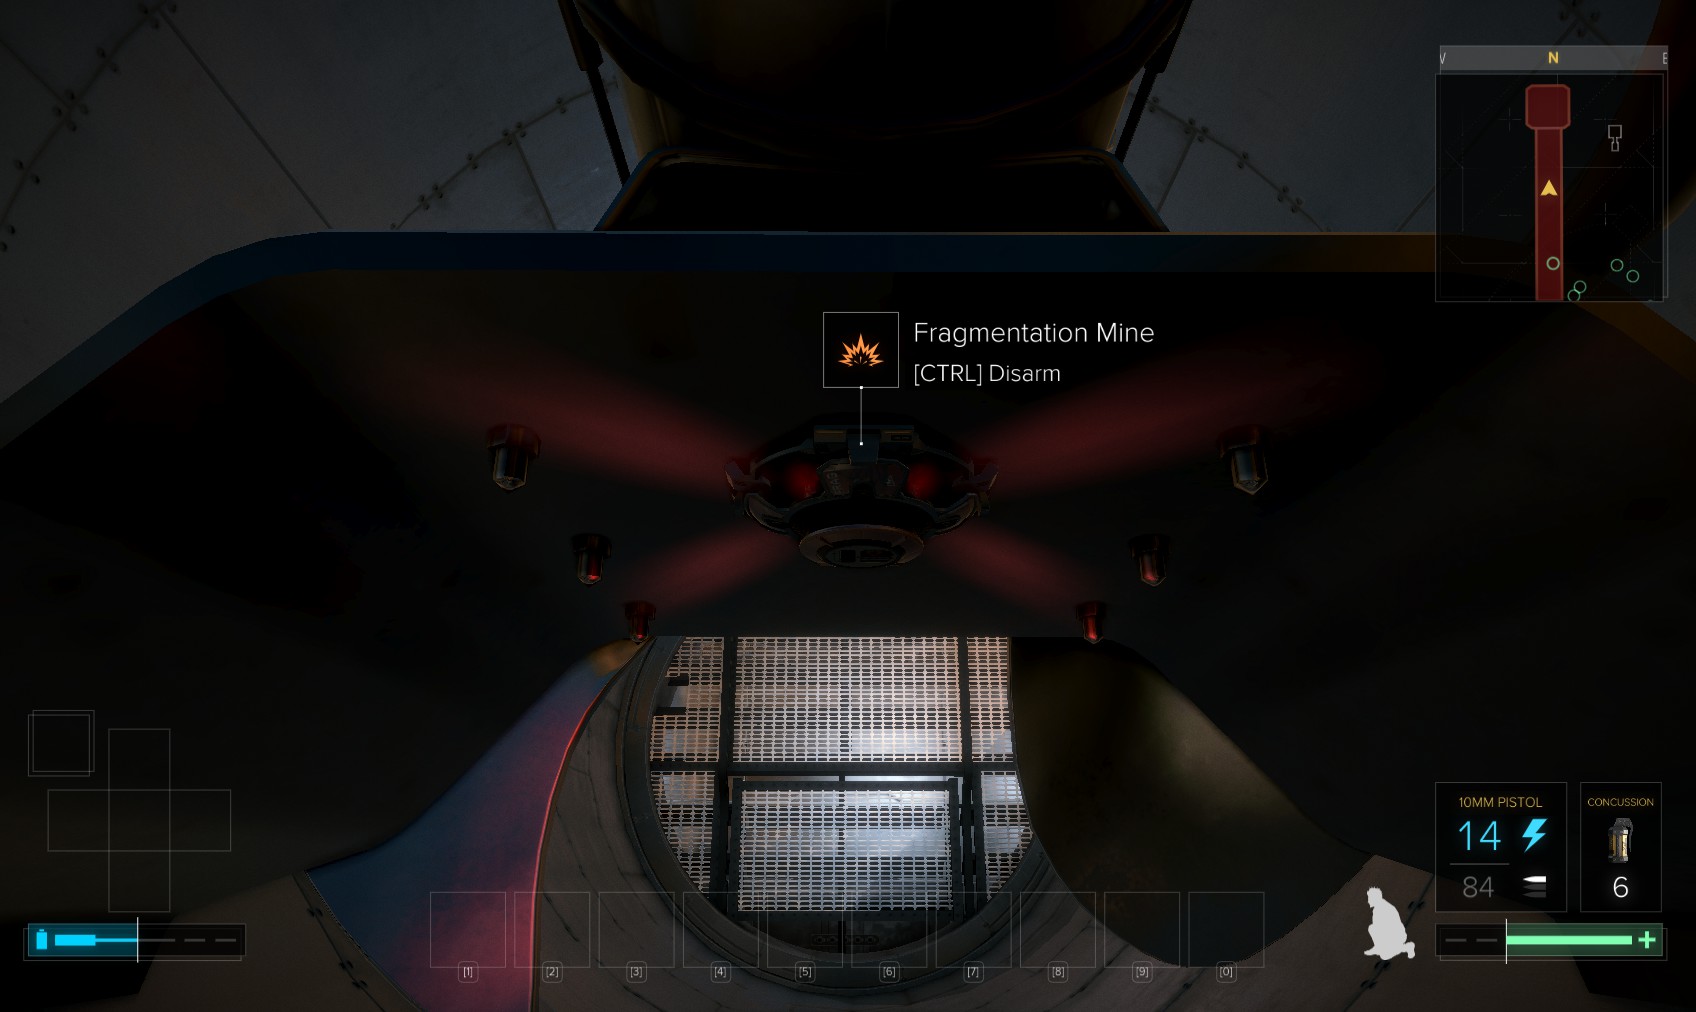
2. Swipe the biocell from the body then proceed cautiously - this mine is easily missed!
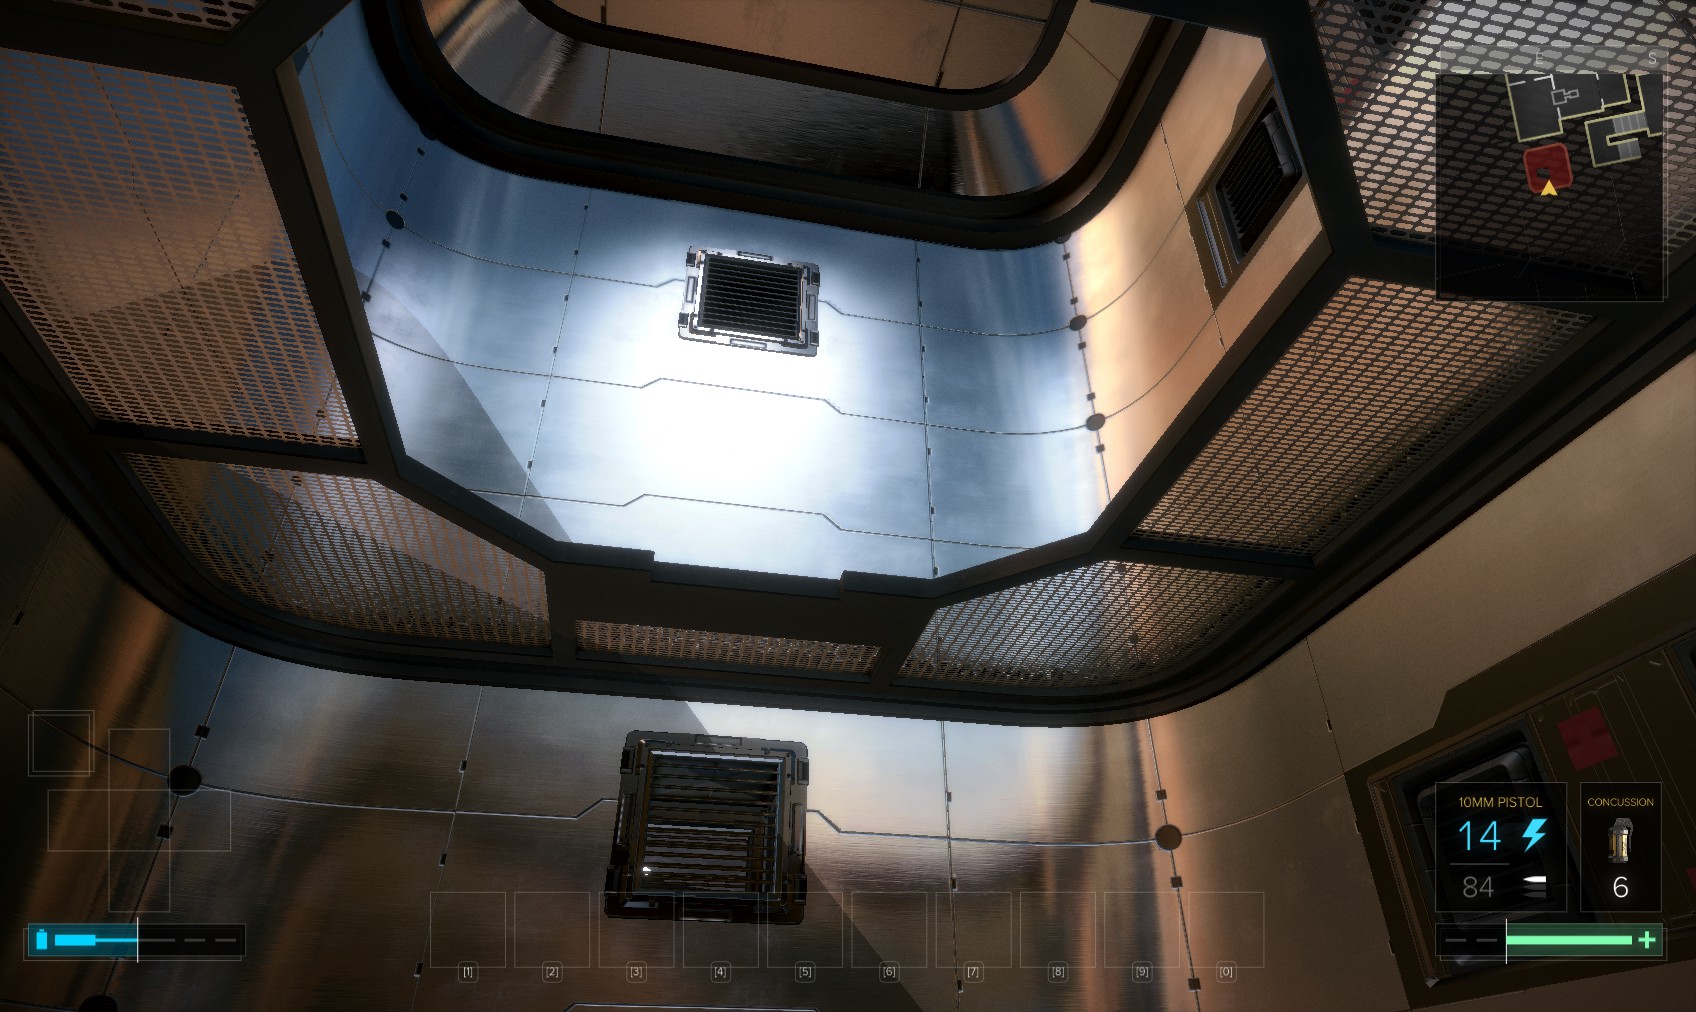
3. Climb a ladder at the end to arrive here. The upper vent leads to a staircase and needs the leg augmentation to reach. Head into the lower vent for now.
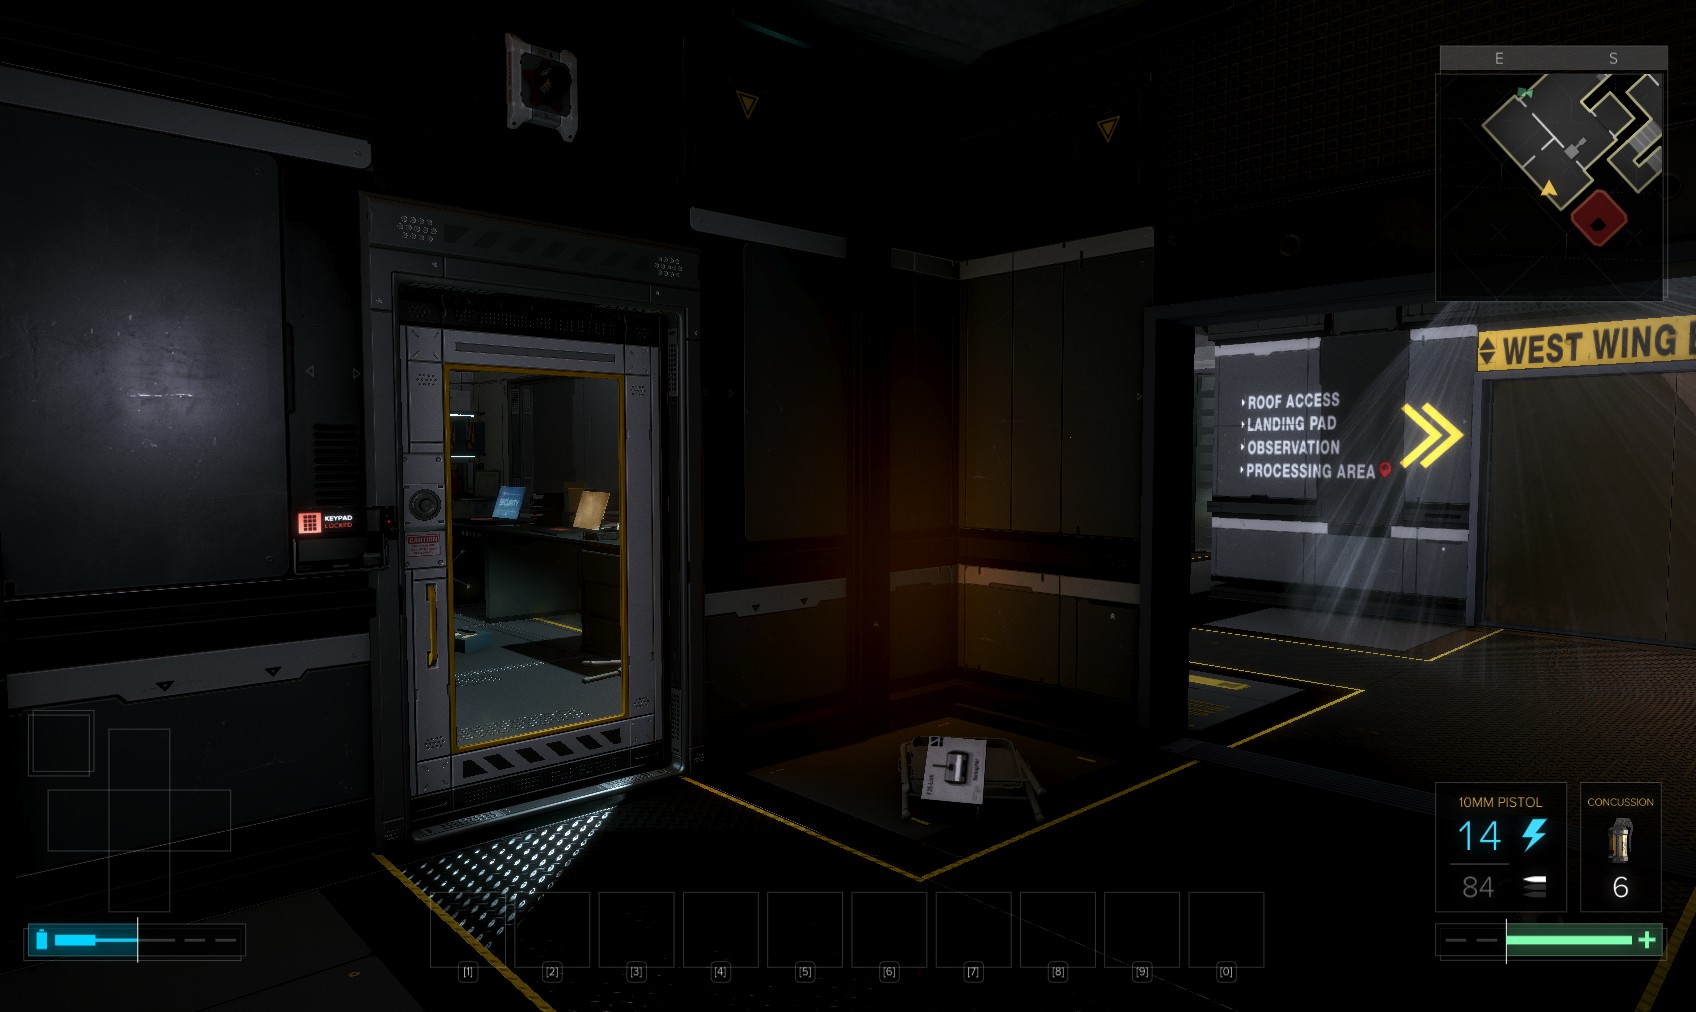
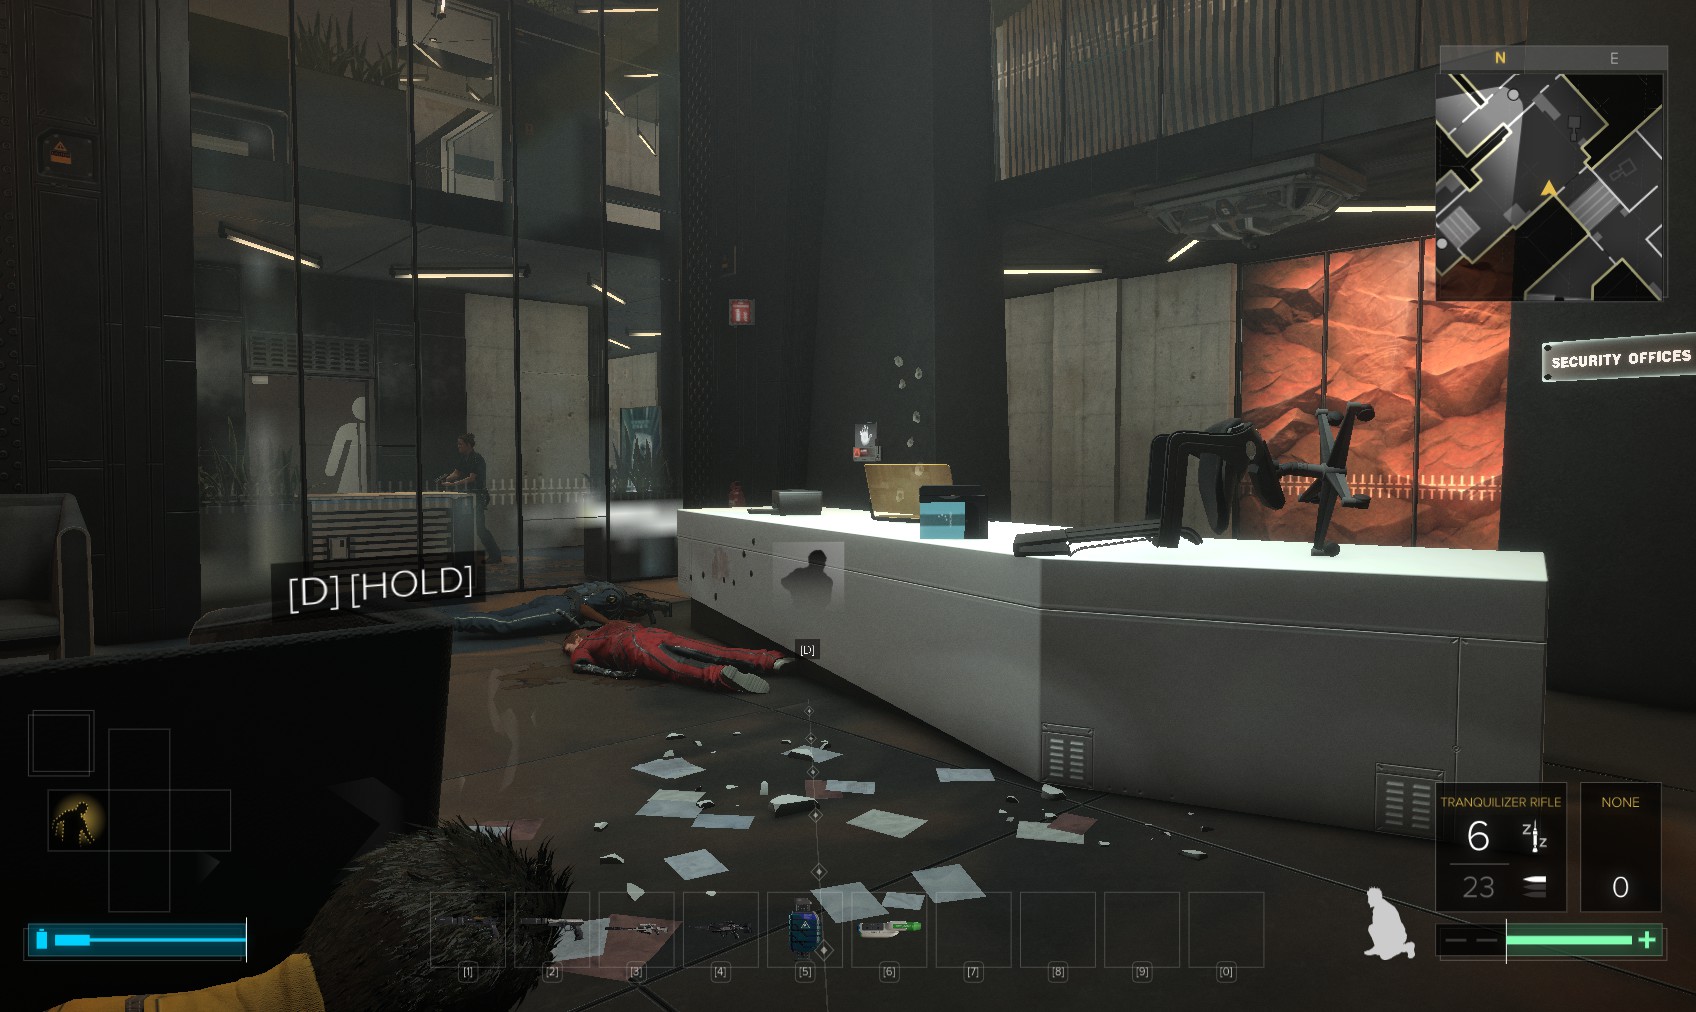
4. You come out here. The level 1 door lock has no downloads. Go into the security office.

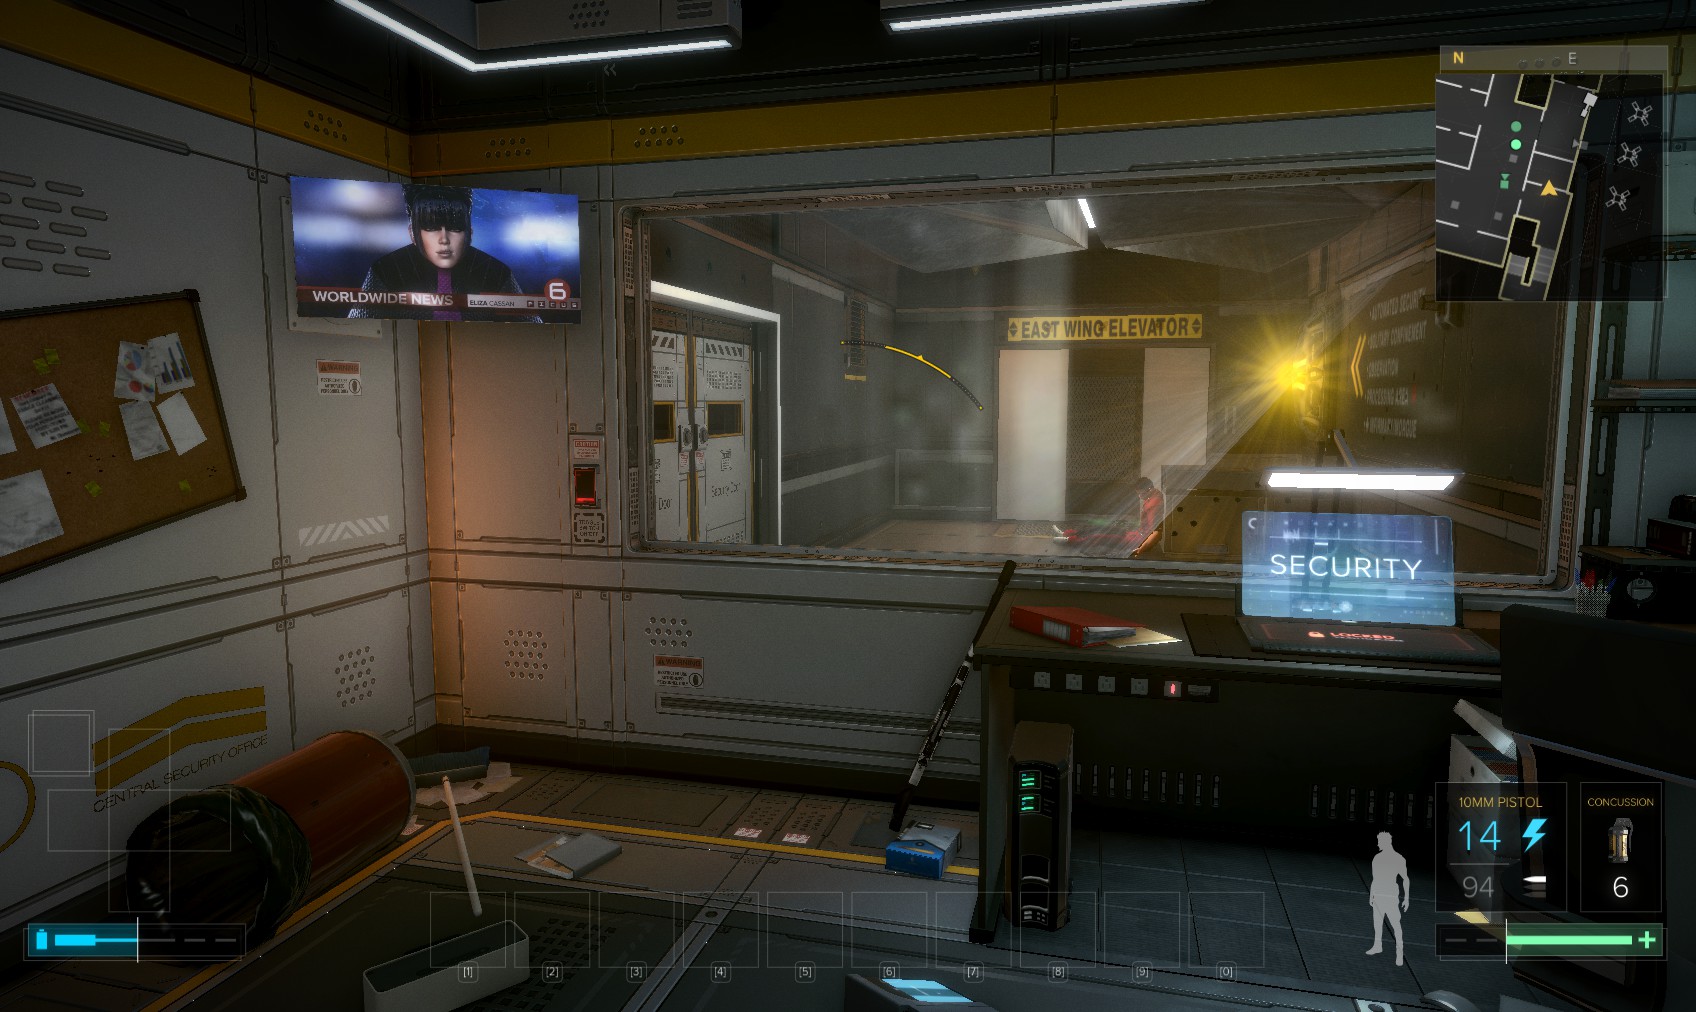
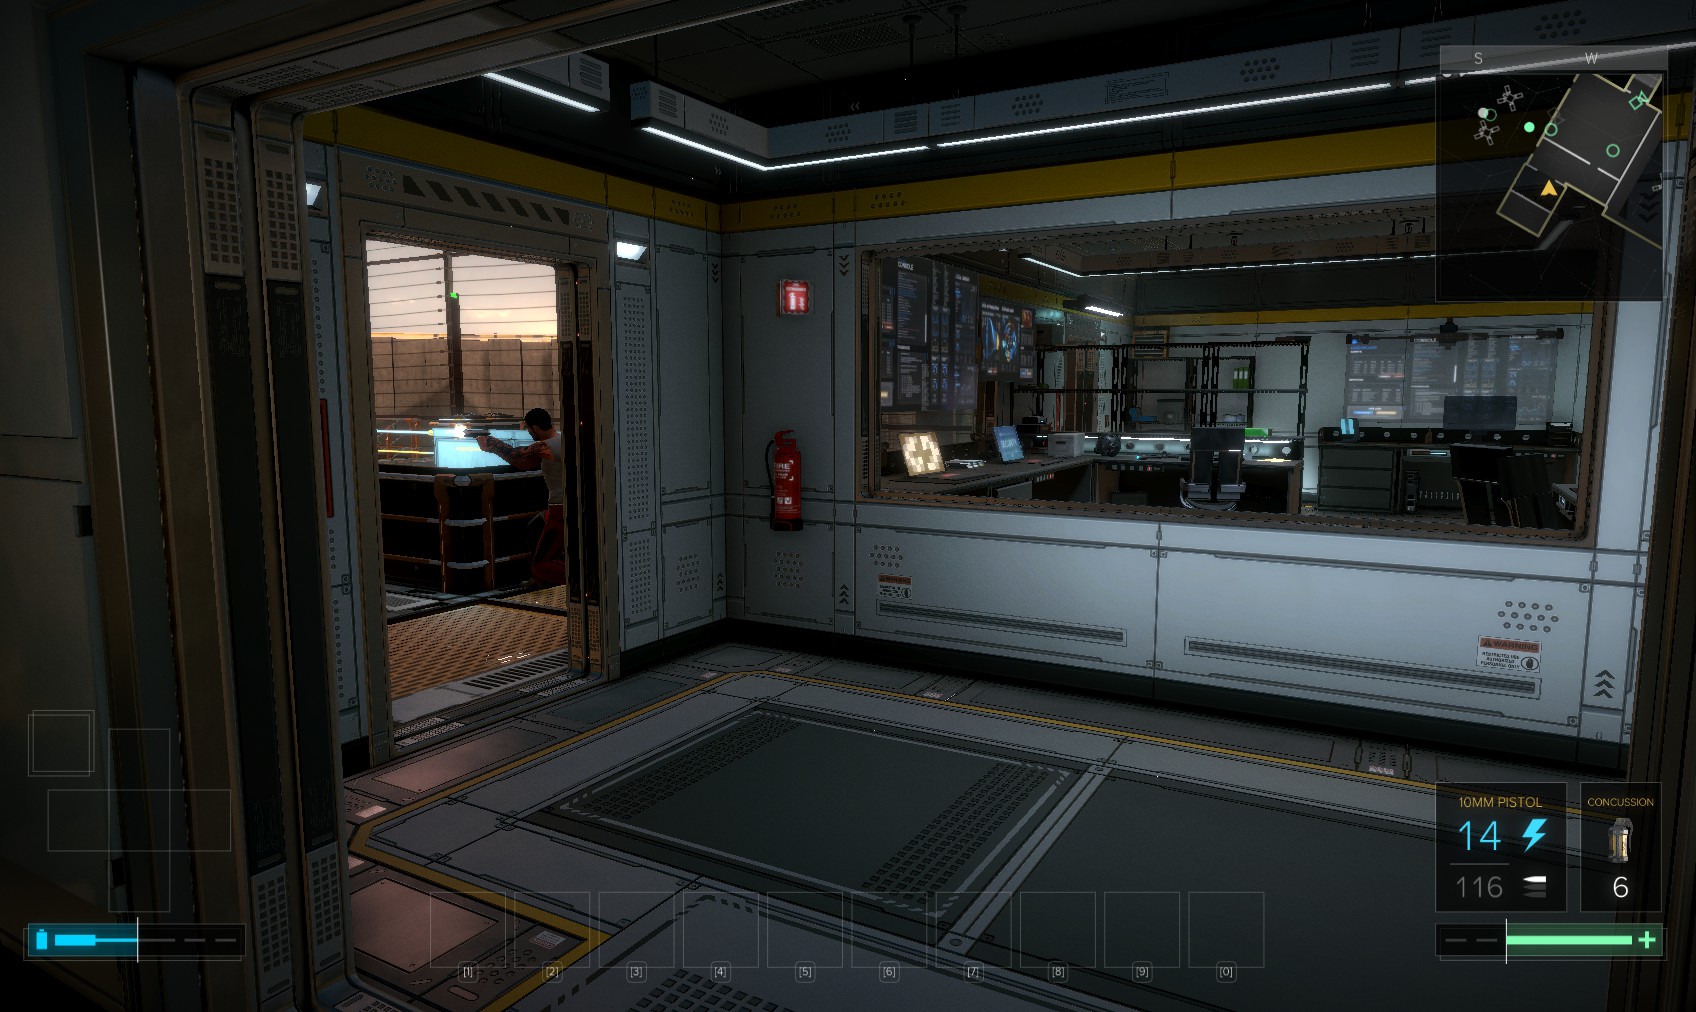
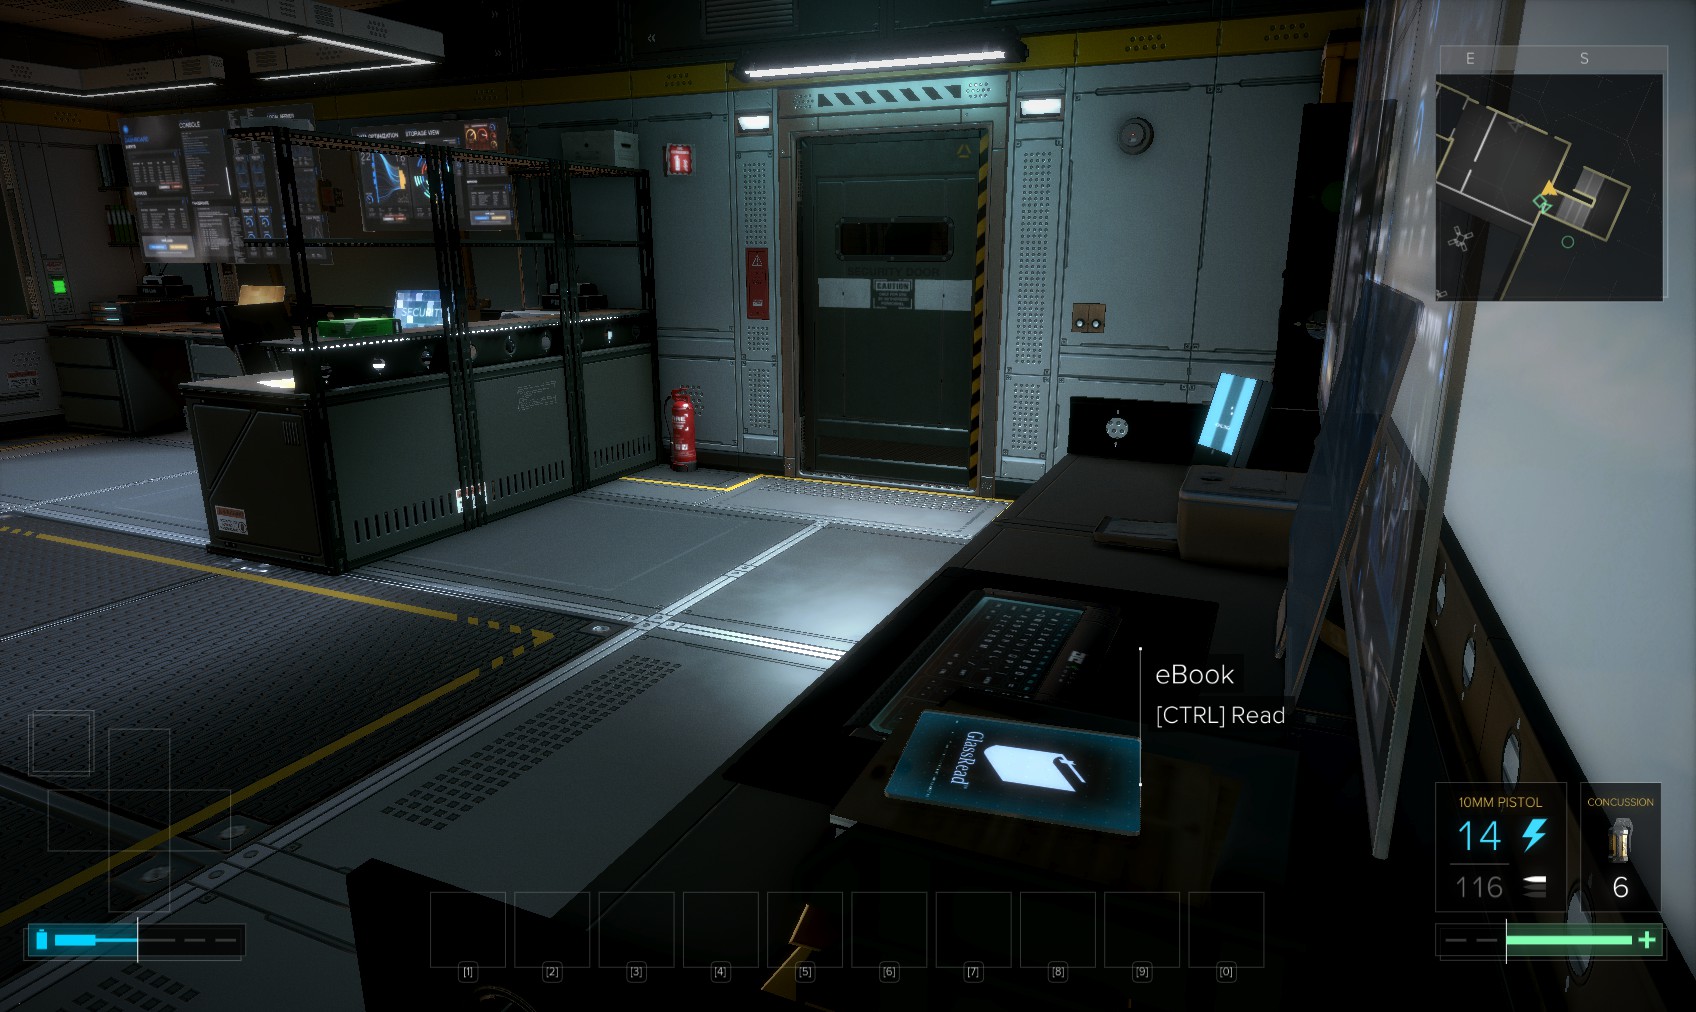
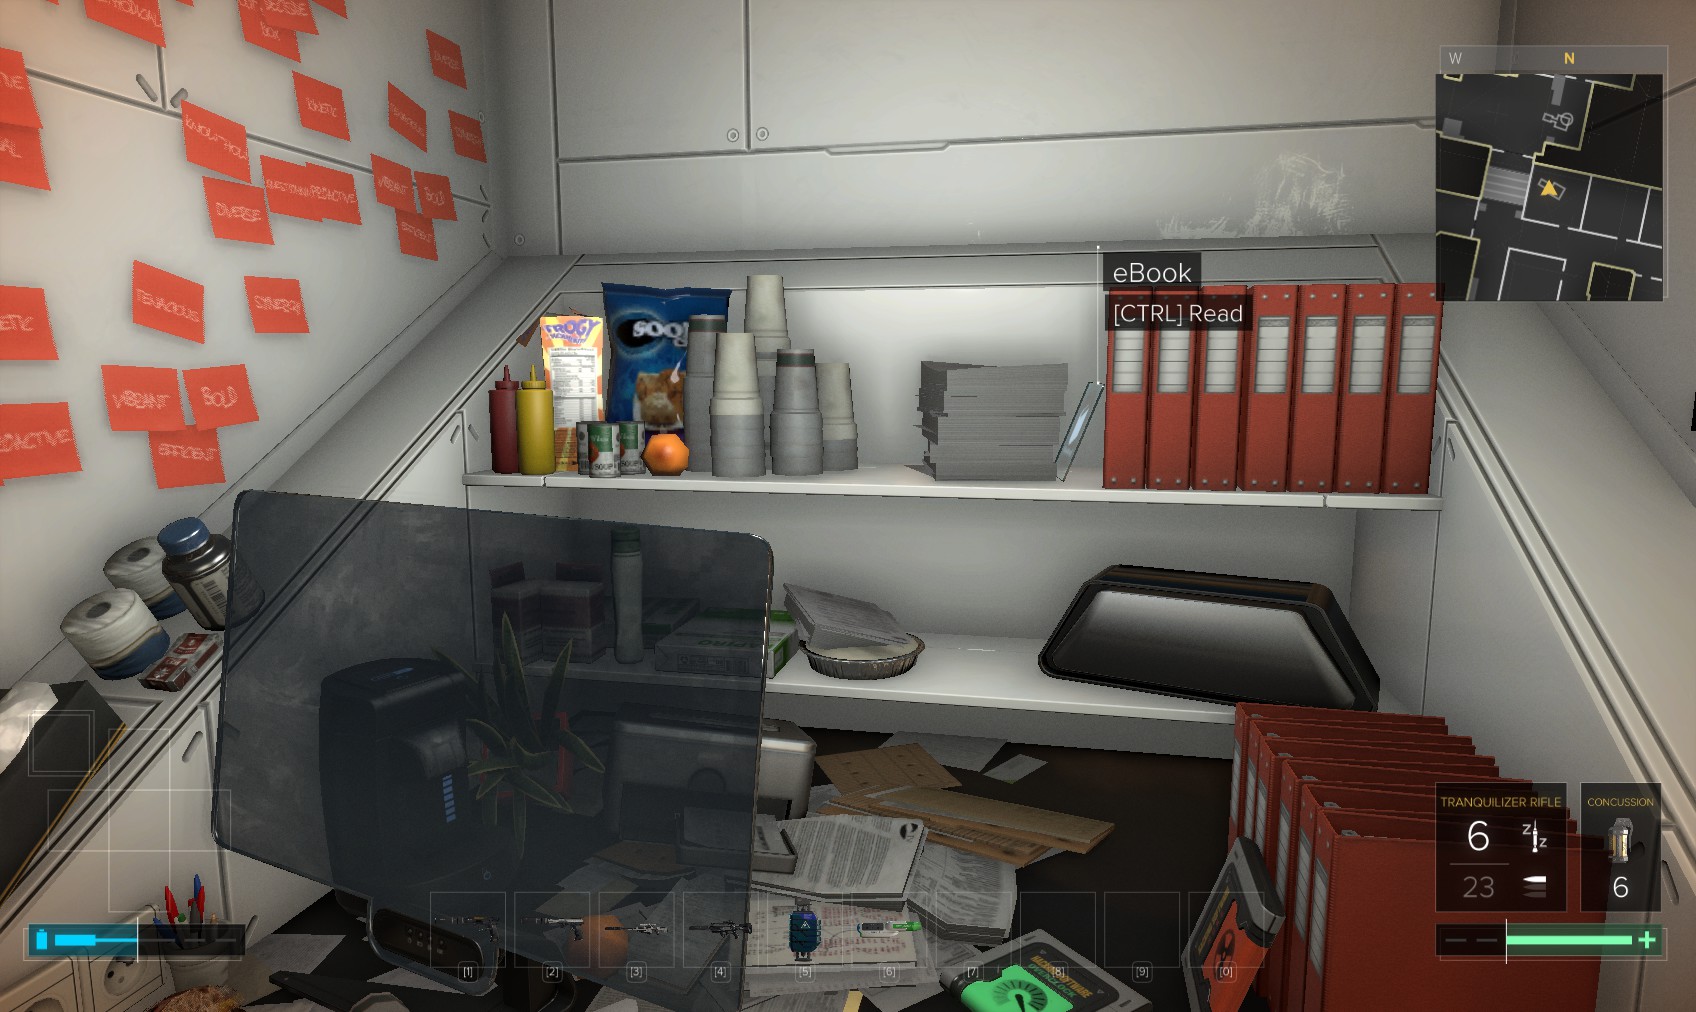
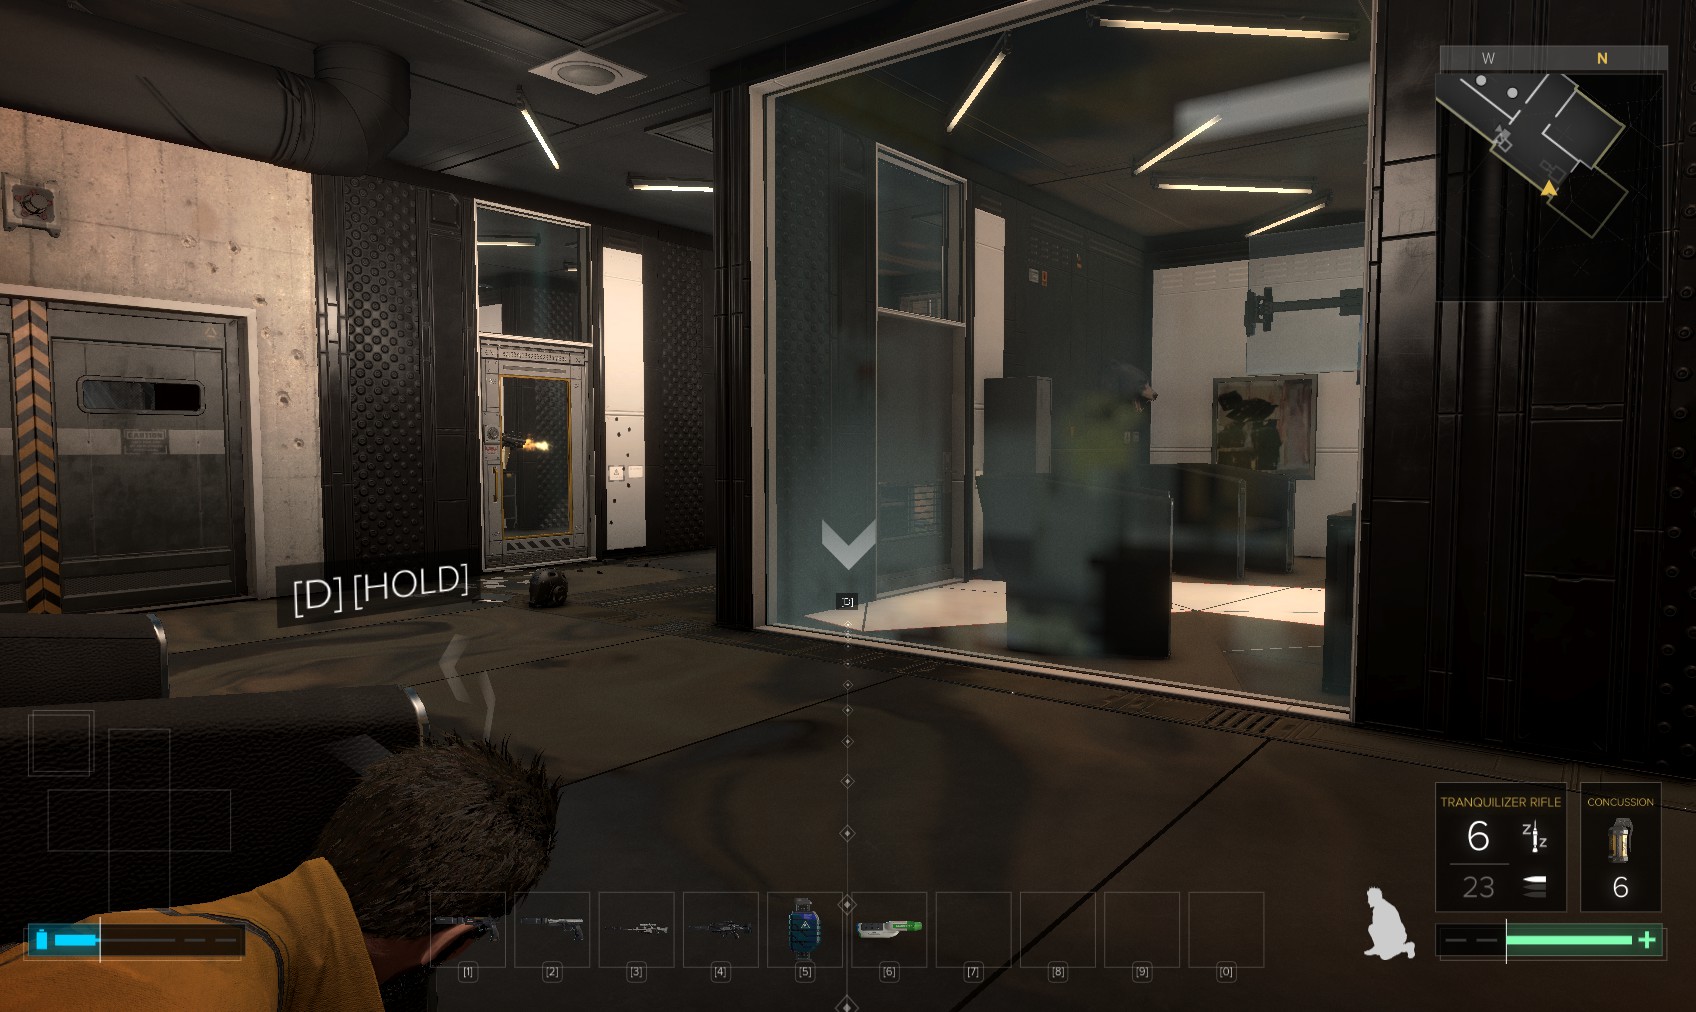
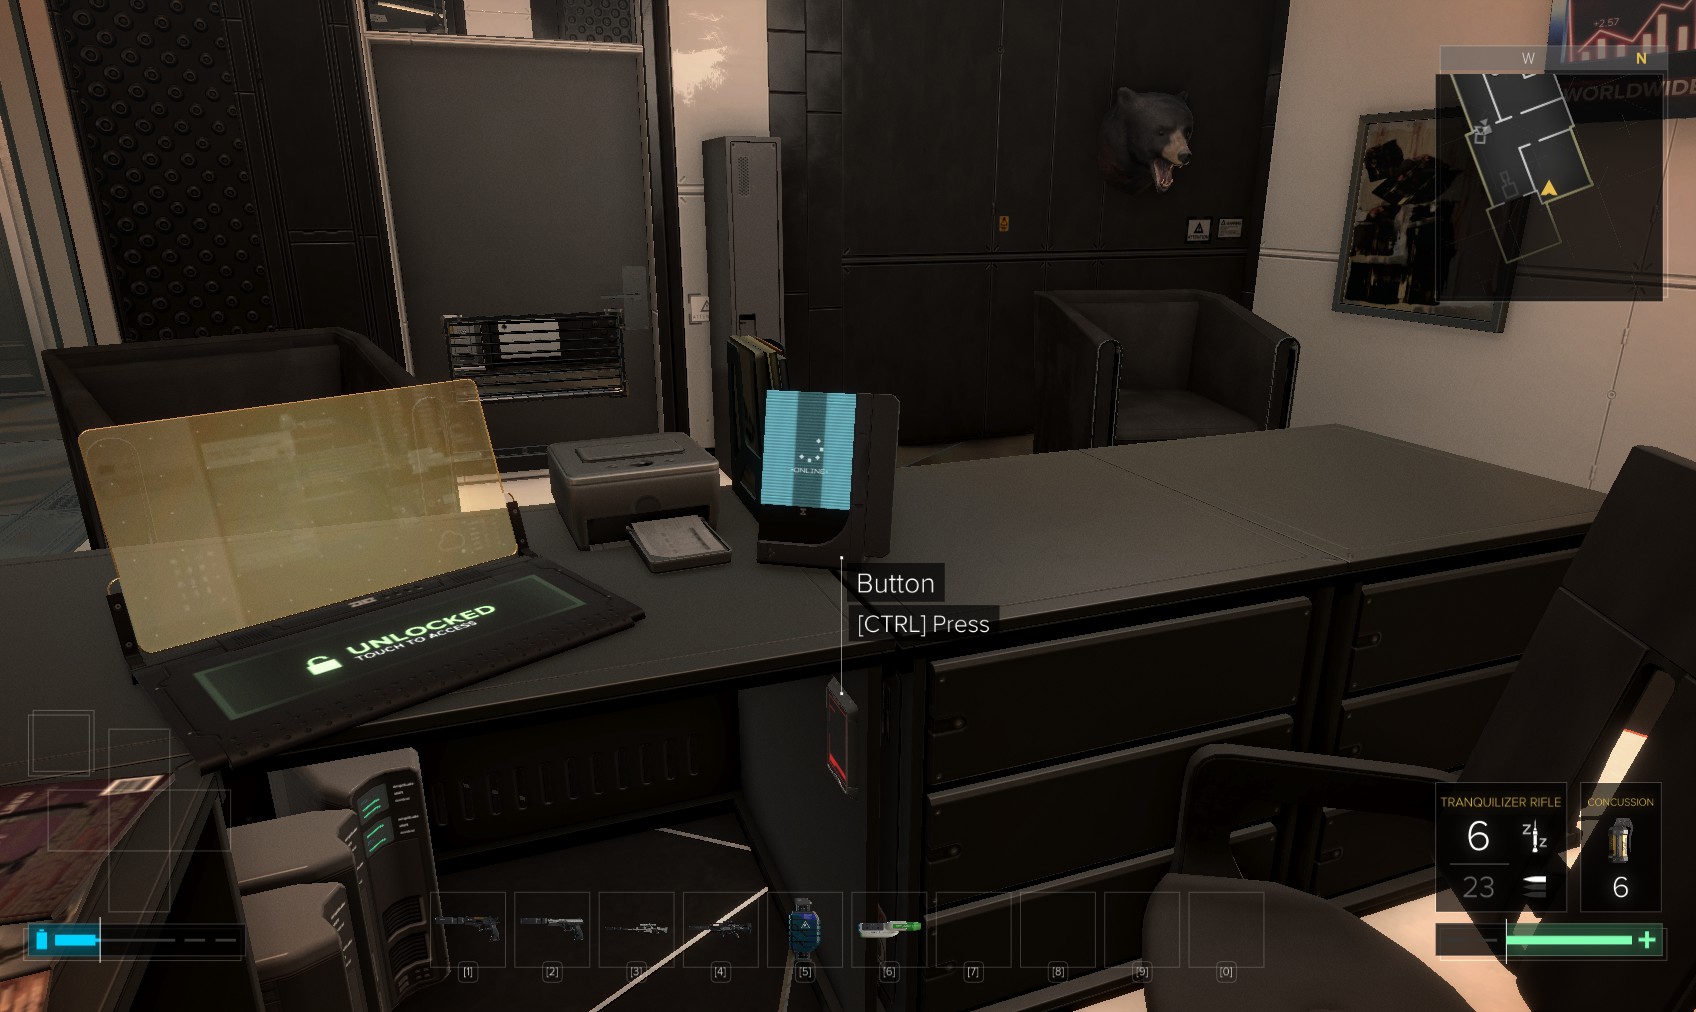
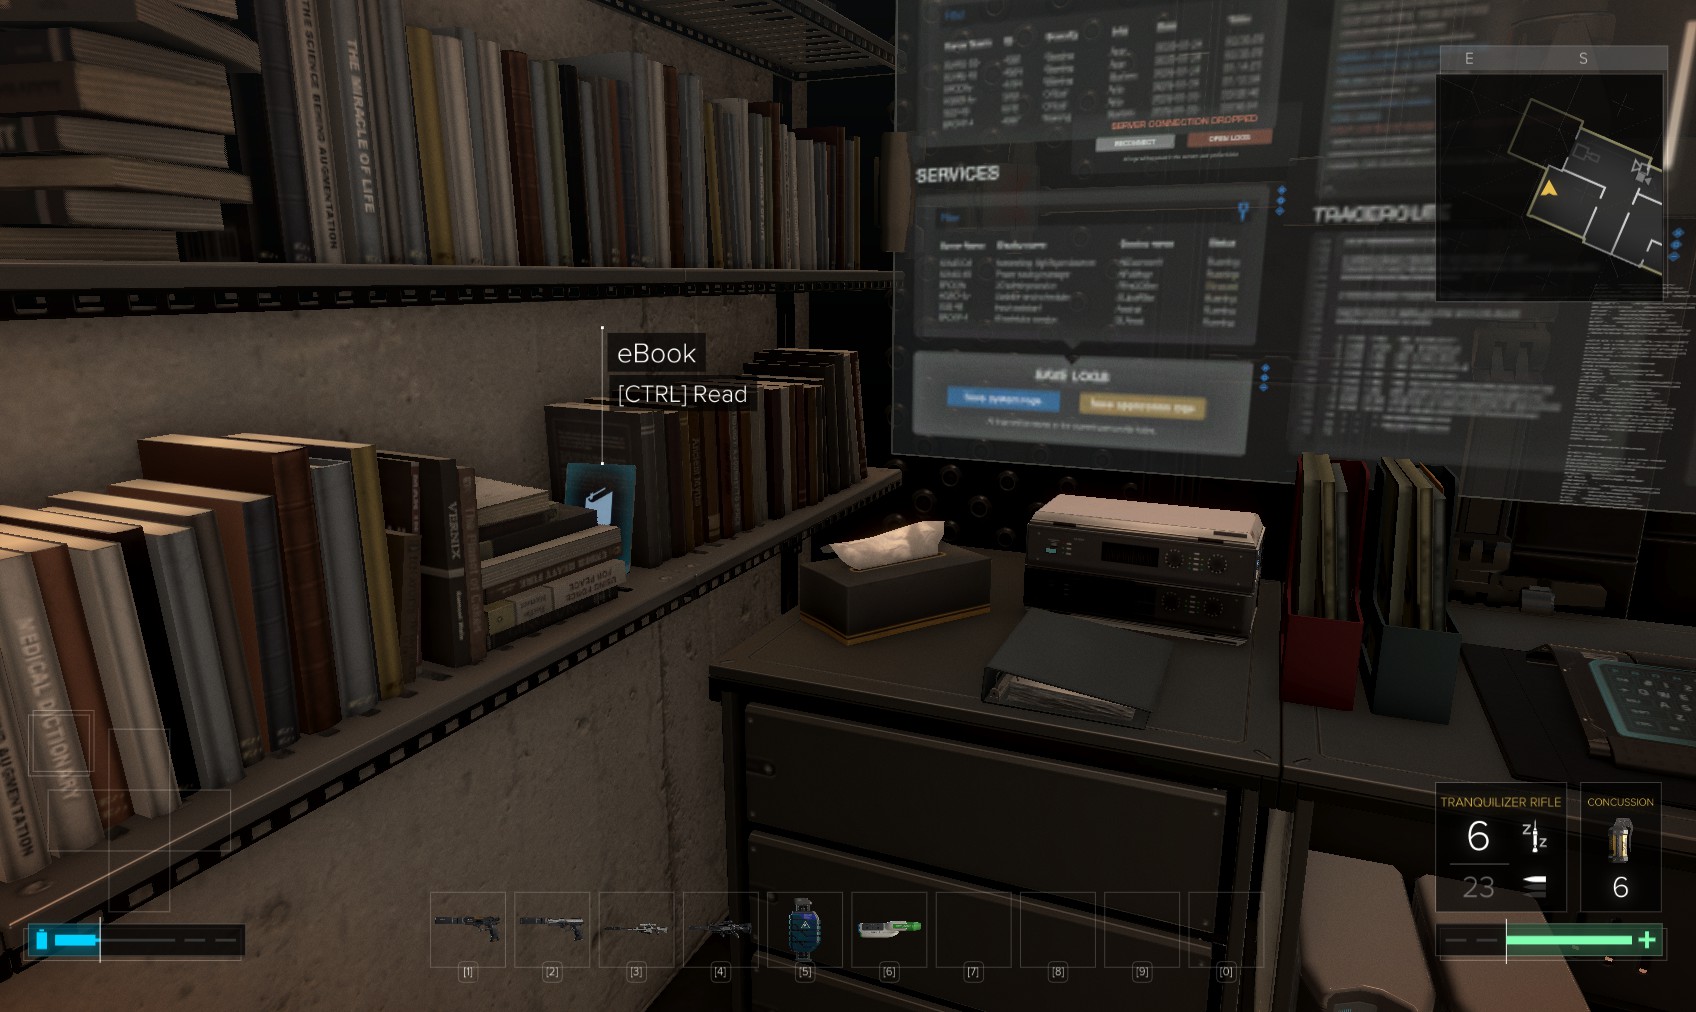
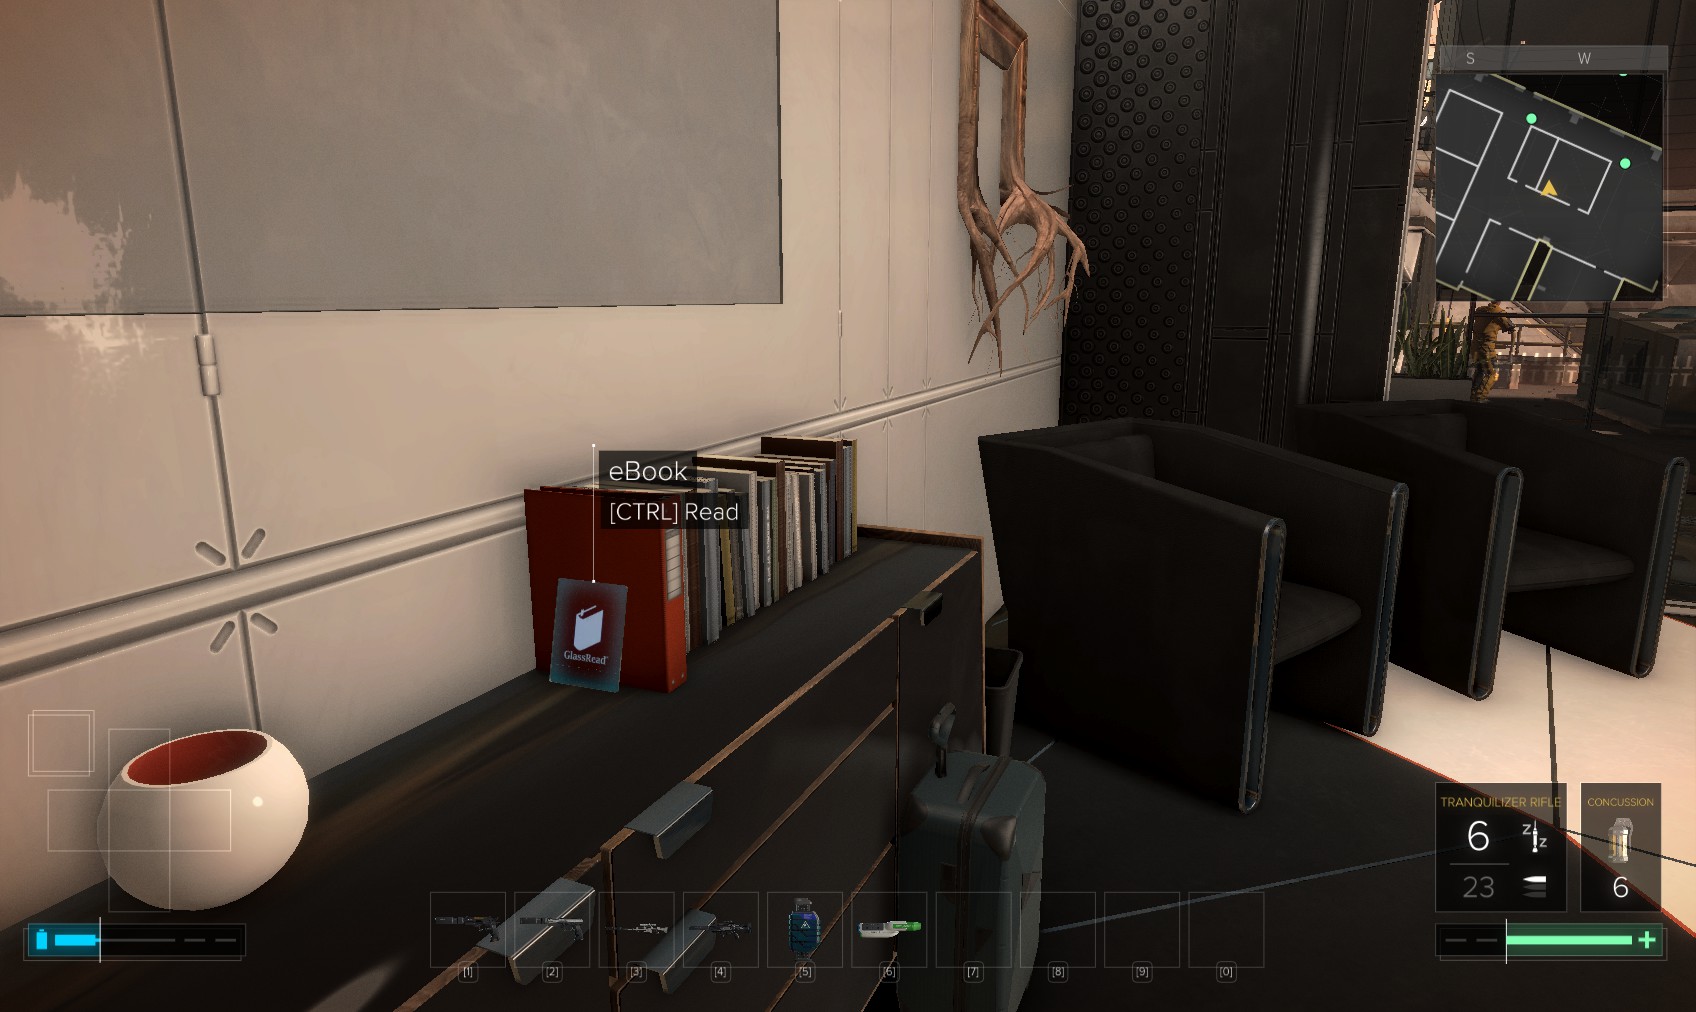
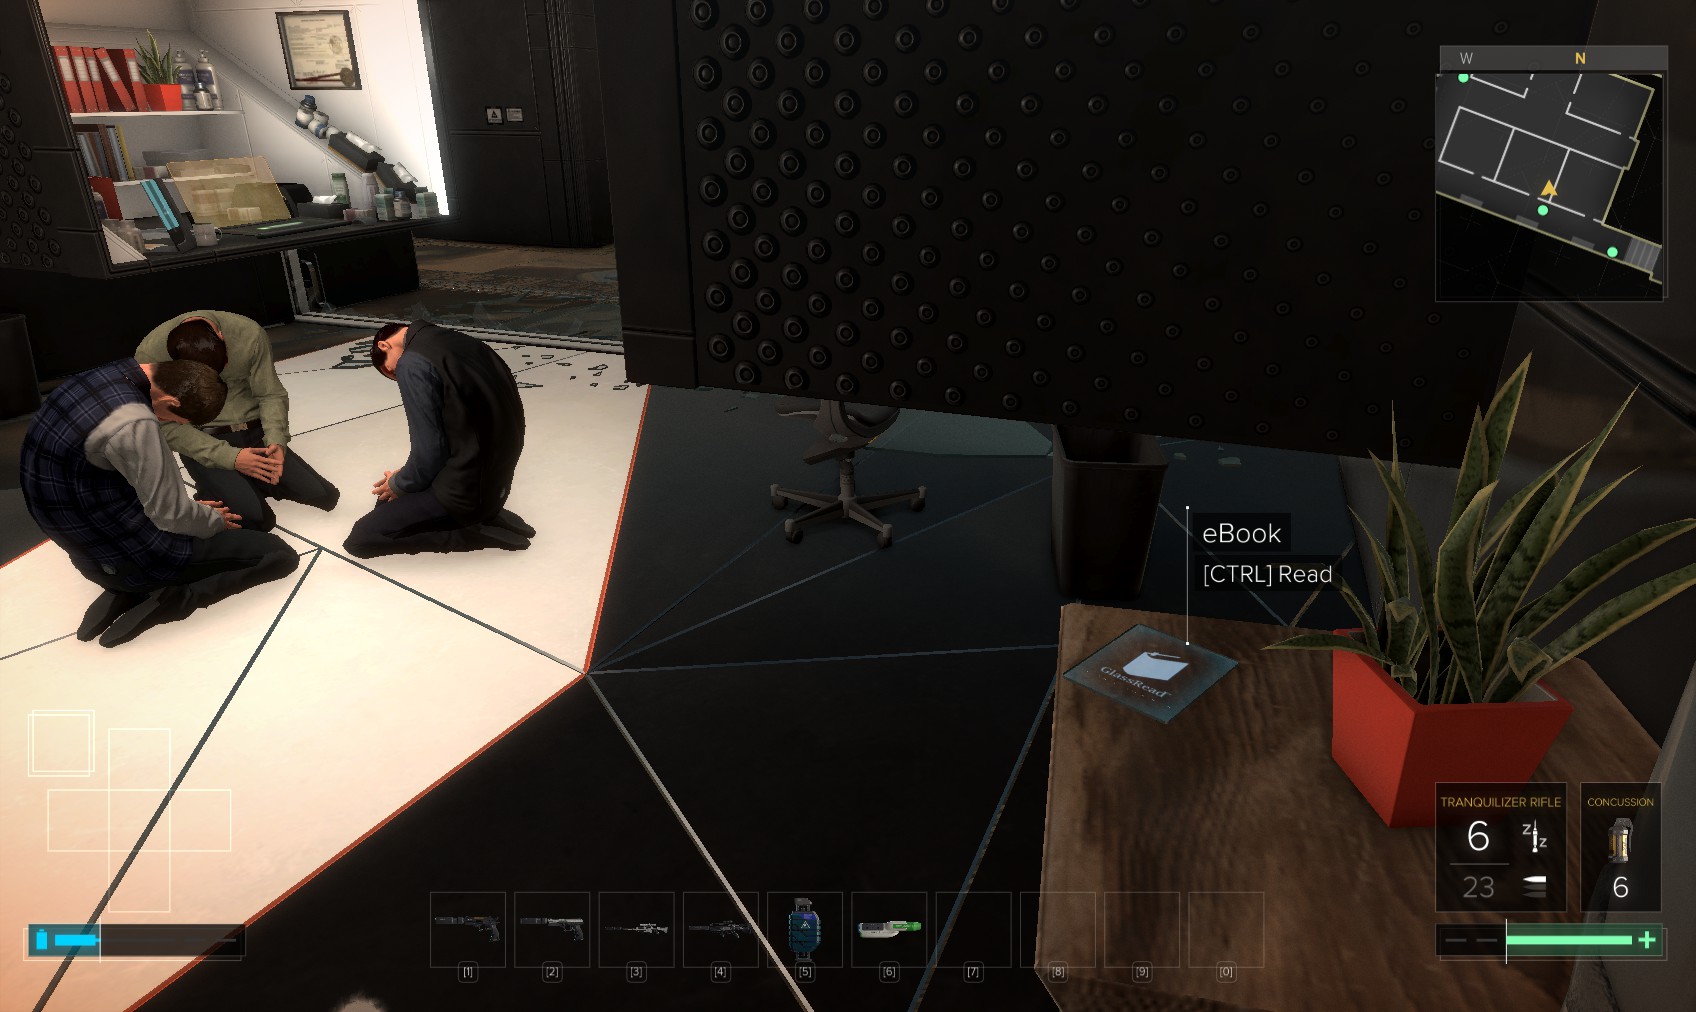
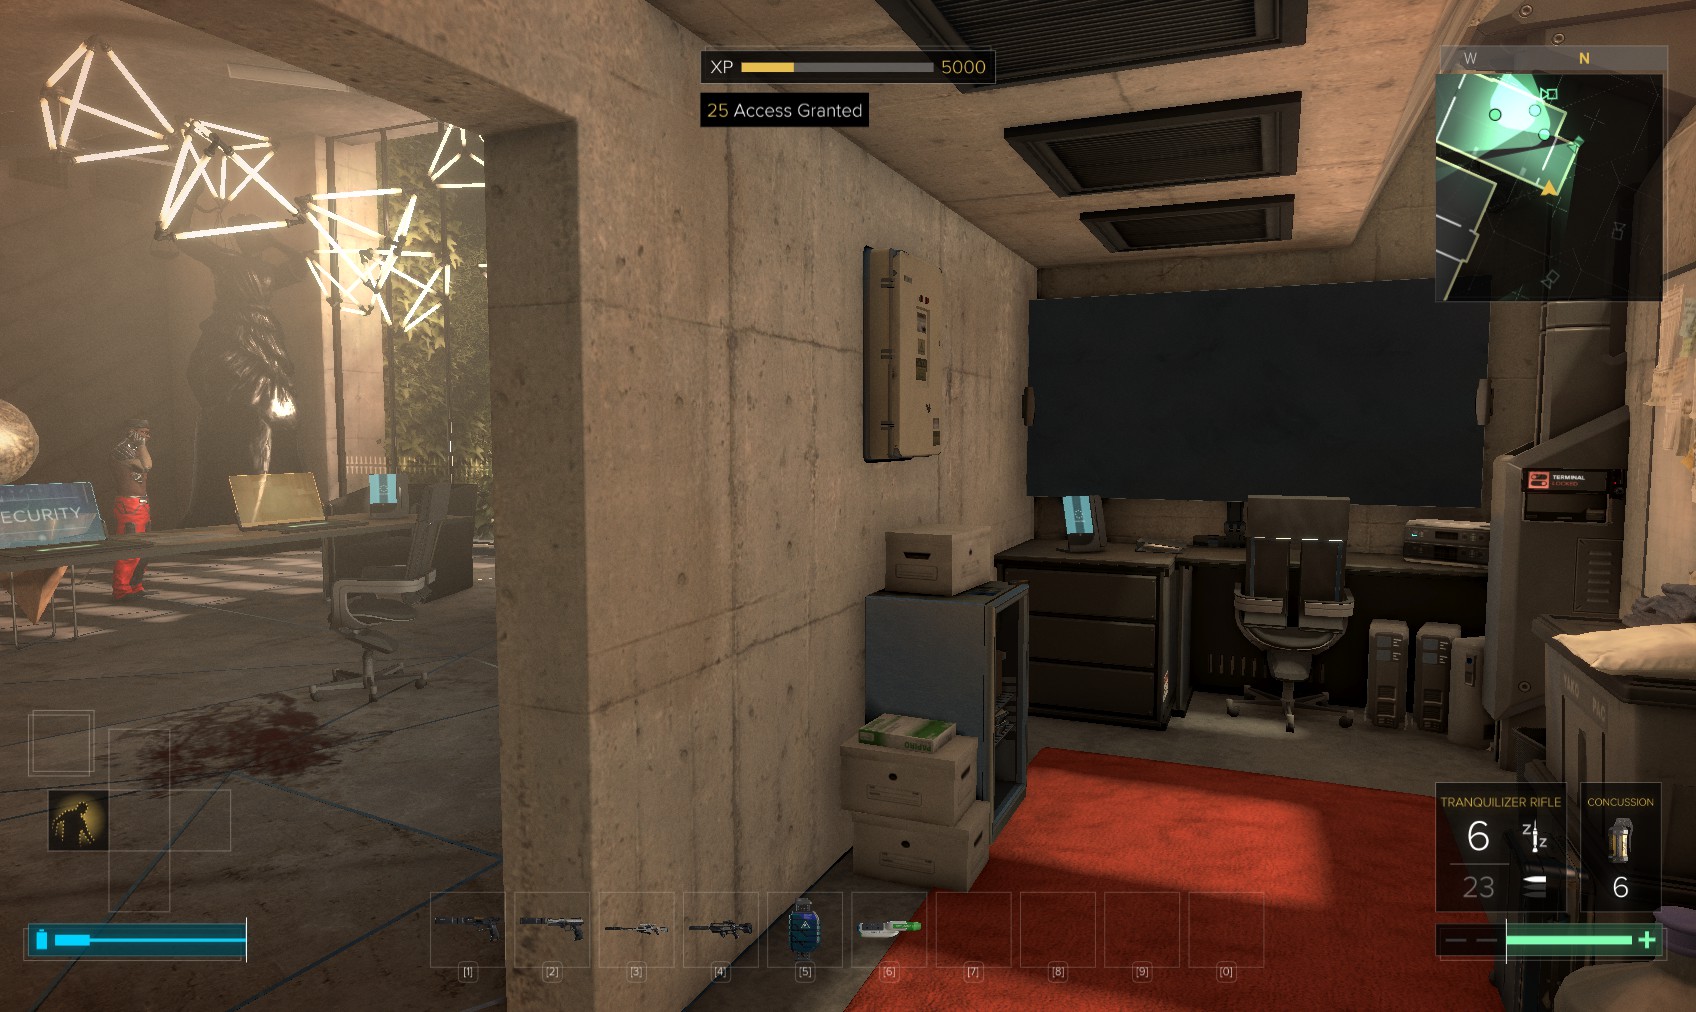
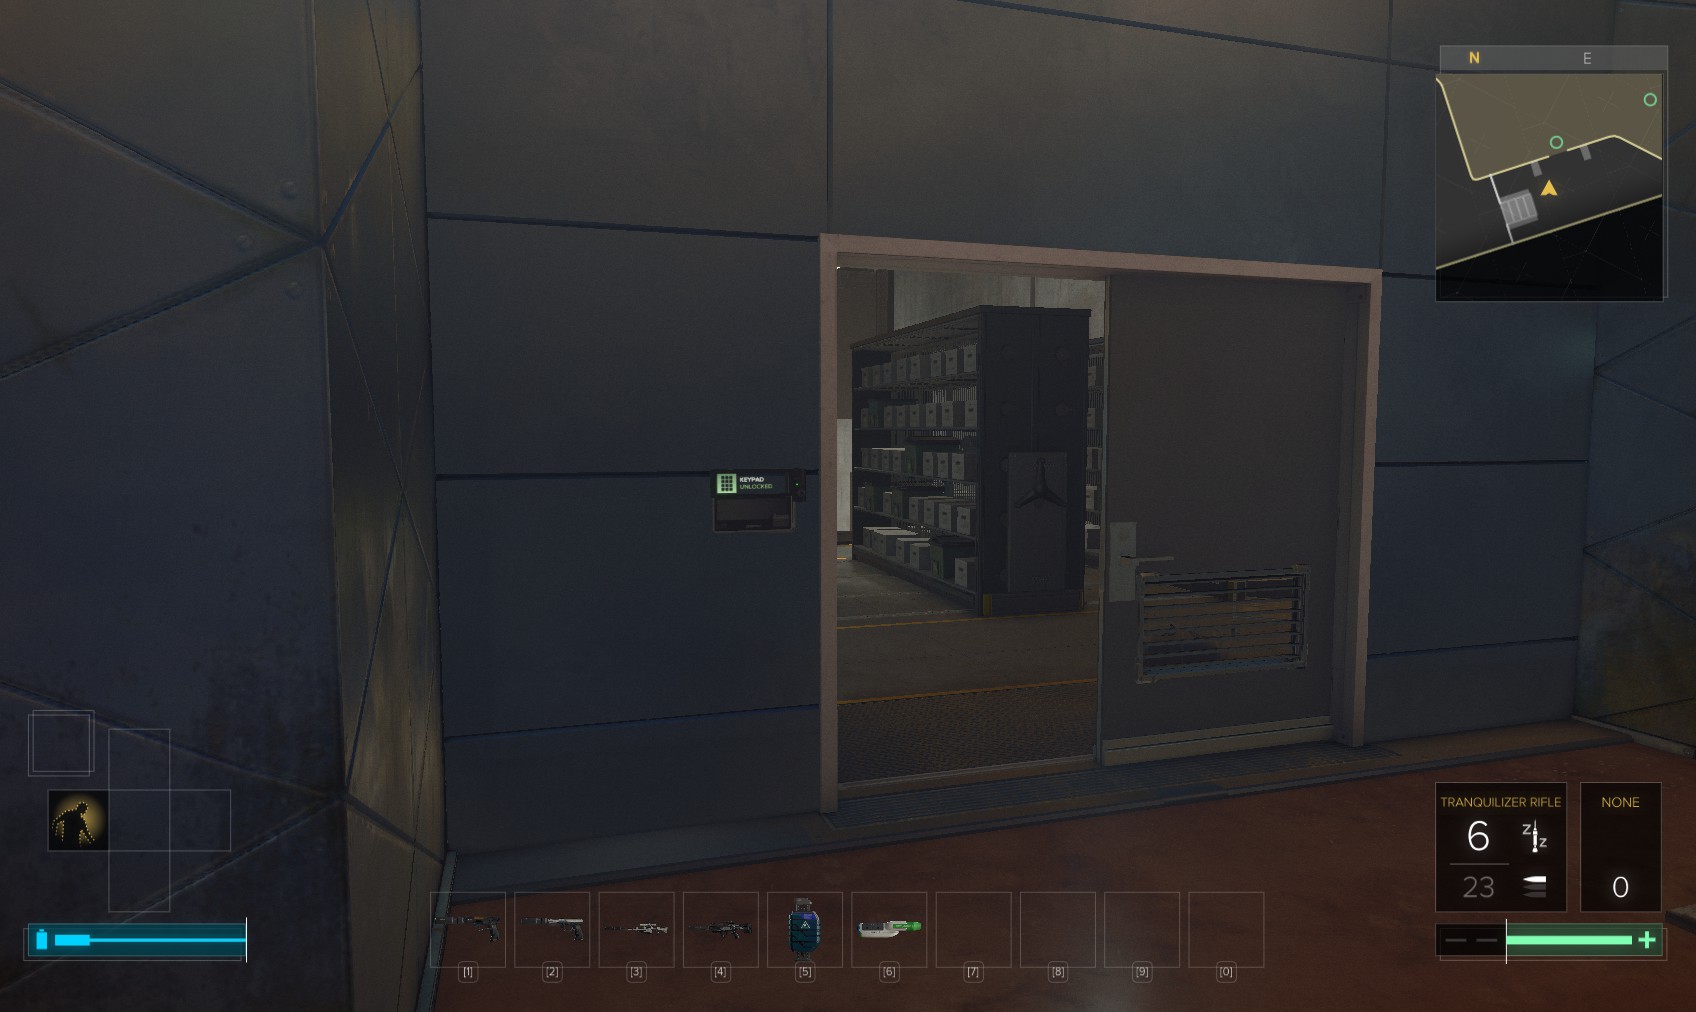
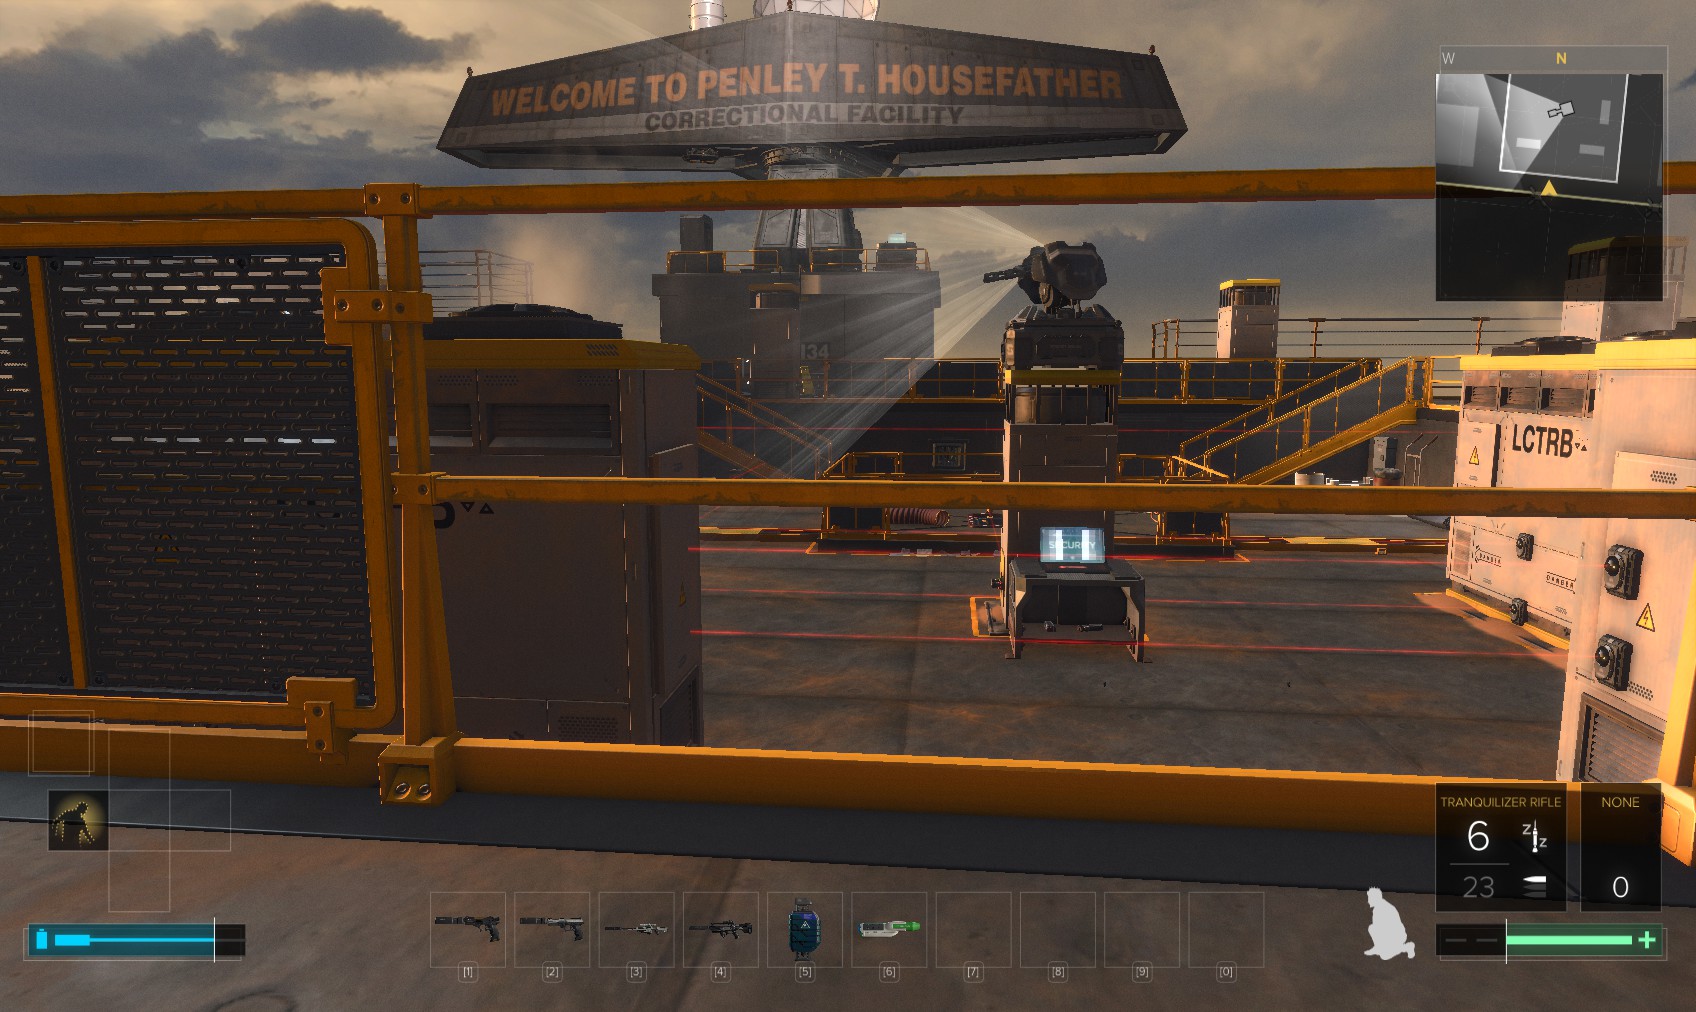
5. Hack the level 1 security console for 100XP, and turn off a camera and turret, disable a laser grid and open the security door seen through the glass here. The level 1 PC has overclock software and background emails. Read the eBook nearby. "Cellread - Fictional Guard"
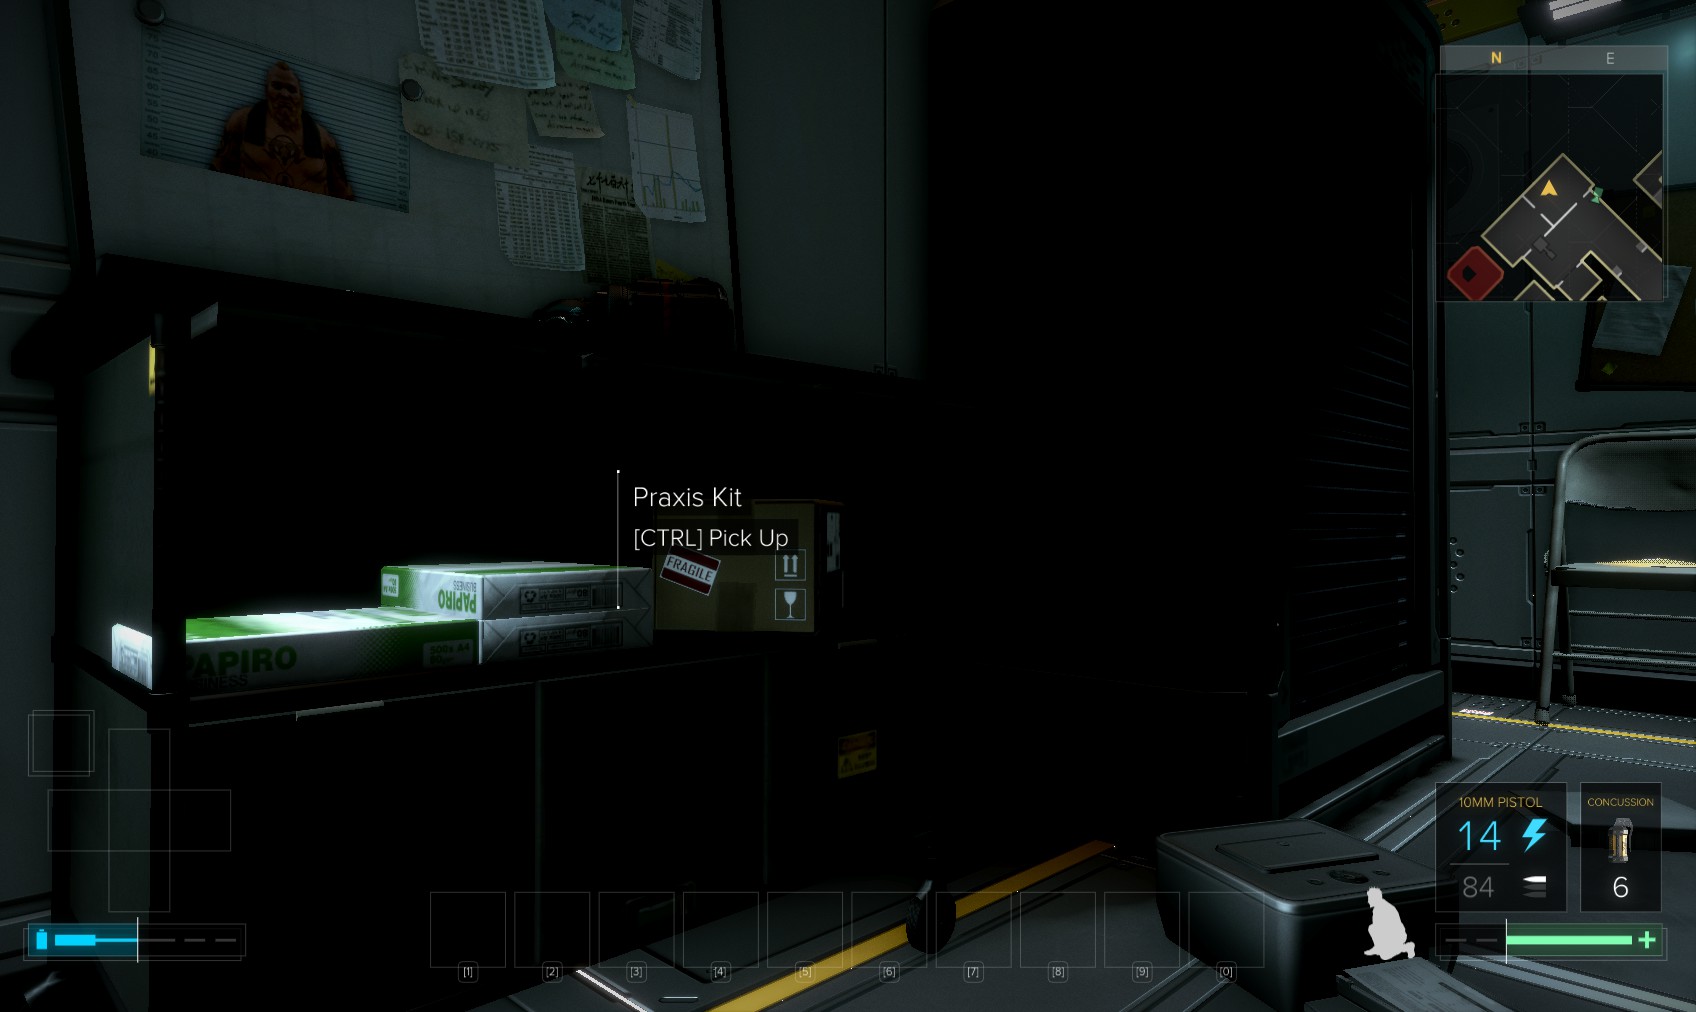
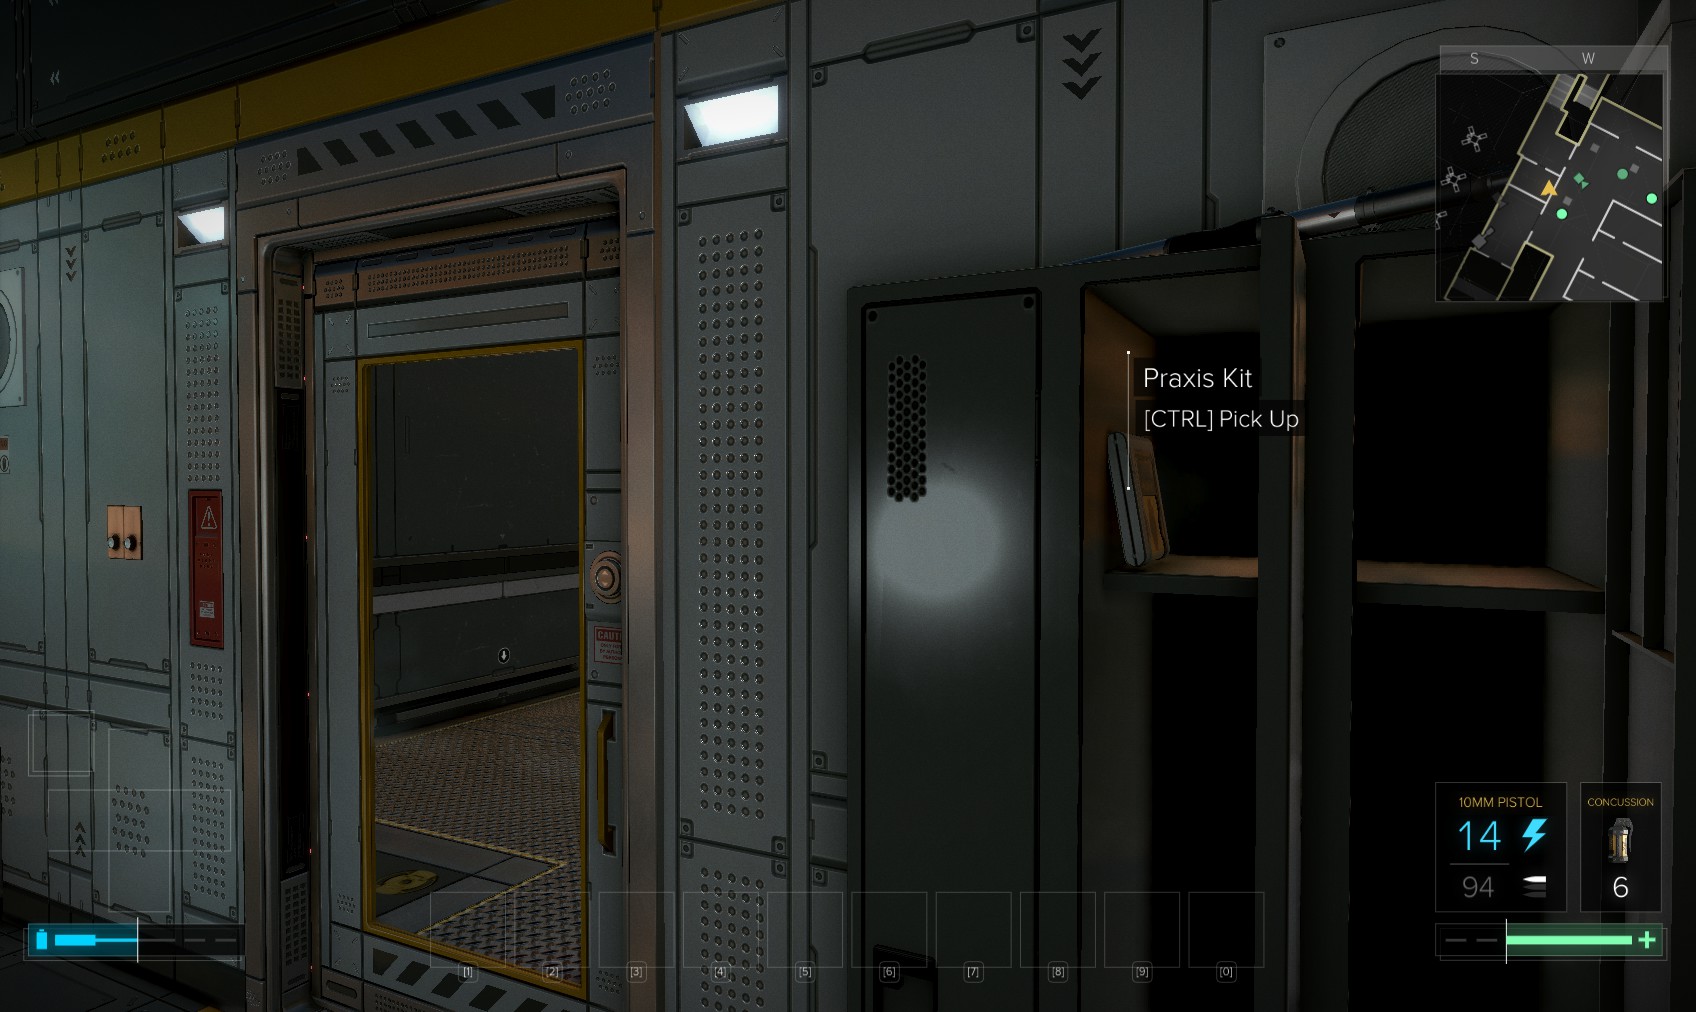
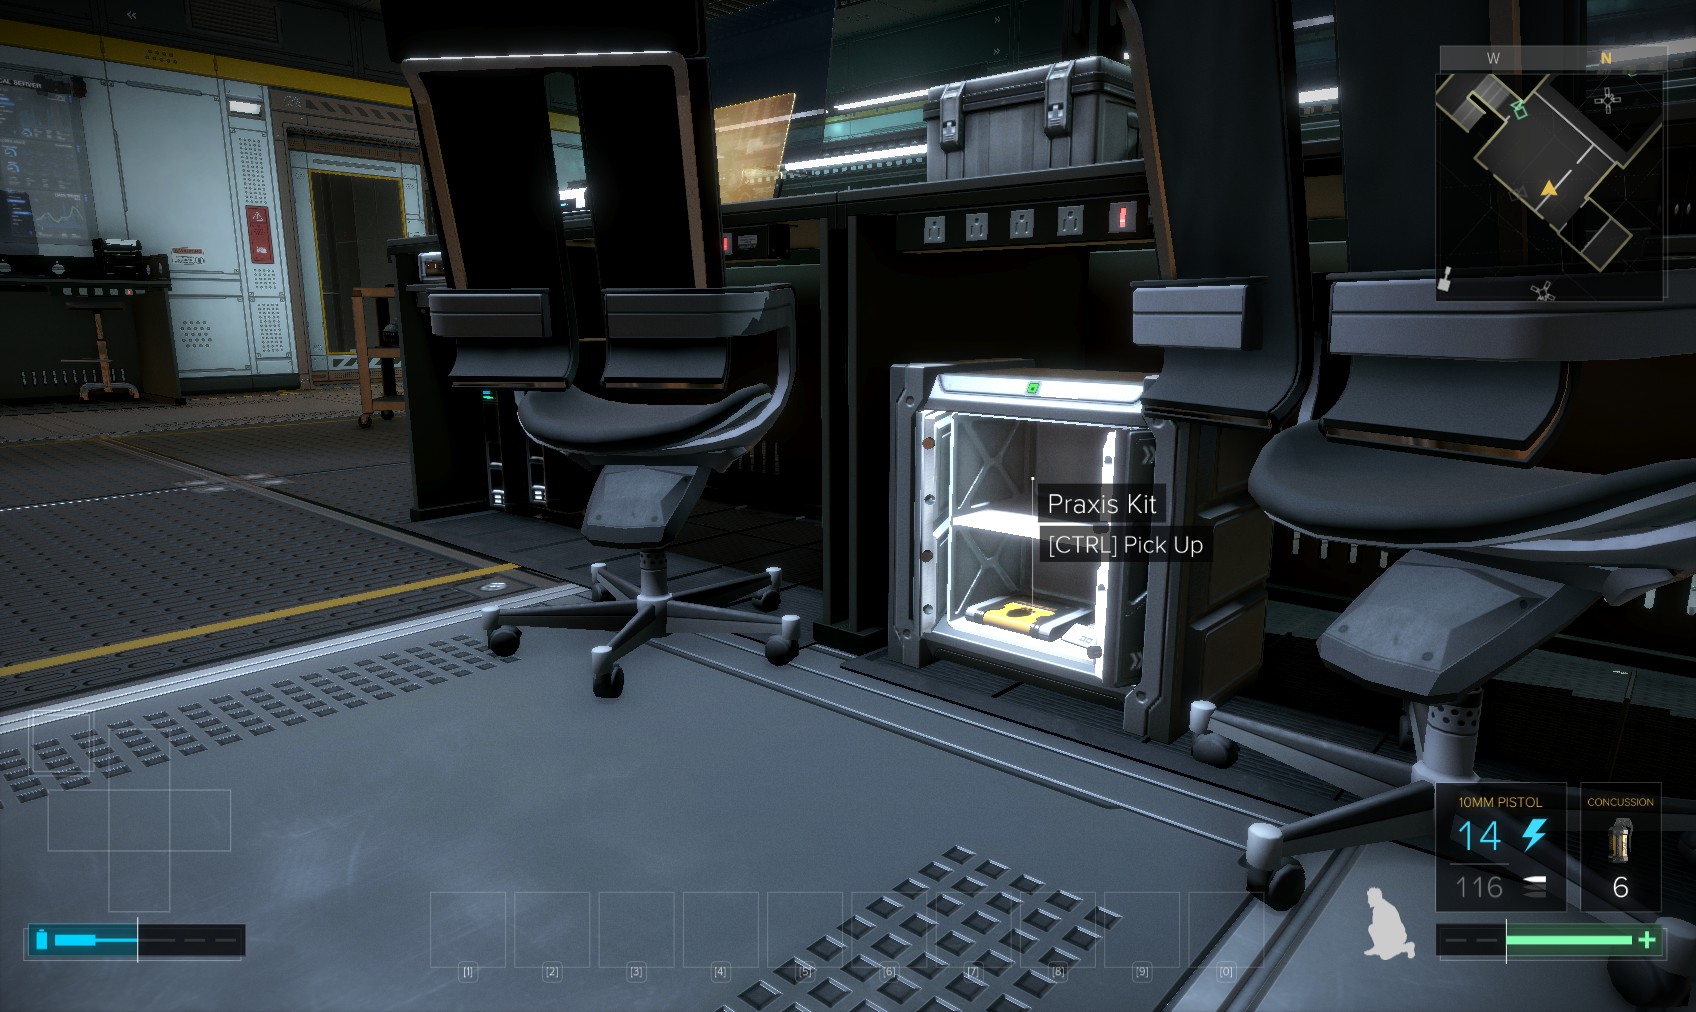
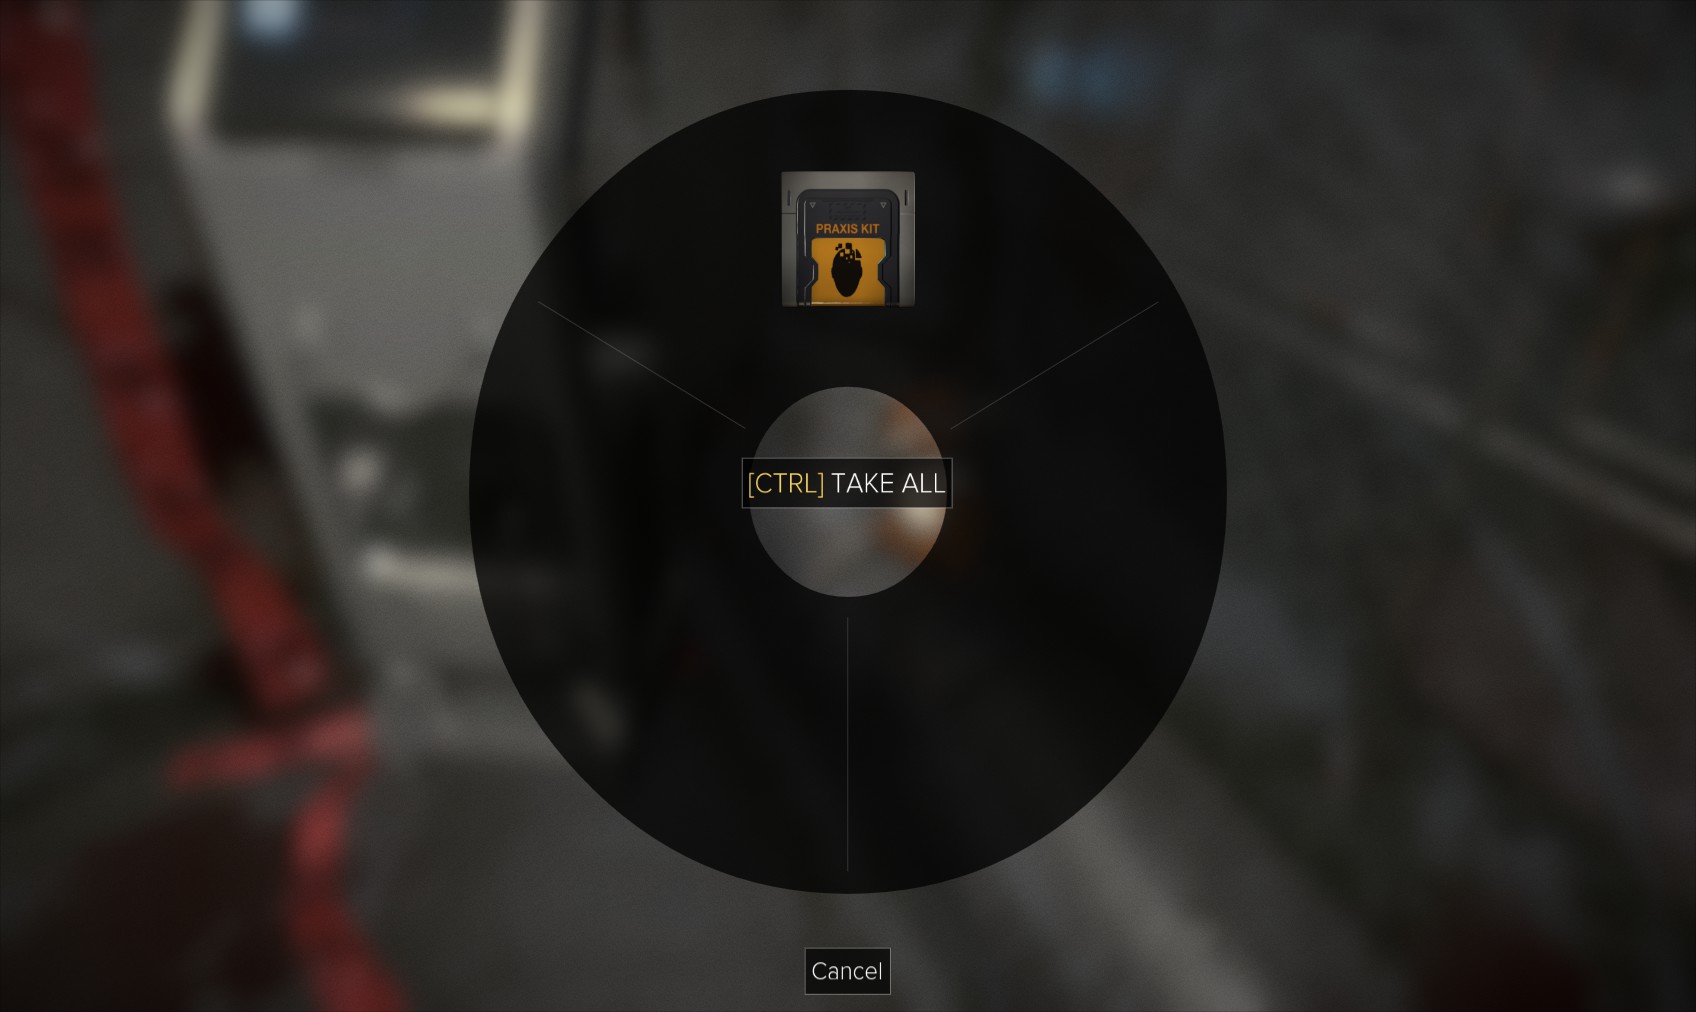
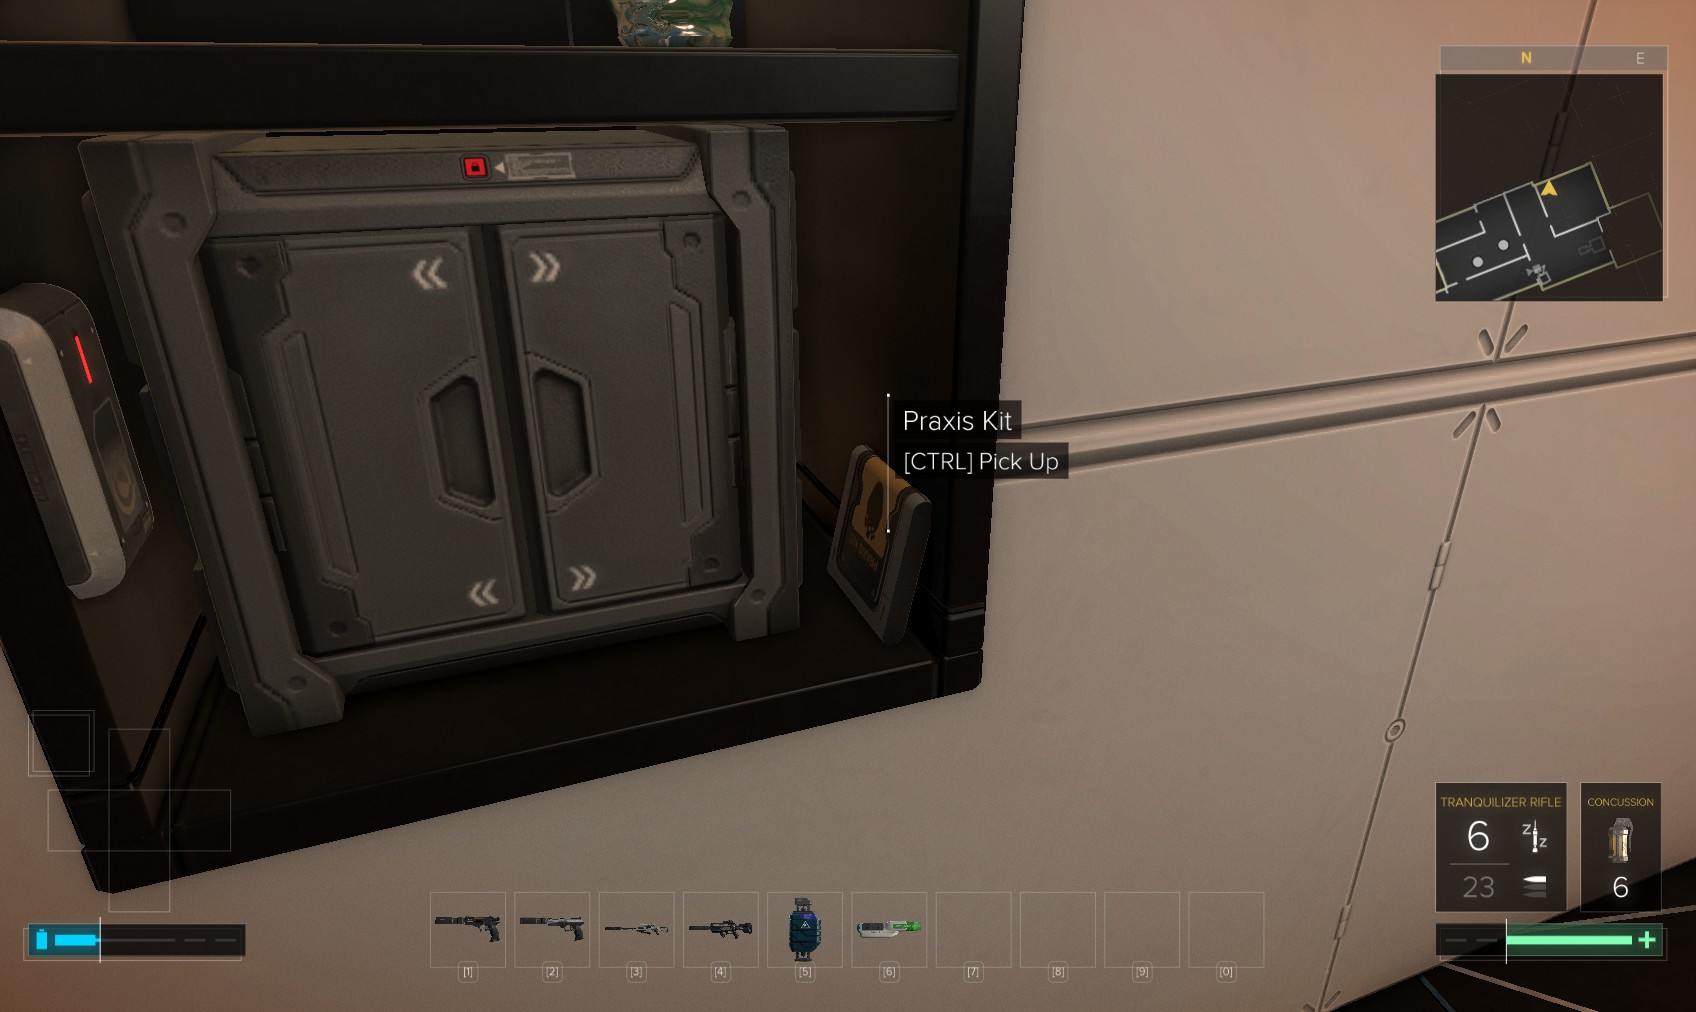
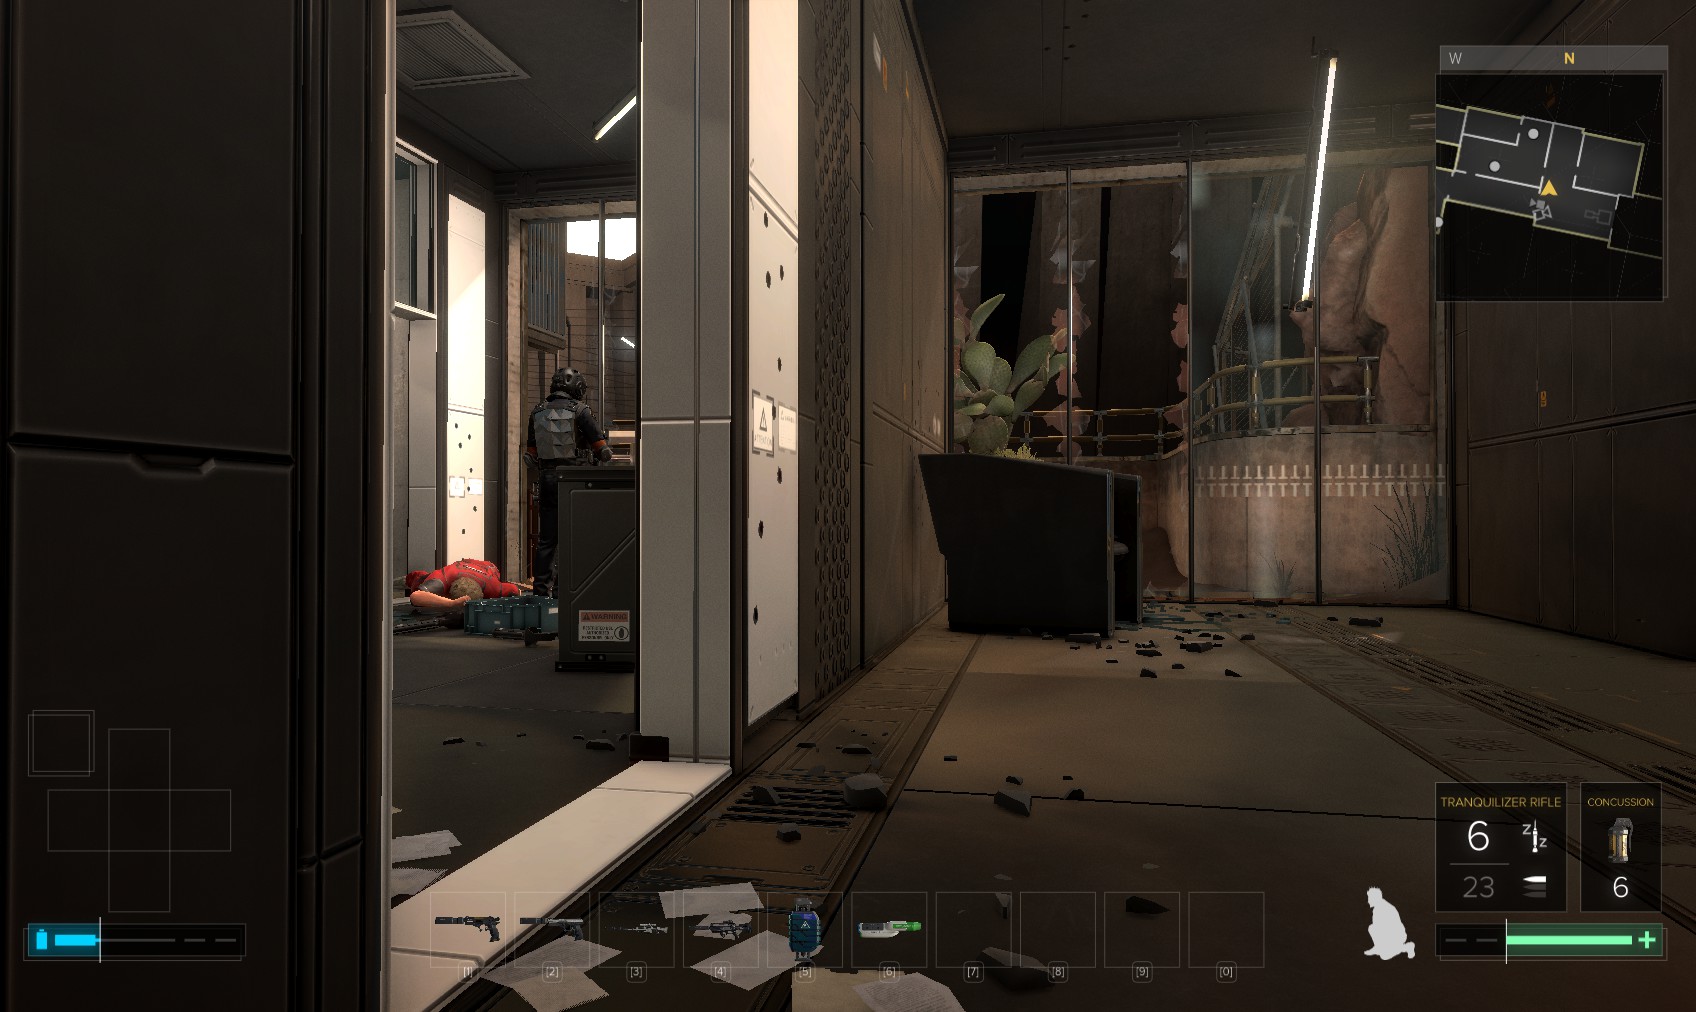
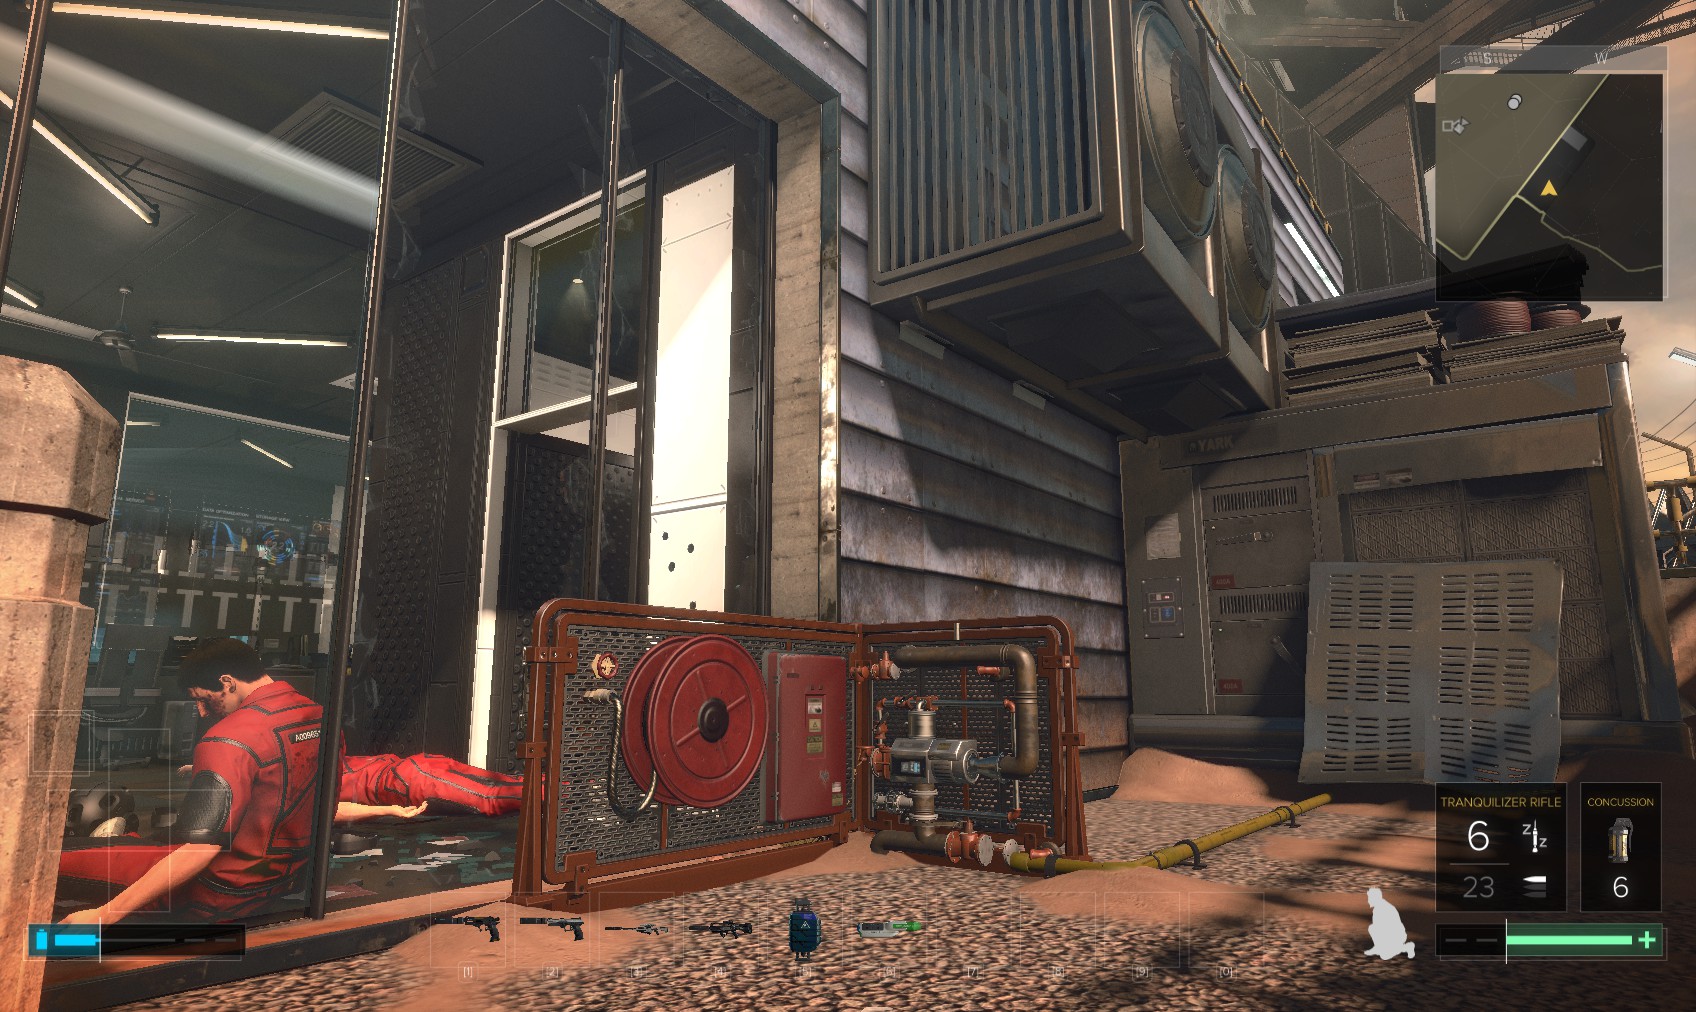
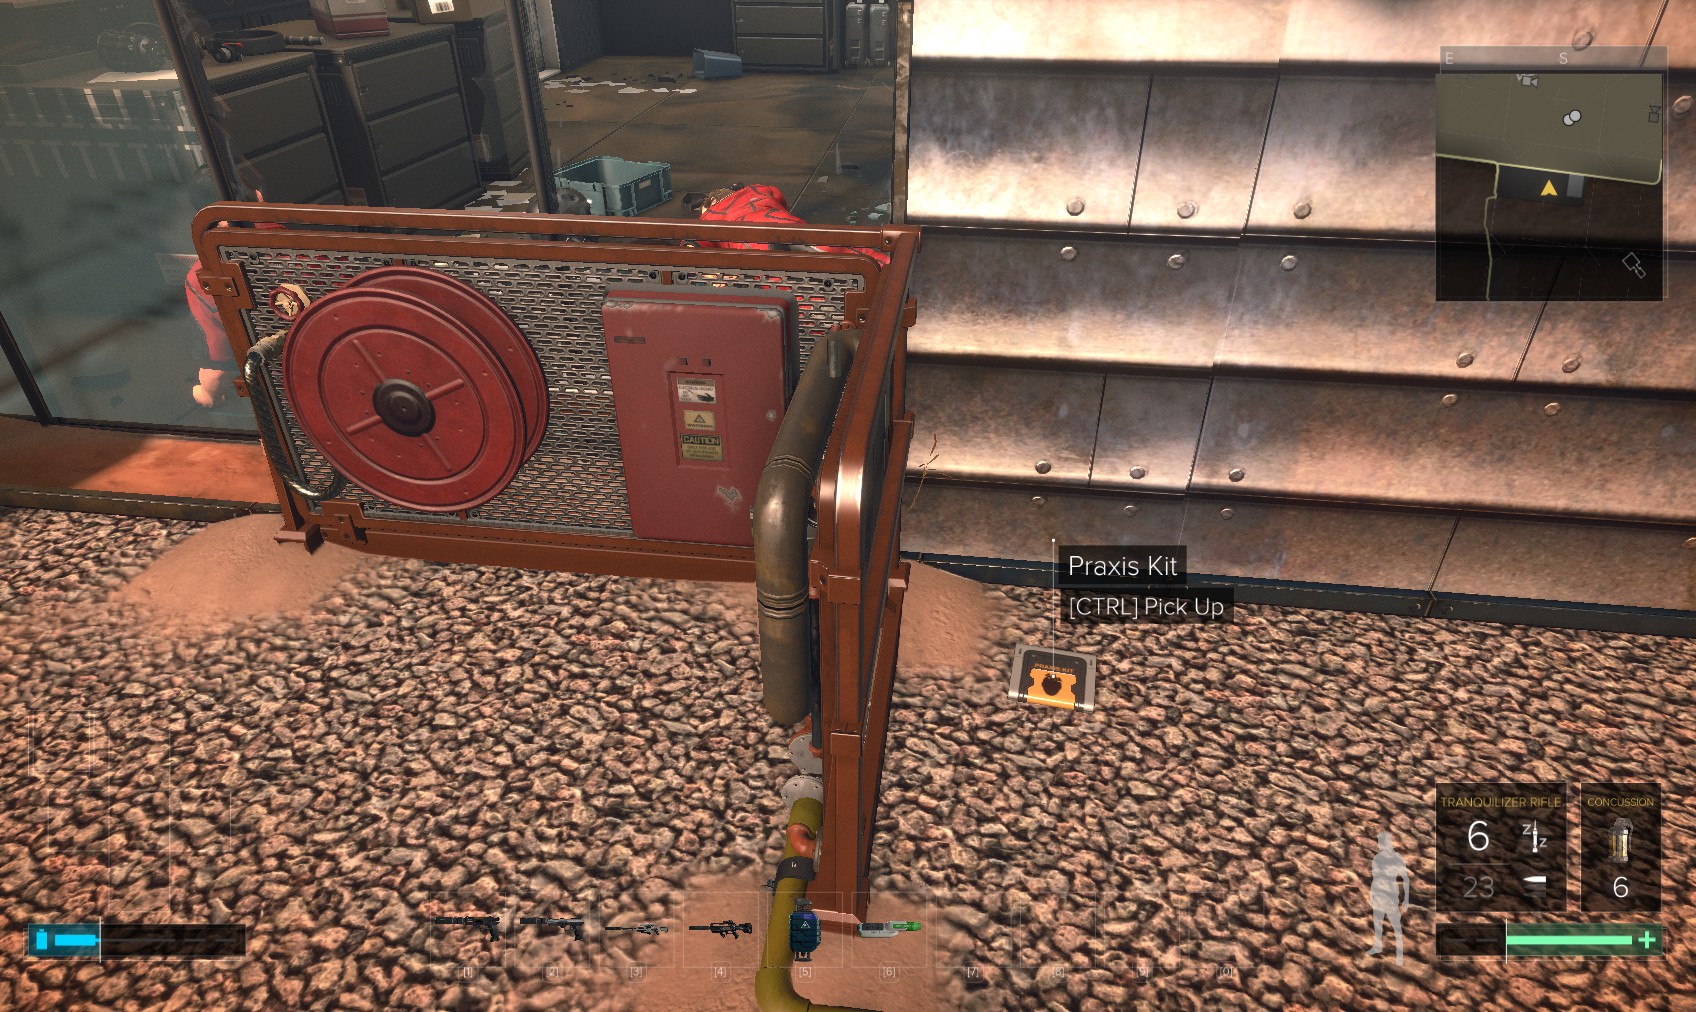
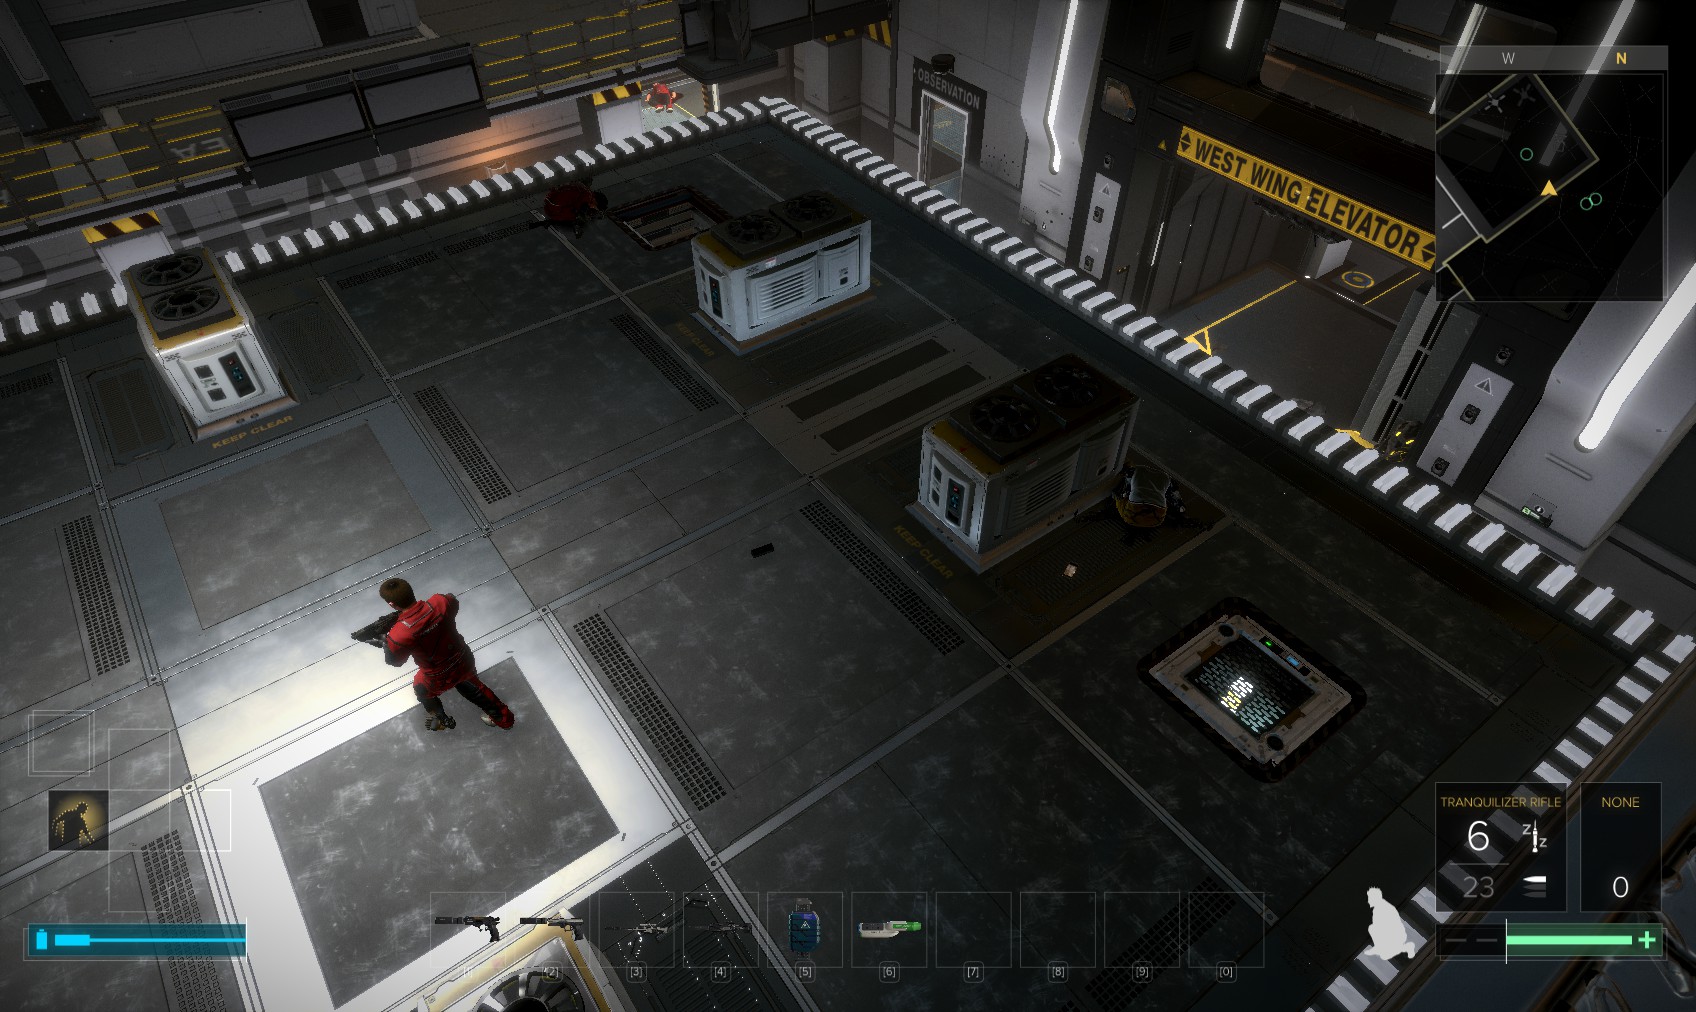
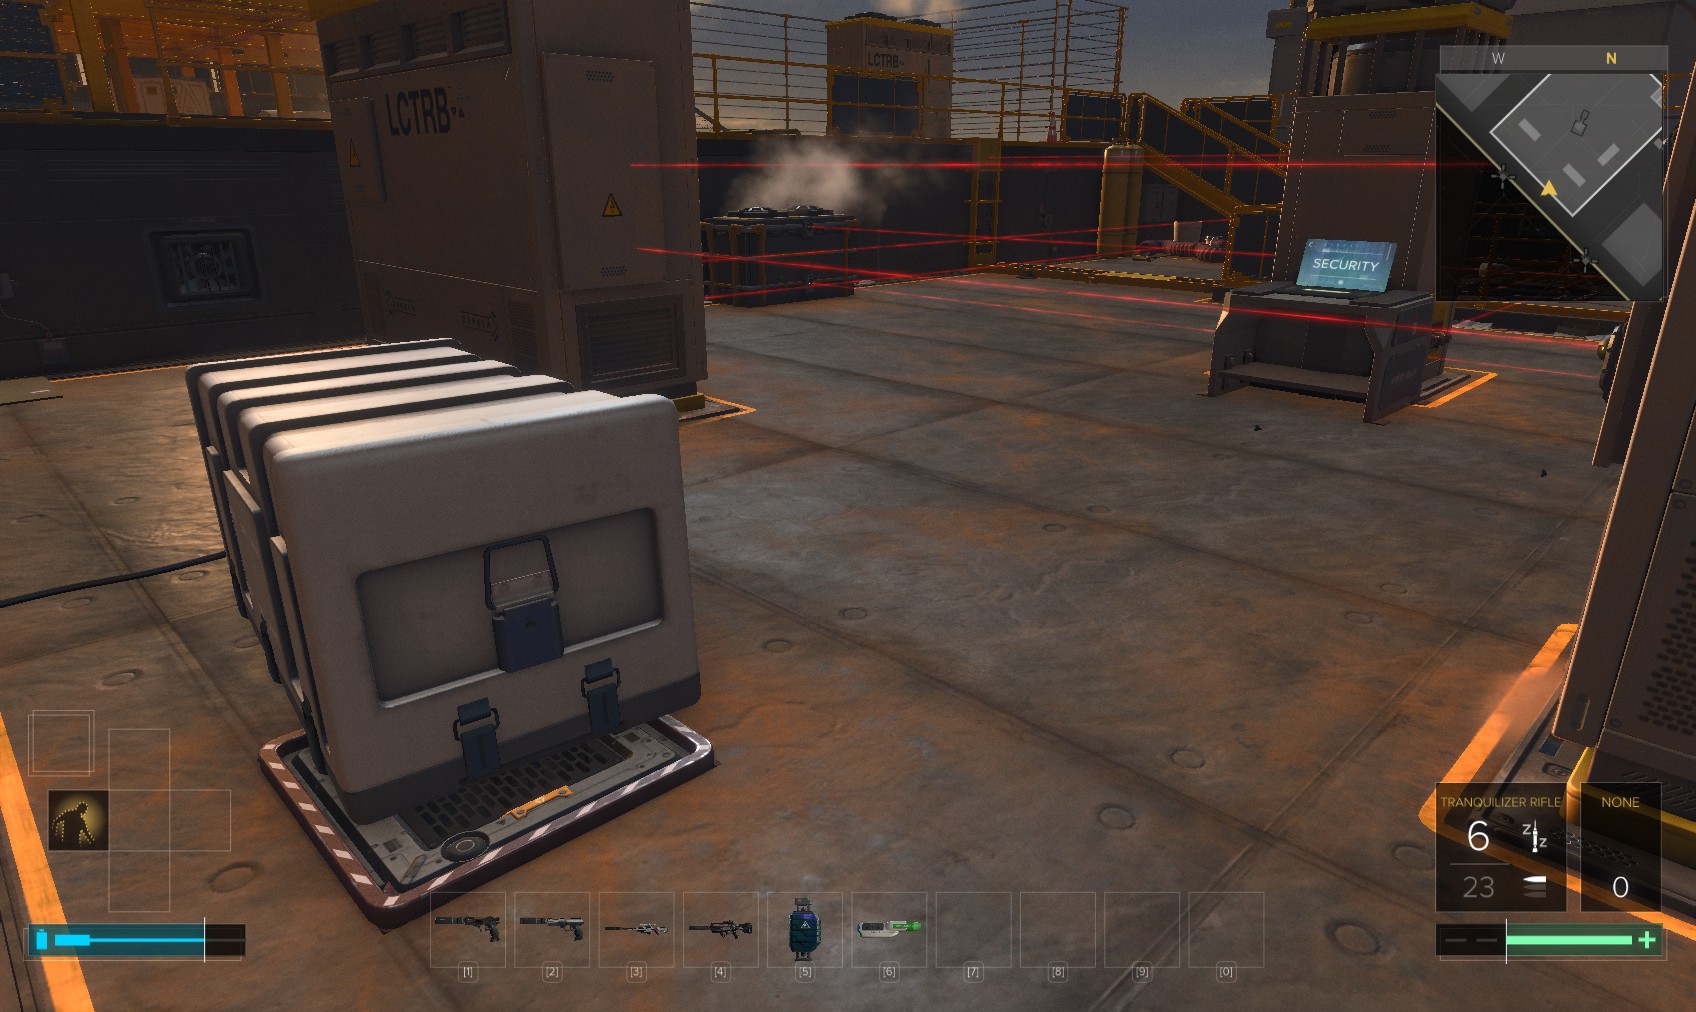
6. Don’t miss the Praxis Kit next to the weapons cabinet, which has a tranquilizer rifle, combat rifle, and ammo. Hunt the drawers for hacking tools, then leave via the door you just opened.
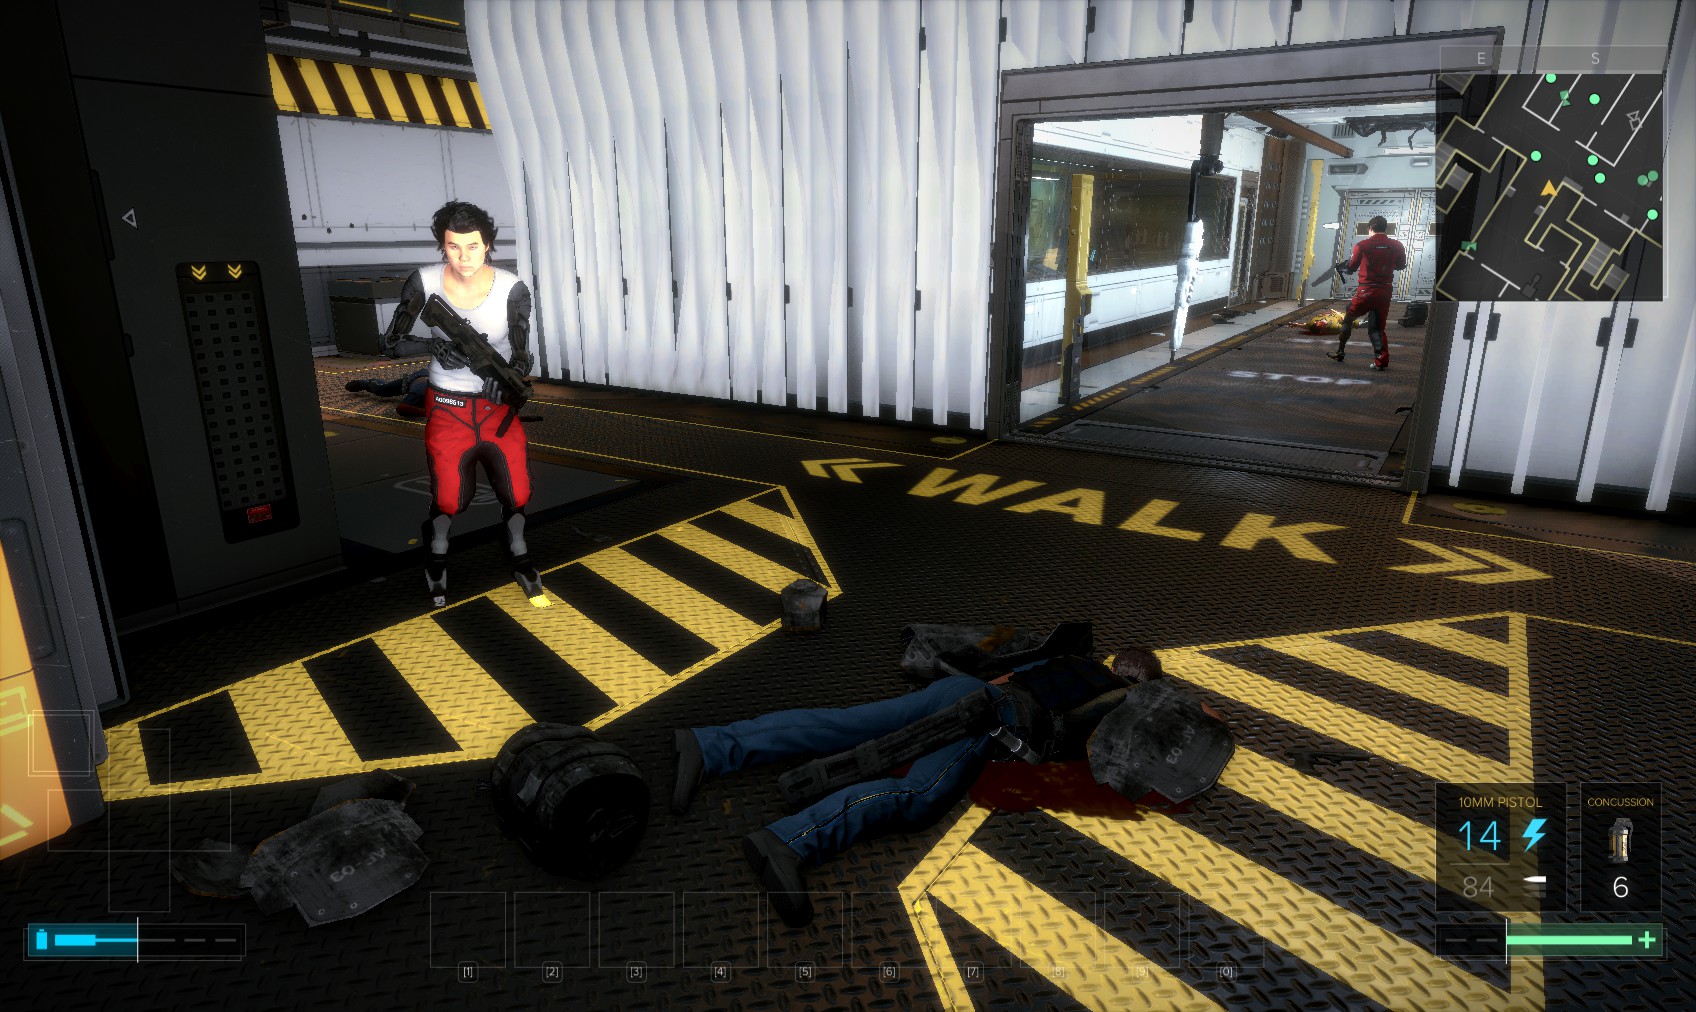
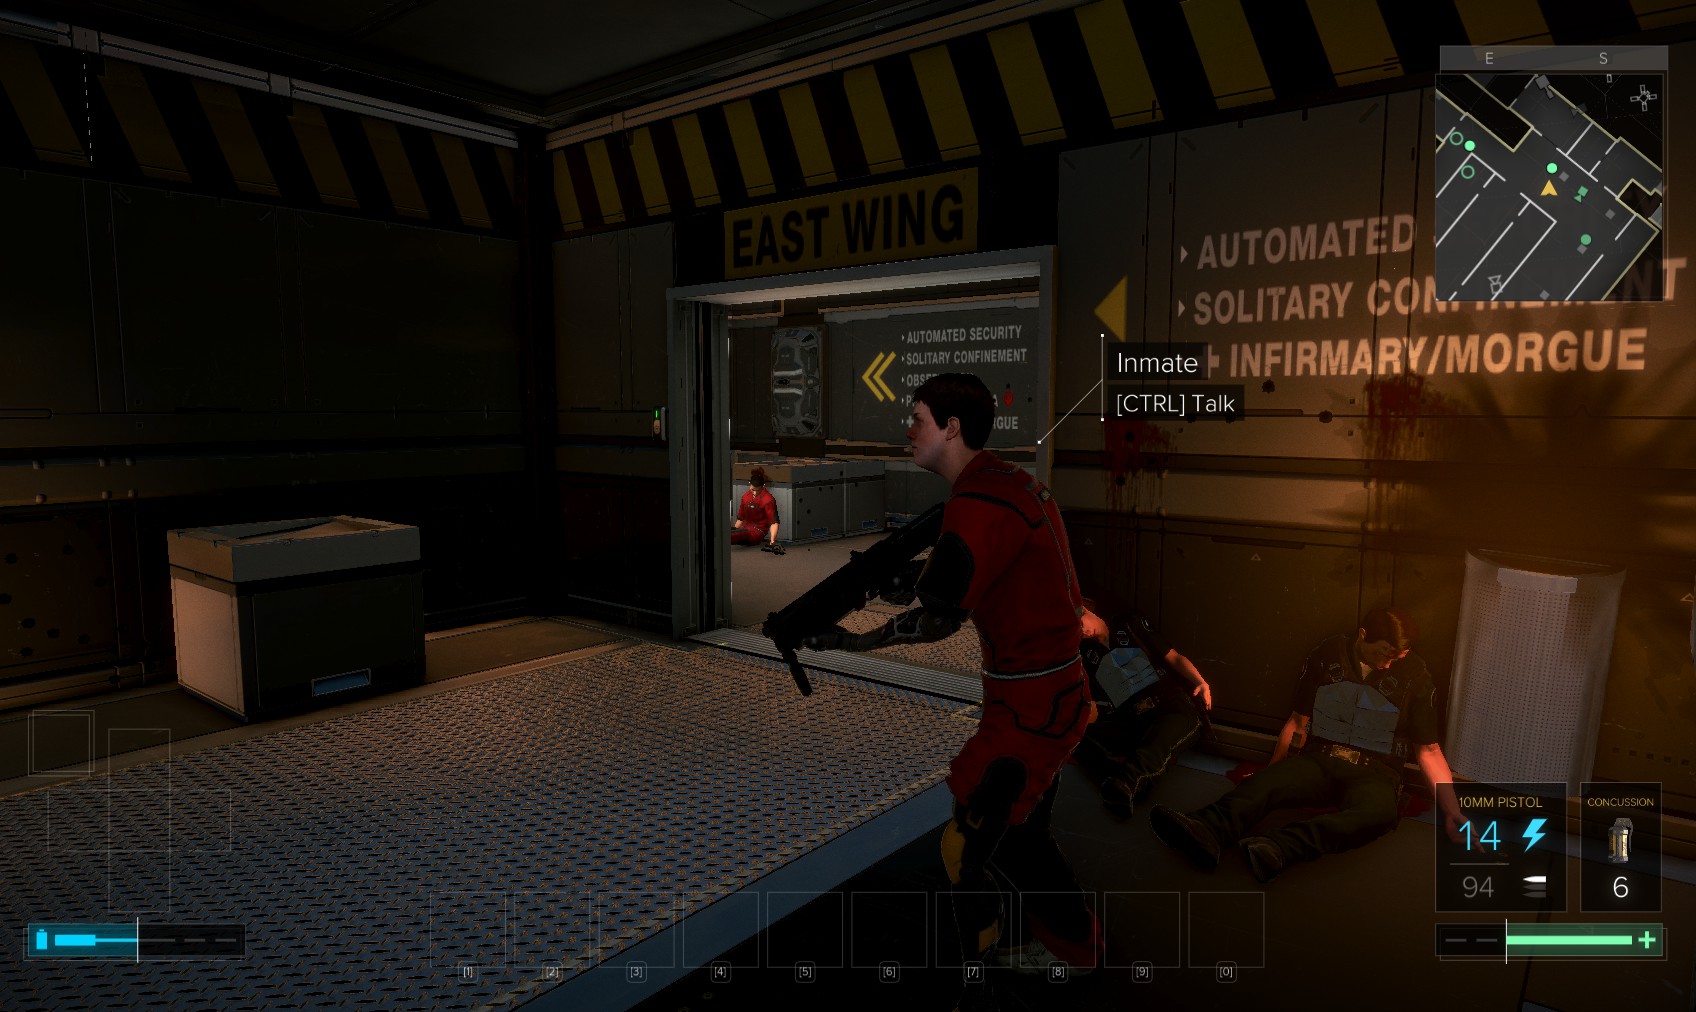
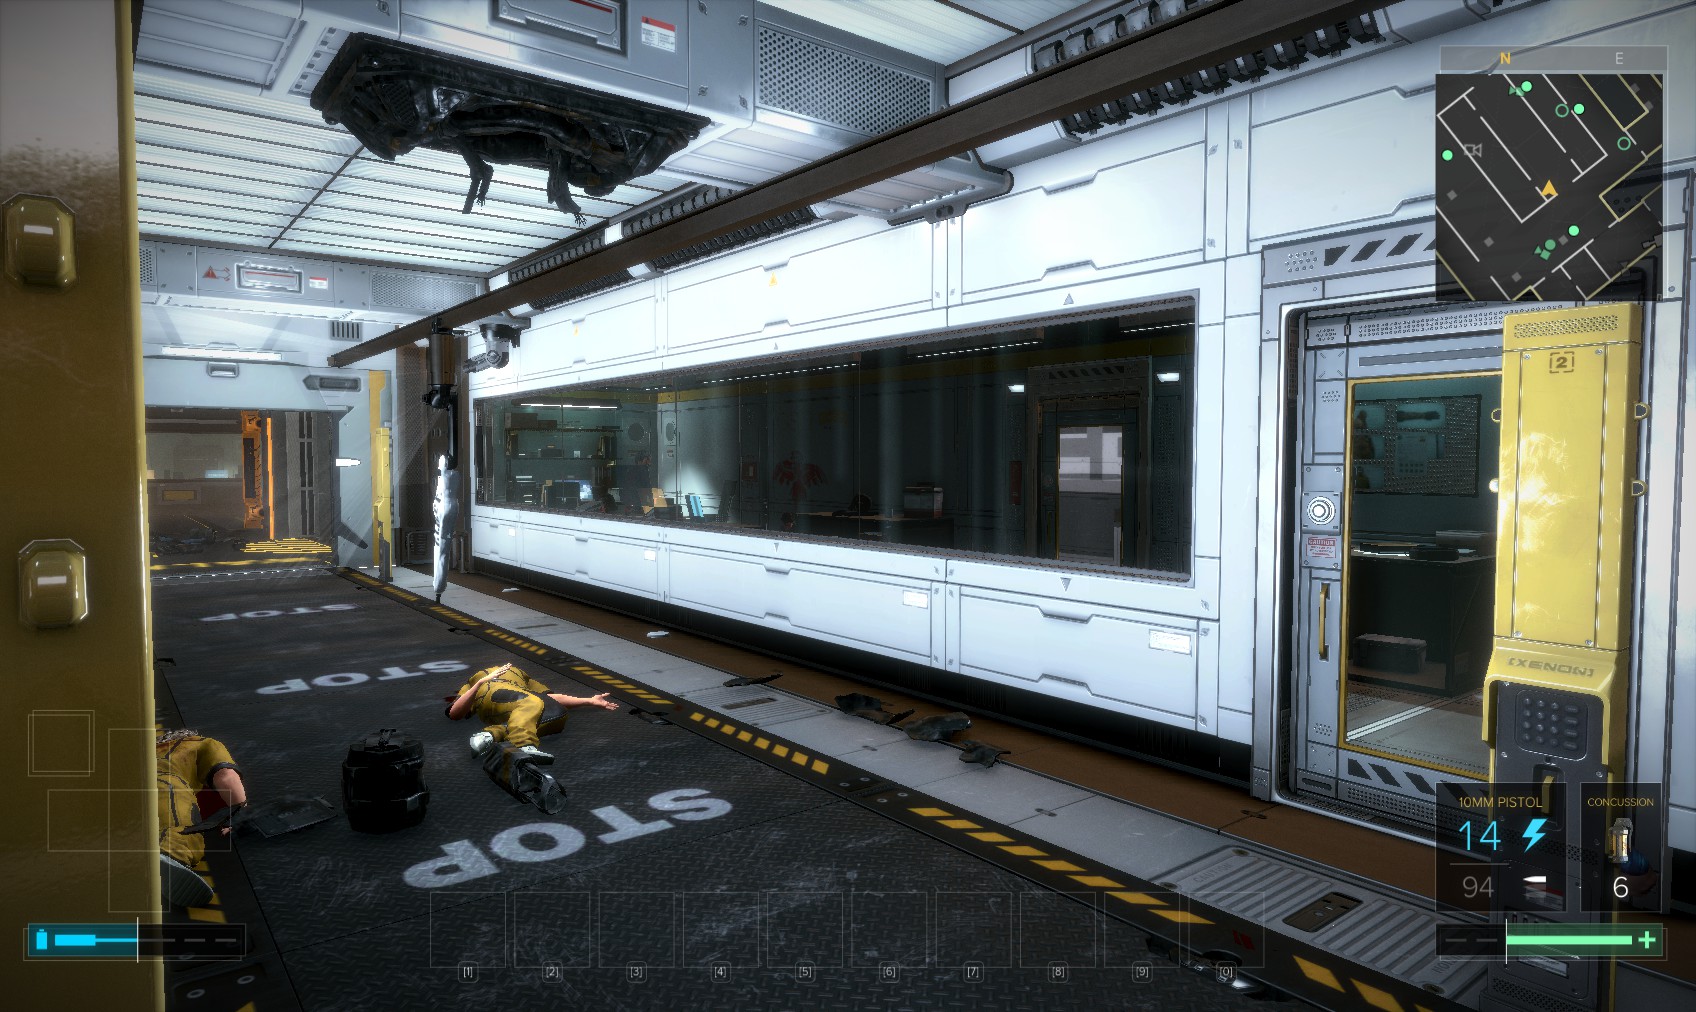
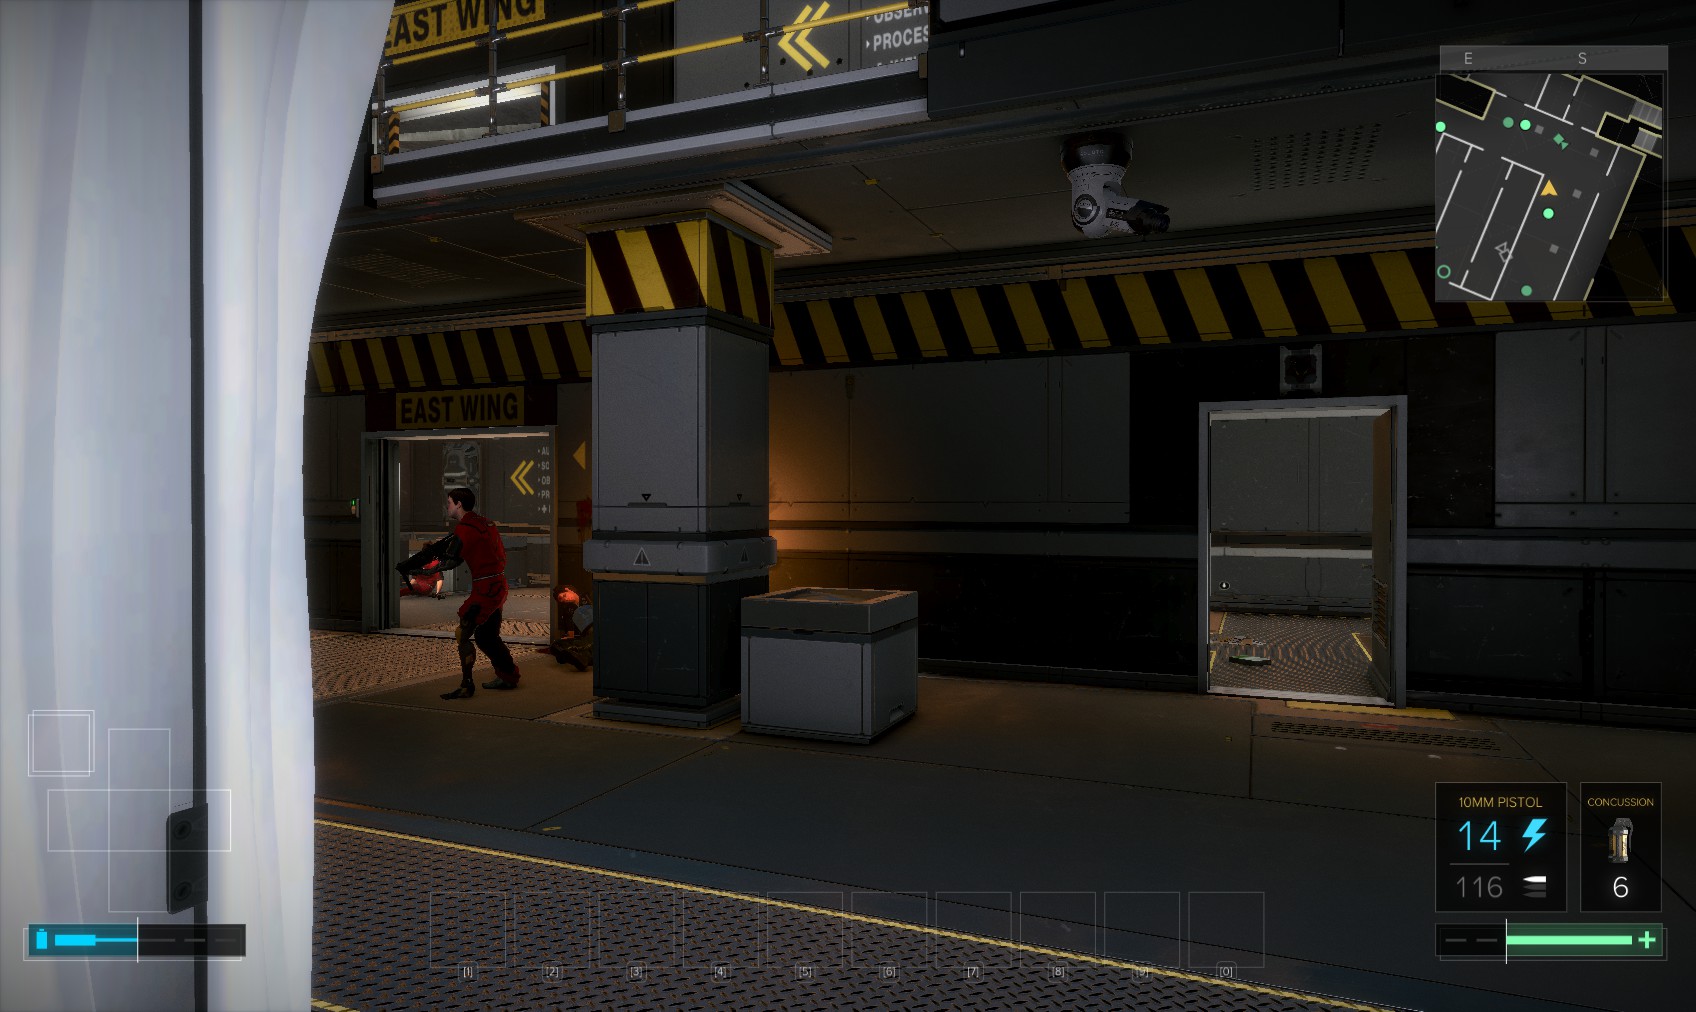
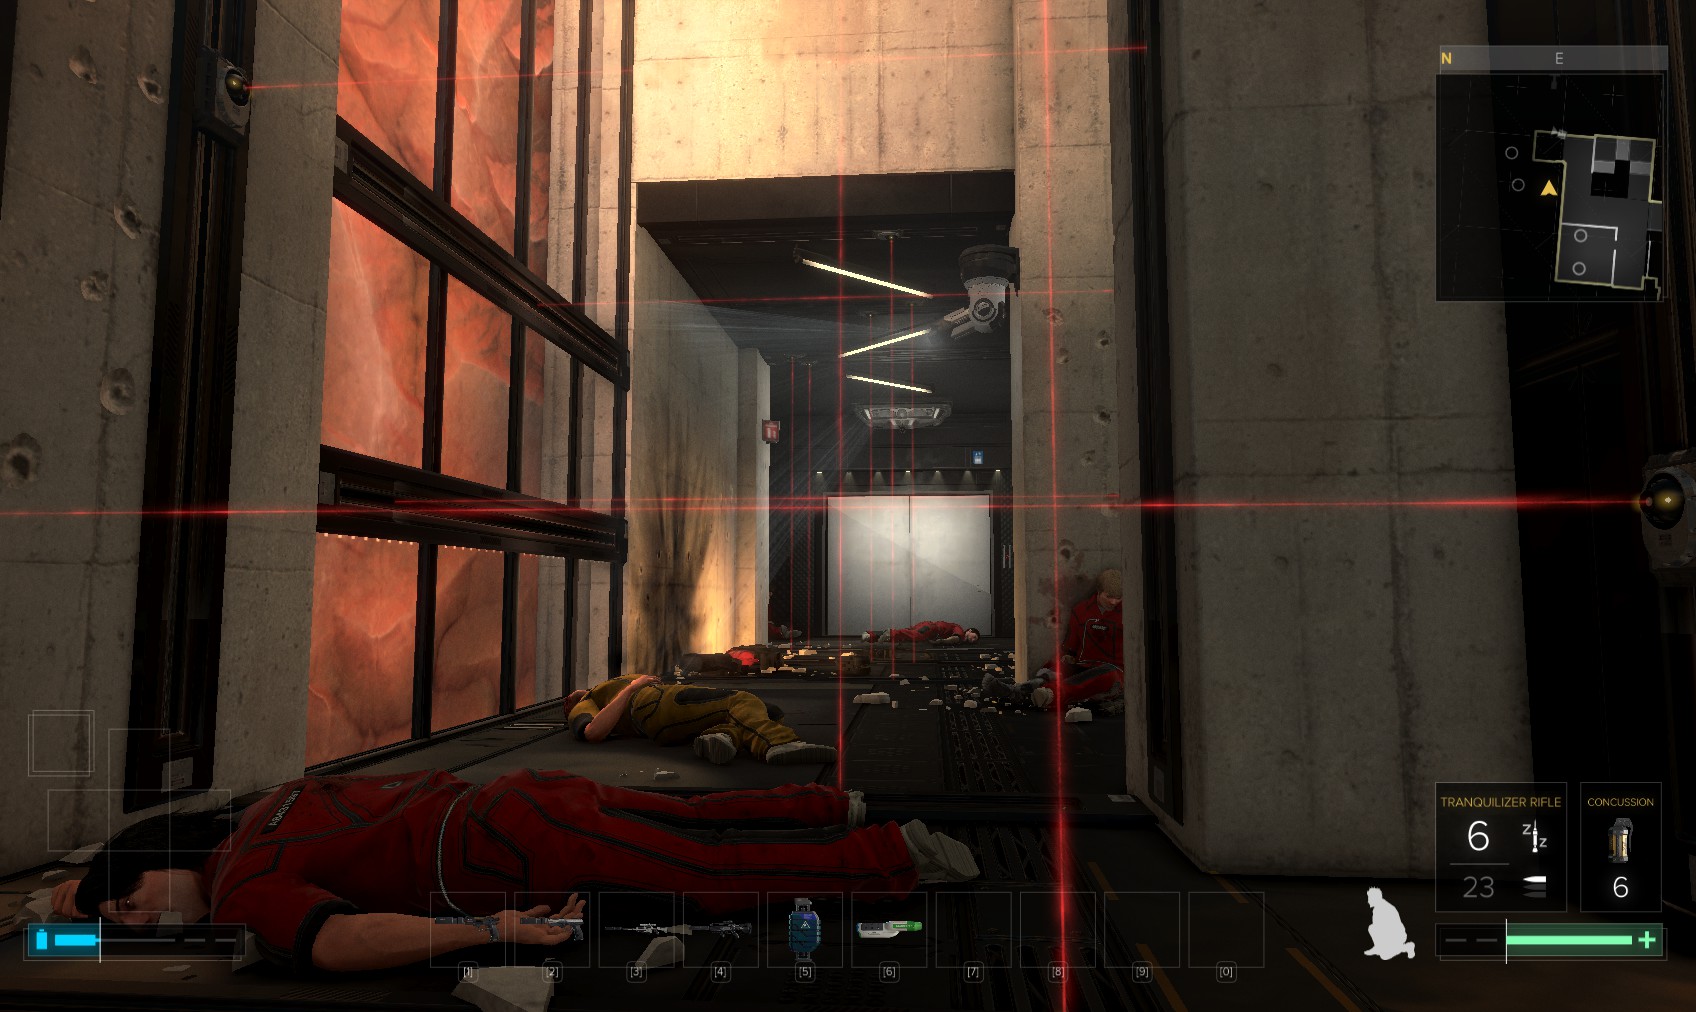
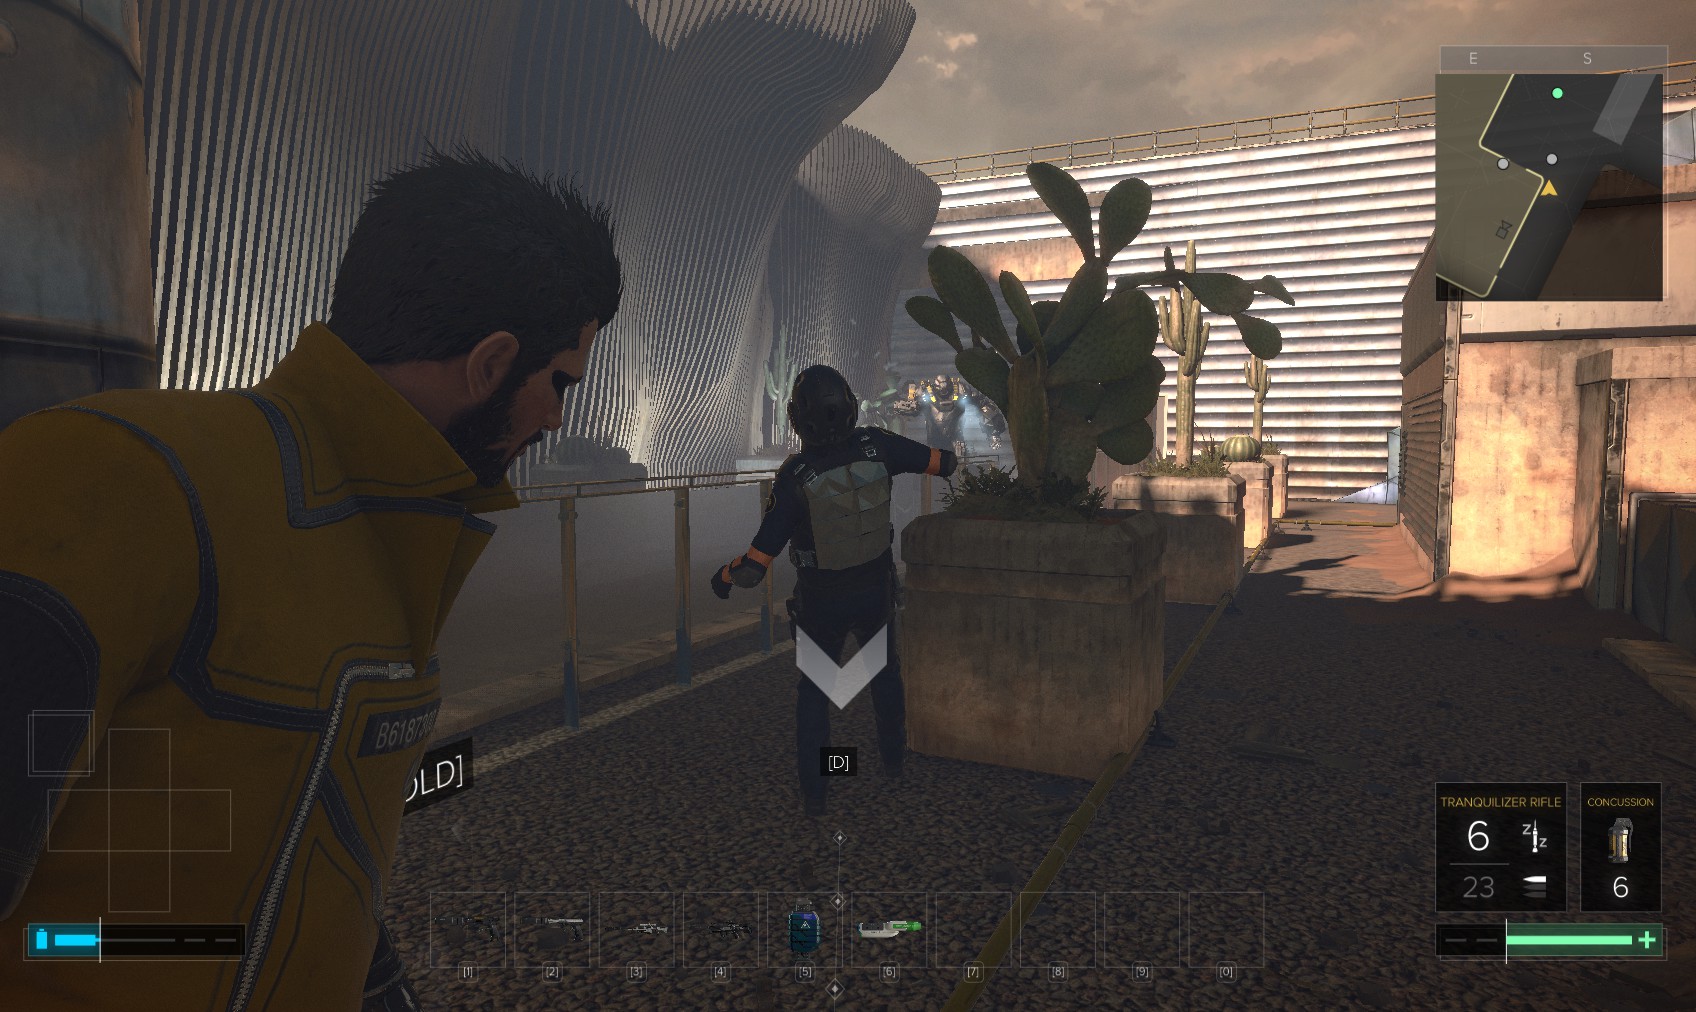
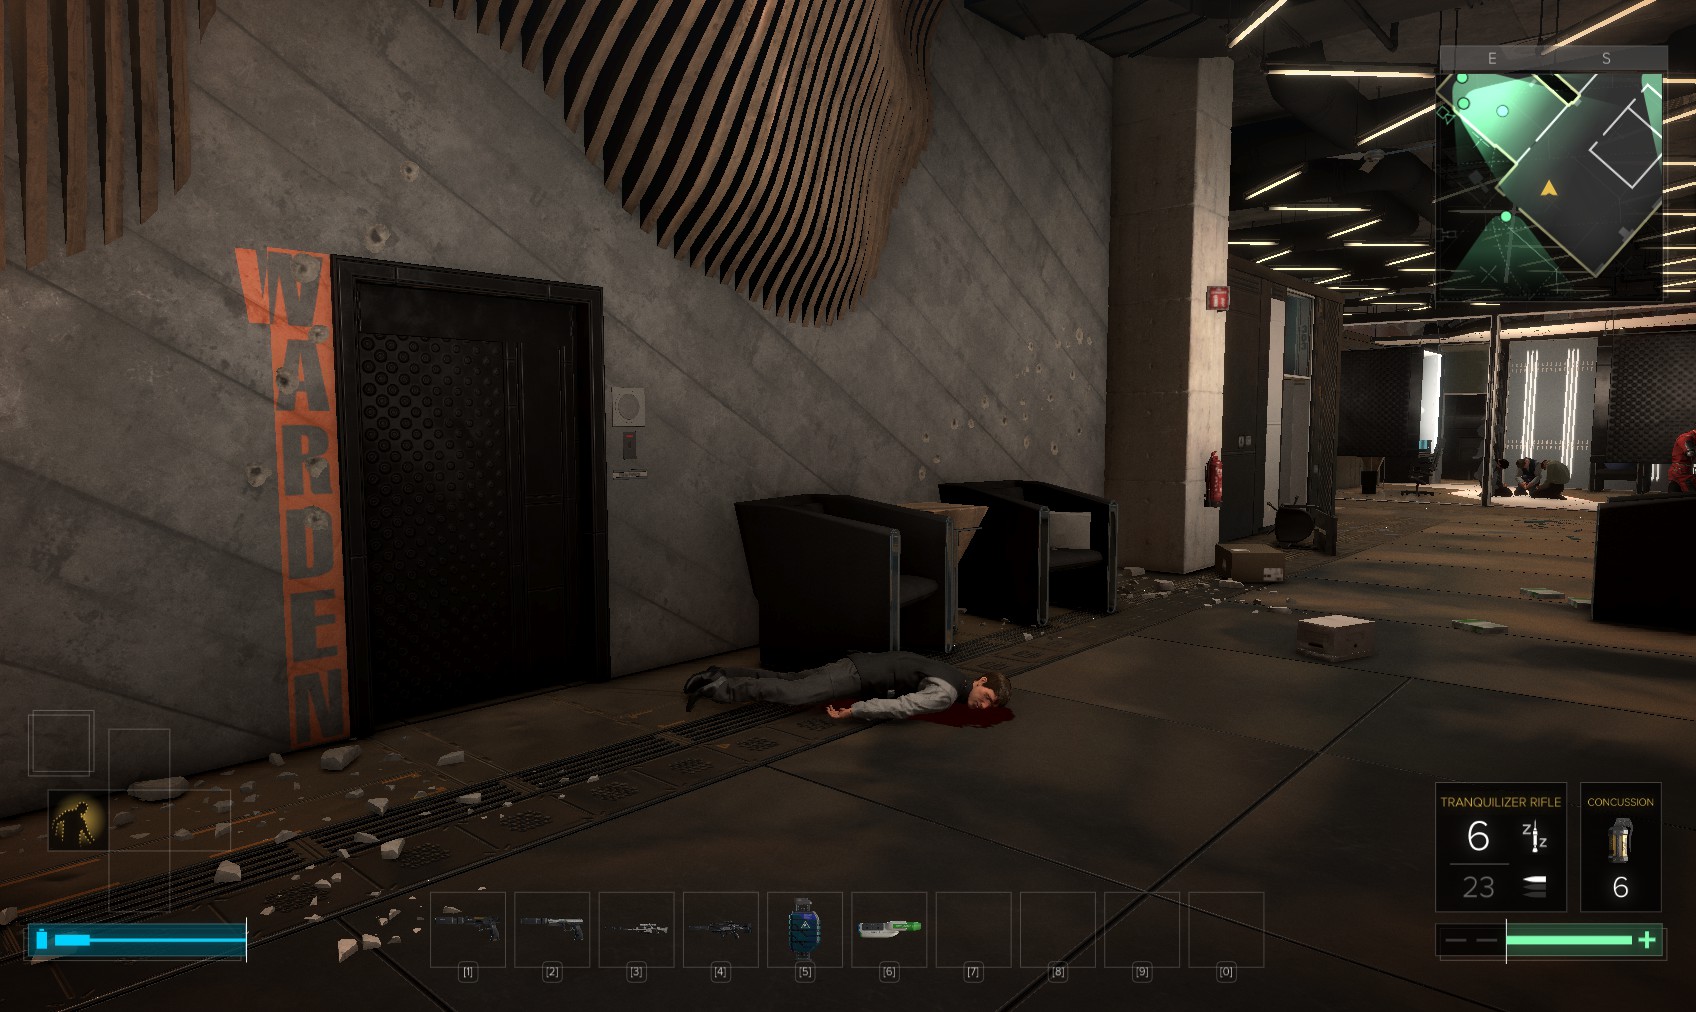
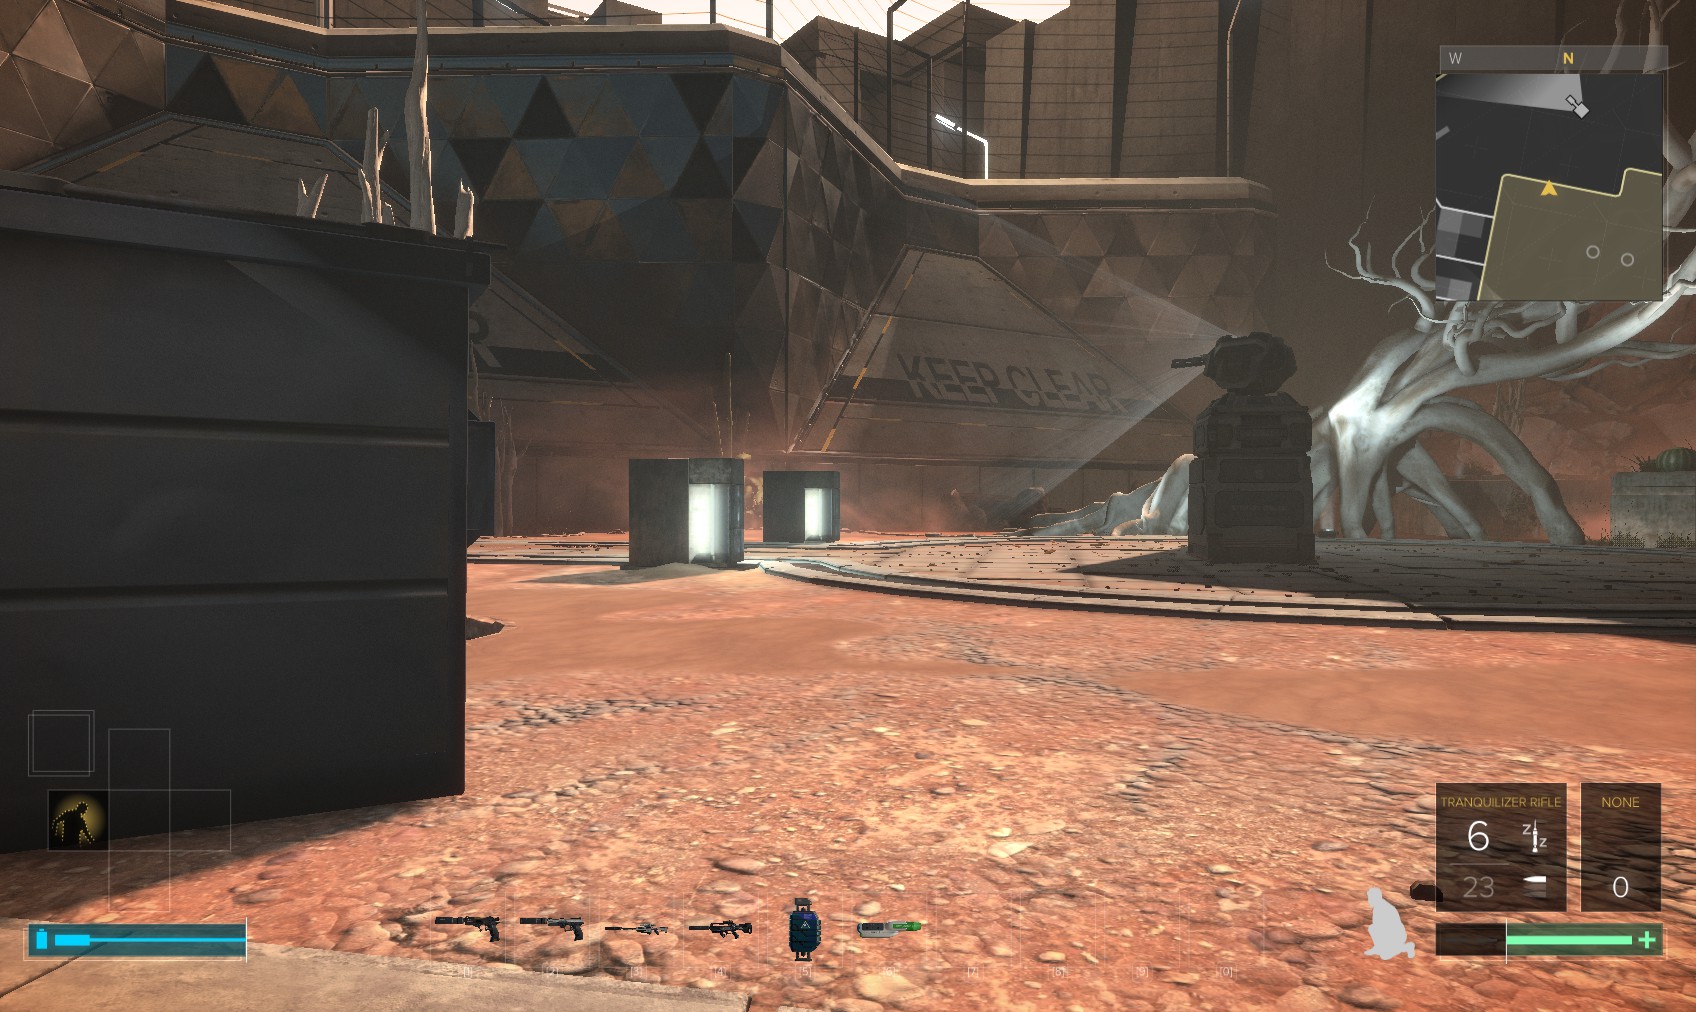
7. The inmates have taken control of this part of the facility too, although if you hadn’t delivered the modified biocell to Red Shoes the guards would still be patrolling and the area would be hostile.
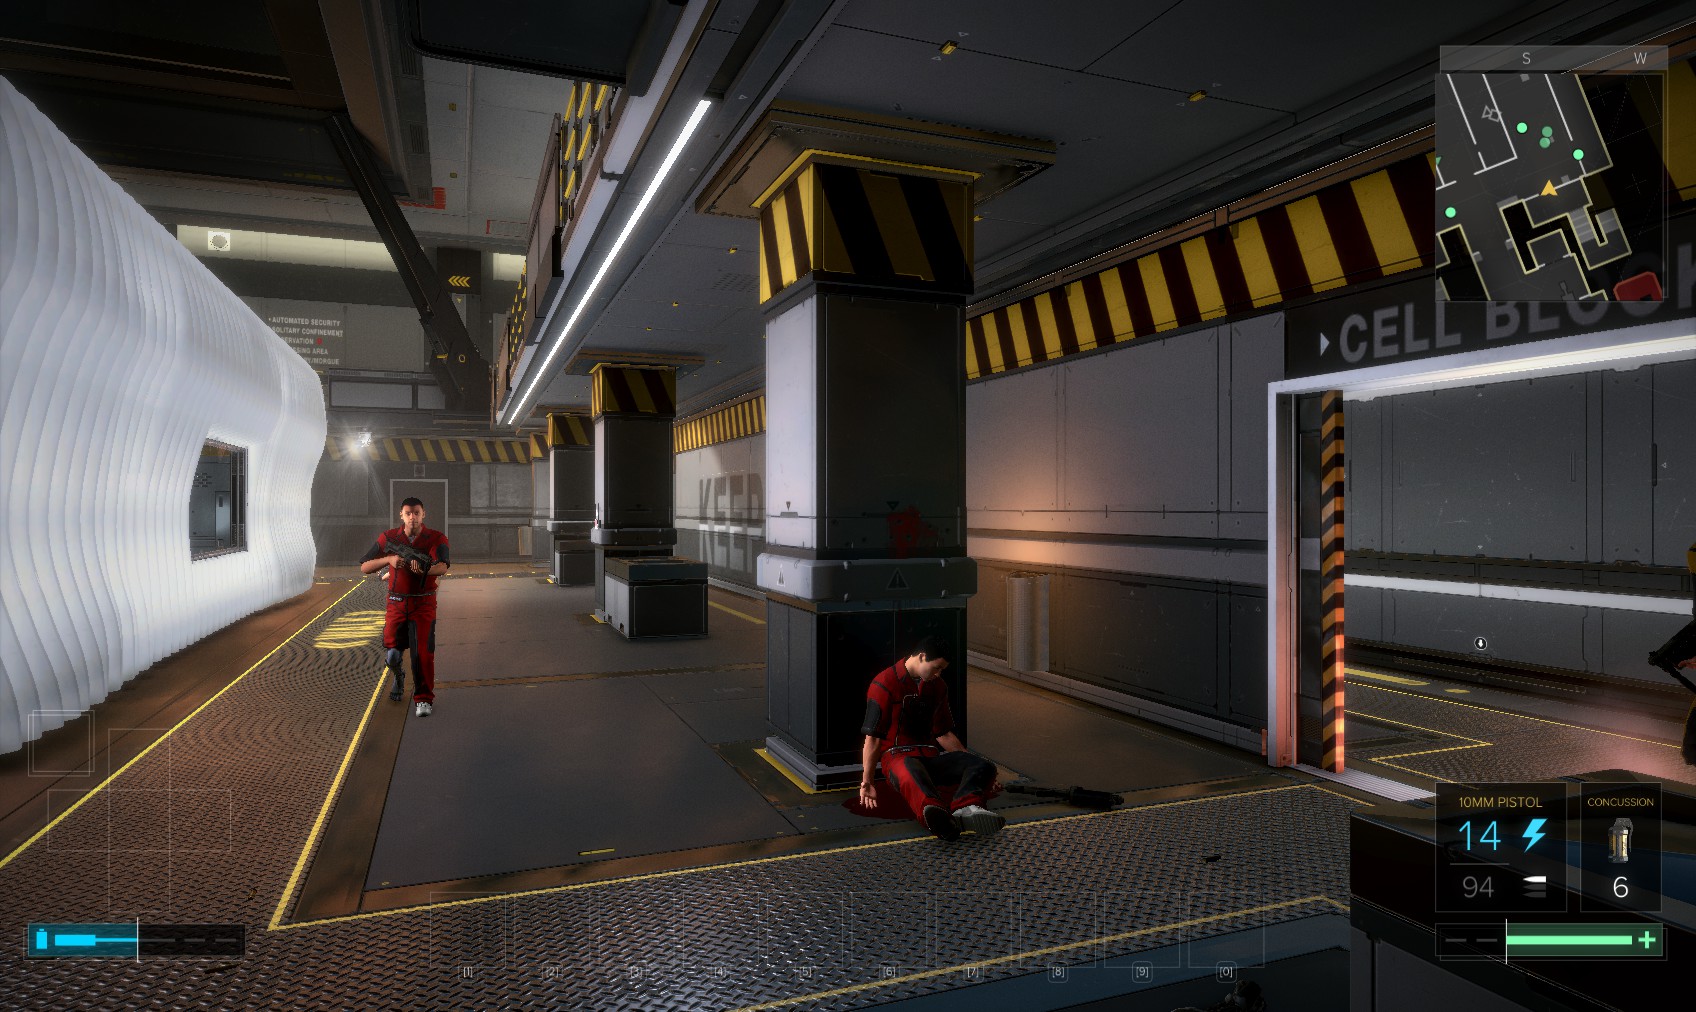
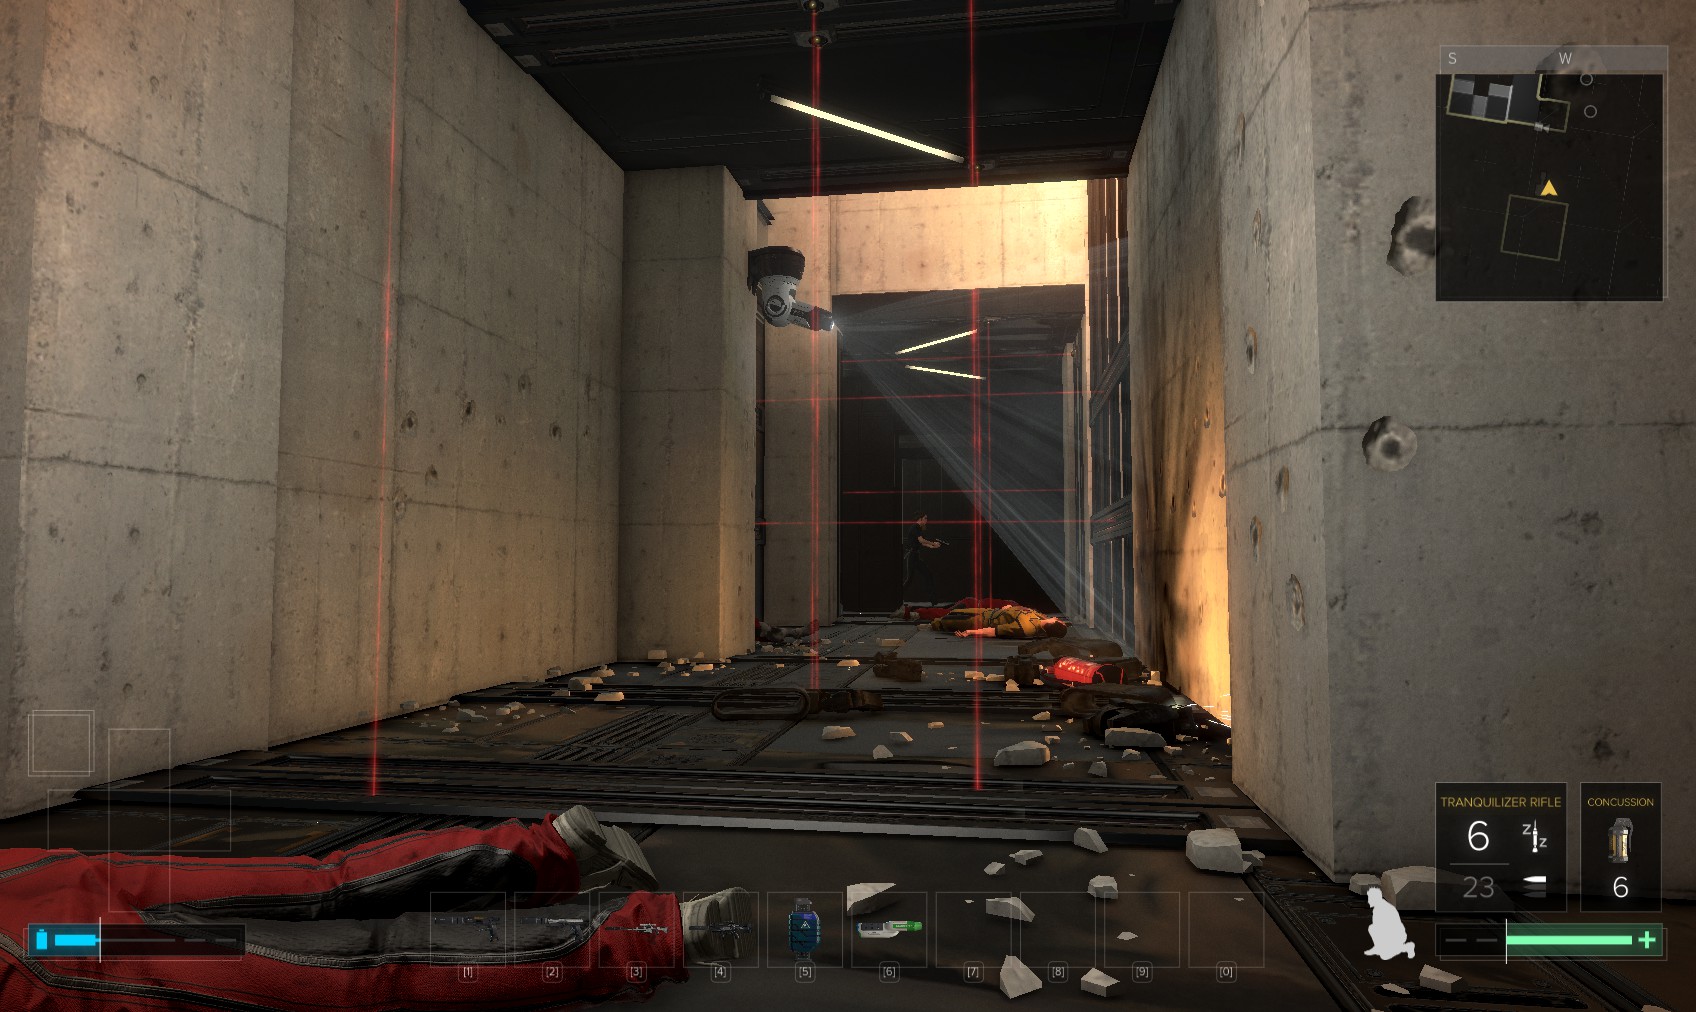
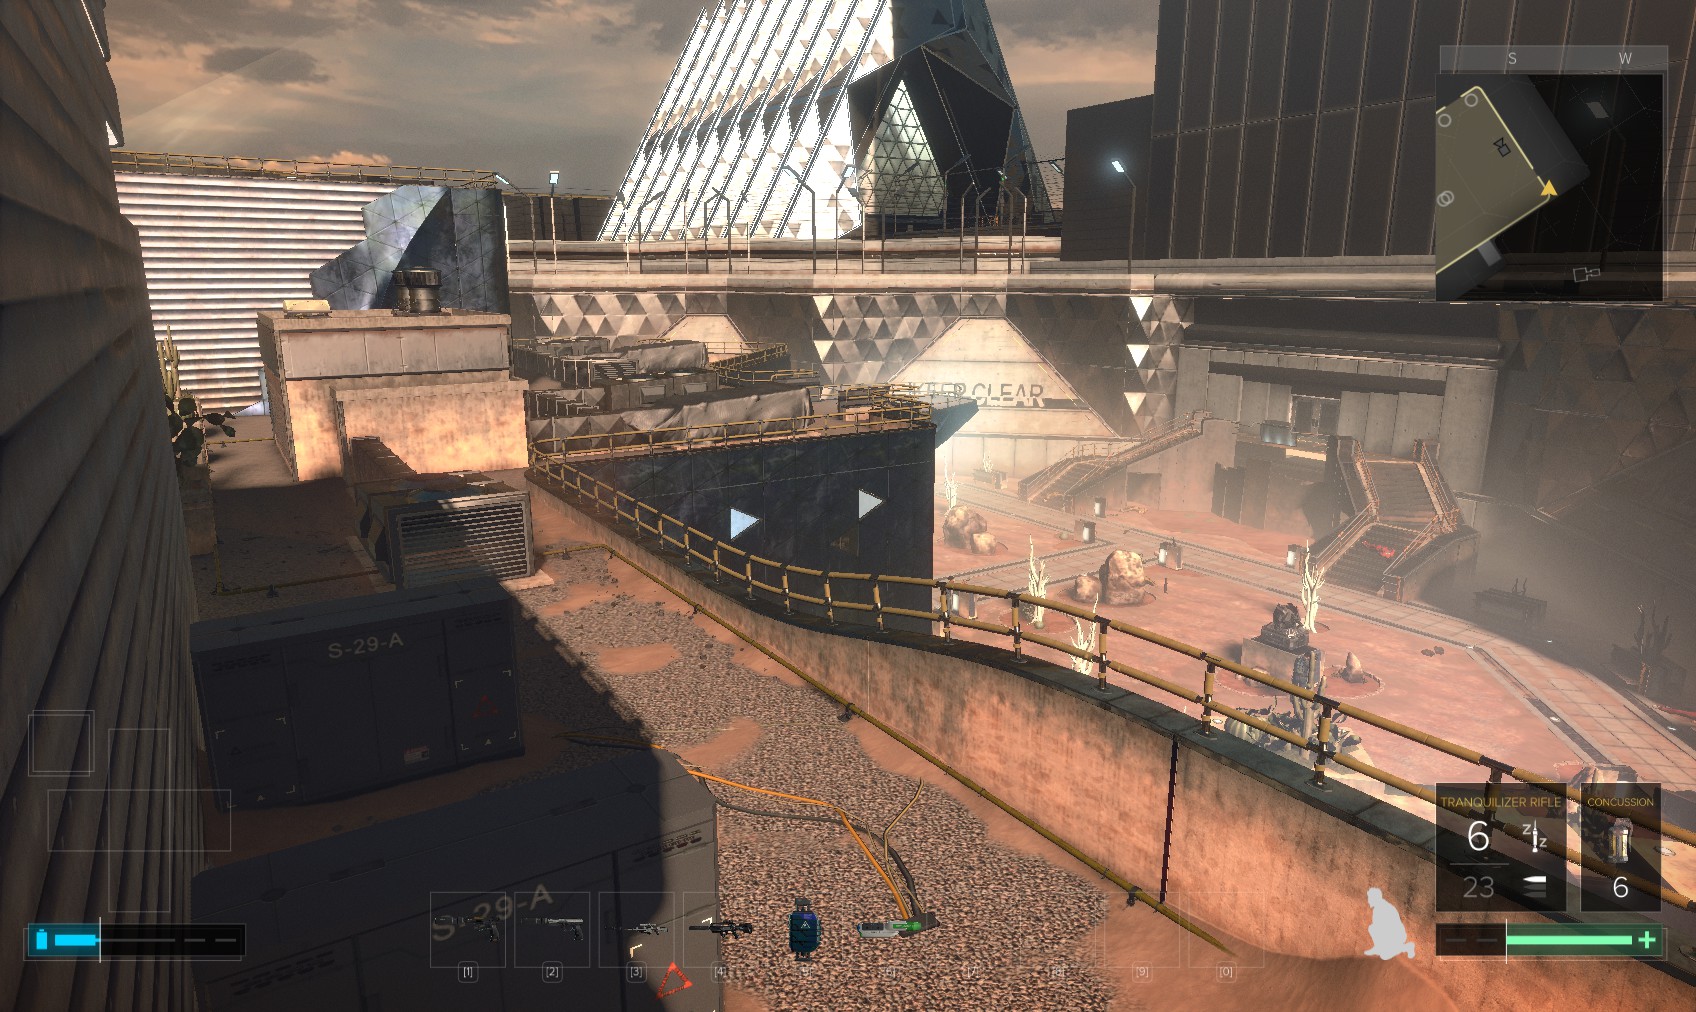
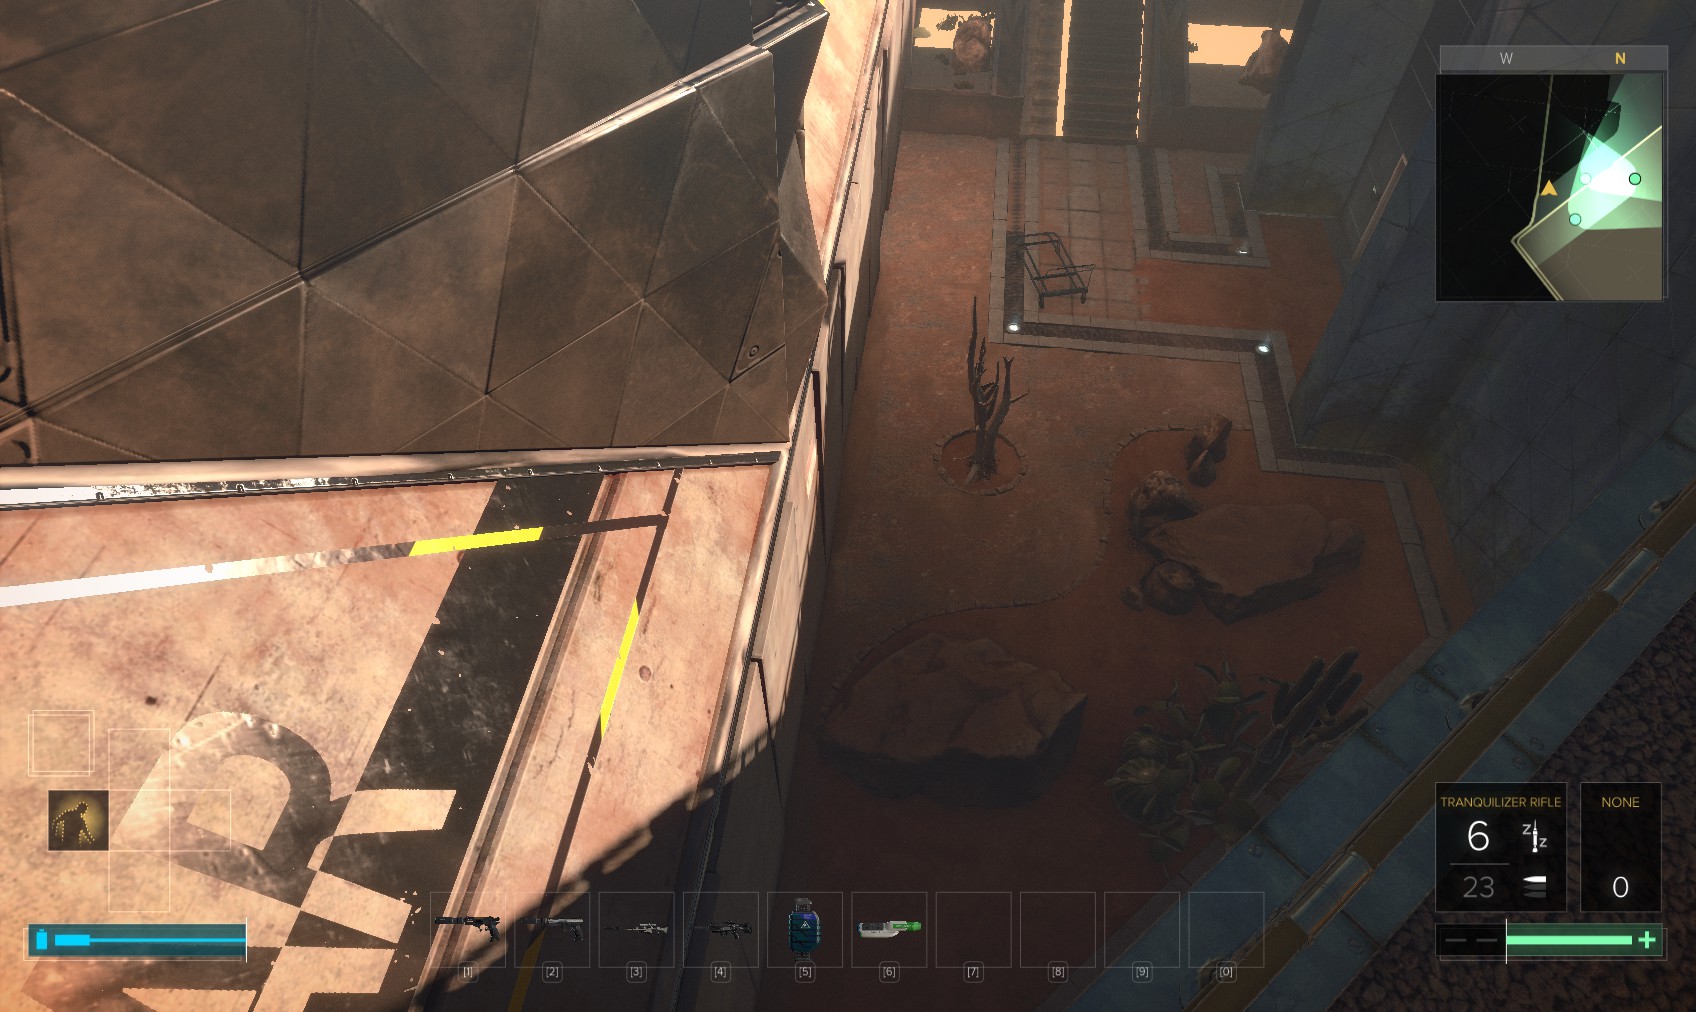
8. Head to the right. The door here on the right leads to the outside yards of the cell blocks. Search the bodies for stuff, including biocells and multi-tools, before coming back to this point. Keep going round searching bodies, hacking laser grid keypads and alarm panels - all the things you normally do…
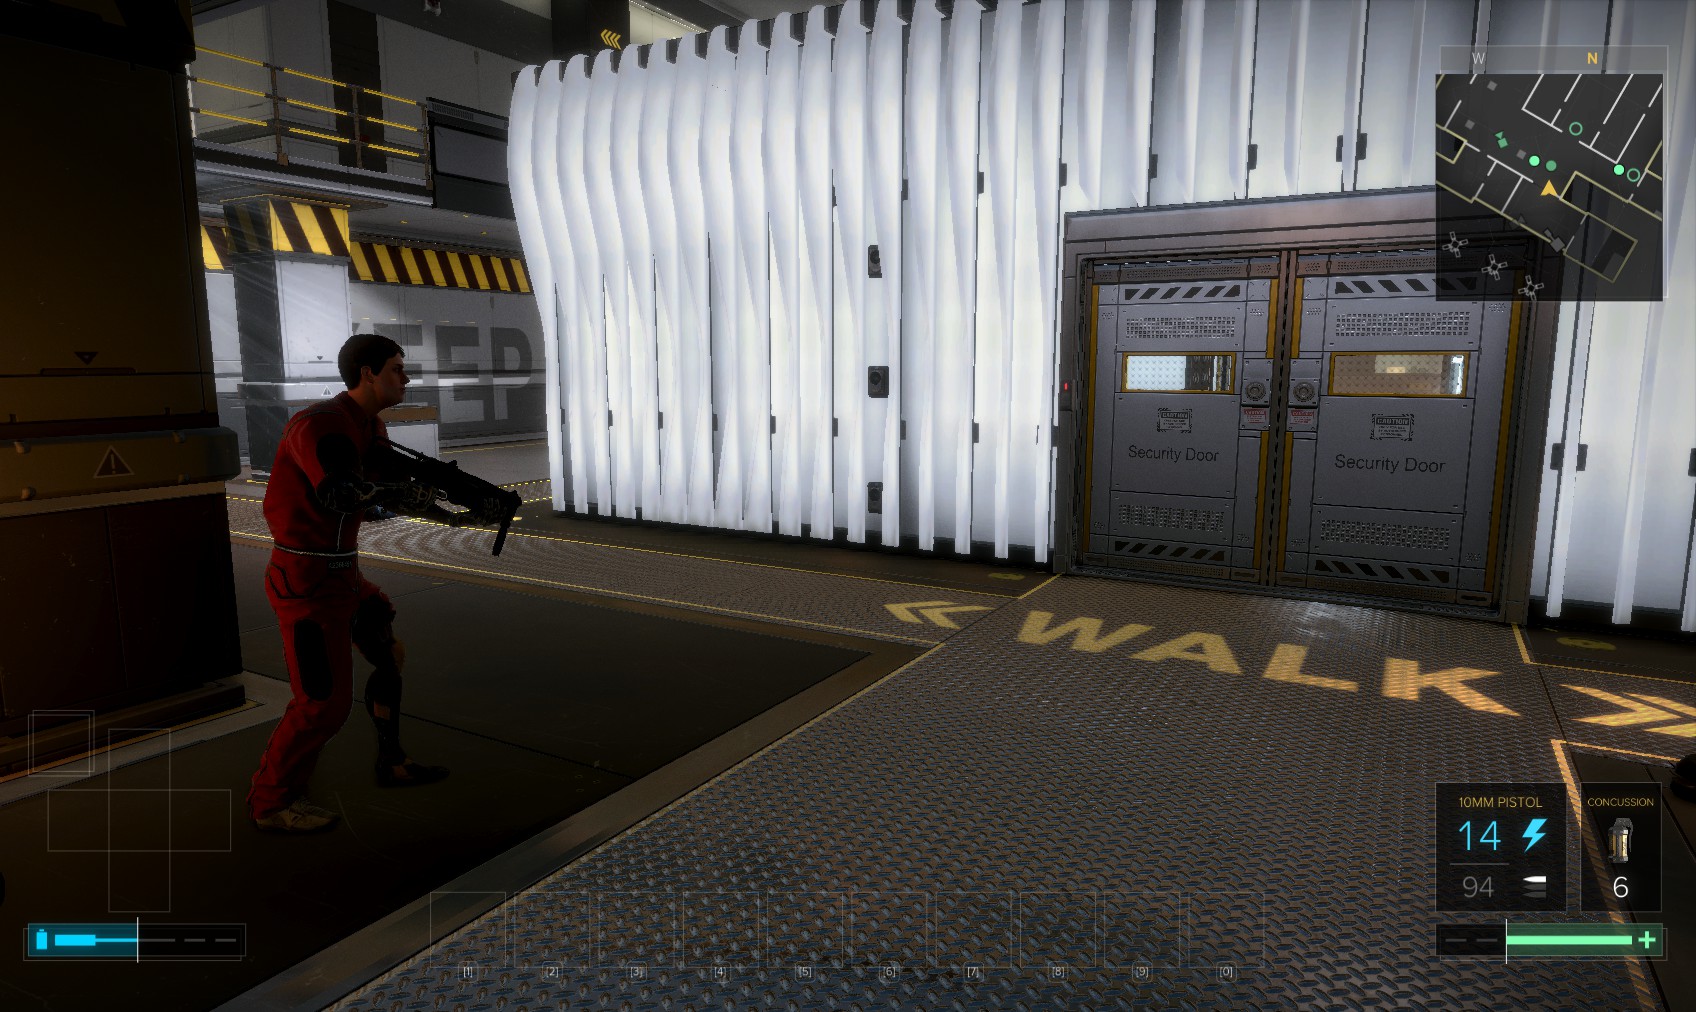
9. Almost opposite where you came in are these doors. Go through the one on the left and hack the level 1 door lock inside for reveal software.
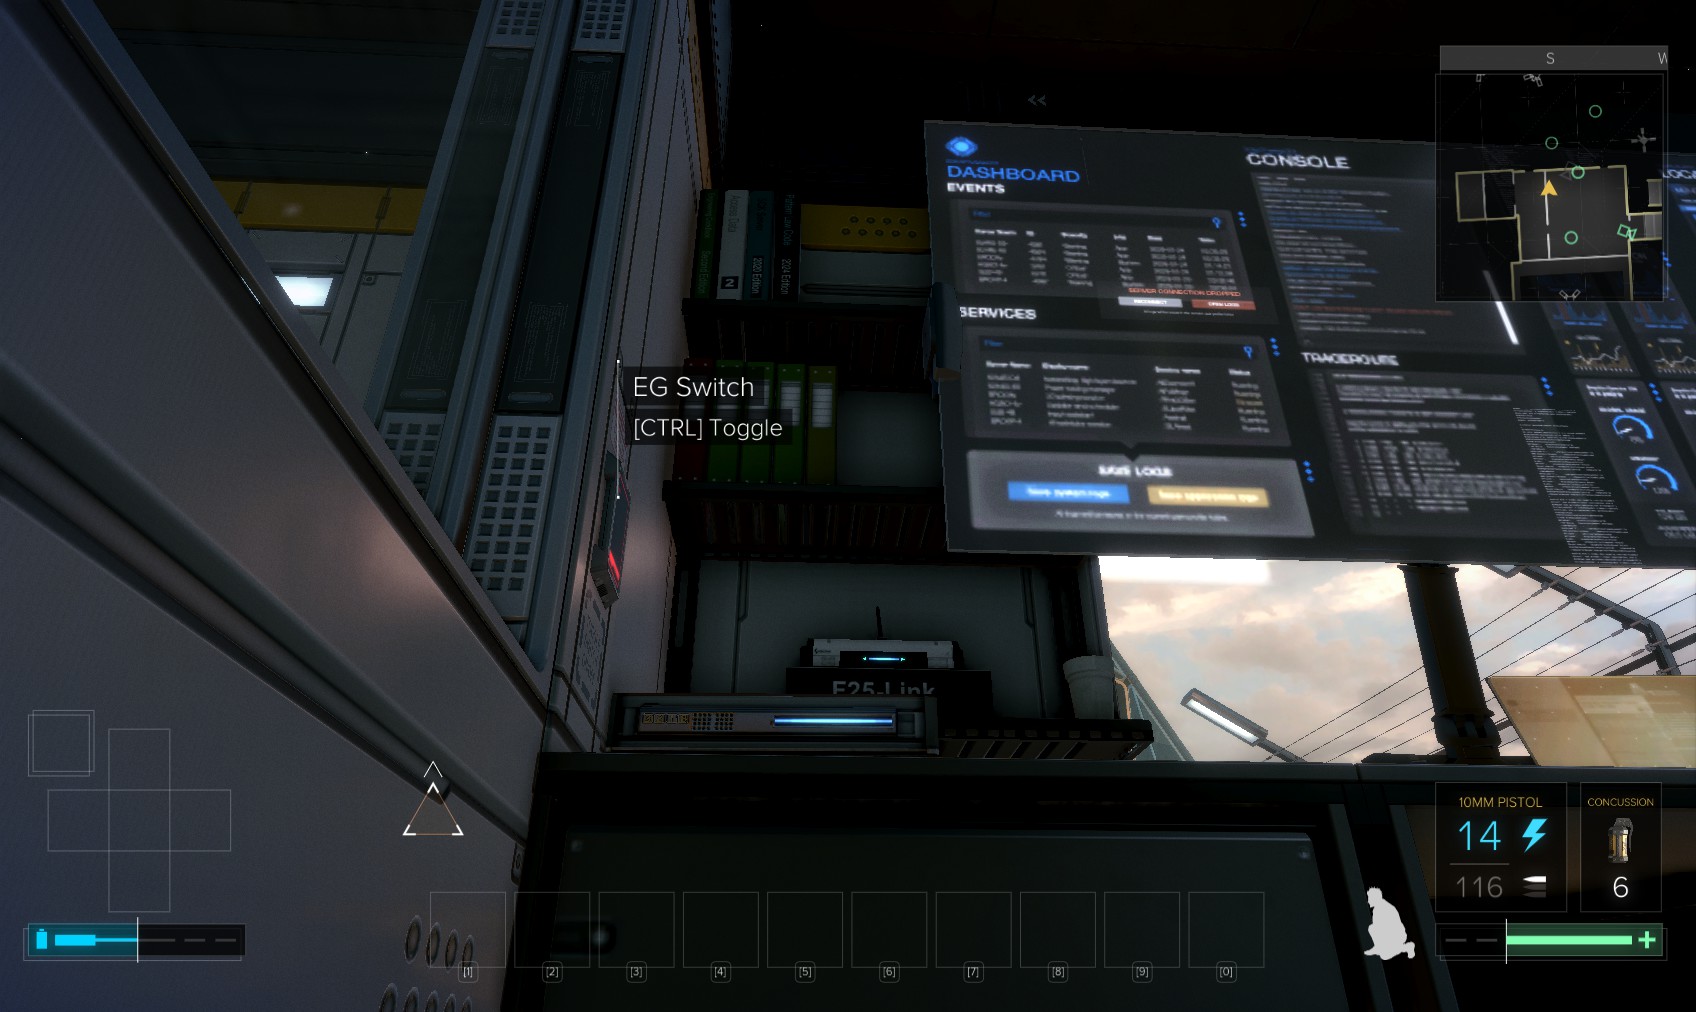
10. Go inside and quicly toggle the EG glass switch to the left of the window. Hack the level 3 security console for 150XP and 350c to disable the camera and the turret, and open the security door.
11. Another Praxis kit is in the cabinets by the door. Hunt around for grenades, a battle rifle, a silencer, and hacking tools.
12. Go back out and search these bodies on the right for a restricted access keycard. Then carefully go through the door to disable 2 gas mines.
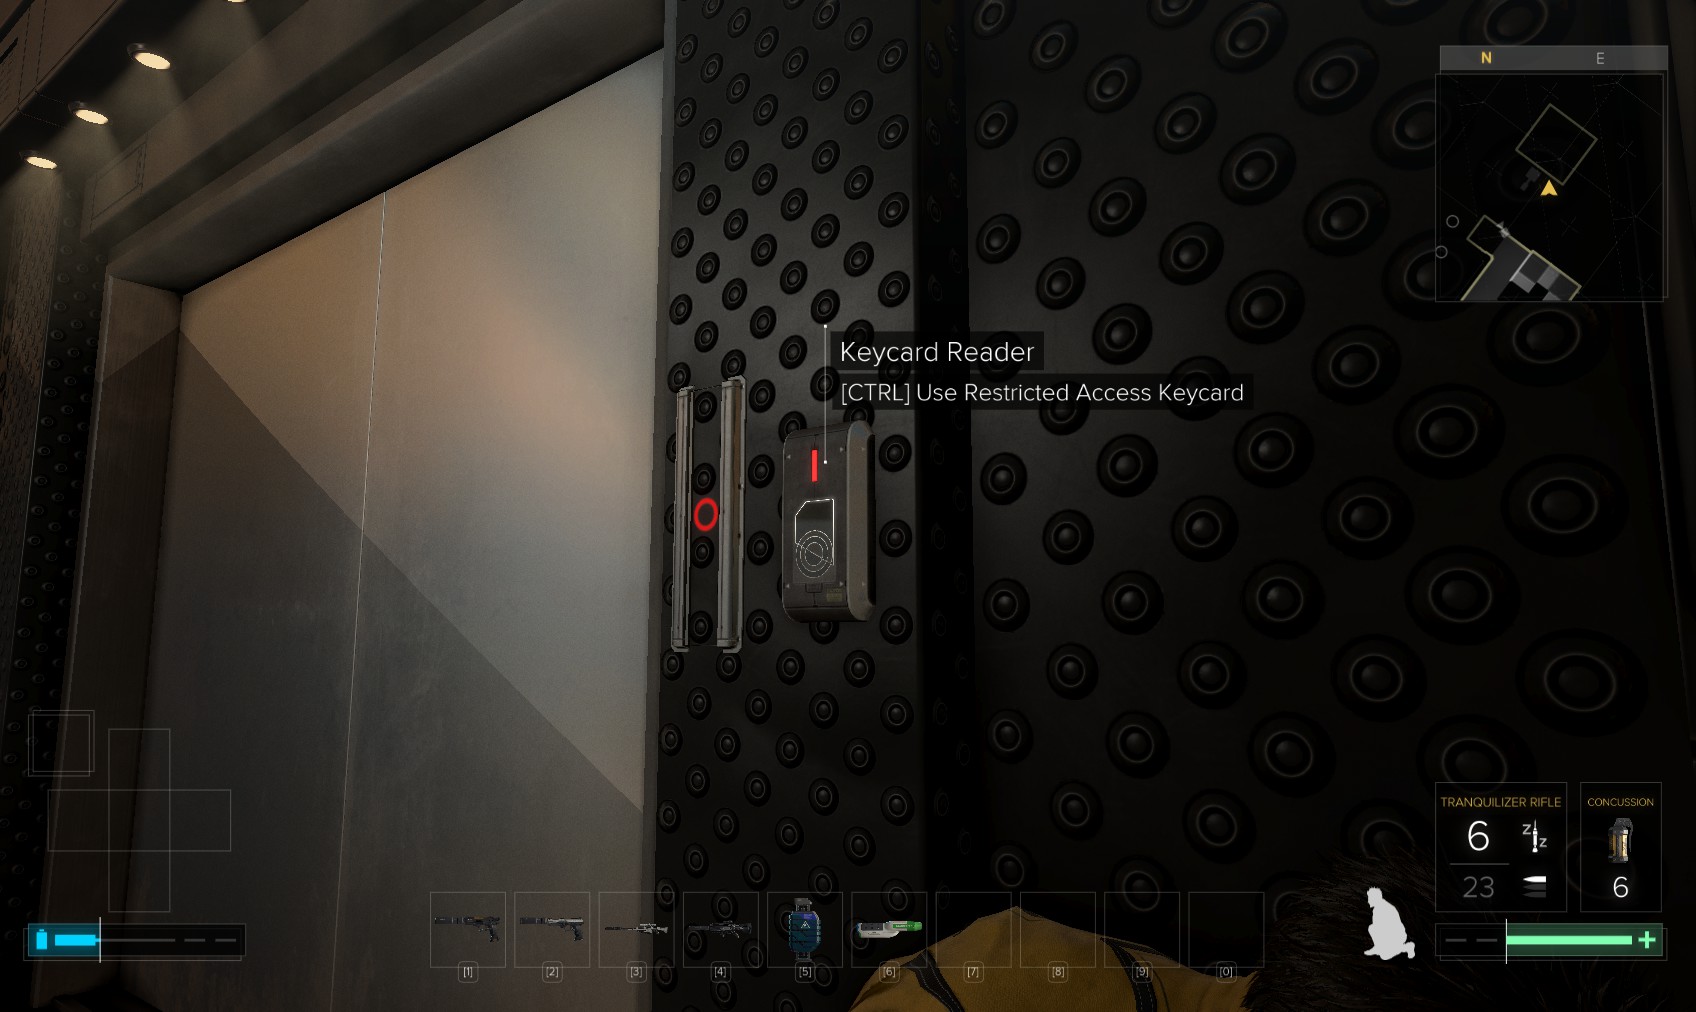
13. Back out in the processing area, your keycard gets you through the security door.
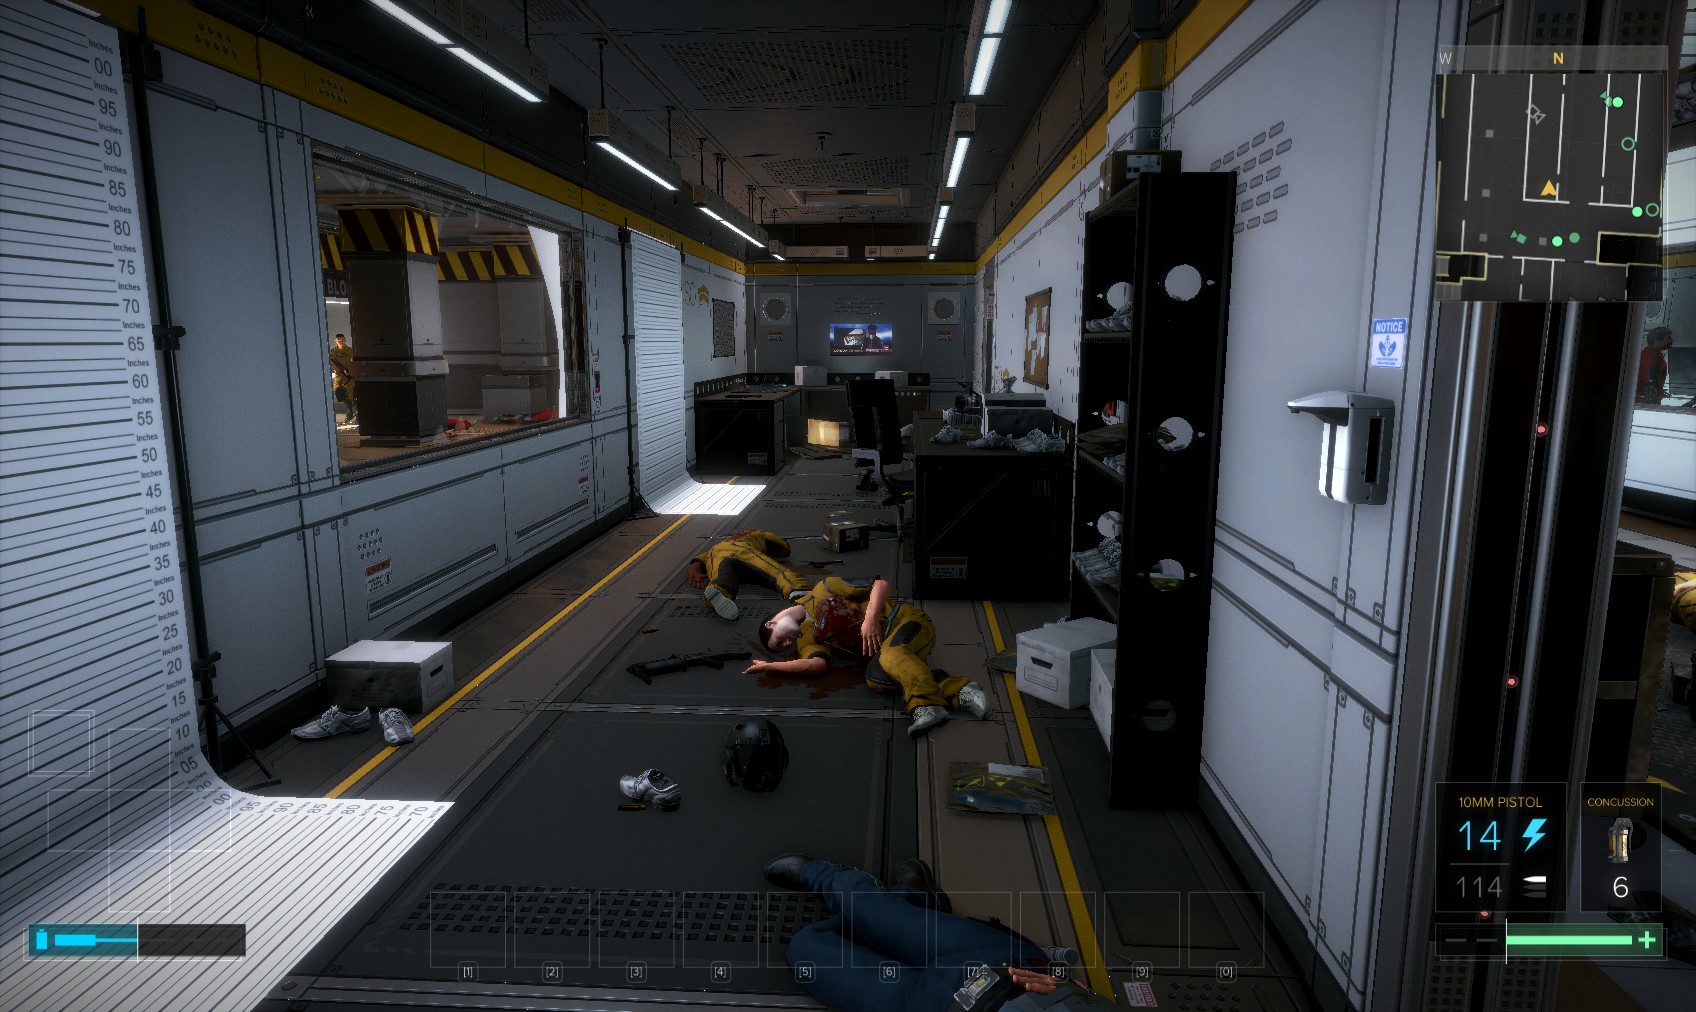
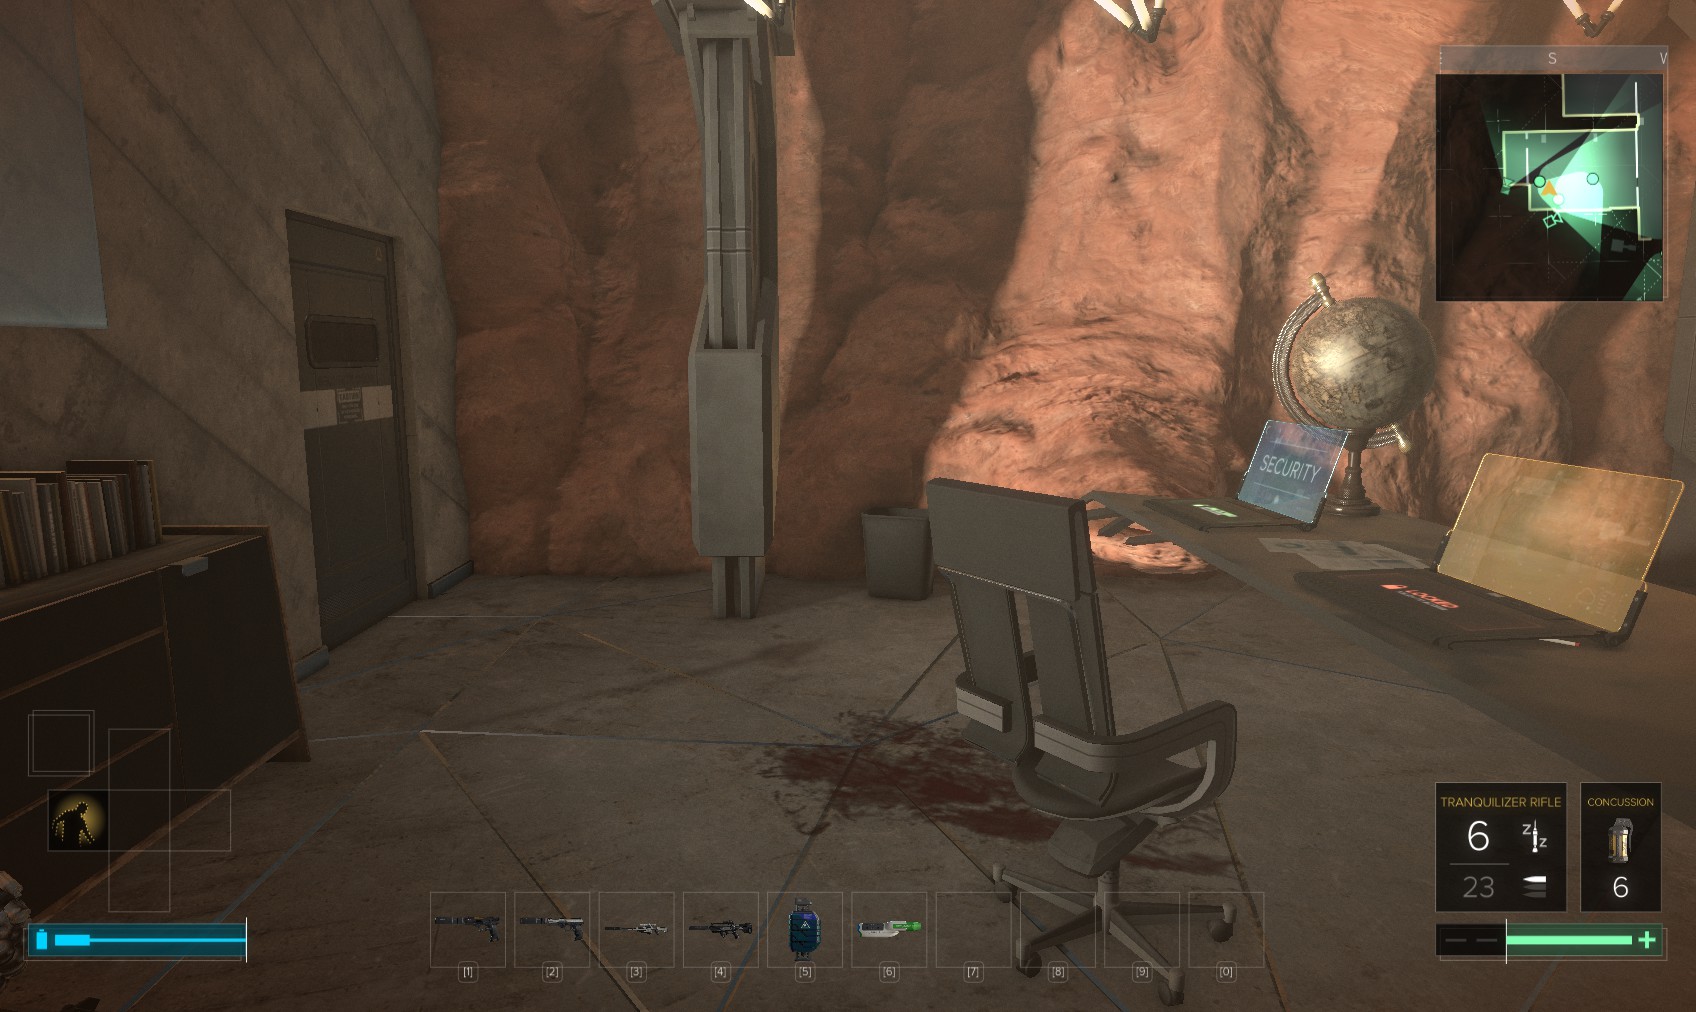
14. Search the bodies then go through the door on the right. Inside is a weapons briefcase with combat rifle and holosight, and a level 3 security console (100XP). A holosight is also nearby.
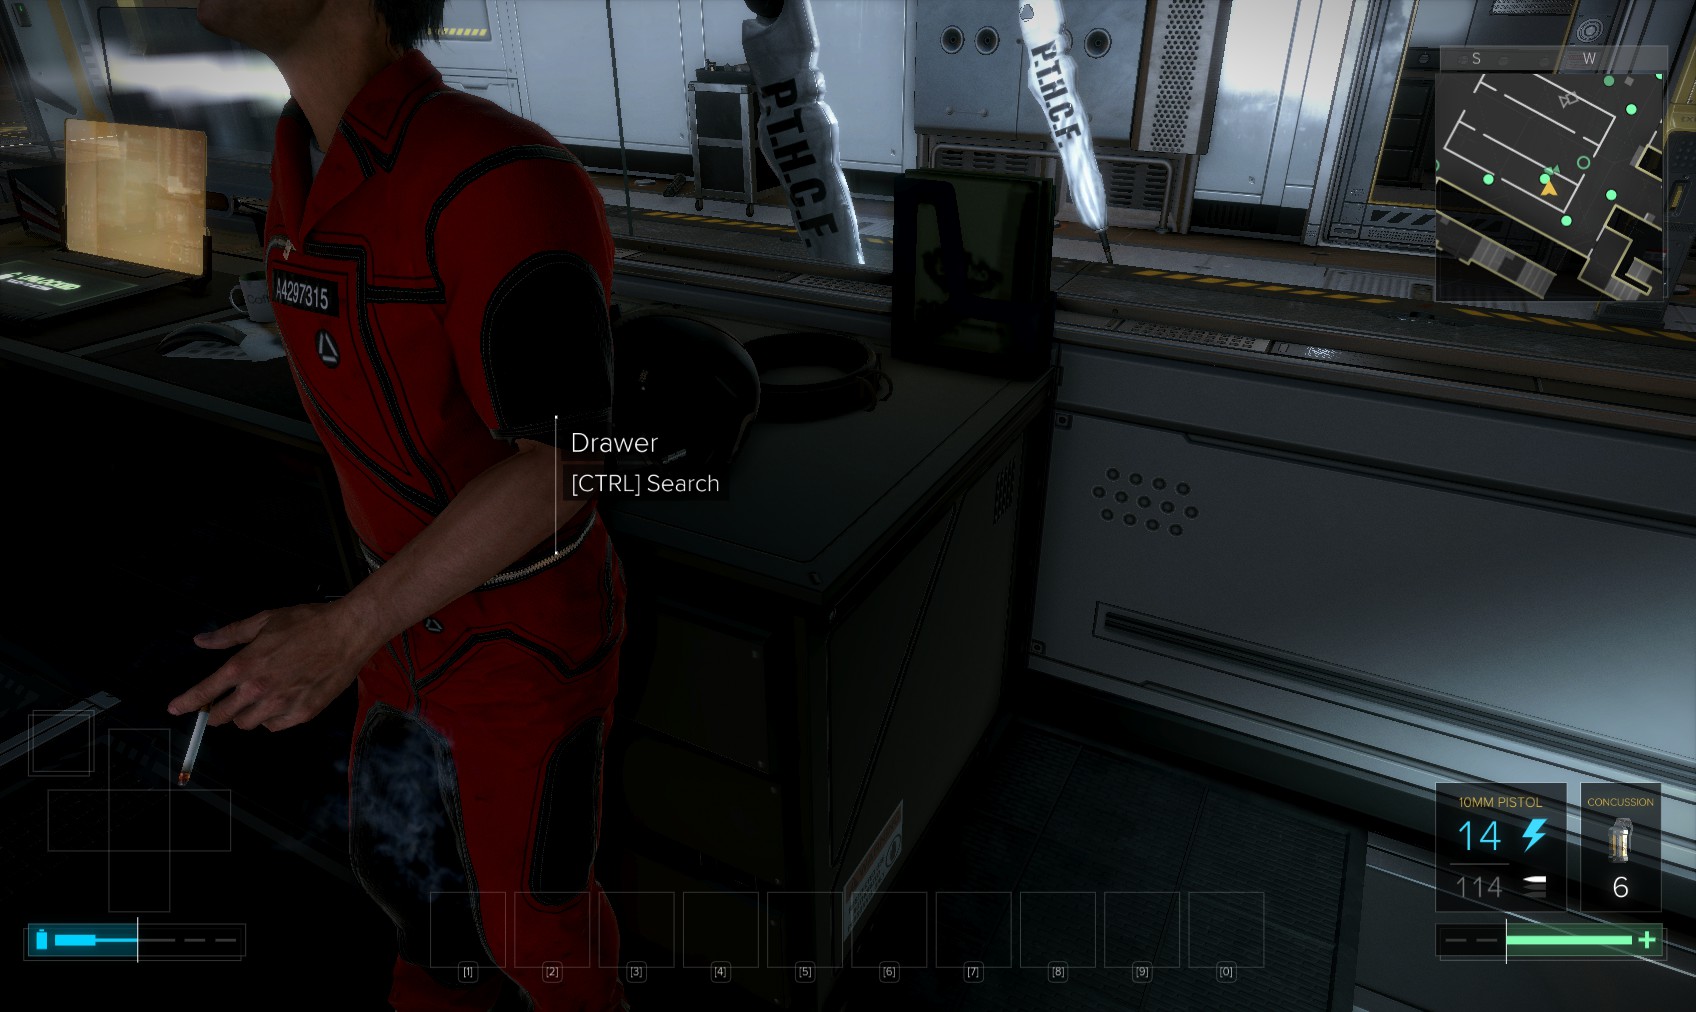
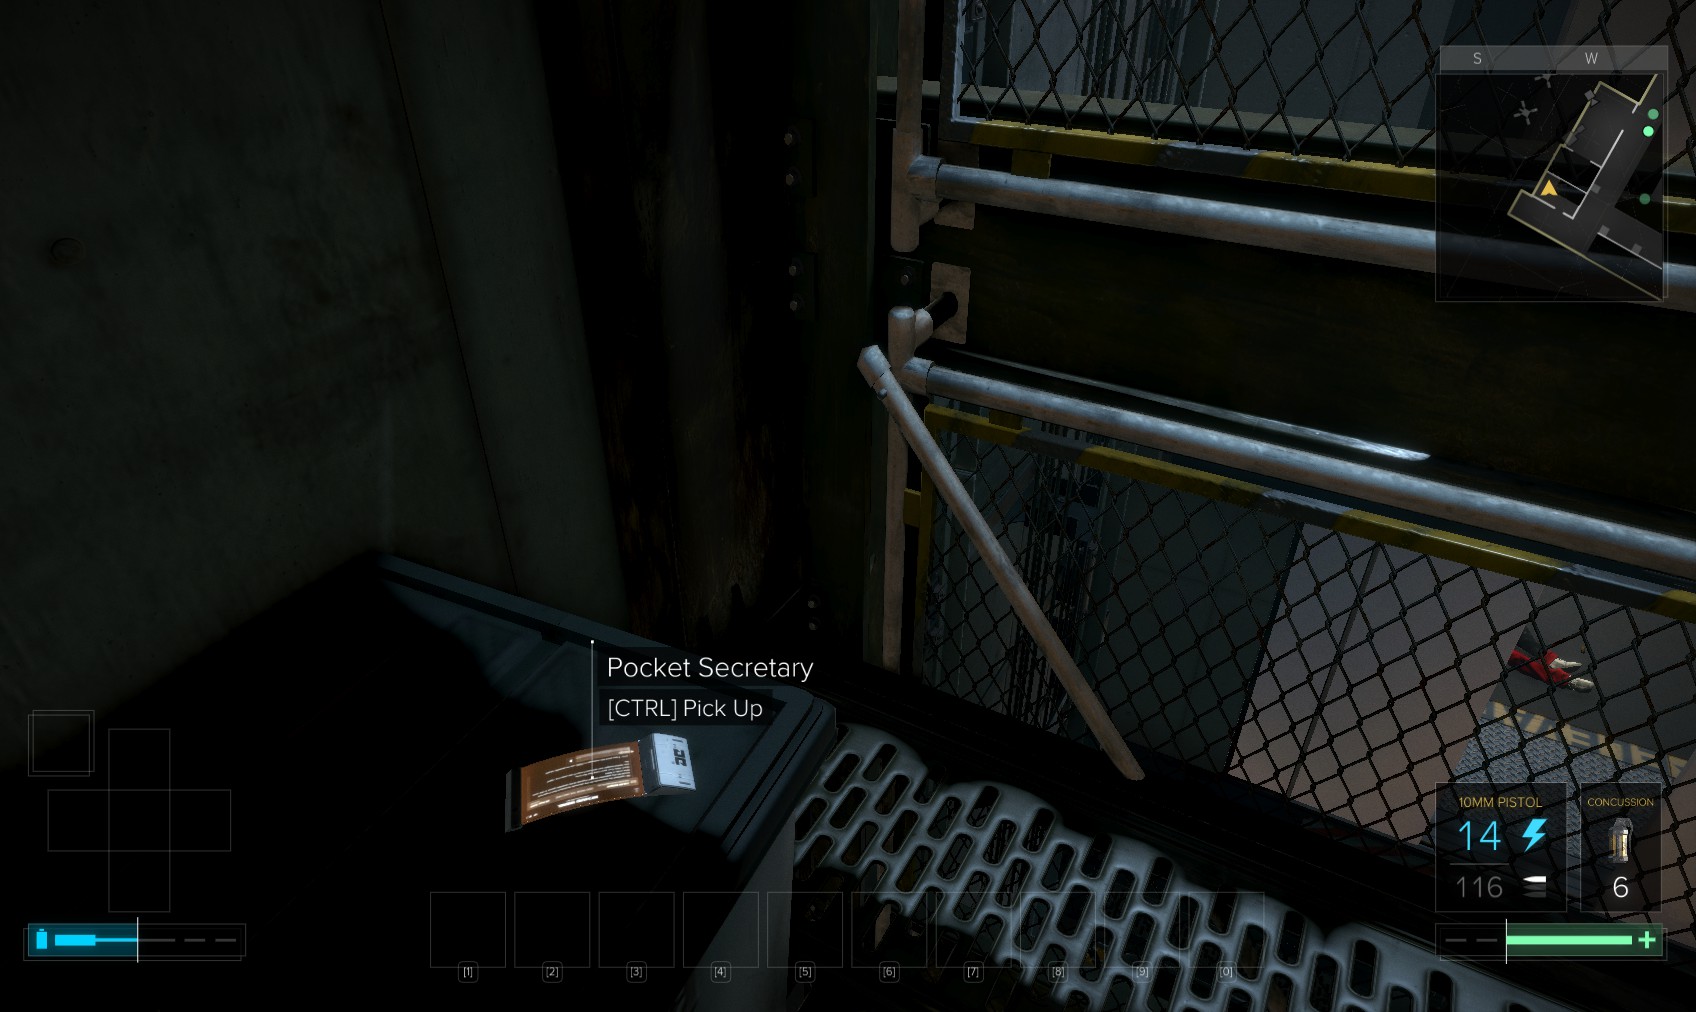
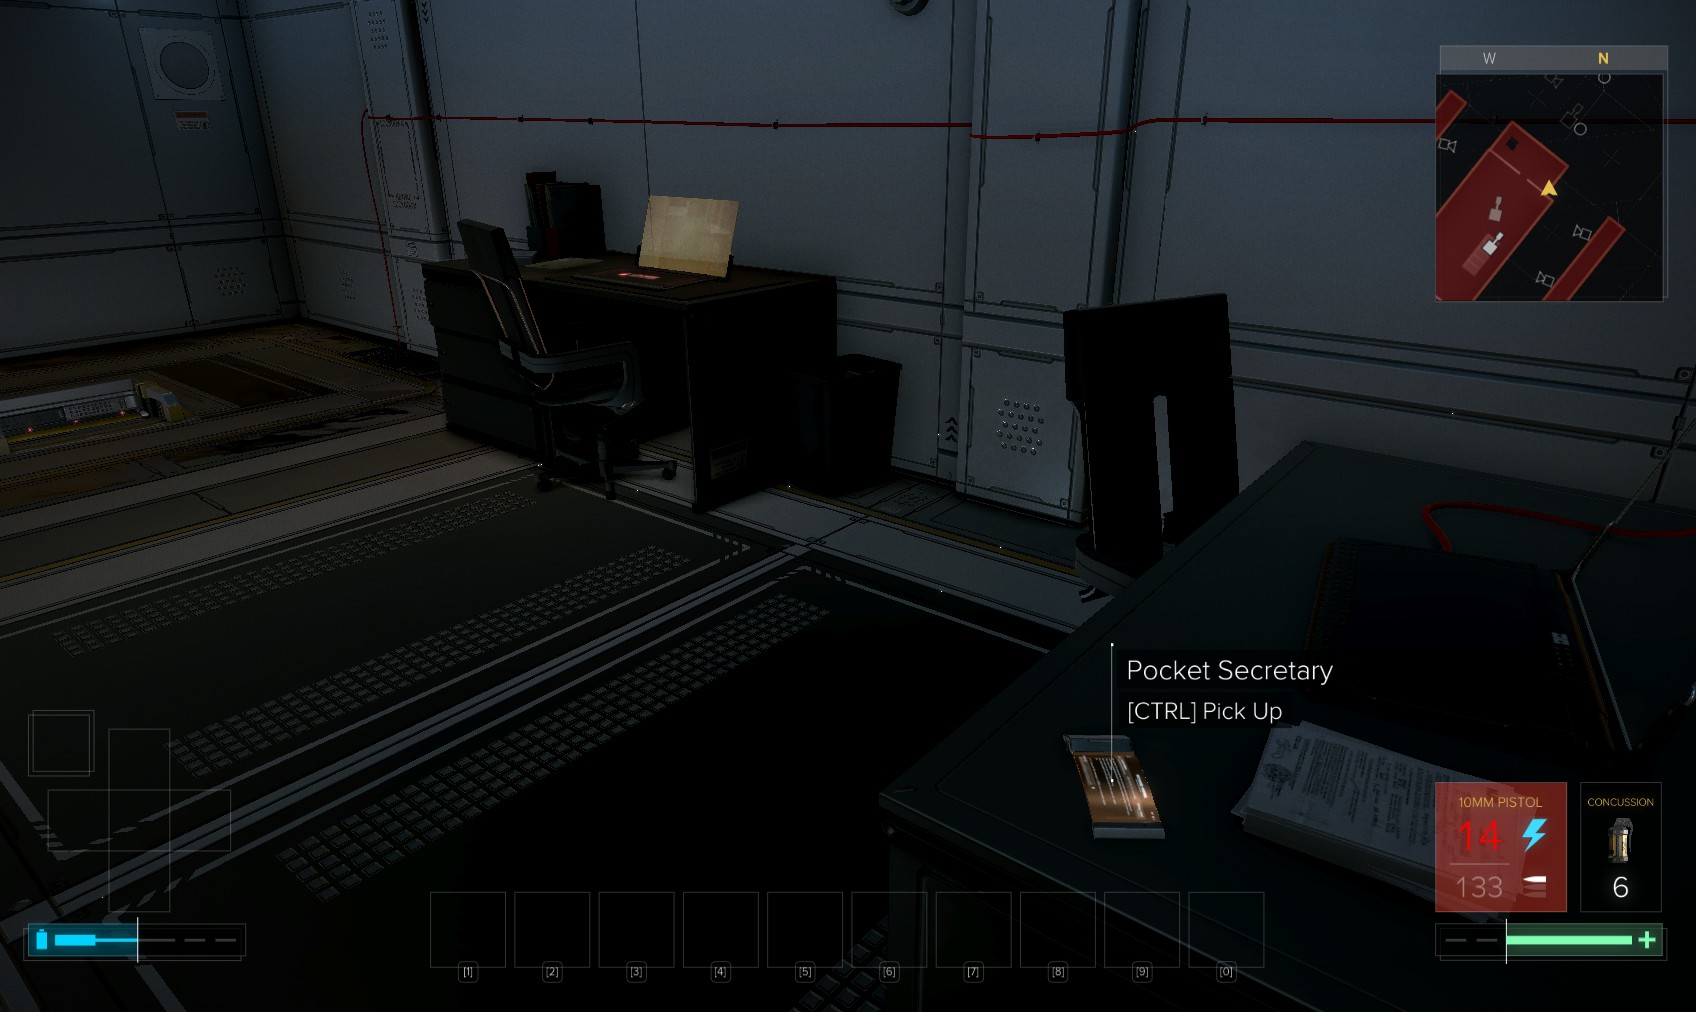
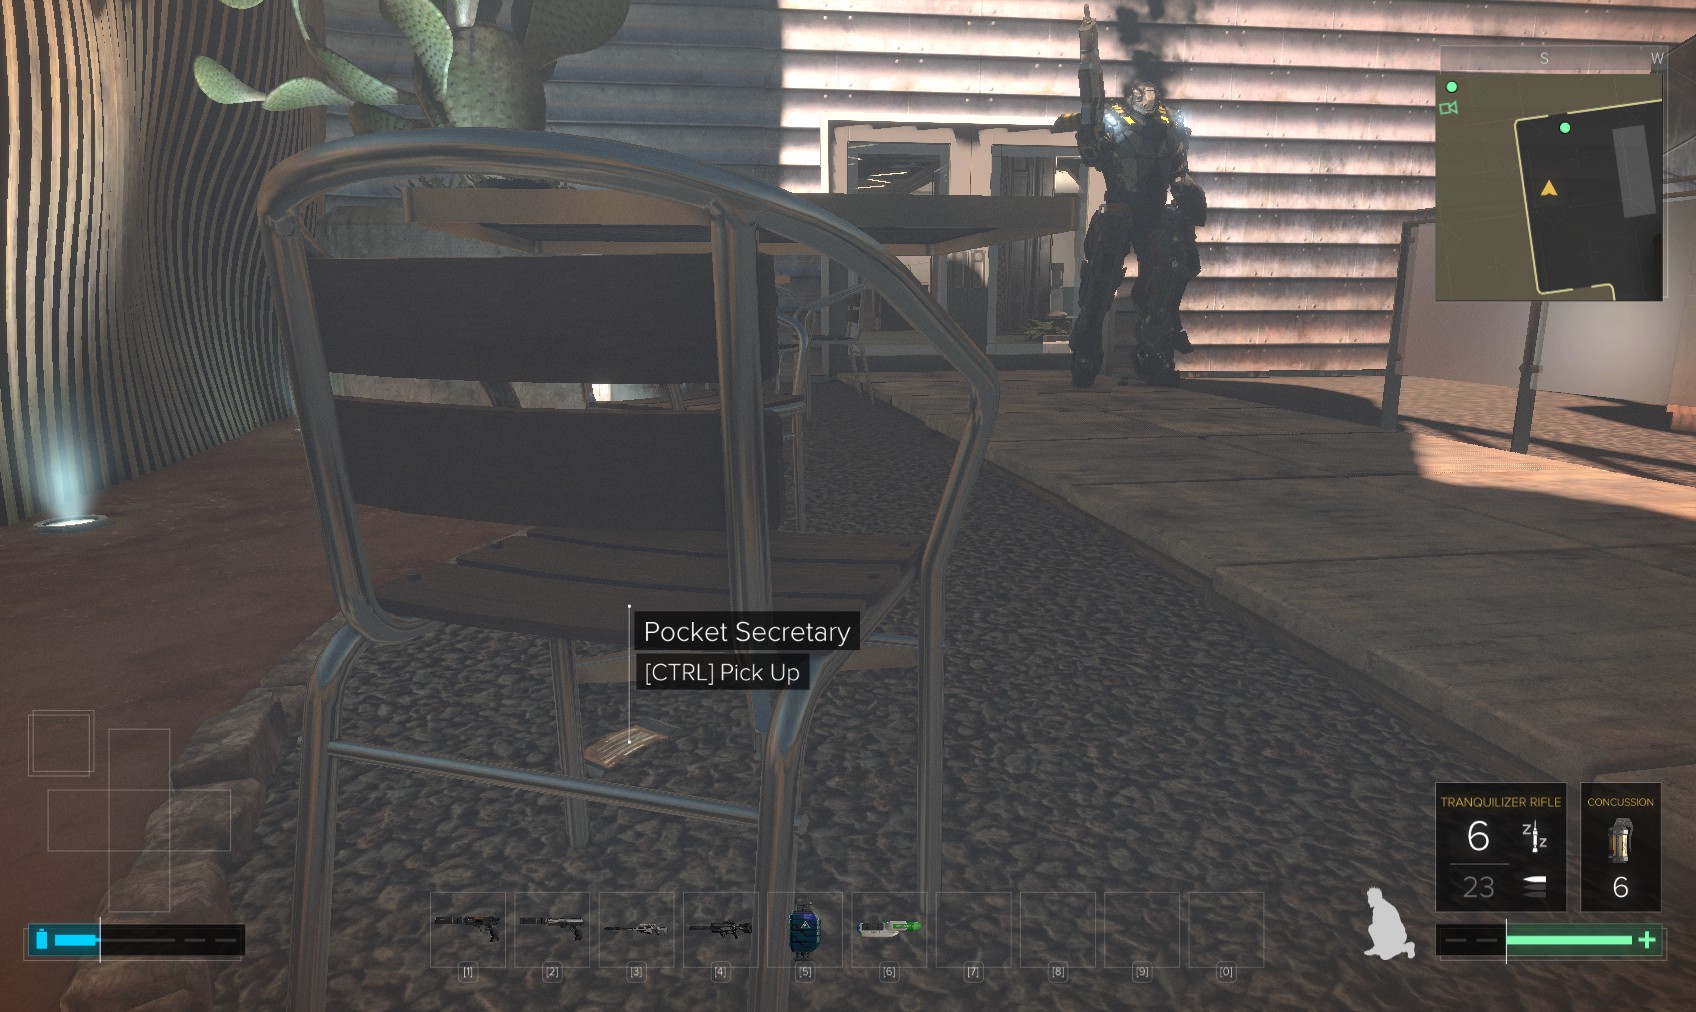
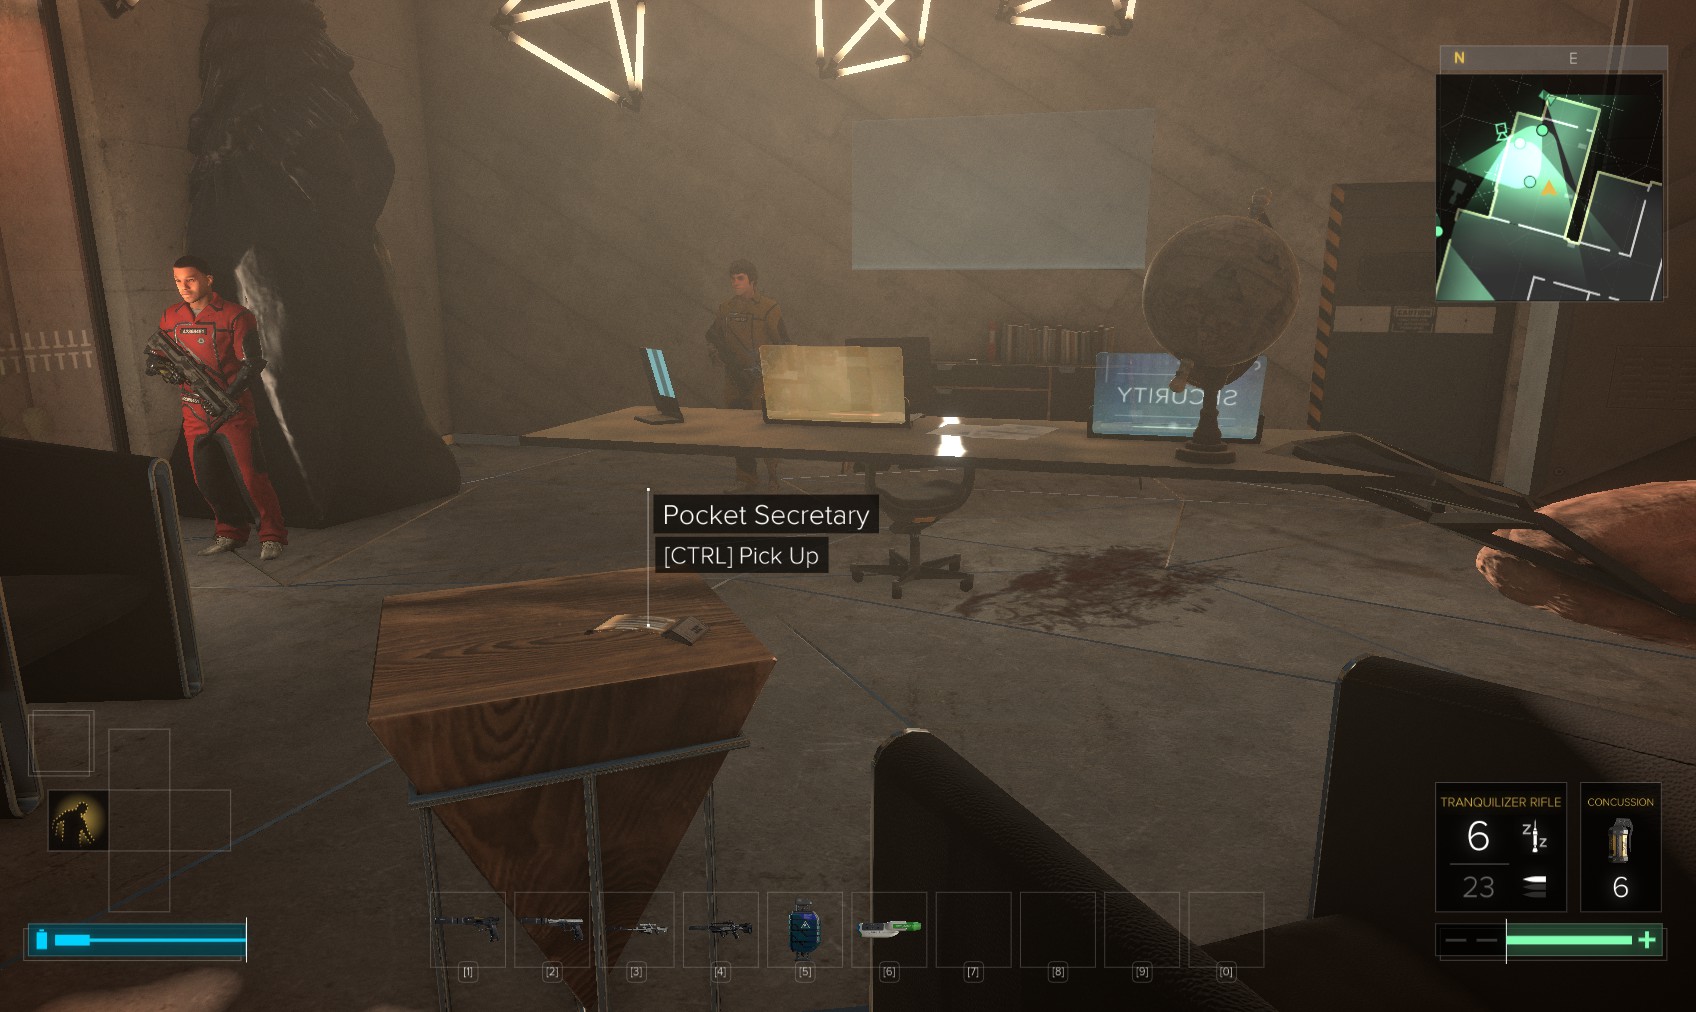
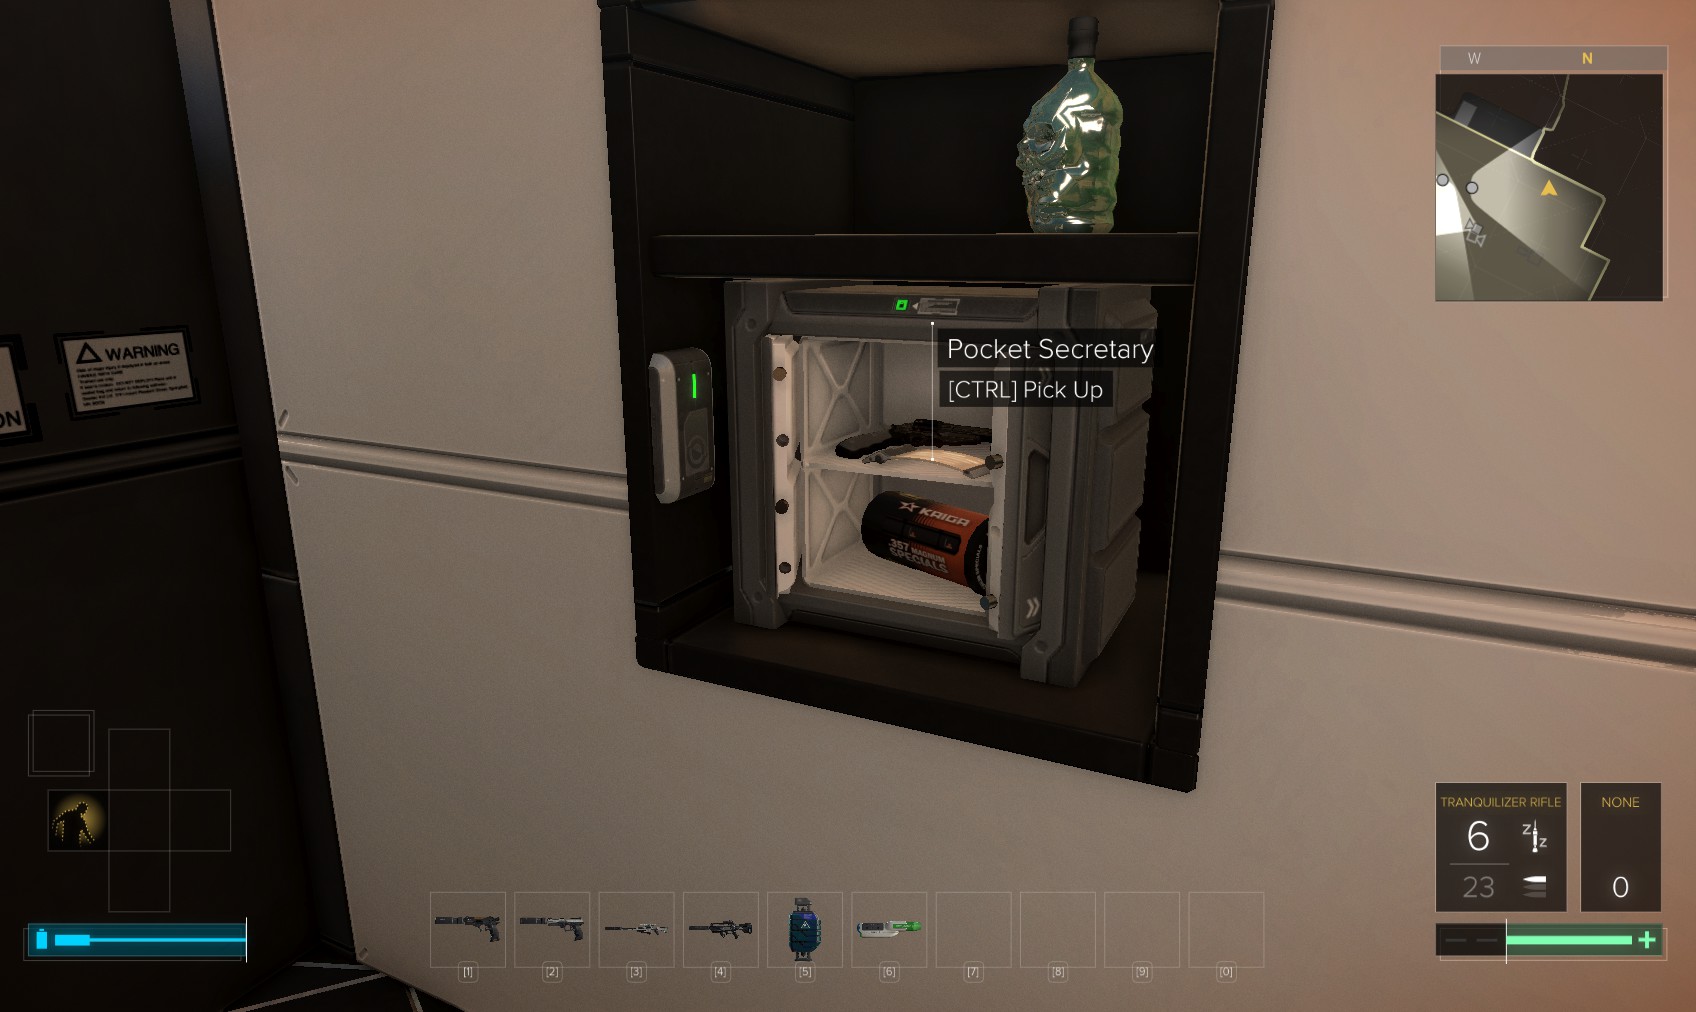
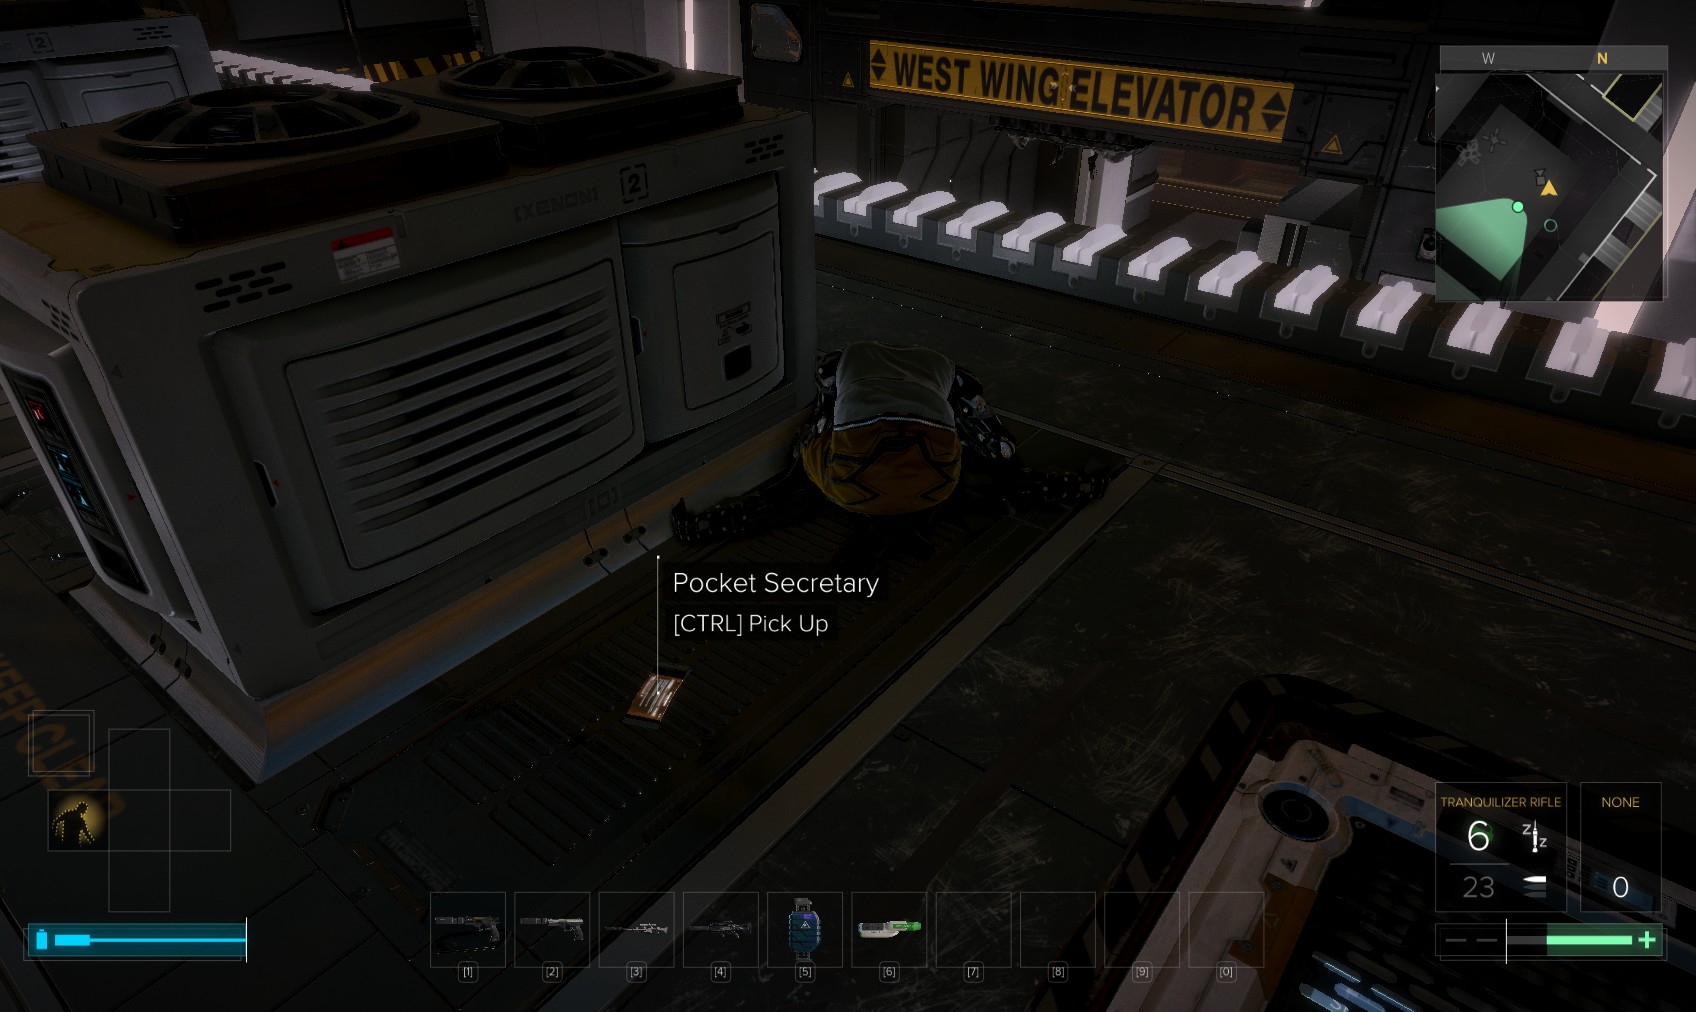
15. An unlocked PC has plot emails. Search these drawers for a pocket secretary. Make sure you read it - it’s crucial to a later part of the game. It’s evidence that Mejiha is not all he claims to be.
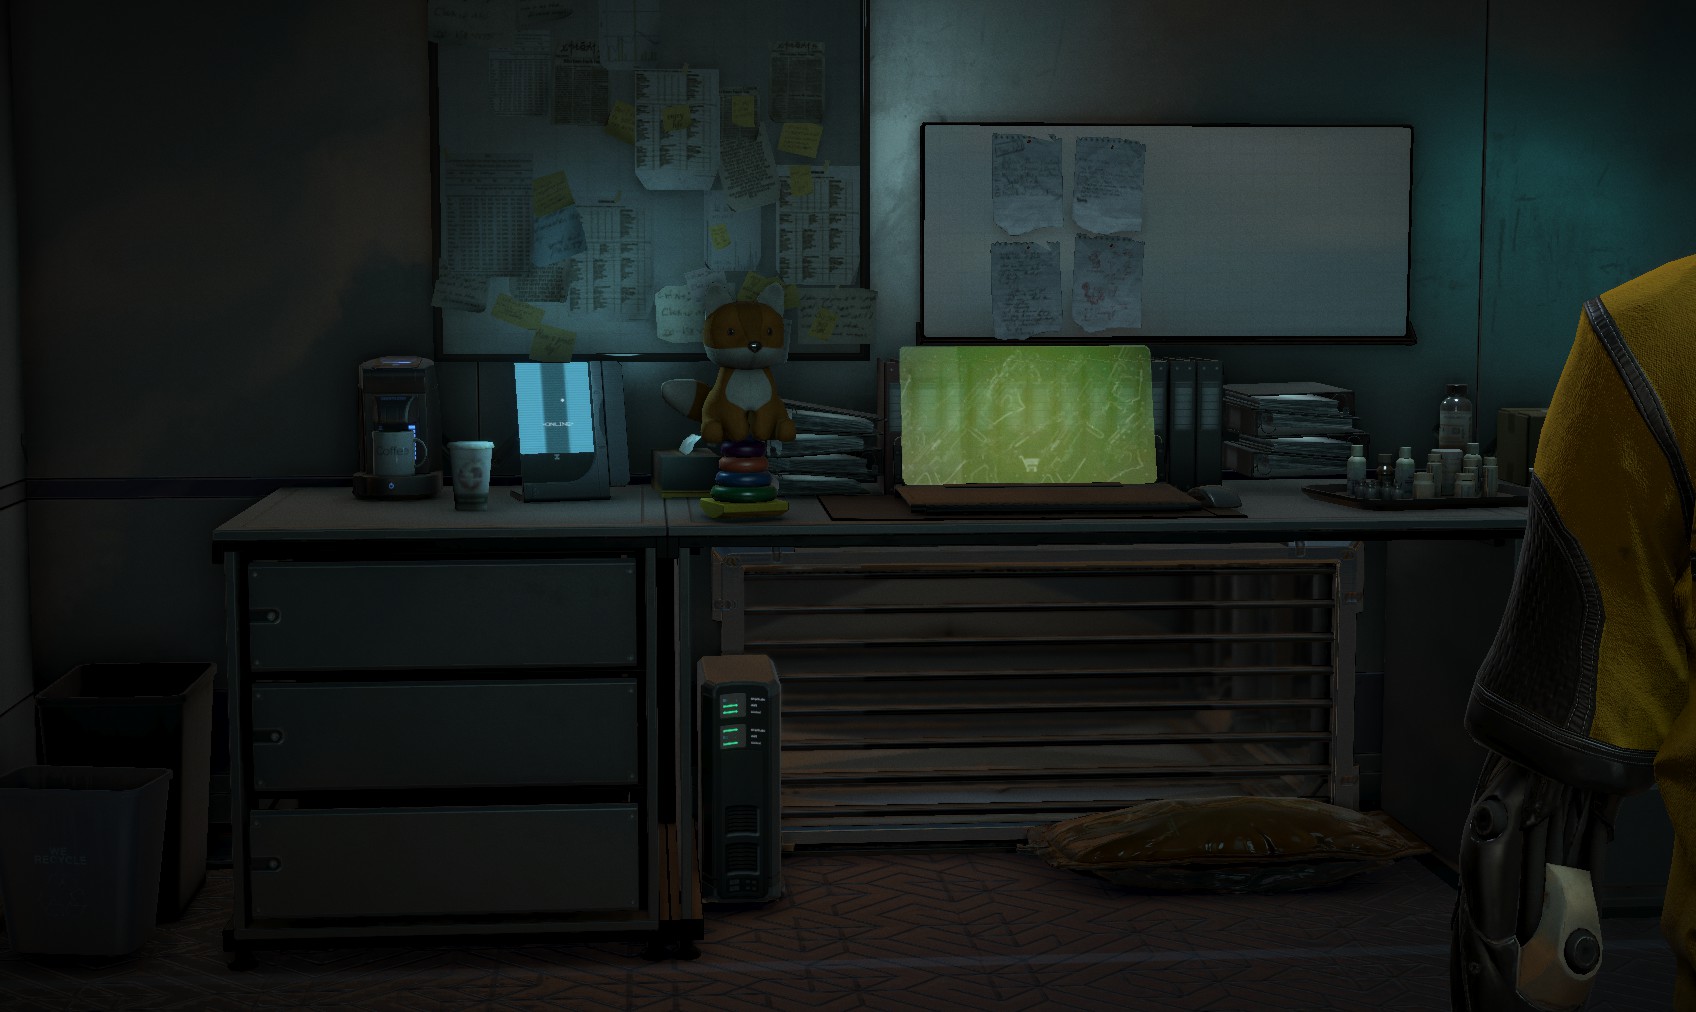
16. Search the office on the other side of the processing corridor too for hacking tools and weapons. A level 1 laptop on the floor has no downloads and some more background emails.
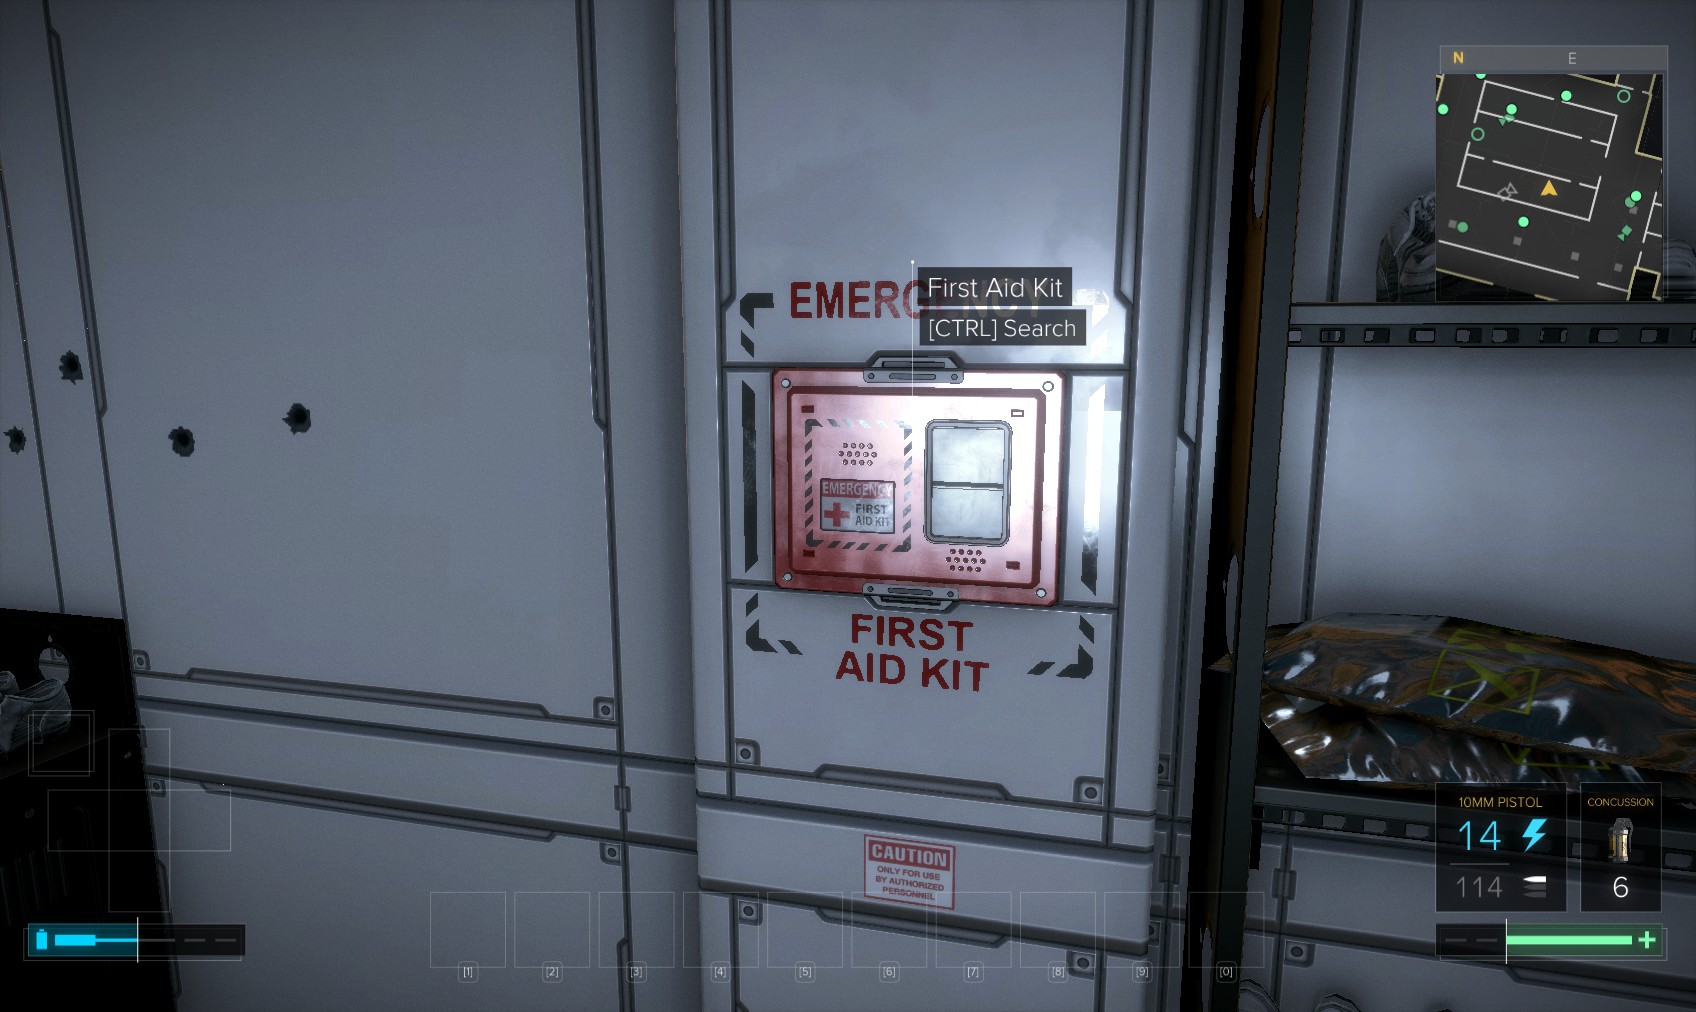
17. This first aid kit contains hypostim, painkillers and a biocell. There are a few such stations around the facility.
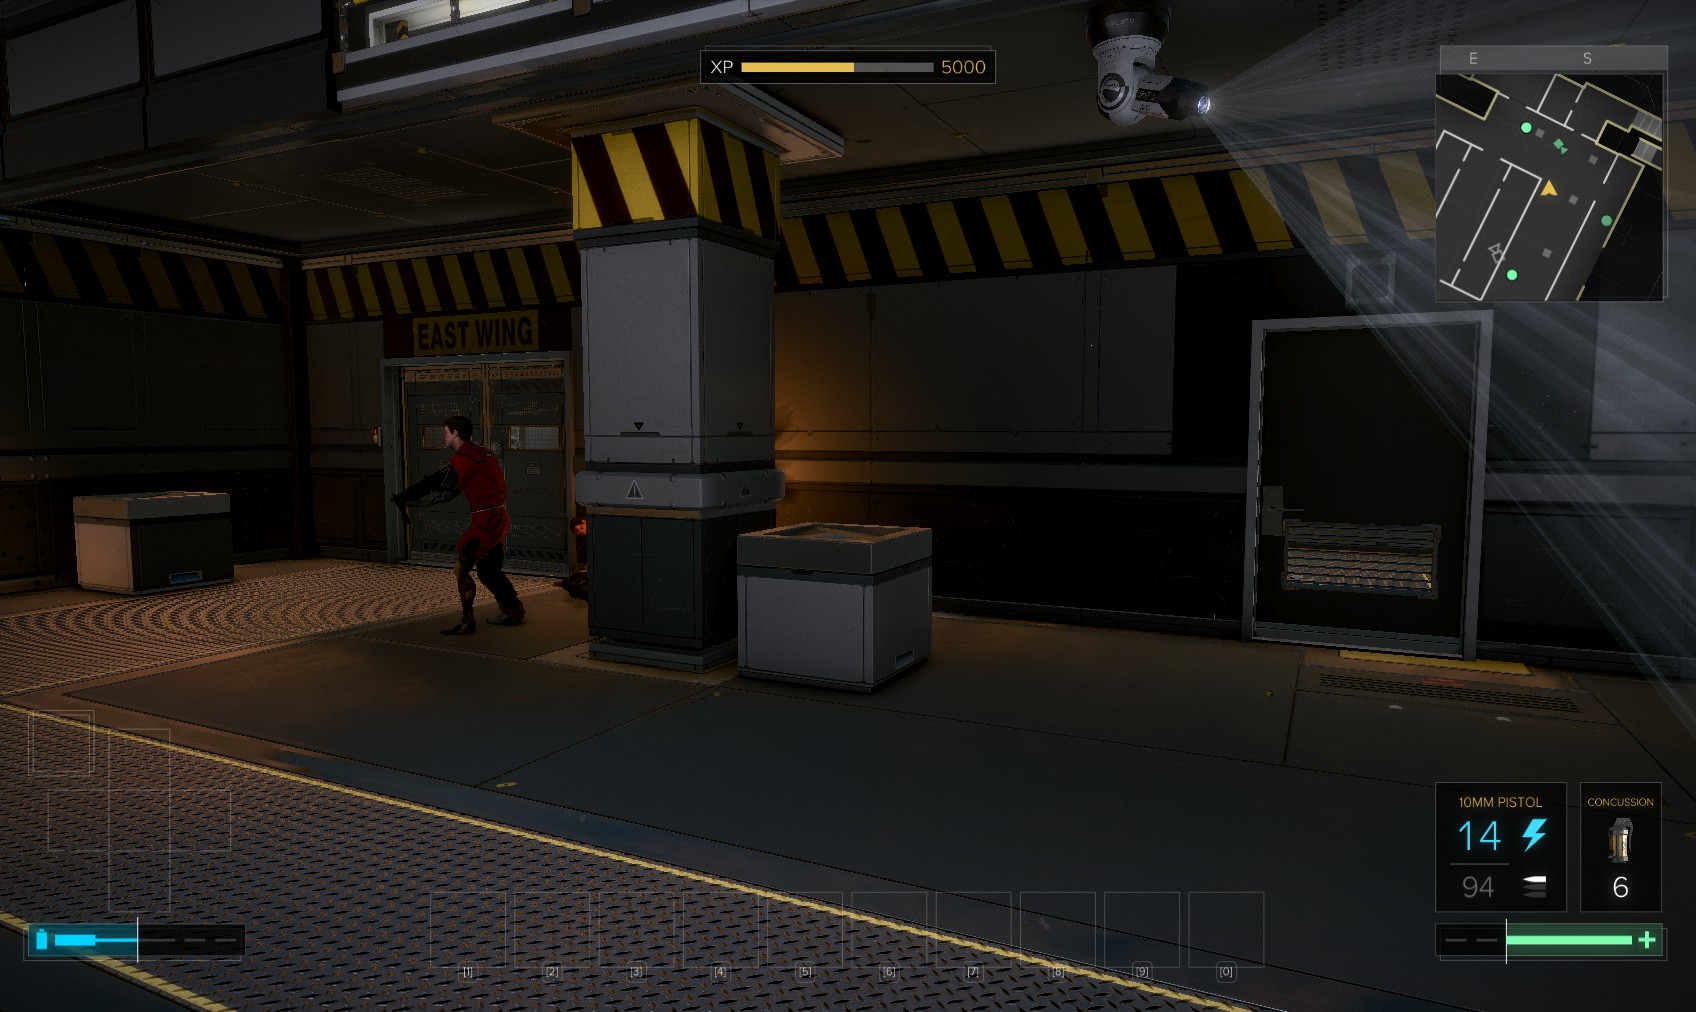
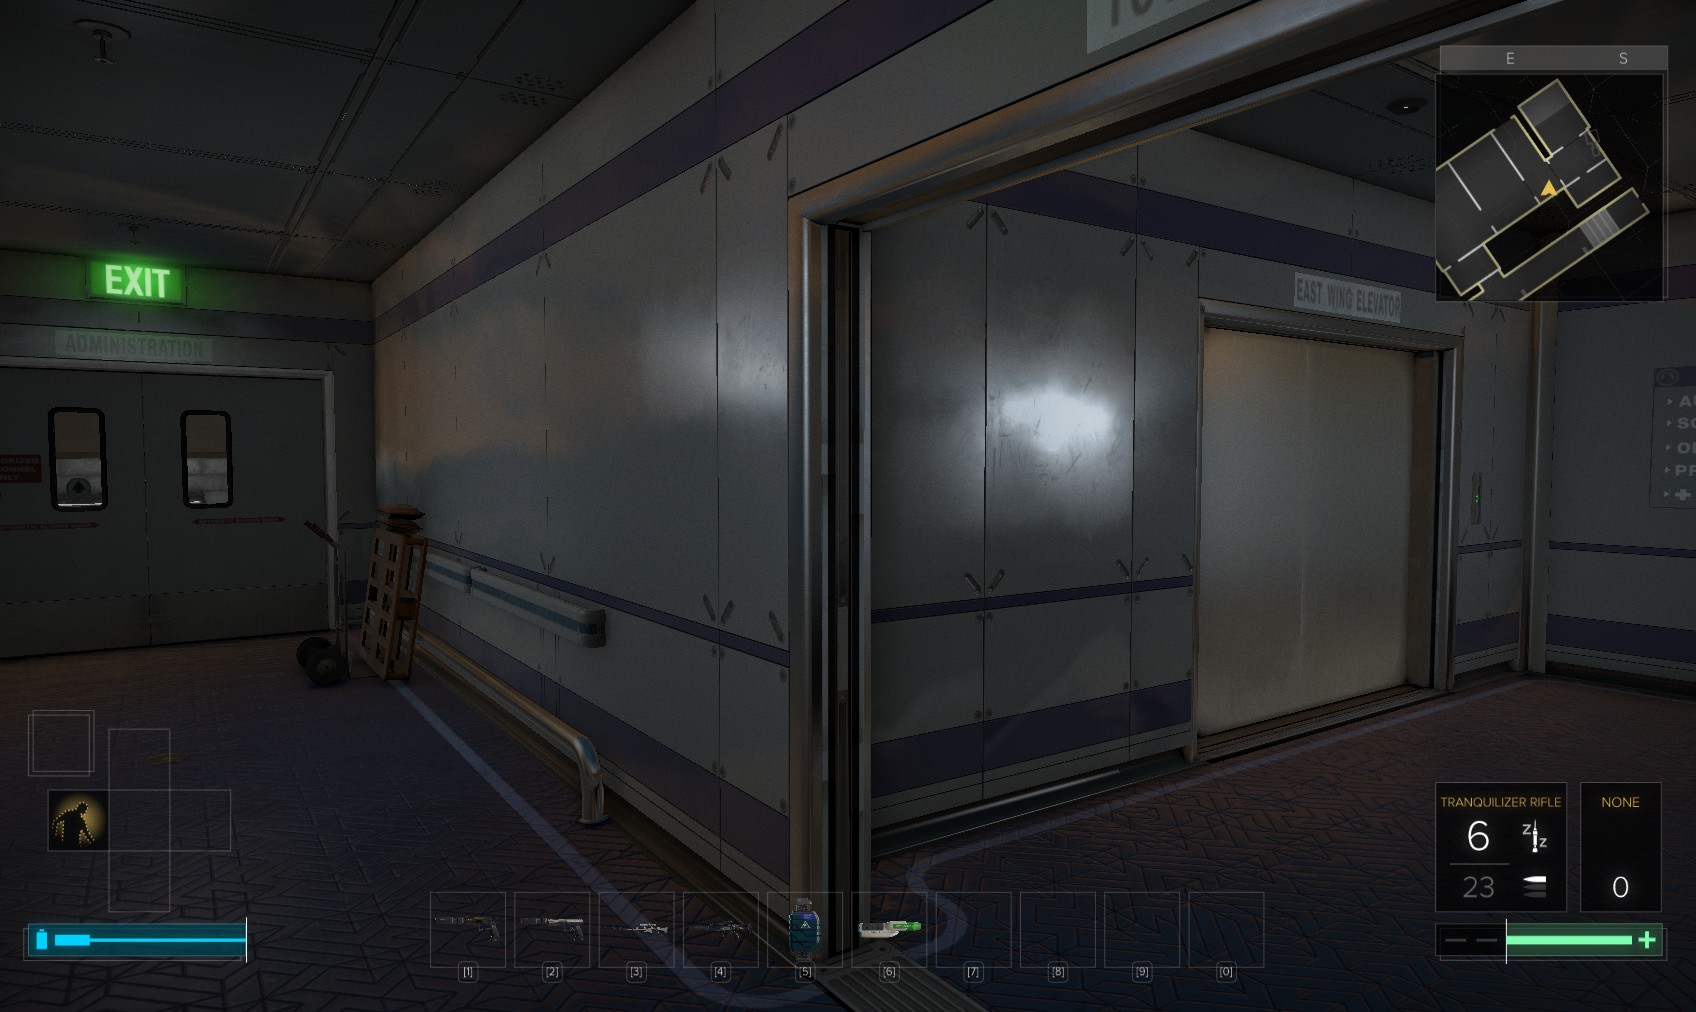
18. Go back to the door to the right of the East Wing entrance, and go up the stairs.

19. This vent just goes to the next room. Go out and head East.
20. In the South-East corner, hack this level 1 door for reveal software.
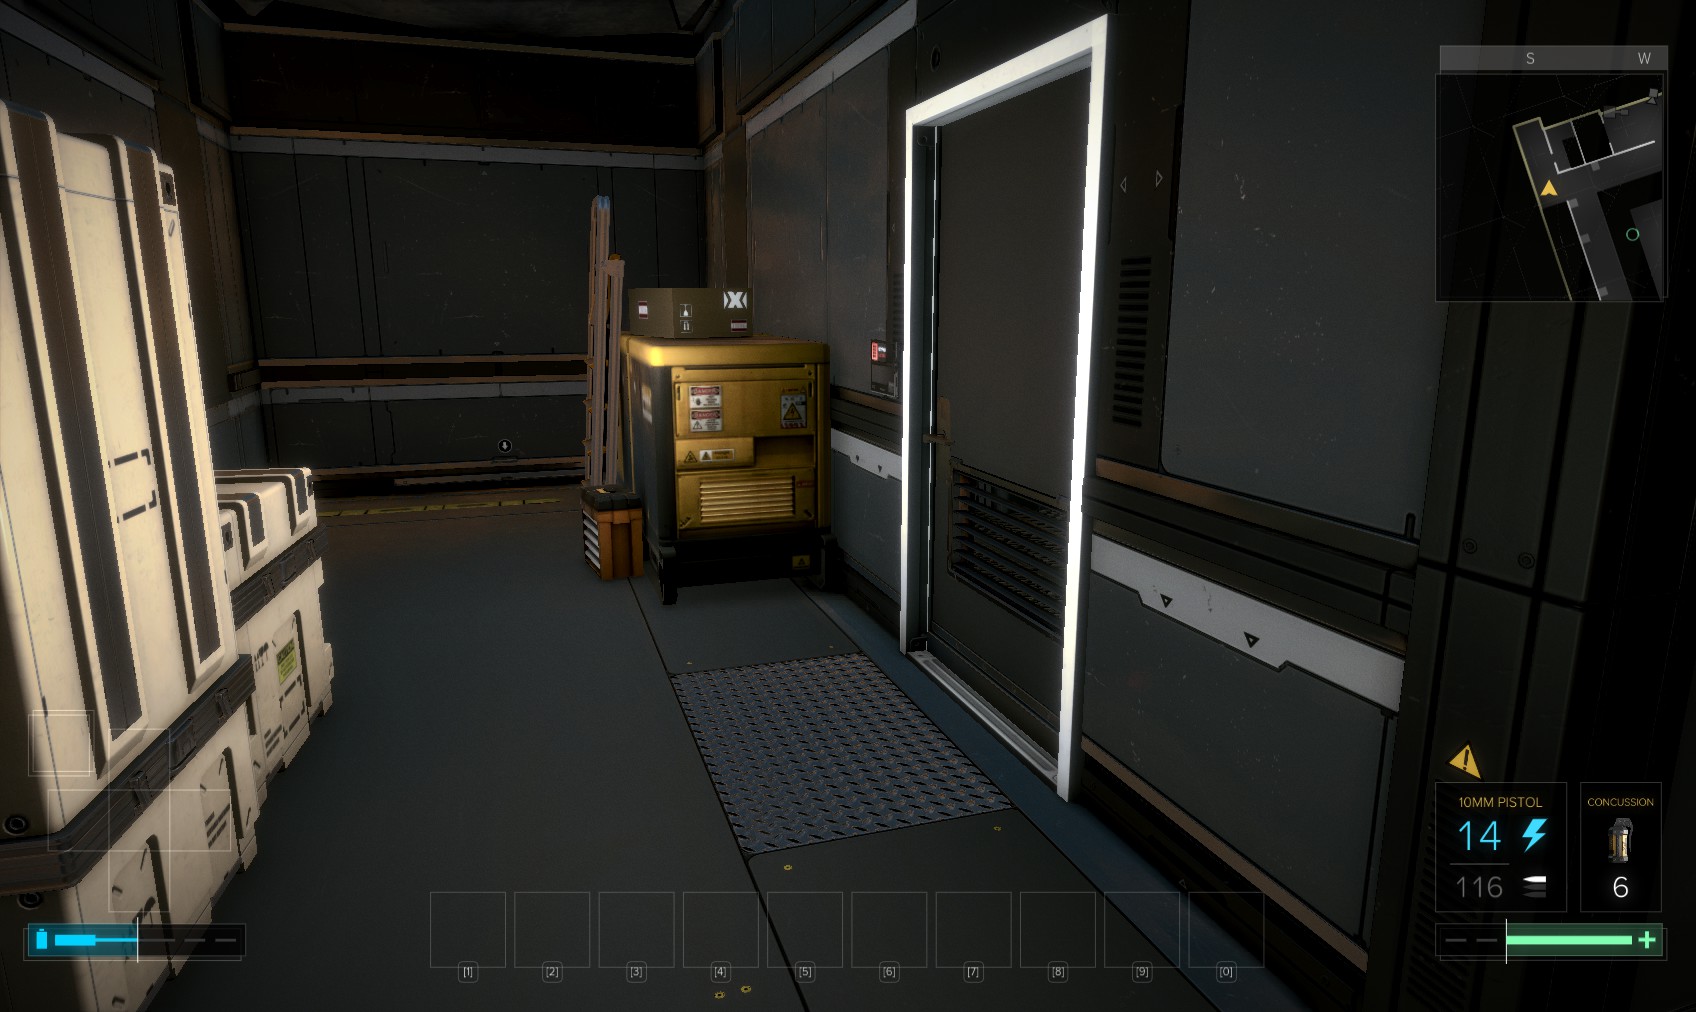
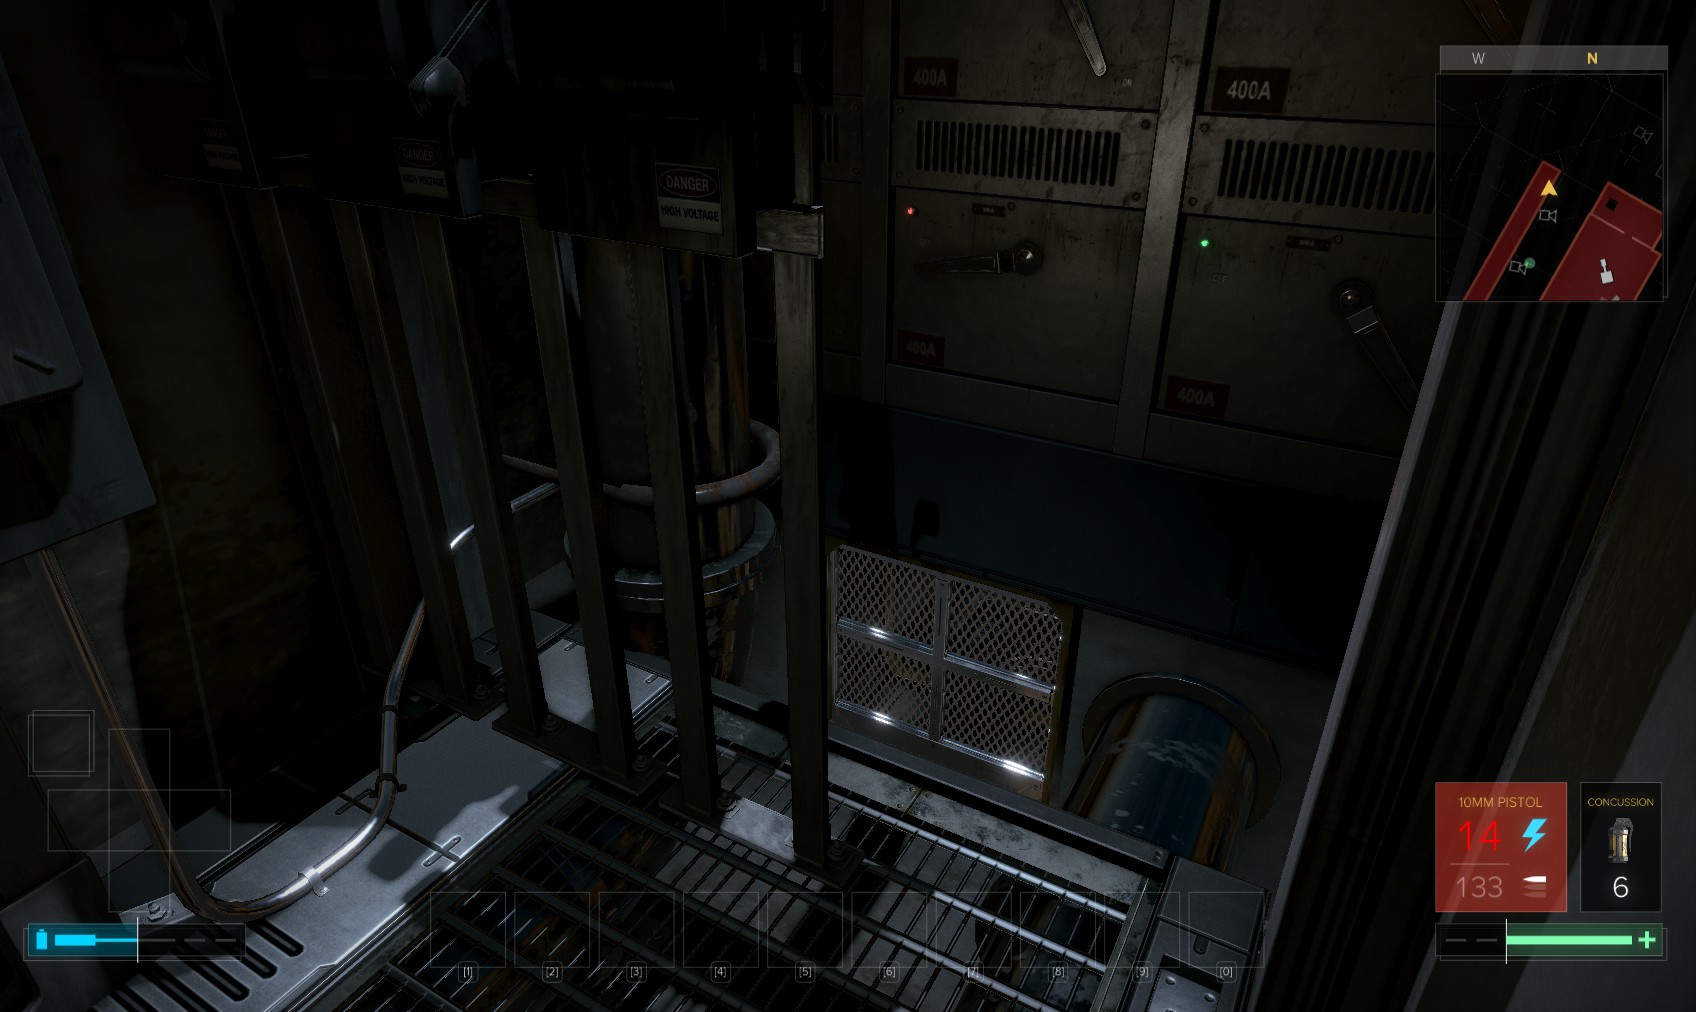
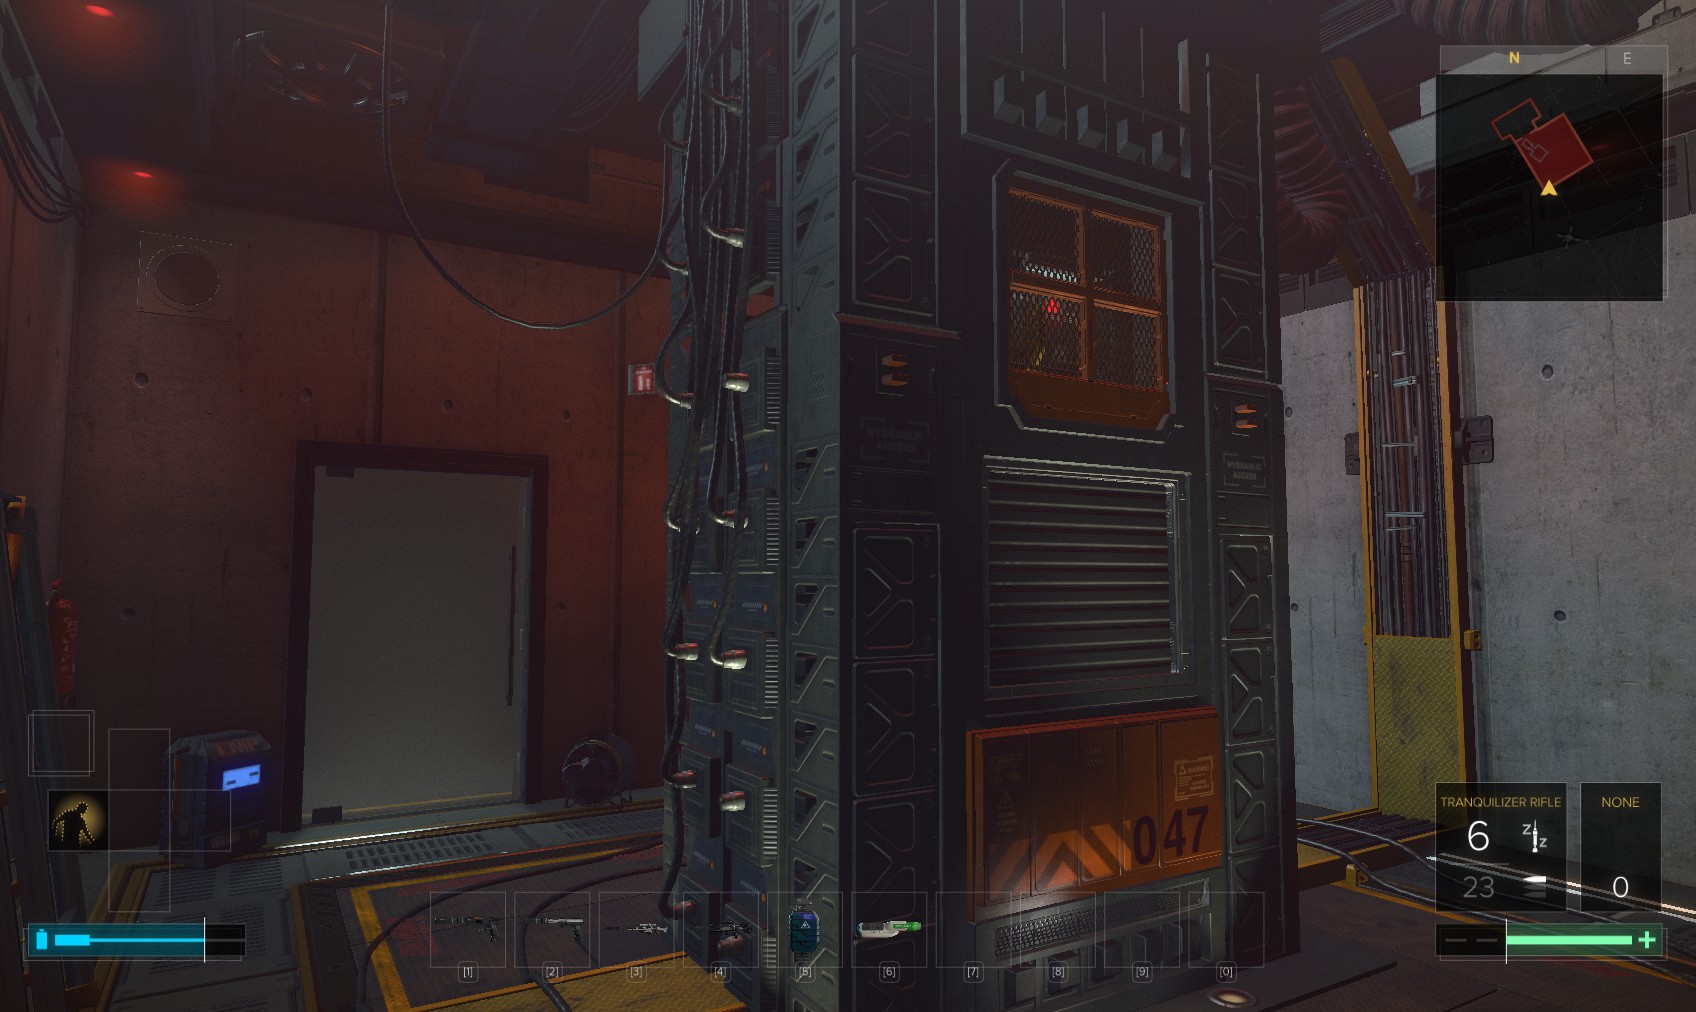
21. Inside is the lift maintenance shaft. A breaker box almost hidden by the door enables a ladder.
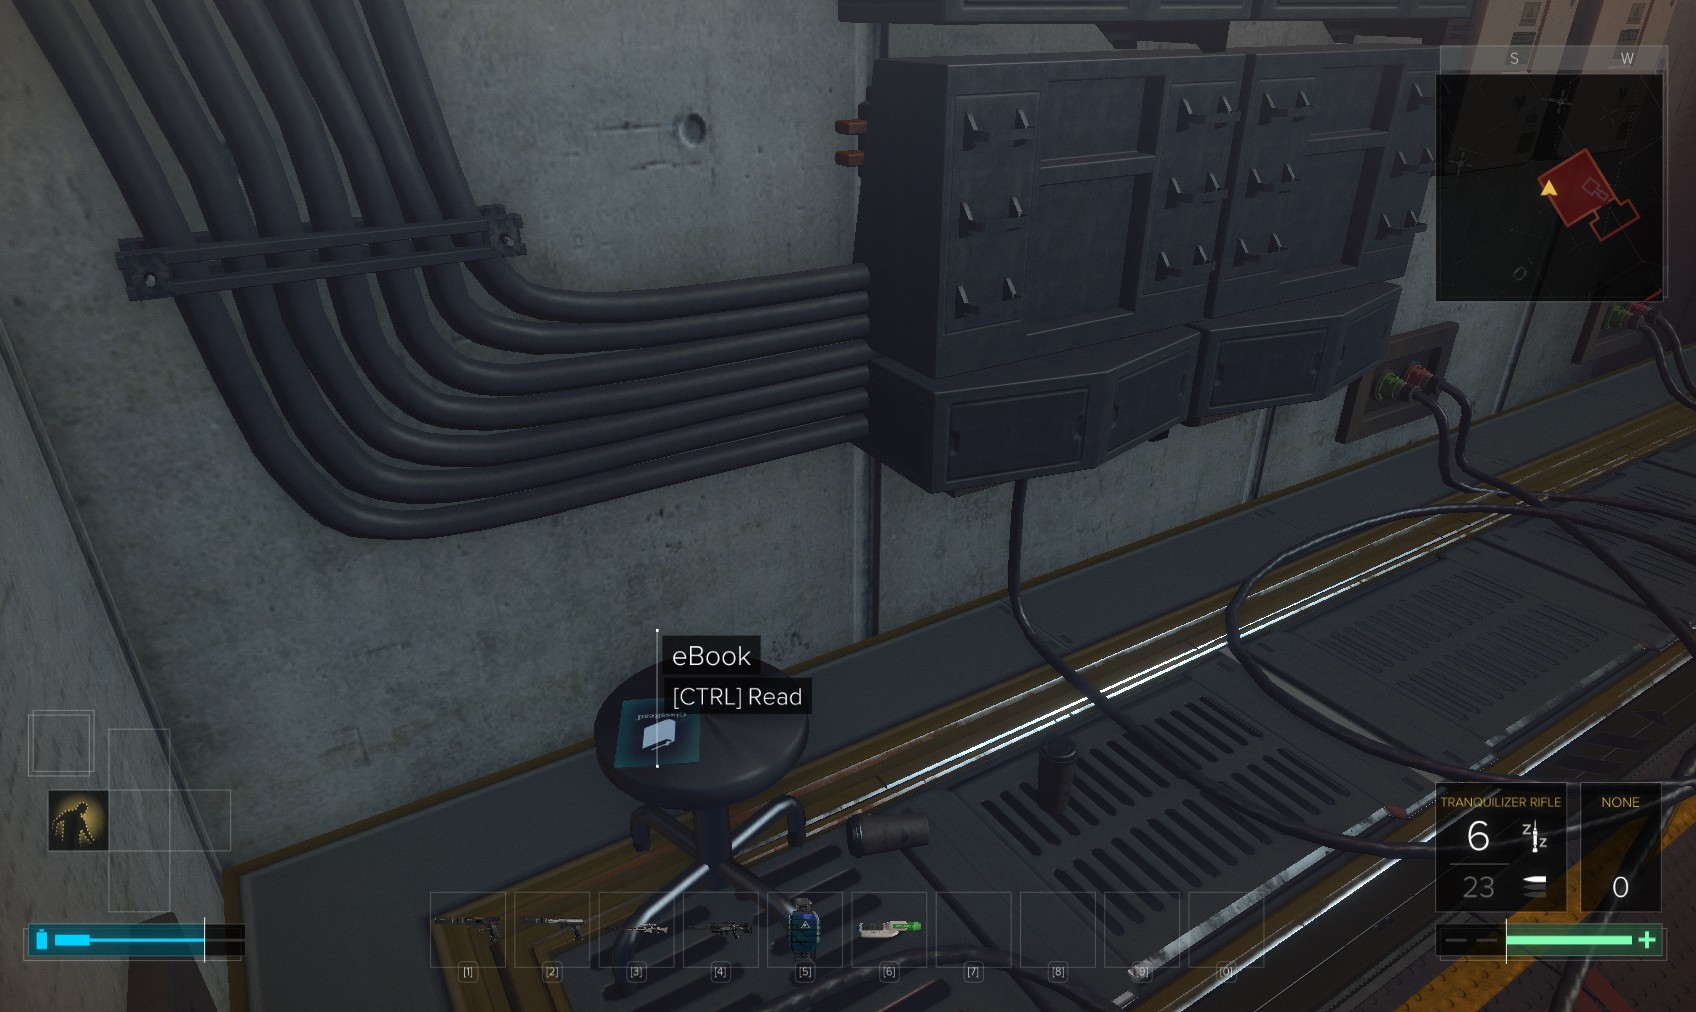
22. Search the cabinets for a multi-tool and read this pocket secretary for the password BOTTOPP5.
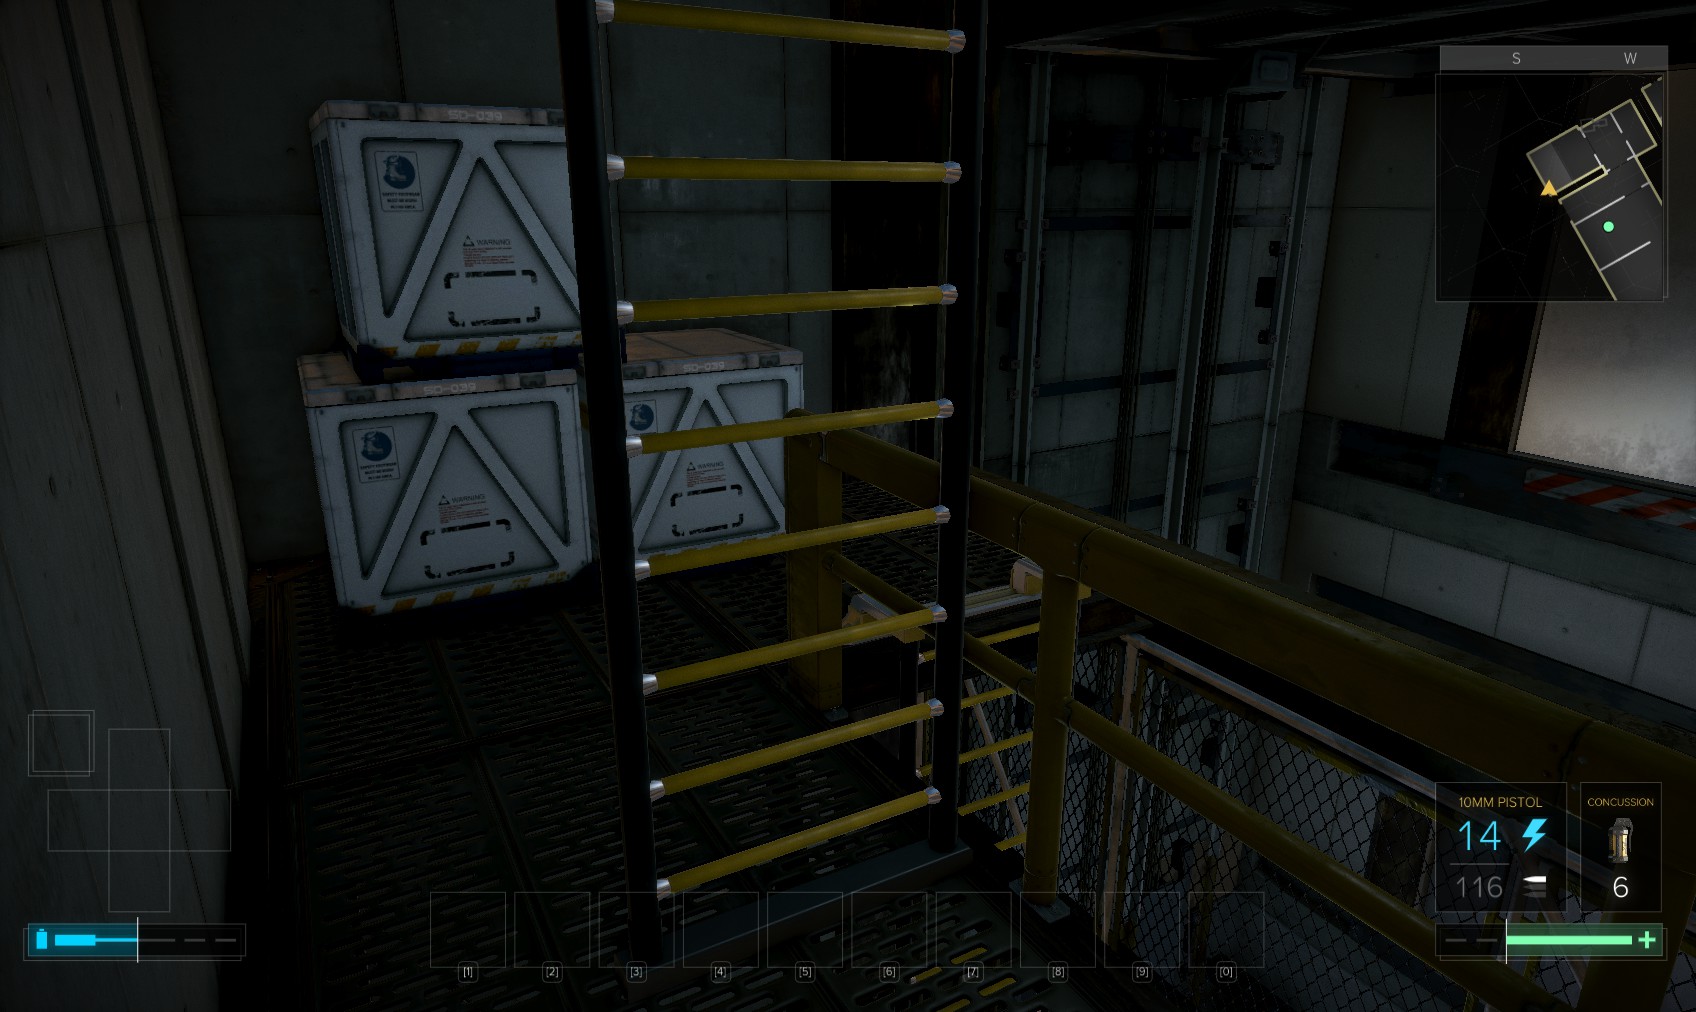
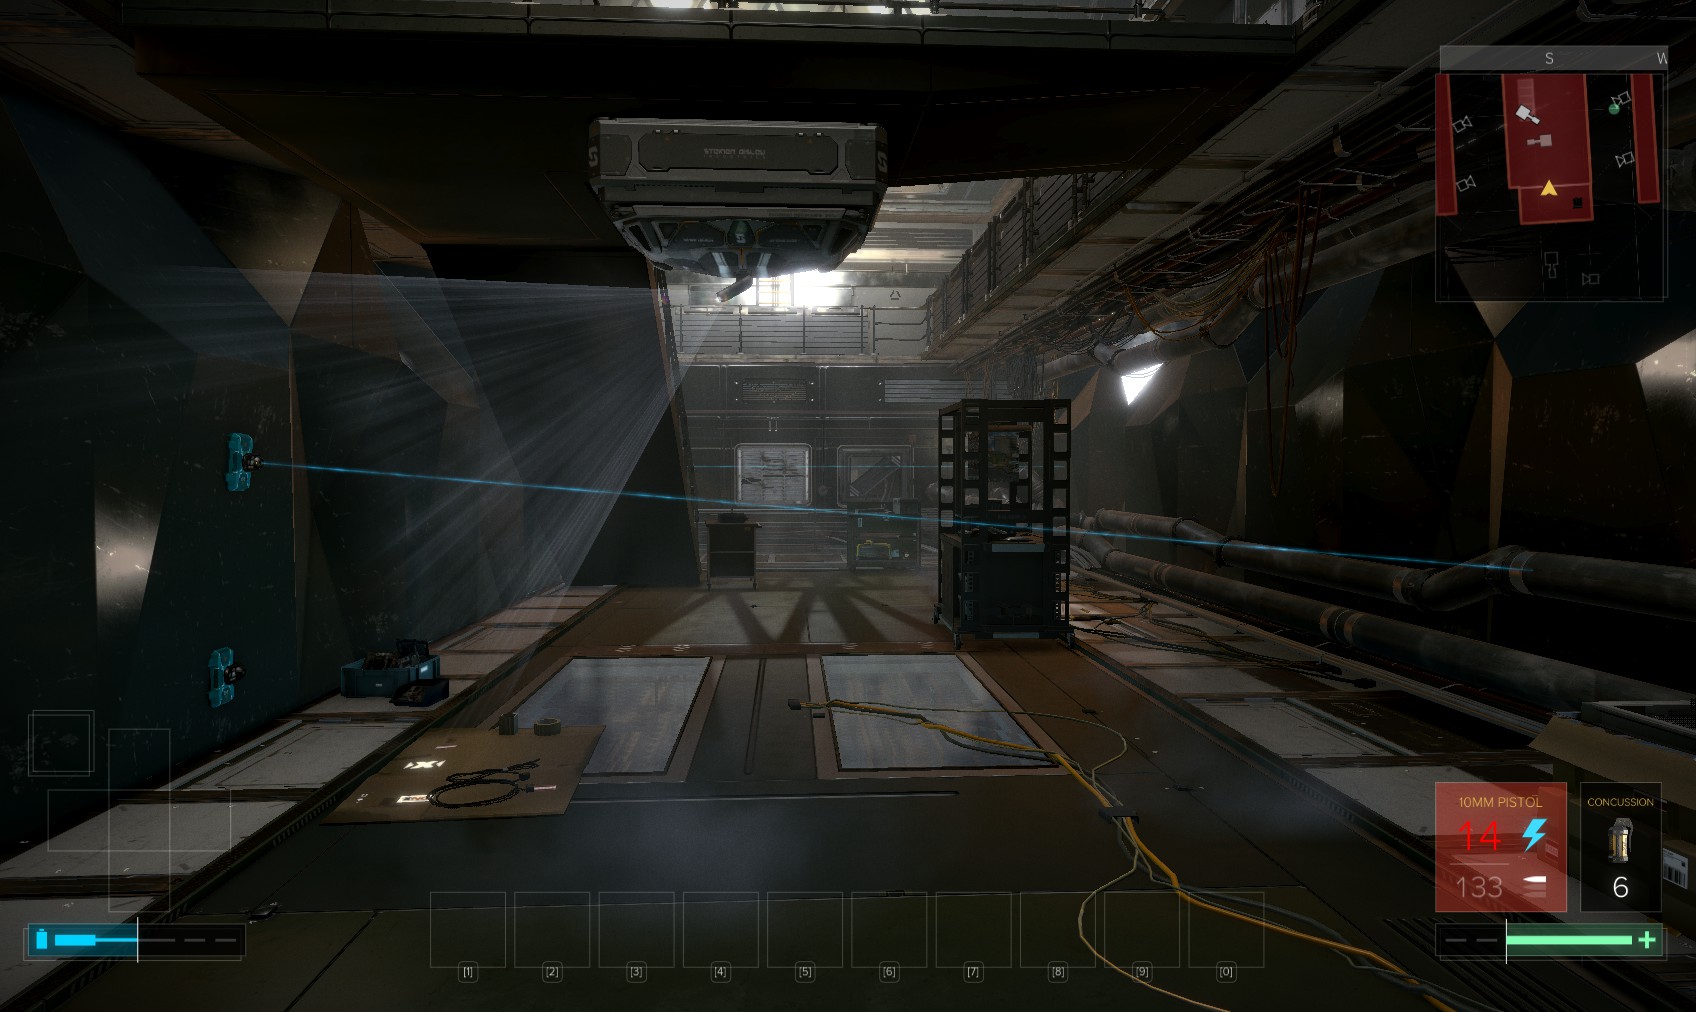
23. Go down 2 ladders for a 300XP pathfinder bonus. On the level below this shot is a biocell hidden behind a cardboard box. Behind the crates shown is a vent. Head in

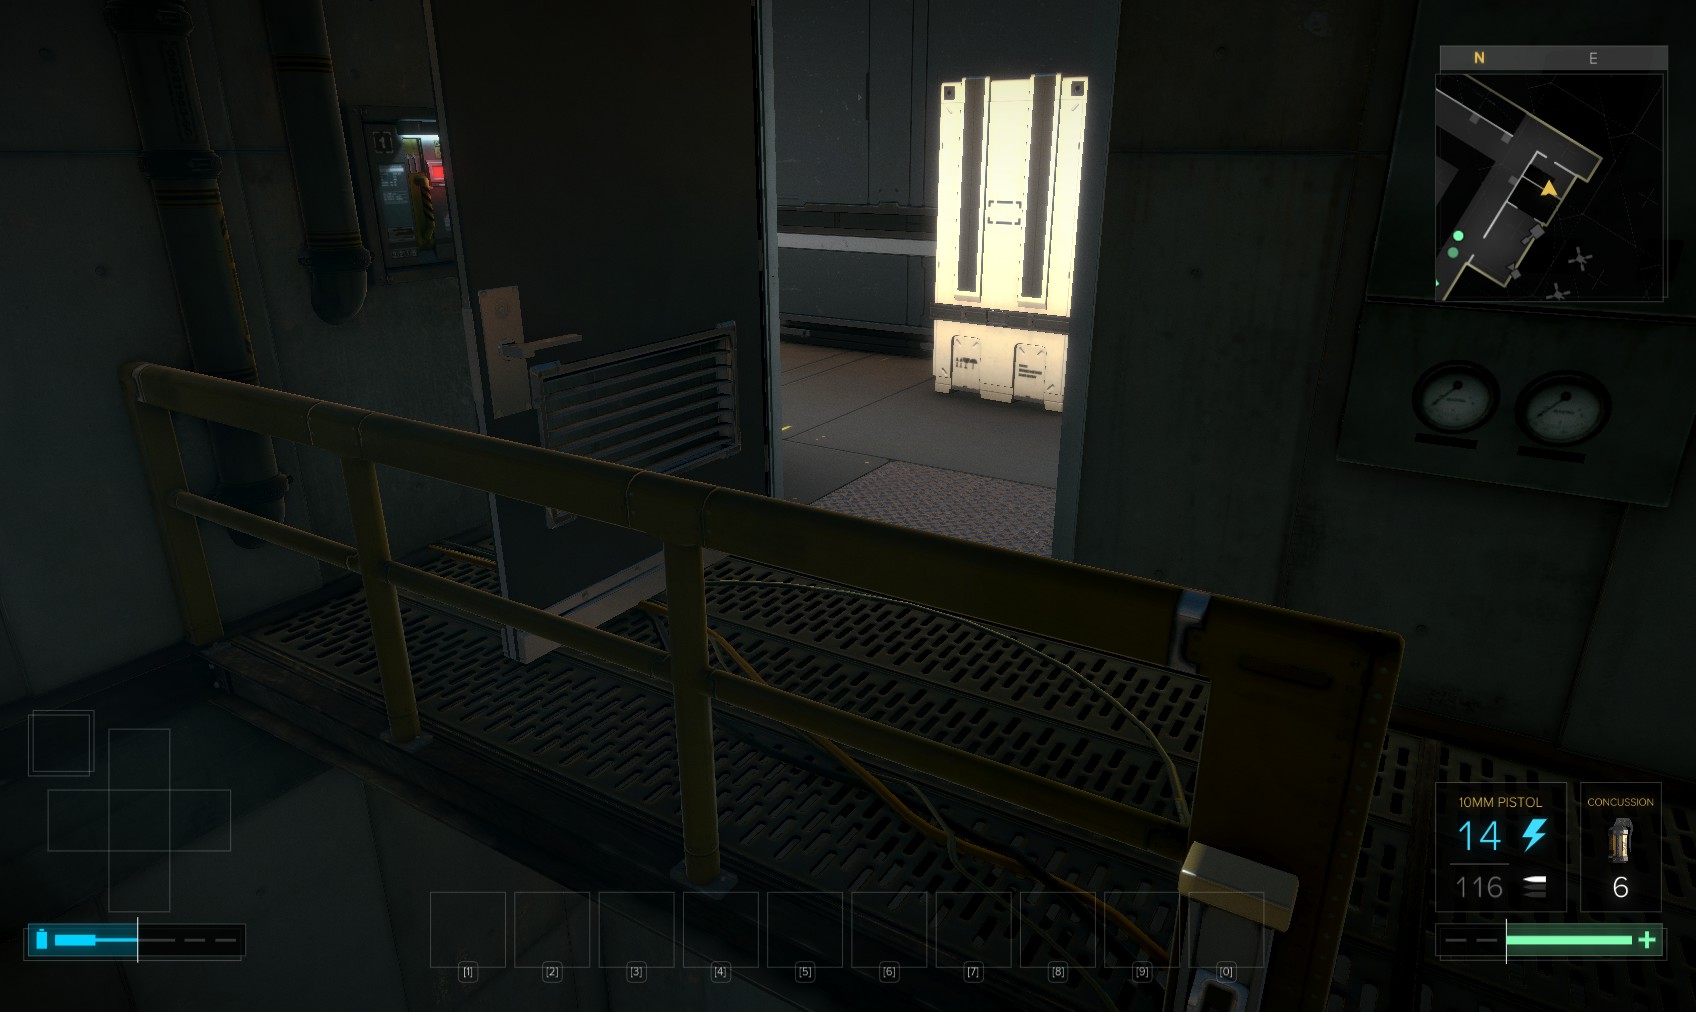
24. It comes out here. Of course you could have used the East Wing elevator, but where’s the fun in that? Head into the cupboard on the left here, and into a vent behind the door.
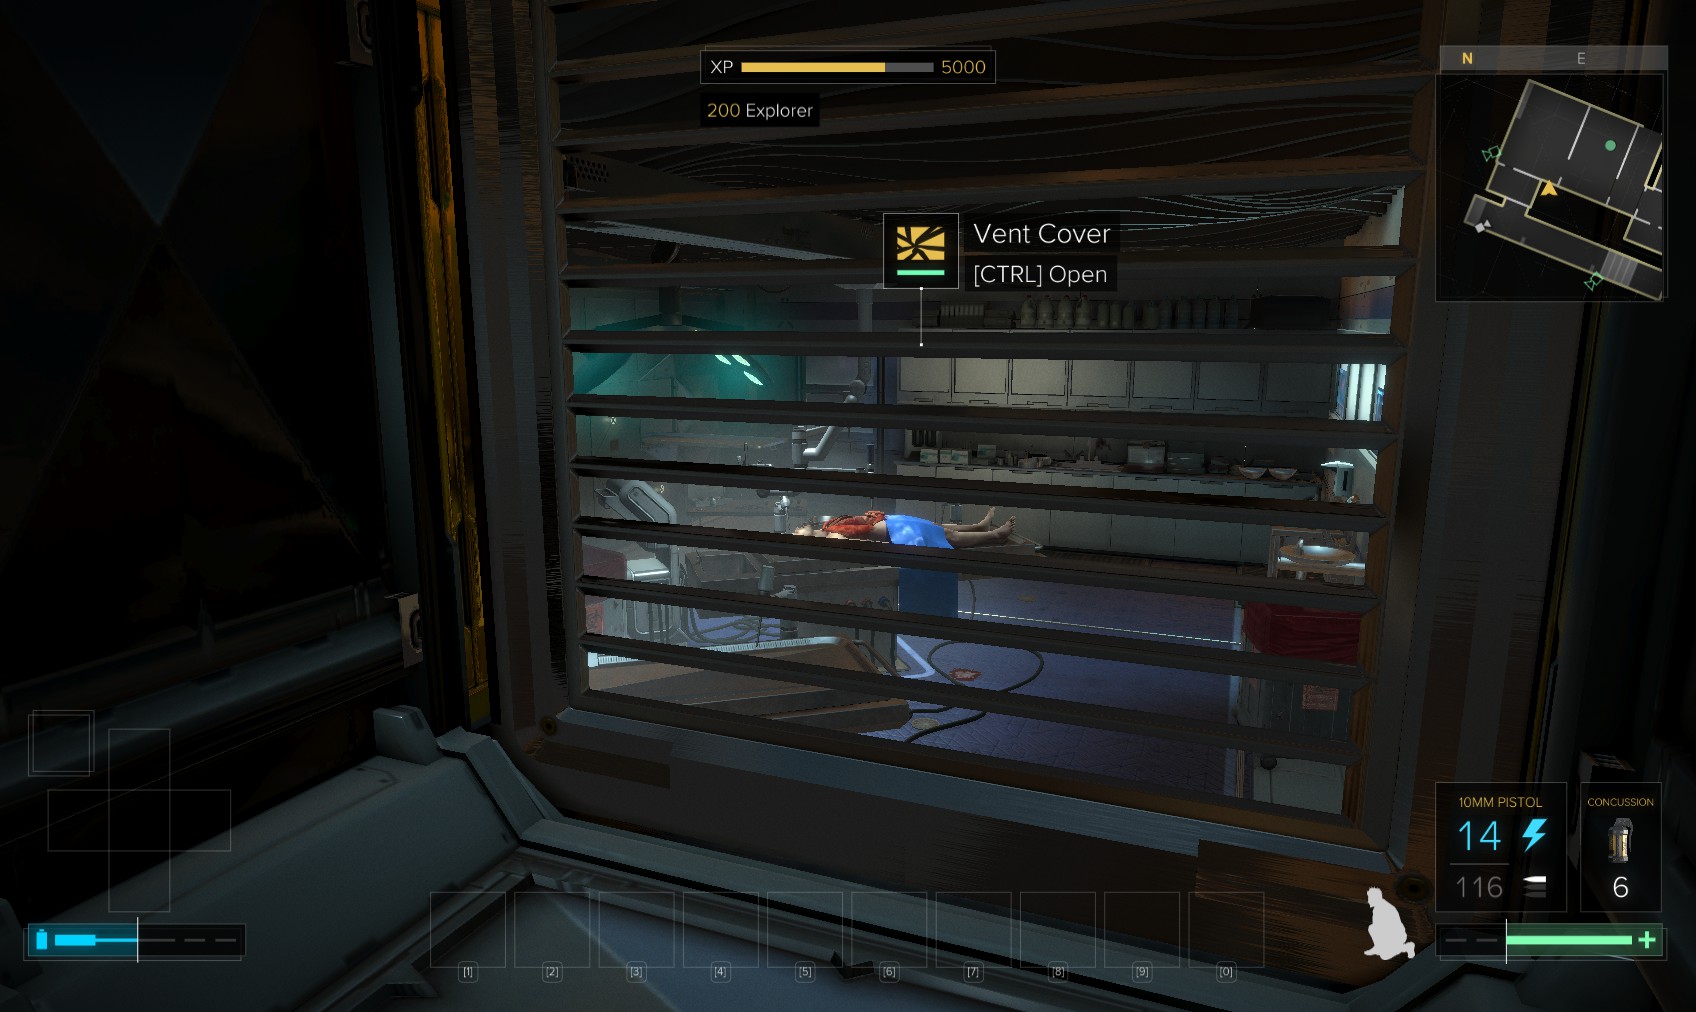
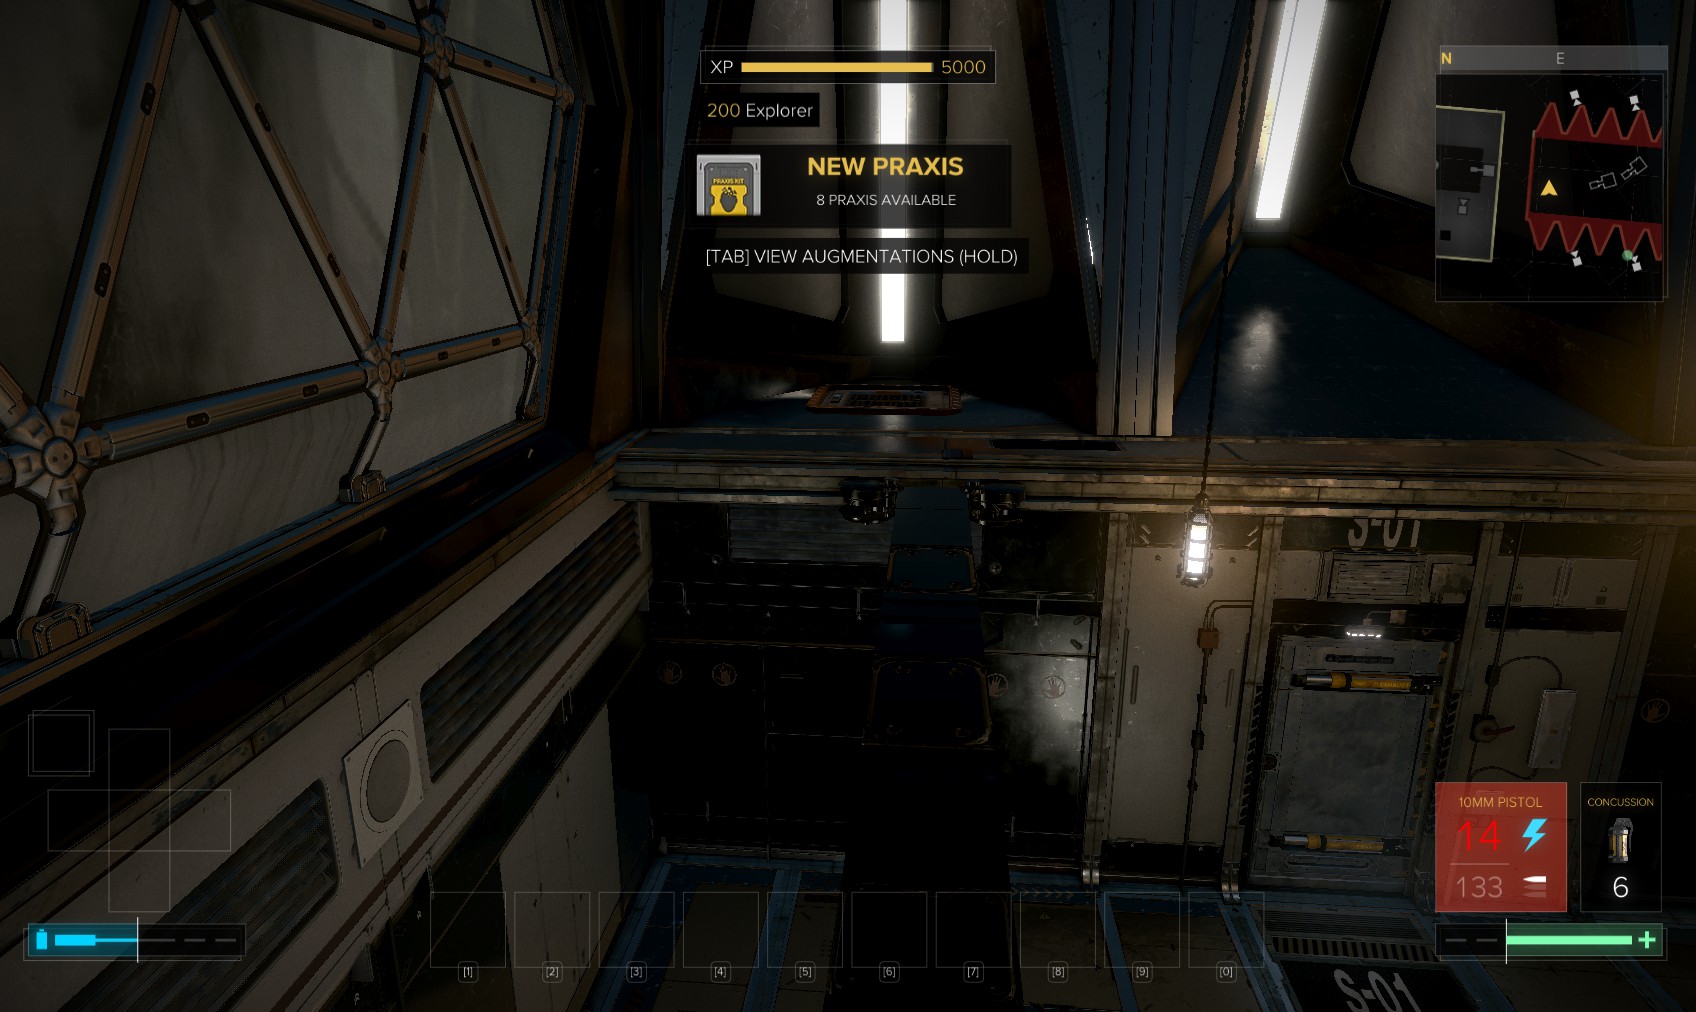
25. Follow it to the end for a 200XP explorer bonus. Drop down into the morque.
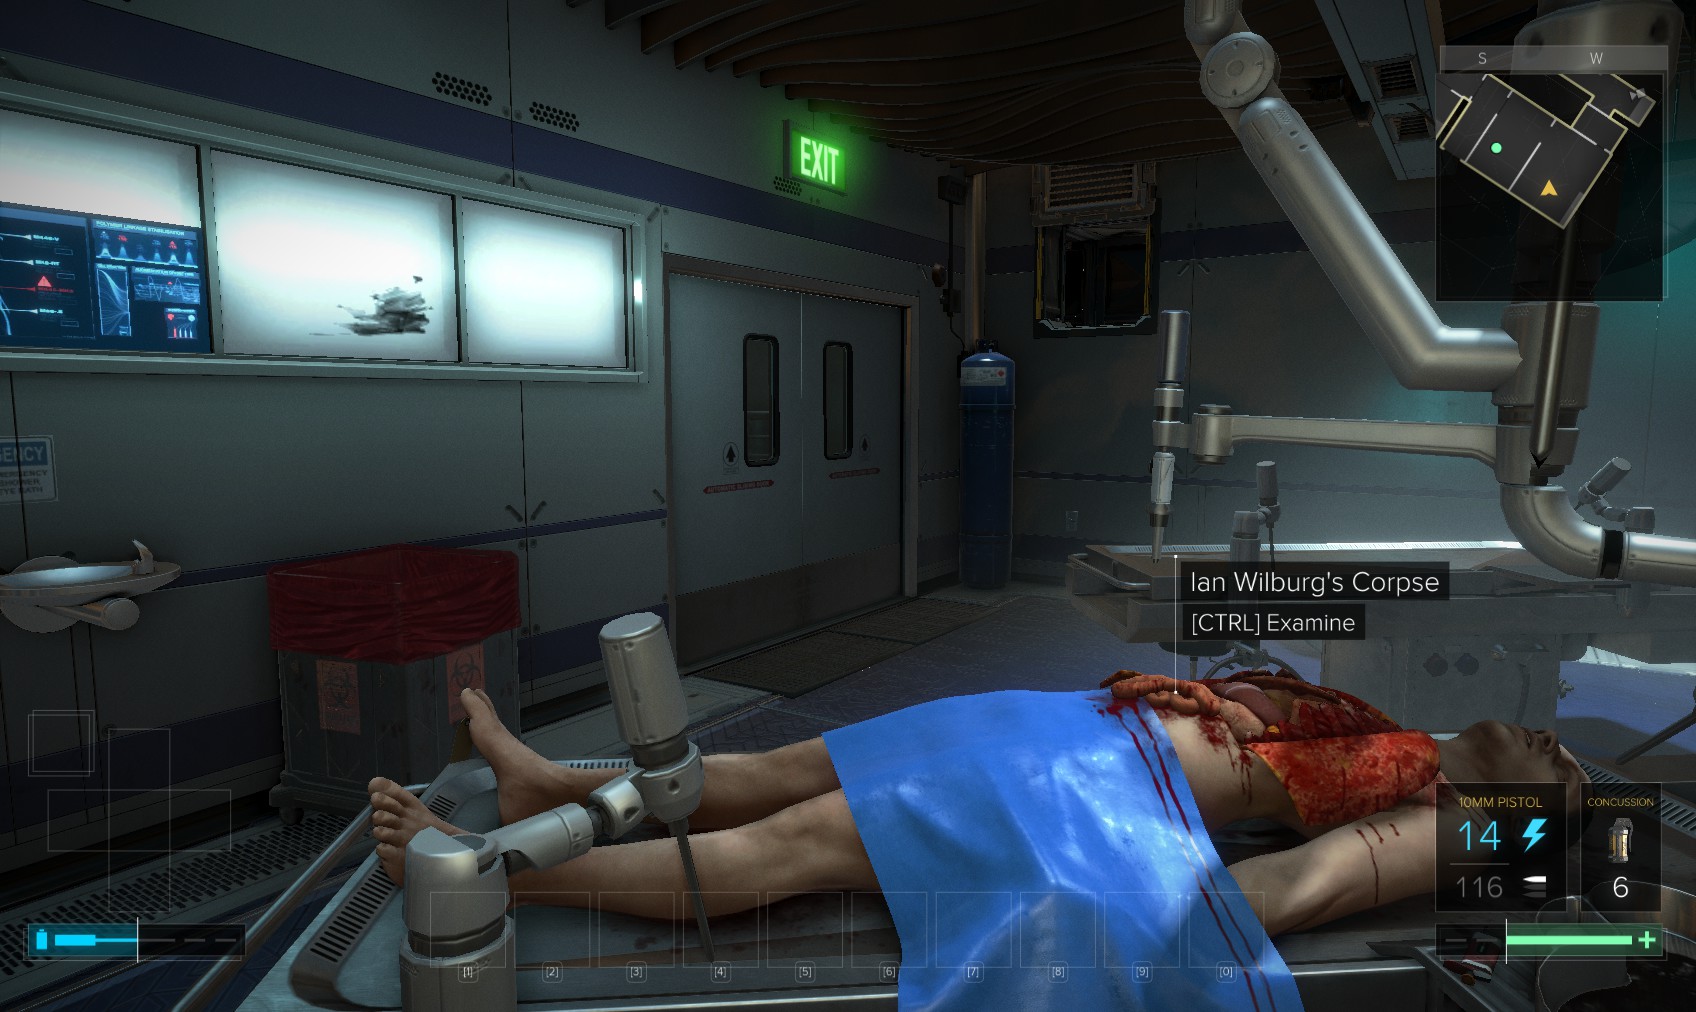
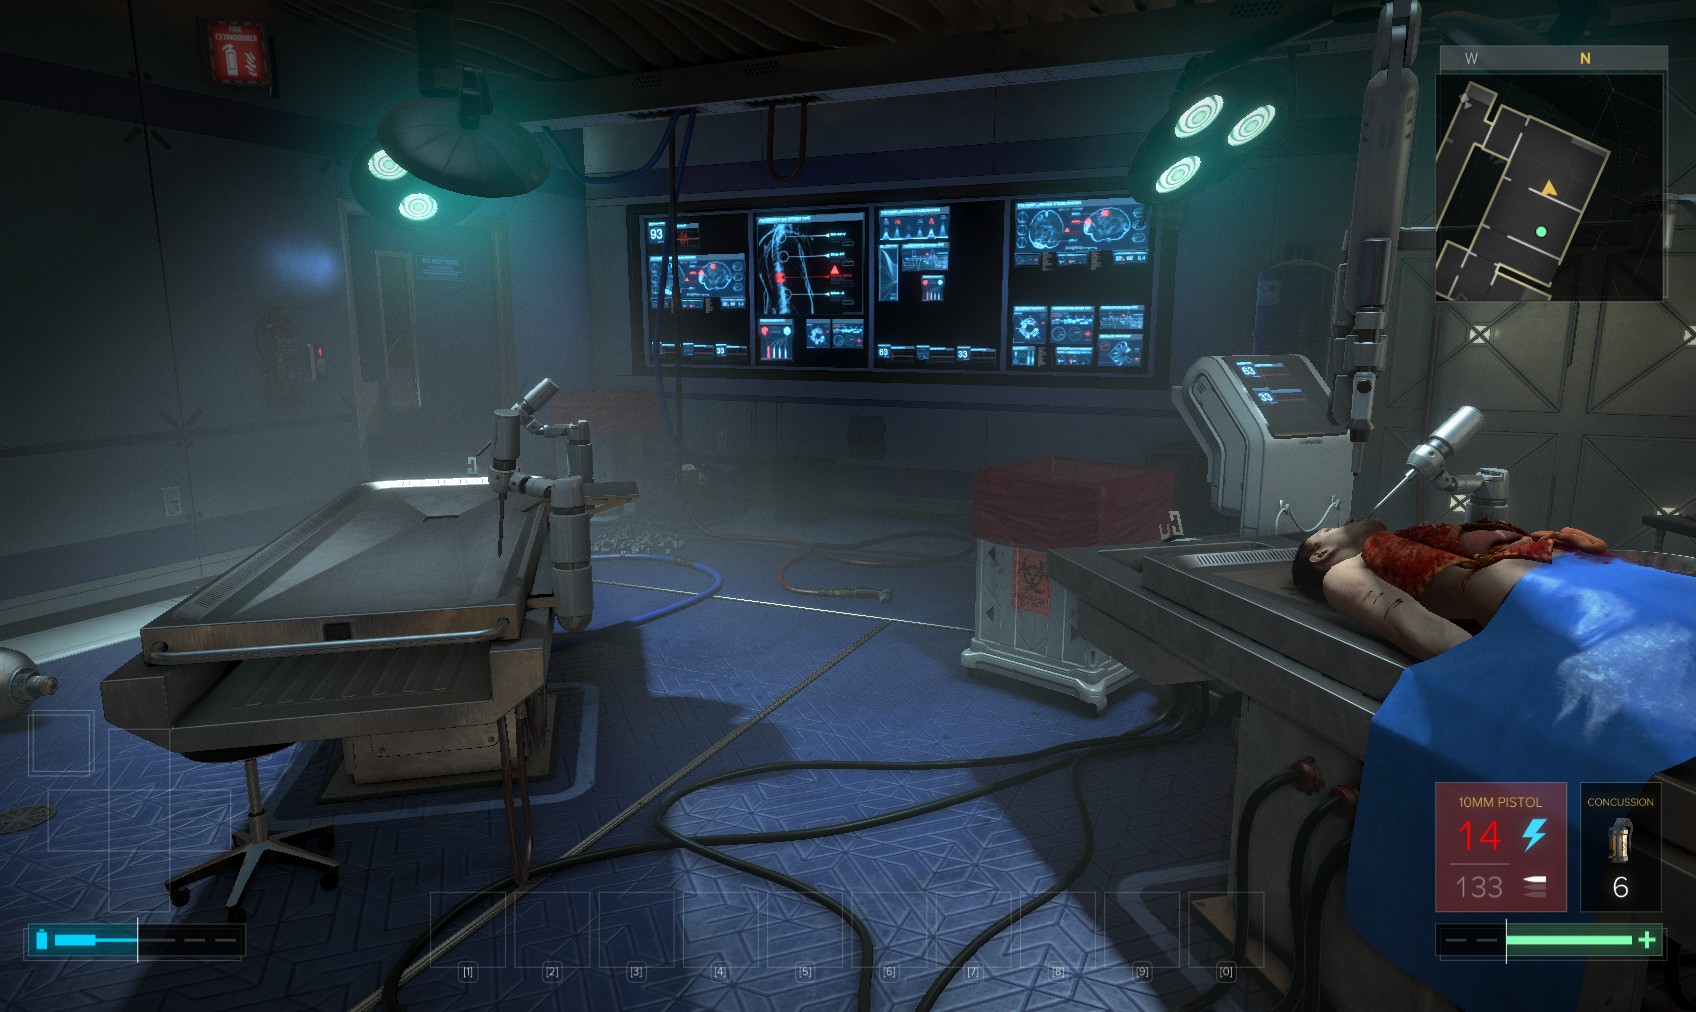
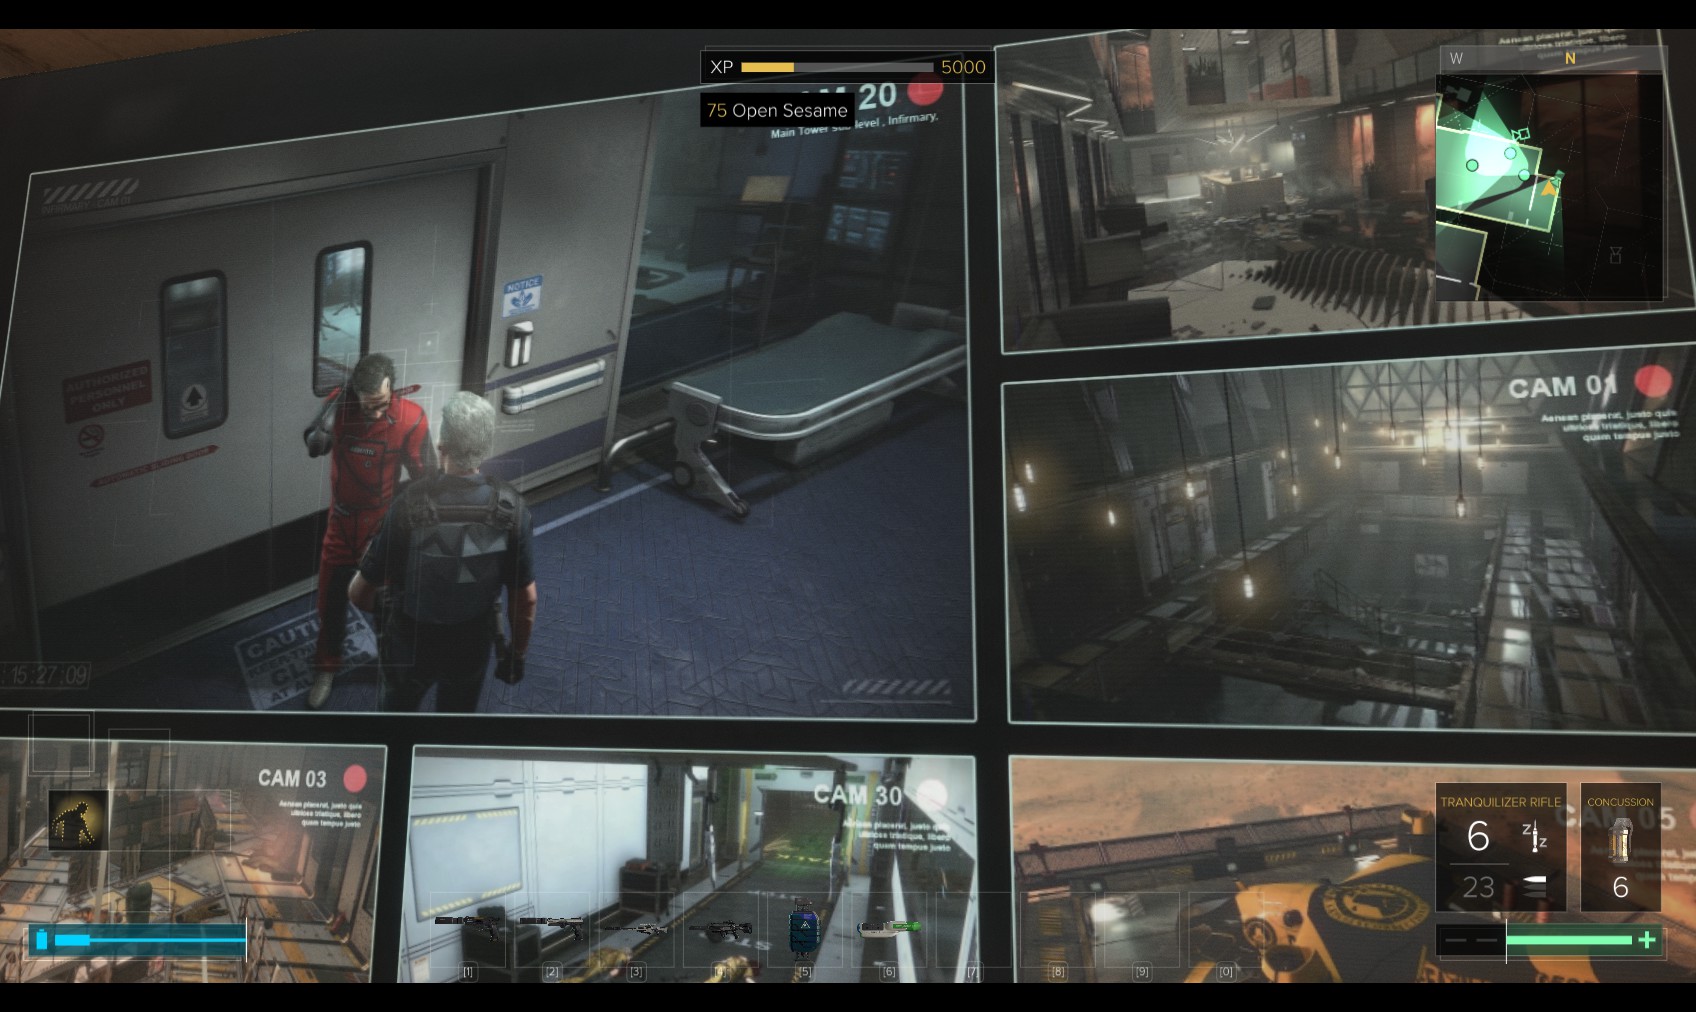
26. Examine the corpse in here, then go through the door to the infirmary for a cutscene with The Fixer.
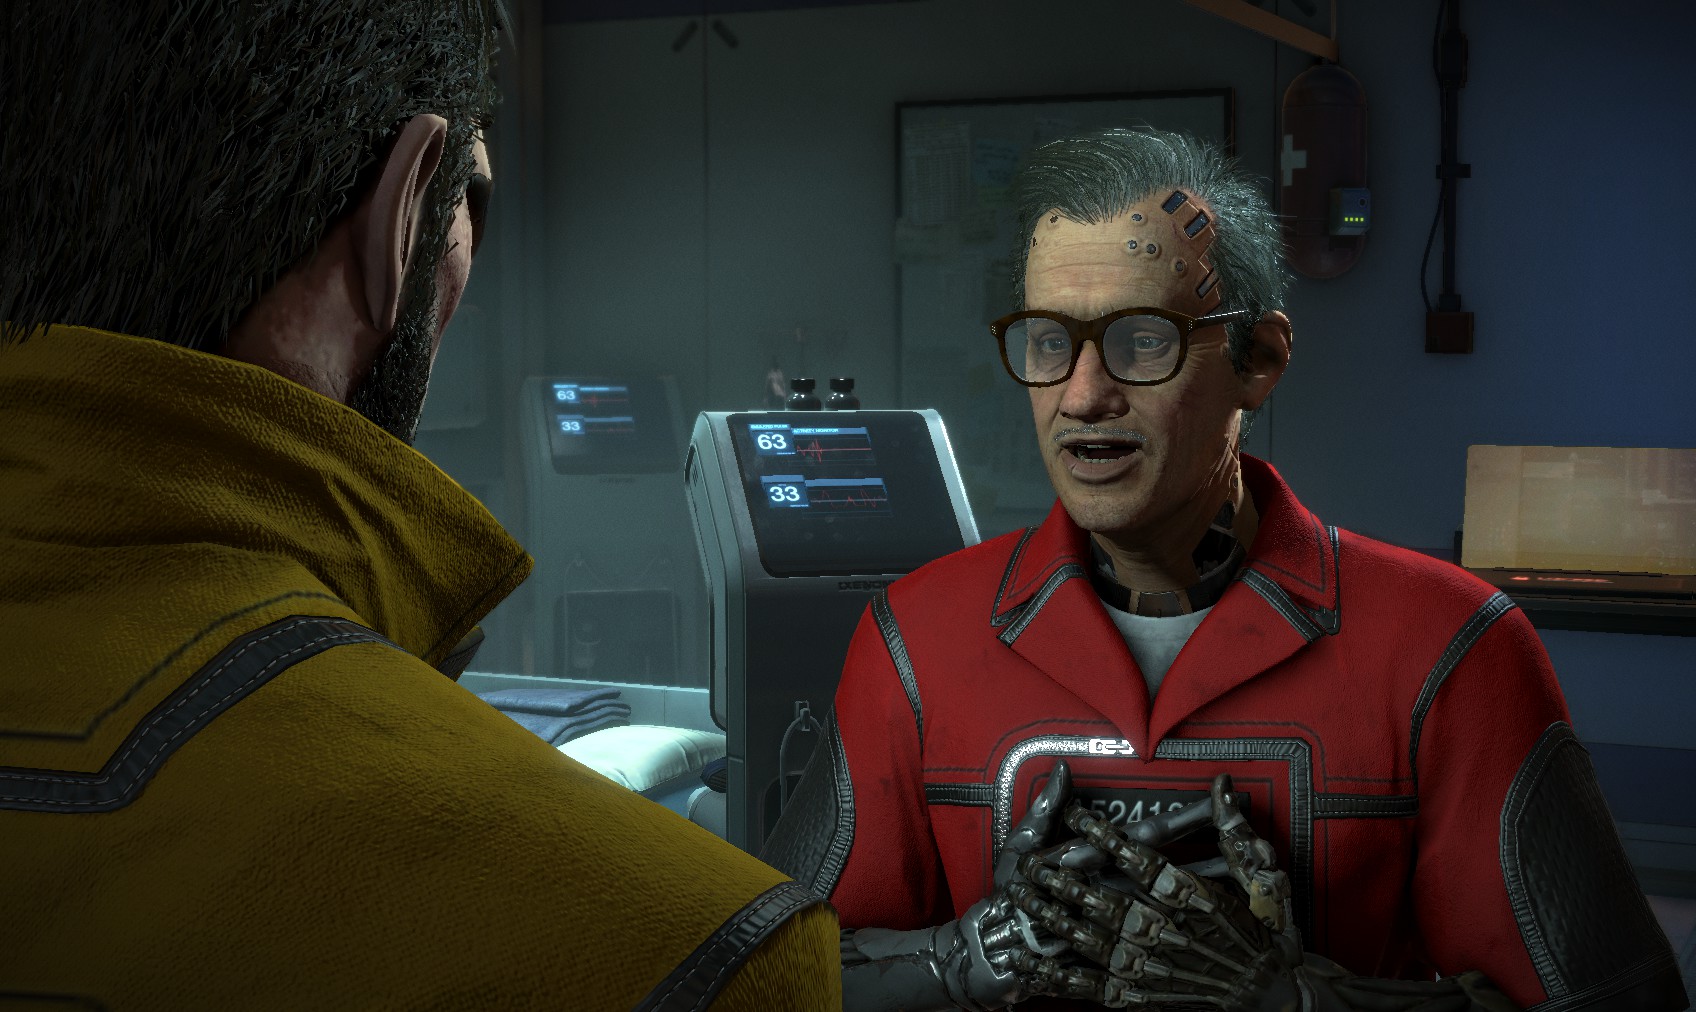
27. You get to question him about the biocell and the riot and he eventually offers you a second pill. It doesn’t matter whether you take it or not if you already took the pill: this is a second chance to do so if you didn’t the first time. It can be fun to re-load a game to listen to his different responses.
28. Speak to him again and he’ll direct you to talk to Teddy. It’s a sort of shop where you can buy stuff and sell of unwanted items.
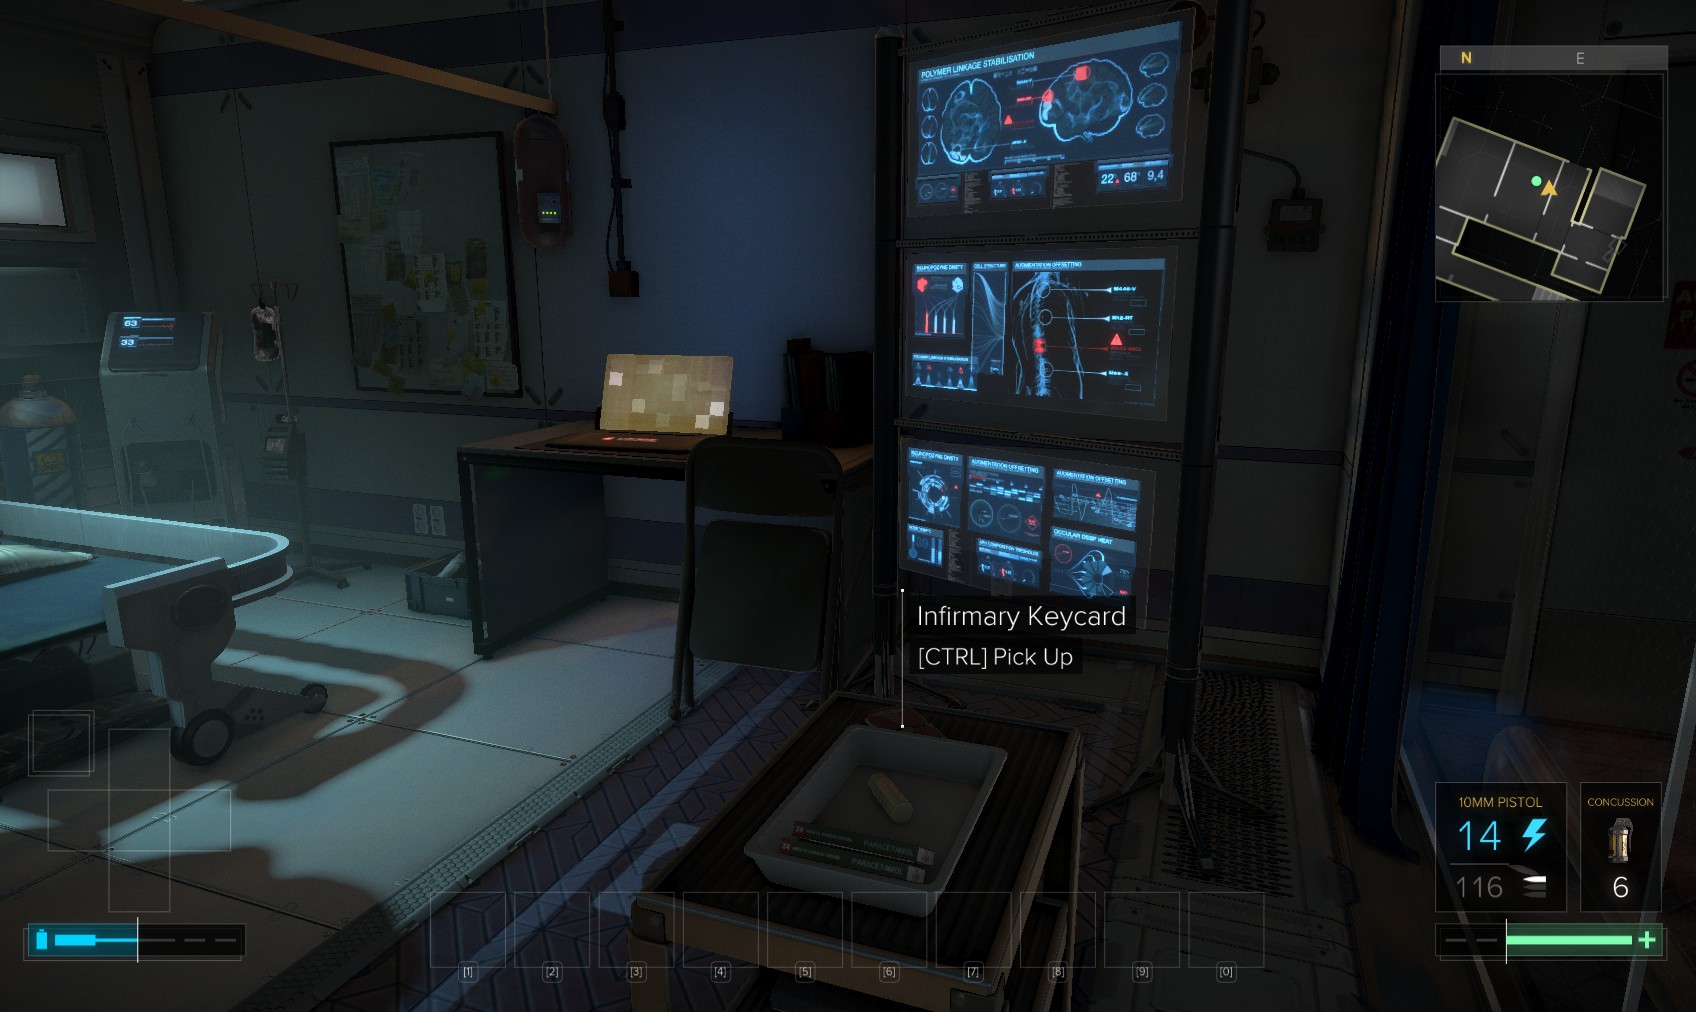
29. Swipe the keycard for the infirmary before you go. The level 1 PC can be hacked for reveal software and some background emails. Next stop, Solitary Confinement.
30. Exit via the South door and call the East Wing elevator.
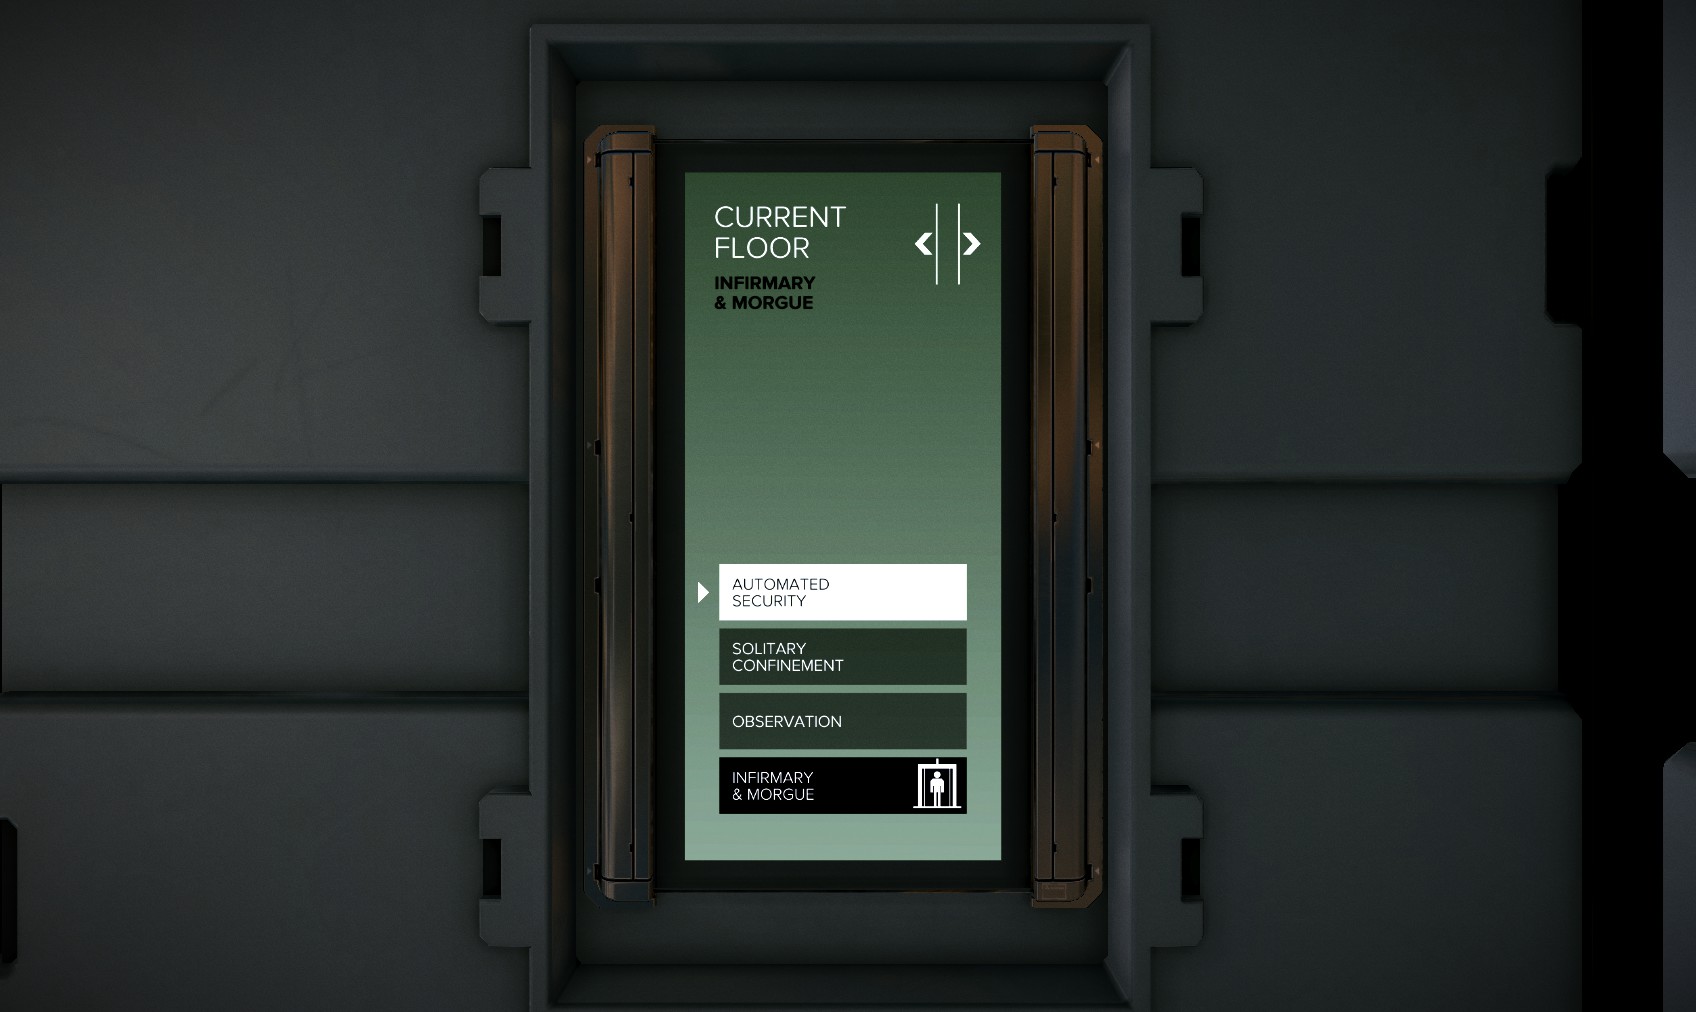
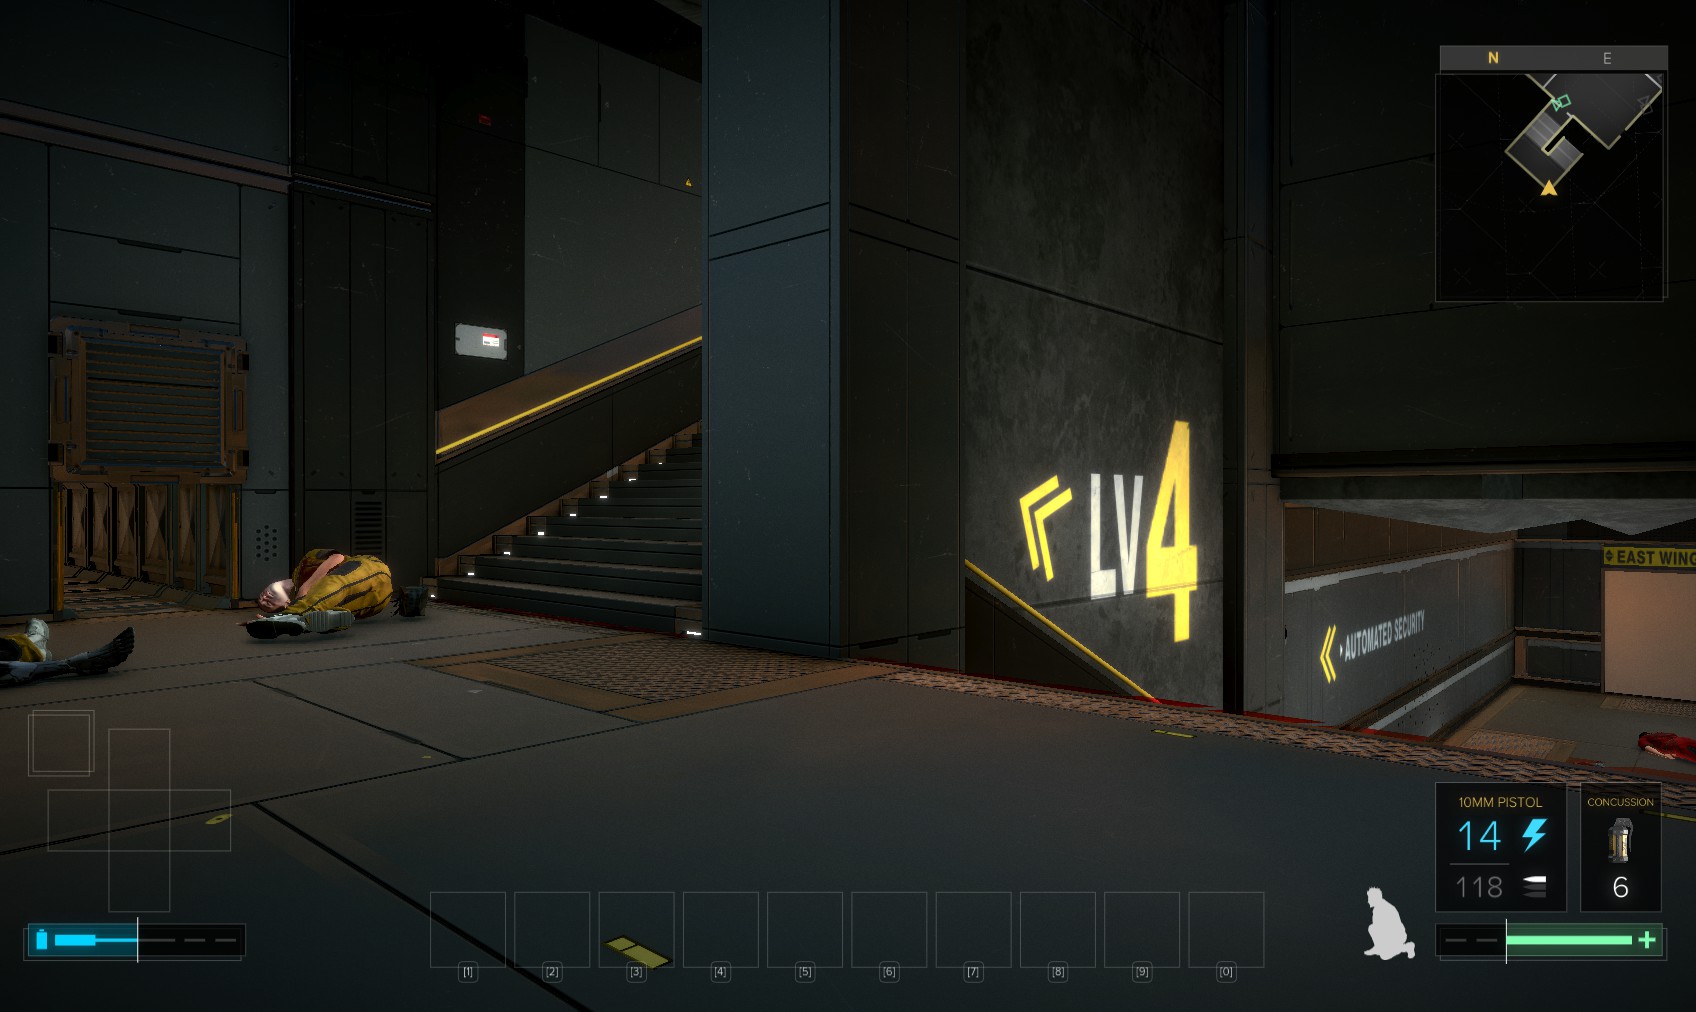
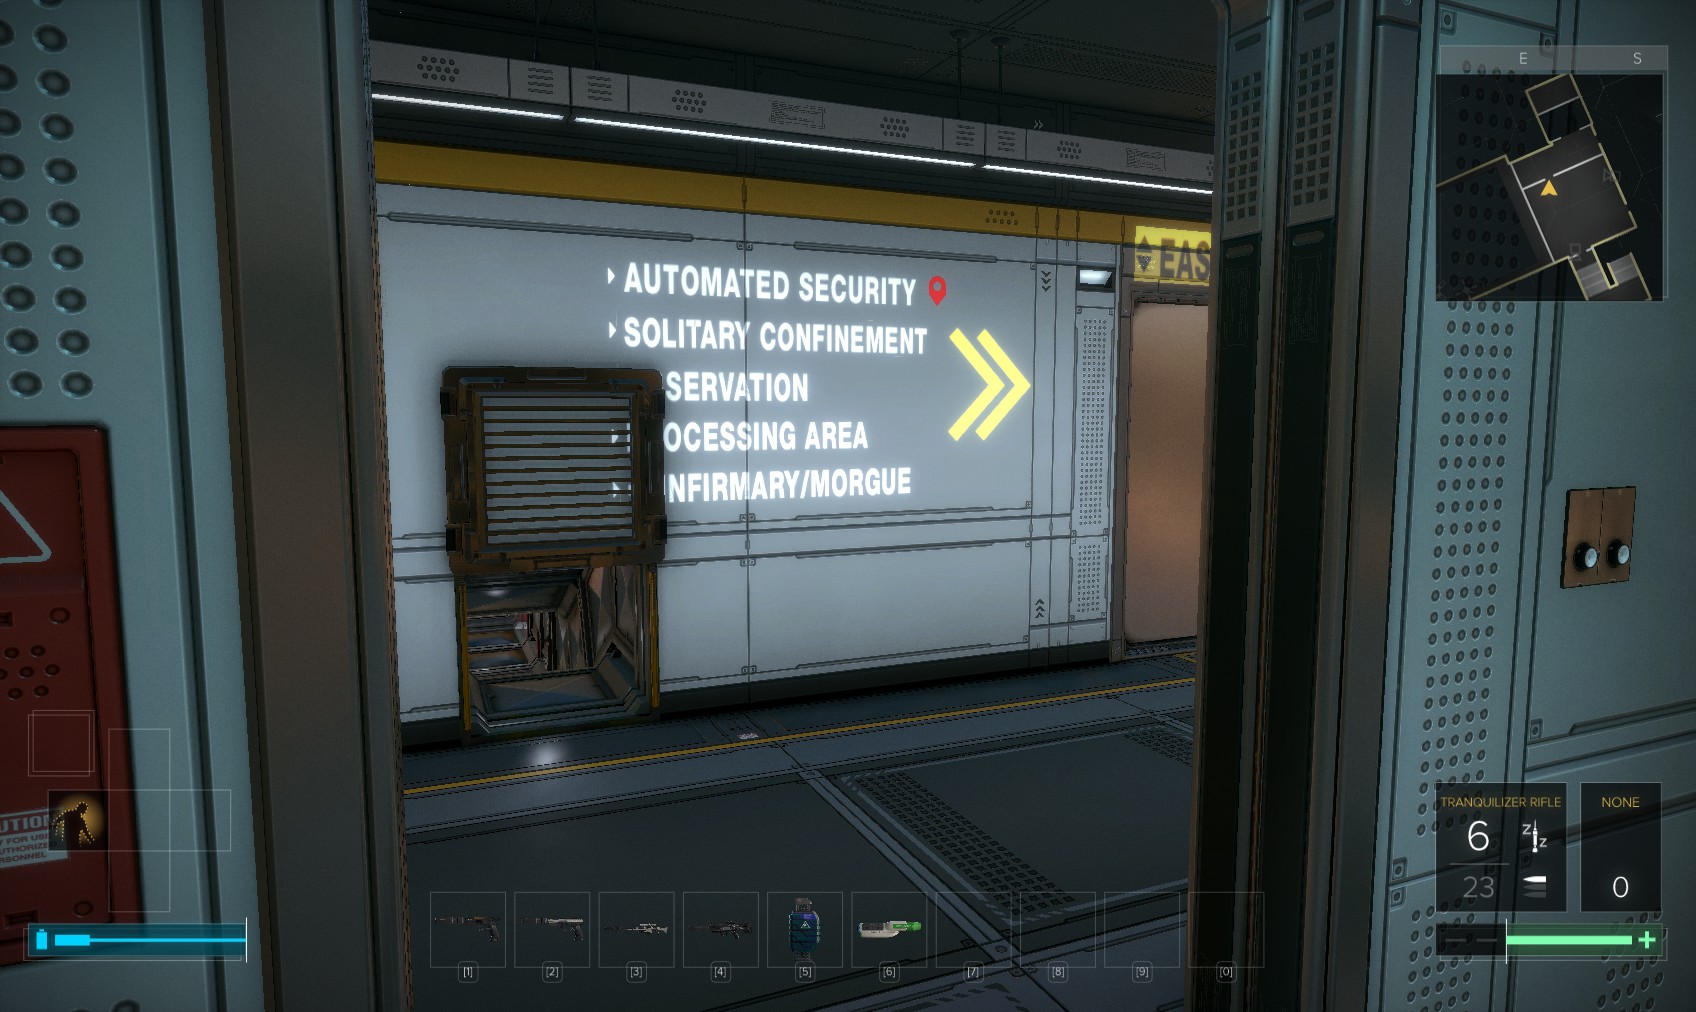
31. Use your restricted access keycard, and choose "AUTOMATED SECURITY" on the panel to ride to the top.
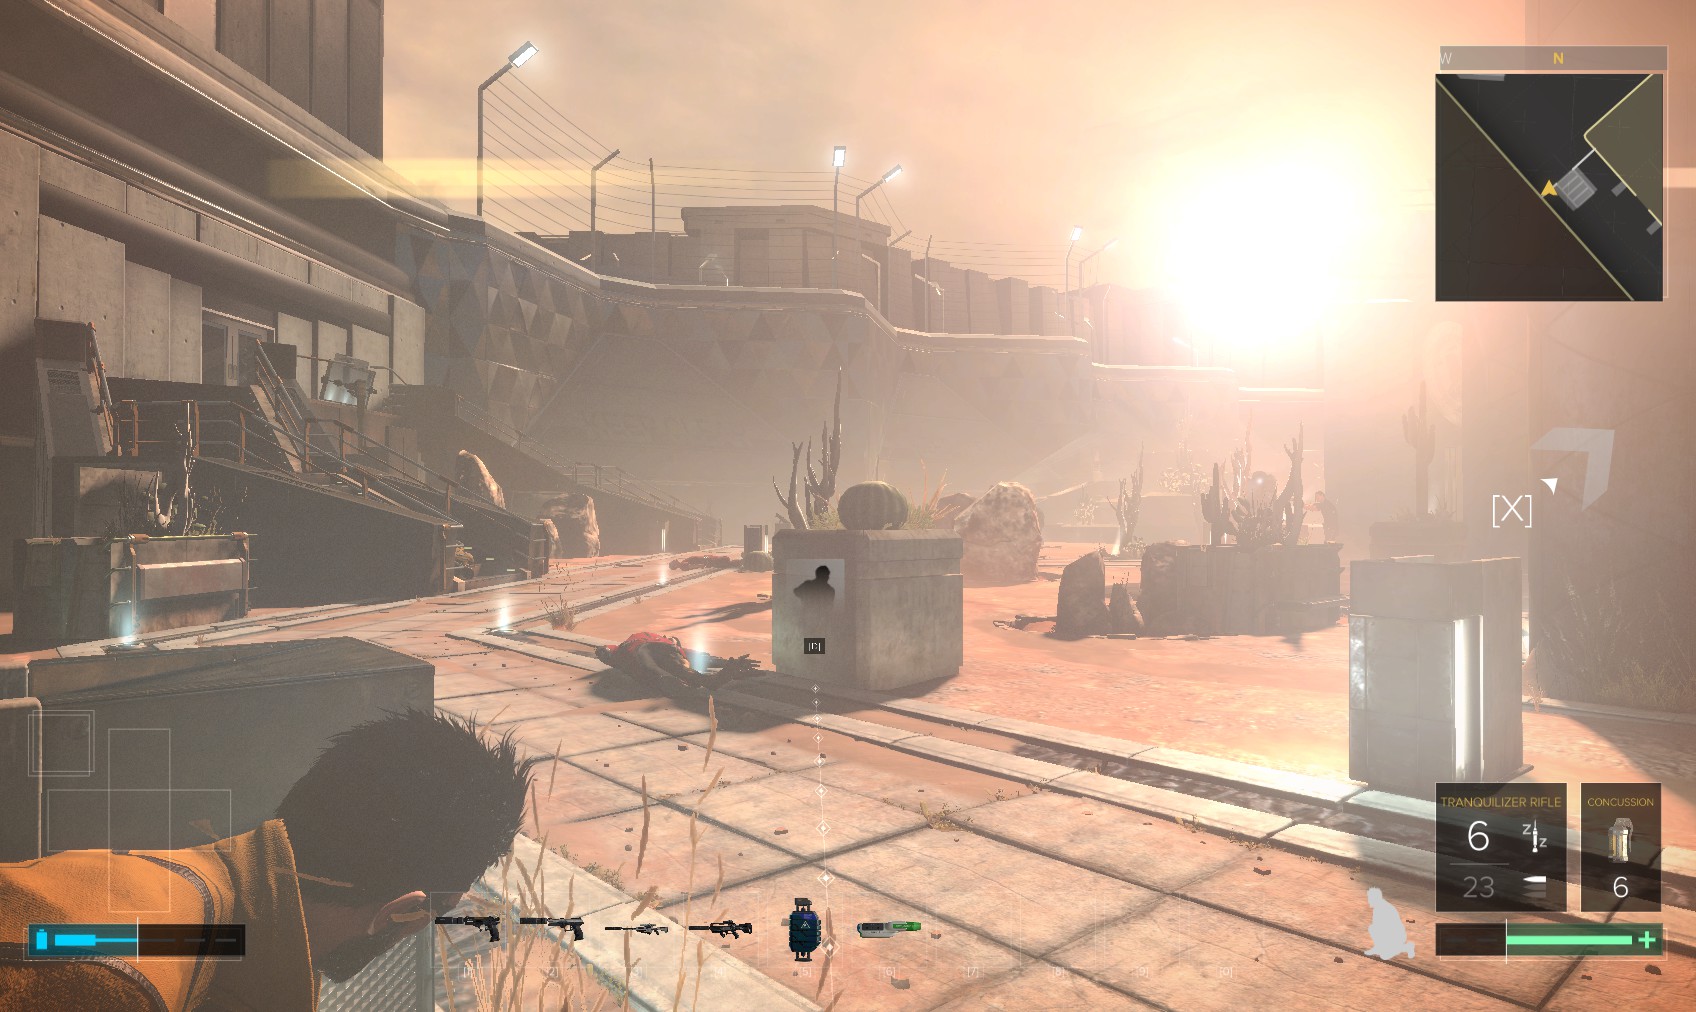
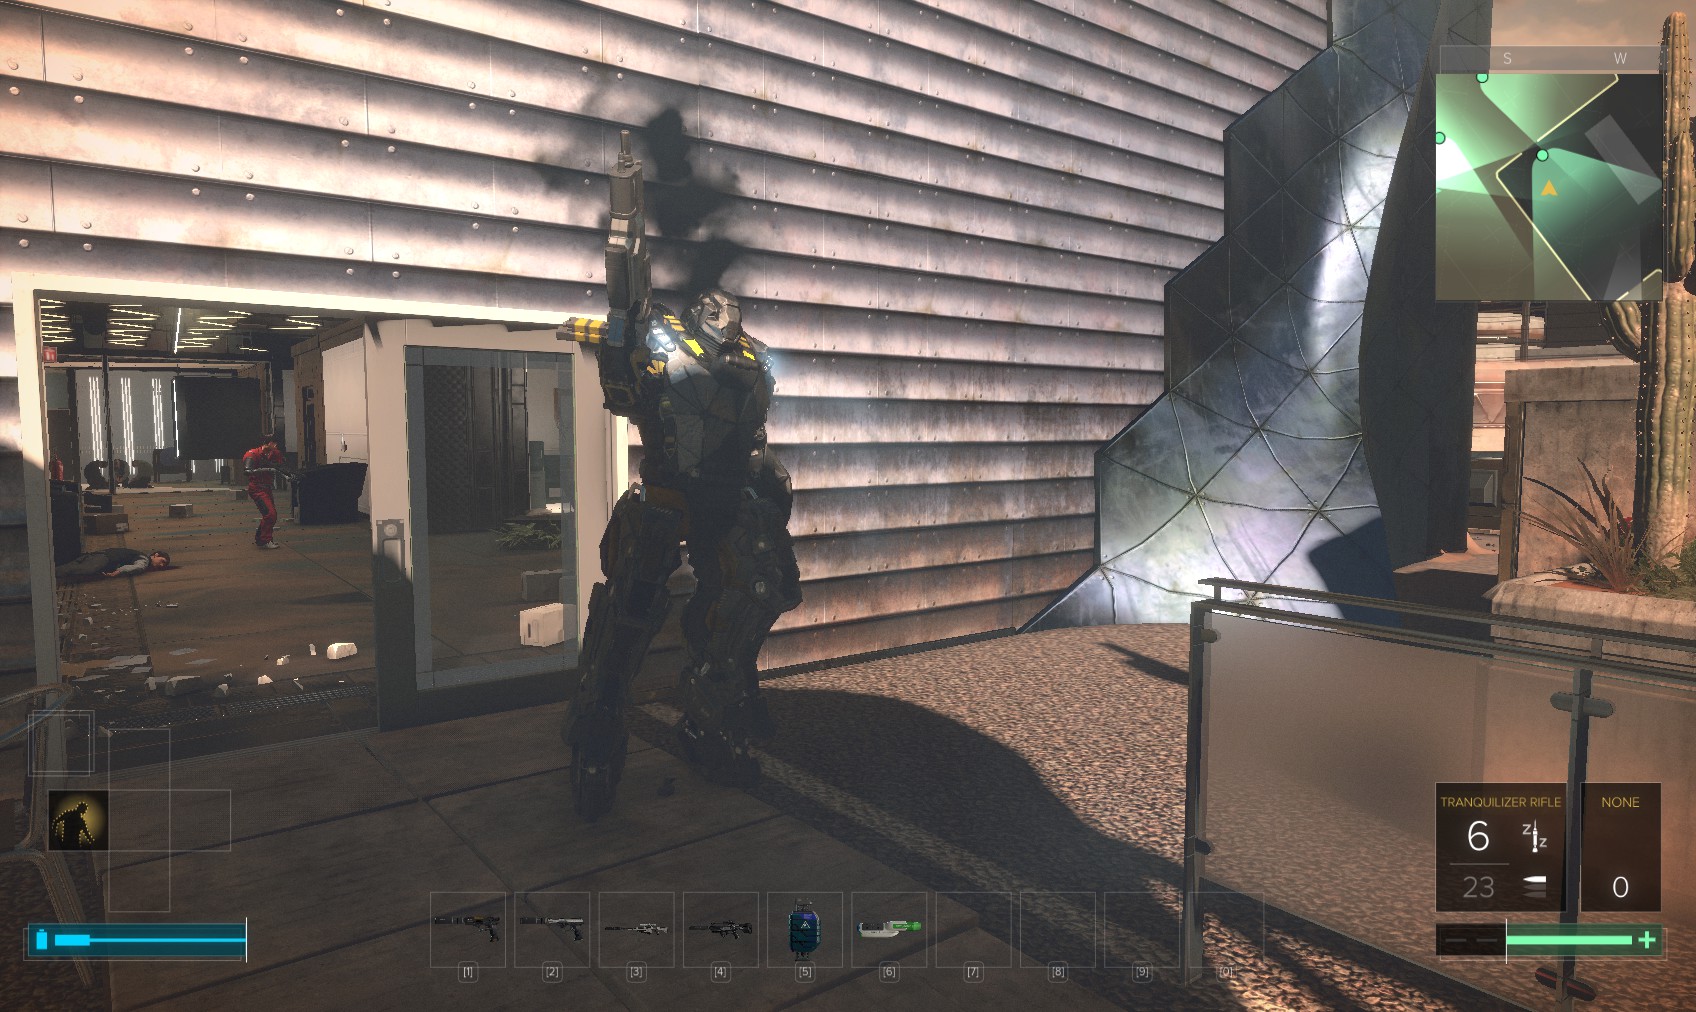
32. A battle is raging outside still, but it’s a losing one for the rebelling inmates. Carefully head right here and into the security office.
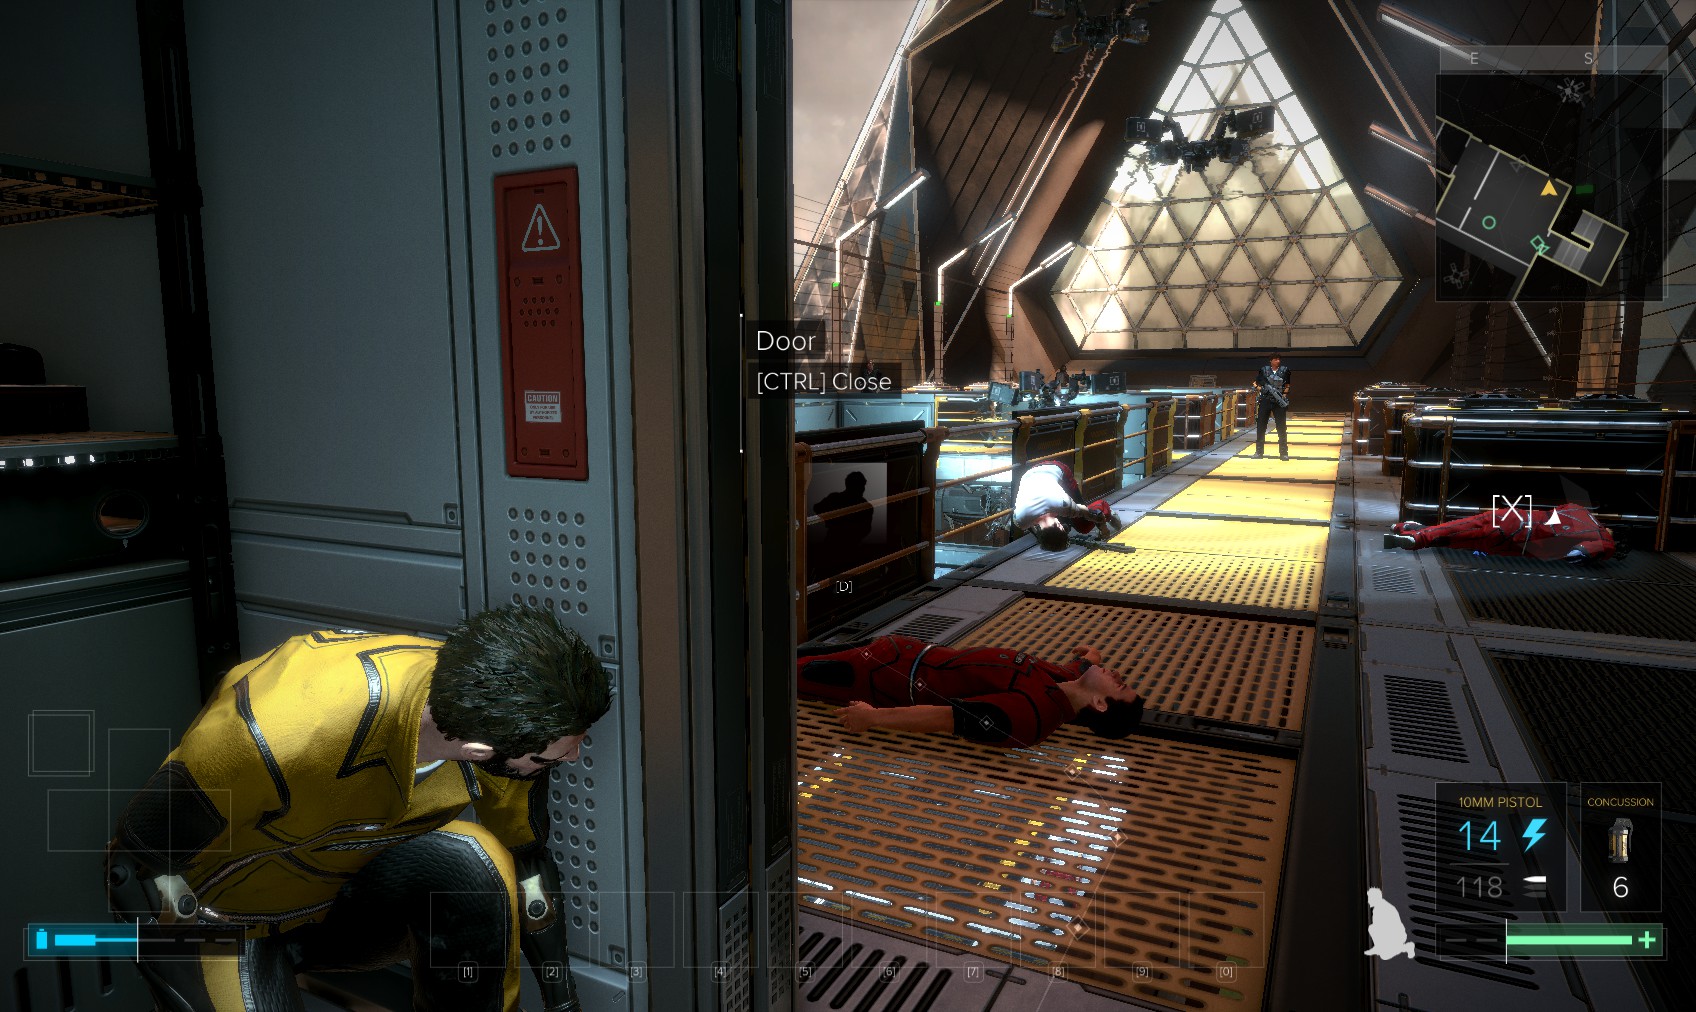
33. Toggle the EG glass and close the doors so you can hunt around unnoticed.
34. An unlocked PC has some background emails. The locked PC is level 1 (stealth software and 155c). Hack both the level 3 security consoles (300XP, 200c and 300XP, 250c, overlock software) and disable cameras, turrets and drones. An eBook is on the side. "The Profitable Prophet"
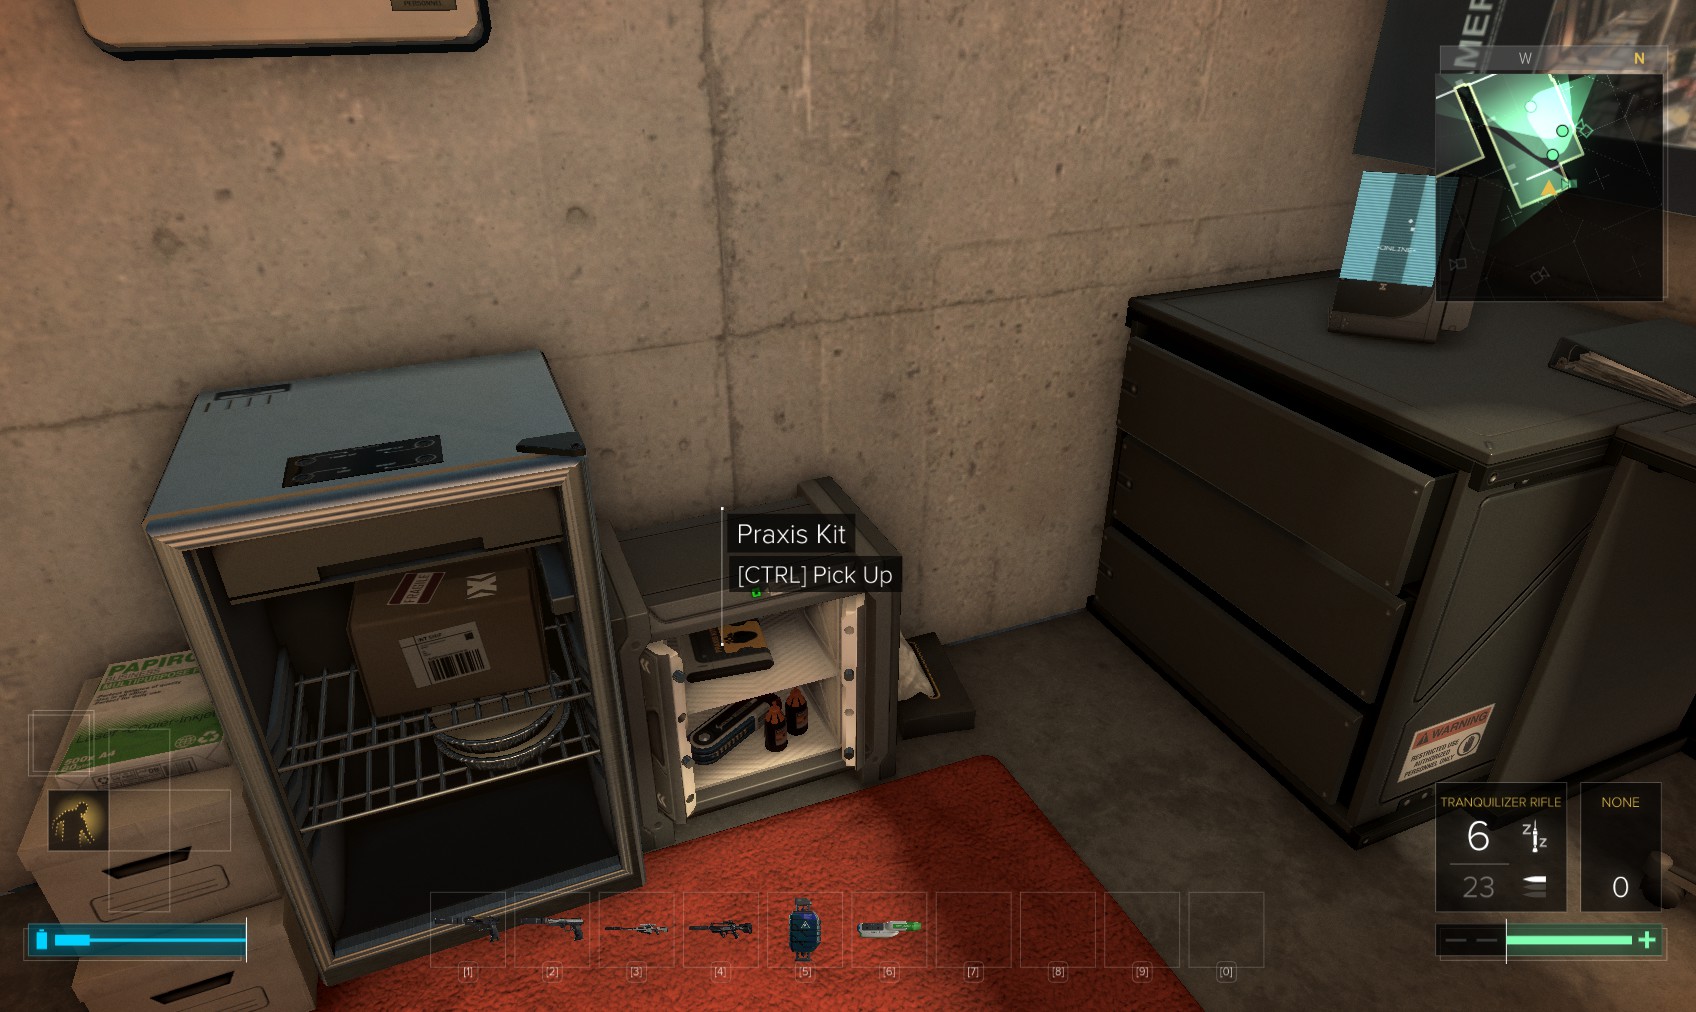
35. This unlocked safe contains a Praxis kit and a pocket secretary.
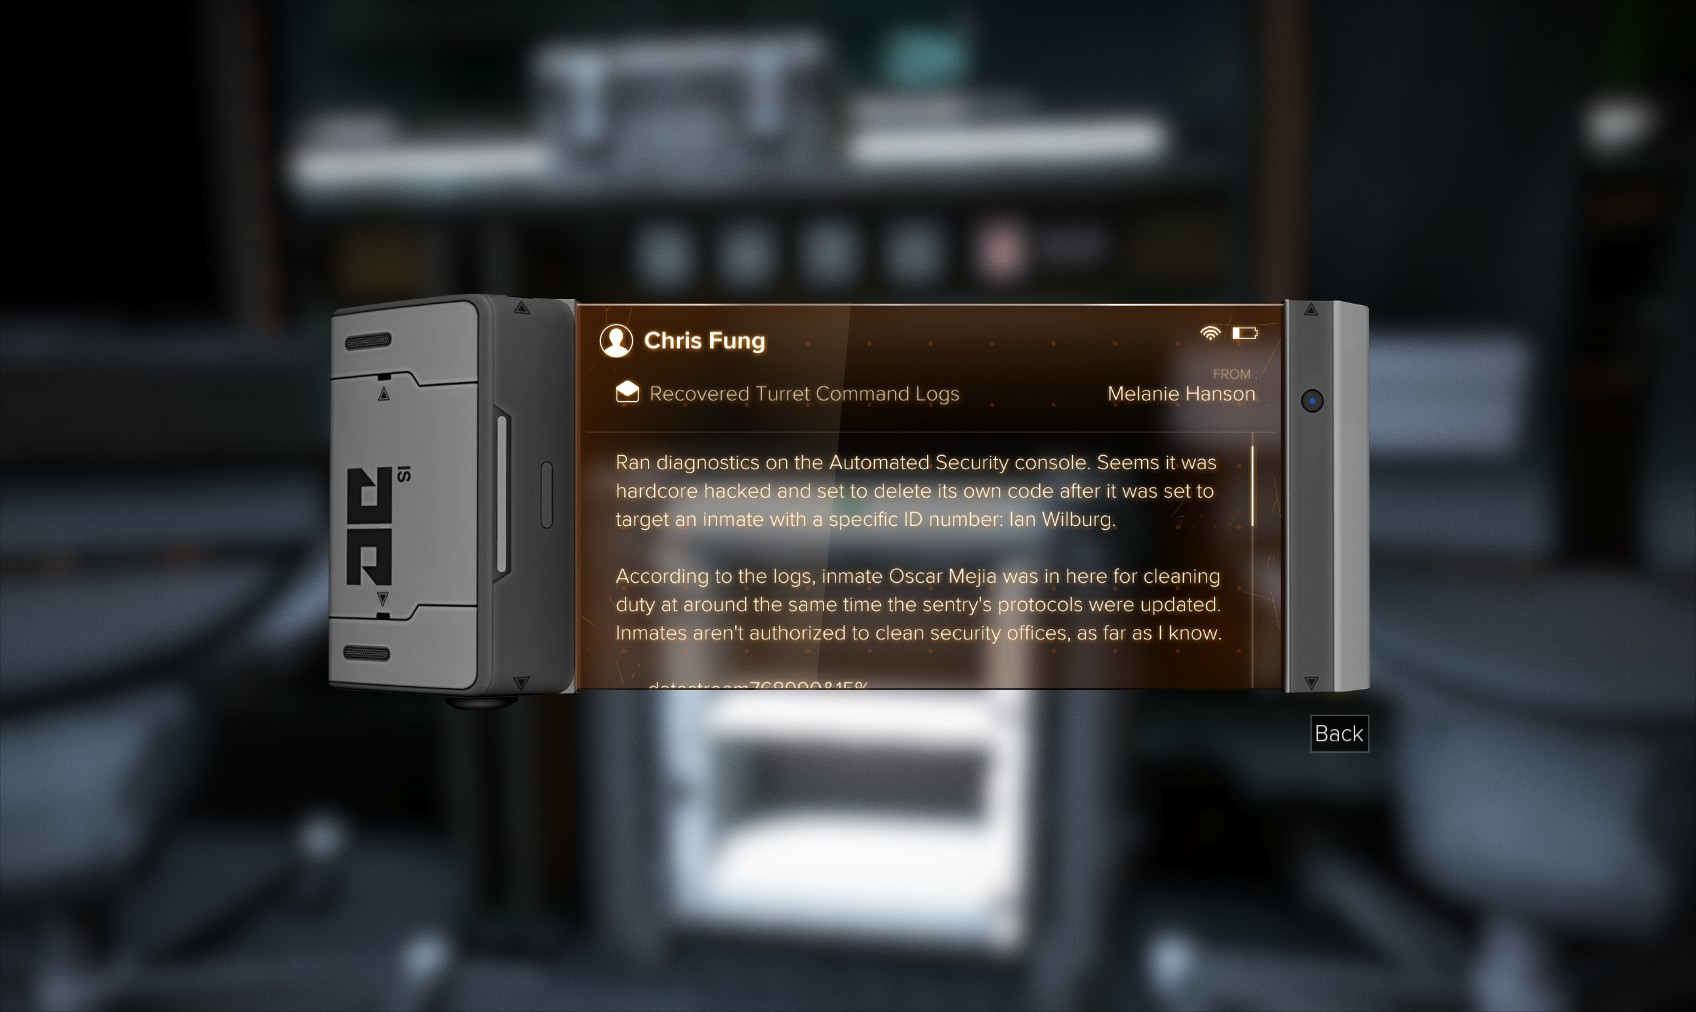
36. Be sure to read this one - it’s another implicating Mejiha in the murder of Wilburg. Hunt around for goodies, including a 4x scope.
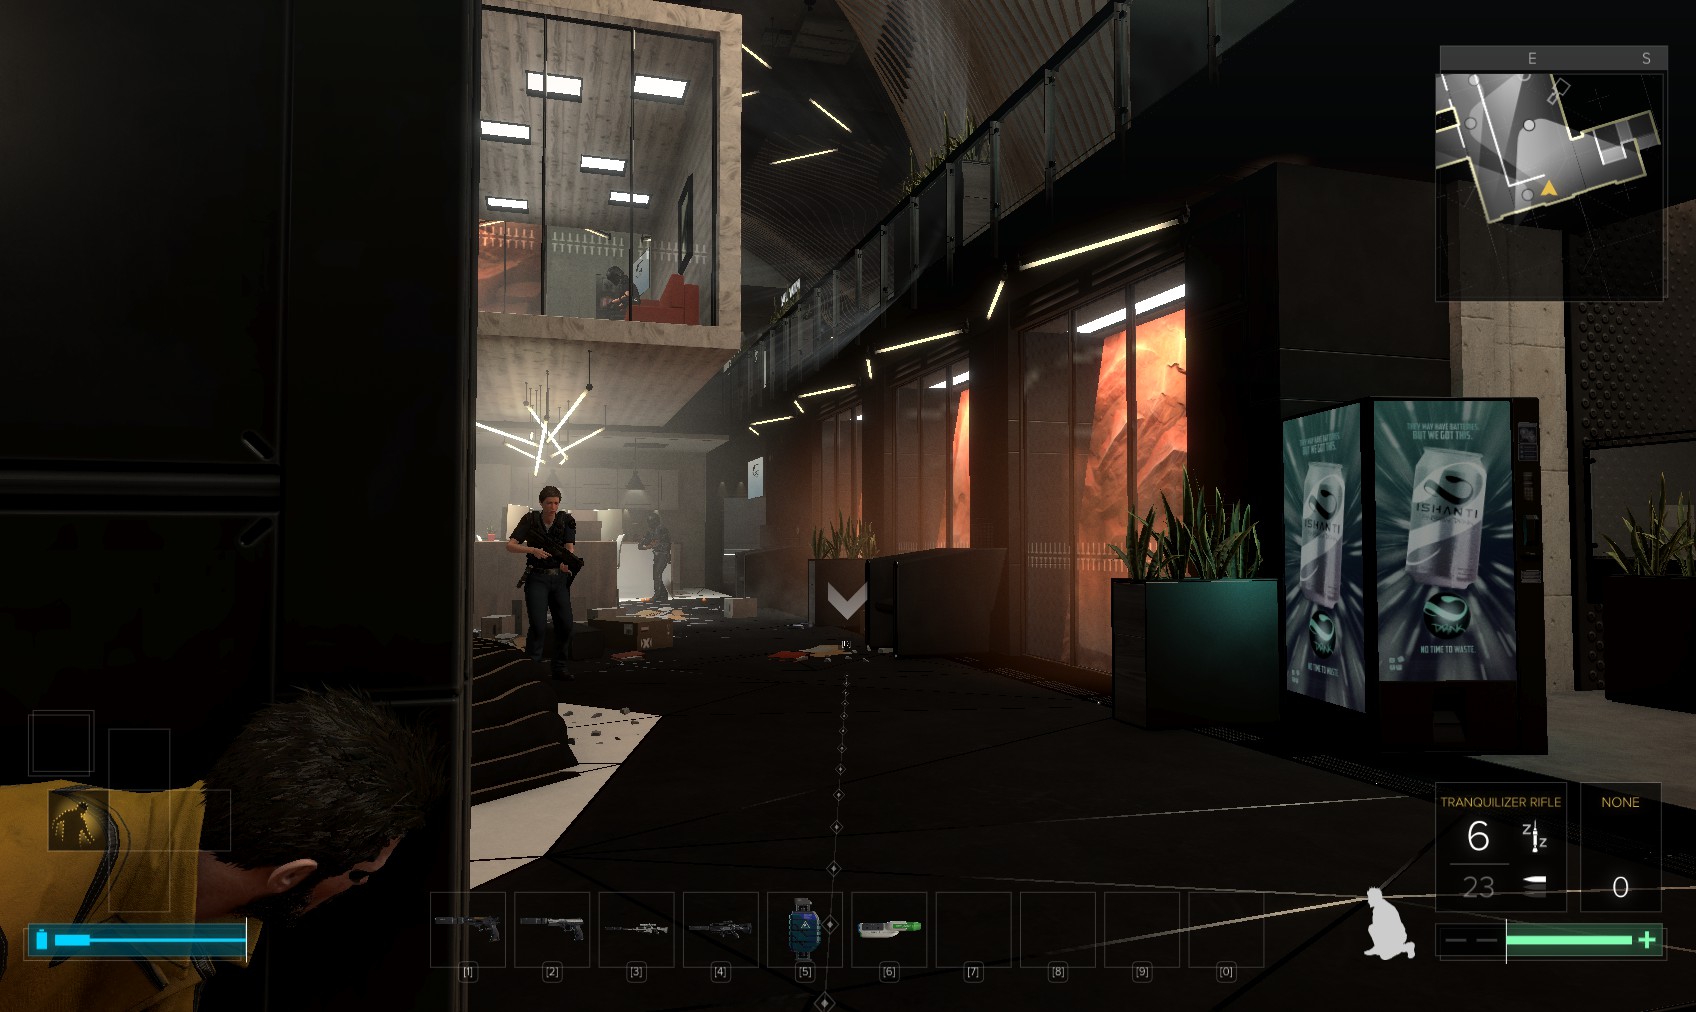
37. With the drones disabled, I can search these bodies for a variety of goodies before going back inside and leaving by the door to the West.
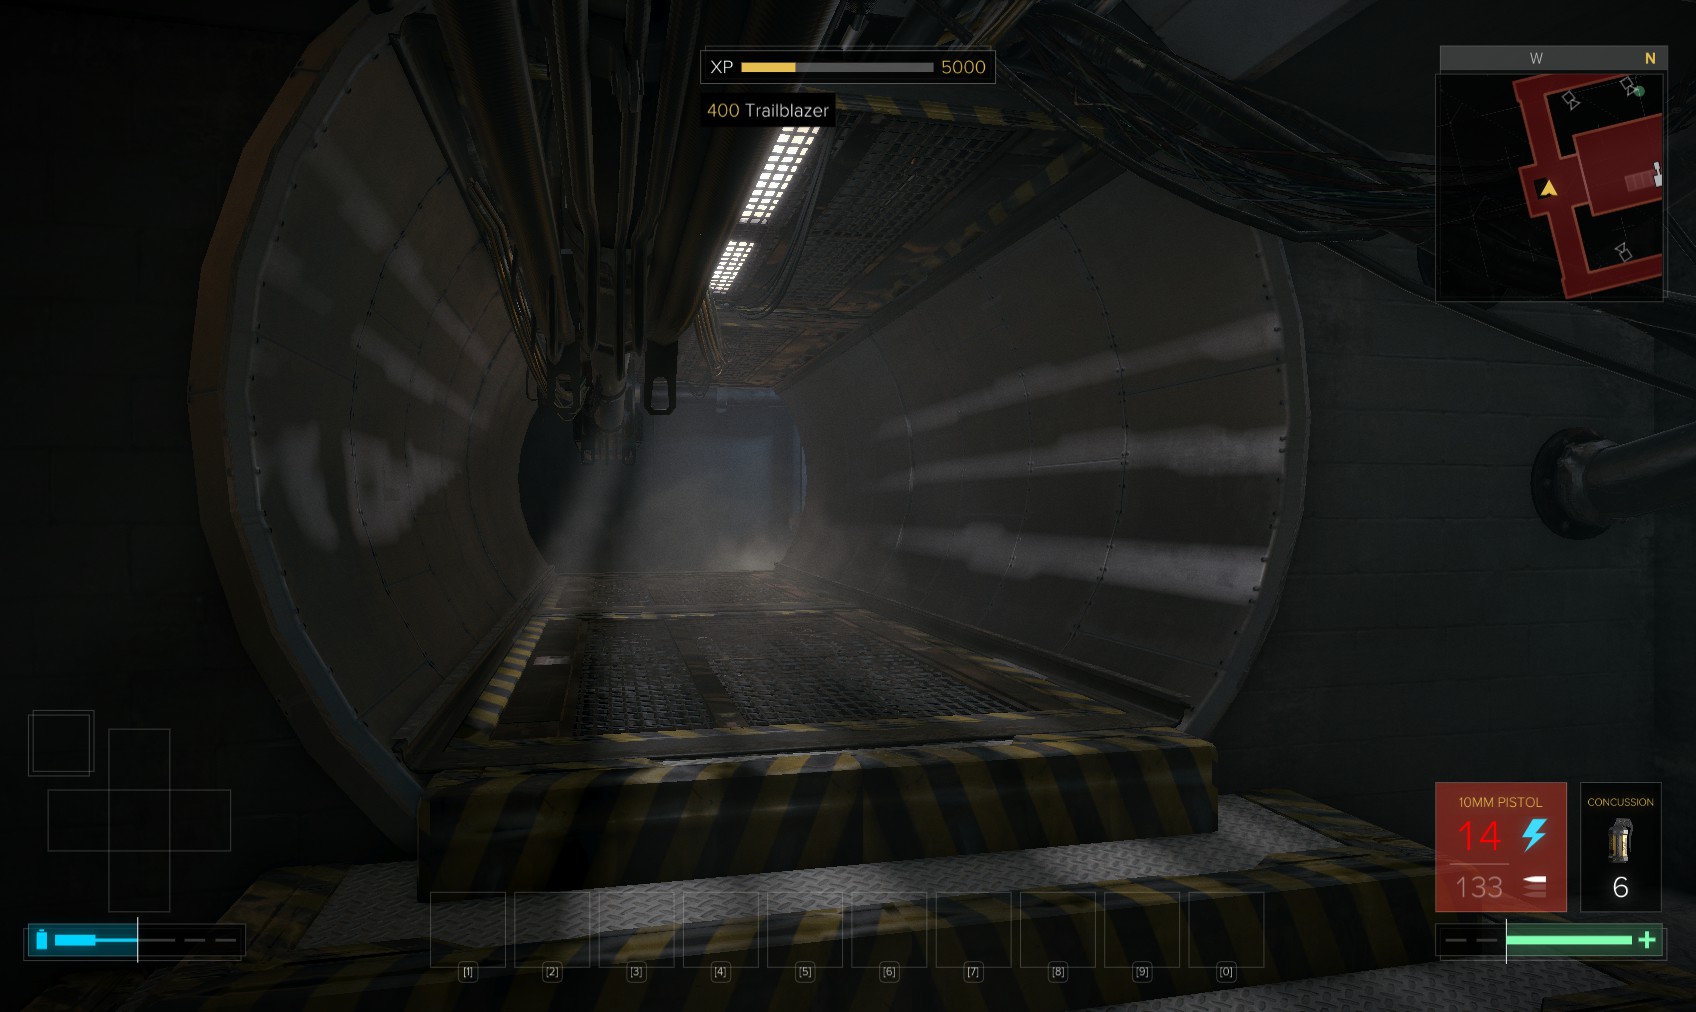
38. Go down the stairs. Halfway down is this vent - go through for a 400XP Trailblazer bonus.
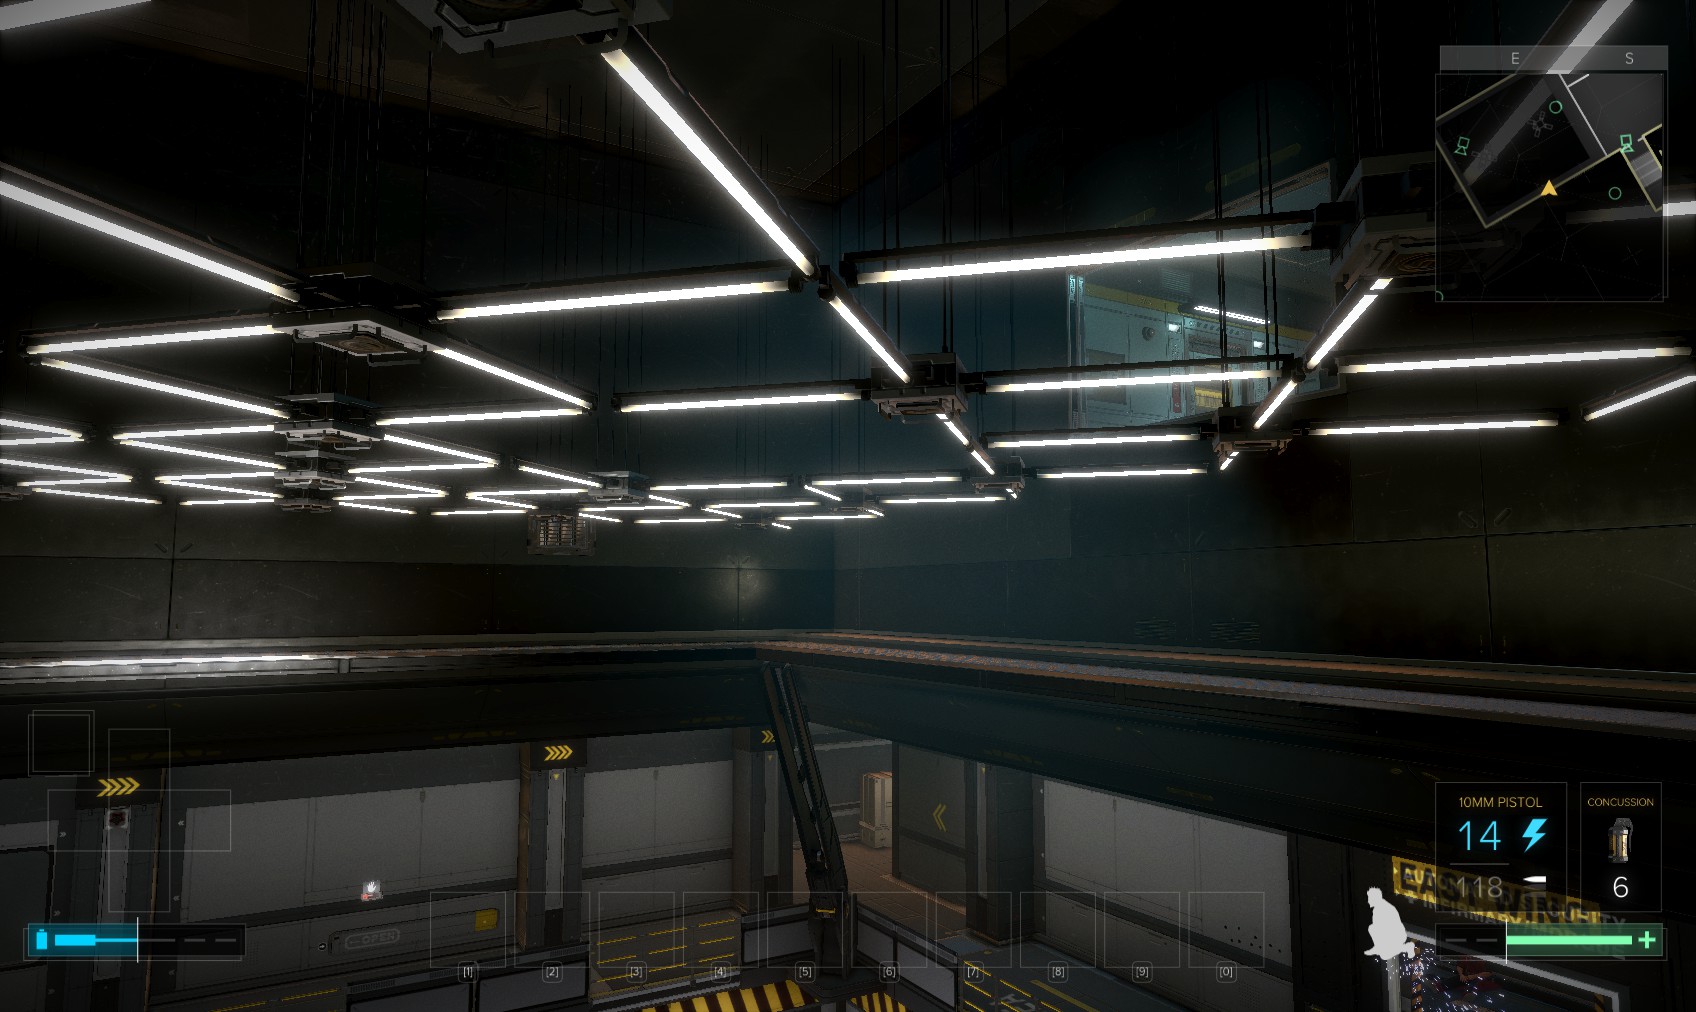
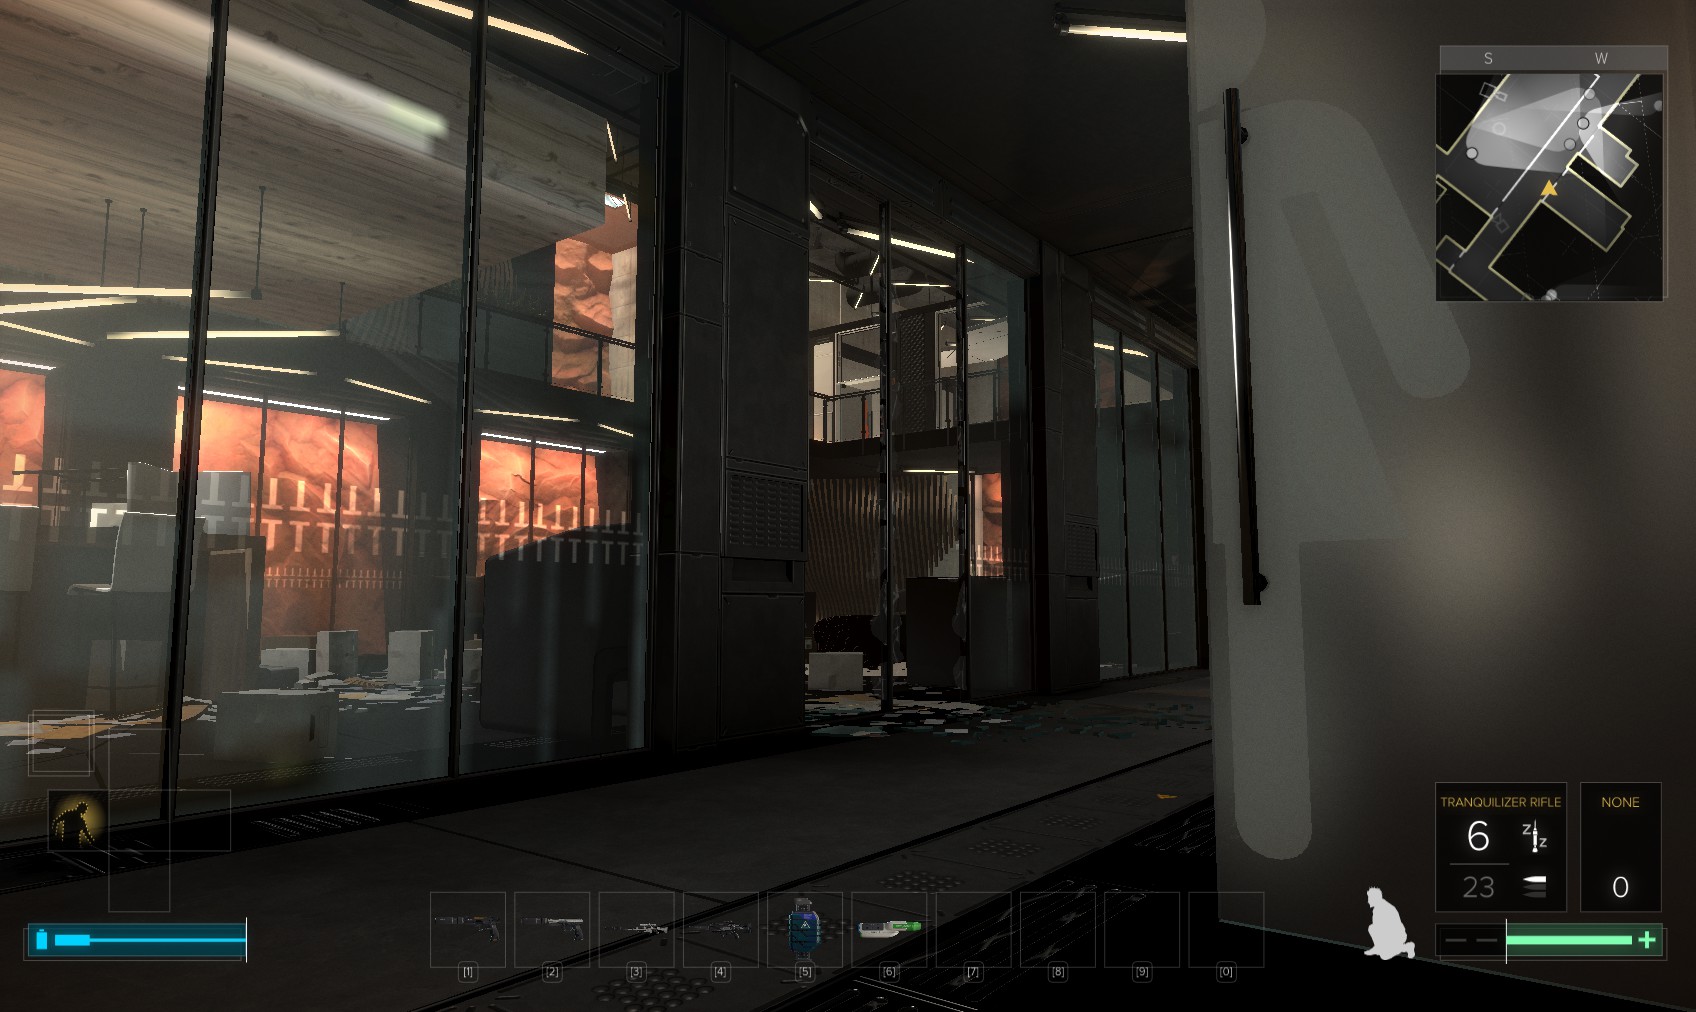
39. You come out on a ledge above the processing area. Another vent can just be seen on the other side. Head into that too.
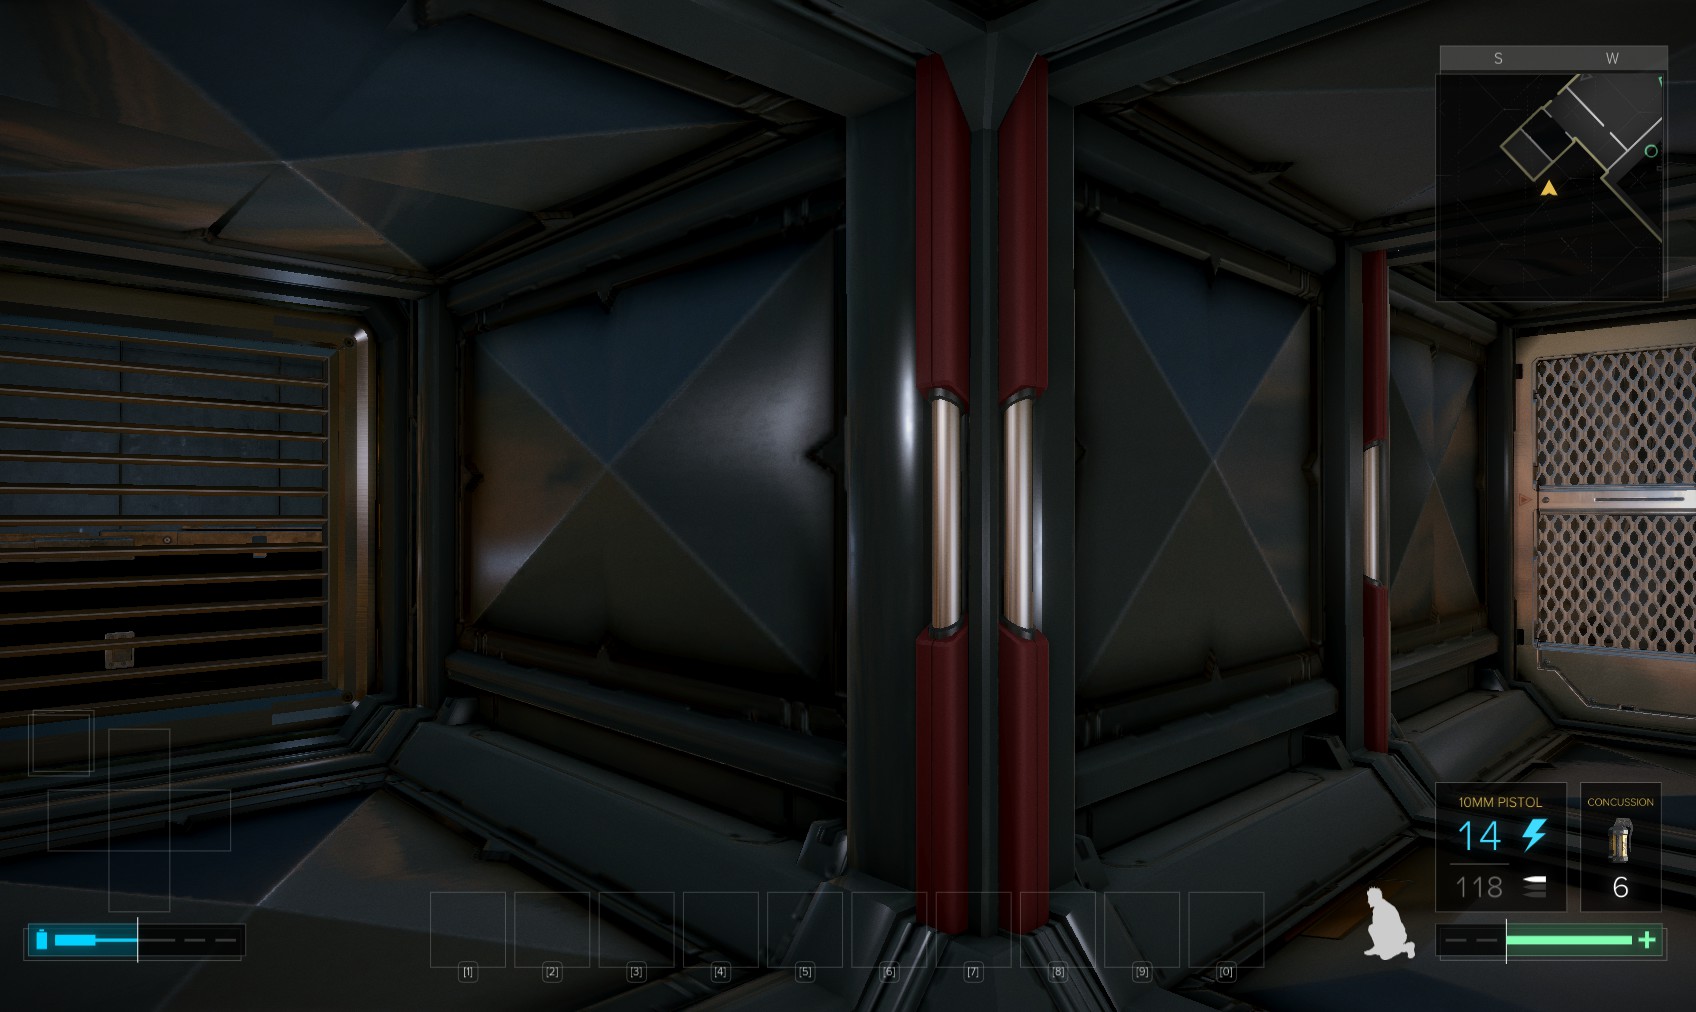
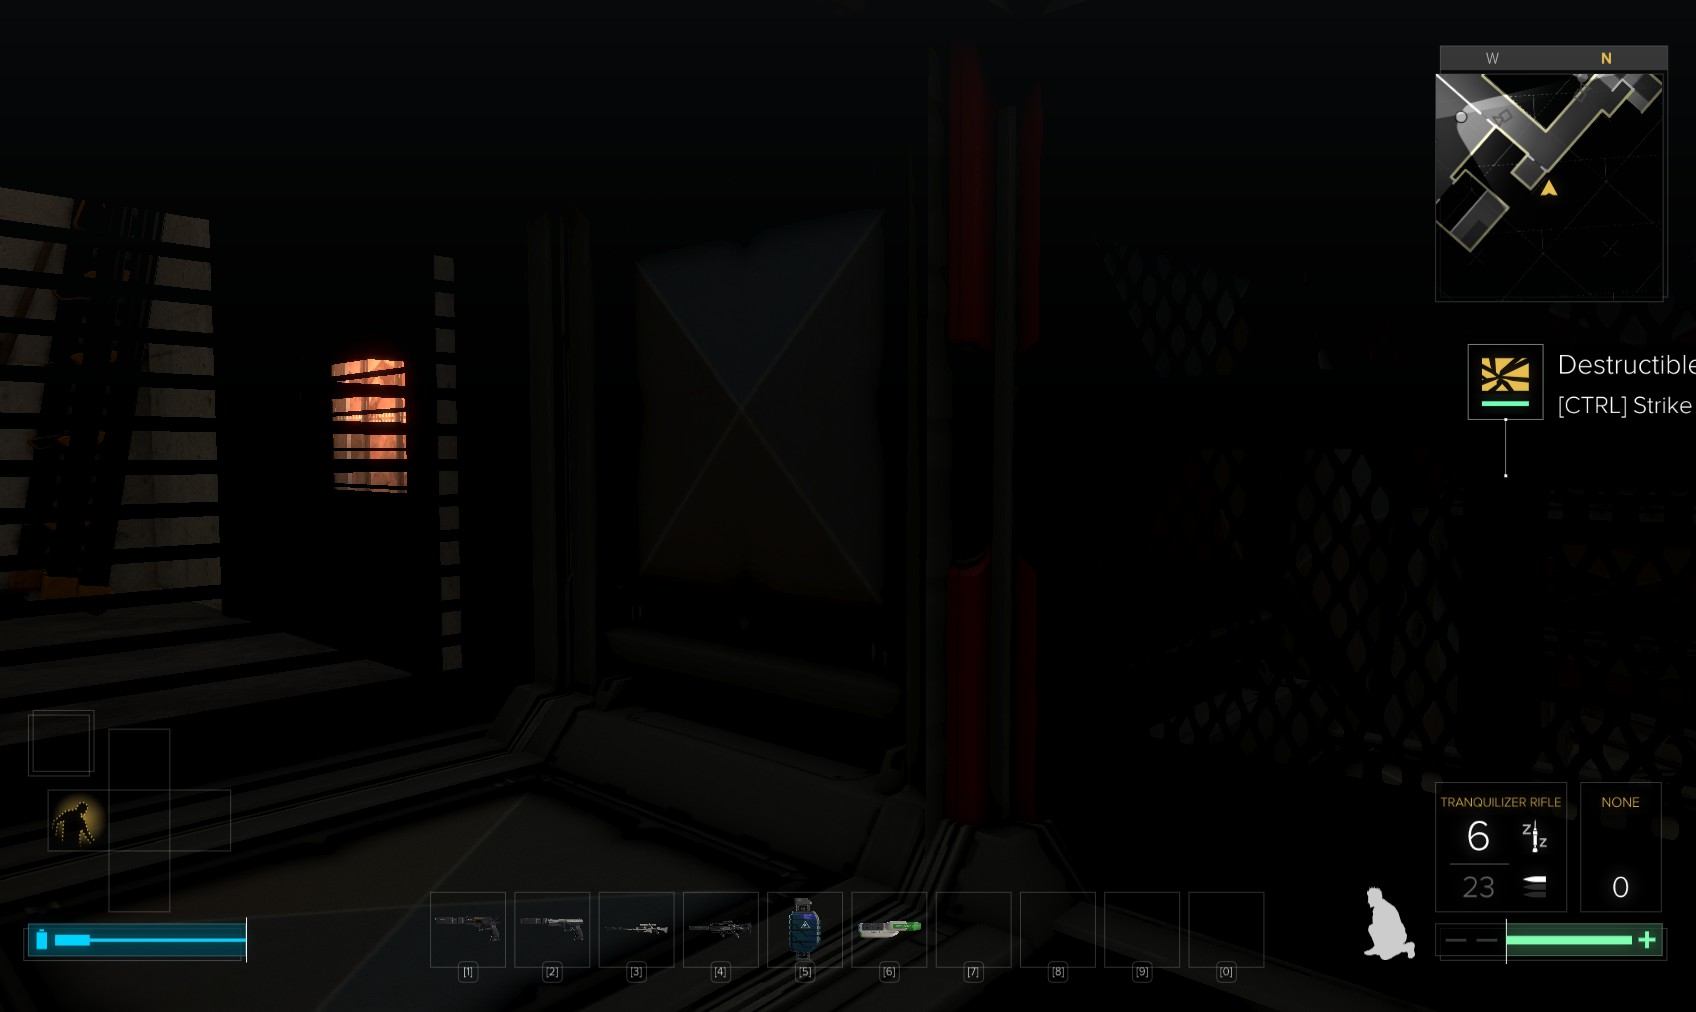
40. Past 2 breakable vents you come to a junction. Right leads back up to the automated security office. Go left into the East Wing elevator maintenance shaft.
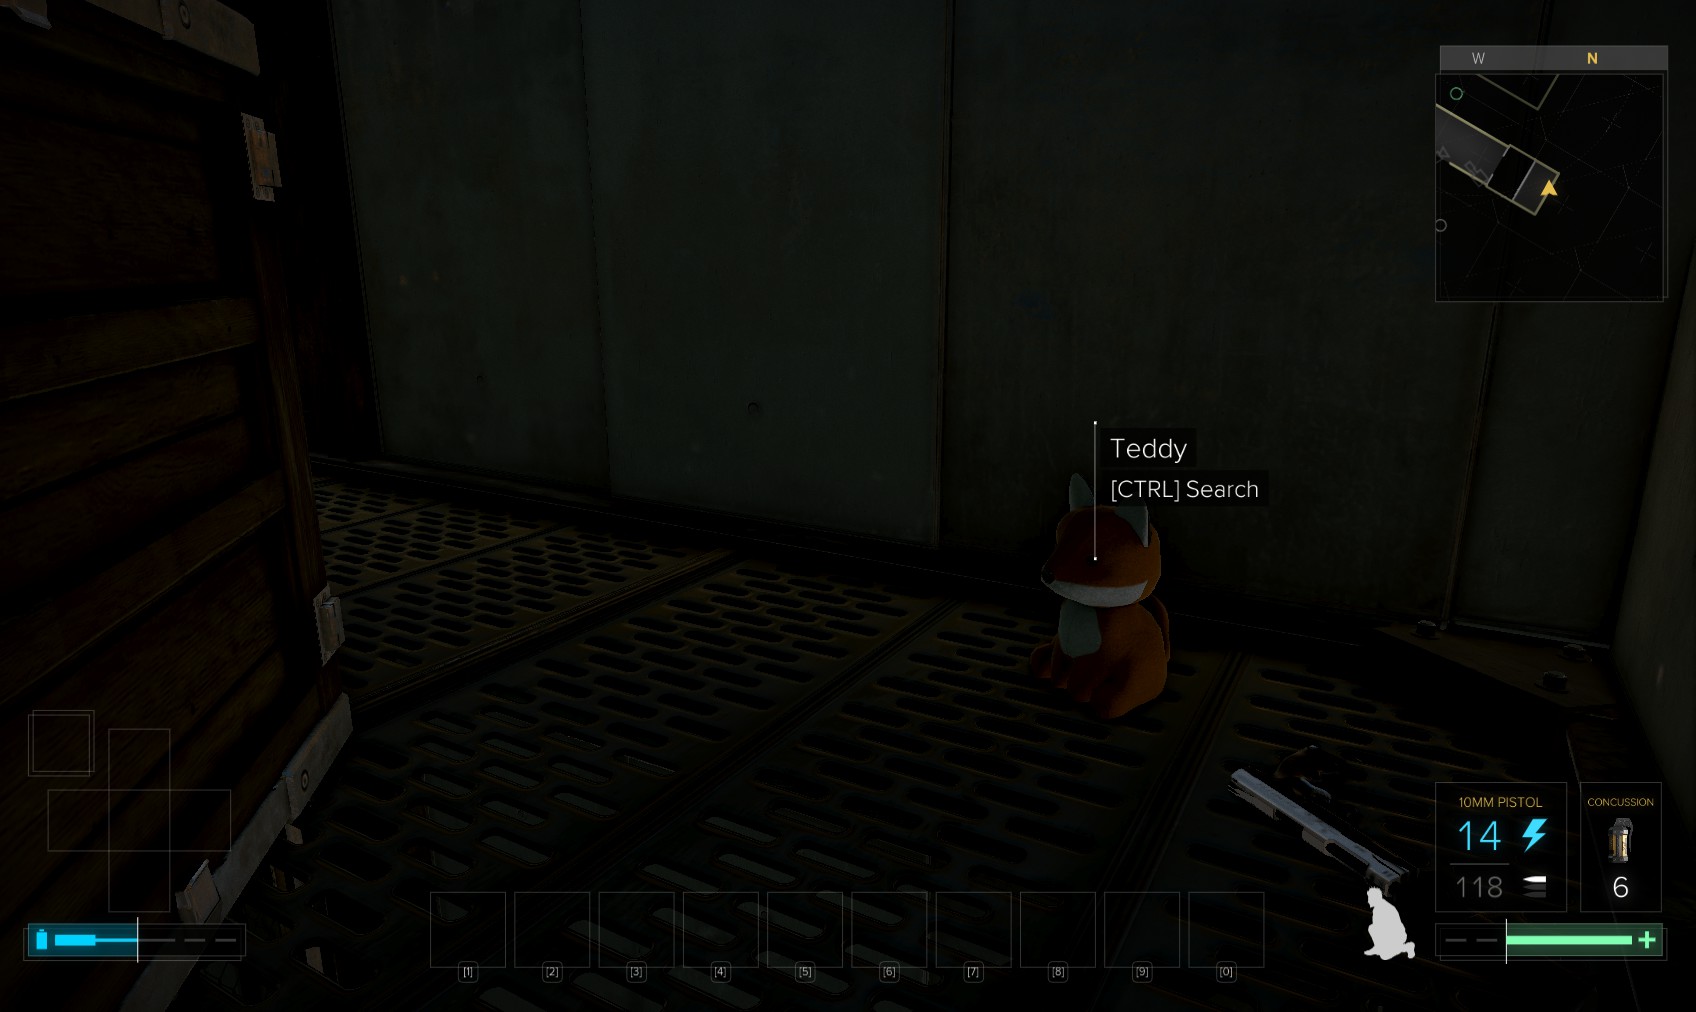
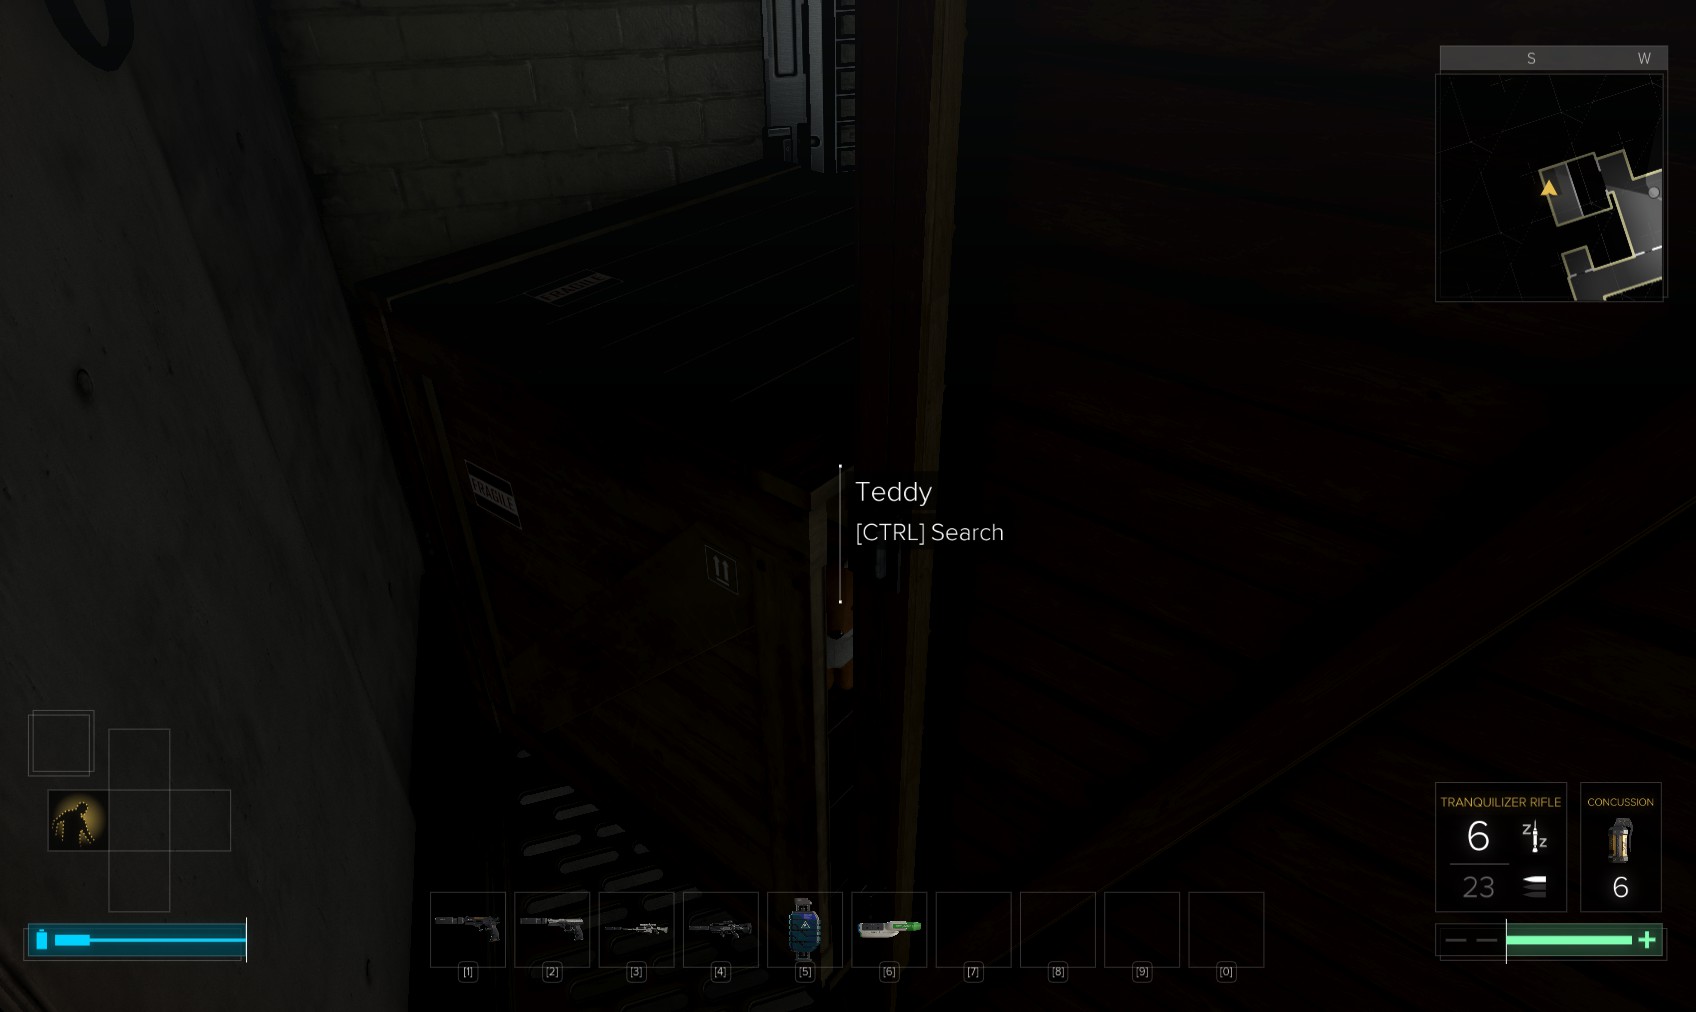
41. Drop down 1 level behind some wooden crates to find this Teddy.
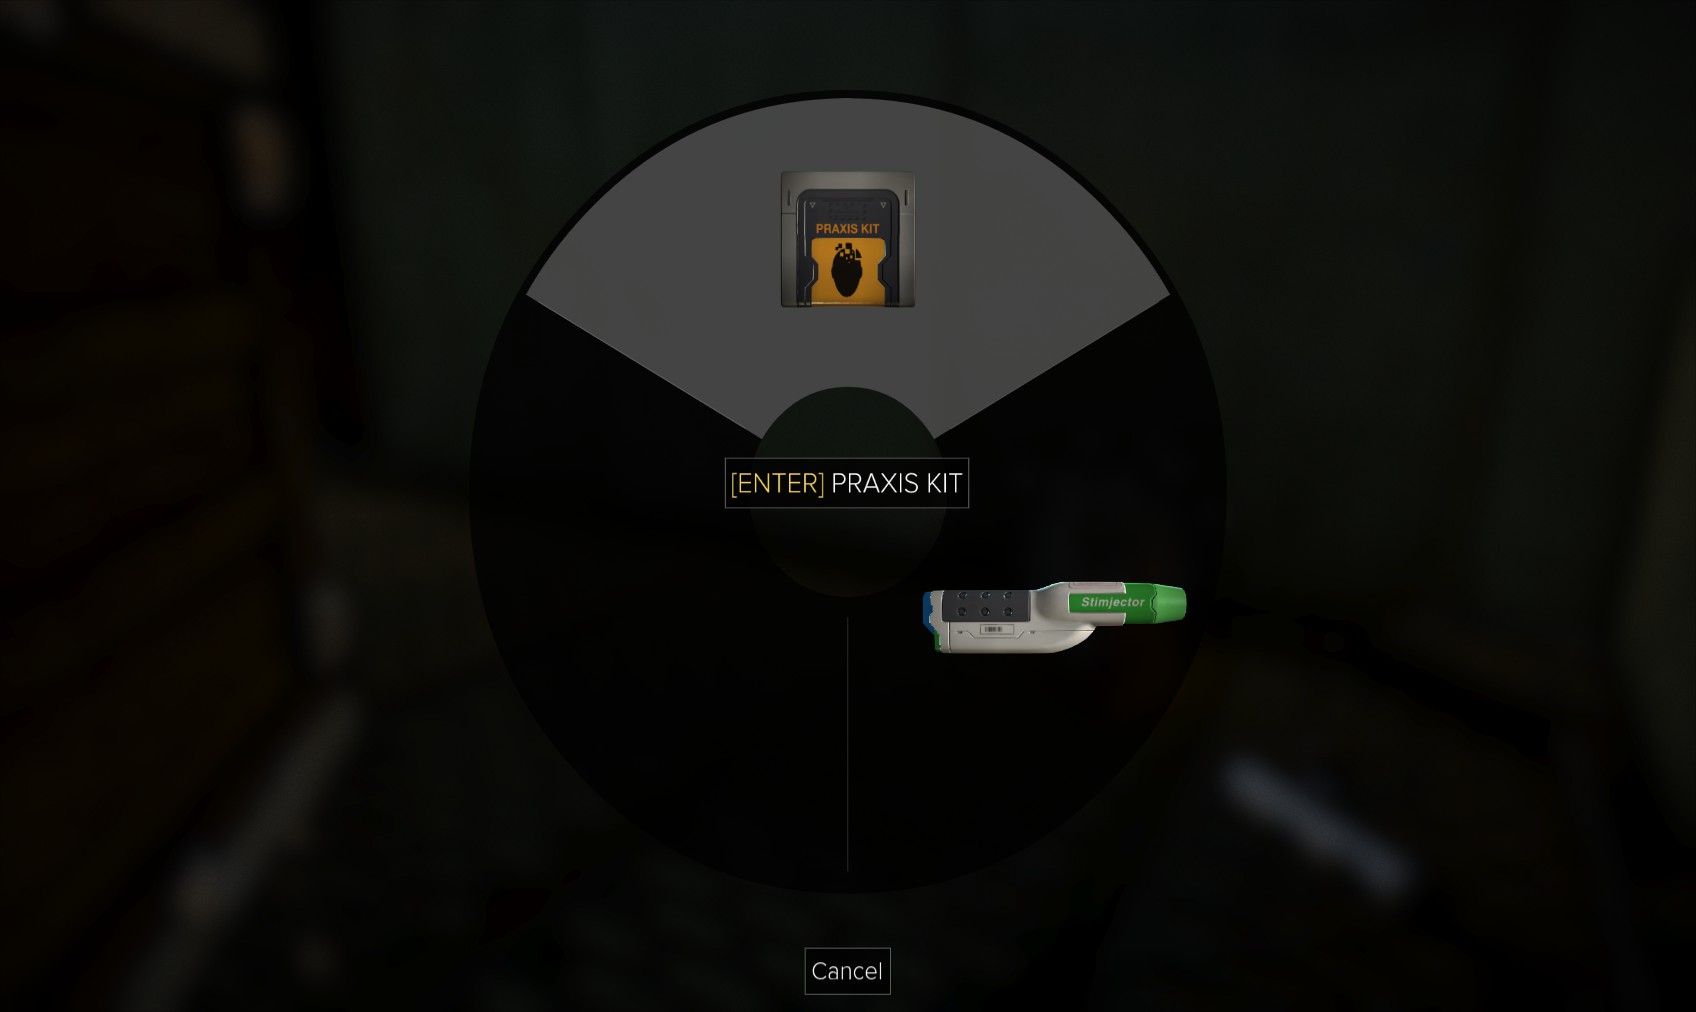
42. Inside it is a Praxis kit.
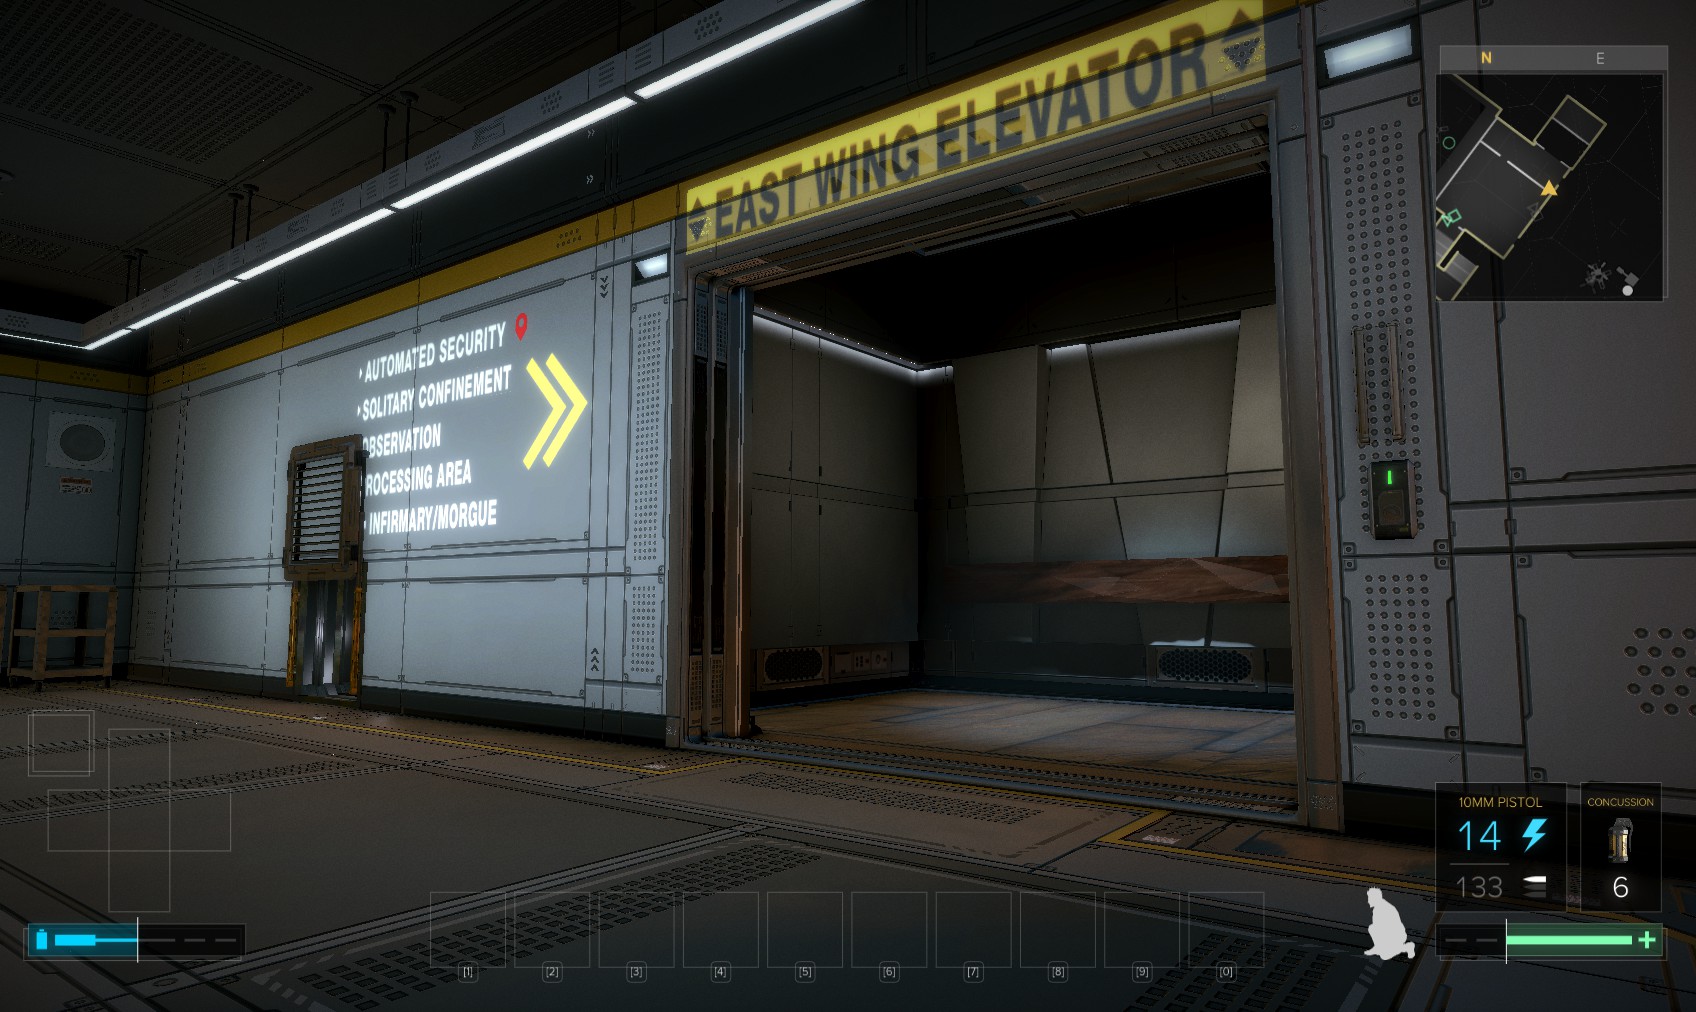
43. Go back up to the vent and take the other route past 1 more breakable vent to the East Wing elevator by the automated security office. Ride back down to the infirmary.
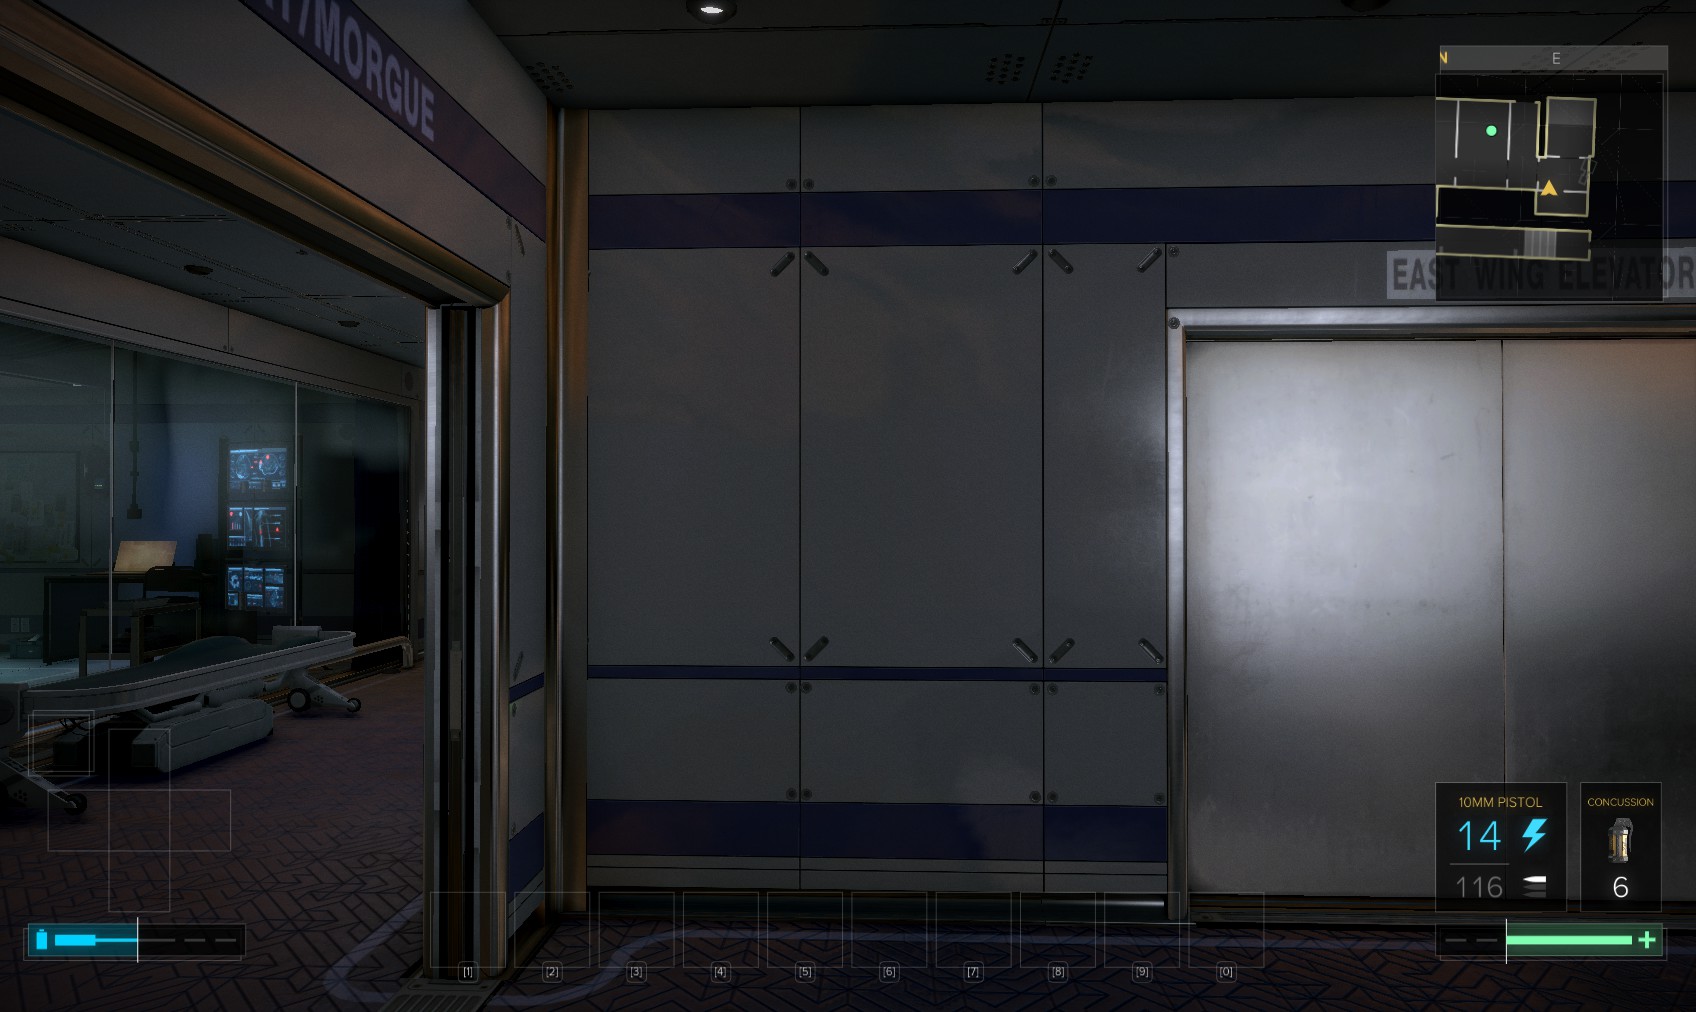
44. Go through to the morgue. In the corner is a door requiring the infirmary keycard.
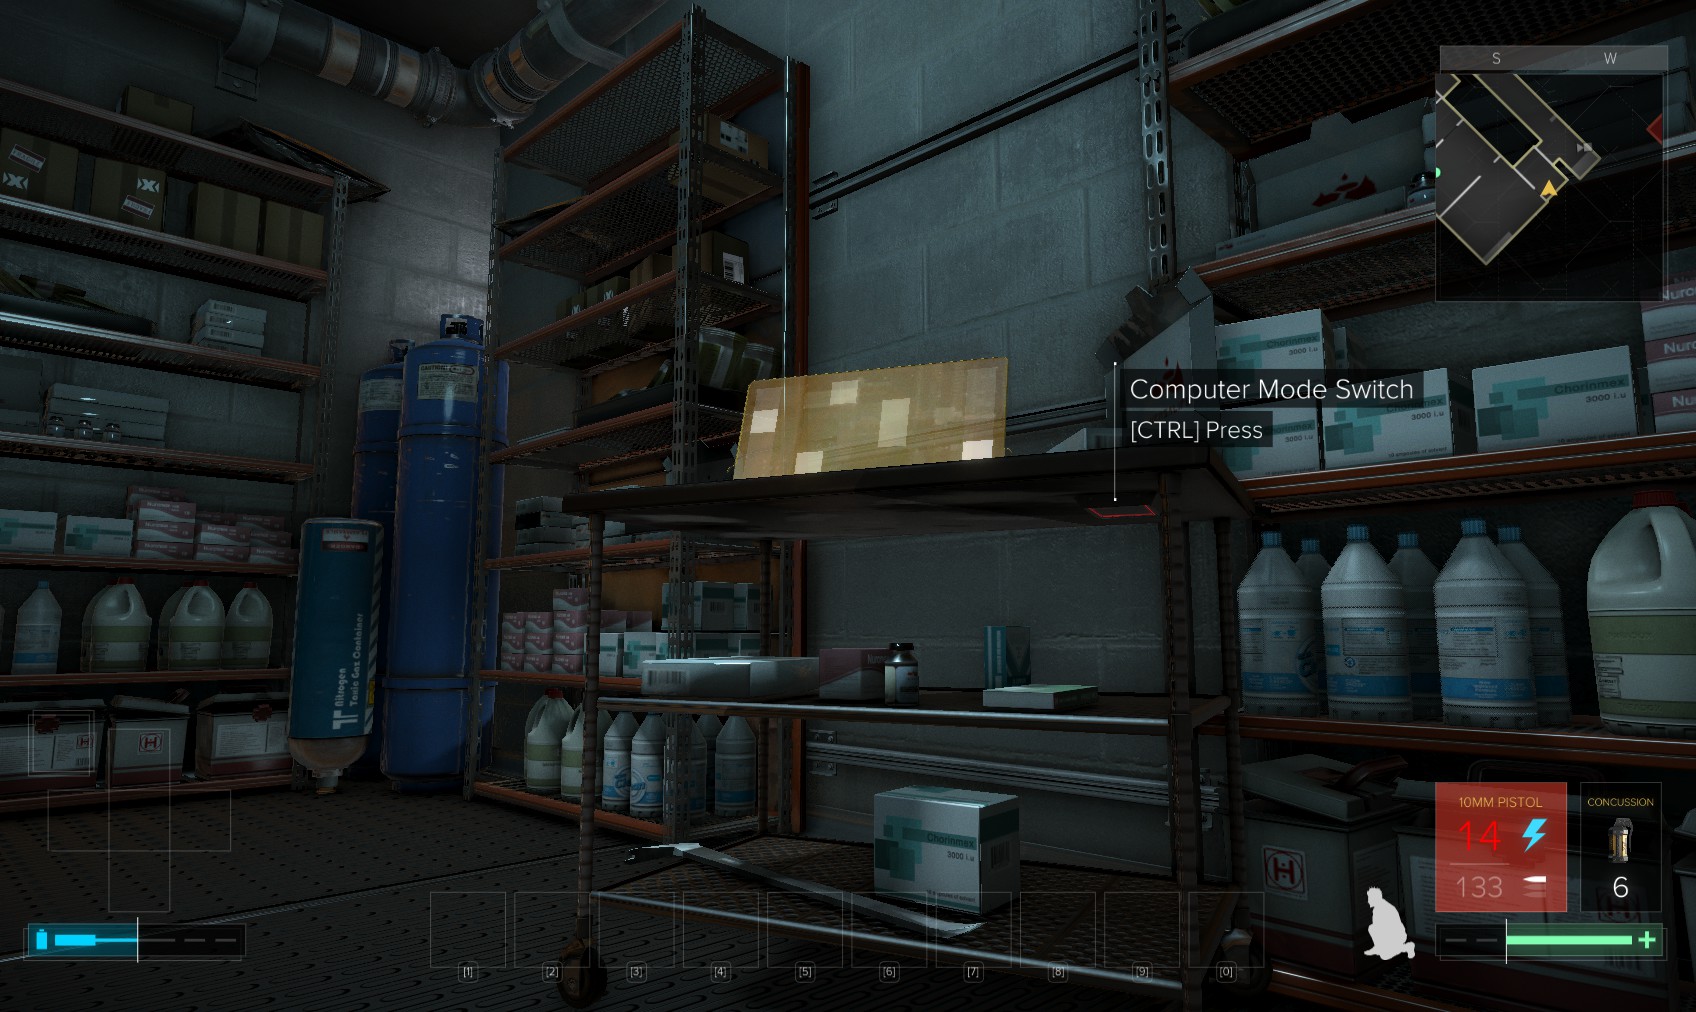
45. Hunt around for biocells, painkillers and Neuropozyne, and read the emails on the unlocked laptop before pressing this button.
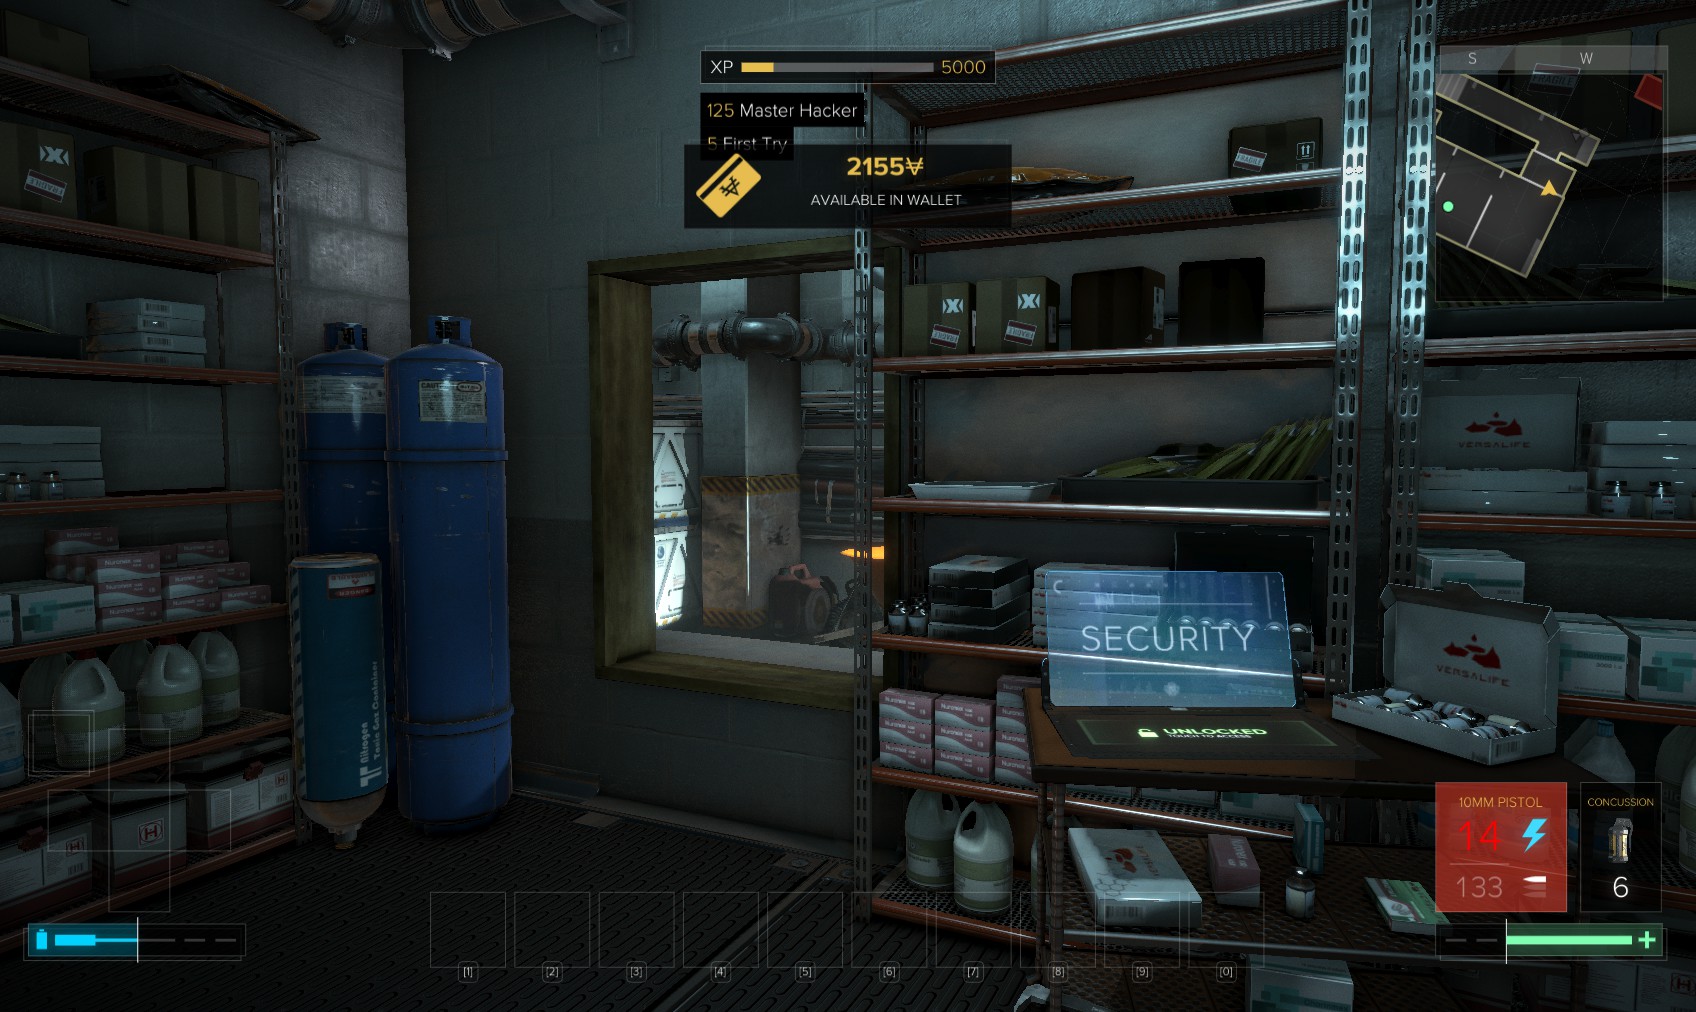
46. It turns the laptop into a level 5 security console. I’ve now acquired 9 Praxis points which I spend on upgrading my hacking skills and buying the leg augmentation. Hacking it gets me 350XP, 600c and either overclock software or stealth software (sacrifice the data node on the left if you’d rather have the stealth). Disable a camera and open a door. It’s this door! Head on in.
47. You come out underneath the corridor (heavily guarded) to the Solitary Wing. If you hadn’t visitied Automated Security first this place would be patrolled by two drones.
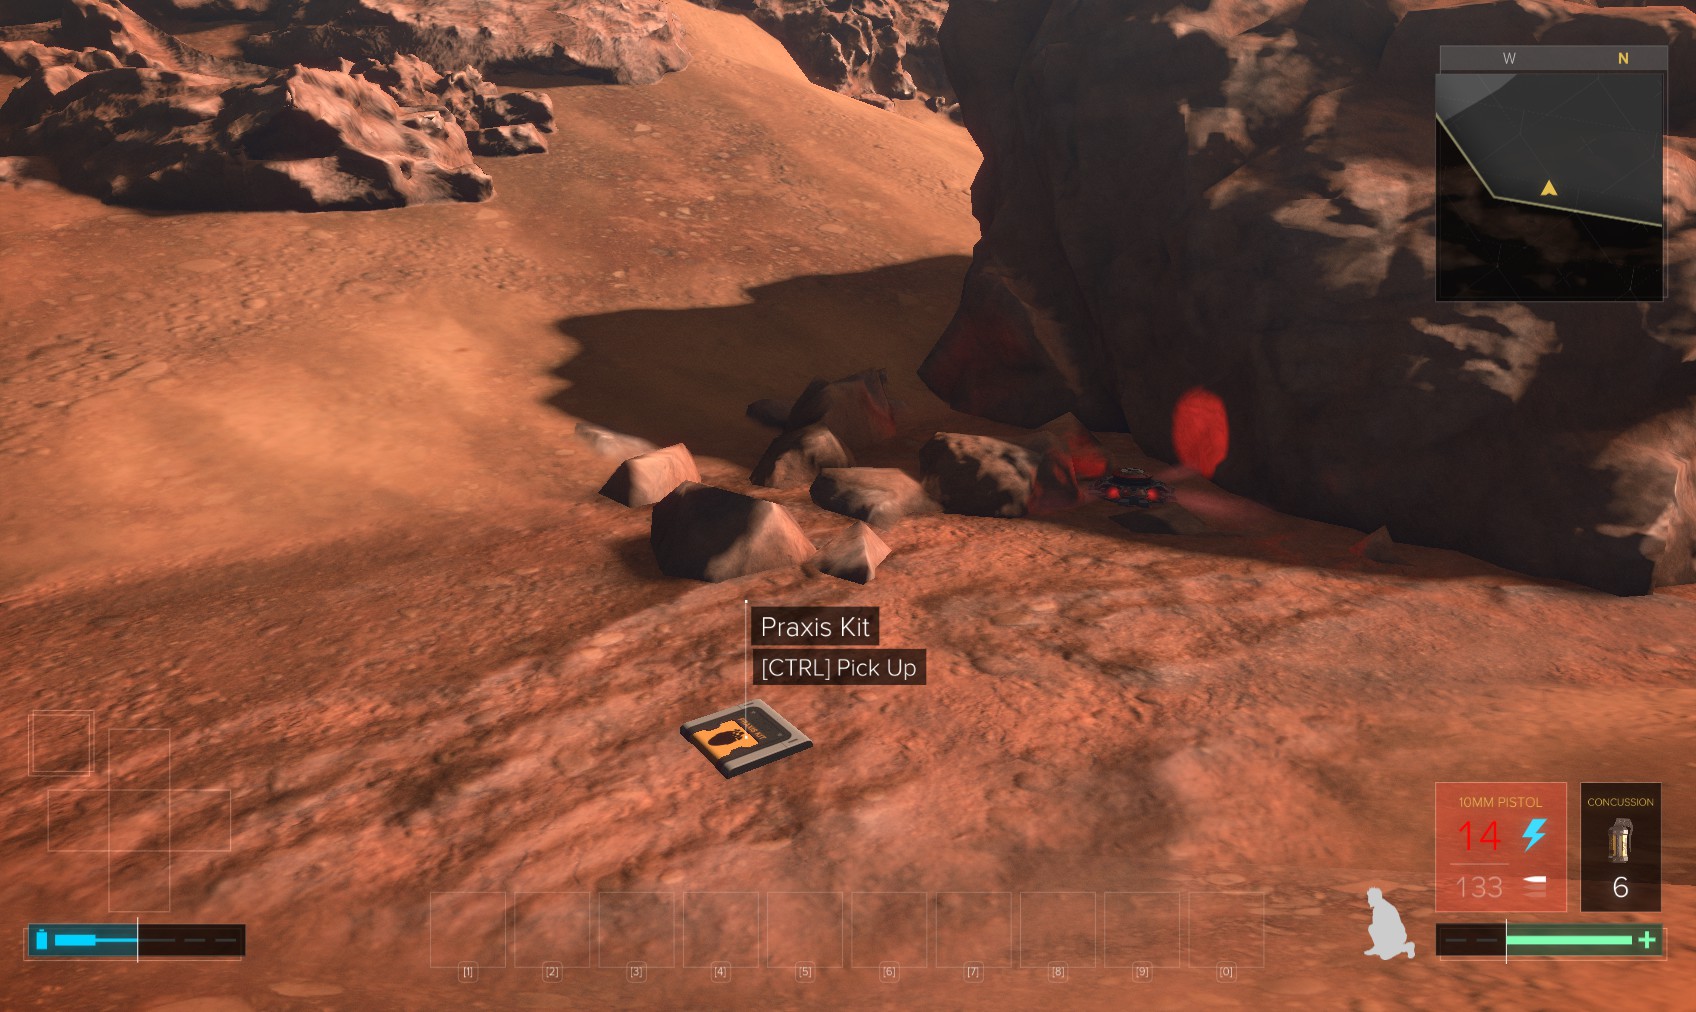
48. Watch out for mines, and head left (North and East) as far as you can go to find this Praxis kit.
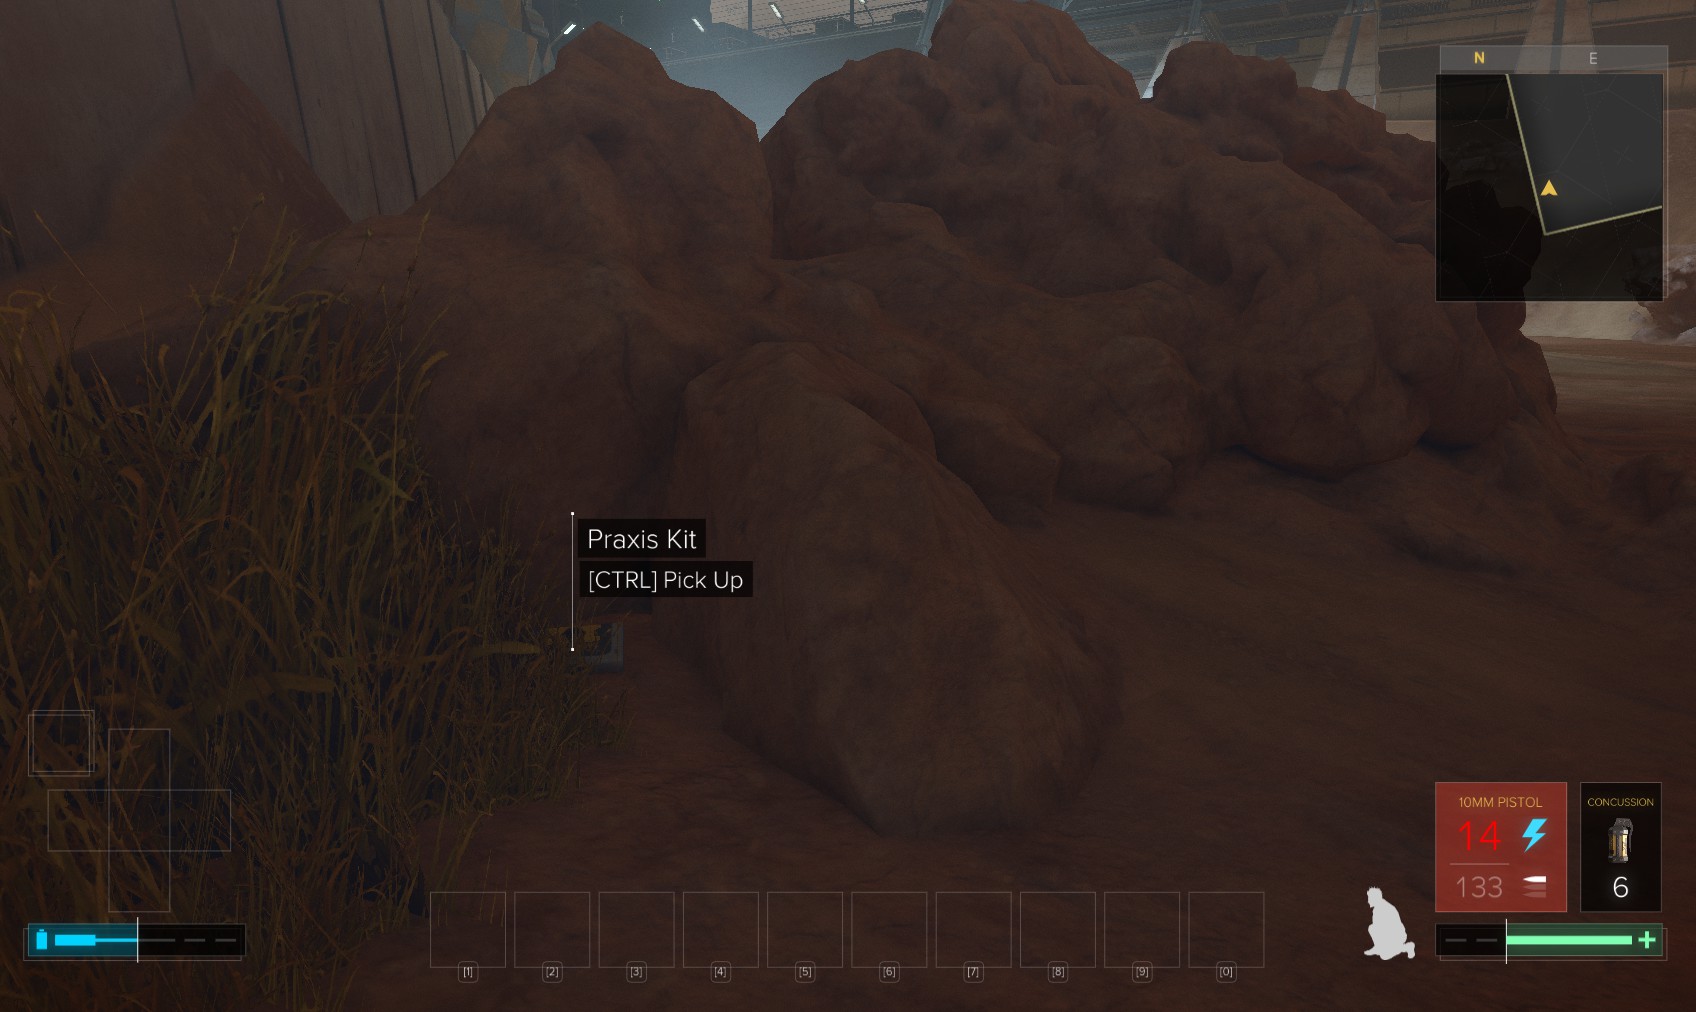
49. Do the same South and West to find another.
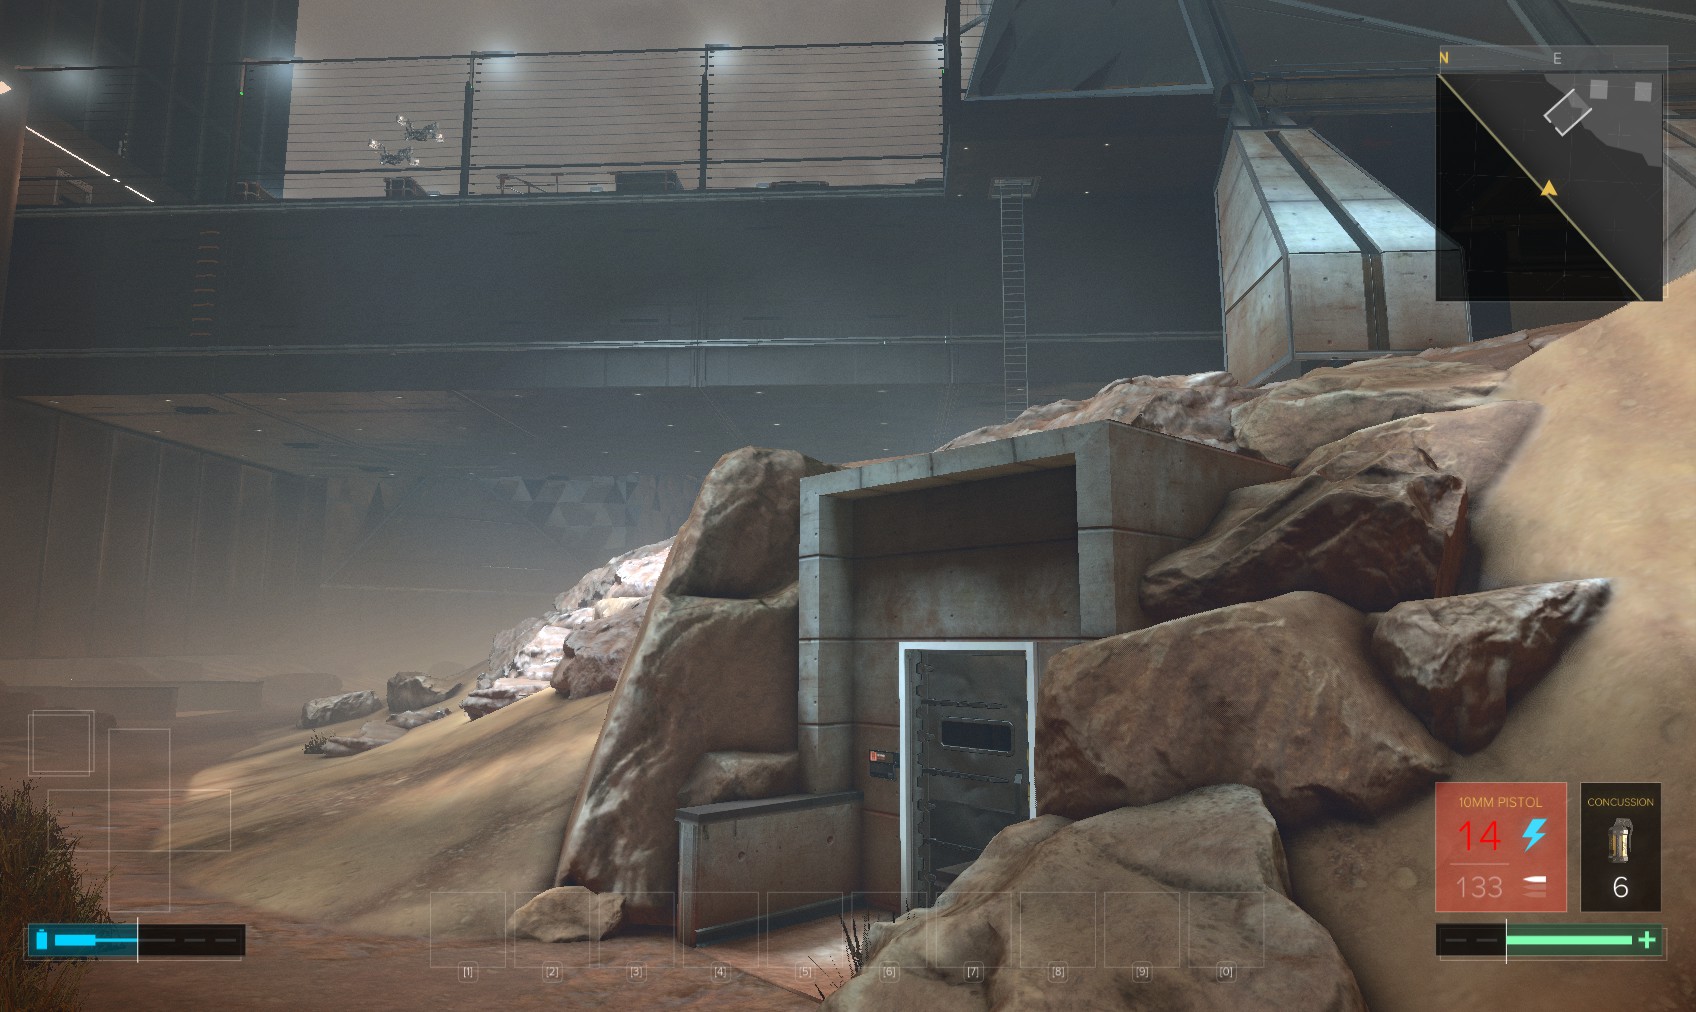
50. Return to this door which is a level 4 hack for overclock software. Go on inside.
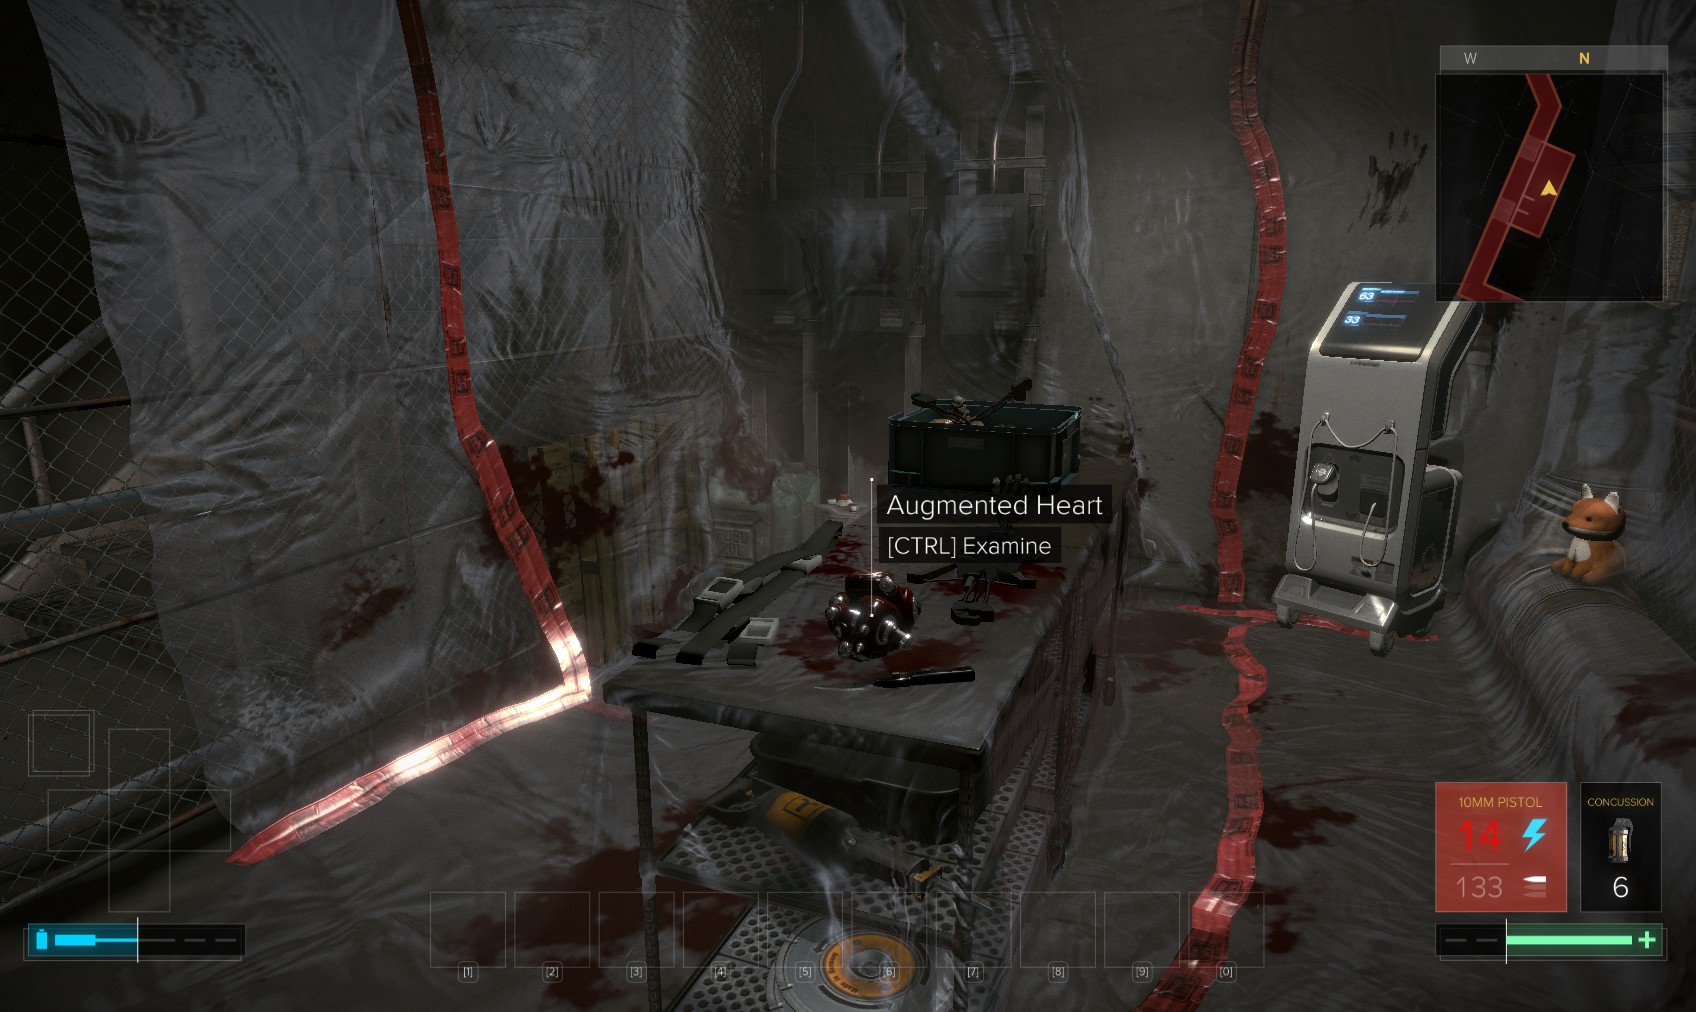
51. There’s a makeshift surgery on the right with this augmented heart which probably belonged to Wilburg.
52. Teddy has yet another Praxis kit.
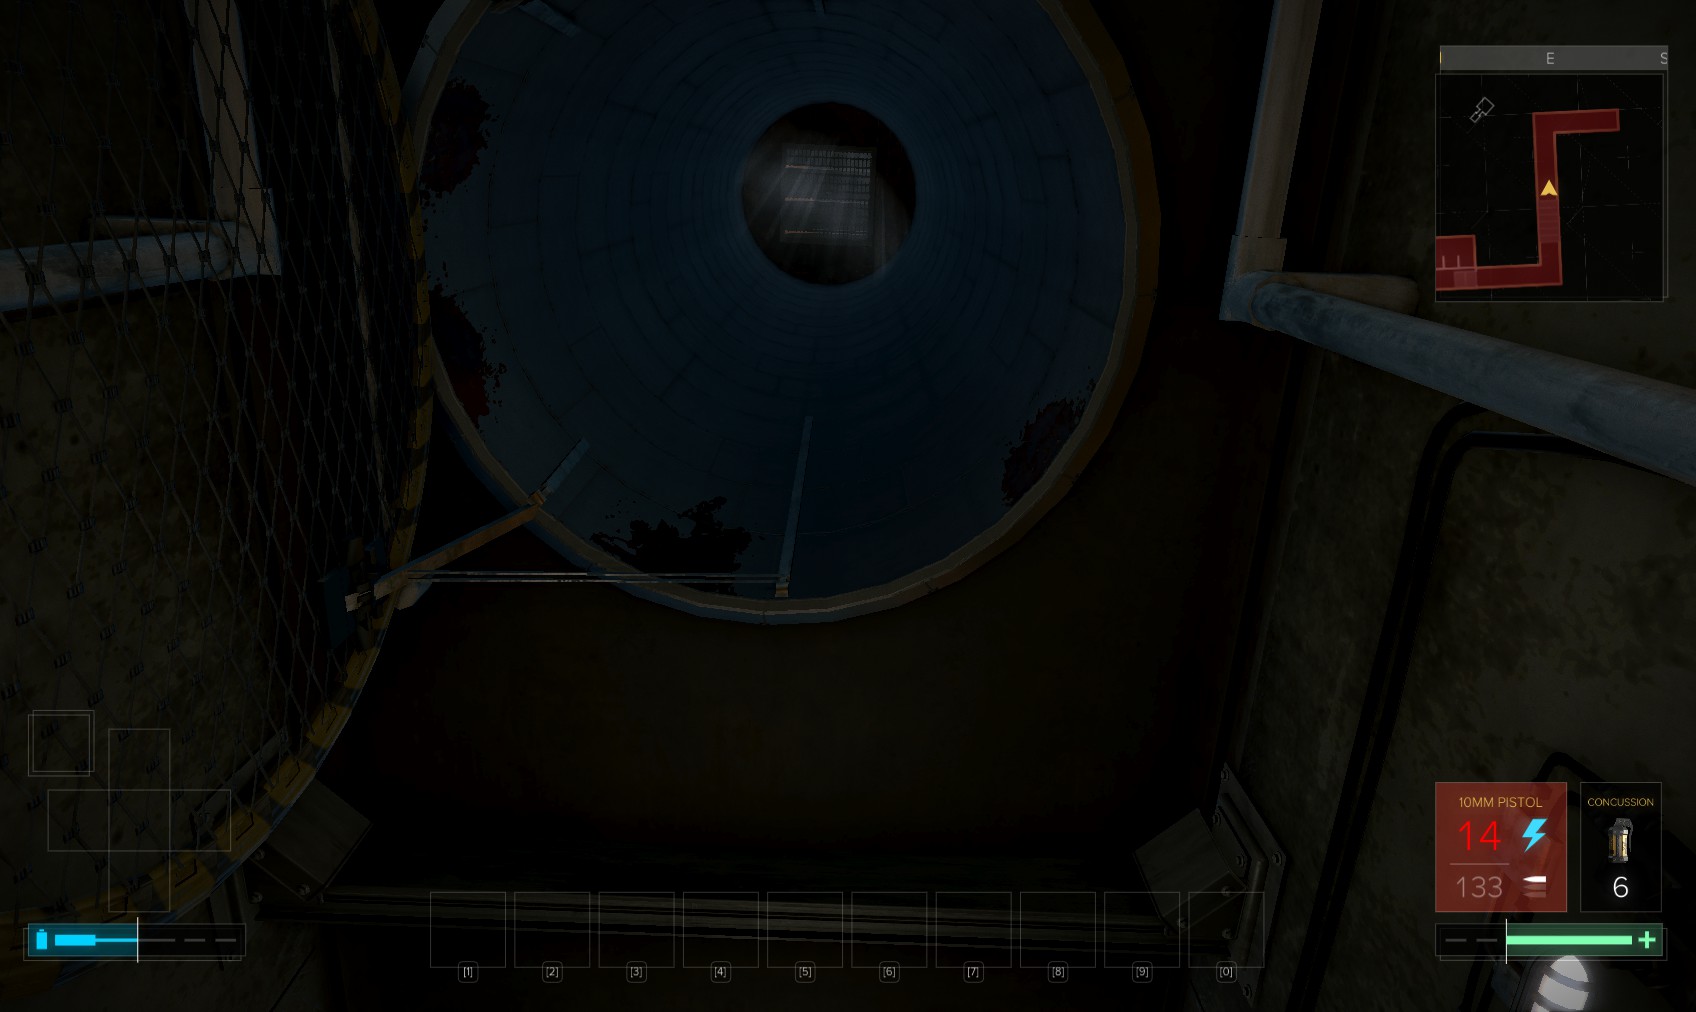
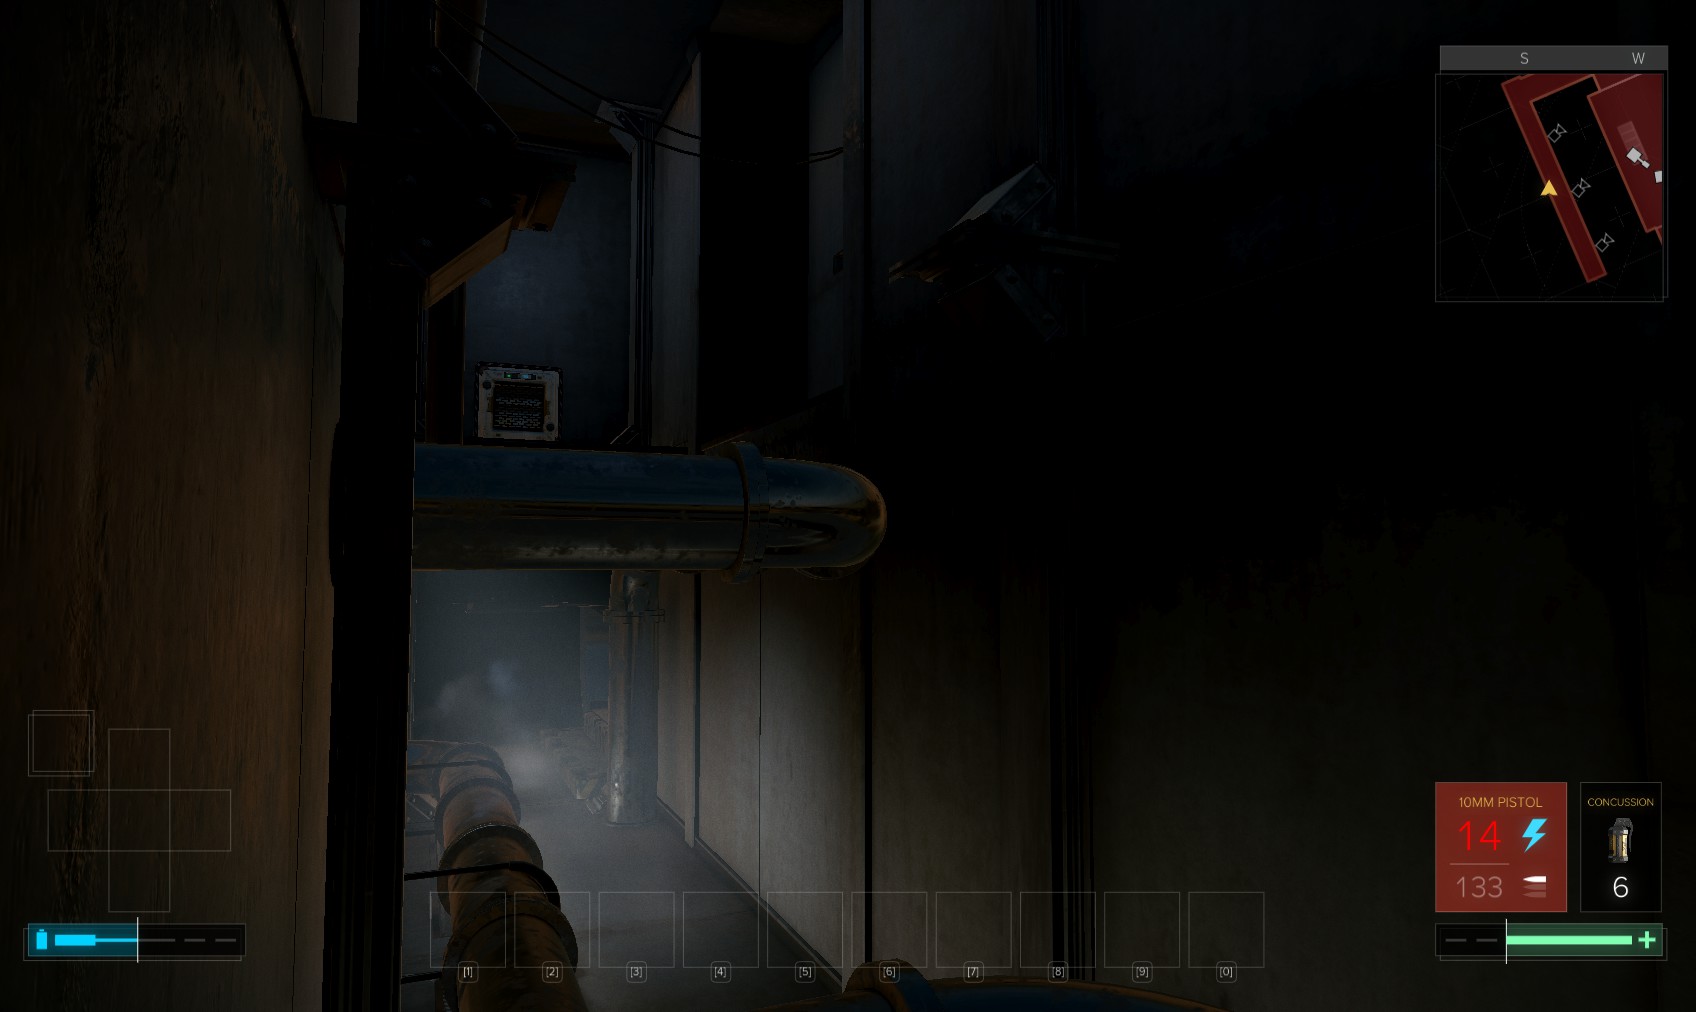
53. Continue on up some stairs. This pipe in the ceiling looks interesting…
54. Finally go up a ladder for a 400XP Trailblazer bonus to here.
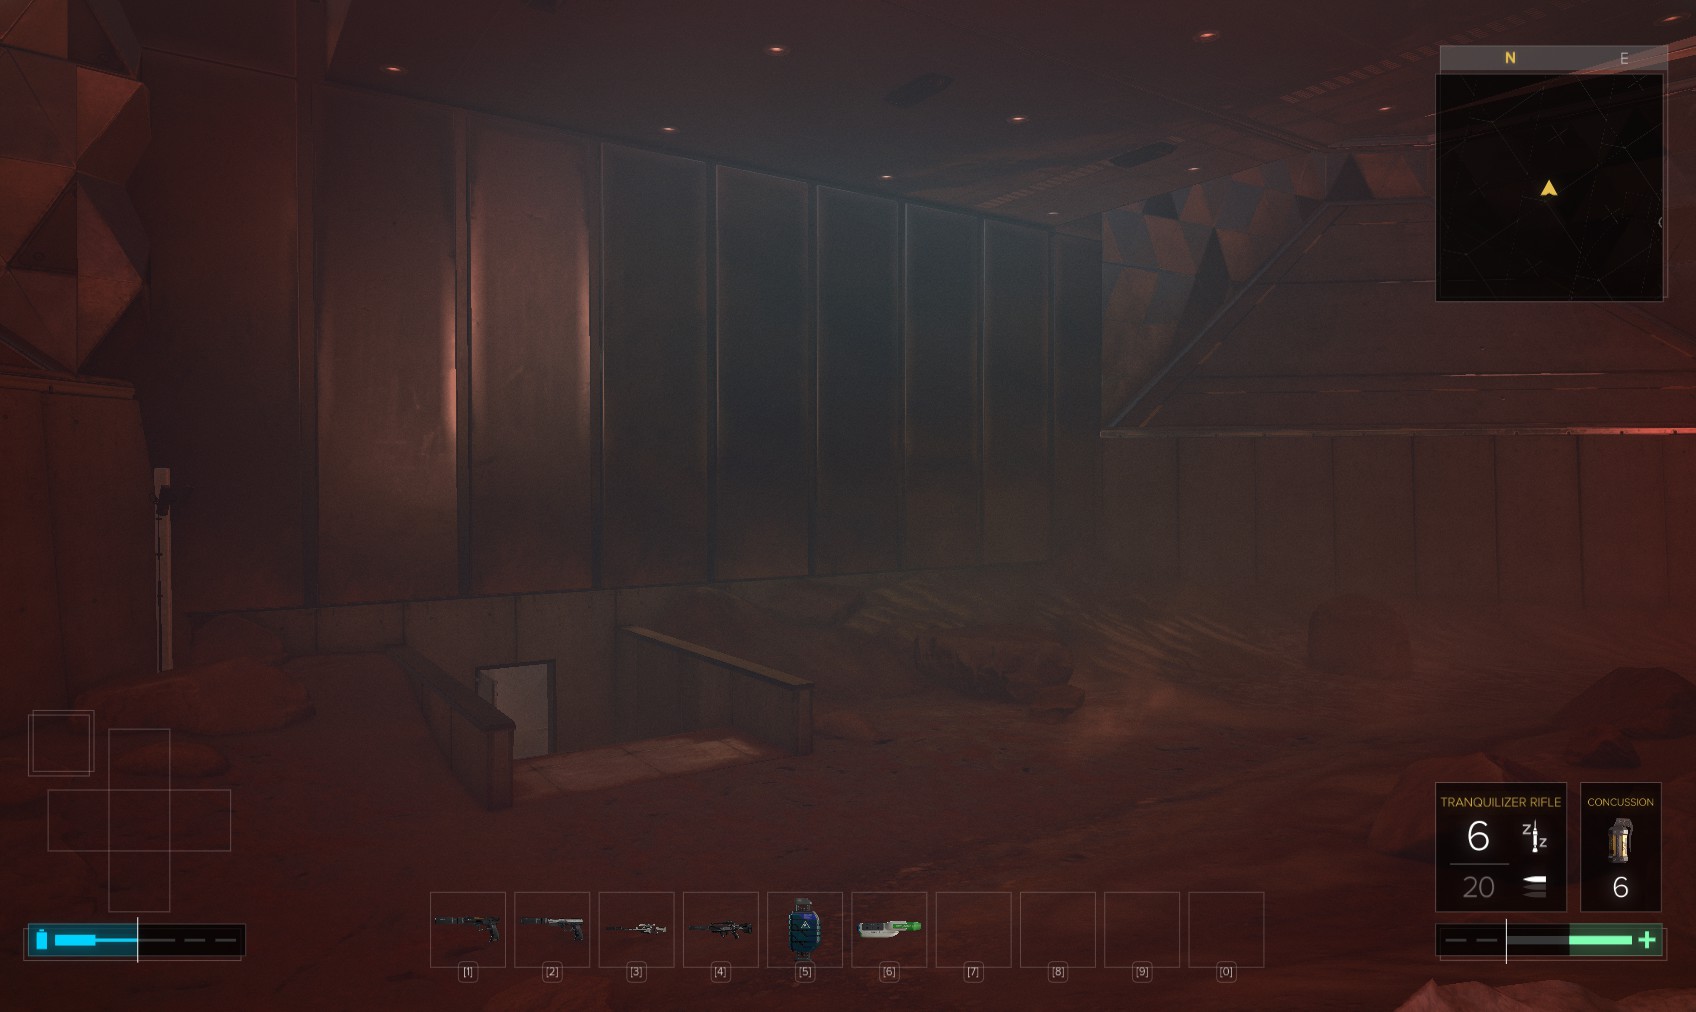
55. Start by going to the right. This screenshot shows where you come in. Behind here on a ledge is a biocell. Swipe it, then head into that vent.
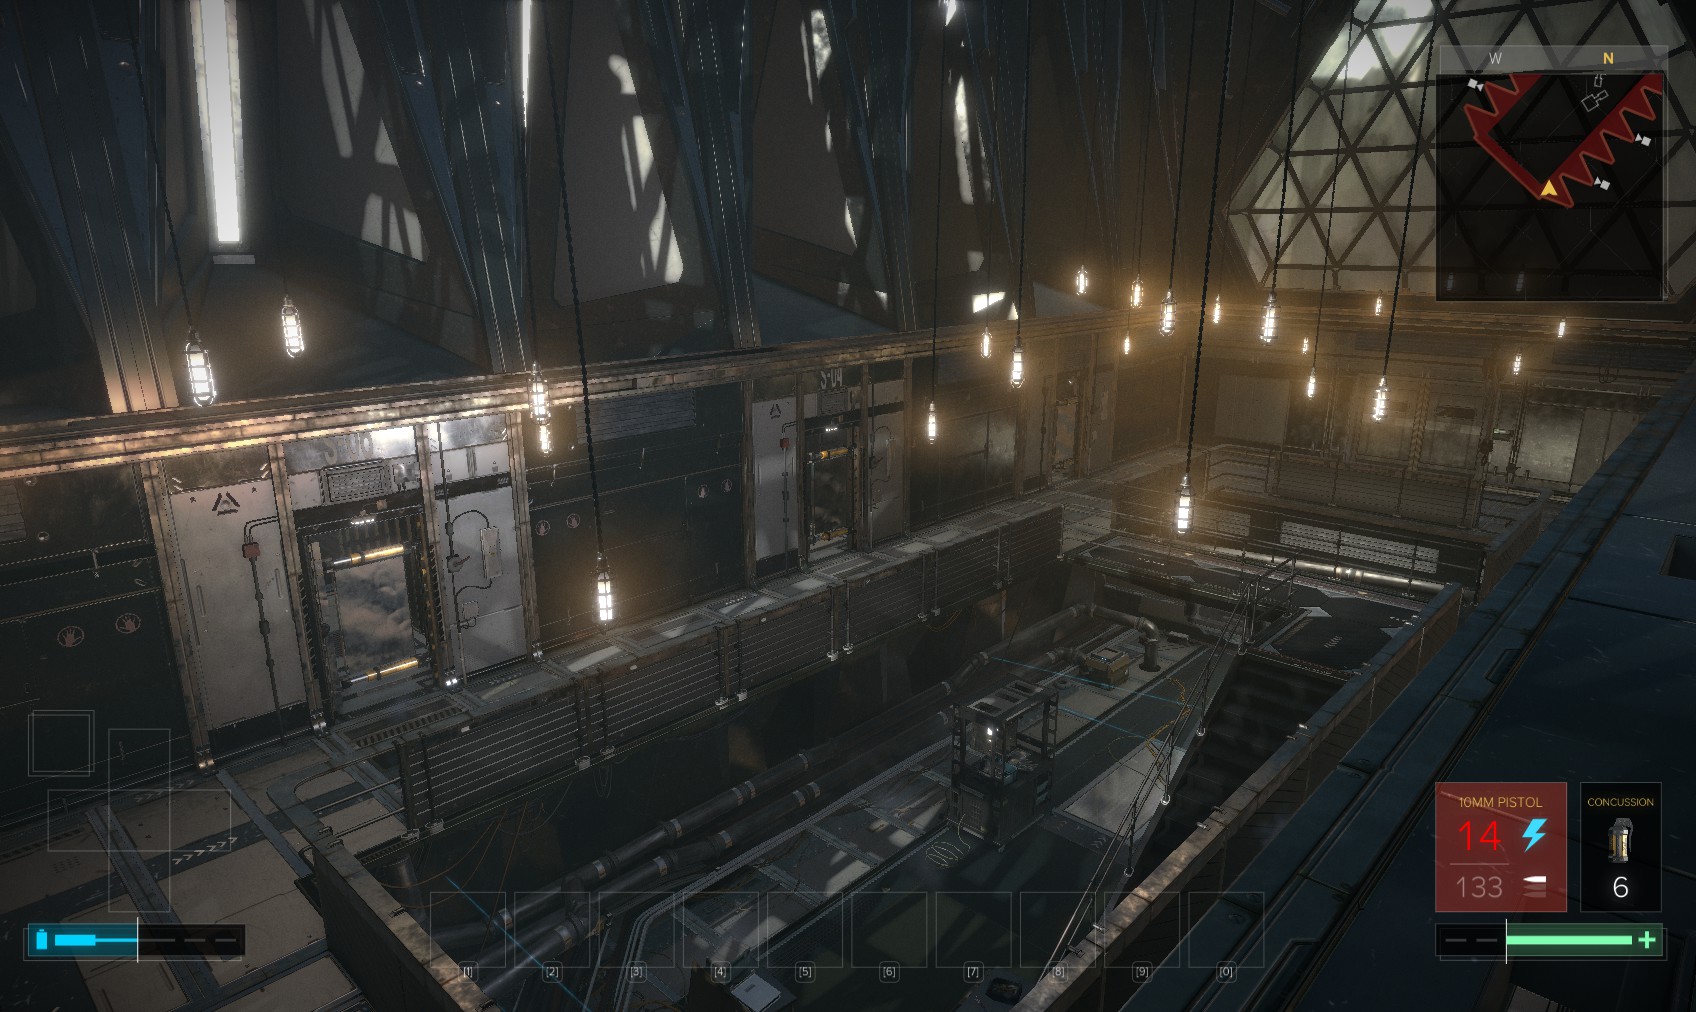
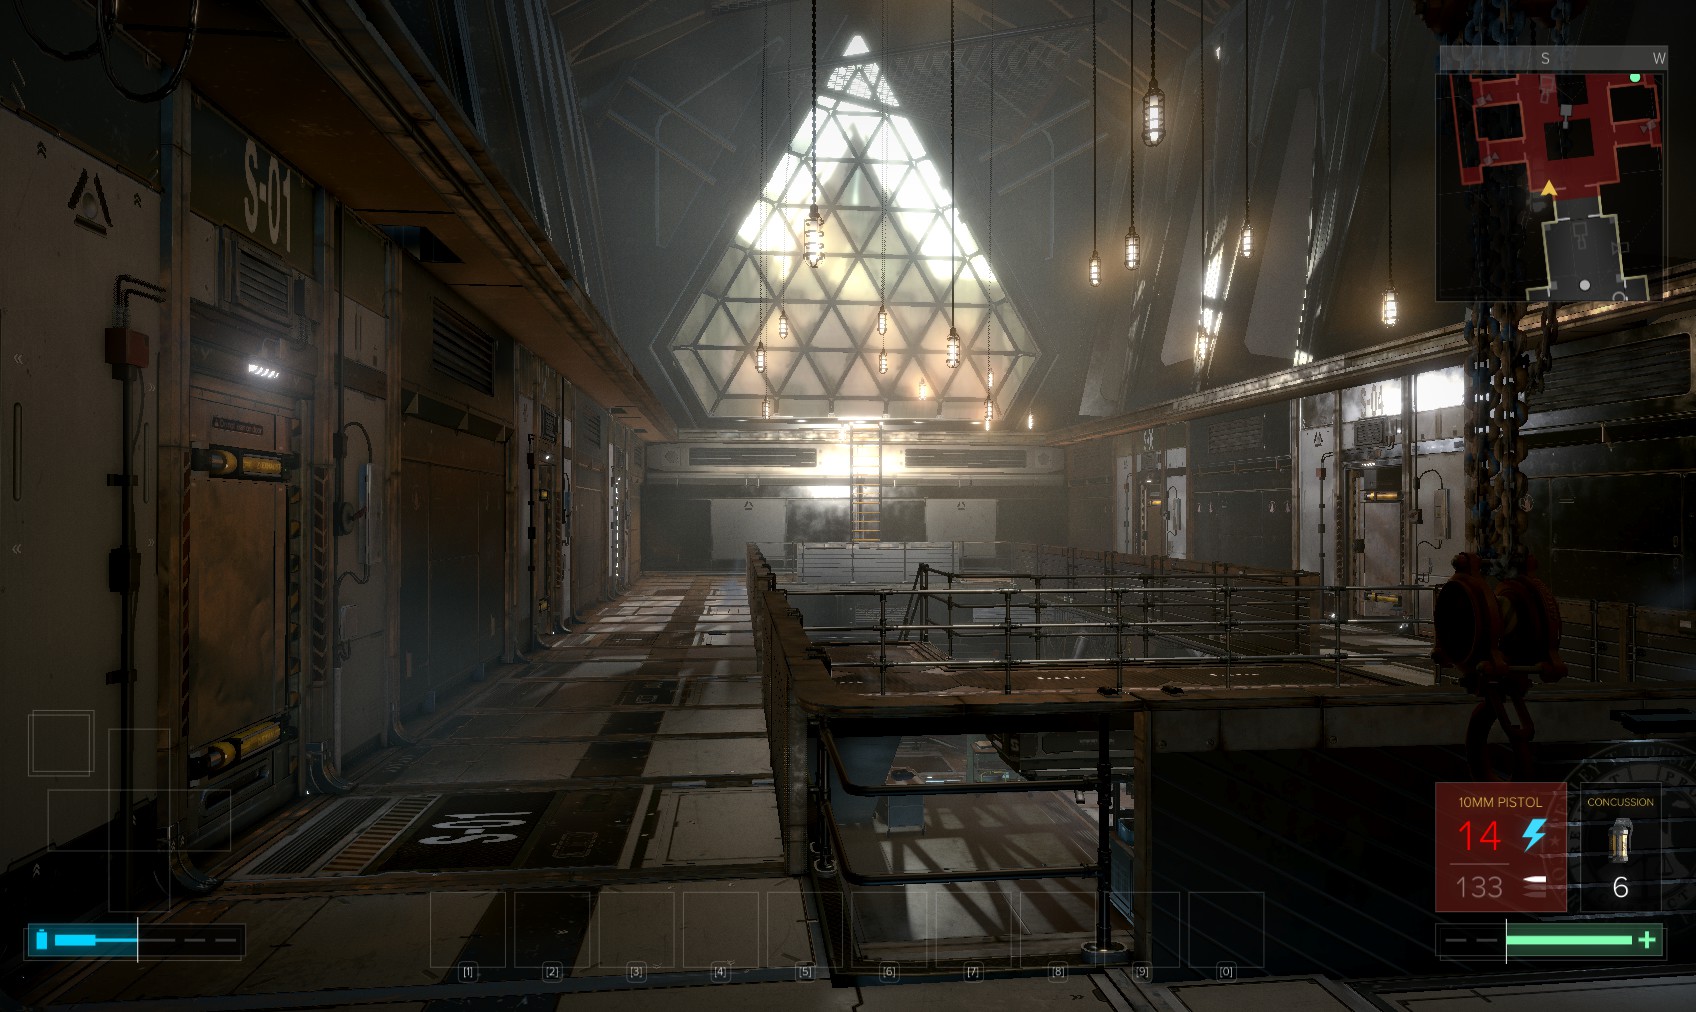
56. You emerge in what should seem familiar by now - a suspended ceiling above a cell block. This is Solitary Confinement.
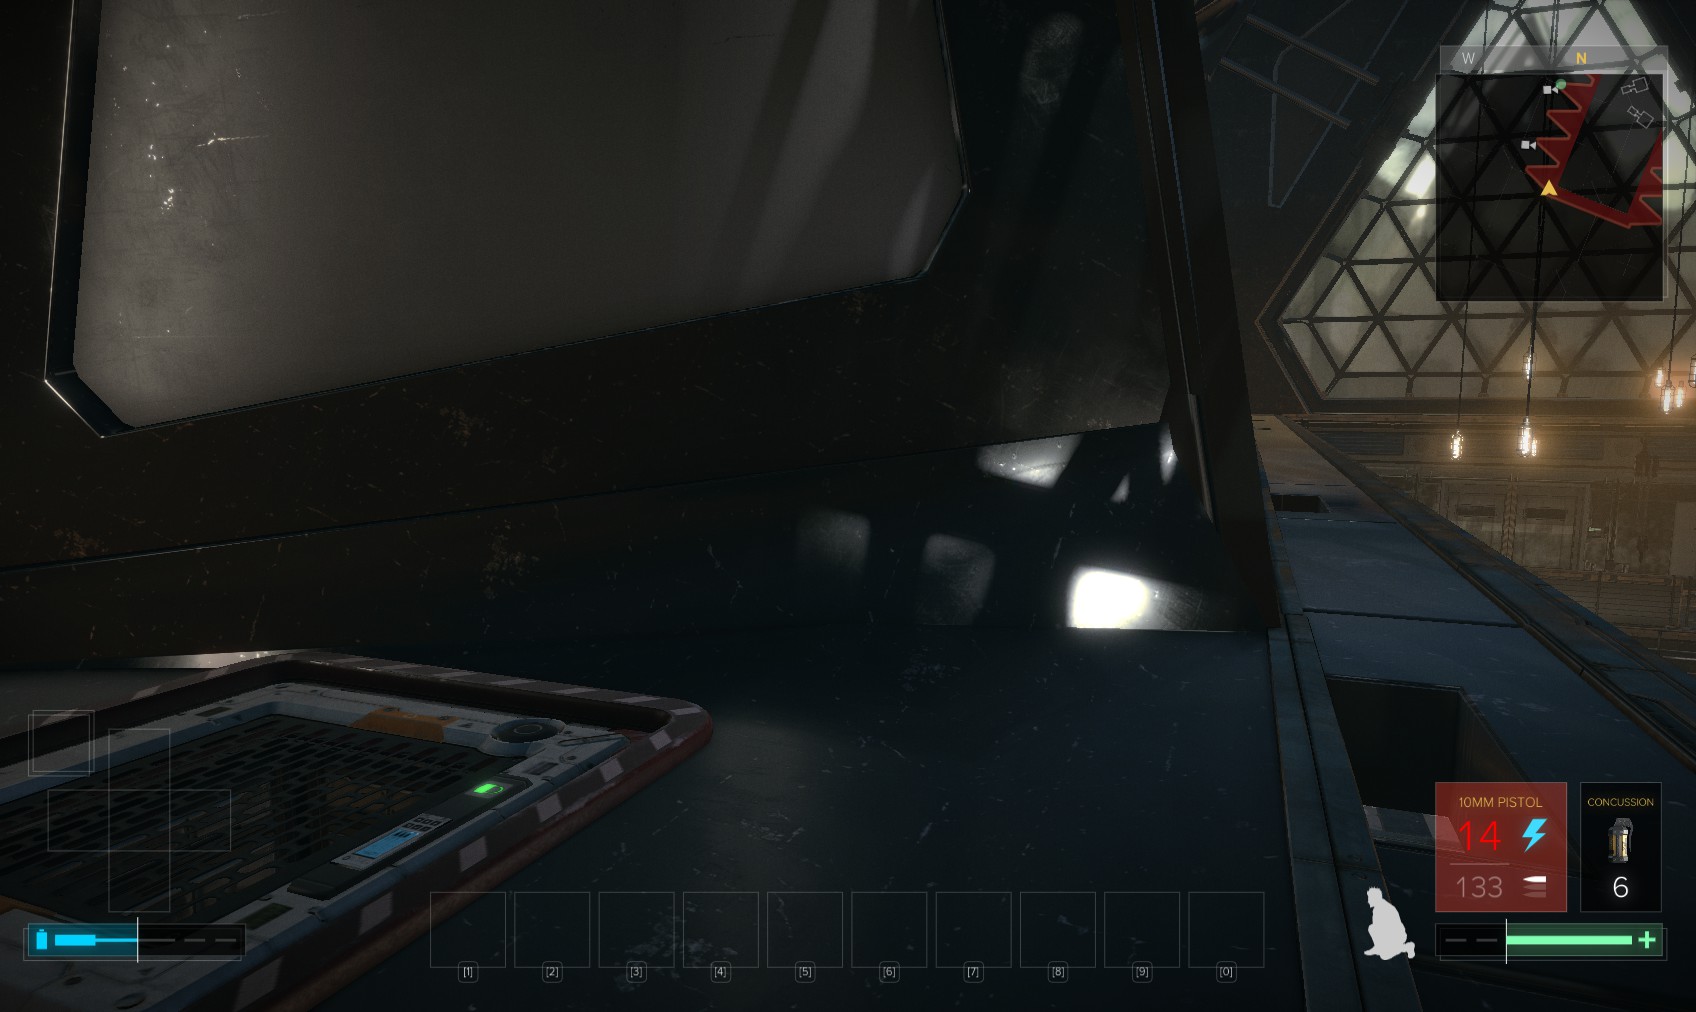
57. Head to the North-East corner for a 200XP explorer bonus and another vent.
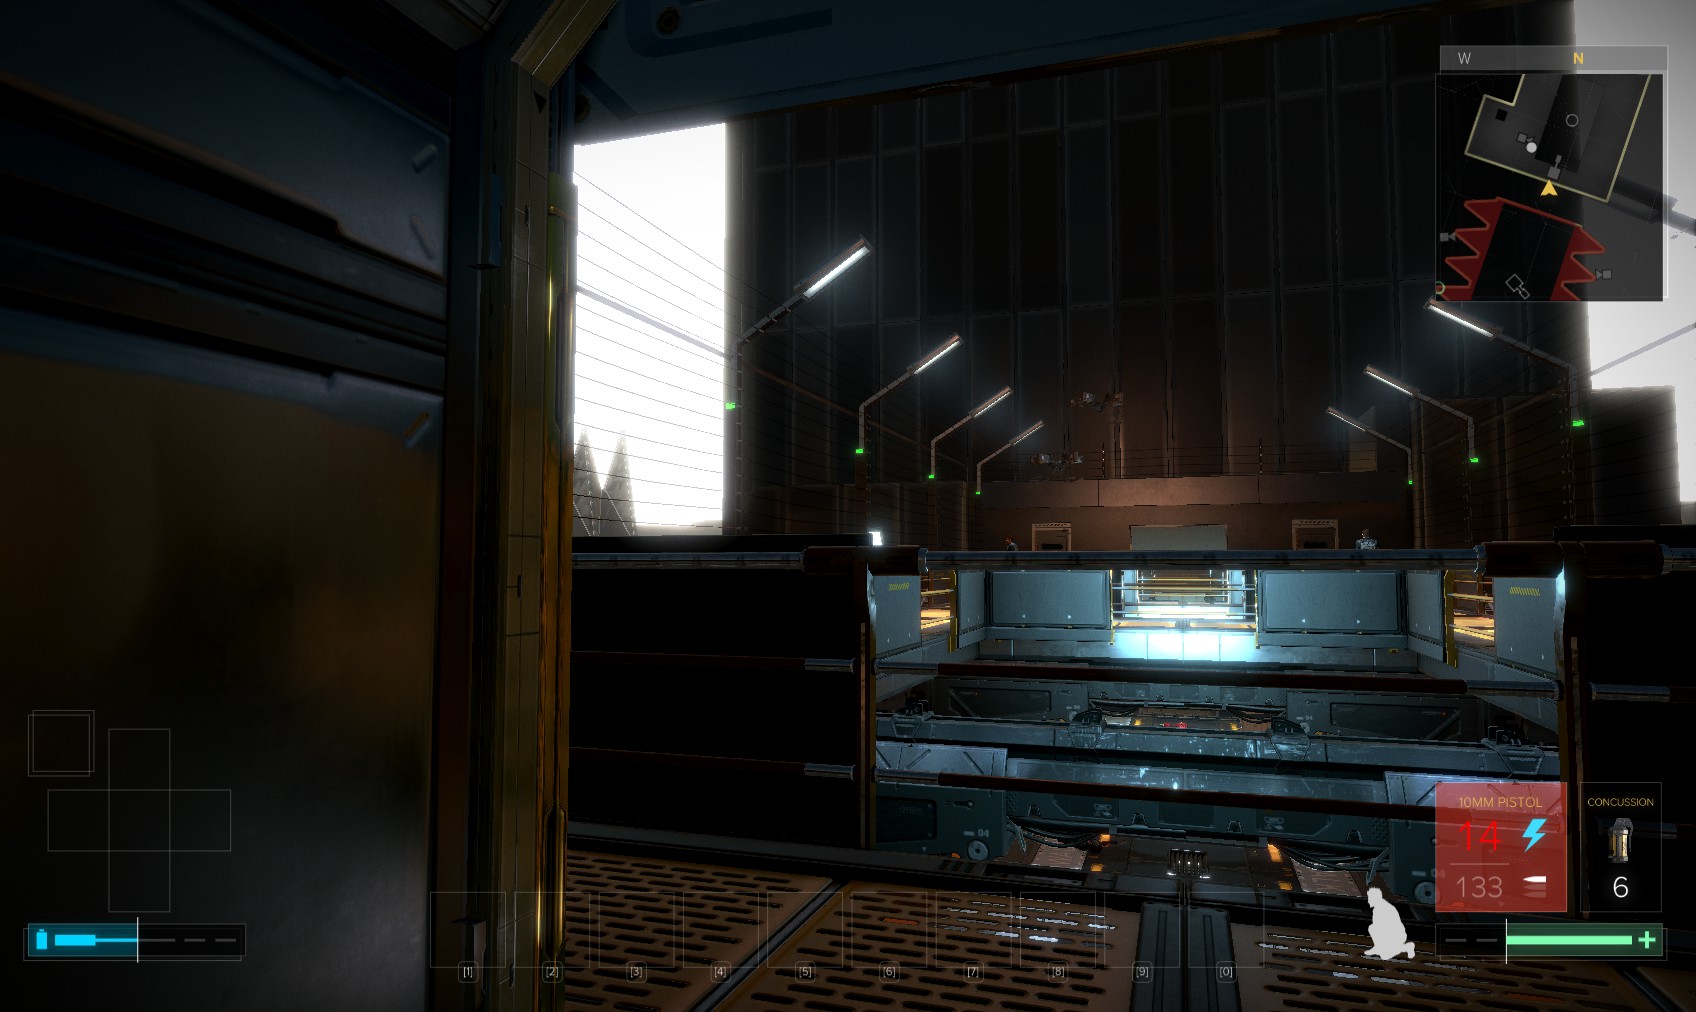
58. It leads to here - at the other side of these gantries is the Automated Security office.
59. Return to the cells, and the South-West corner for another vent.
60. Unstartlingly it comes out on the other side of the cells. You can hear Mejiha yelling as you pass. Your immediate objective is to find his cell, so you can talk to him now to satisfy that mission. The other way lies through this vent, which you would need to do anyway. Drop down and go through.

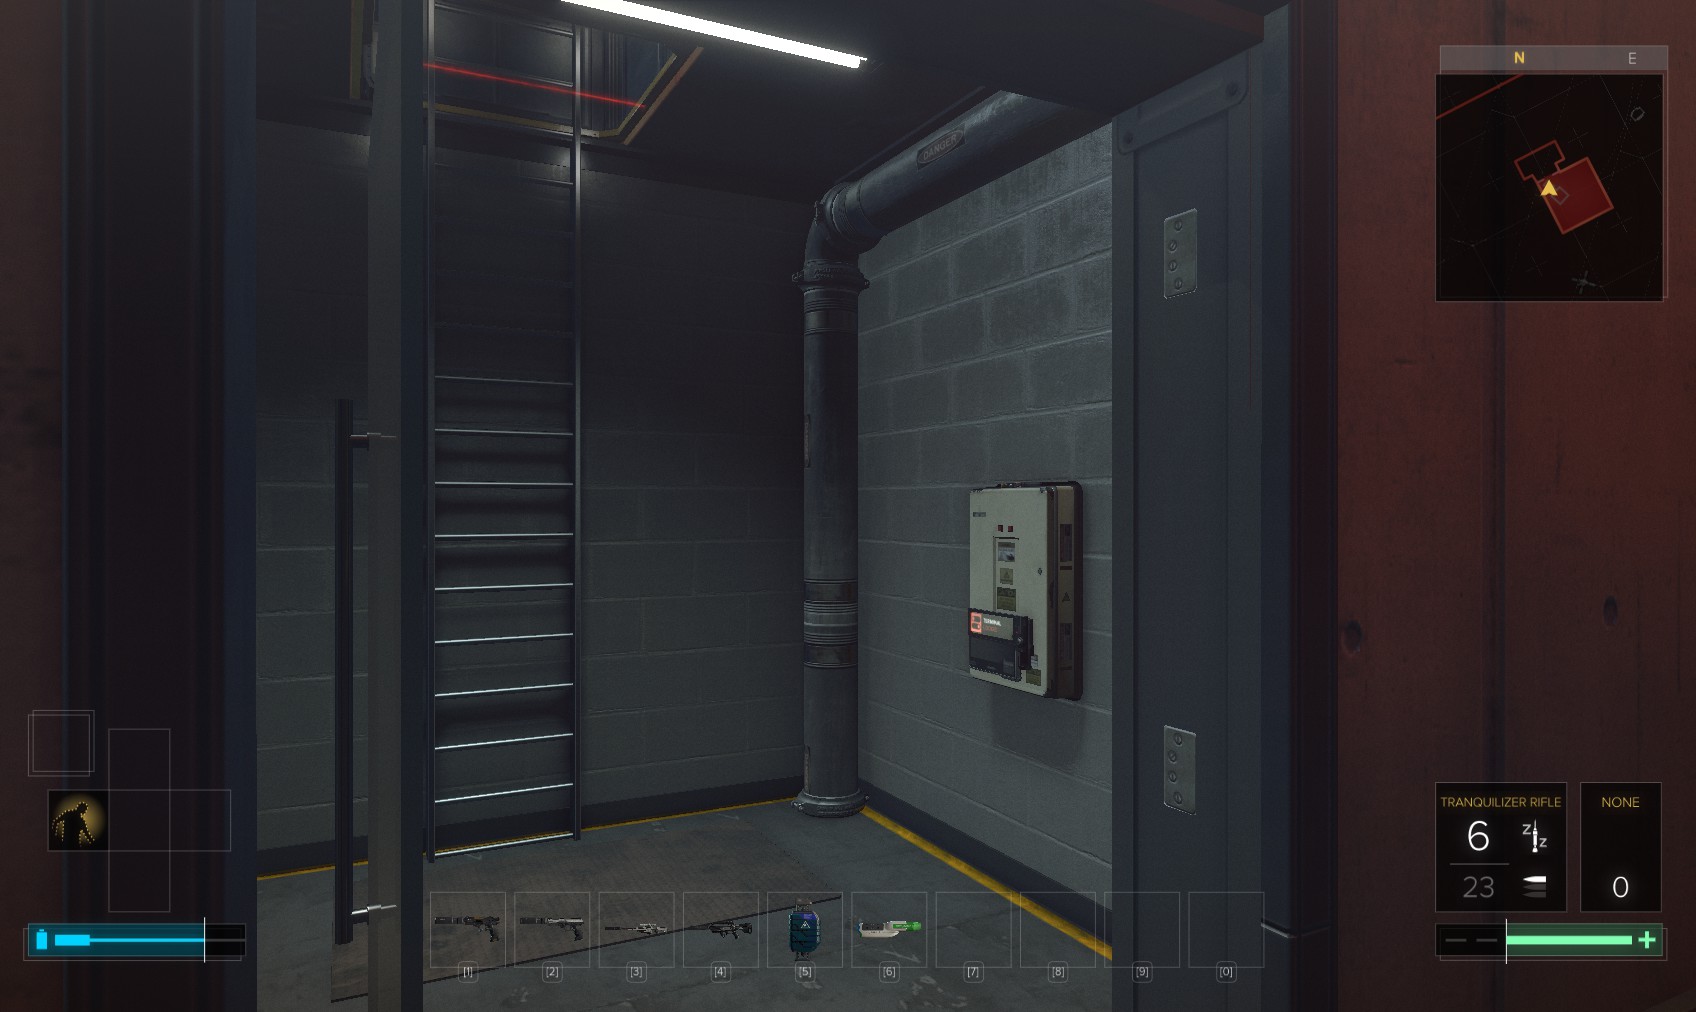
61. It comes out in a small office with a ladder. A biocell is nearby, and a wall-mounted first aid kit. Ascend the ladder after reading the eBook. "Model AA-02 Stun Baton User Manual"
62. This pocket secretary tells you that Mejiha is in S-04. It also gives you a point of interest to investigate cell S-06. The locked PC is level 1 for 200c and background emails.
63. Through the door is a trap-ridden room. Leave it - we’ll be back shortly. Having found Mejiha the next objective is to reset the security systems. Go back down the ladder.
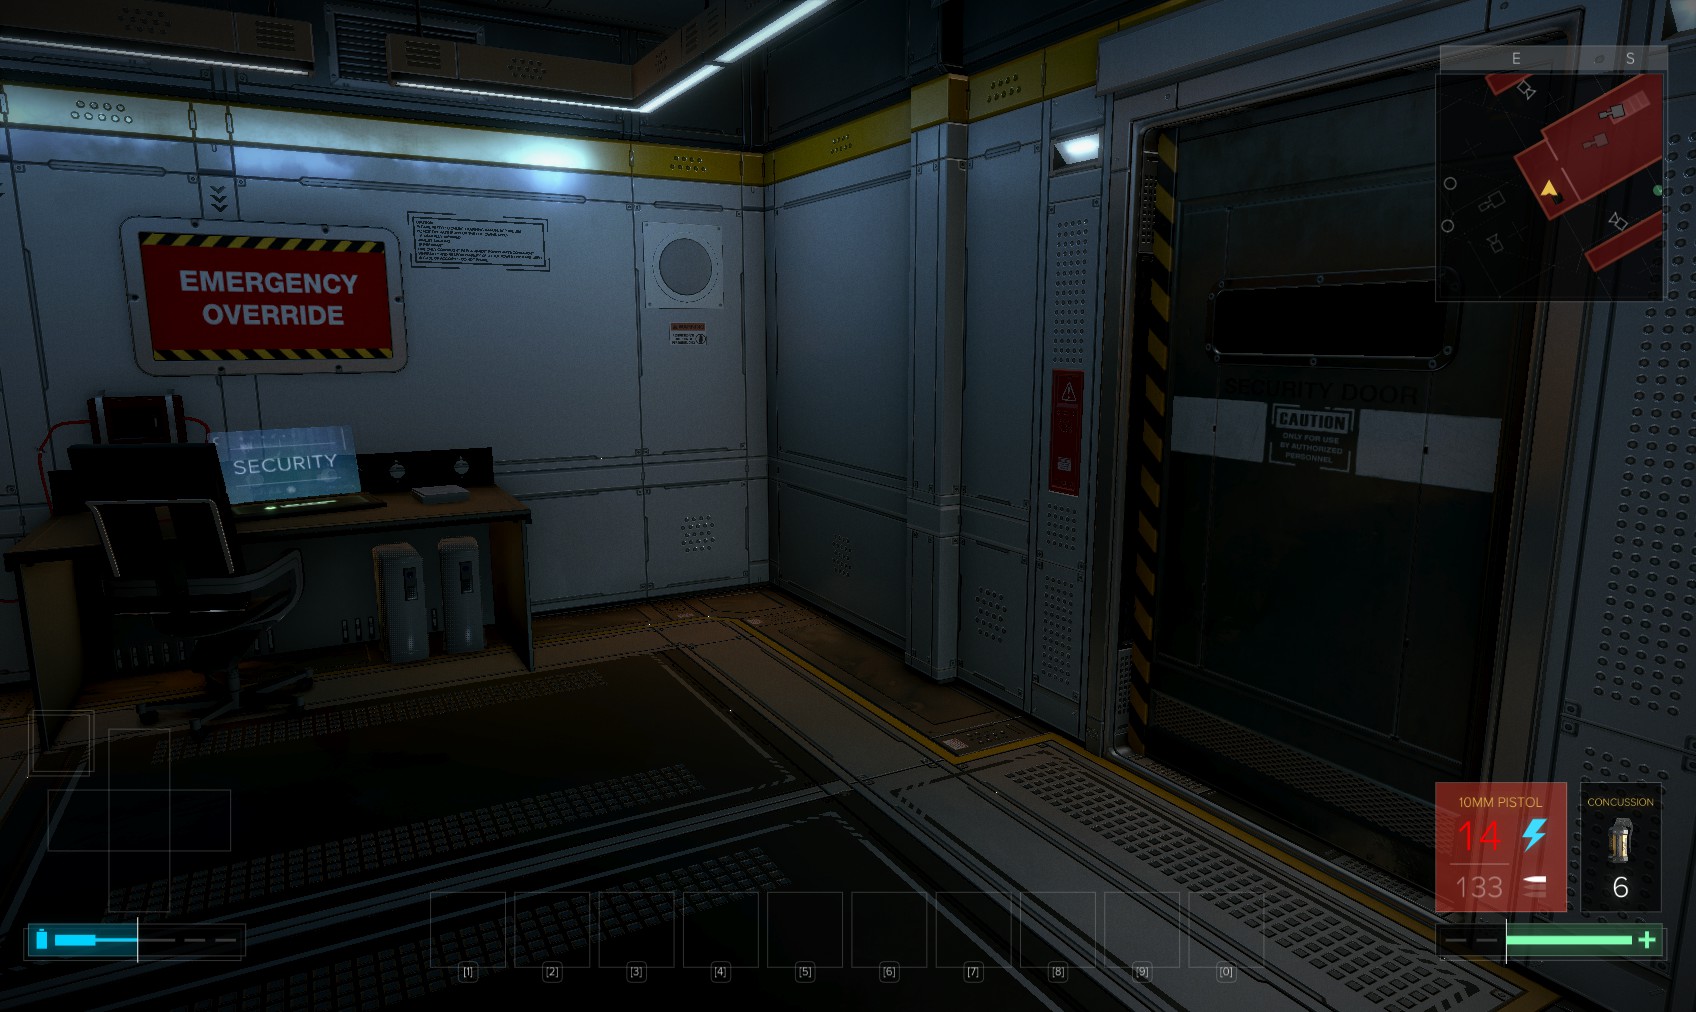
64. Open the door to this office carefully.

65. Slide past the turret camera into the room beyond. Inspect the poster on the right.
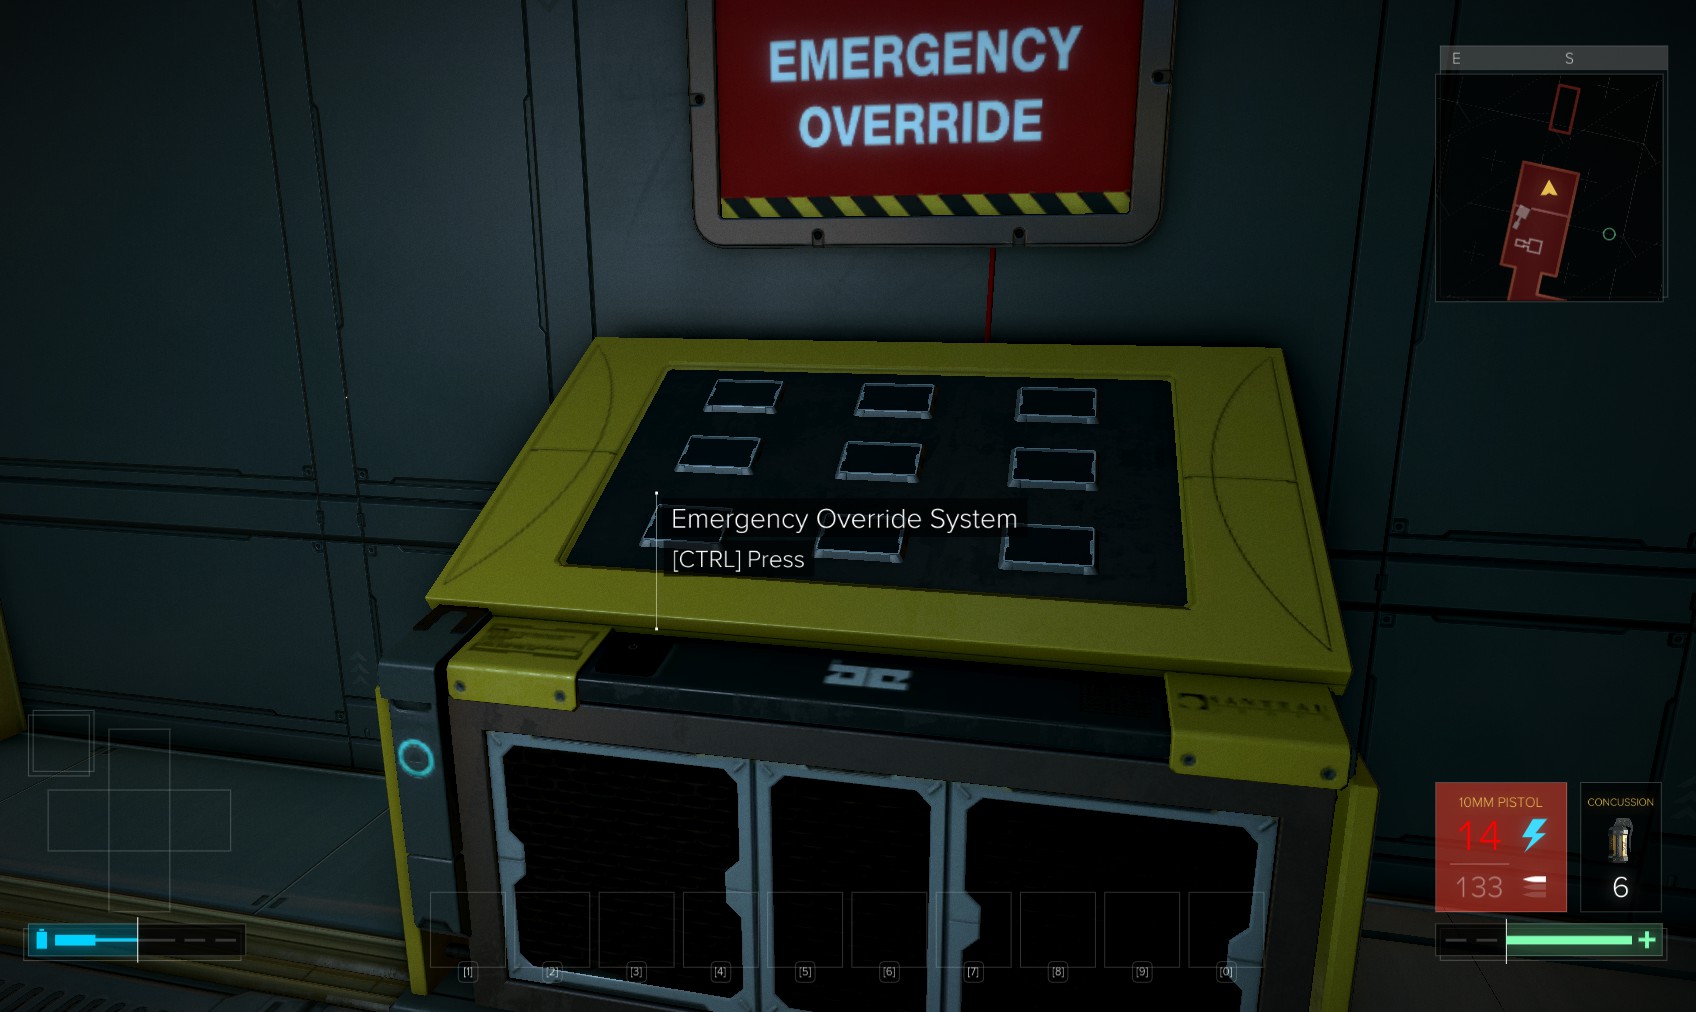
66. First enable the controller.
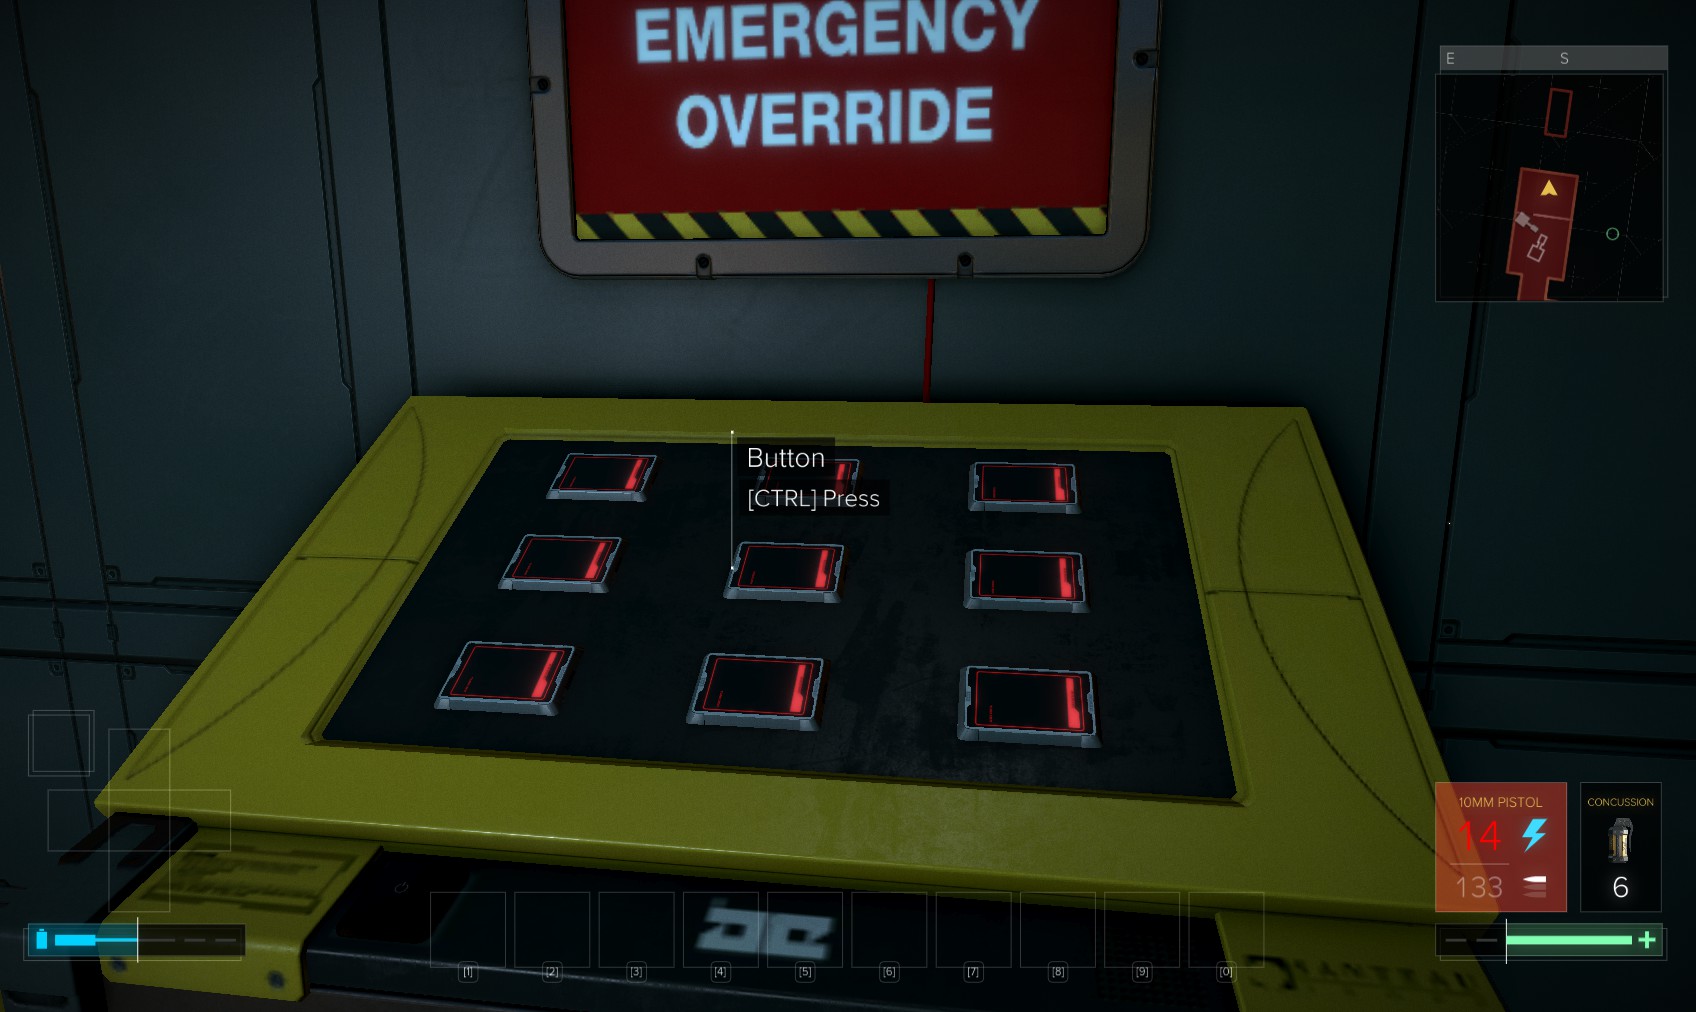
67. The puzzle is solved by pressing the centre button, then each of the four corners.
68. Go back outside and up the ladder, to find the security console is enabled. Use it to disable all the cameras and open all the cells.
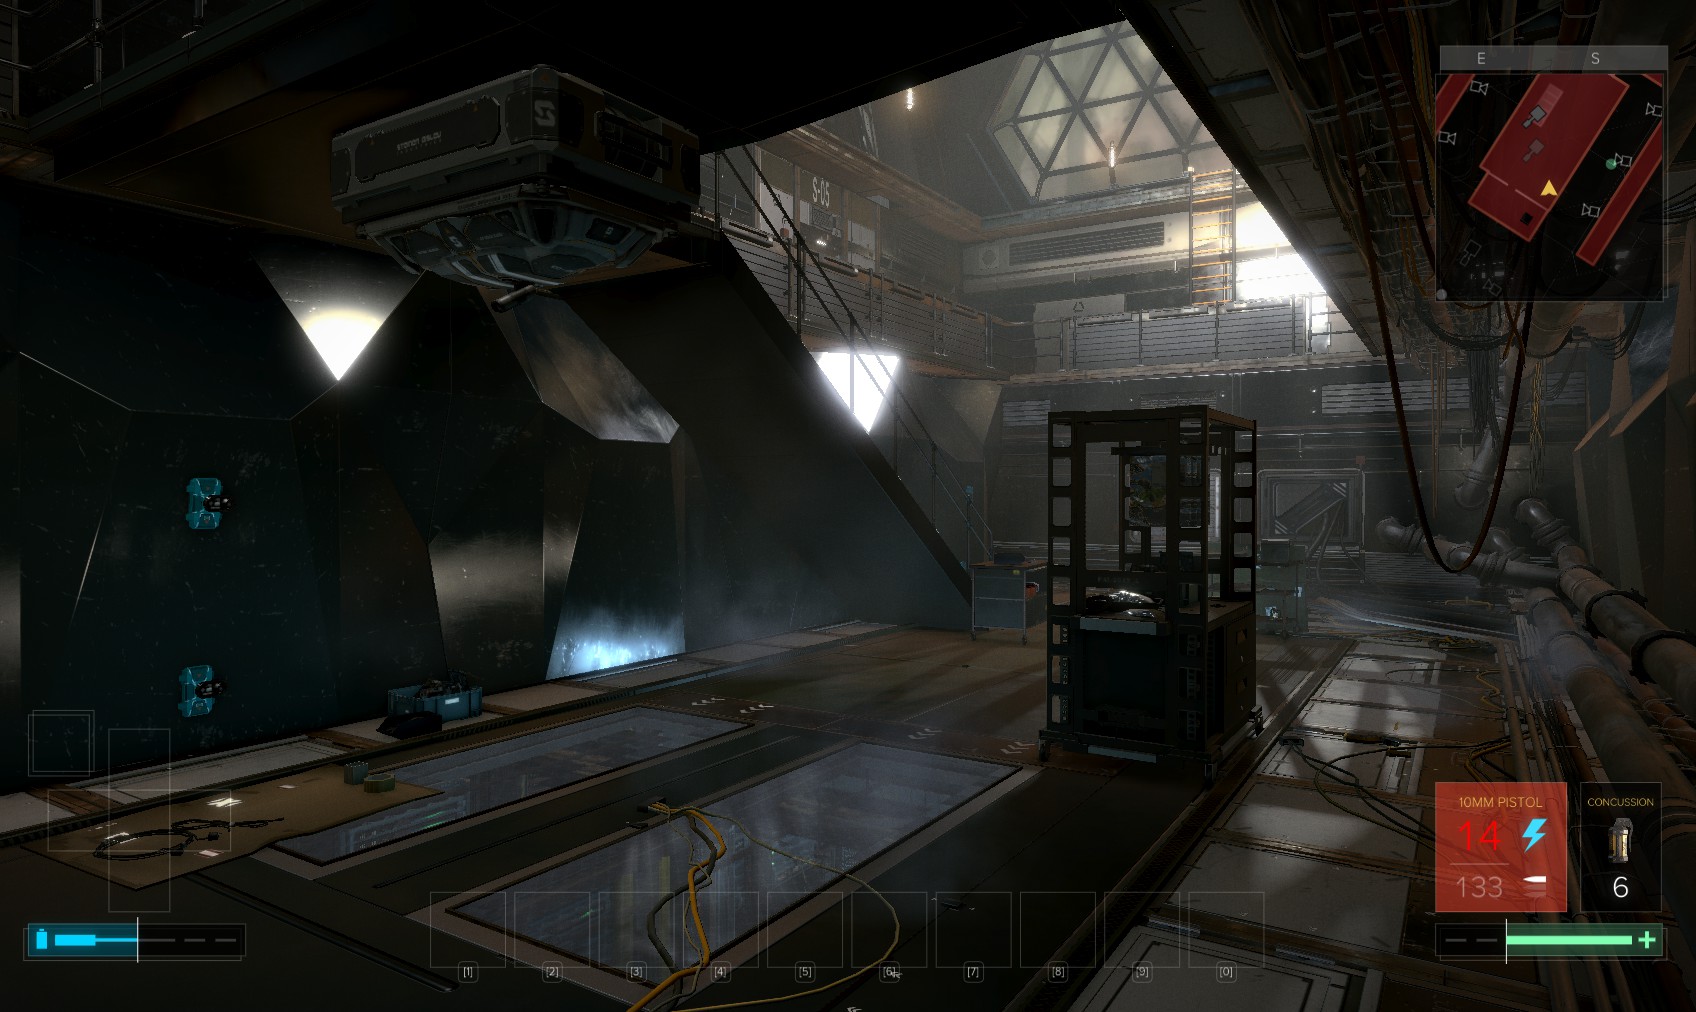
69. Go through the other door. Turret and lasers now disabled, you can move around freely.
70. Head up to the cells.
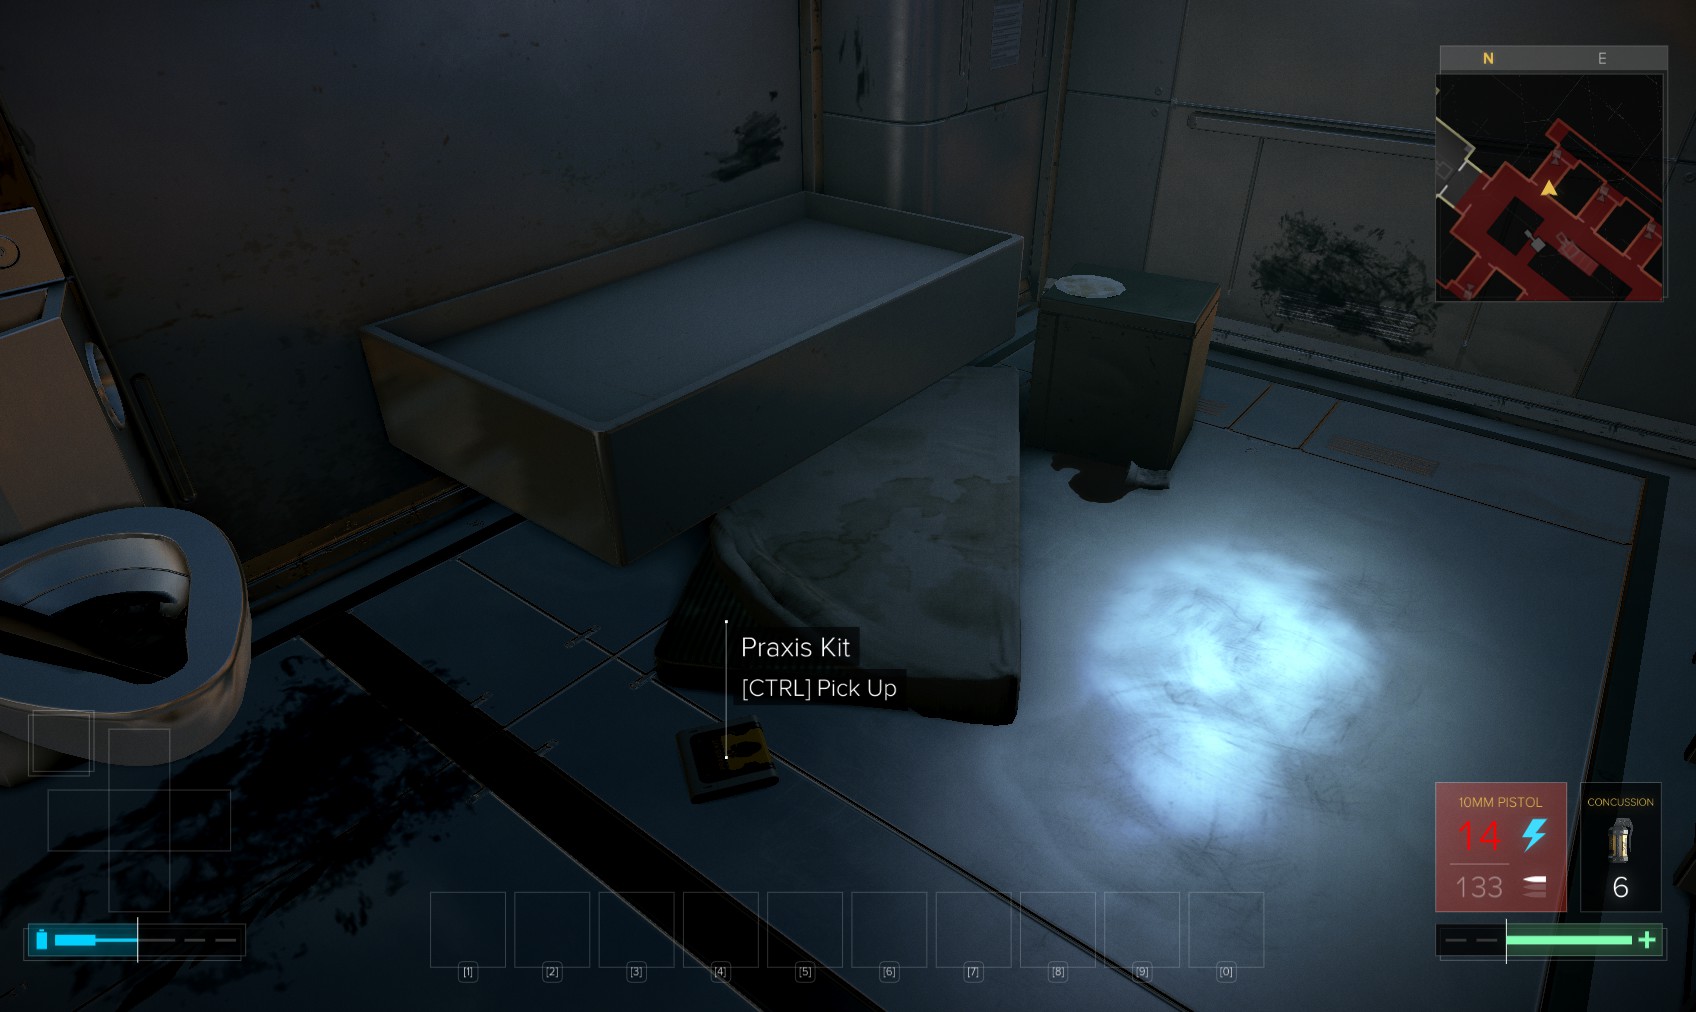
71. Cell S-01 has a Praxis kit.
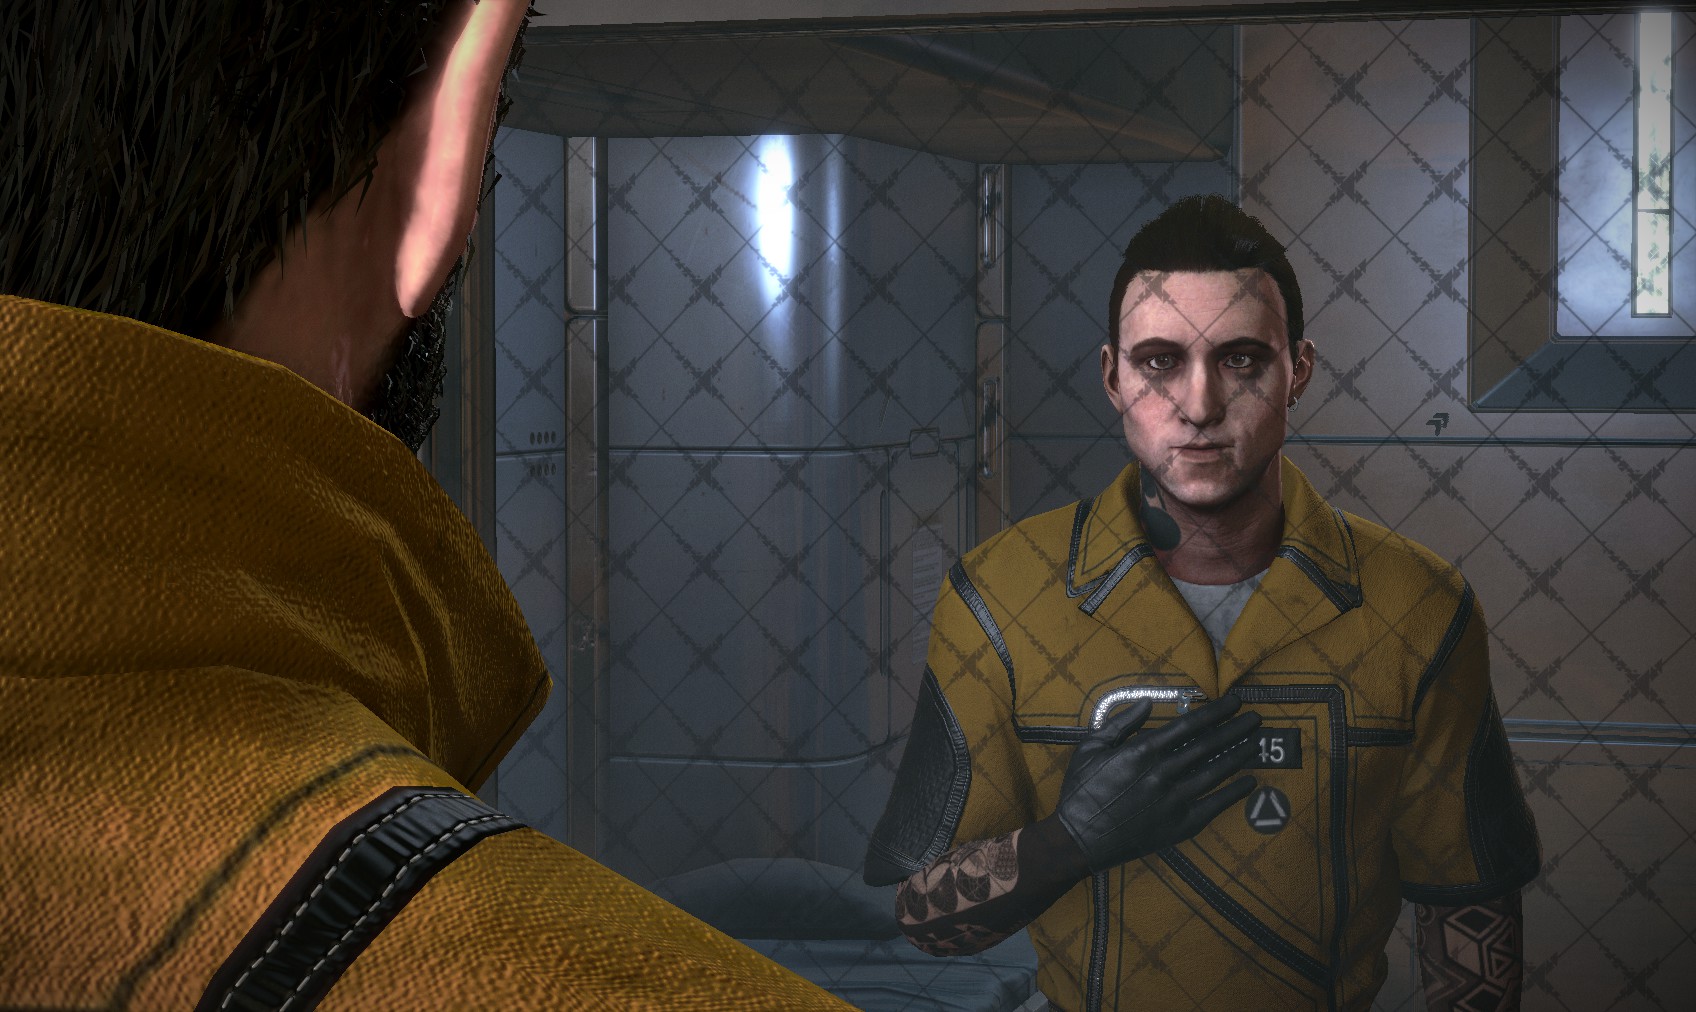
72. Make sure you’ve read the two evidence pocket secretarys before speaking with Mejiha in S-04. If you have, he’ll own up to killing Wilburg, getting you the 'Objection!' achievement.
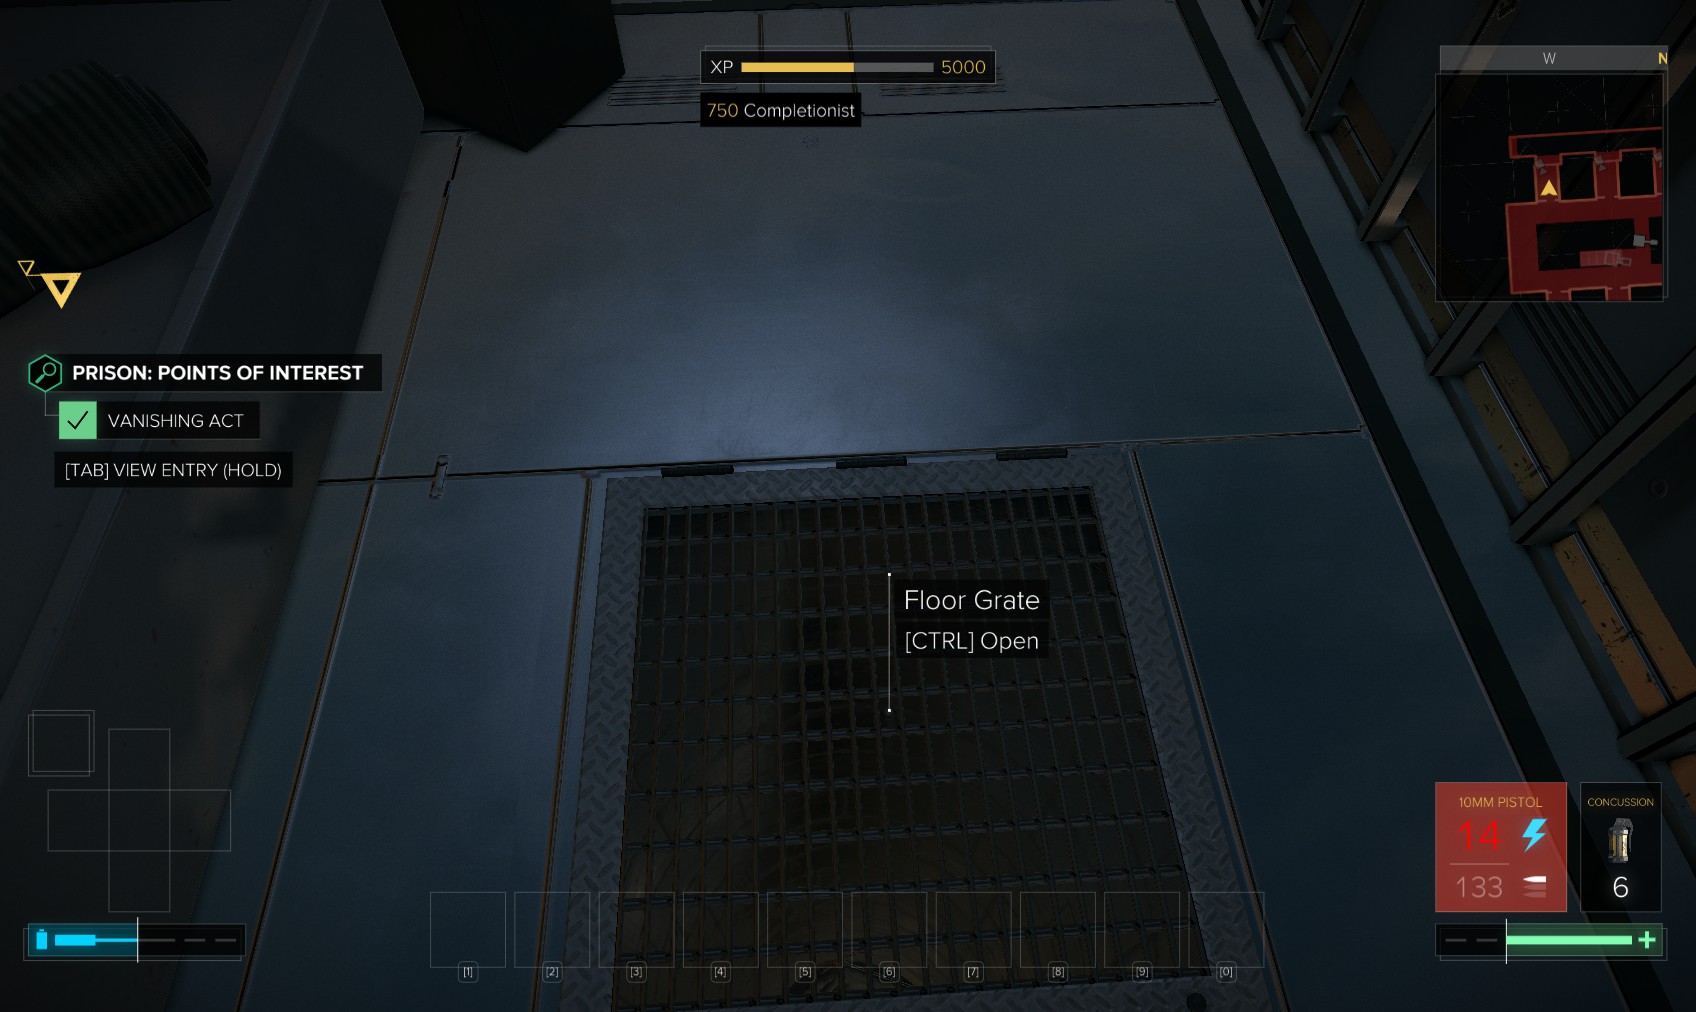
73. Enter cell S-06 to complete the Vanishing Act point of interest. Use a hypostim, open the grate and drop down it for a 300XP Pathfinder bonus. It turns out to be this pipe.
74. Go back the way you came all the way to the morgue.
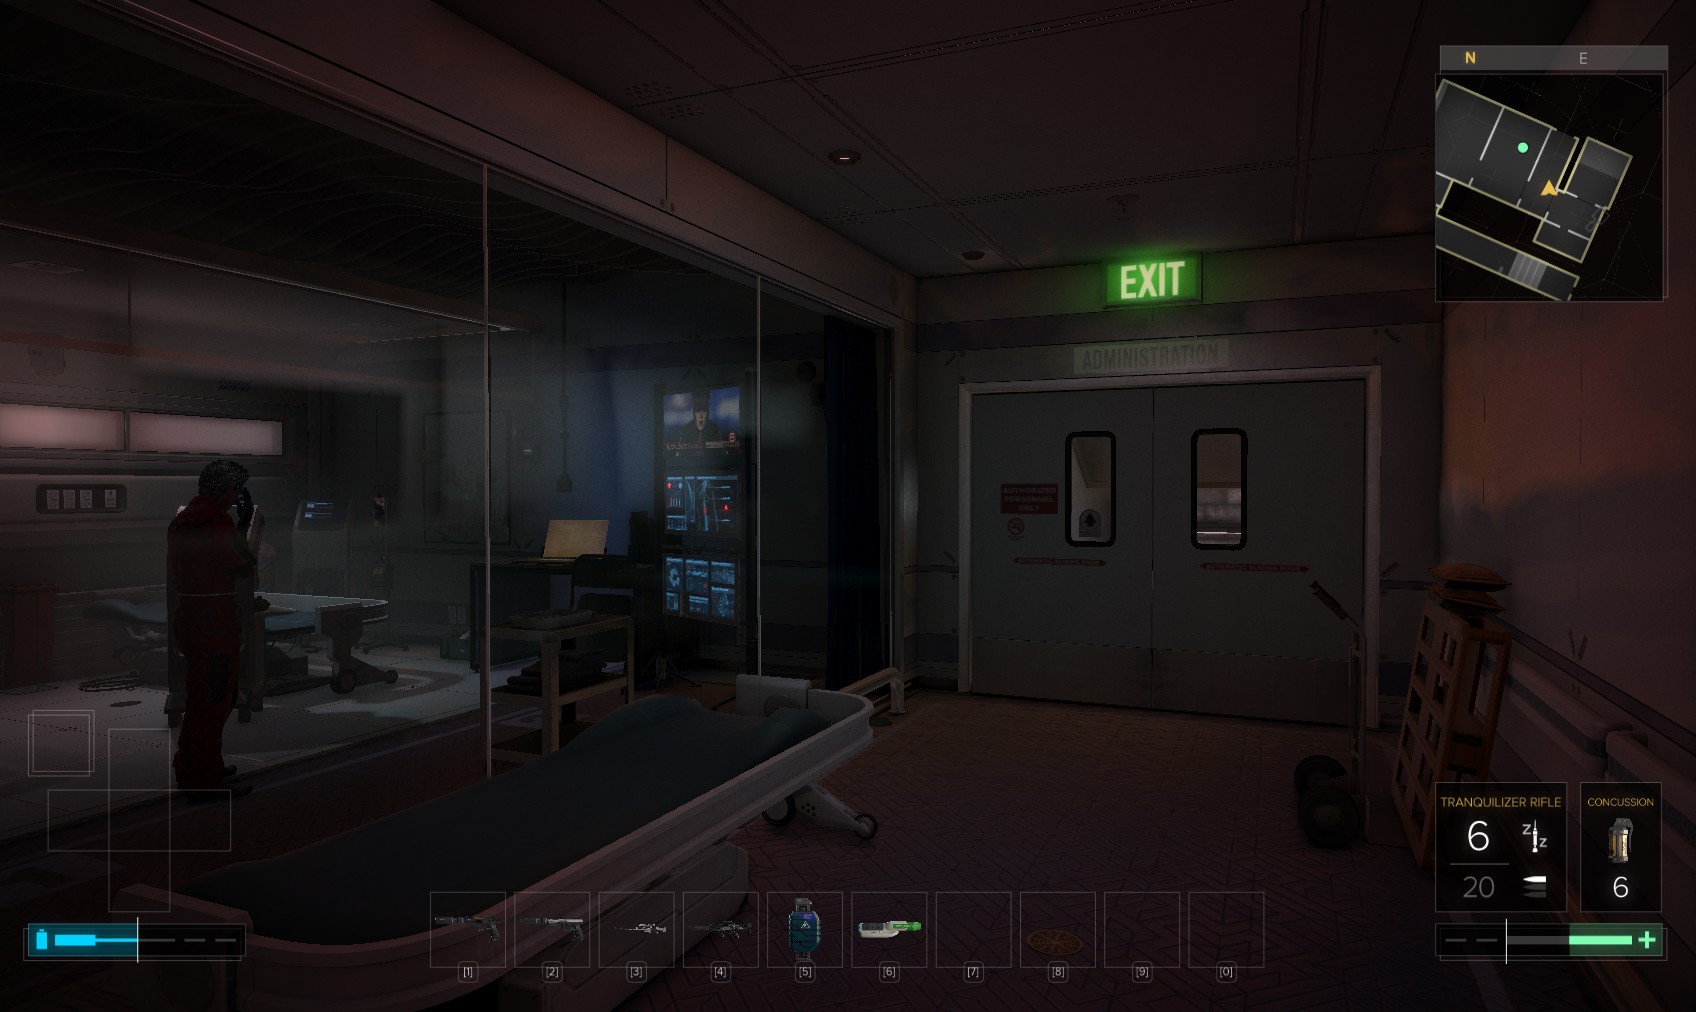
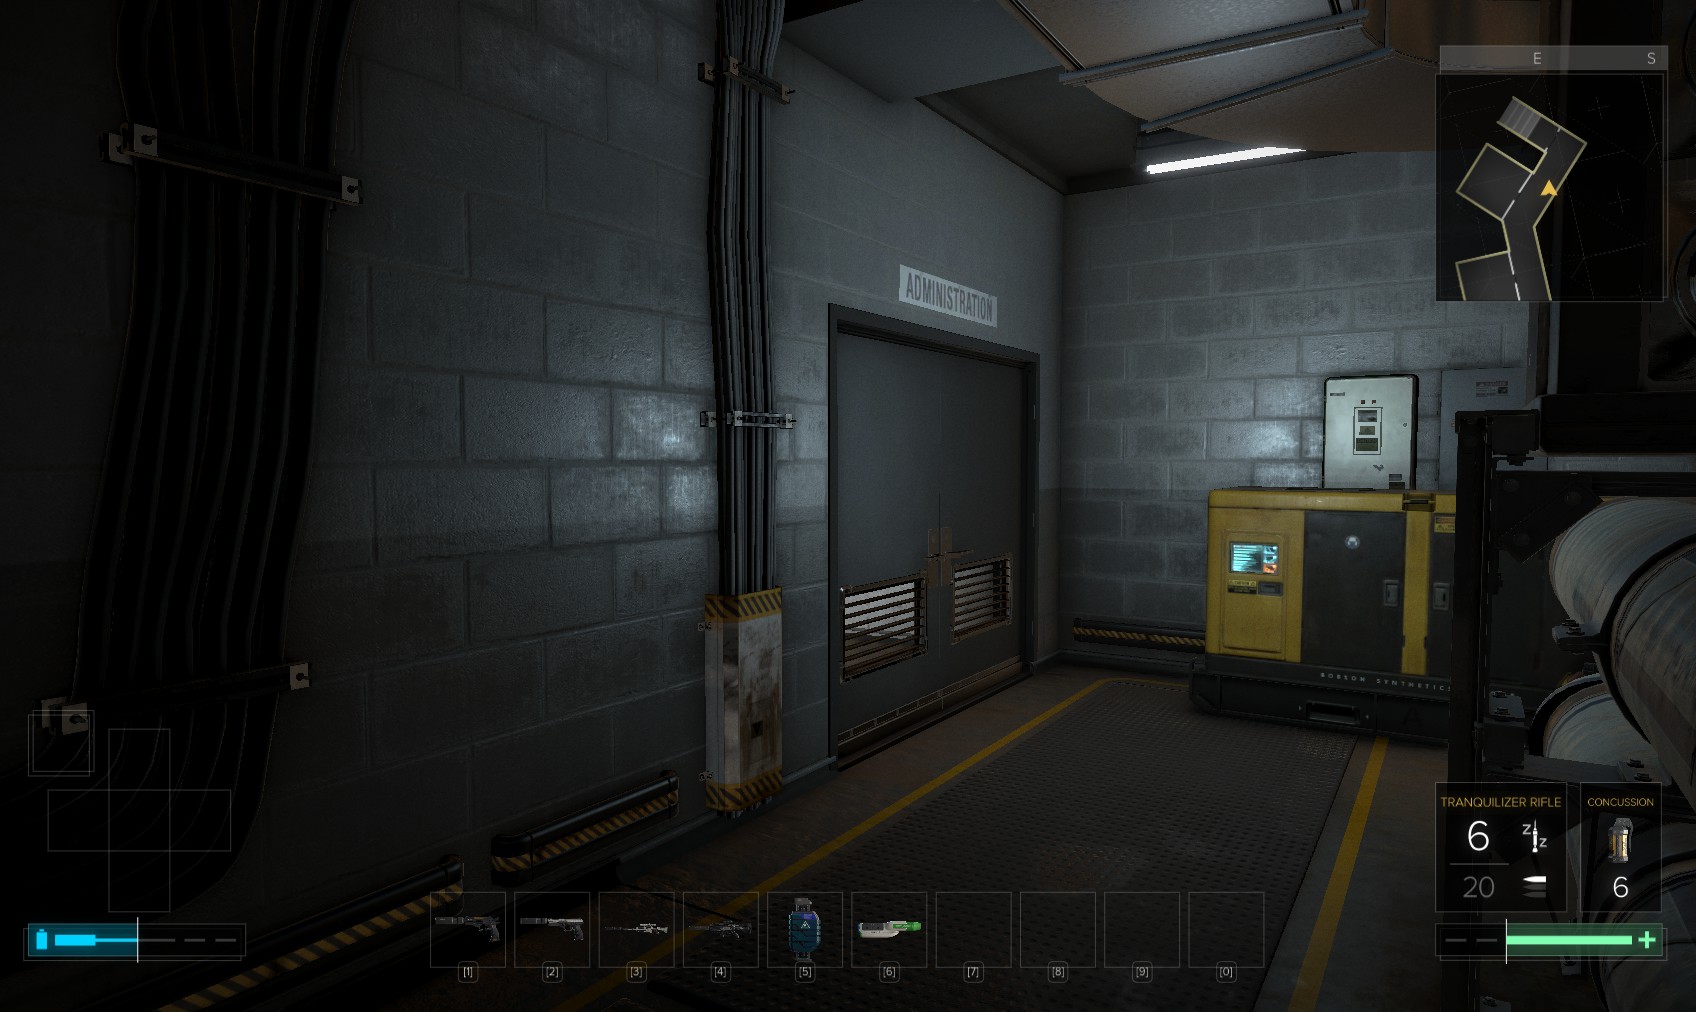
75. The next stop is in administration to shut down the transport tracking system. The entrance is between the infirmary and the East Wing elevator.
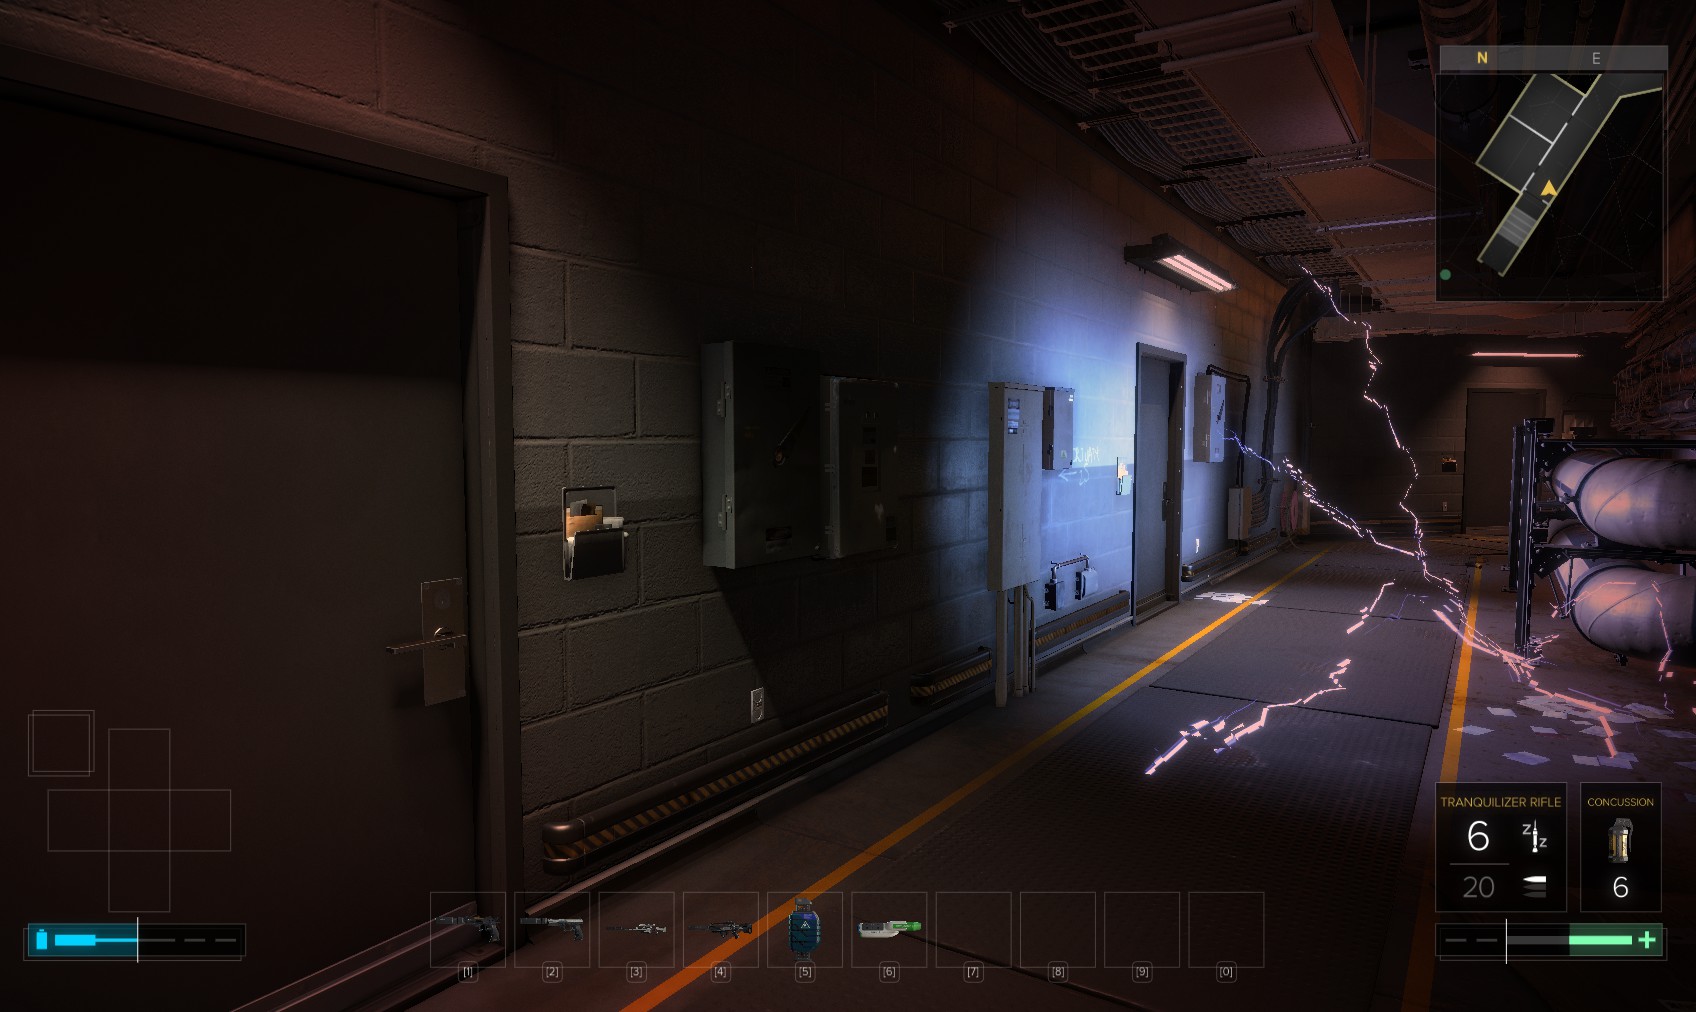
76. The corridor is electrified. Go through the first door on the left. Look for a vent on the wall high up. Go through.
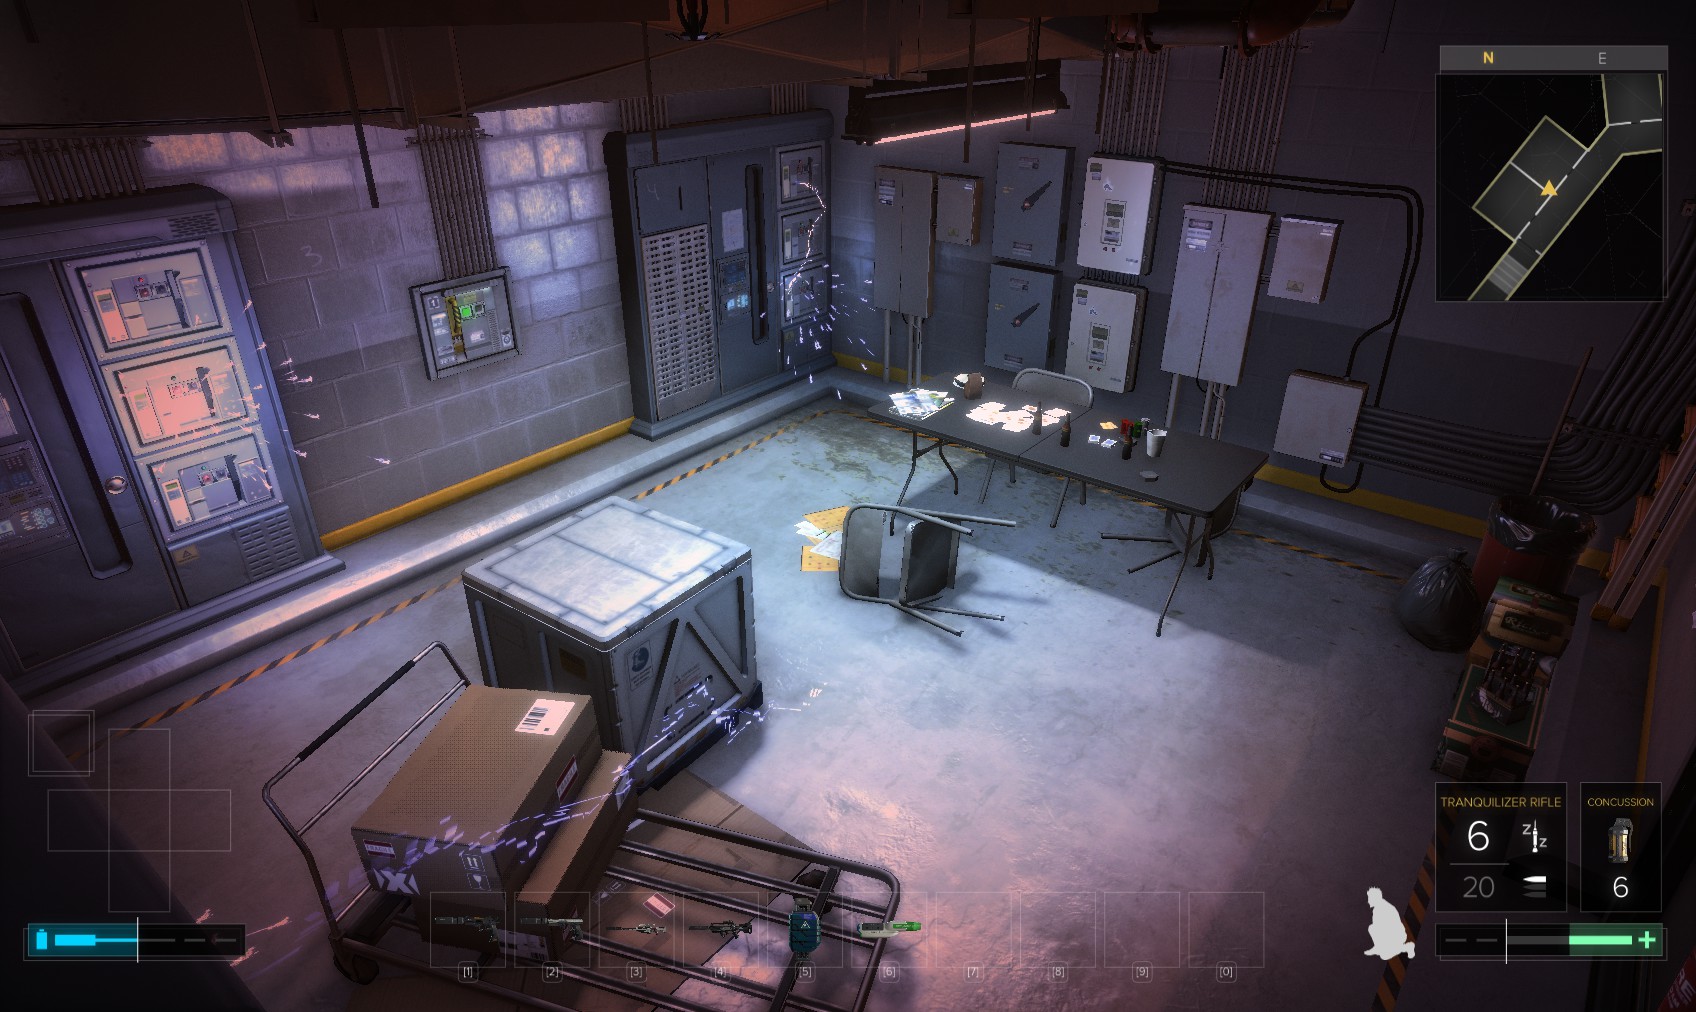
77. The next room is also electrified but you can reach the breaker without taking too much damage. As long as you’re more careful than I am, that is!
78. The corridor is now safe. Hunt around for ammo and a multi-tool before going through the door at the end and up some stairs.
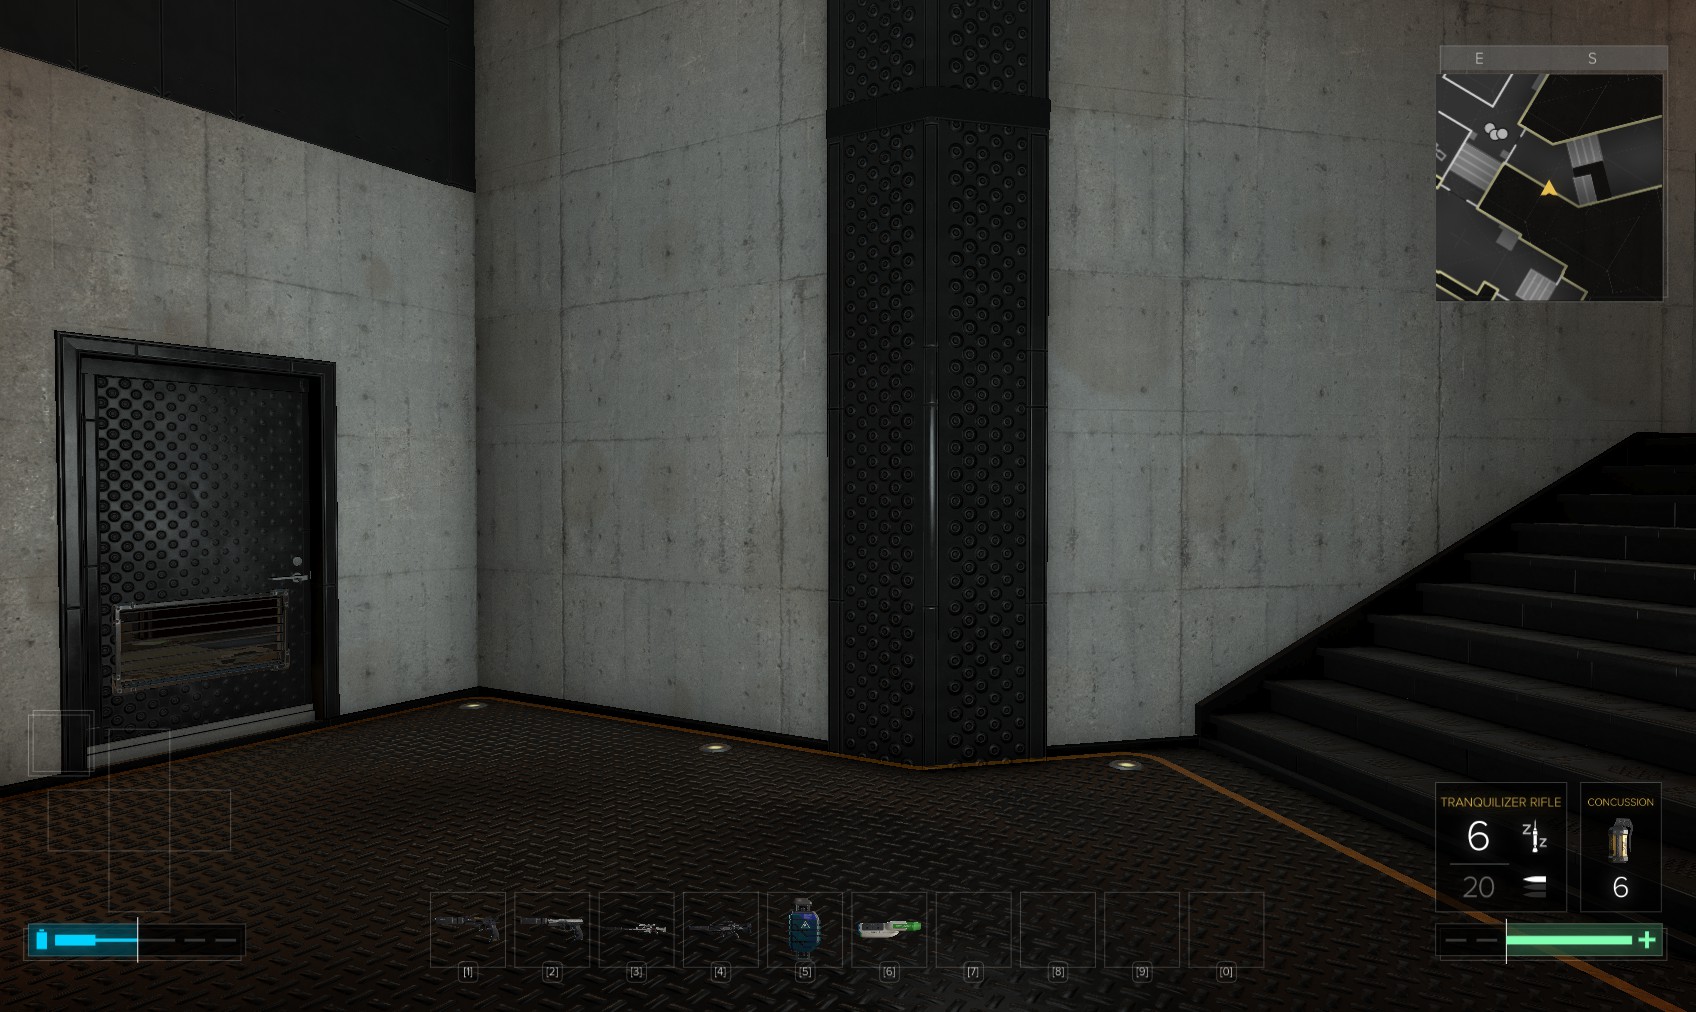
79. The stairs to the right lead to a storage area. Head up there first.
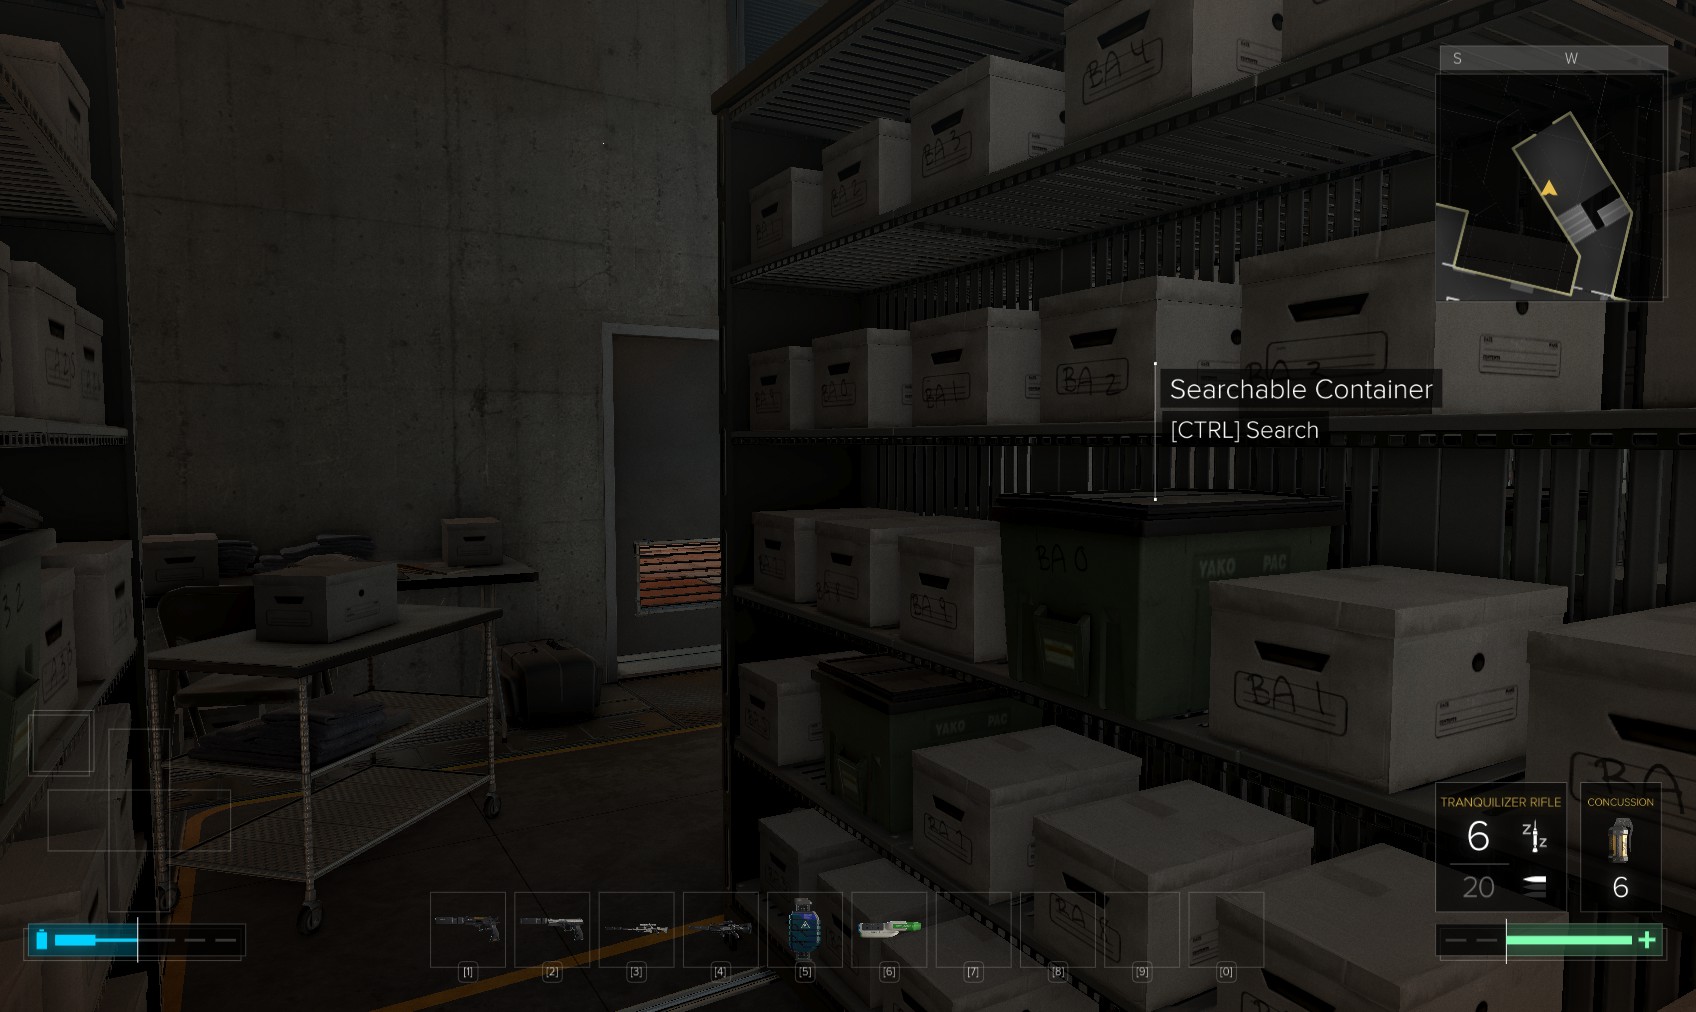
80. Search the containers on the shelves for goodies.
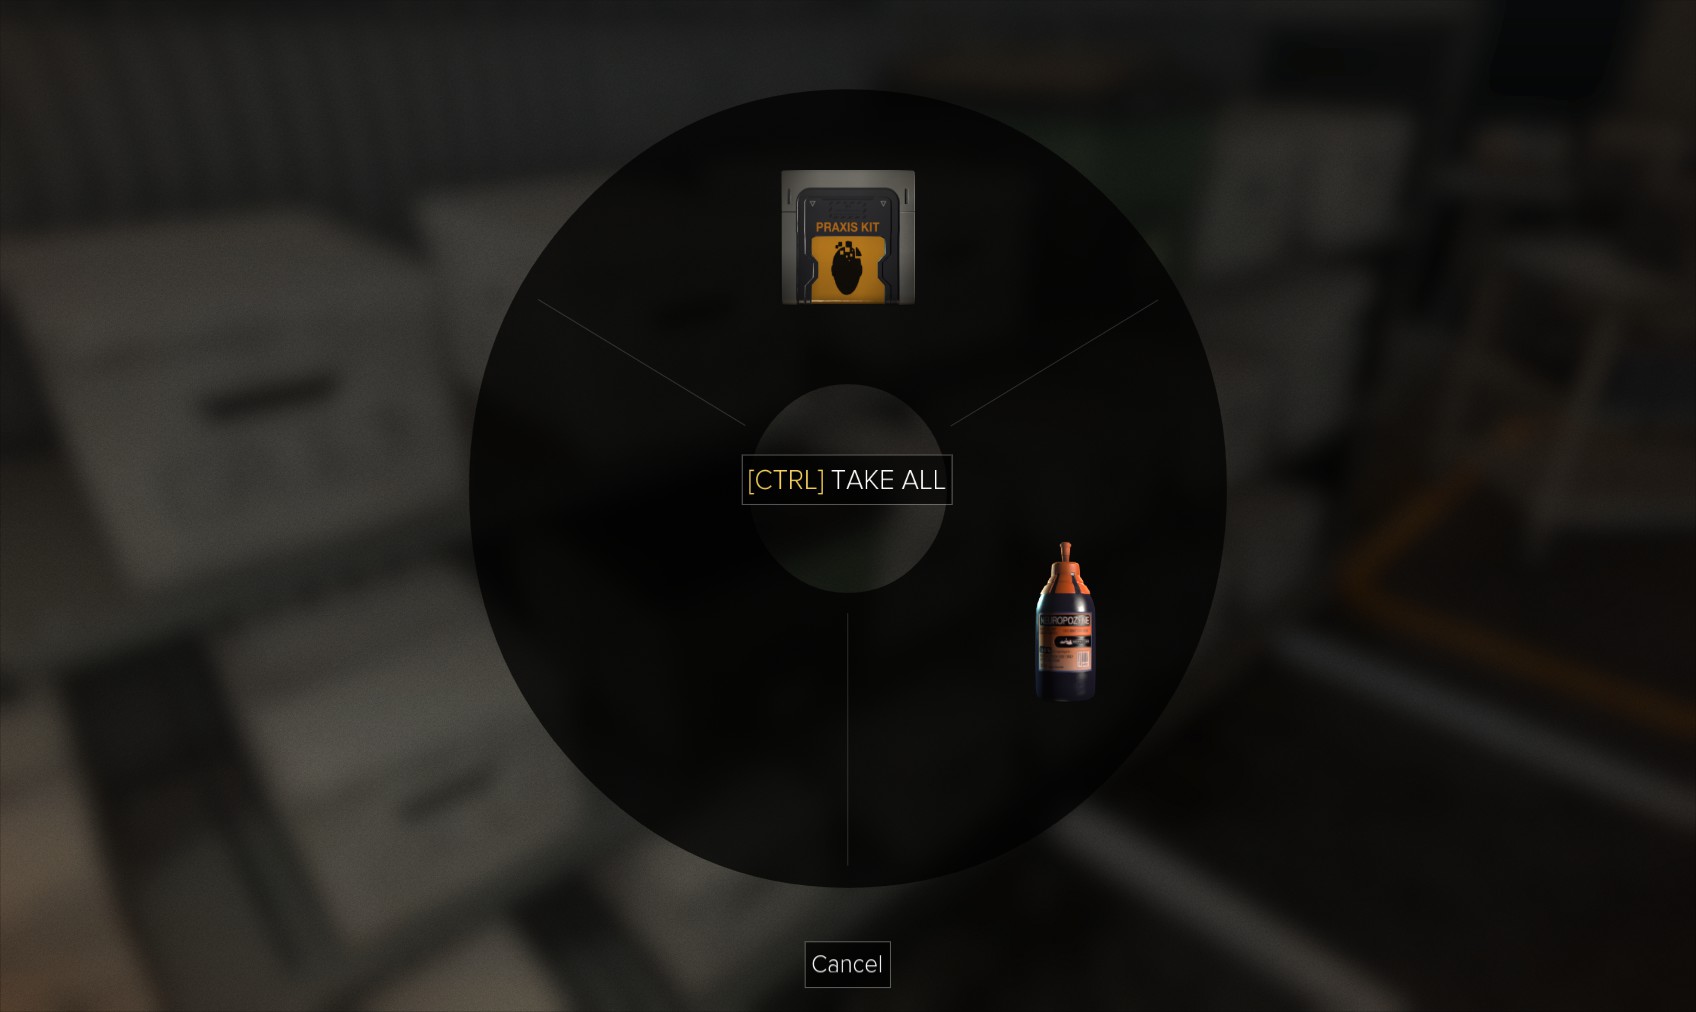
81. Three have Praxis Kits! Hunt the green containers for a variety of goodies including biocells, multi-tools, weapons, ammo and hacking software.
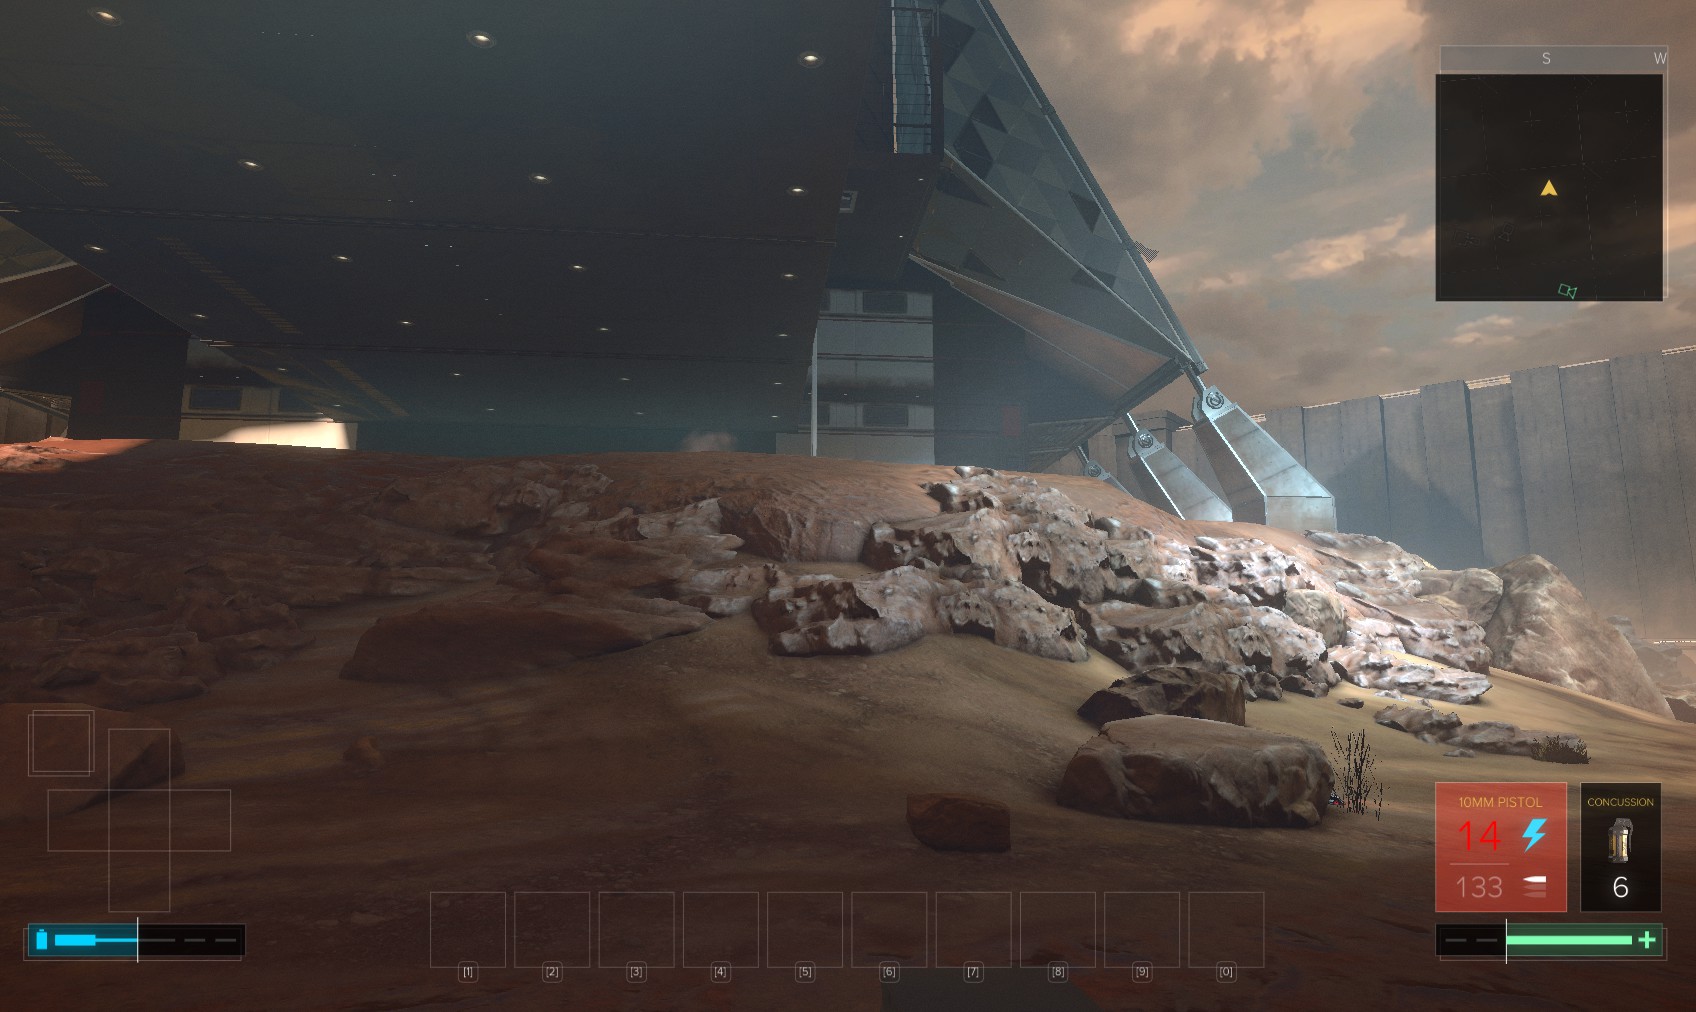
82. The door at the far end leads to an outside area protected by turrets, mines and some guards. You can venture out there to loot a couple of biocells, but it’s tough to get past the mines. Did I mention mines? There’s mines too.
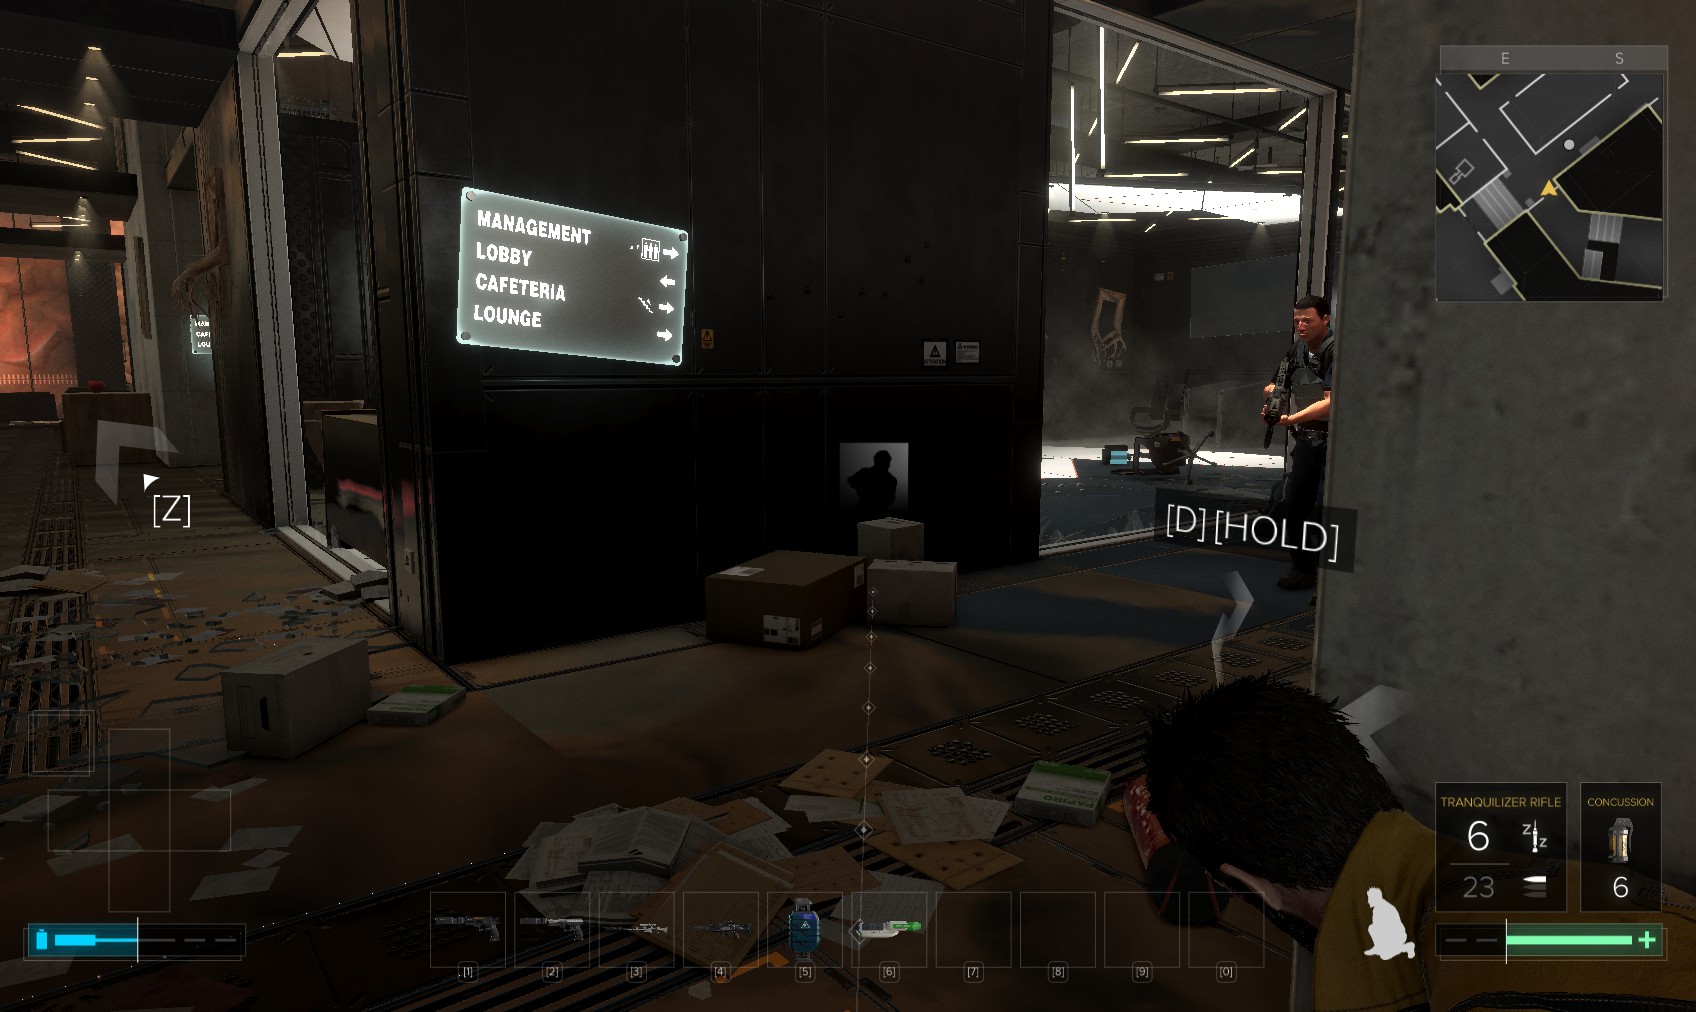
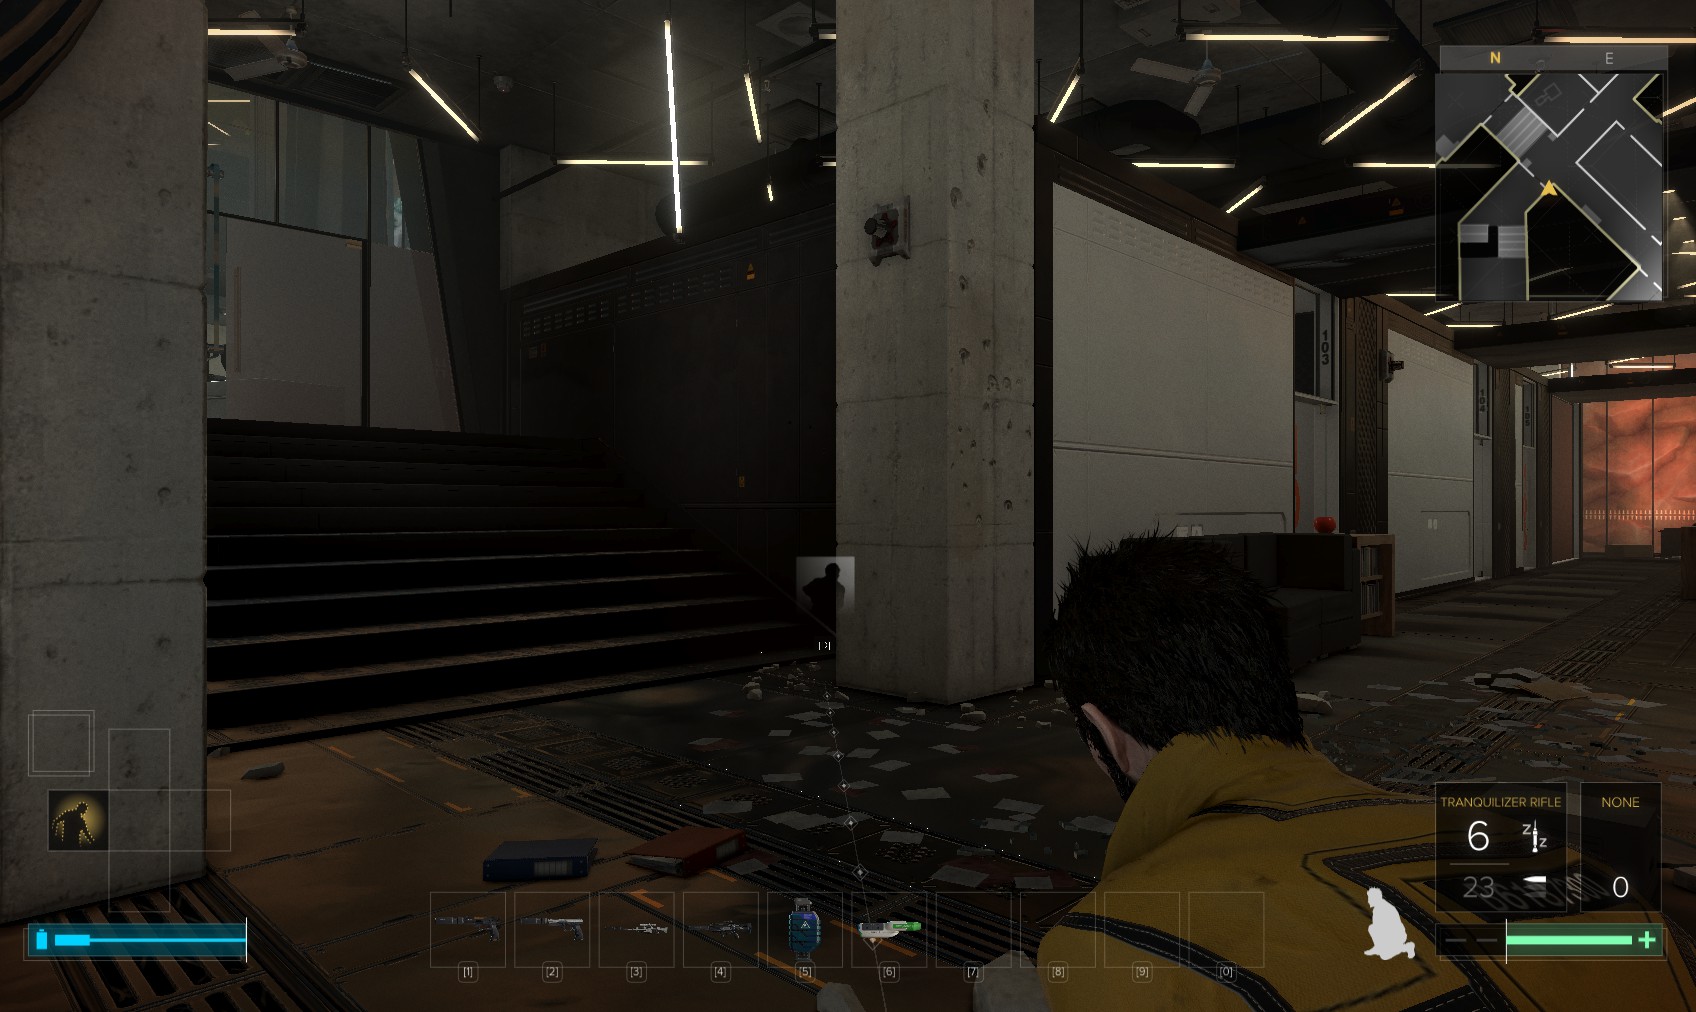
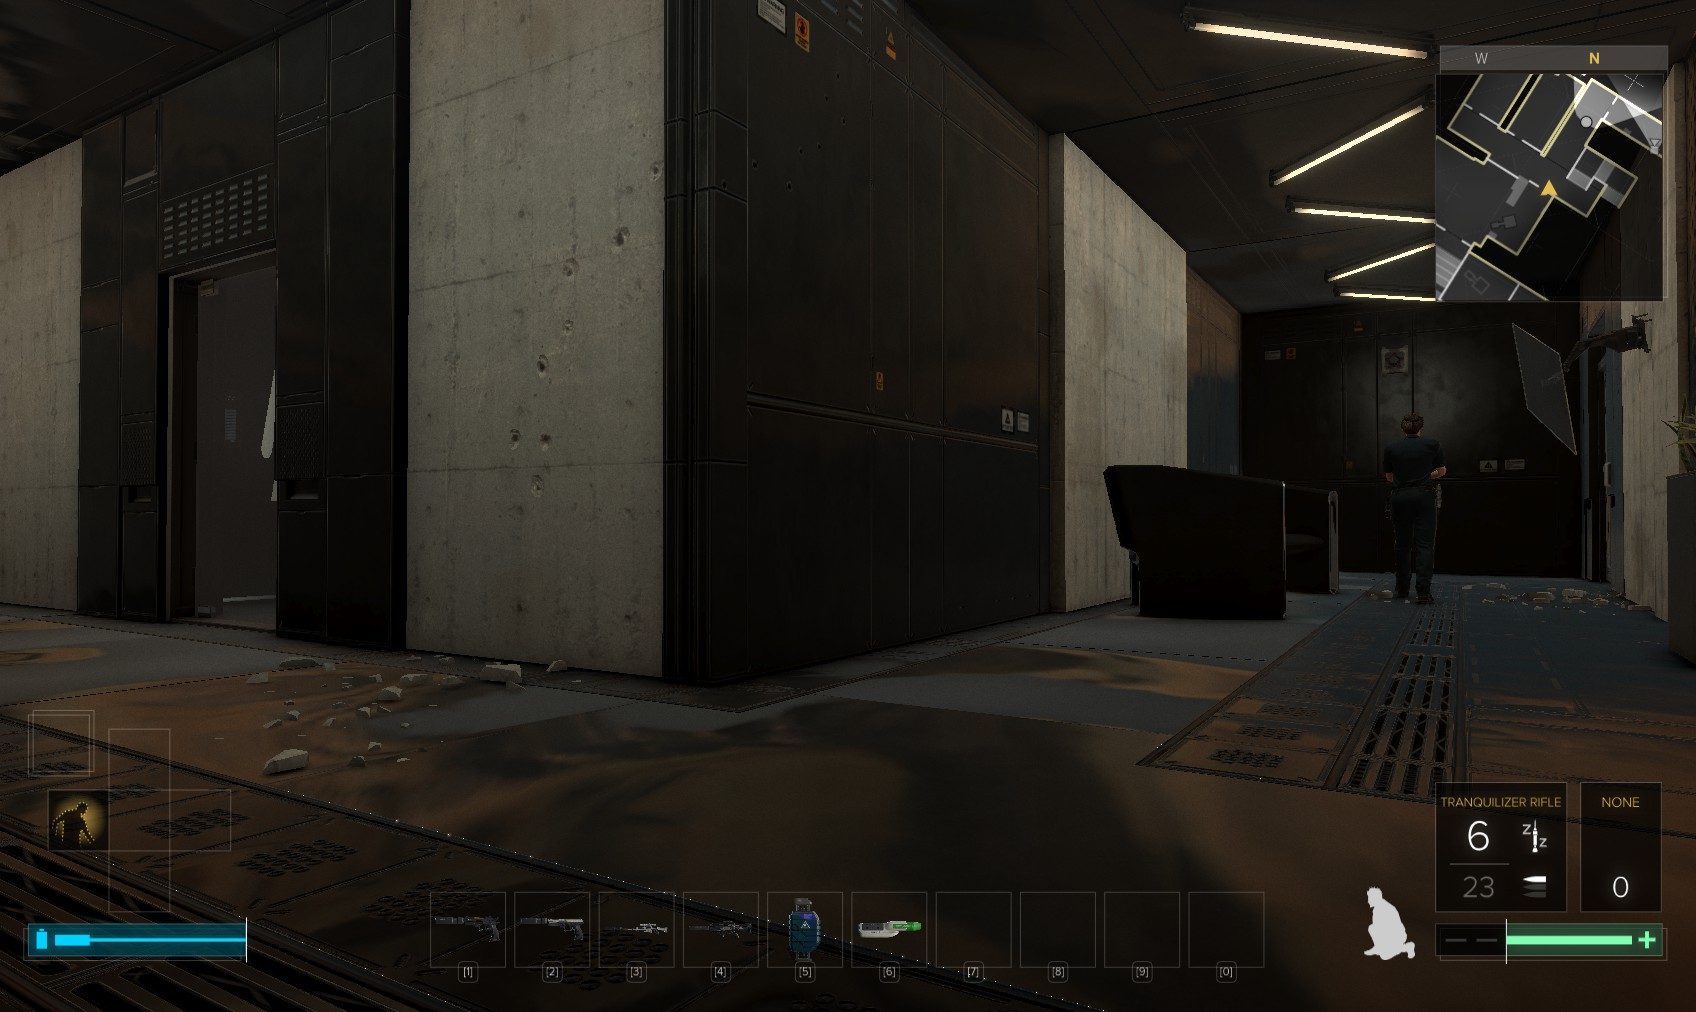
83. Head back downstairs to the other door. No mines but it is patrolled. Open the door carefully then sneak left of that sign to find some unoccupied offices.
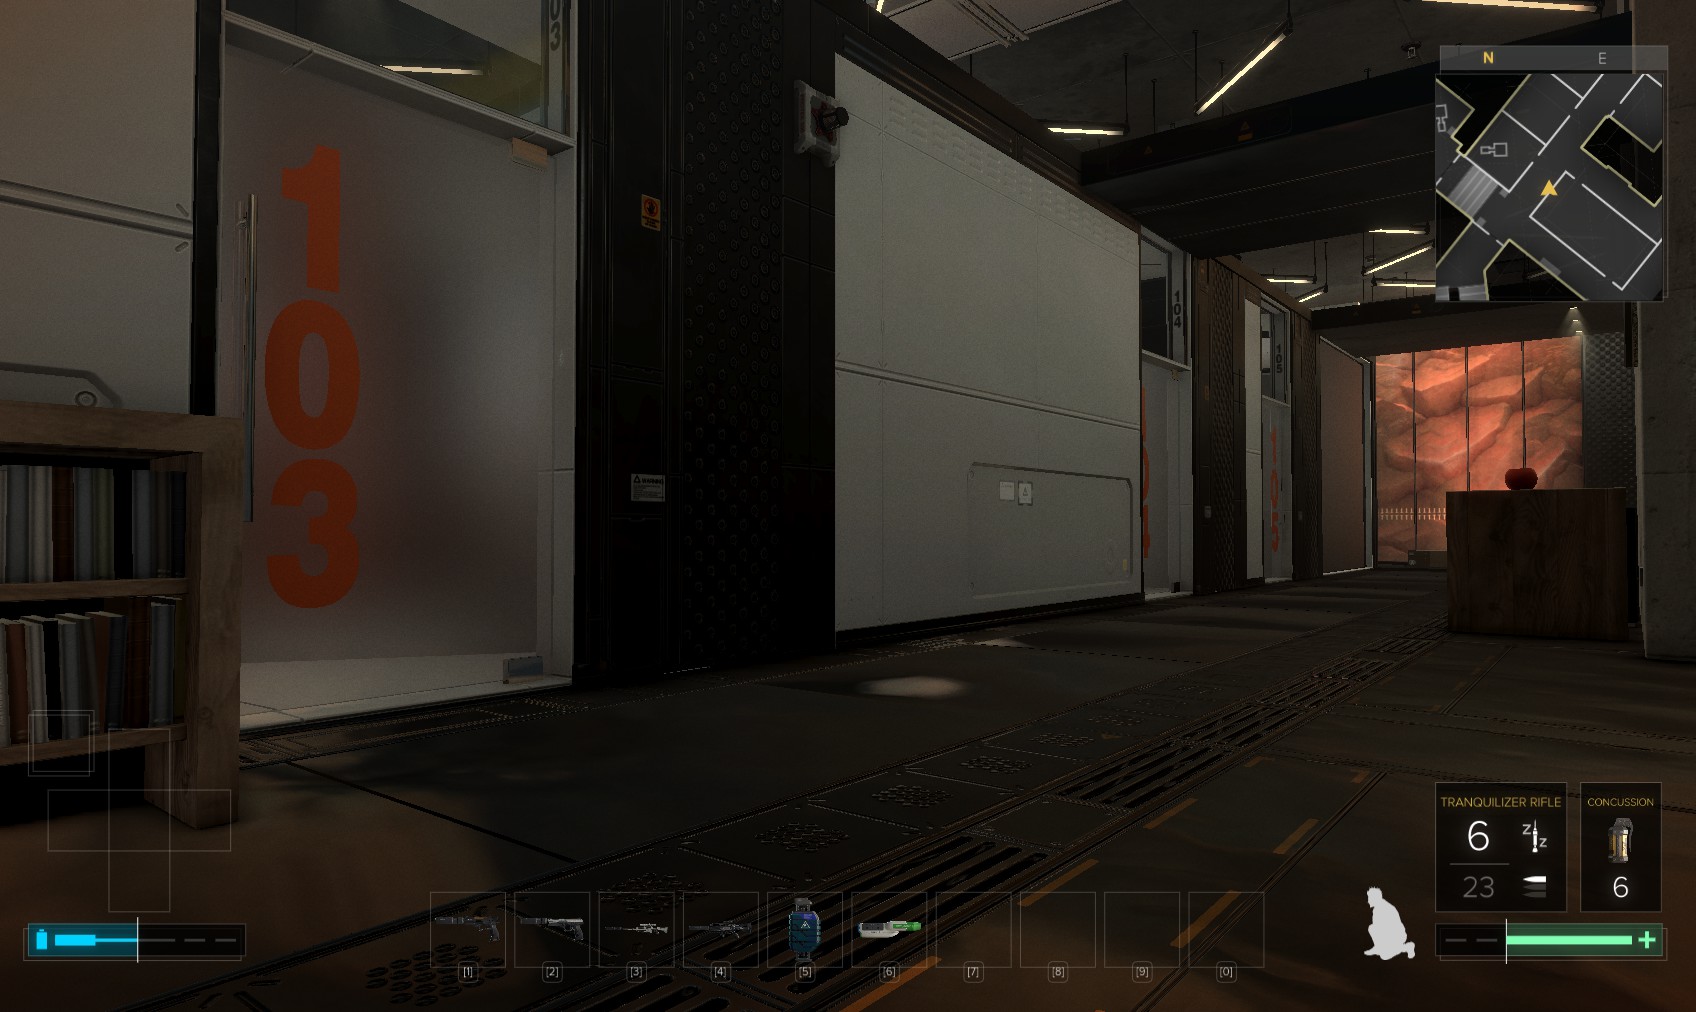
84. Start with 103 on the left.
85. Inside find some hacking tools, an unlocked PC with some emails, and an eBook on the shelf. "Cellread - Dating a C.O."
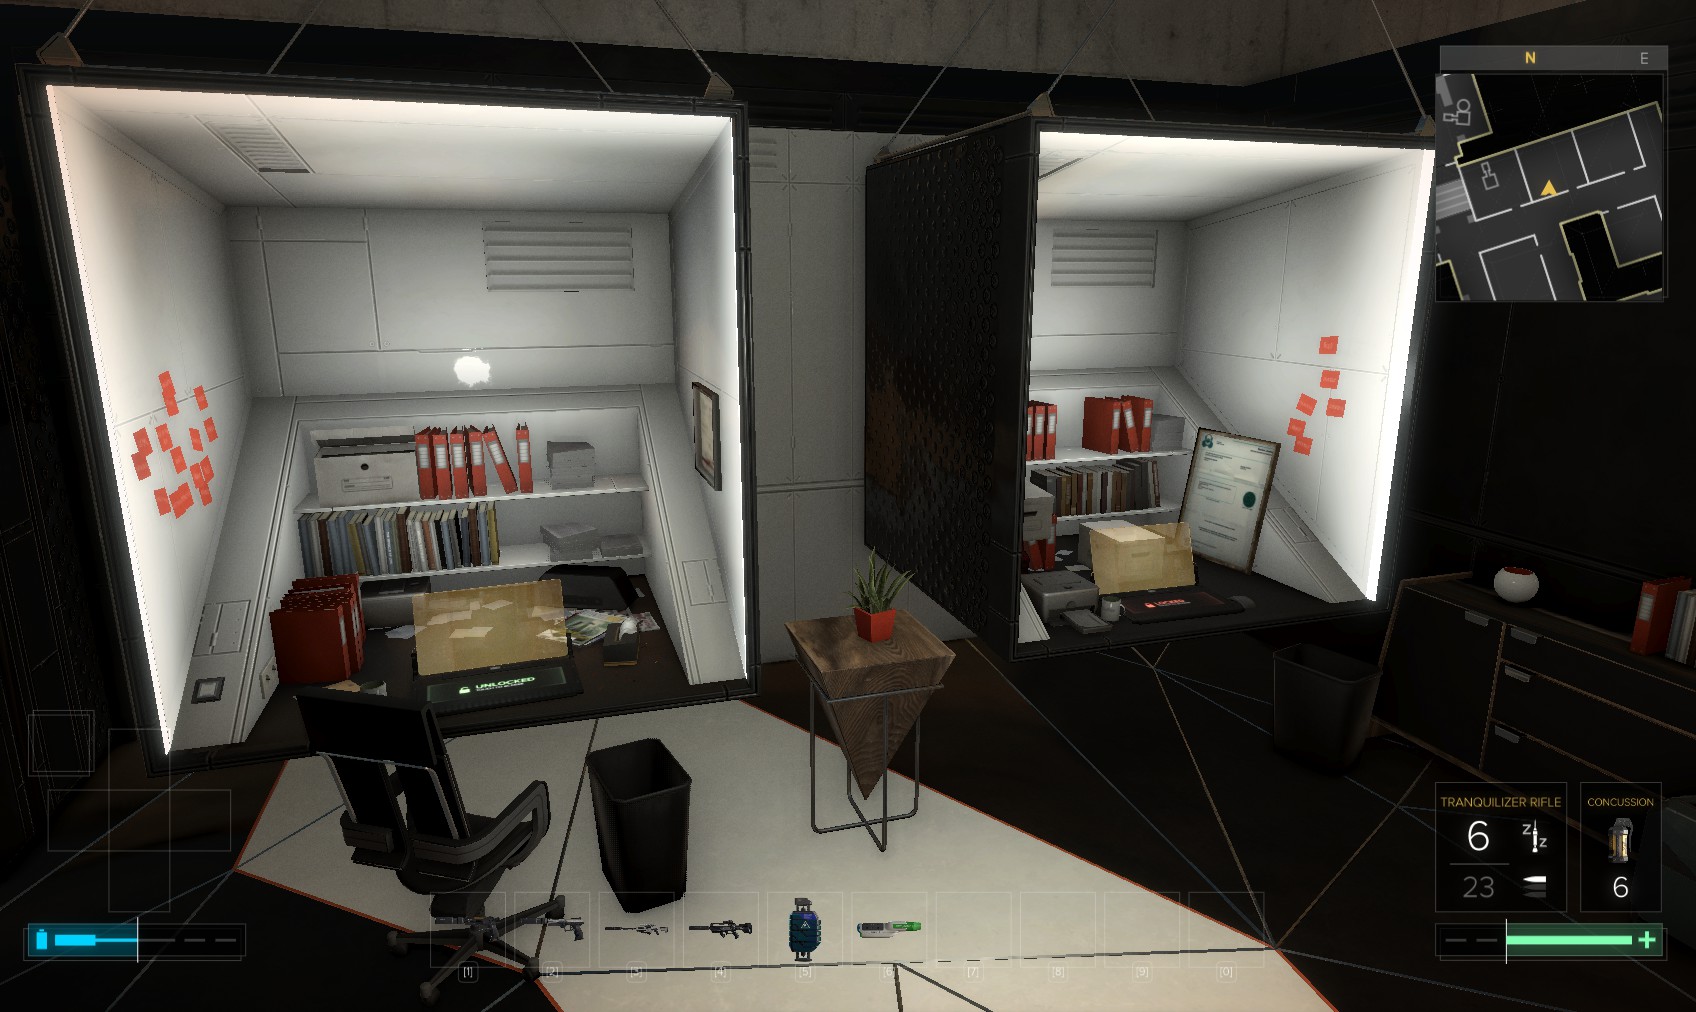
86. 104 next door has an unlocked laptop and a locked (level 2 250XP, 200c) one with more background emails.
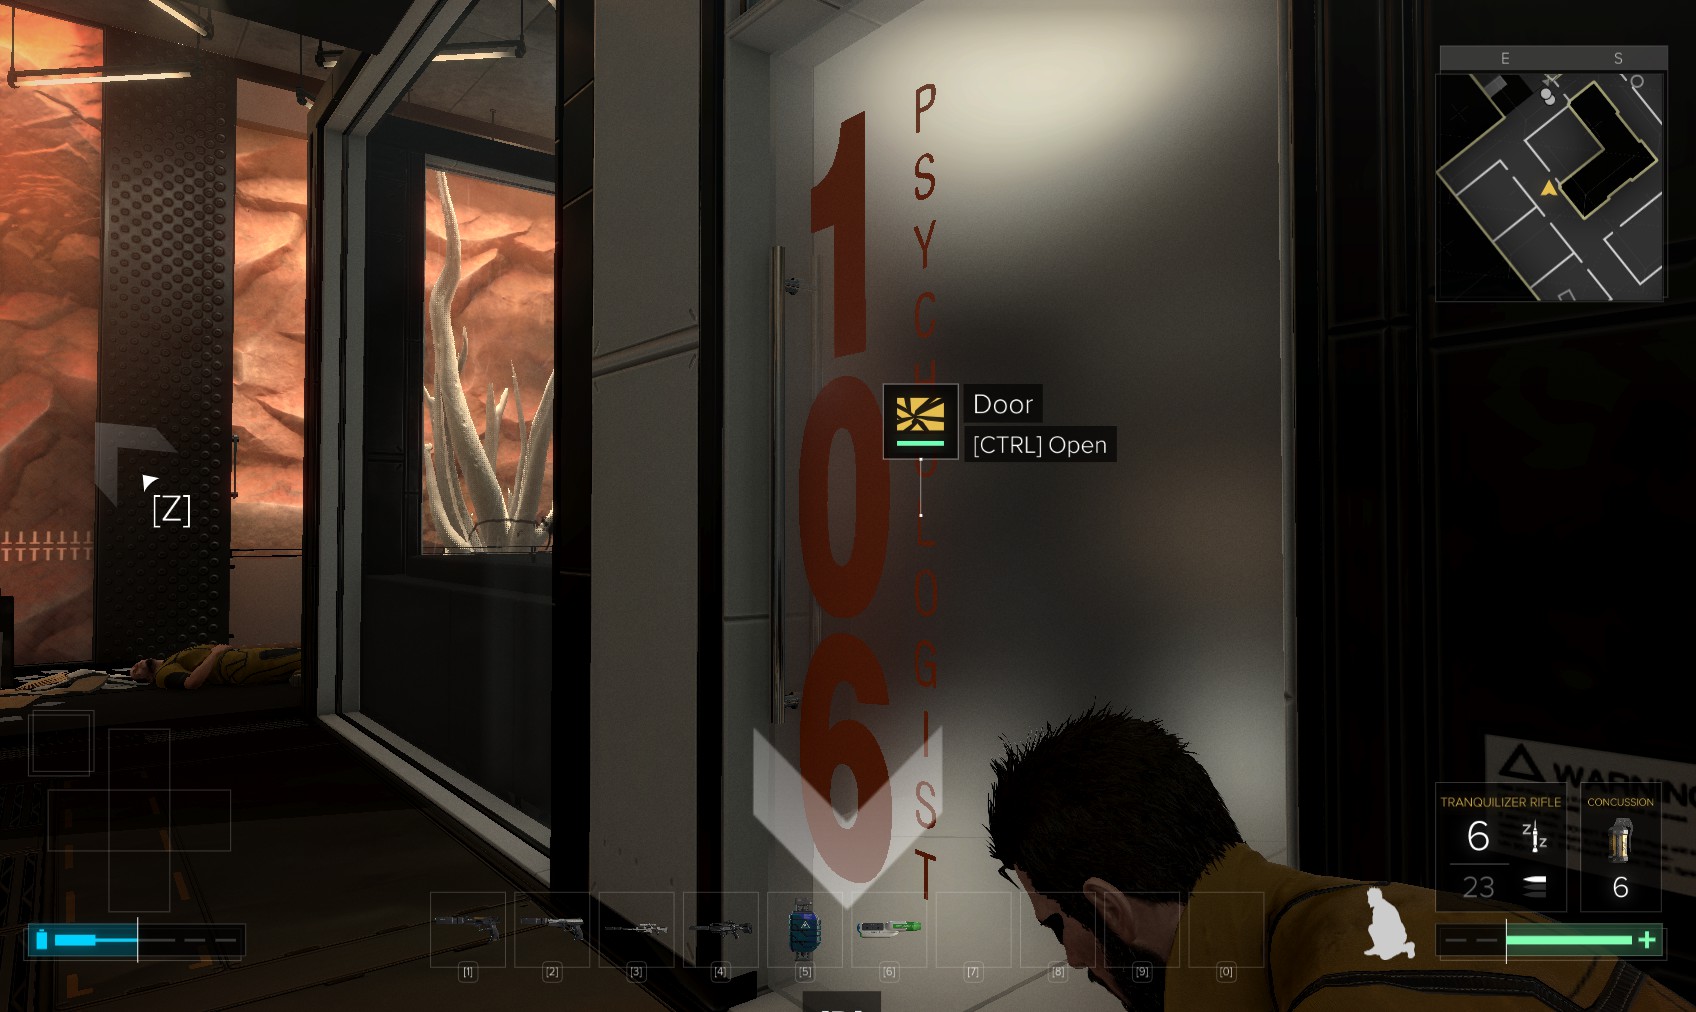
87. Exit through the door and slip into 106 opposite.

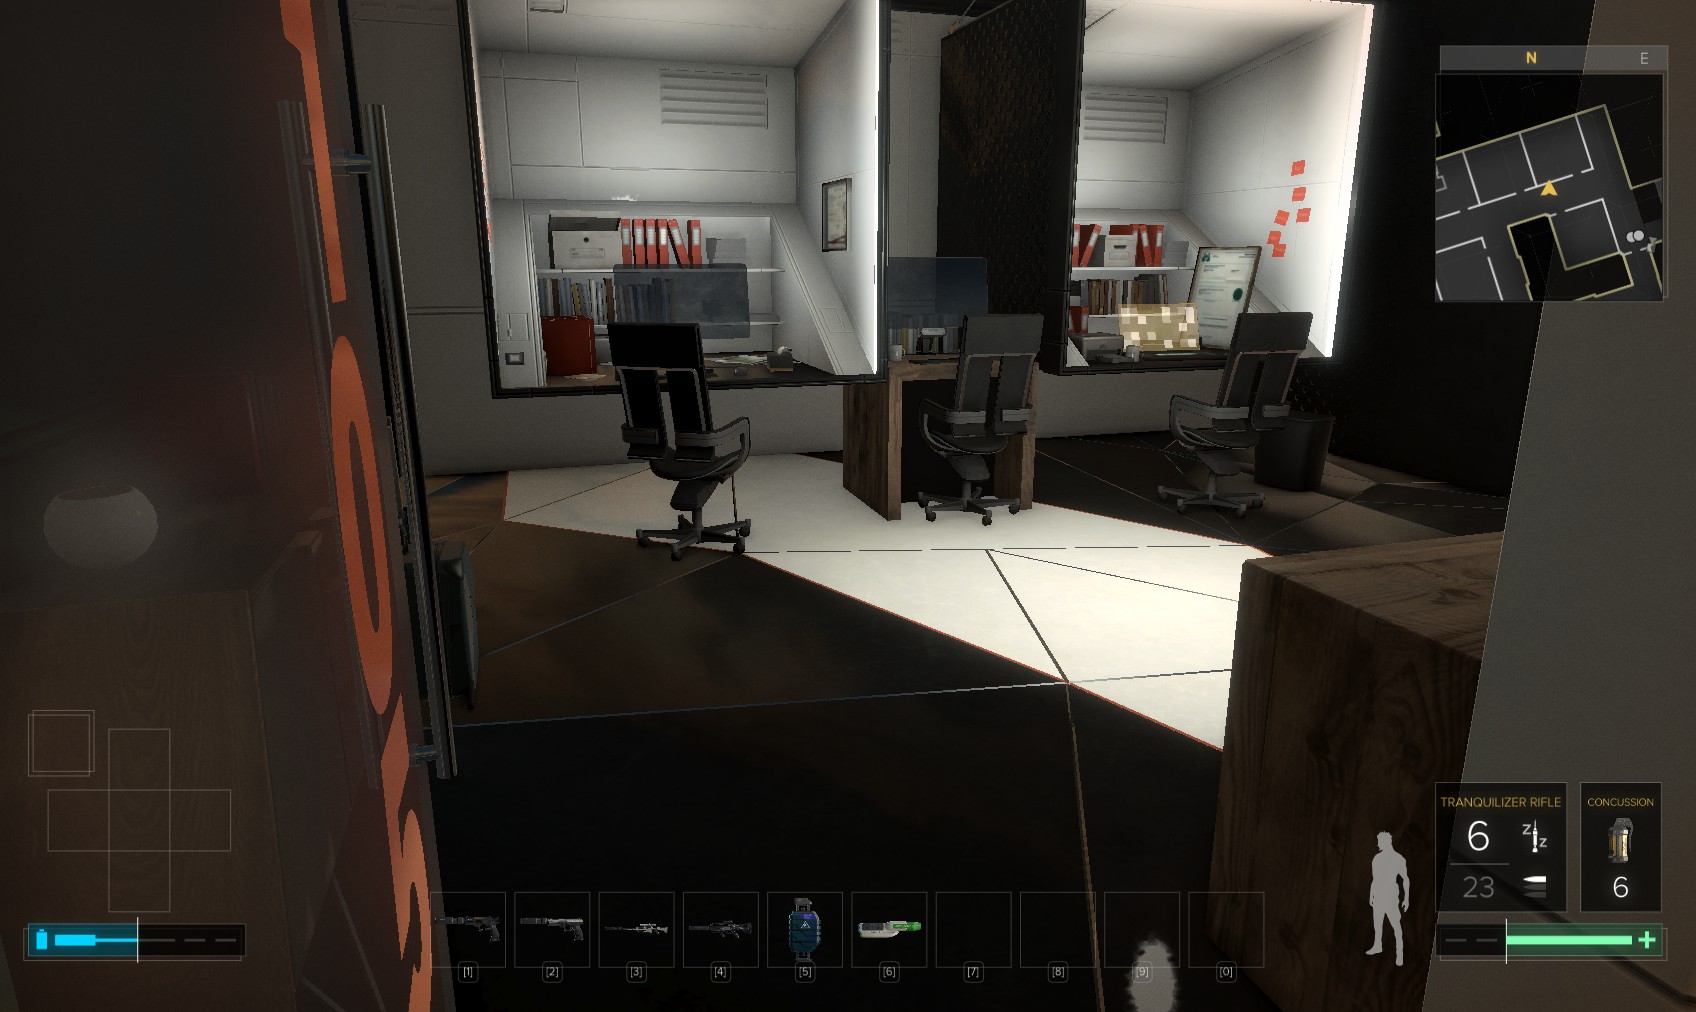
89. The EG glass covers you while you enter 105 for more hacking tools and another unlocked PC.
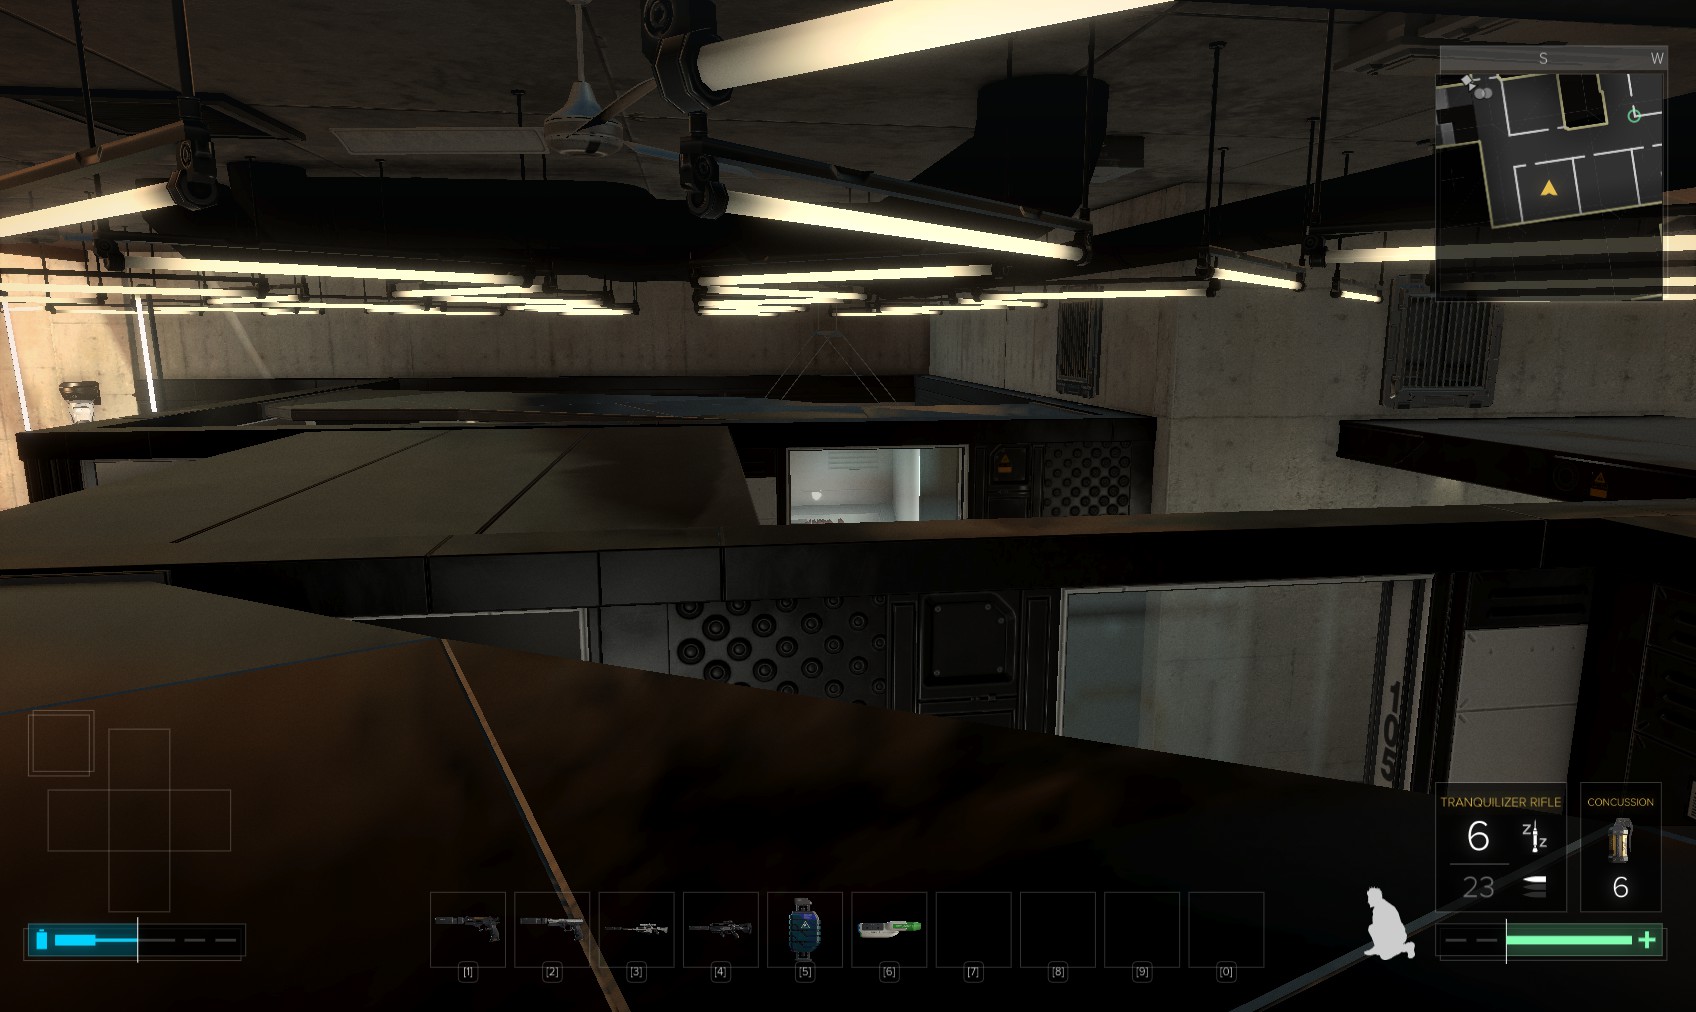
90. With the leg augmentation you can easily jump up to the decorative ceiling for a 200XP explorer bonus. Go into one of those two vents on the right.
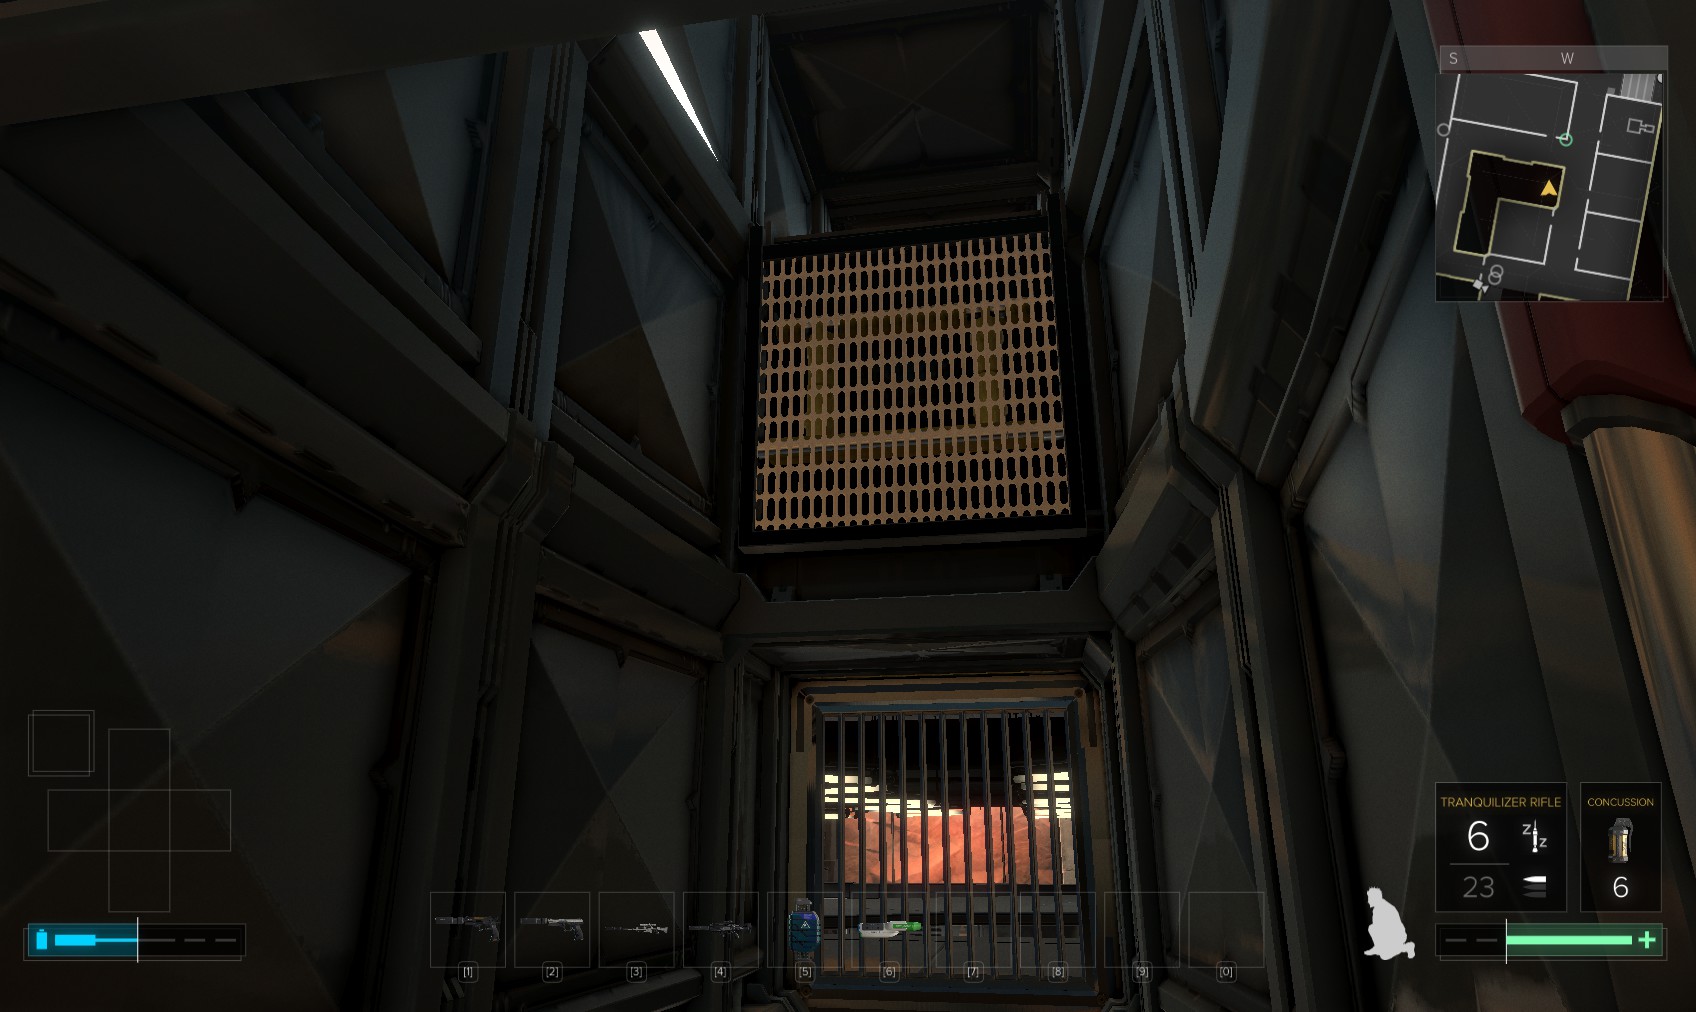
91. Just inside, take the upper duct.

92. Follow it to the end to come out here. Toggle the EG glass and hack the level 3 security console for 250XP and datascan software. Disable 2 cameras and 4 turrets. Quite a coup! Another restricted access keycard is in here, and some hacking tools and painkillers.
93. Taking out this guard makes the next bit, and a later foray downstairs easier, but it’s not actually necessary. She carries another restricted access keycard. I’ve lost count of how many of those I’ve collected! Raid the weapons cabinet nearby, and follow the corridor round.
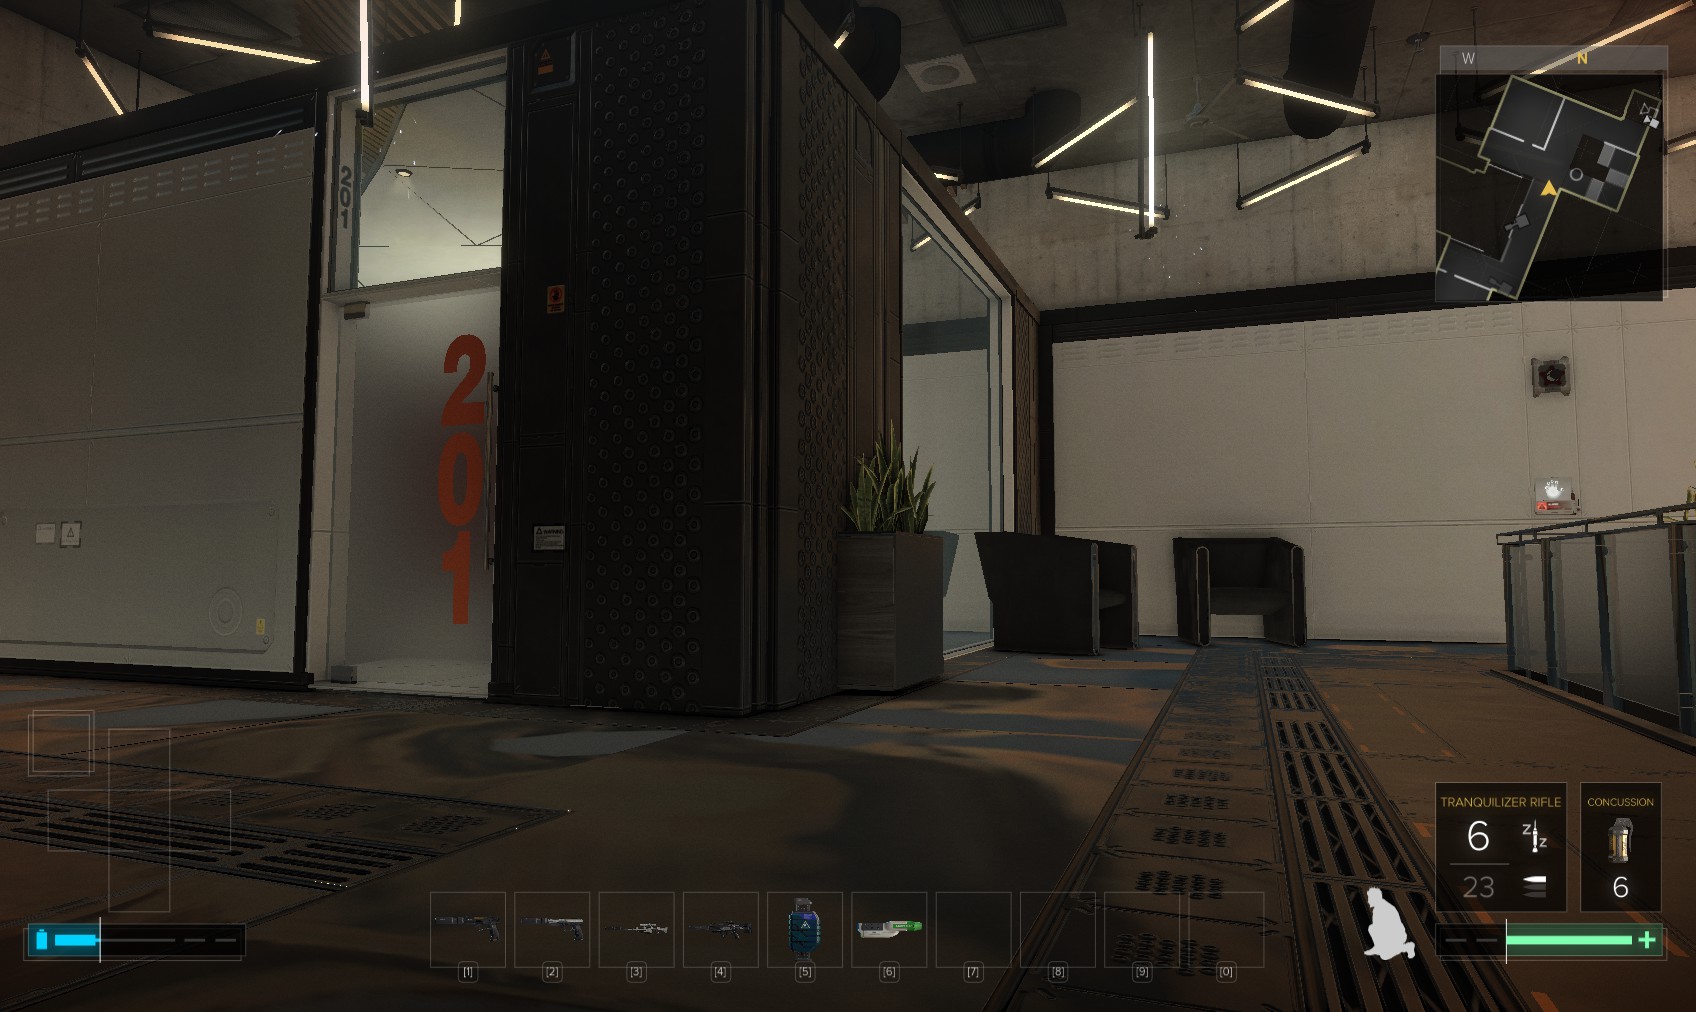
94. Room 201 contains an unlocked PC with some background, and some hacking tools. The level 3 alarm panel is disappointingly free of downloads. Head carefully down the stairs.
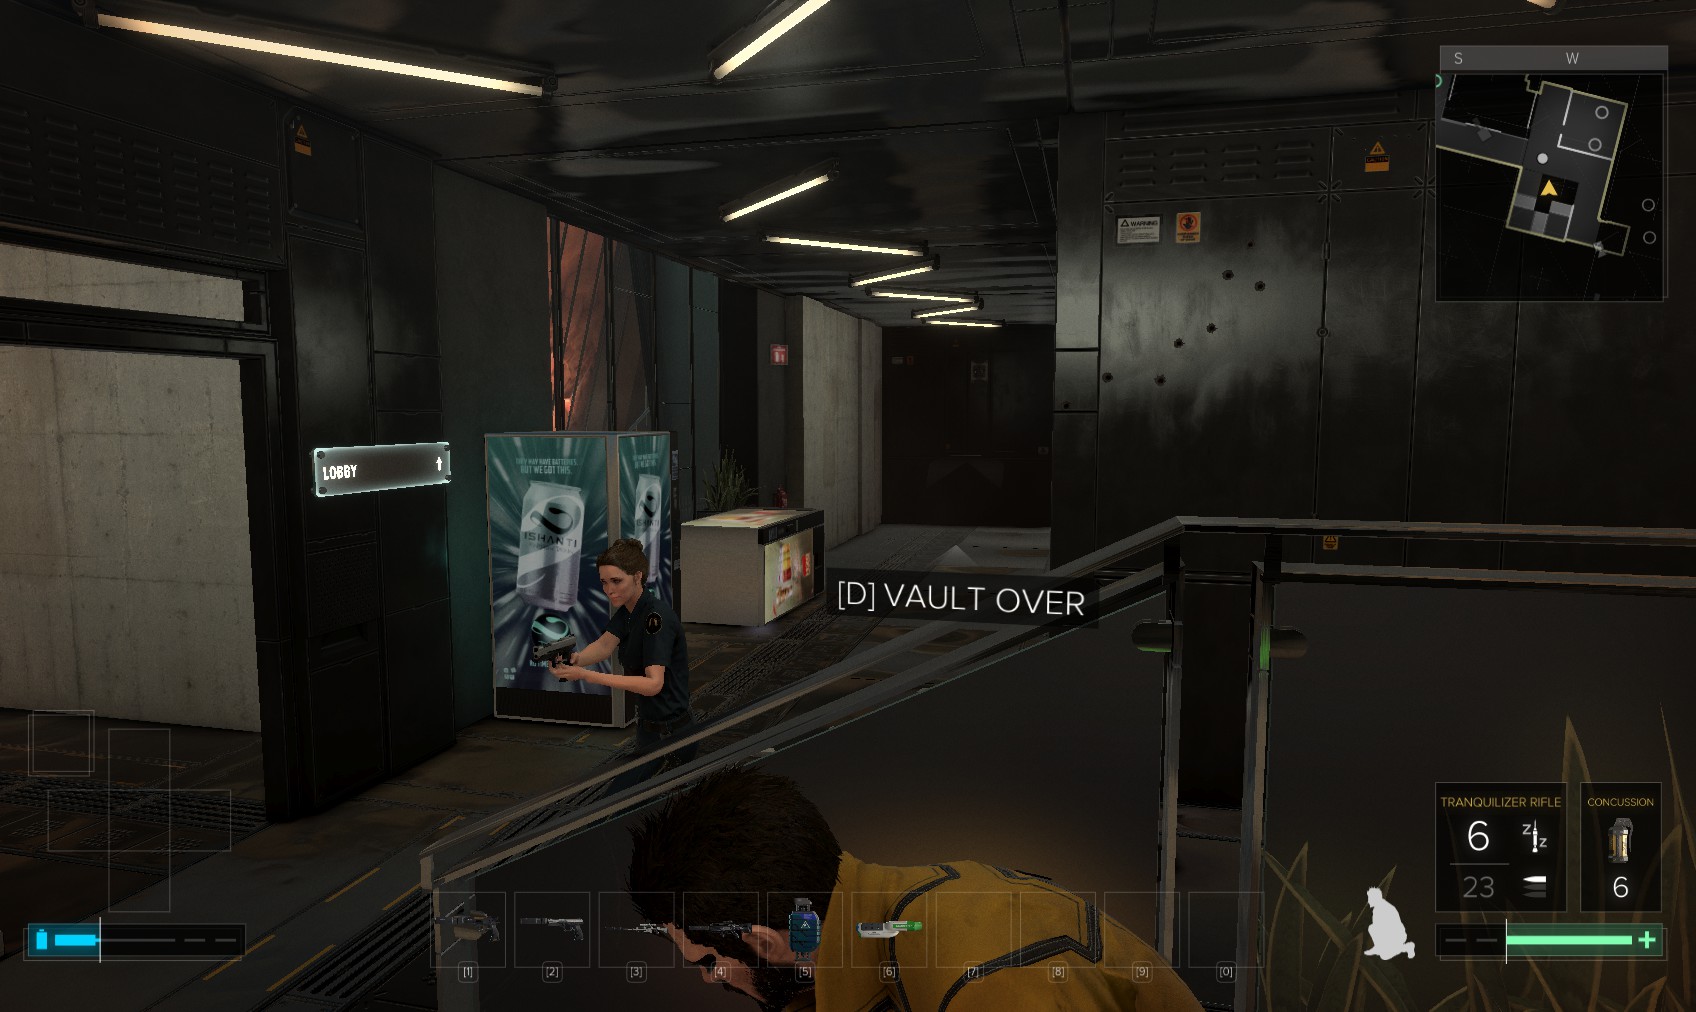
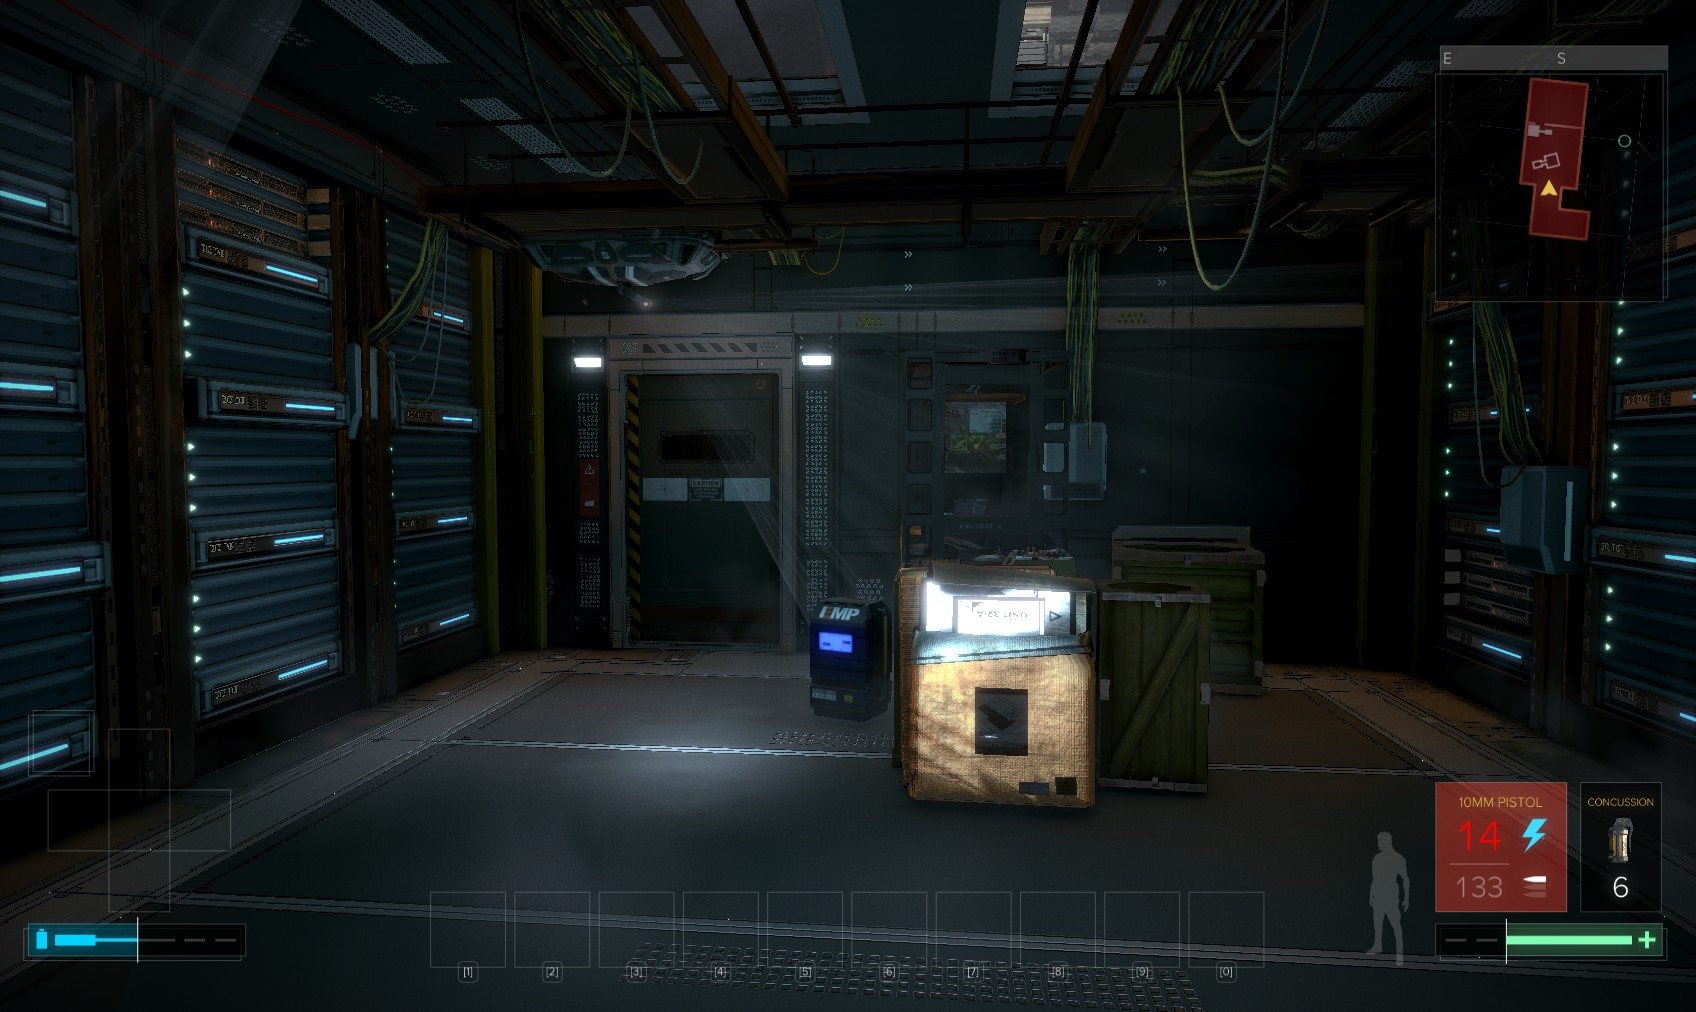
95. This patrol will see you in this position at one point on the routine, so be careful. When she heads past that fallen vending machine, slip around to the extreme right.
96. This corridor looks fearsome, but it just requires a little patience to avoid the lasers and the camera. Hiding by the concrete pillars on the right is the key.
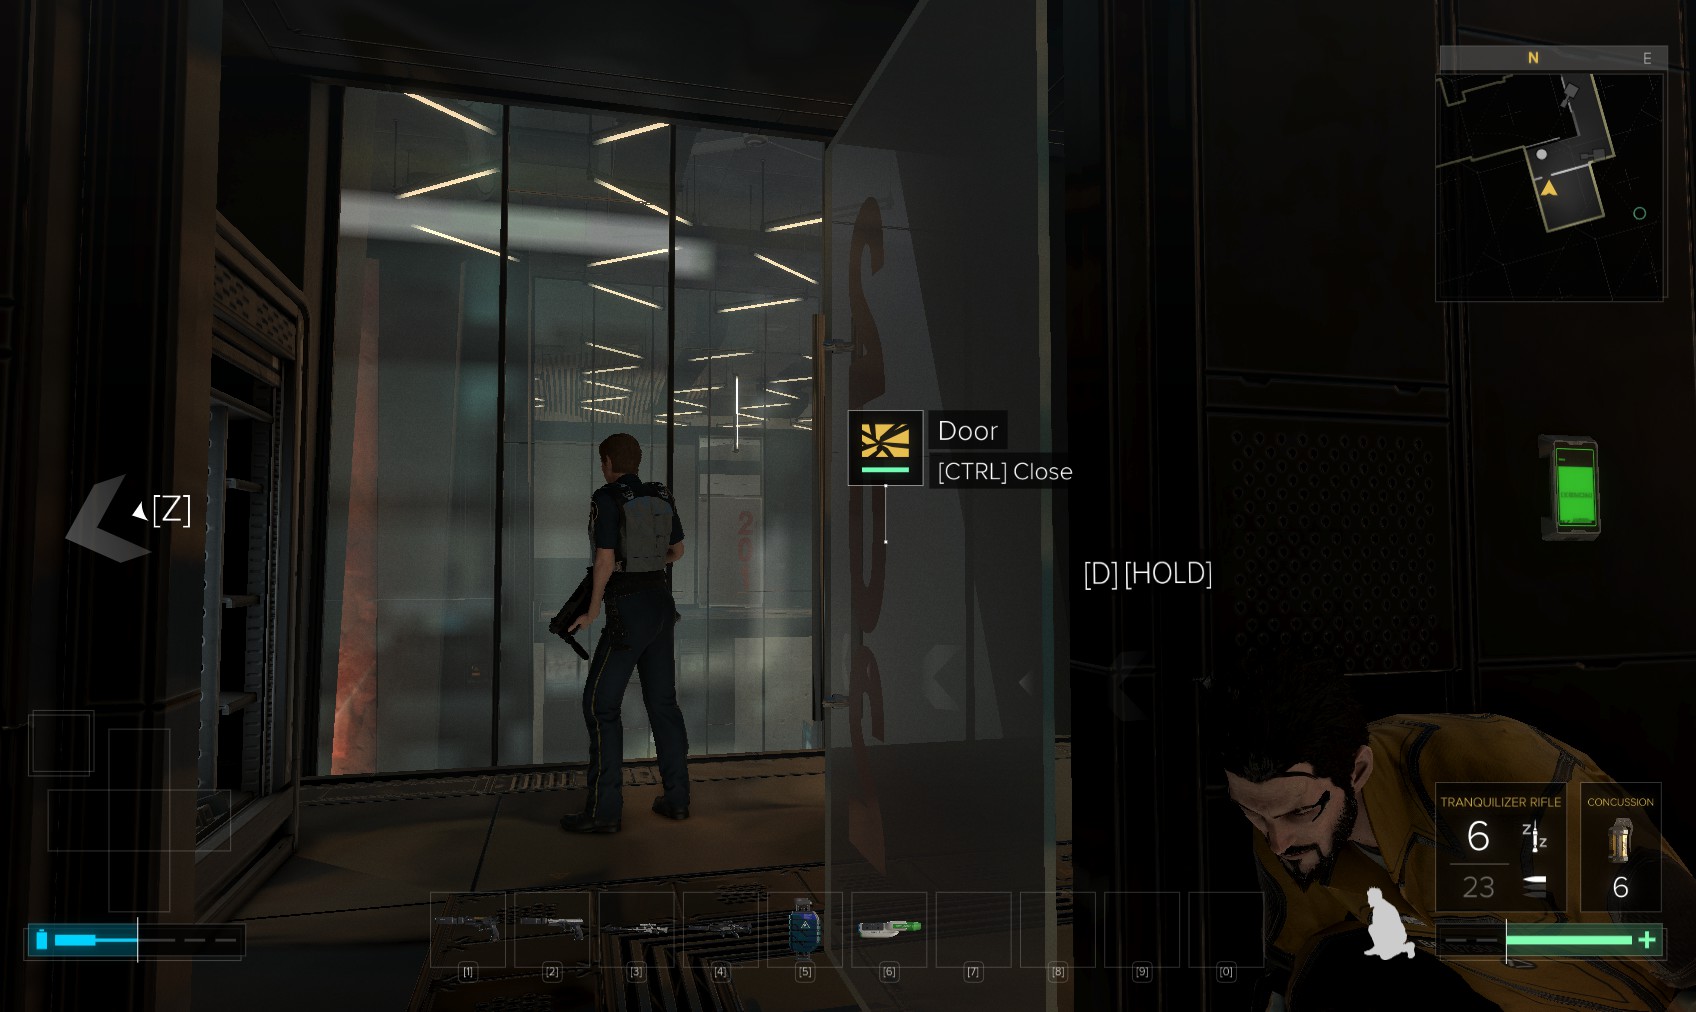
97. Oh, yes, don’t forget to close the door, or the patrol will see you!
98. Your restricted access keycard is needed here, and it takes a few seconds for the lift to arrive, so timing is crucial with that camera.
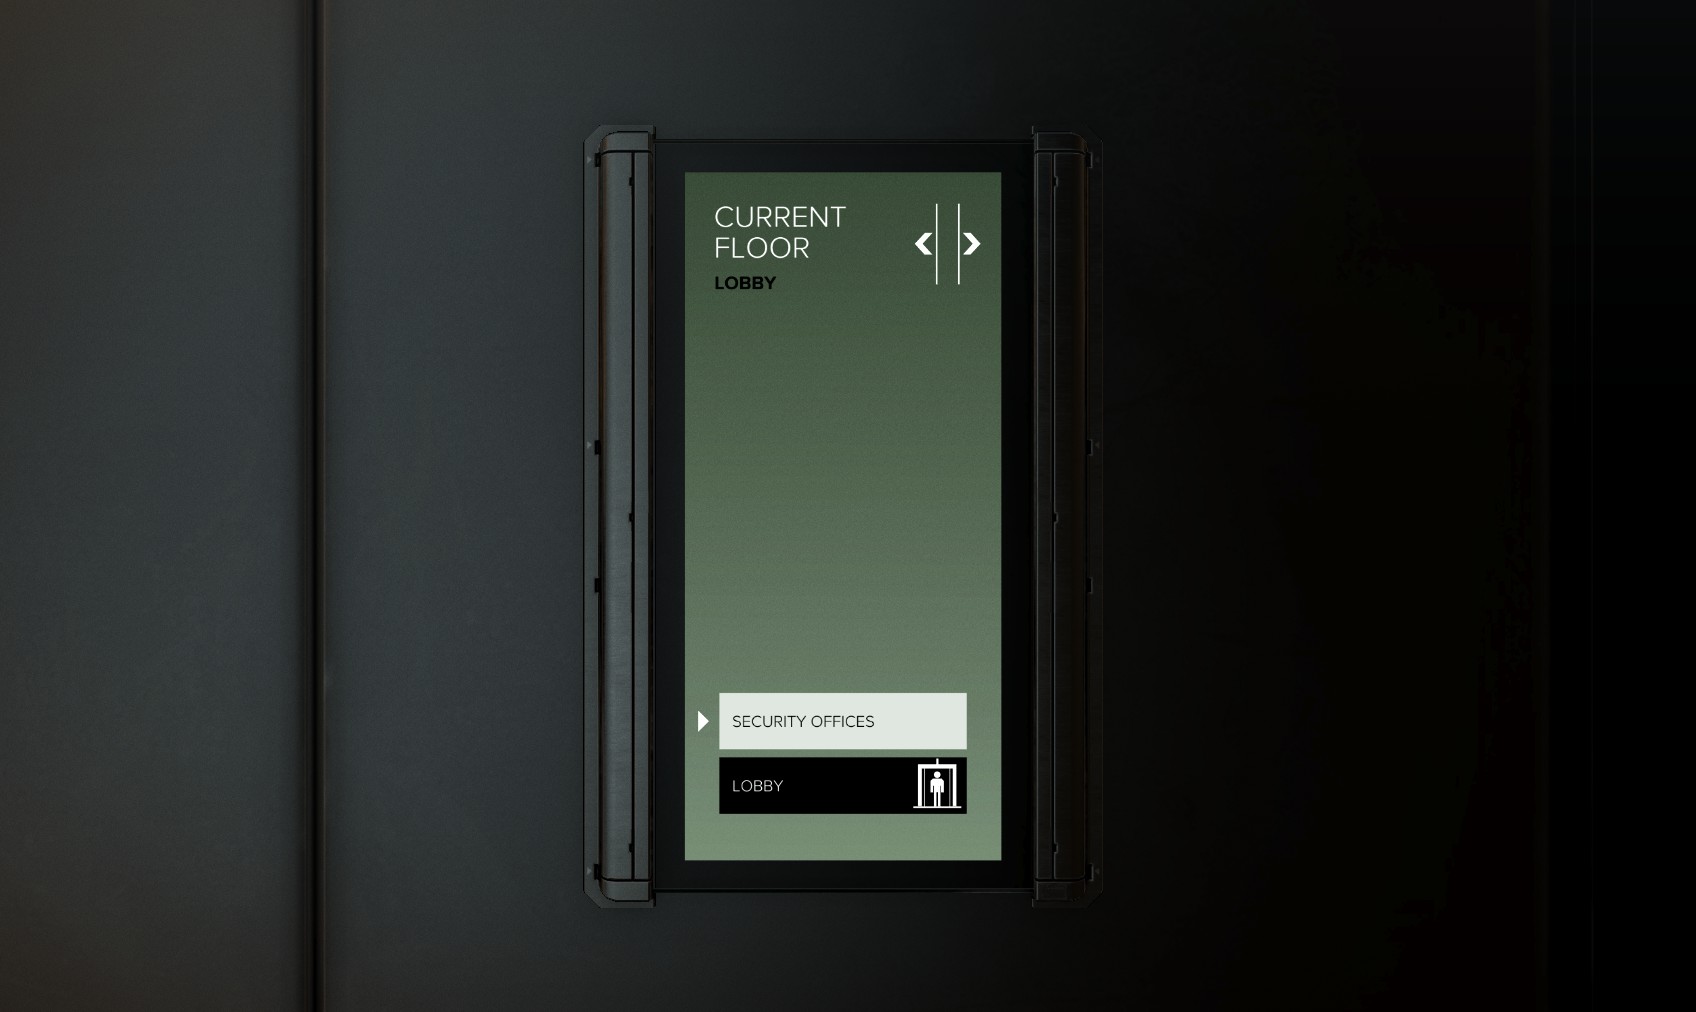
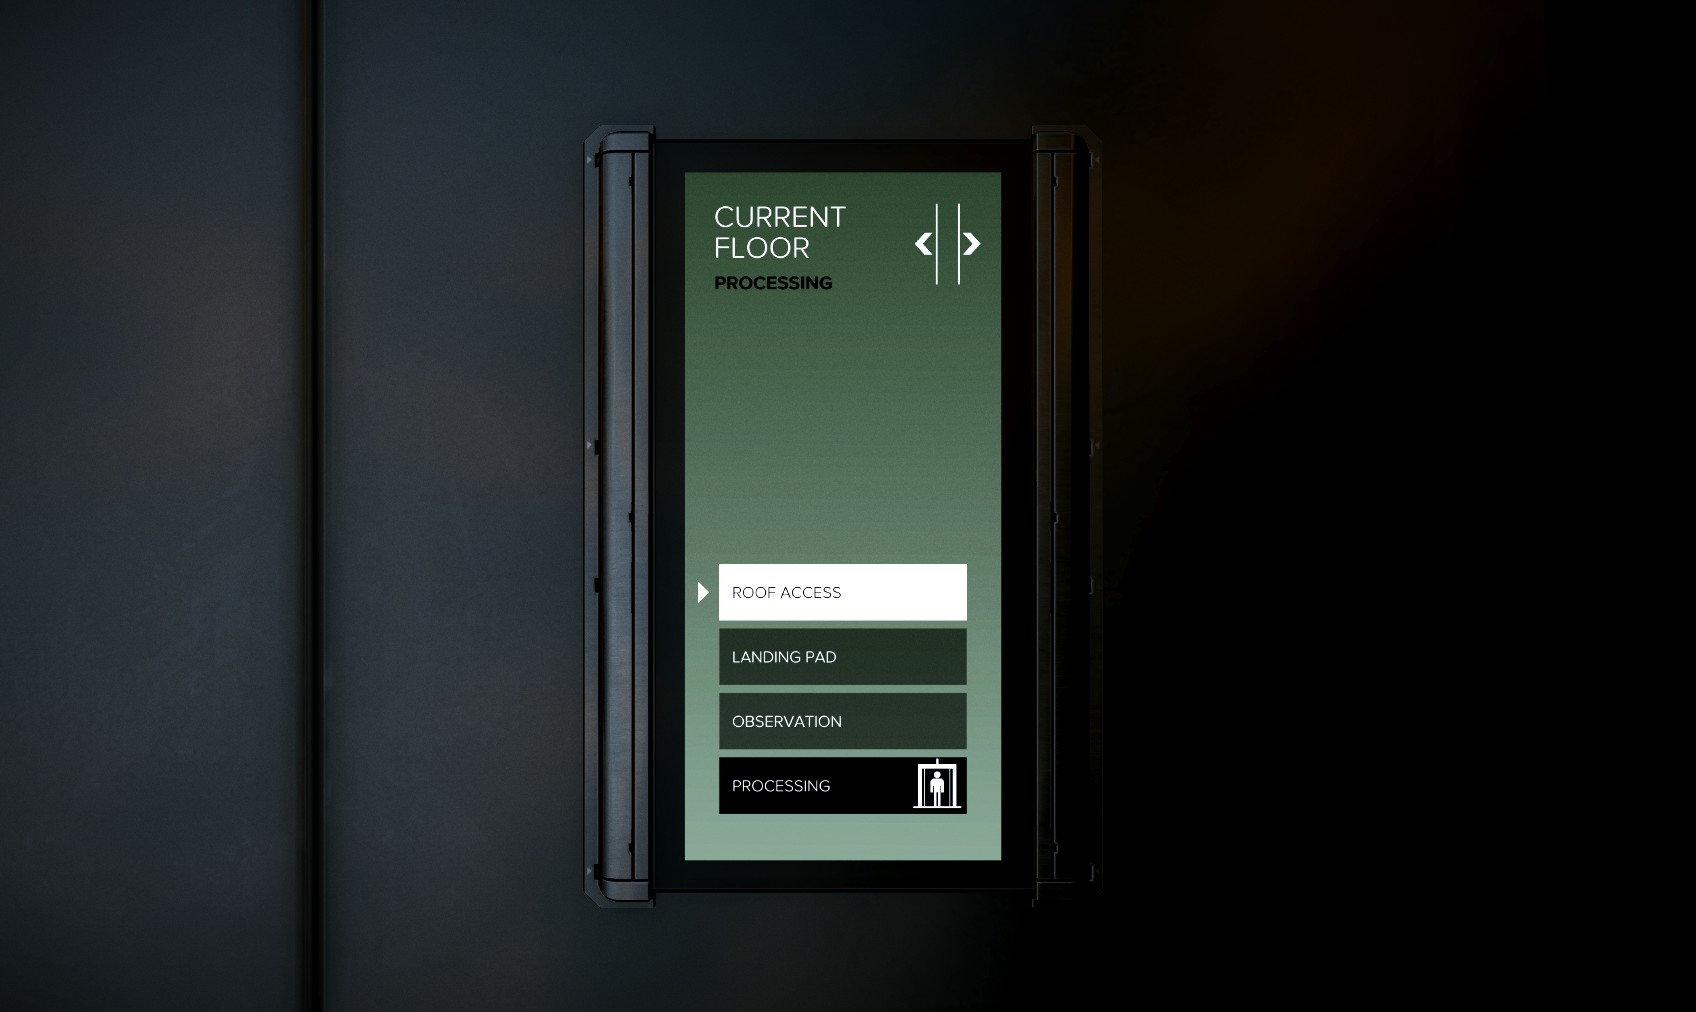
99. Select the Security offices in the lift.
100. You come out here. On the right is Stenger’s office. It’s a level 5 hack for nuke software. Go in when it’s clear.
101. The unlocked PC has more emails. This button raises the picture on the right to reveal a safe.
102. You can’t hack your way into the safe - it needs Stenger’s personal keycard, so it’ll have to wait. Don’t miss the Praxis kit though.
103. An eBook is on the shelf. "The Vacillating Lover"
104. Getting into the security office unseen looks hard. Instead head through the broken windows on the right.
105. You can enter the storage room just inside here, but there’s not much there. Instead climb the vent machinery on the right…
106. ...Although don’t miss this Praxis kit as you pass.
107. Climb on the ducting and head round the corner. Below here is a storage room with a level 1 door (no downloads). Inside are a biocell and multi-tool.
108. Go carefully round the next corner to avoid getting caught up in a firefight.
109. When things calm down, snaffle this pocket secretary with the code 3546 on it. Head through the door ahead into the management offices.
110. Hunt the offices for stuff.
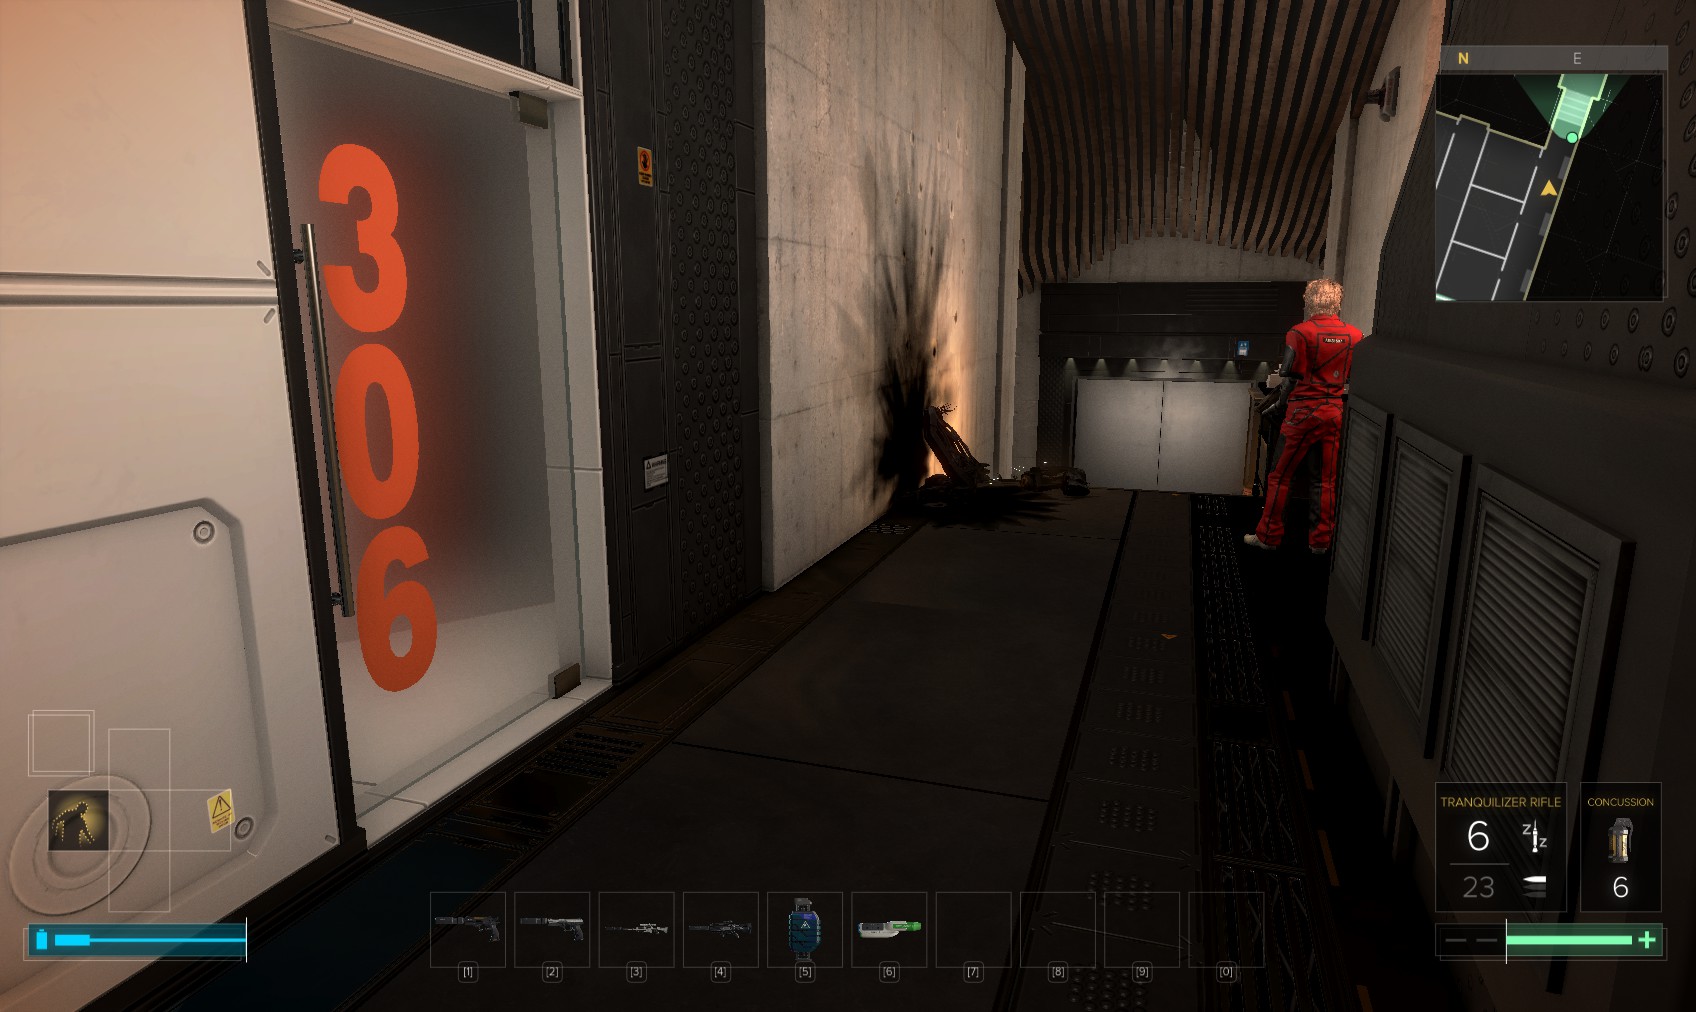
111. Office 302 has an unlocked PC and an eBook. "A Lasting Legacy"
112. 303 has a level 1 PC (245c). 304 has 2 unlocked PCs, as does 306. 305 has this disturbing tableau. The locked PC is level 2 (stealth and overclock softwarre) and an unlocked PC. On the side is an eBook. "Library Book Policy"
113. I’ve acquired 16 Praxis points at this point, so decide to get the glass cloak, which I upgrade fully. The vision feedback on the Wayfinder Radar system allows me to see which way enemies are facing. I max out the recharge rate and biocell capacity on the Energy Converter. Then I go to the Warden’s office.

114. Opening the door triggers a cutscene with Flossy. If you get angry with him, he’ll need to be calmed down, or he’ll turn hostile.
115. I leave him be. He carries a Praxis Kit, but I don’t need it. Read this pocket secretary for the code 2027.
116. Use the unlocked security console to turn off cameras and open the doors. The PC is level 1 (150c), or a huge 800XP if you use the code 2027, for background emails. There’s a multi-tool lying around too.
117. In the "secret" office, find hacking tools in the drawers and hack the level 1 keypad (350c), again the code 2027 works, to disable the transport tracking system and complete this objective.
118. You get a new optional mission to investigate the infirmary.
119. There’s also an open safe containing a Praxis kit, biocell and Neuropozyne.
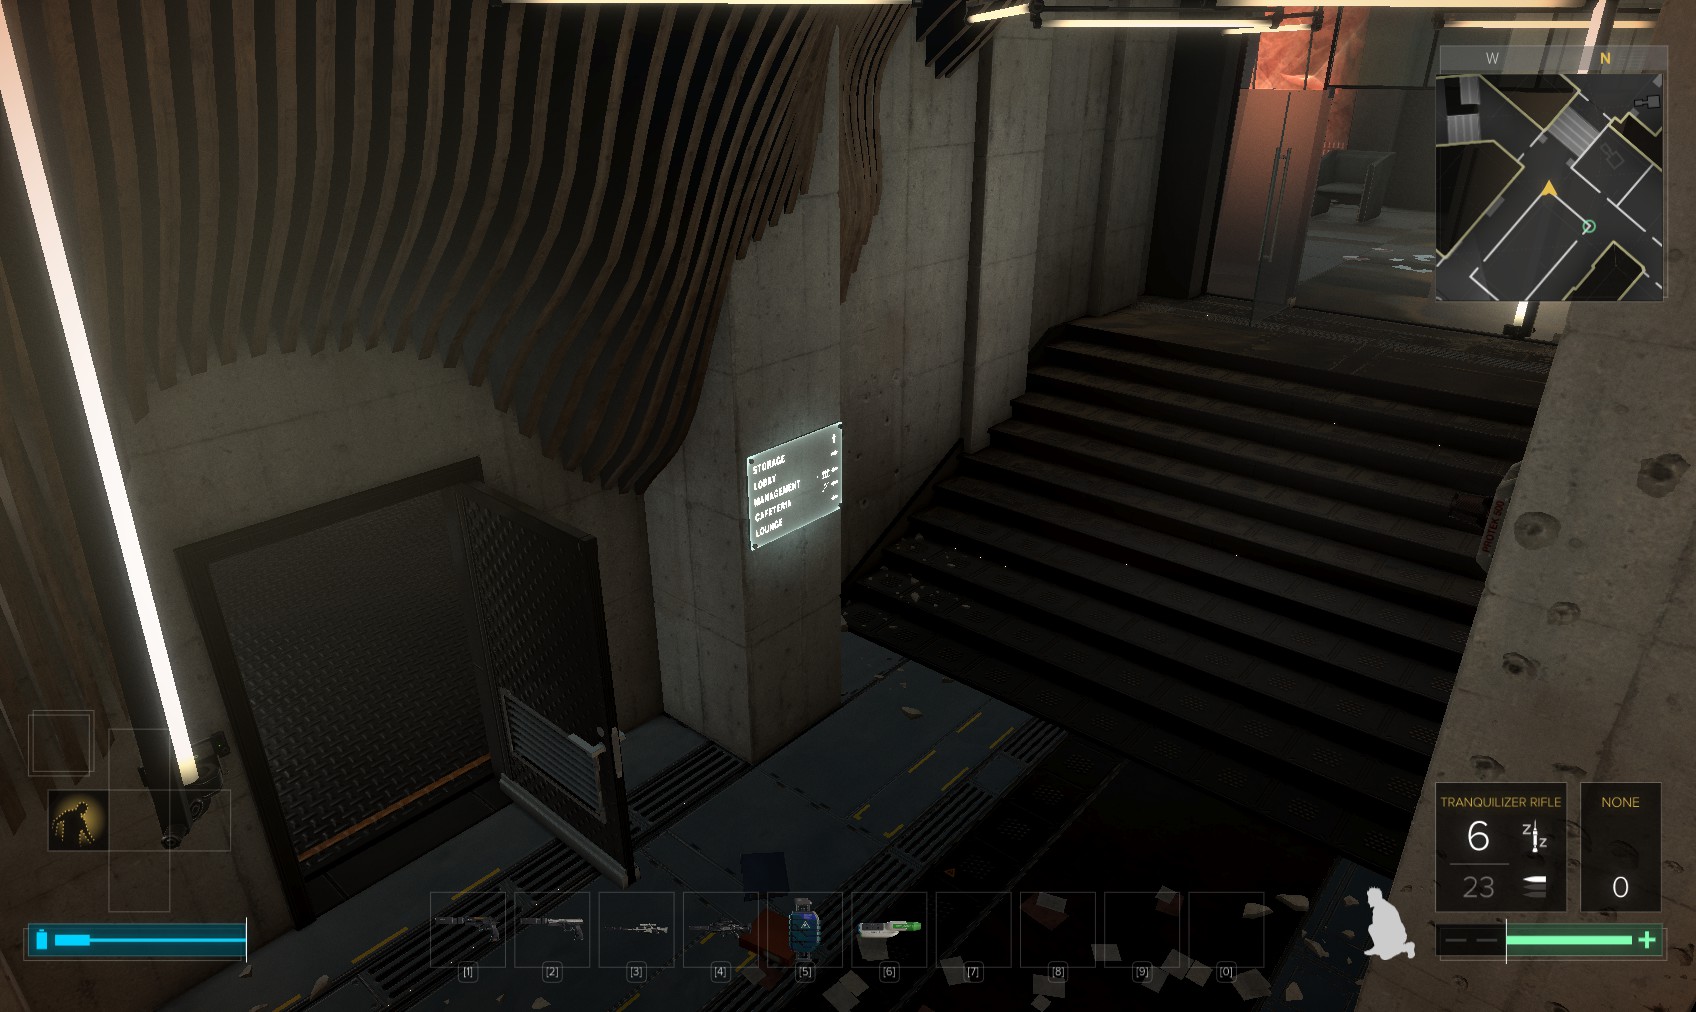
120. Take the lift at the Eastern end of the South corridor. Go all the way down to the cafeteria.

121. At the bottom, carefully disable the mine and head into the vent on the left for a 200XP explorer bonus.
122. You come out in the elevator maintenance shaft. Hidden behind the large wooden container is another Teddy.

123. Search the toy for a Praxis kit and biocell. Climb a nearby ladder and go through another vent.
124. At this point, go left into the store cupboard for a multi-tool and hypo-stim, then come back here and through the breakable vent for another 100XP traveller bonus.
125. It comes out in the ladies' loo in the cafeteria. When it’s clear, sneak to the right.
126. When the coast is clear, sneak behind that blue vending machine on the right.

127. Yet another Praxis kit. Head up the nearby stairs carefully.
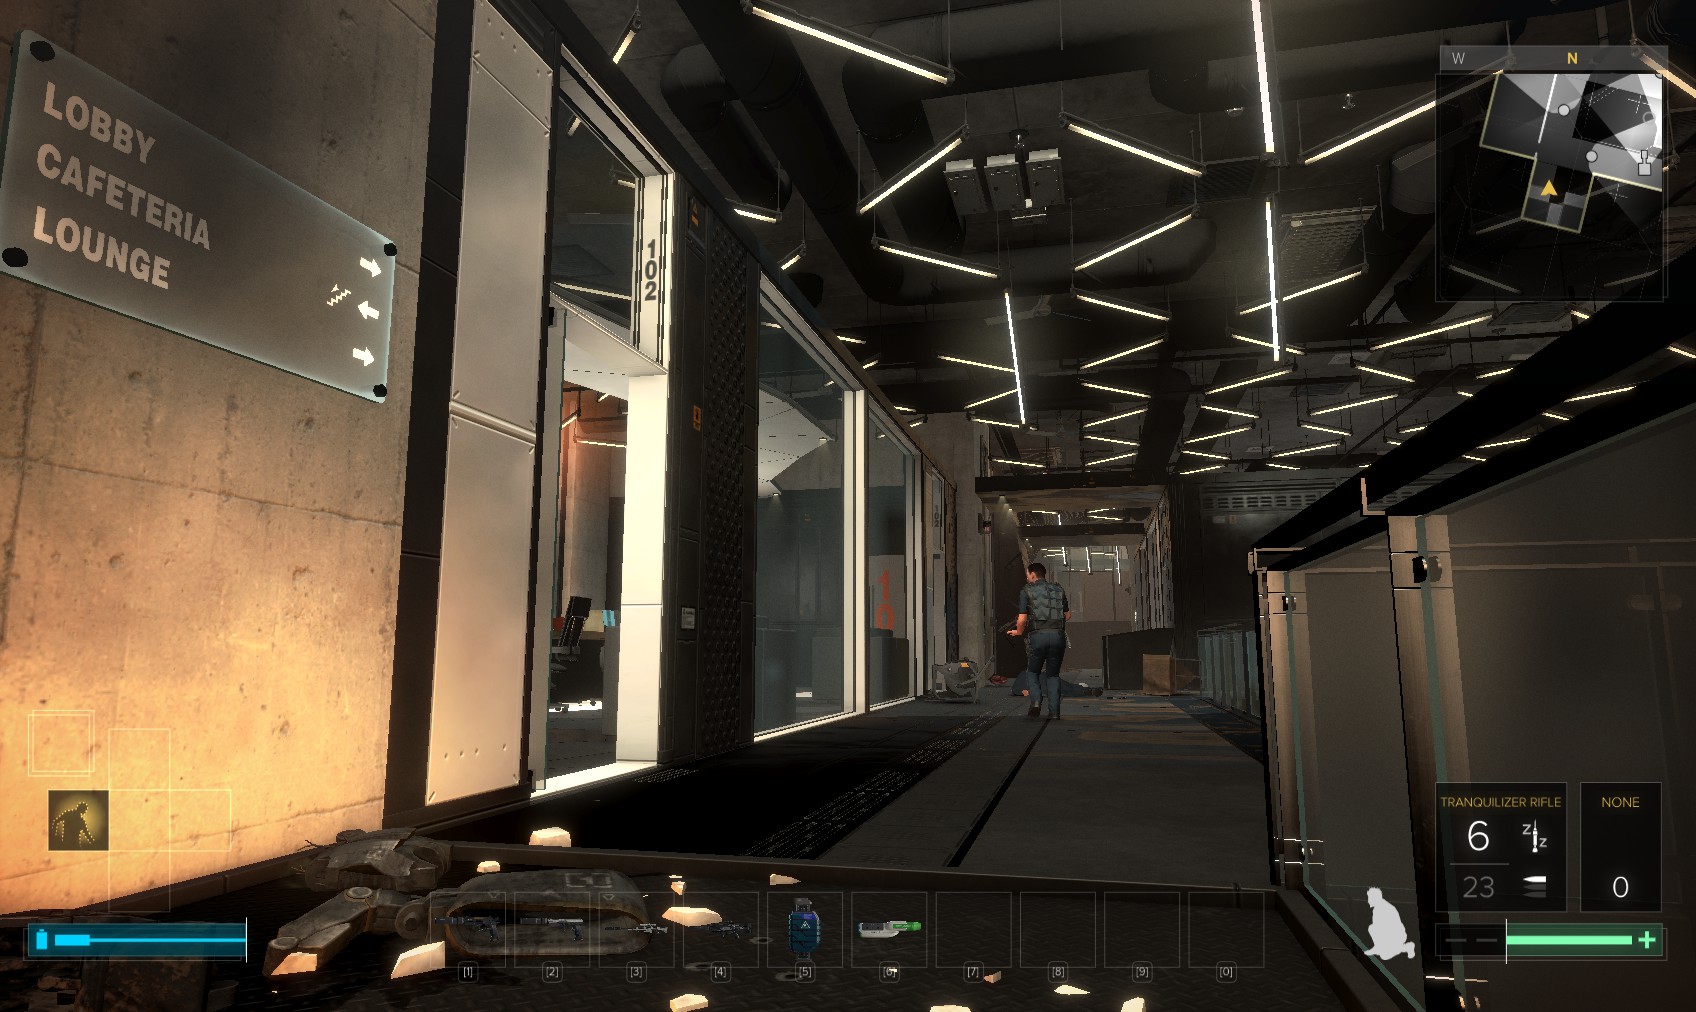
128. Avoiding patrols and a turret, sneak into that first office on the left (102) and close the door behind you.
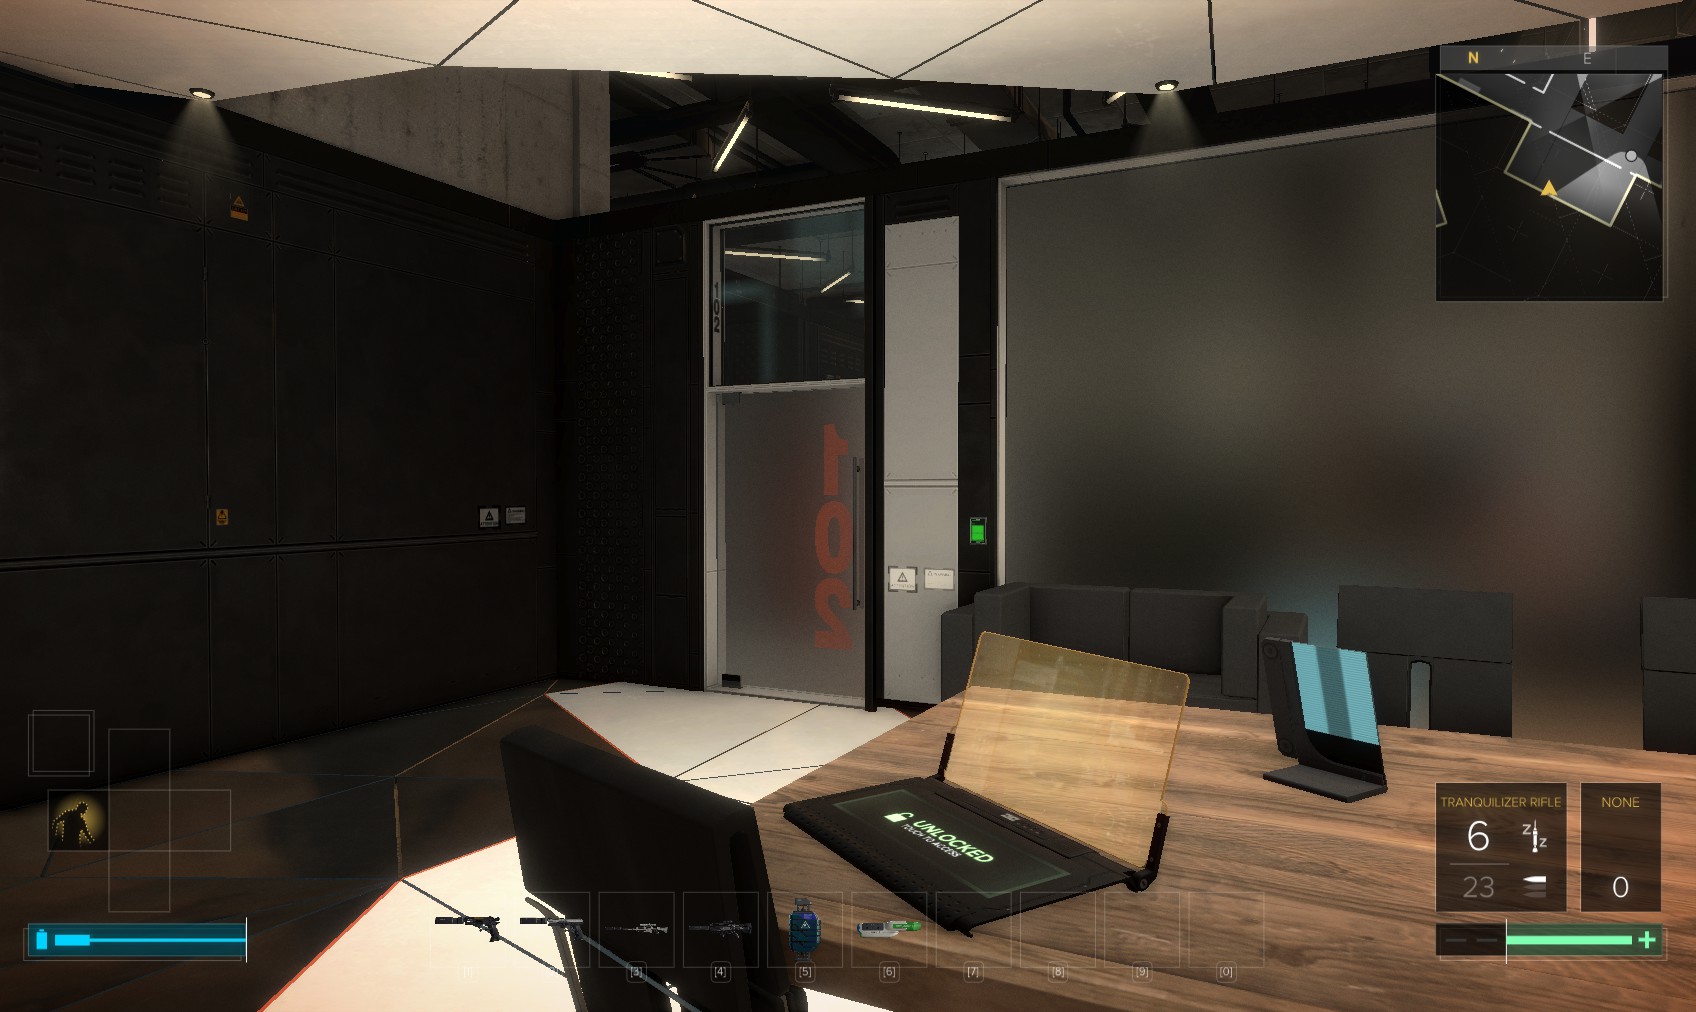
129. Toggle the EG Glass and close the other door. Read the unlocked PC, then jump up to the suspended ceiling.
130. Head into a nearby vent, and out the other side. Climb across the beams and when it’s clear go back out through this door on the left (where you originally entered this section.
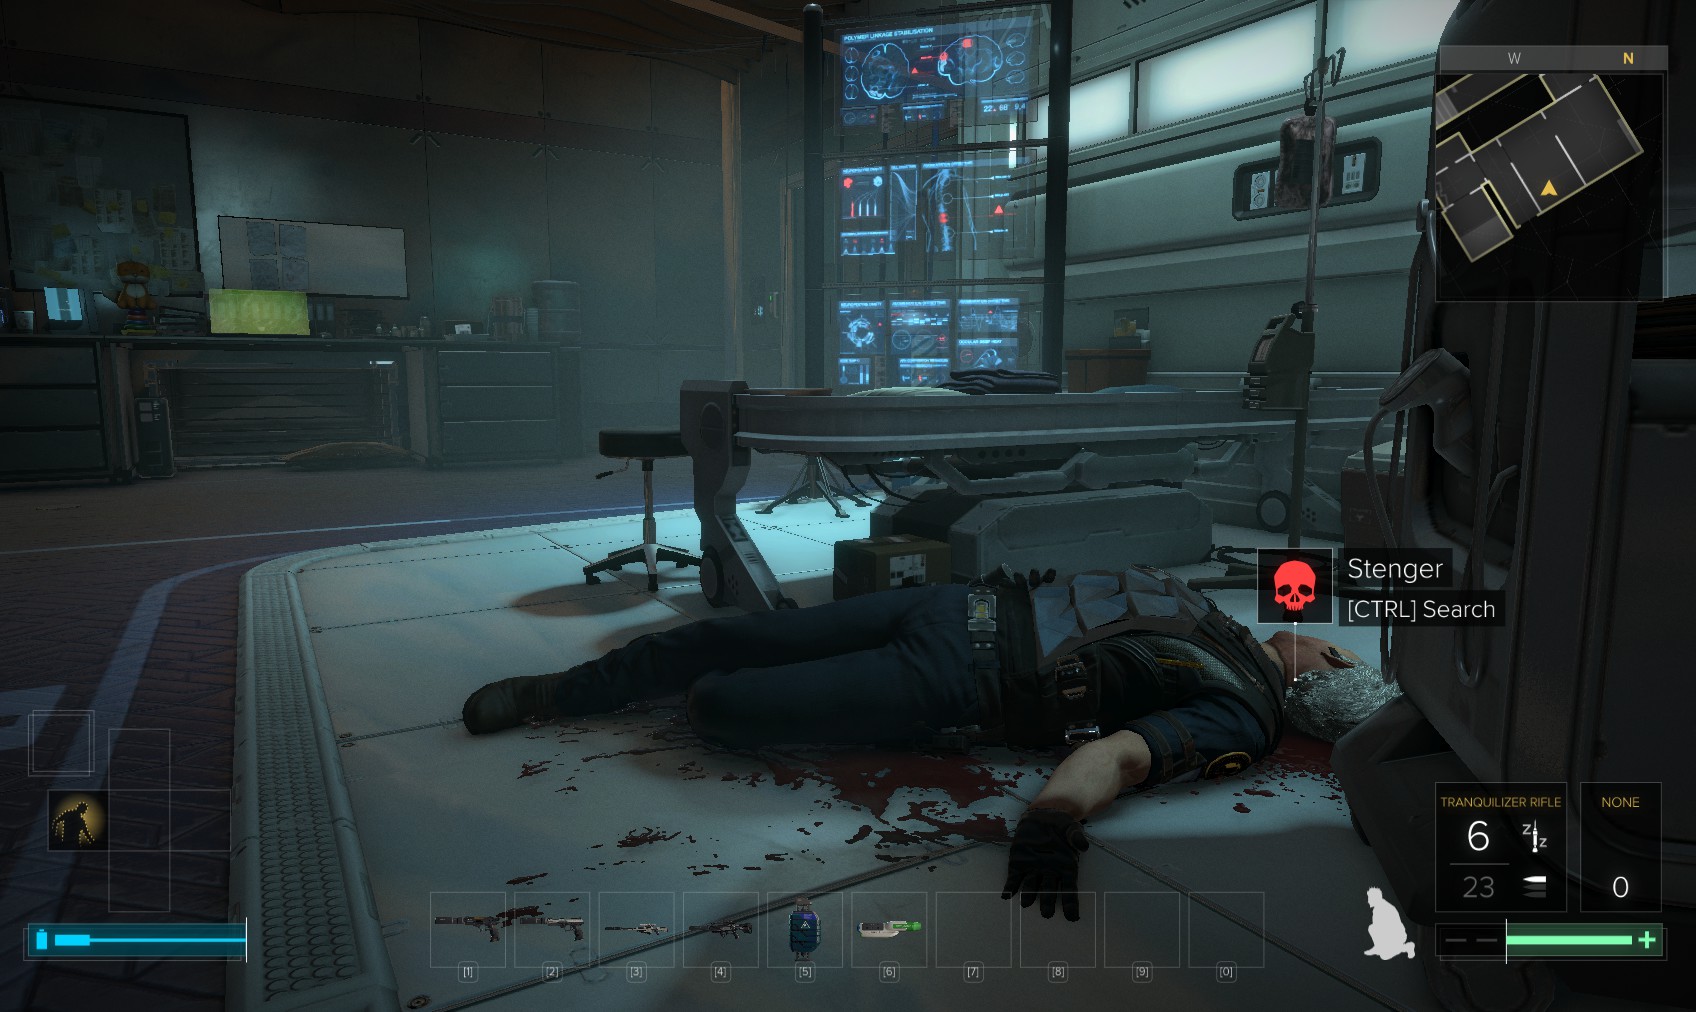
131. Go down the stairs and all the way back to the infirmary to discover Stenger’s fate. Search his body for his keycard (we have a use for that and a pocket secretary with more incriminating evidence about Mejiha. You get a new point of interest to go back to his office.
132. Go back to the Administration area. This time head up the stairs on the left. Beware the guard patrolling the corridor beyond the windows. Getting across this area would be much harder if we had left the guard upstairs alone.
133. A level 1 PC here (stealth software) also has the code 2027 for meagre XP, and some background emails. Sneak to the door beyond it on the right.
134. Ahead is the corridor of lasers. This time, when it’s clear, go left and into the gents' toilet.
135. Time to spend some more Praxis and upgrade the arm augment for heavy lifting. Head into this vent for a 100XP traveller bonus. Another vent is in the maintenance corridor beyond.
136. Move the heavy dumpster out of the way, and beware the turret. Head to the right and climb the rocks.

137. Visible below right from half way up is the vent you just exited and the turret. Carry on carefully climbing left for a 300XP pathfinder bonus.
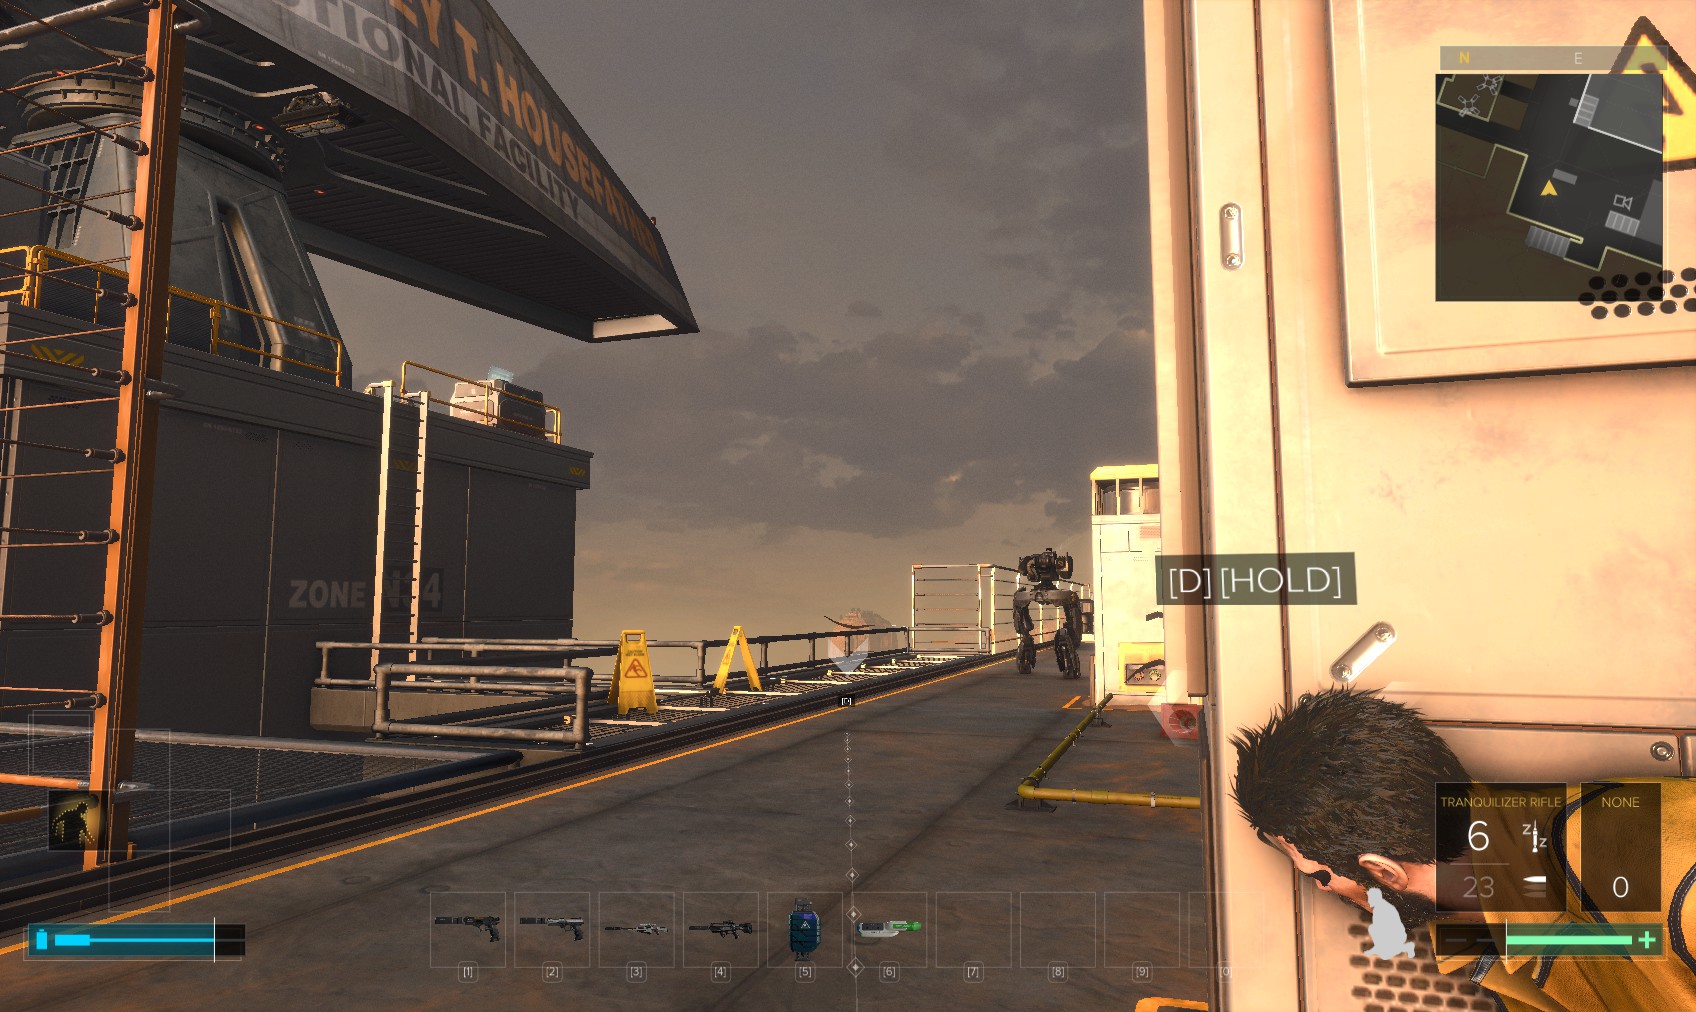
138. You arrive back outside Stenger’s office. Go in.
140. You need to head back to the central tower. The quickest way down is to head back to the management offices. Go right here, and follow the outside of the building as far as you can.
141. You can safely jump down here onto the sloping roof and then to the ground.
142. This door takes you into the storage room of the Administration block.
143. Go all the way down stairs and back through the infirmary to the East Wing elevator. Take it all the way up back to Automated Security.

144. As you enter the office, you can witness the riot control support arrive. You can (re) disable the drones from the nearby security console.
145. Head back out and through this vent.
146. You come out on the ledge above the processing area. If you were quick enough with the drones, the inmates will have regained control. You can drop down onto the roof of the processing block without actually dying (or take a hypostim, or buy the Icarus Lander aug).
147. Read this pocket secretary for the password P3WP3WS. Drop down by the West Wing elevator. That door will be patrolled by an ExoSuit guard if the inmates lost the firefight.
148. Call the elevator for a cutscene with D-Town. If you try to get past him repeatedly he’ll eventually remember your name and get hostile. If the inmates are in charge, you can just go up a flight of stairs to call the lift from the Observation level. Otherwise you can just sneak up on him and knock him out.
149. Search his body for a Praxis kit.
150. Get in the lift and ride to the top.

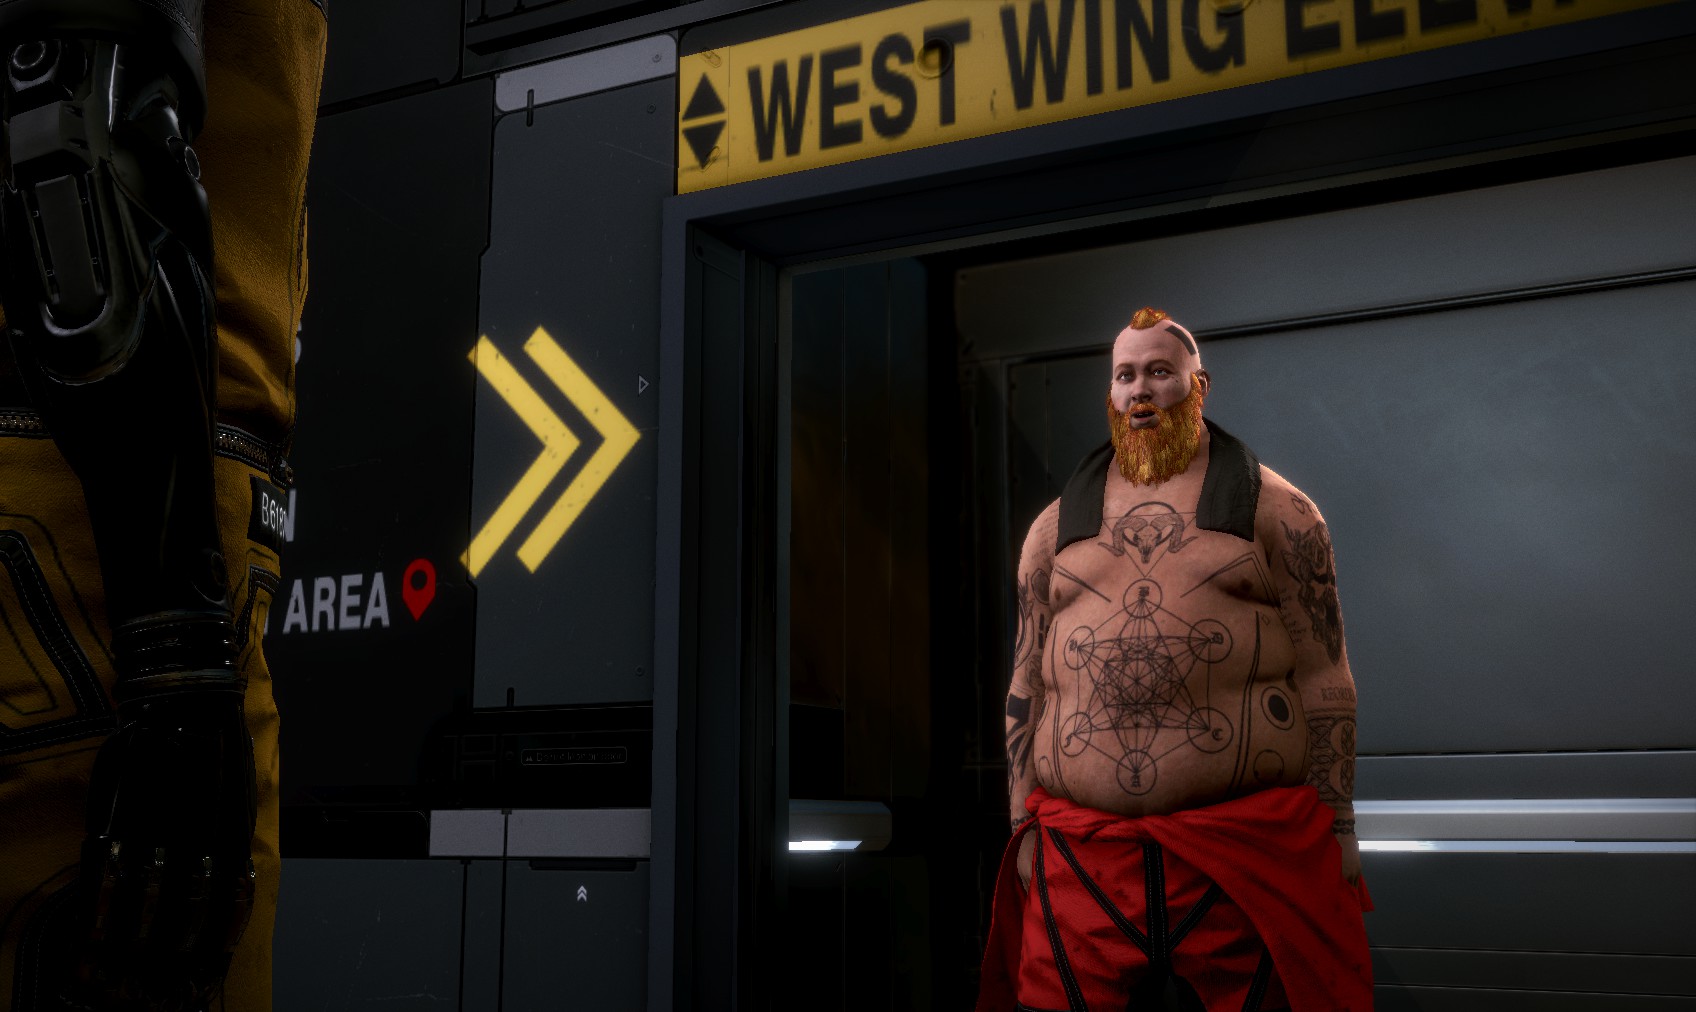
151. Below is your ride, but you need to disable the security systems first.
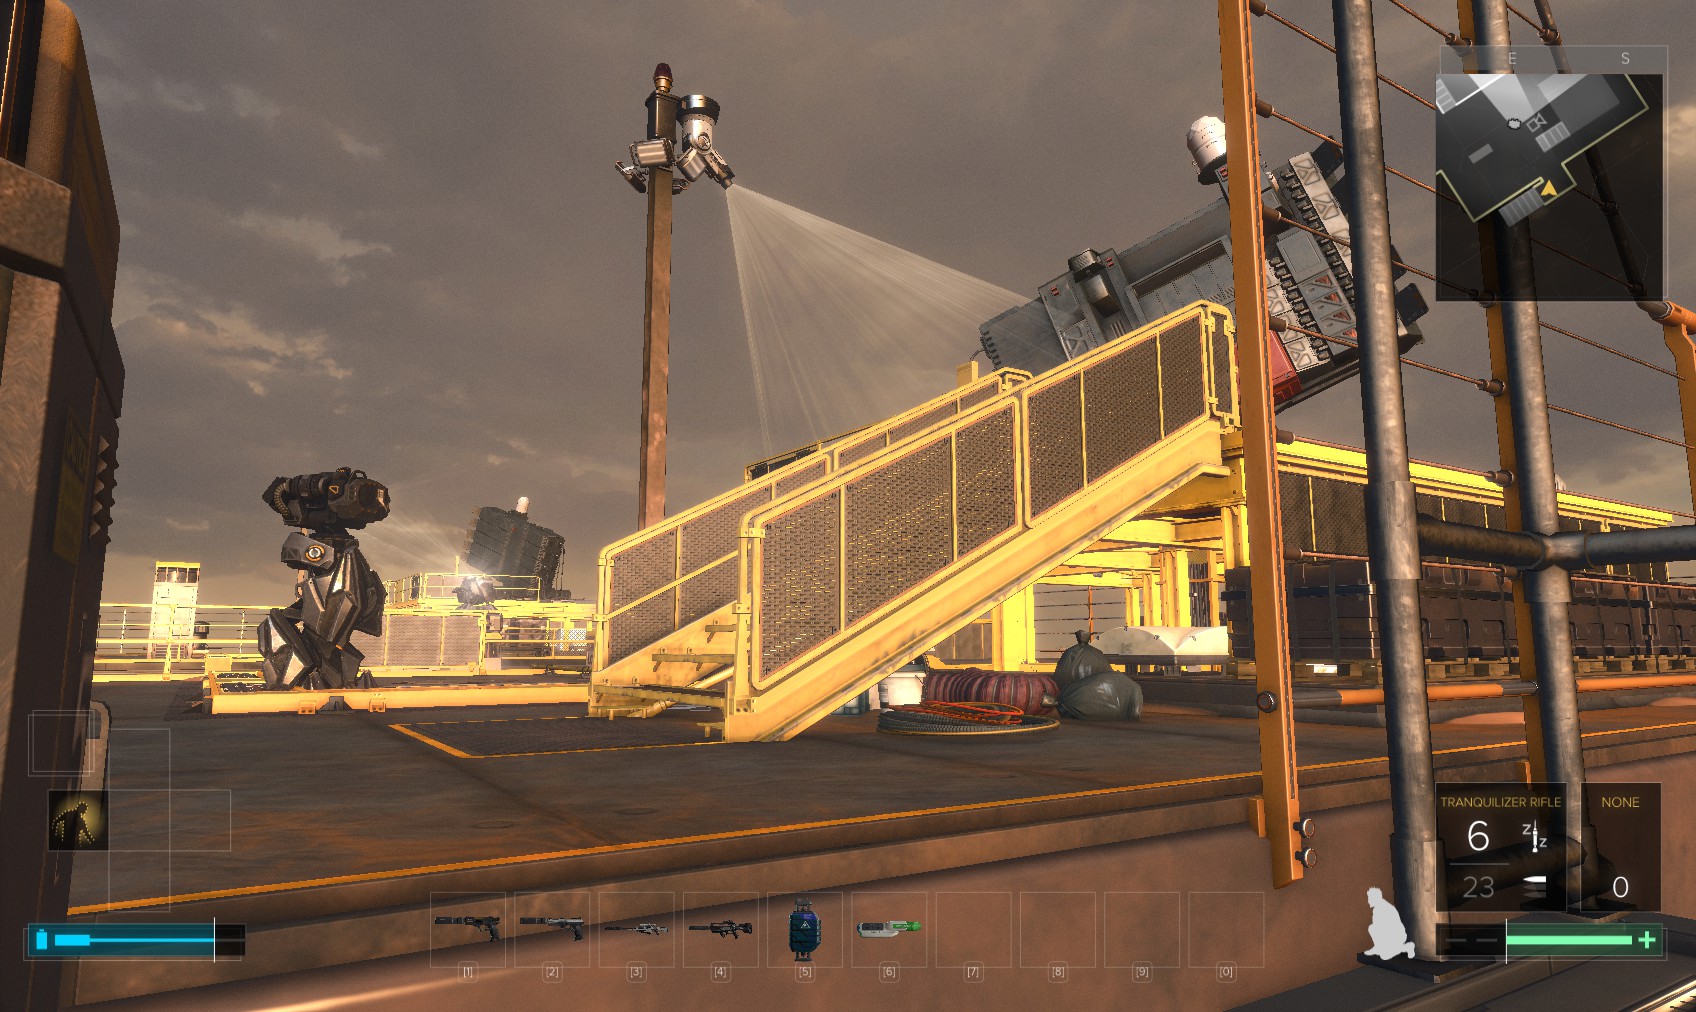
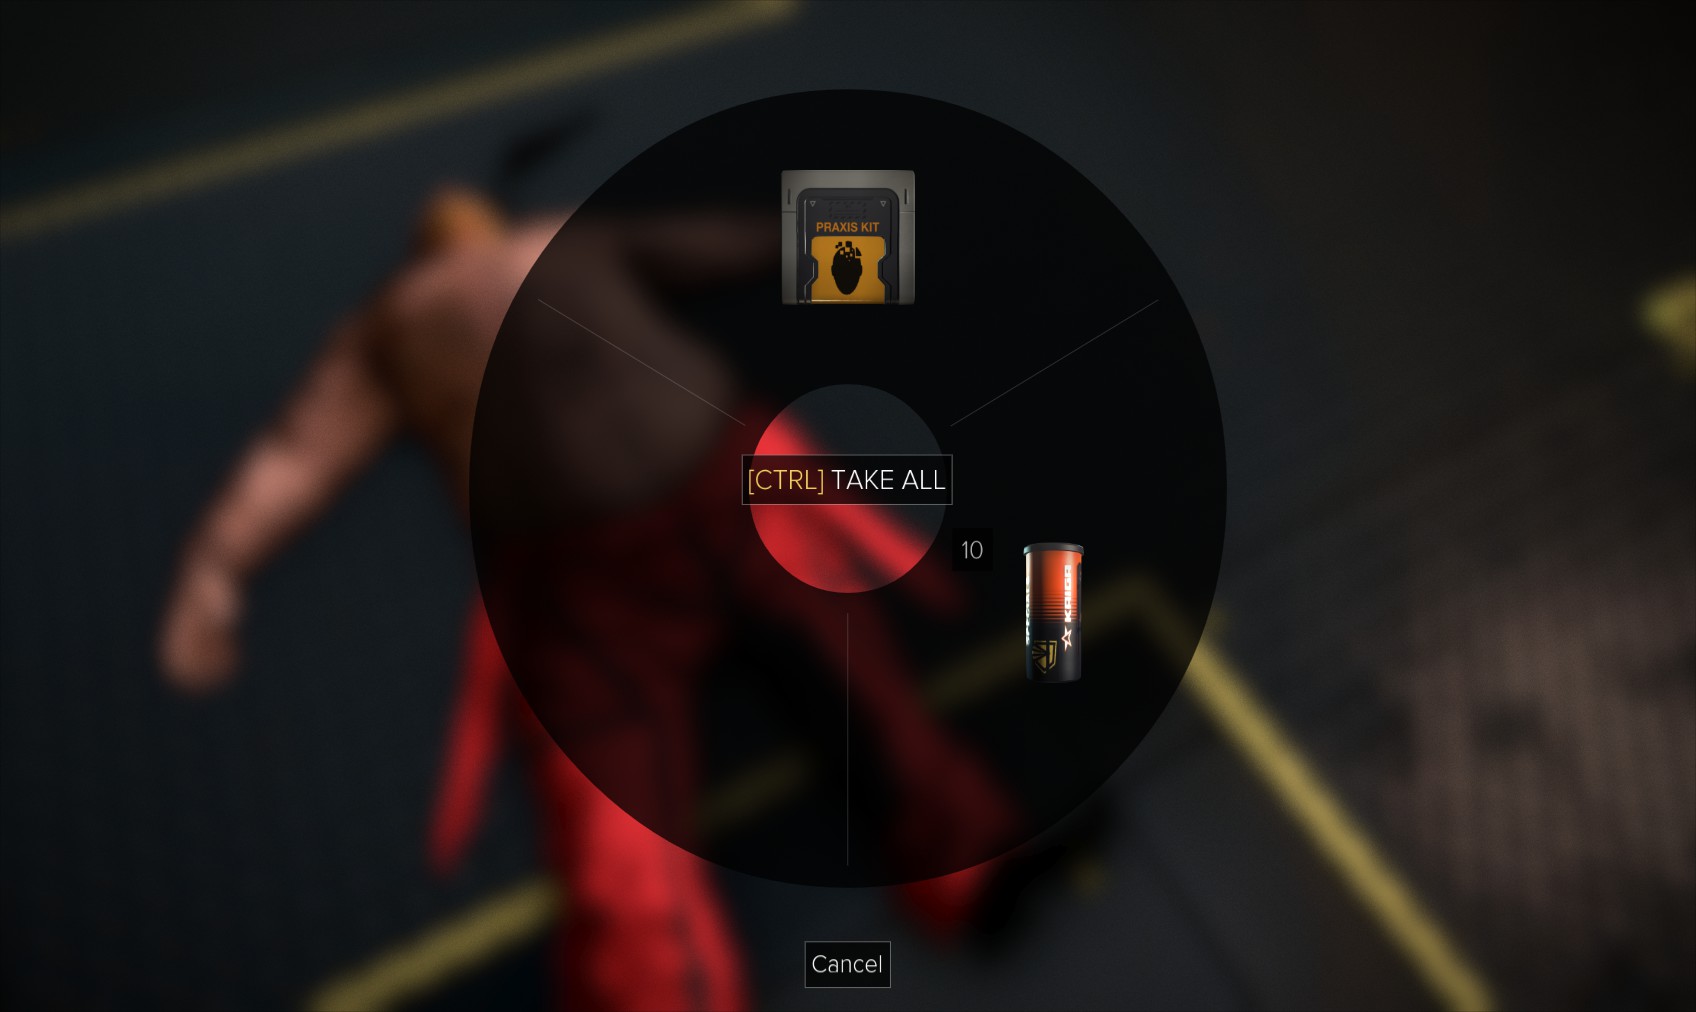
152. Head round to the left. There are two massive turrets here overlooked by cameras, patrolled by a robot guard. There’s also a turret in the middle.
153. When the robot’s back is turned, climb up the ladder to the North.
154. Up here is a Praxis kit below a security console. It’s level 2 (265c) and has the password BOTTOPP5. Disable the cameras and drones.
155. Sneak to the South side to find another security console beneath the turret. This area is protected by lasers, but they’re easily fooled by cloaking. The console is also level 2 for 265 credits, and has the password BOTTOPP5. Disable the turret and 2 robots.
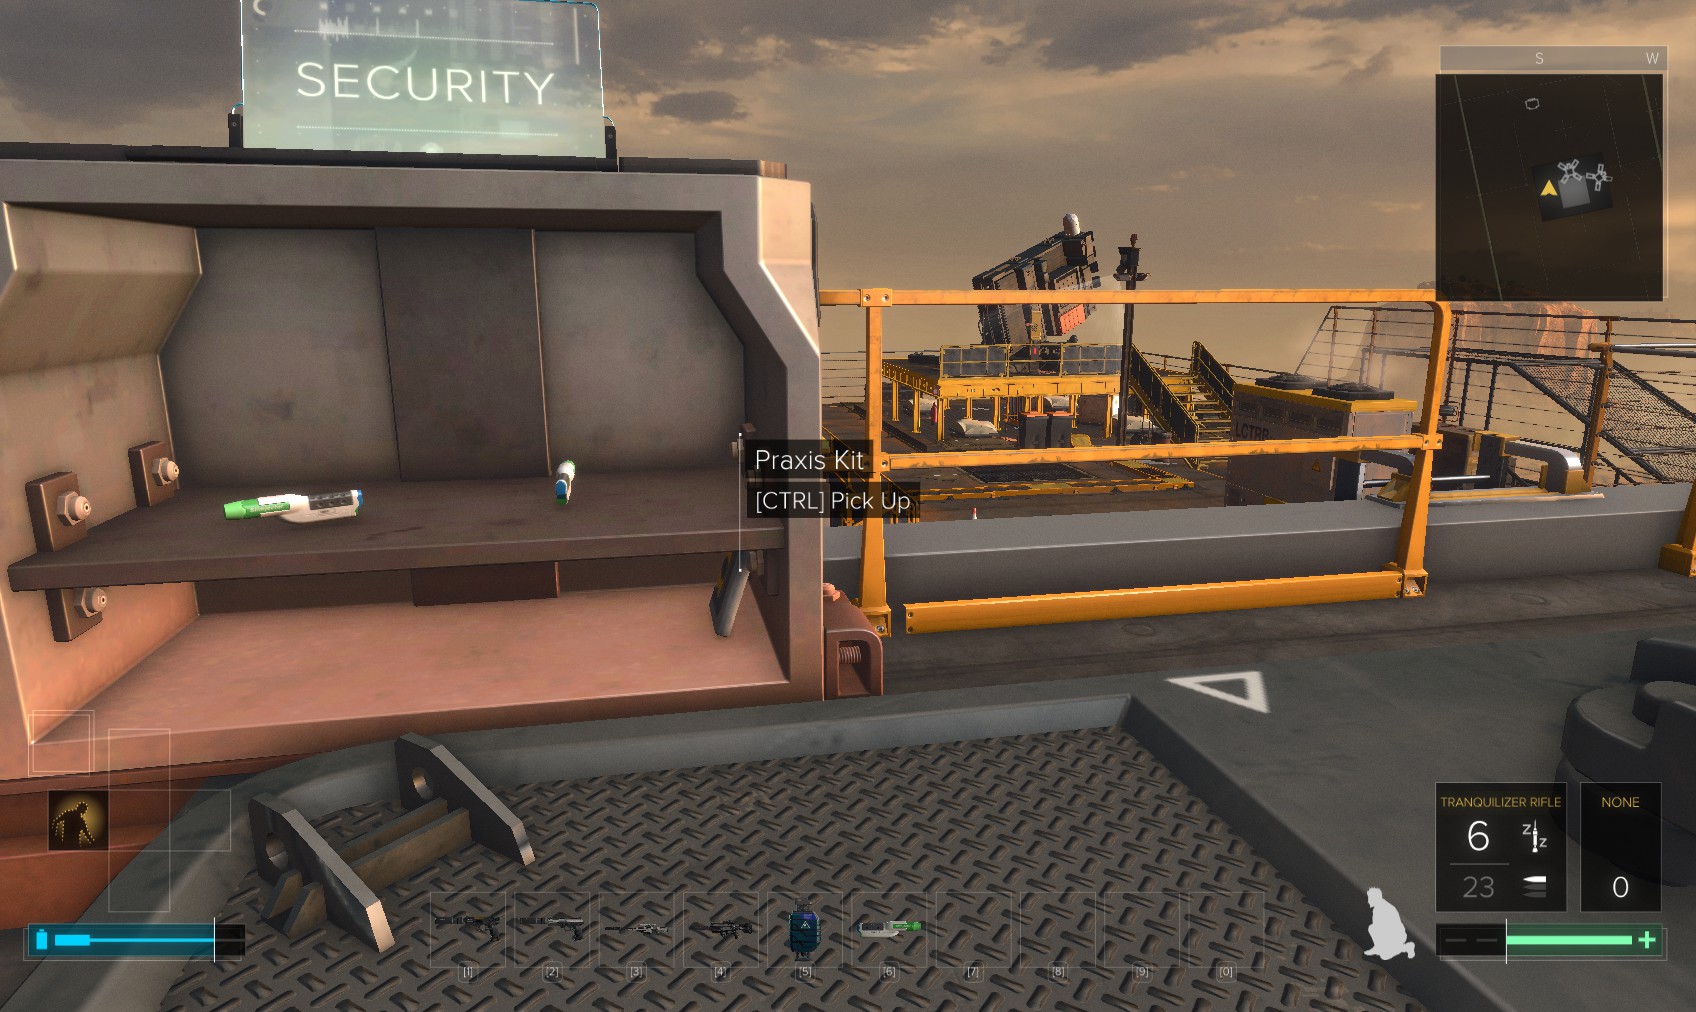
156. With that out of the way, move the heavy crate from this vent and drop down.
157. Inside, the bronze vent halfway up the central column is breakable, and behind it is a breaker. Toggle the breaker to reveal the lower section with a button. Press it to enable the unlocked security console. Log into that and unlock 2 manual overrides.
158. The last eBook is in here. "Natural Way Resort Vacations"
159. Head through the door and hack the level 1 keypad for a nuke. Turn off the lasers and climb up the ladder. That’s dealt with all the security. Now to disable the cannons.
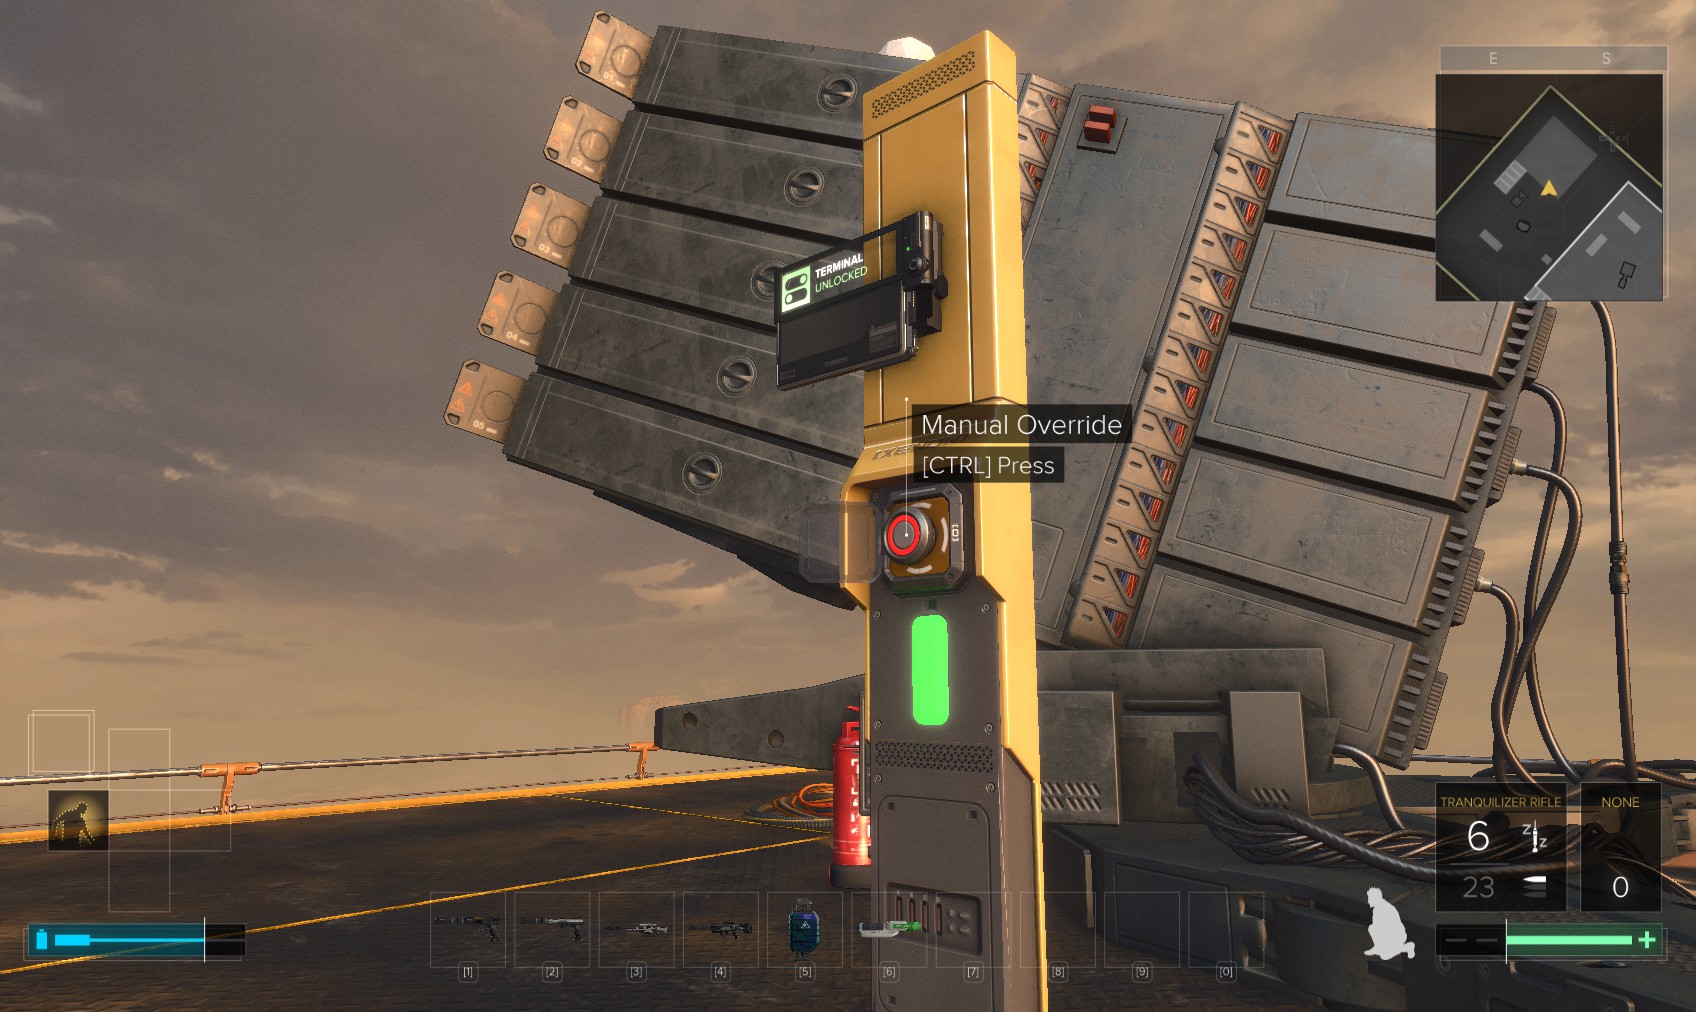
160. They’re identical, and just need this button pressing on each. That done, return to the elevator and go down a level to the Landing Pad.

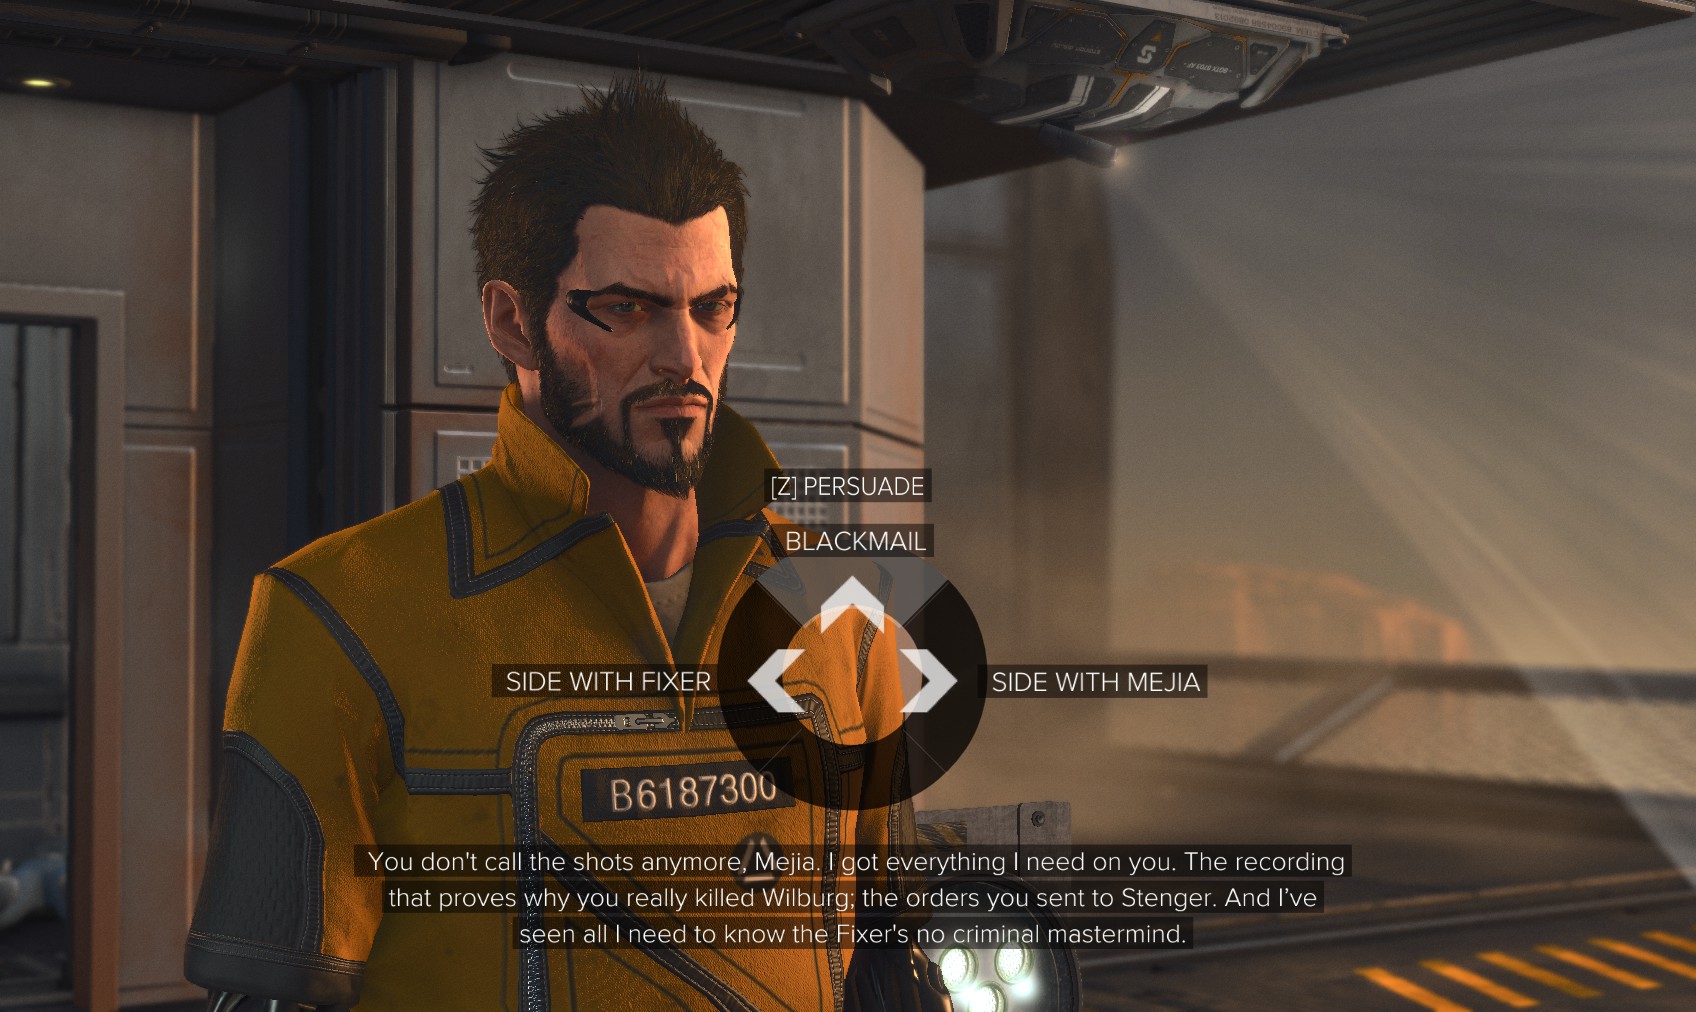
162. With the evidence you have you can blackmail Guerrero/Mejiha and he’ll cooperate. You can choose to persuade him. Identify with his predicament and he’ll come round.

163. Finally you need to make the call with the Fixer. If you choose to bring him along, you’ll have succeeded in completing the mission with zero casualties.
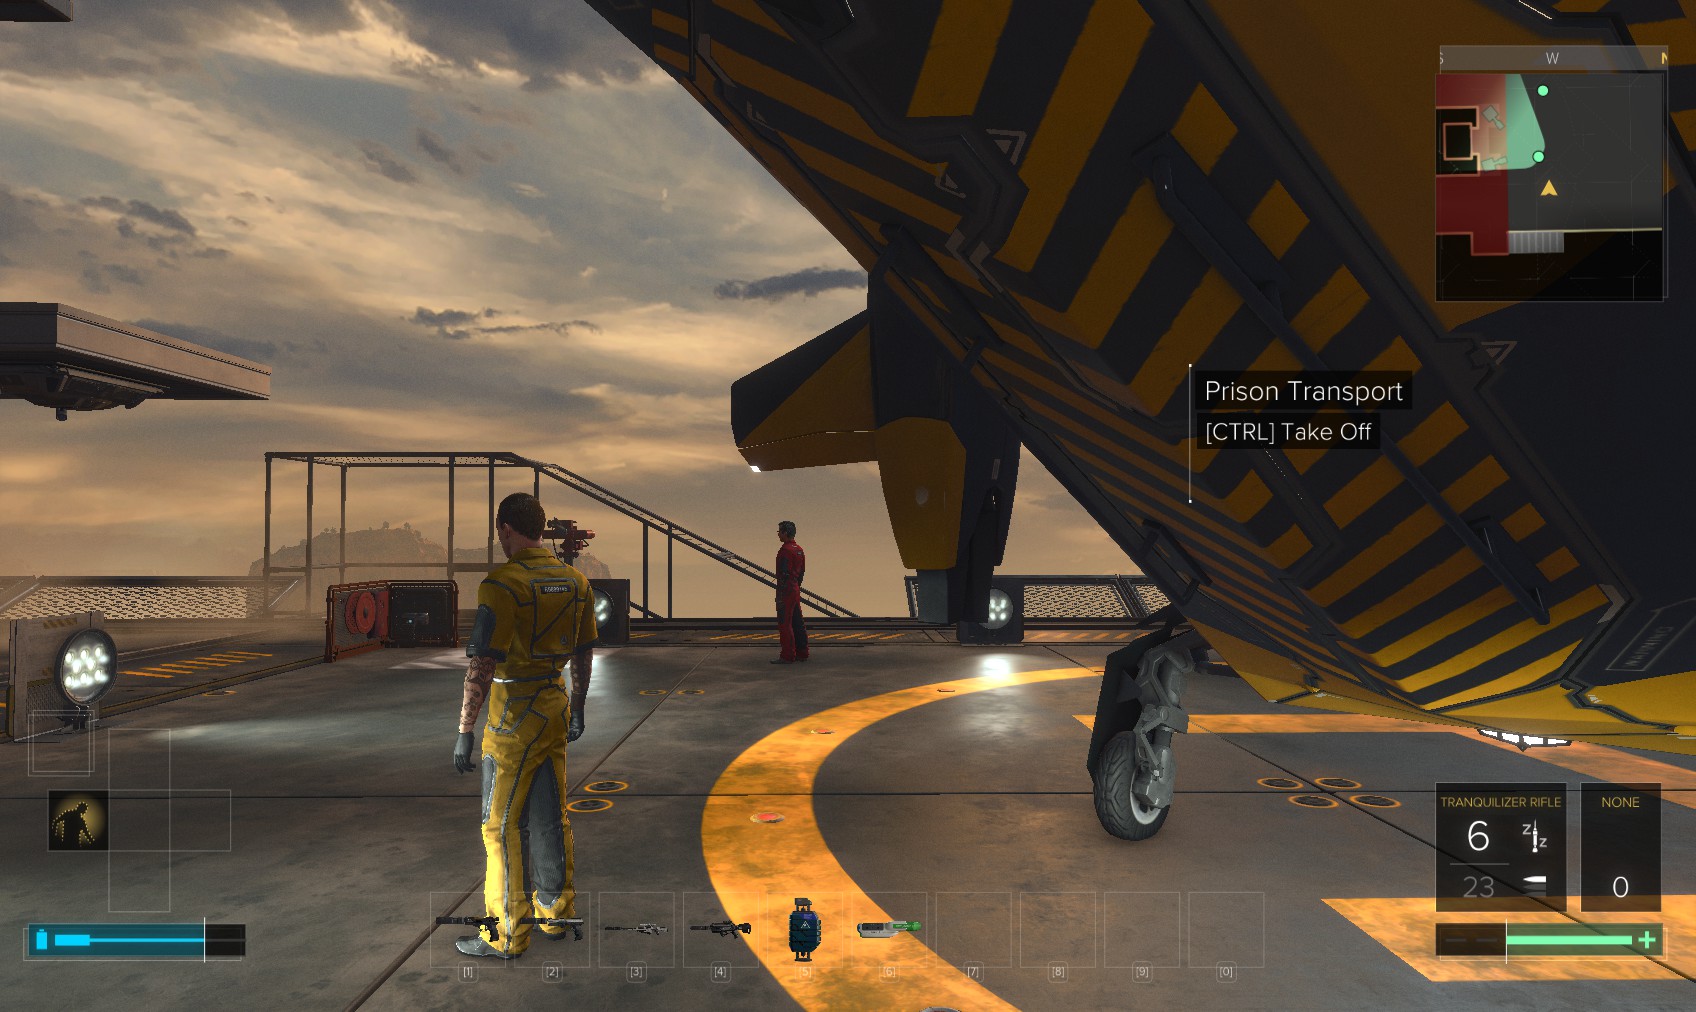
164. Go to the rear of the transport to escape. Finally.
165. That’s the end of the debriefing with the Psychologist. What actually happened to Guerrero? You decide.