
1. Quite a long cutscene at the start sets up the mini-plot for this.

2. Chang from Cyber security catches up with you in Praha Dovos.

3. He sends you to meet with Pavla Keilmanovich nearby. If you question her, you may be able to coax her to tell you that she took a bribe from a Tarvos Security officer.

4. From there you travel to the Tarvos Prague office, to be informed you aren’t permitted entry.
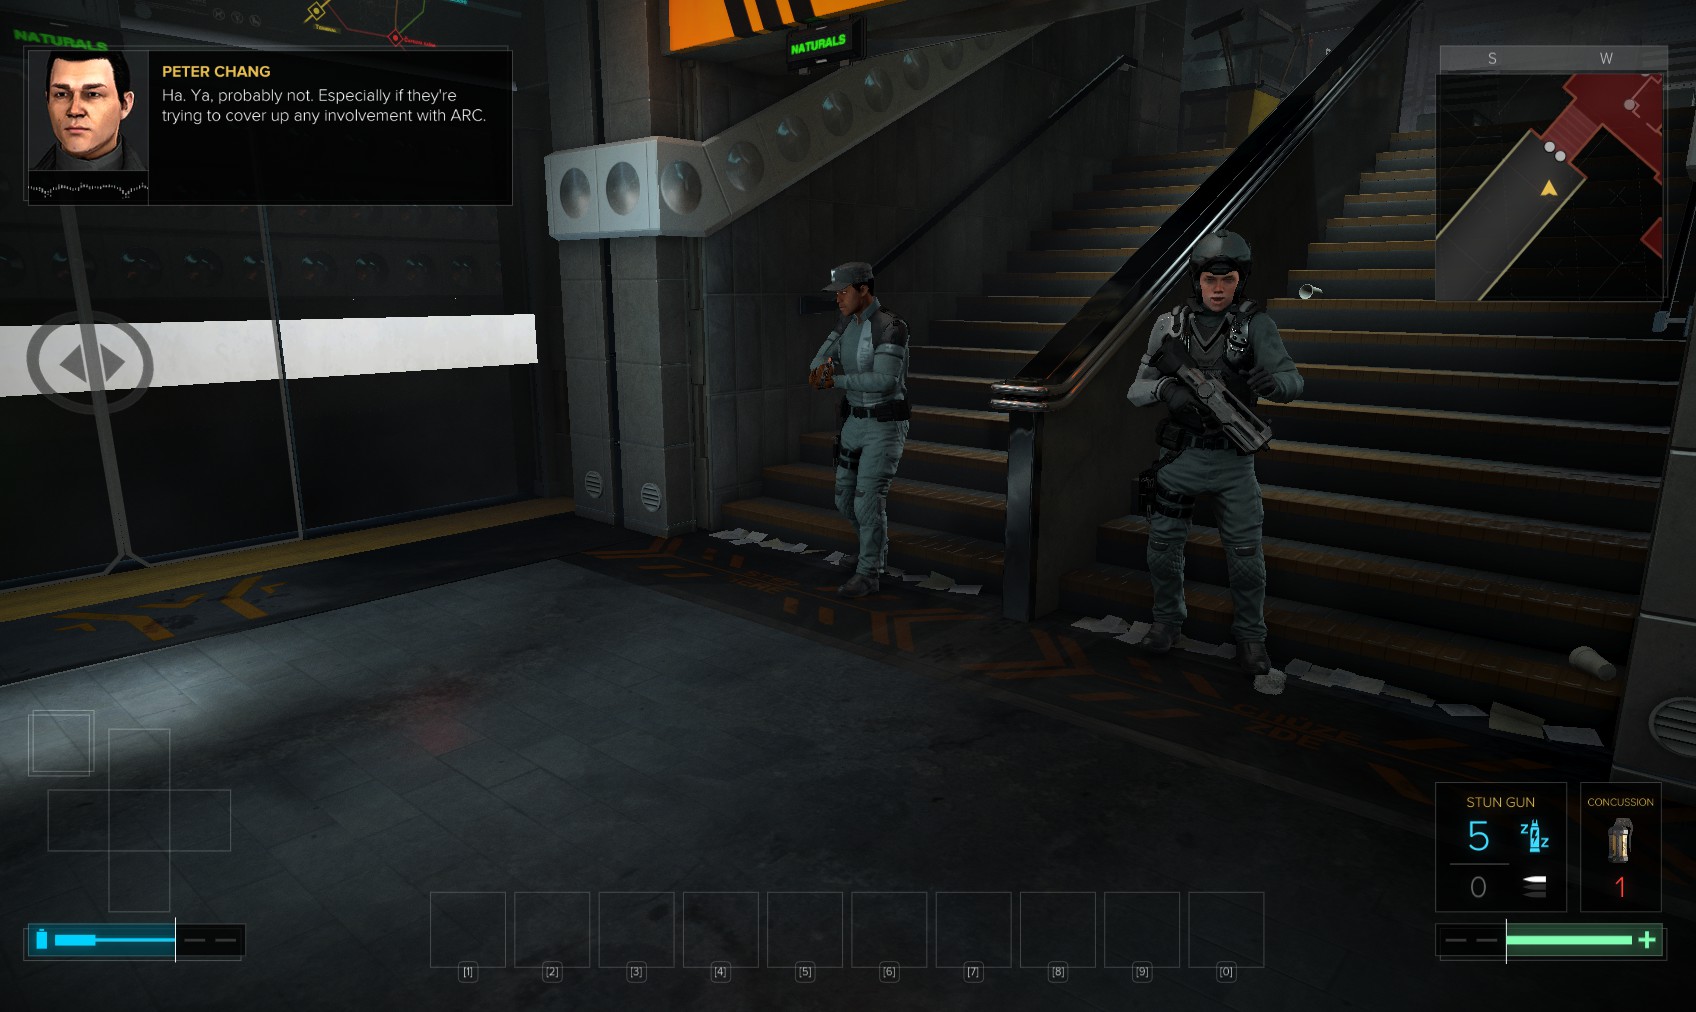
5. And finally you are left on the platform.

6. The level begins with 15 Praxis Points to spend. It seems a lot, but it won’t get you everything! I upgrade hacking to level 3, invest in hacking stealth, Smart Vision and the Cybernetic Leg, and a fully upgraded remote hacking augmentation. I also get the Glass Cloak, leaving me 3 points to spend if I need to.

7. At the opposite end of the platform from the guards is a level 1 door. Hacking it gets you 100c, but you can’t spend them anywhere. Inside, there’s a medical box accessed by ducking under the pipes on the left, and this vent on the right. Go through it.

8. It leads above the platform, and the guards will shoot you if they see you up here. There are two exits - one straight ahead, and one on the right which bypasses the ticket hall. Go through the one on the right and break a vent inside to access a biocell, then return to this ceiling and go through the other vent directly above the two guards.

9. You come out at the head of the stairs, behind the two goons on the platform.

10. Slip into the ticket booth and grab this pocket secretary with the code 1029 to a door. Raid a nearby set of drawers for hacking tools, and a weapons case for ammo.

11. The alarm panel is level 1 and gets you reveal software. The door has the code 1029, but it’s better to hack it (level 2) for 200XP.

12. Inside you may have to wait for a couple of guards to stop chatting and start their patrols before moving on. This vent on the right leads back to the platform. Go through the door on the left when it’s clear.

13. Grab the multitool hidden under some cardboard boxes just inside.

14. Breaking this wall requires an arm upgrade, but it’s worth it for the 200XP explorer bonus.

15. It allows you to bypass this laser grid, but up the stairs the level 1 door (stop worm) and level 3 keypad (nuke) allow you to switch them off anyway. Alternatively, remote hack them for the tiny XP you get for each one.

16. At the far end, through the door, crawl under the large pipe to find a medical box…

17. ...containing a Praxis Kit.

18. Then double back and climb above the door you entered to find this breaker box. Toggle it, and then continue on, climbing up above where the medical box is.

19. On the ledge halfway up on the left is another multitool. You can just jump up to the top, but a guard is in there, so using the ladder is recommended (it was disabled until you threw the breaker switch a second ago).

20. When the guard has left, climb on up.

21. Nab this pocket secretary for a note about Tarvos' break policy, and raid the weapons cabinet for weapons, and the other cabinets for ammo.

22. Through the door, being careful of the camera on the right, go down some stairs and watch these two Exo suited guys being put through their paces.

23. Sneak across the room, and down some more stairs, to this unlocked storage unit.

24. Hunt around for minor goodies, including this biocell hidden behind some boxes.

25. Behind the bin with the orange lid in the far corner is a vent into the next room. Head in for a 100XP traveller bonus.

26. It comes out here. The drawers contain hacking tools. There’s just time while his back is turned to read the emails on his unlocked PC and sneak out of the door. Close it behind you.

27. Right outside is a ladder. Head up carefully and wait for the guard to move away before swiping hacking tools, raiding a weapons case, and reading emails on another unlocked PC.

28. Go back down the ladder to room 2B, and keep going round. Ahead is this level 2 locked storage unit (100XP and stop worm). Raid the weapons cabinets inside for stuff, including a holosight, then head up the ladder next to it.

29. You’re almost outside the office you visited earlier. Climb these boxes, being wary of the camera and the guards training below.

30. Climb onto this gantry above. A camera up here overlooks a medical box containing a biocell, and is easily bypassed or disabled. Head right when the path forks.

31. You come to this ladder, which is almost directly above the guard and his PC. Jump over onto the gantry beyond.

32. Here’s the same ladder from the other side. The vent just visible beyond it is one way into the Command Centre. Instead, follow the gantry round and jump onto the rafters, following them to the right.

33. You reach this point with another vent. The jump is do-able just about without being seen by the training guards below.

34. Go through the vent for a 200XP explorer bonus. On the other side, the far vent behind the pipes leads to the infirmary, but we’ll go there shortly. Go through the vent on the left.

35. This is much more like it! Hack the level 3 security console for 300XP and disable the cameras. You can open the secure door into the command centre if you like, but we’re not going to need it. Nearby is a weapons cabinet with a tranquiliser rifle, and laser sight. Don’t miss the stealth software on a bookcase.
36. Open the window, and wait for this guard to go back to the right then drop down.

37. Head left to the infirmary. In the ceiling by this door is a gap, where the other vent would have brought you.

38. Go into the infirmary which contains almost nothing of any interest except this vent behind the desk on the right. Go in and head on up.

39. You contact Chang to say you’ve reached the Command Centre - which you have, but we’re not going in this way. Instead raid the lockers. 'N' and 'O' visible here are do-able without raising suspicion, as are most of 'P', 'Q', 'R', 'S' and 'T' facing them. Only ammo and sundries in most of these lockers.

40. Breaking the locks nearer the resting guards is bound to raise suspicion, so do it anyway and hide until they settle down. Groups 'A' to 'D', and 'H' and 'I' can’t really be done unseen. Group 'G' however can. Especially the right-most one.

41. For this Praxis Kit.

42. The middle locker in group 'E' has a pocket secretary with the code 4826.

43. With a bit of care, this eBook on a nearby sofa can be read. "Tarvos: "Kasi-Cram" Language"

44. When you’ve raided all you can, head back through the vent.

45. Go back through the infirmary to here. Disable the lasers and wait for the guard to get used to the idea.

46. Head up the stairs. When the guard moves away from the alarm panel, sneak behind him to read this eBook on the table. "Tarvos: Principles for Every Employee". Note that he always turns to his left. Then go left to the Storage Bay entrance next to the laser grid.

47. It’s easier to disable the lasers from here.

48. When the coast is clear (the guard patrolling outside can see you when you climb up if you’re careless), go in and slip quietly through this window on the left.

49. Search the drawers for hacking tools.

50. The drawers next to the seated guard contain this Praxis Kit.

51. This pocket secretary near the door has the code 0724.


53. Return to the area that was protected by lasers (either back through the other security office or across the foyer). A vent just visible above the vending machine on the left is accessible by climbing the ceiling decoration.

54. Go in for a 100XP Traveler bonus and a biocell in this case. At the other end is a vent to the Storage Unit where the exosuits were training.

55. Double back to the suspended ceiling to see another vent on the far side. Jump over and go through.

56. It comes out inside the command centre. Go into the Gents' toilets on the left. The guard having difficulty pays you no attention.

57. In the end cubicle is a vent.

58. Don’t miss the eBook in there on your way past. "The Moment to Fight Back, ch. 1, p. 3"

59. The vent comes out in - guess where? - yes. The Ladies' loos. Keep to the right, sneaking behind some desks.

60. This weapons case just has ammo. Ignore the stairs for now, keep heading round the main floor to the left, taking care of the guards in the central area. Collect various hacking software and minor goodies from desks and cabinets as you go.

61. On the right here is the break room from earlier. Go past it into the far corner.

62. On the bench is an eBook. "Tarvos: Mission Statement & Company Bio"

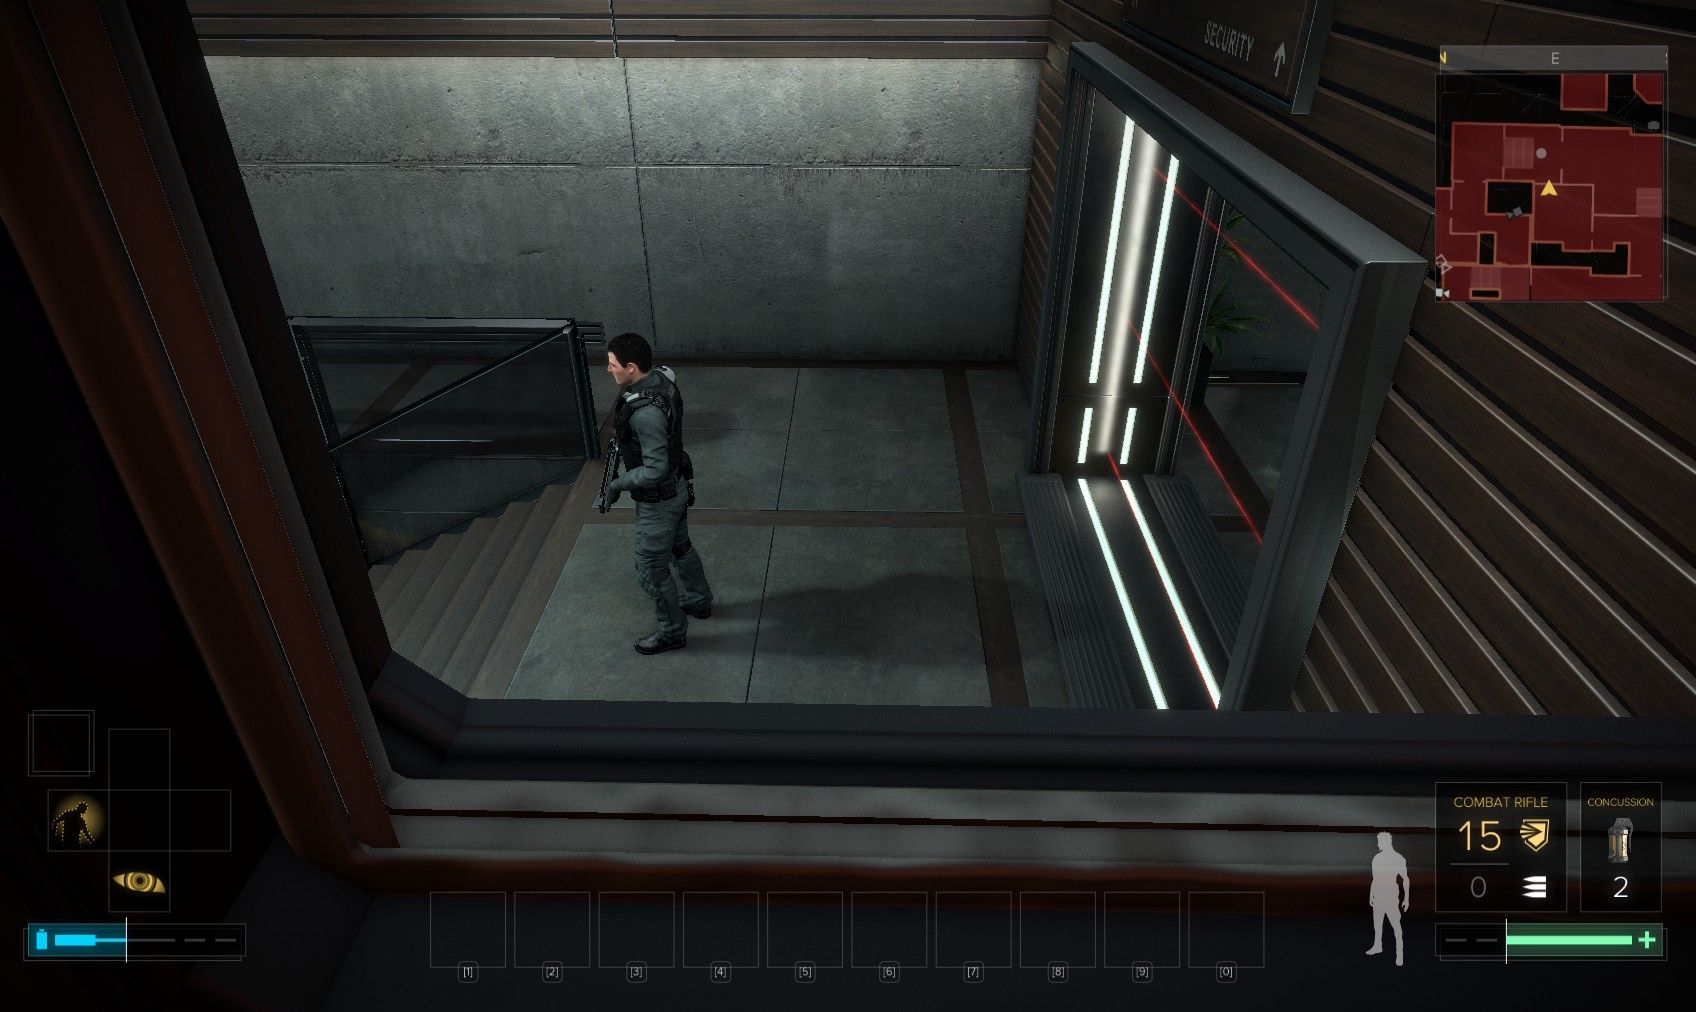
63. Keep following the area round. On the far left is the Gents' loos again. The IT department on the right is our immediate destination. The door is level 2 and gets you 200XP for hacking, but don’t go in. Instead, head to the stairs just beyond it in the corner of the office.

64. Just inside at the foot of the stairs is this vent. Go in for 100XP.

65. There’s a biocell at the far end of the suspended ceiling. Drop down through the gap into the server room.

66. Another Praxis kit is here, along with hacking tools. Open the door (another hacking op lost!) and then leave the surrounding cubicle by the door in the North-West corner.

67. It comes out here. That nearest unattended PC can be hacked (level 1, 300 unspendable credits). Read the emails for a mission update. A medical box on the trolley beneath the fire extinguisher on the left contains a multitool. You can raid some of the drawers for hacking tools without being seen.

68. When you’re done, return to the server room, and leave via the gap in the ceiling. Return to the stairwell.

69. At the top, being careful of the guard patrolling outside, jump to the ledge above the stairs and find this hidden vent. Go in for another 100XP.

70. Remote hack the EG Glass before dropping into this office. Hack the level 1 PC for a stop worm and the code 1107 for the server room.

71. Leave the office carefully by the door and head left.

72. Be aware of a patrolling guard round to the right, and enter the maintenance room on the left here when it’s clear.

73. A weakened wall in here leads to another stairwell from the control centre downstairs. This vent almost hidden in the corner is more interesting.

74. Follow it to the end for a 300XP pathfinder bonus and this open safe. Inside is a Tarvos security keycard and a pocket secretary with even more evidence against Whittaker. It’s enough to avoid having to confront Whittaker at all. A weapons cabinet in here contains some ammo.

75. You can make your way all the way out and back to the station, as that is mission complete. For the full experience, however, I decide to talk with Whittaker anyway, and head back to here, and go in the door beneath the camera.

76. Opening the door triggers the cutscene. He’s a little surprised to see you.

77. You present your evidence and he caves in. I need to persuade him to give me a name, so I don’t really want to provoke him. He gives the name Ivan Berk (but you kind of already knew that.

78. Question him about all the details. In the end, I decide to let him off lightly.

79. In return I get peaceful passage out of the facility.

80. Whittaker also opens a secret compartment containing another Praxis Kit and some booze.

81. The last eBook of the level is on the table. "The Moment to Fight Back, ch. 1, p. 4"

82. The locked door behind his desk goes to the secret room you found earlier. It’s a level 5 keypad with the code 4826. Use the code for 250XP, or hack it for 500XP and reveal software.

83. Leave via the door. Everyone is almost friendly as I head out through the command centre.

84. Here’s the lift that goes to the station.

85. You can freely nose around and collect stuff, but since it’s not an integrated mission, you can’t carry it over to anything else.

86. It comes out at the reception area you skipped past earlier.

87. Head to the platform. The only place you can go is Monument.

88. No casualties earns me a compliment from Chang when I get back.