
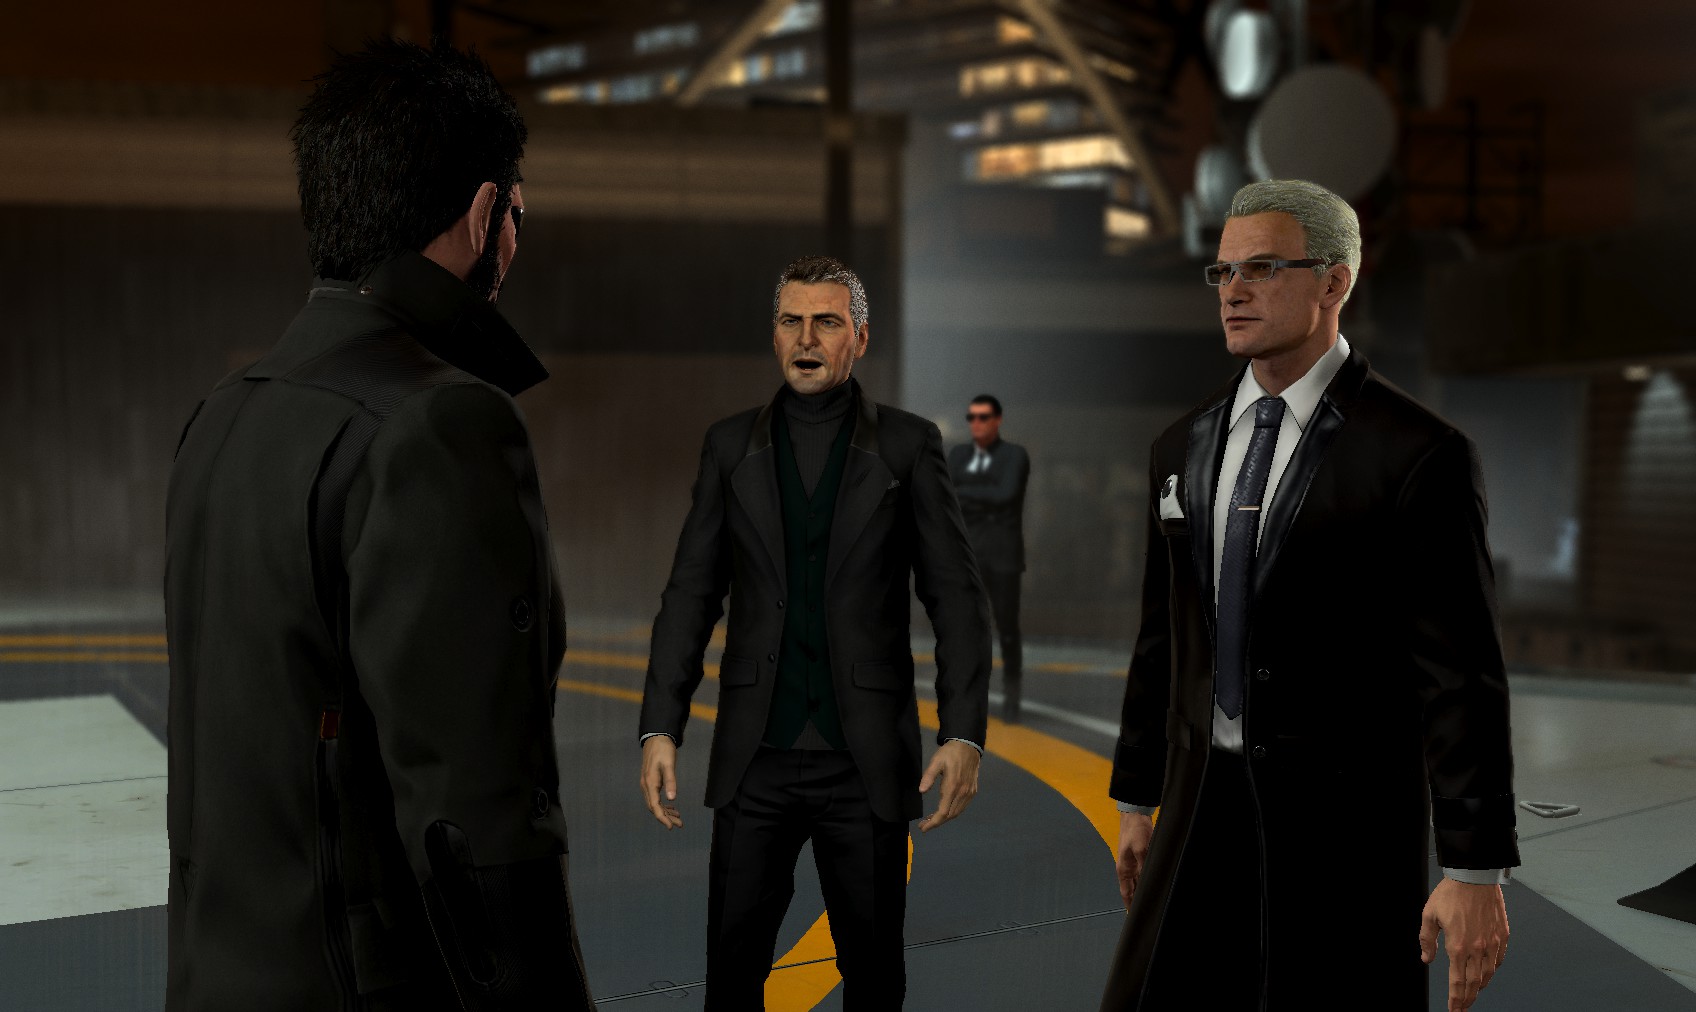
1. You are tasked with meeting with Brown’s security rep, while Miller goes with Brown to check out the secure conference room.
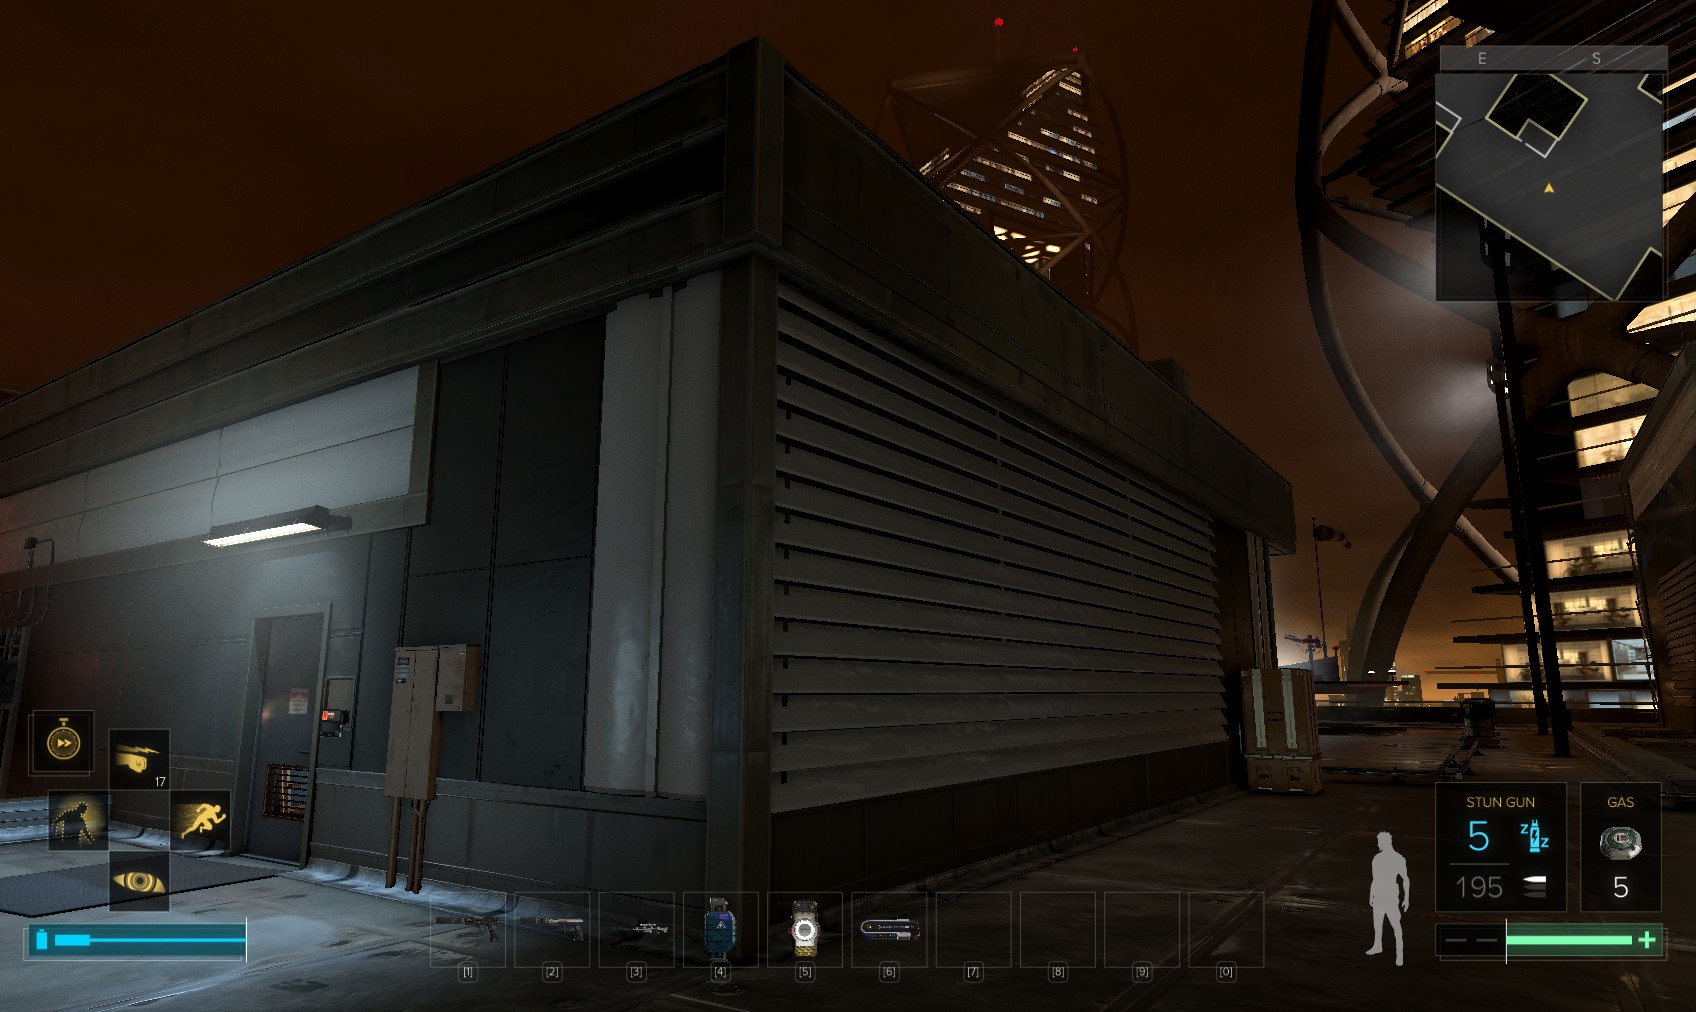
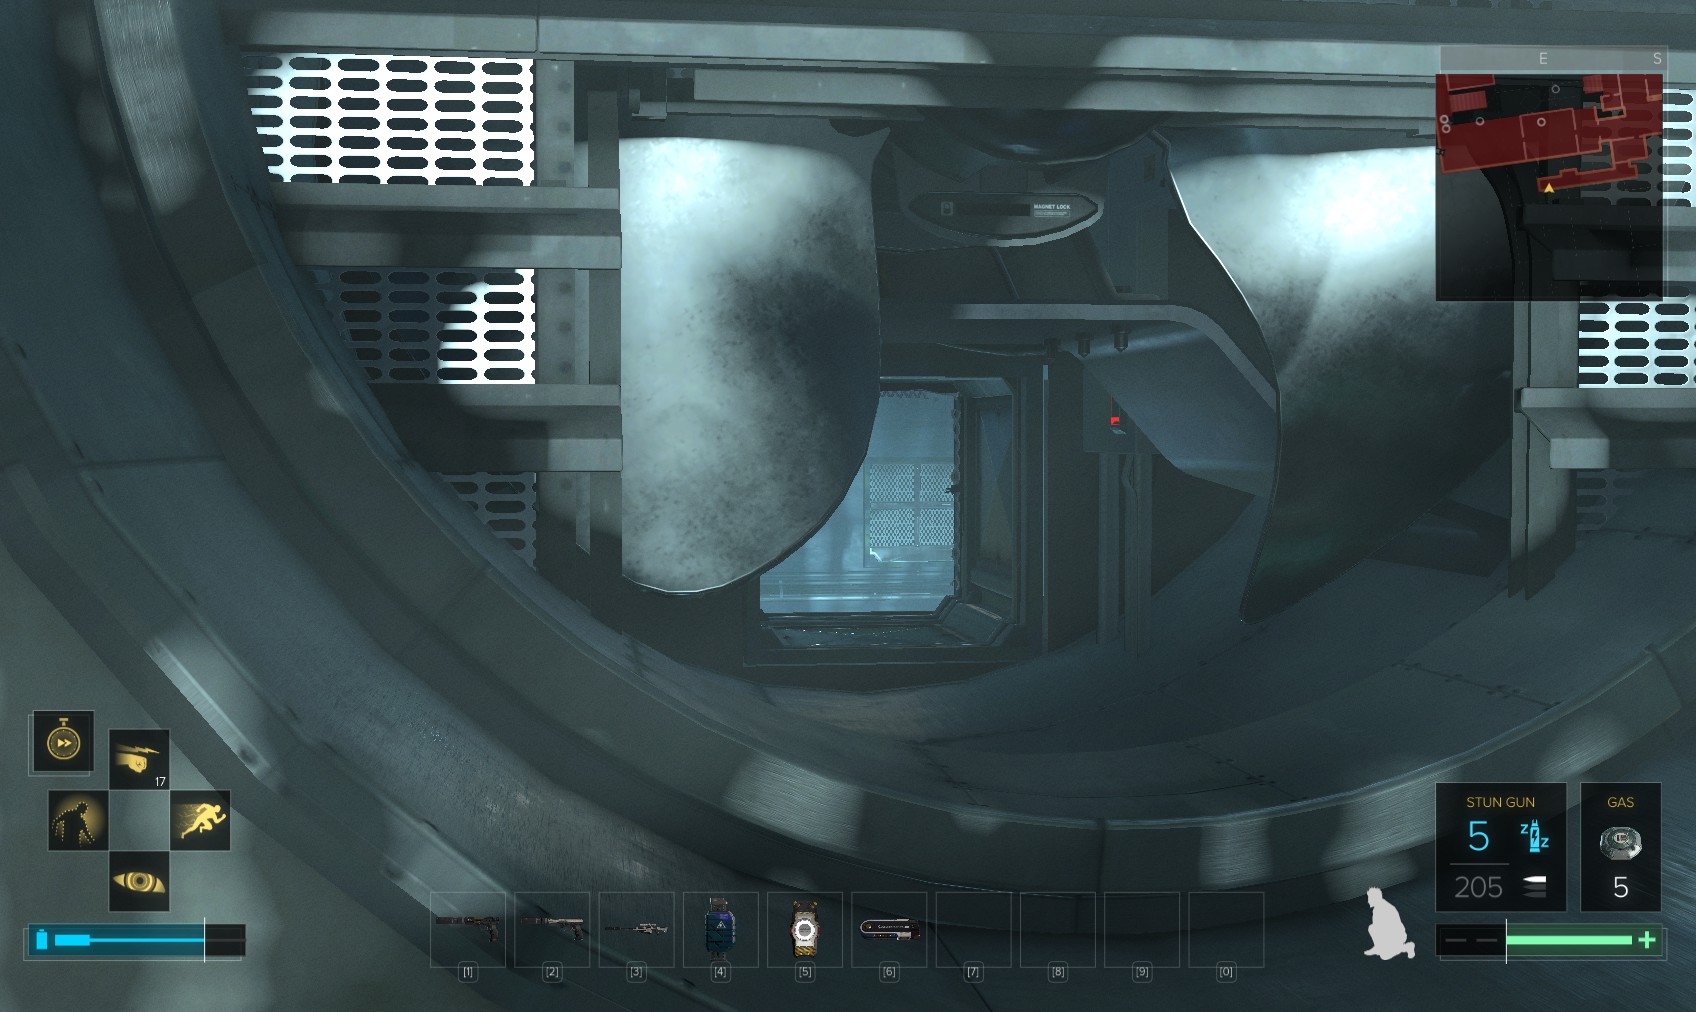
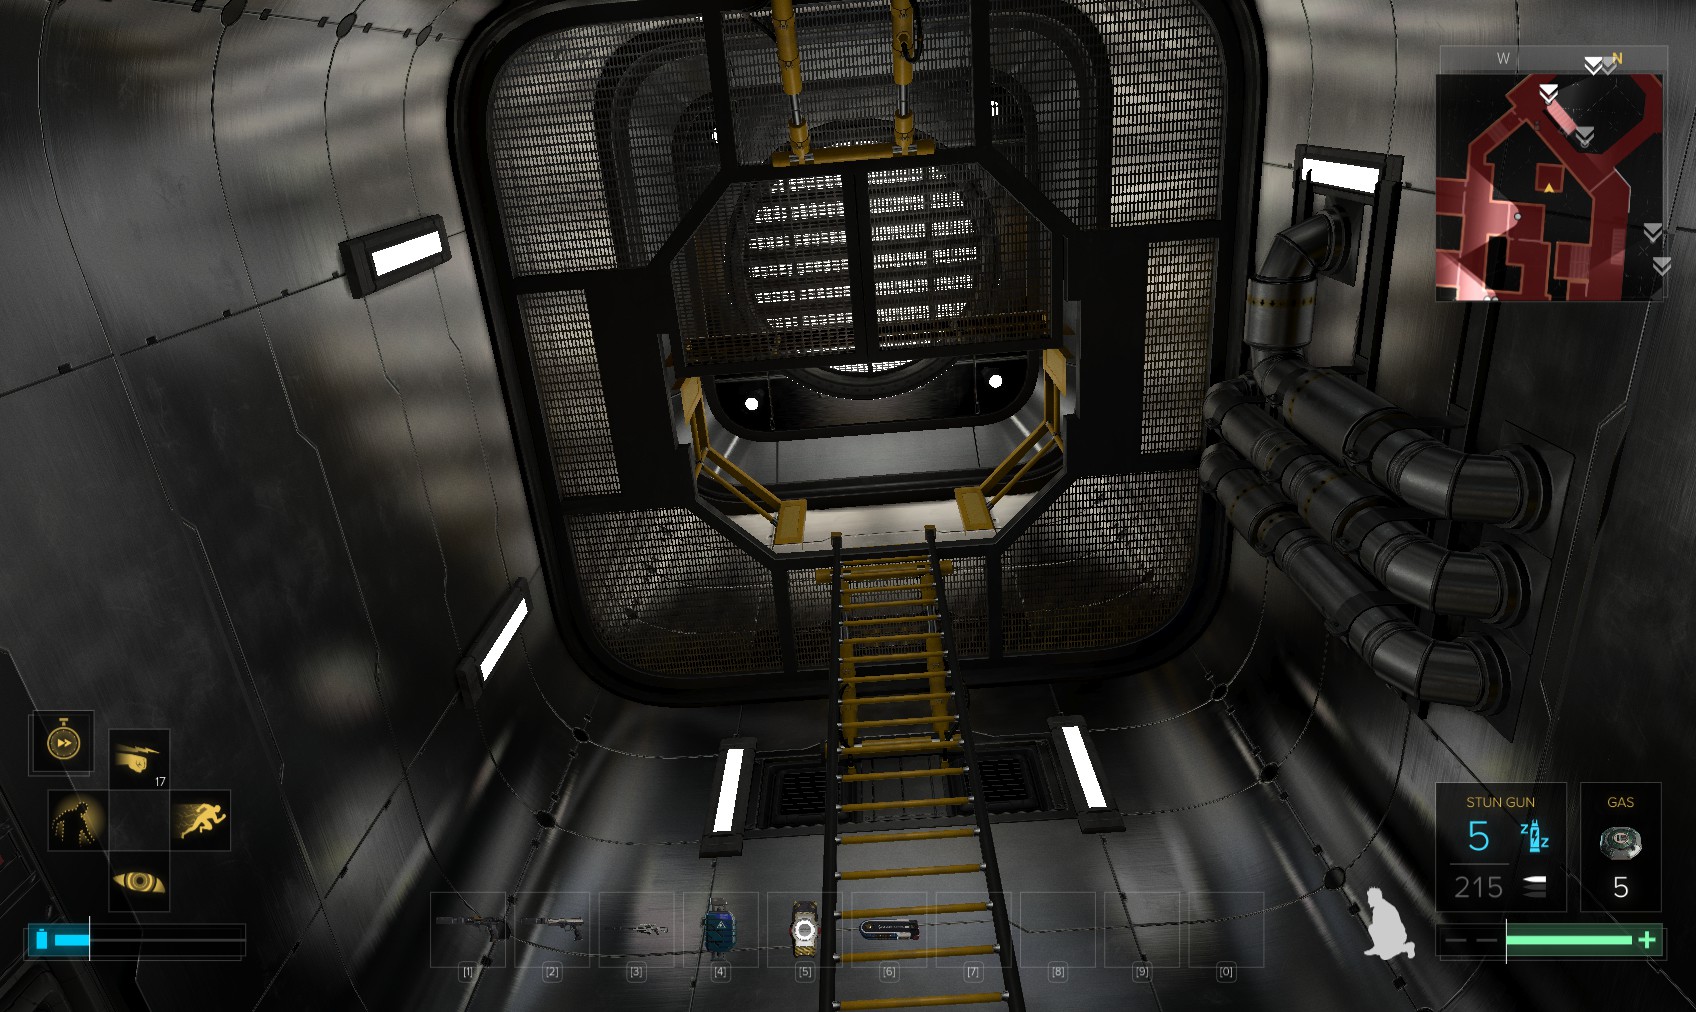
2. When the cutscene ends, you can wander around the roof. This building to the North of the landing pad can be accessed by moving a large crate exposing a vent, via the roof, or hacking the level 5 door for Nuke software. I go via the vent for a 300XP bonus, and hack the door later.
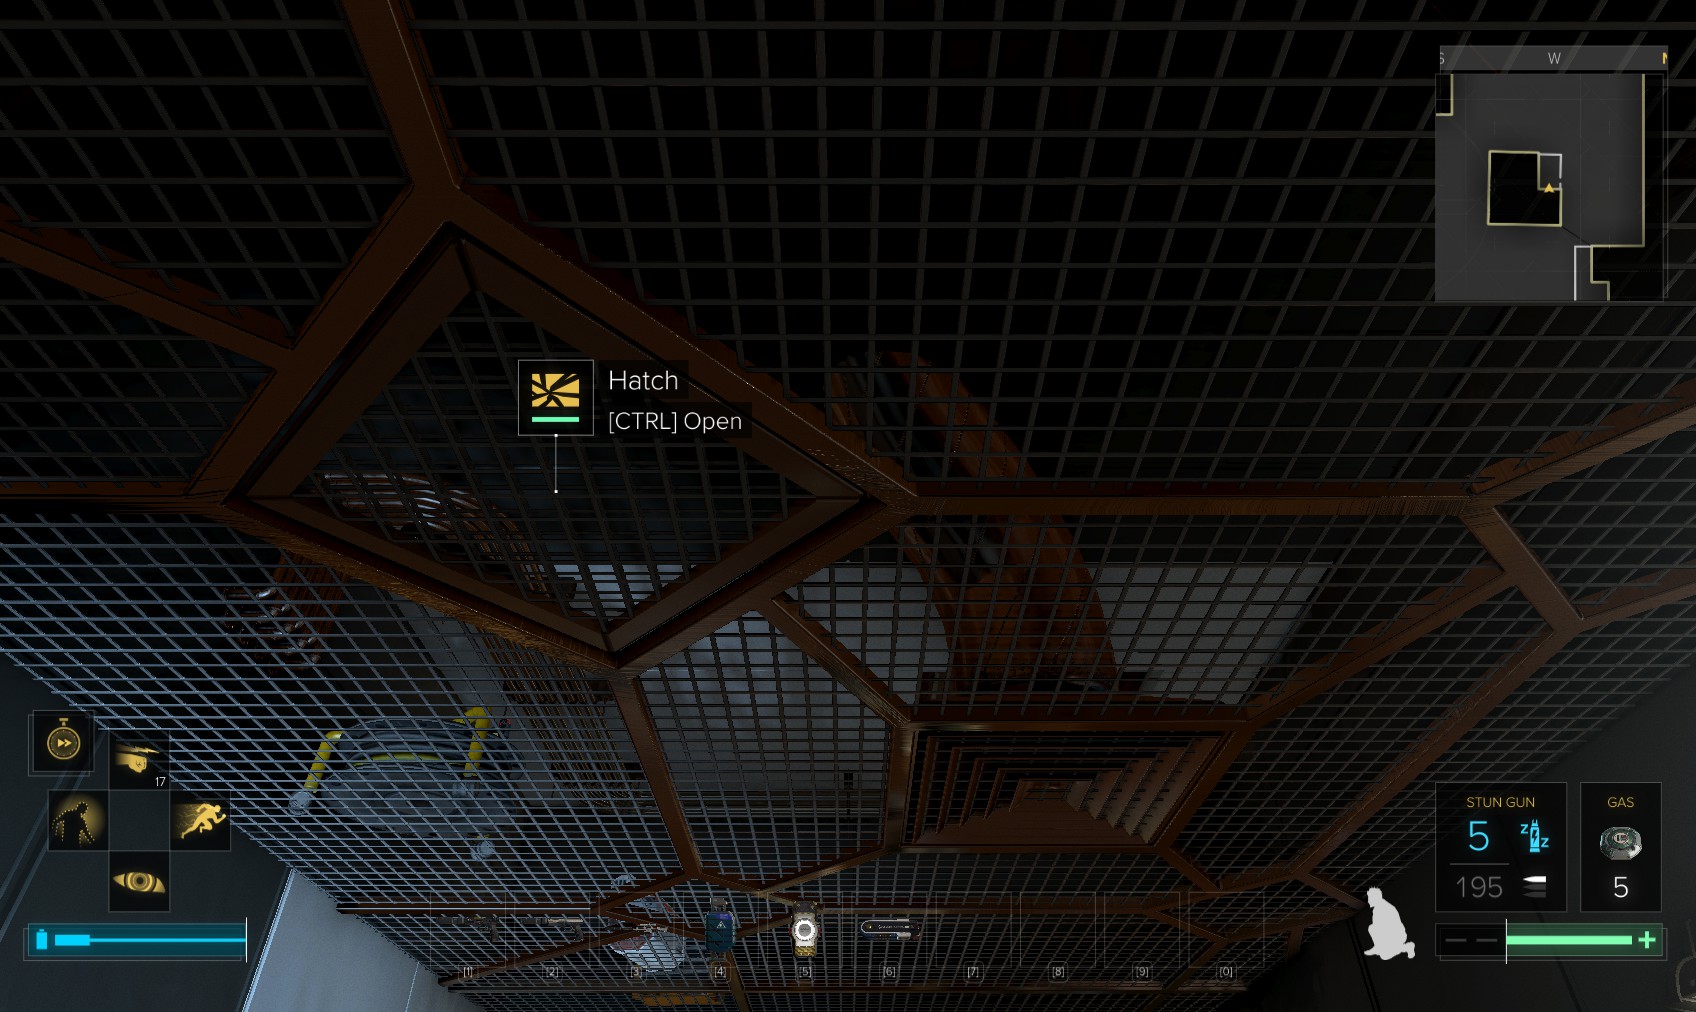
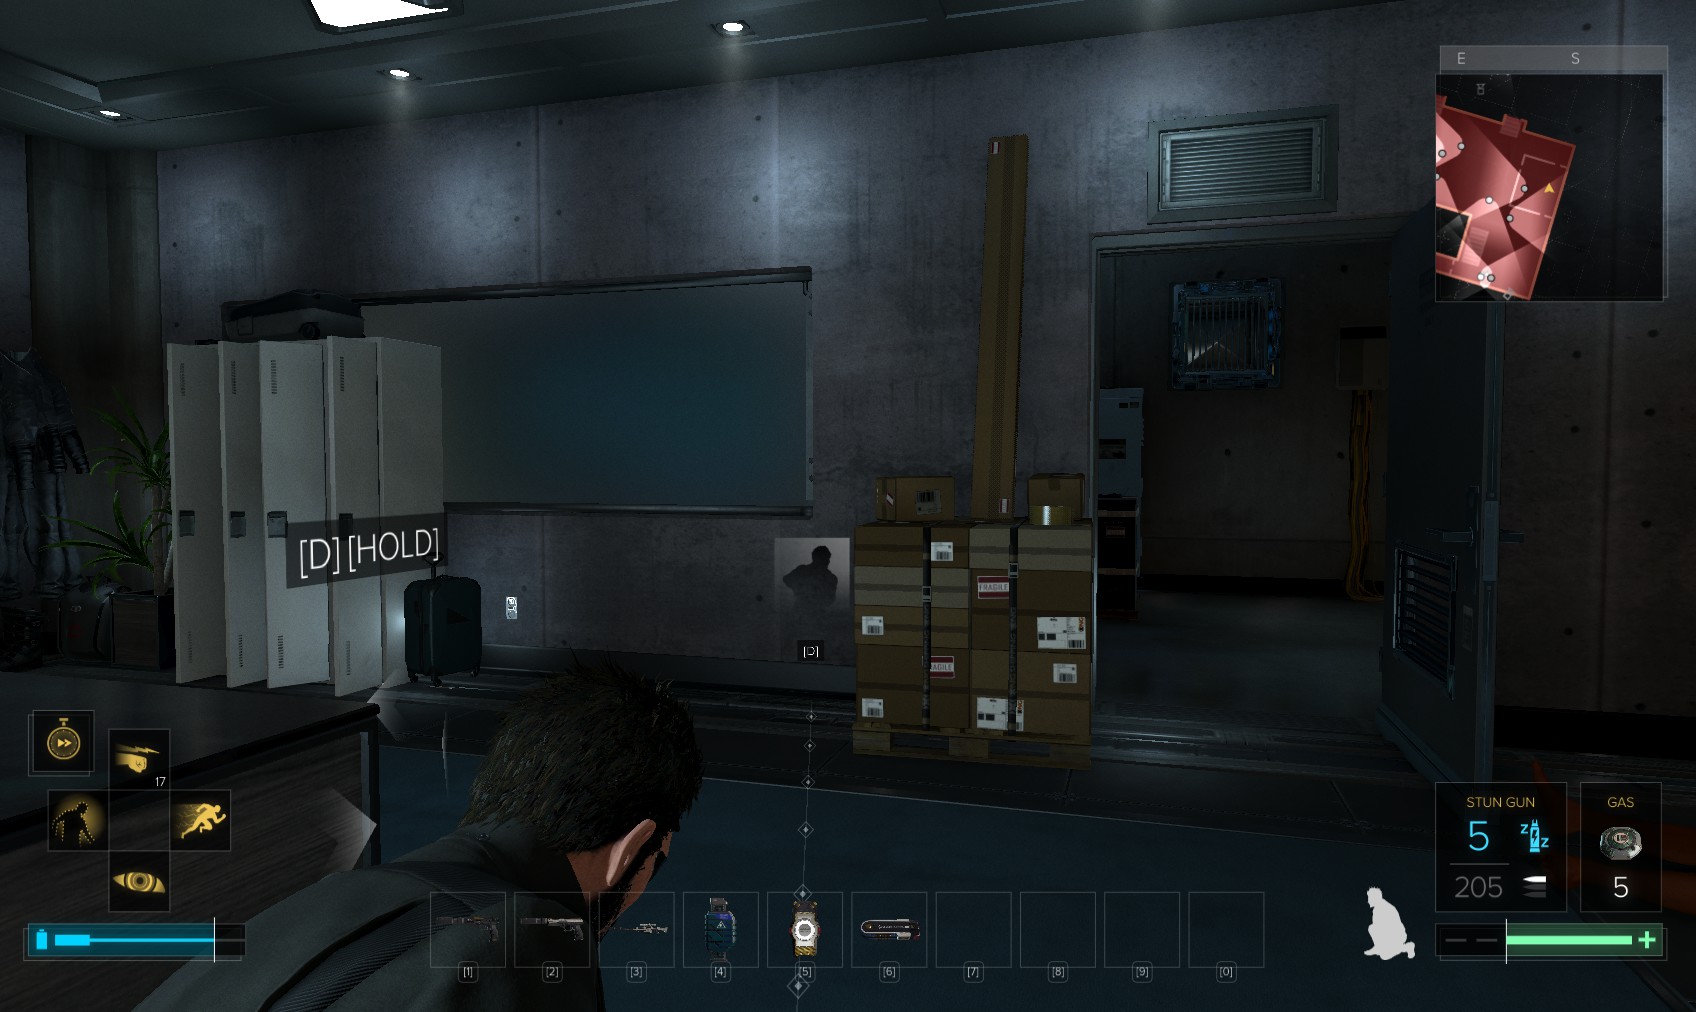
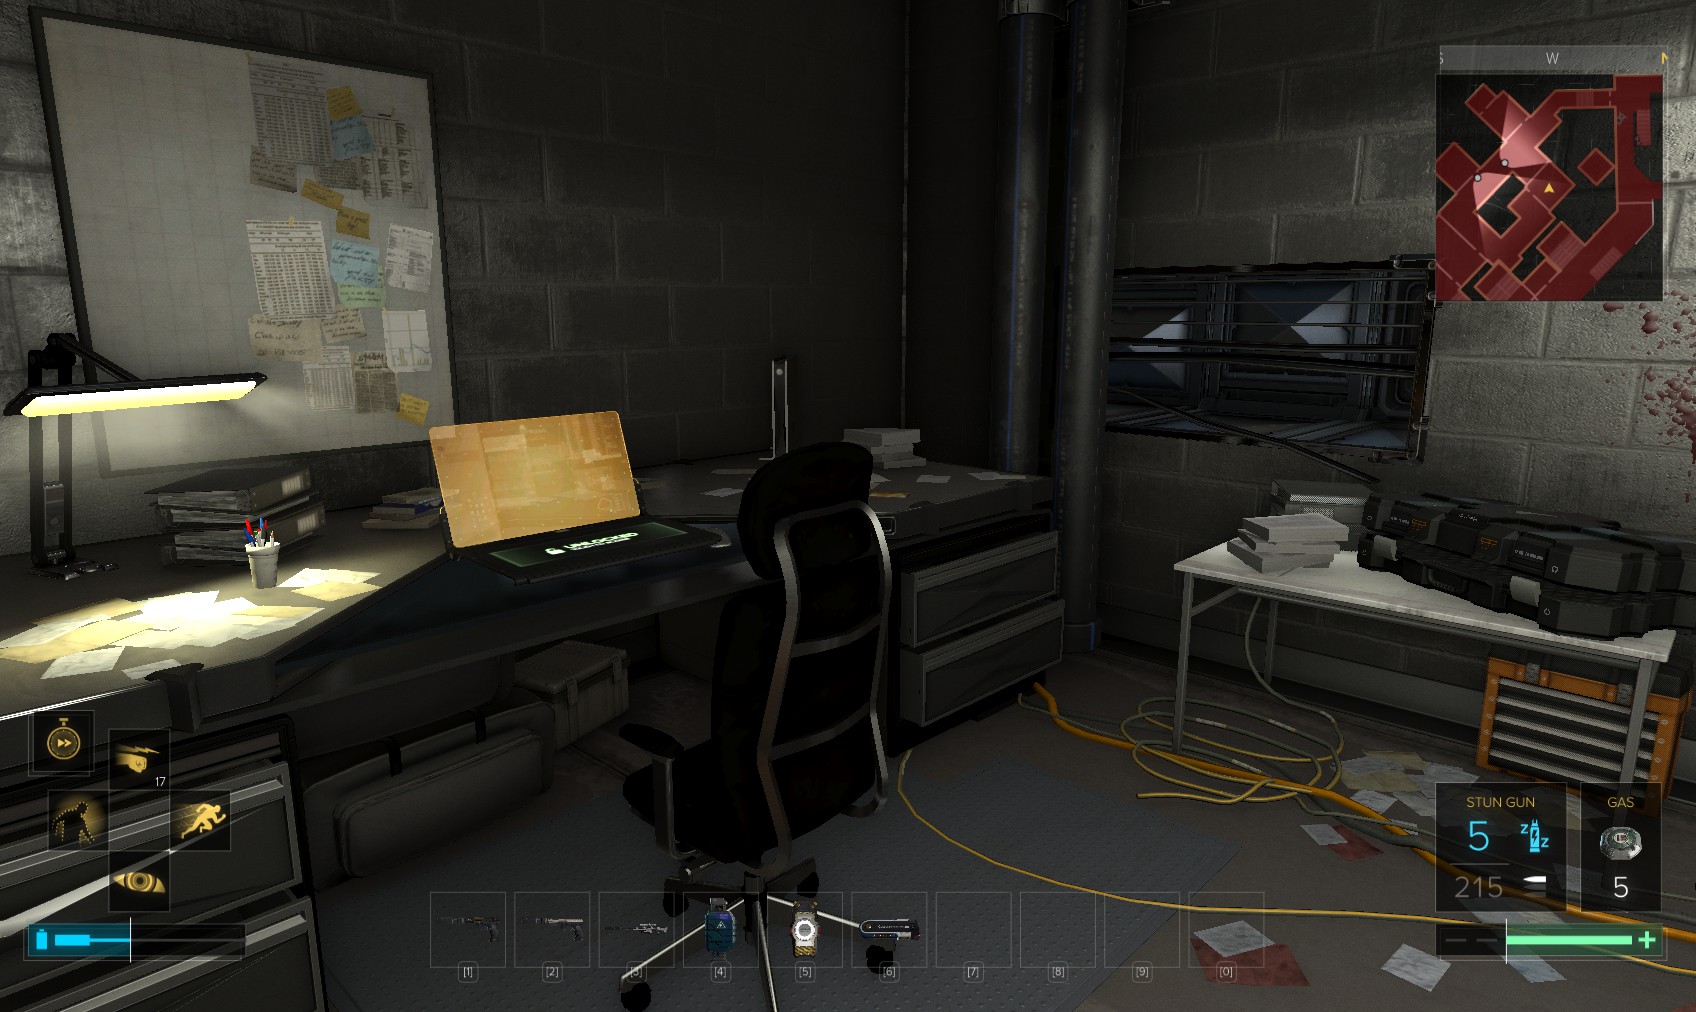
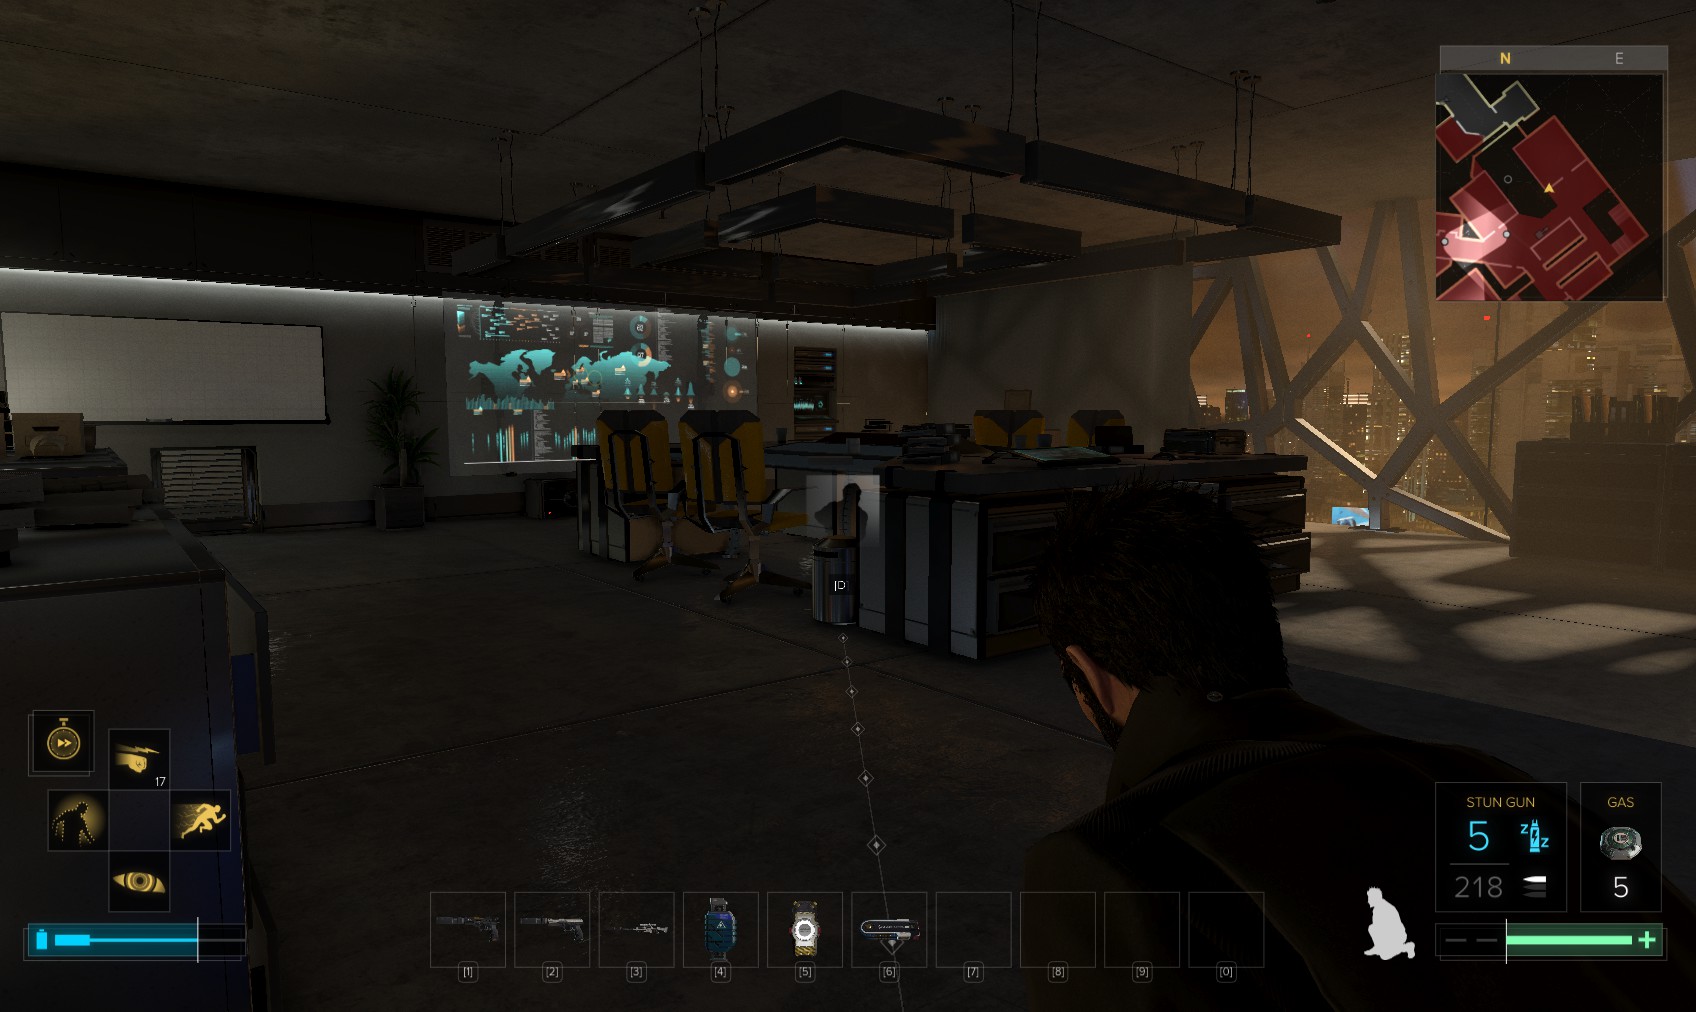
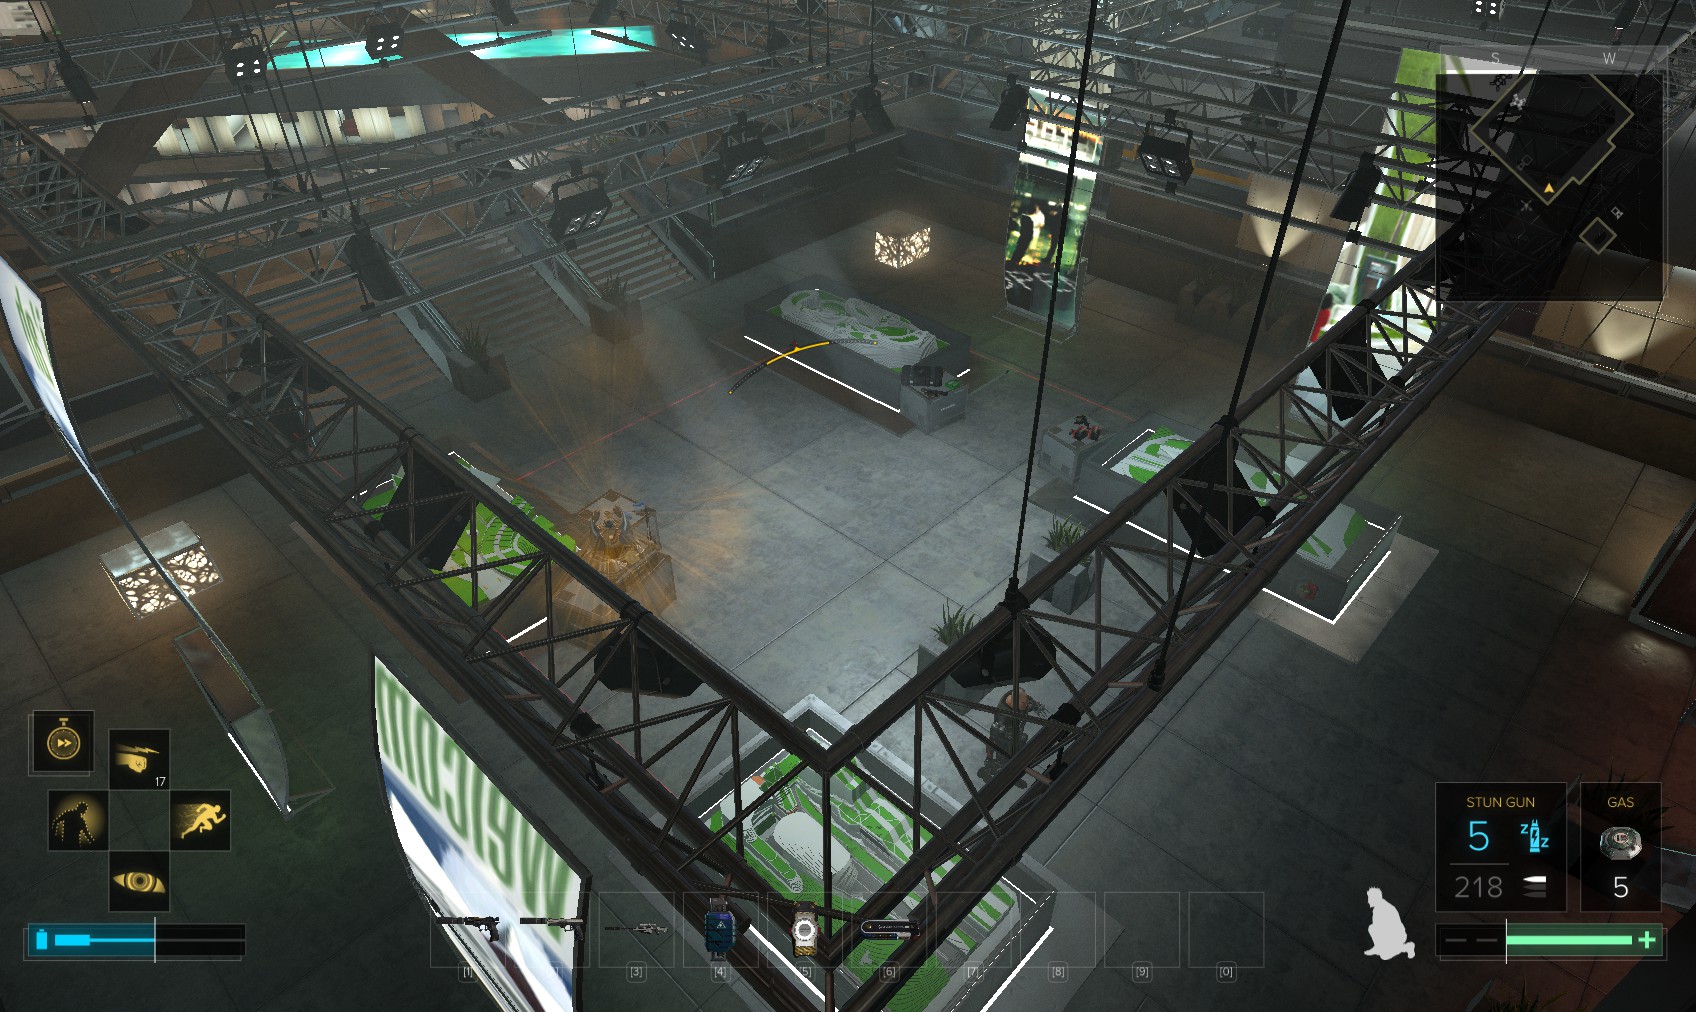
3. Inside there is a biocell and box containing a hypostim, but the suspended ceiling has a box with multitool, and some crafting parts.

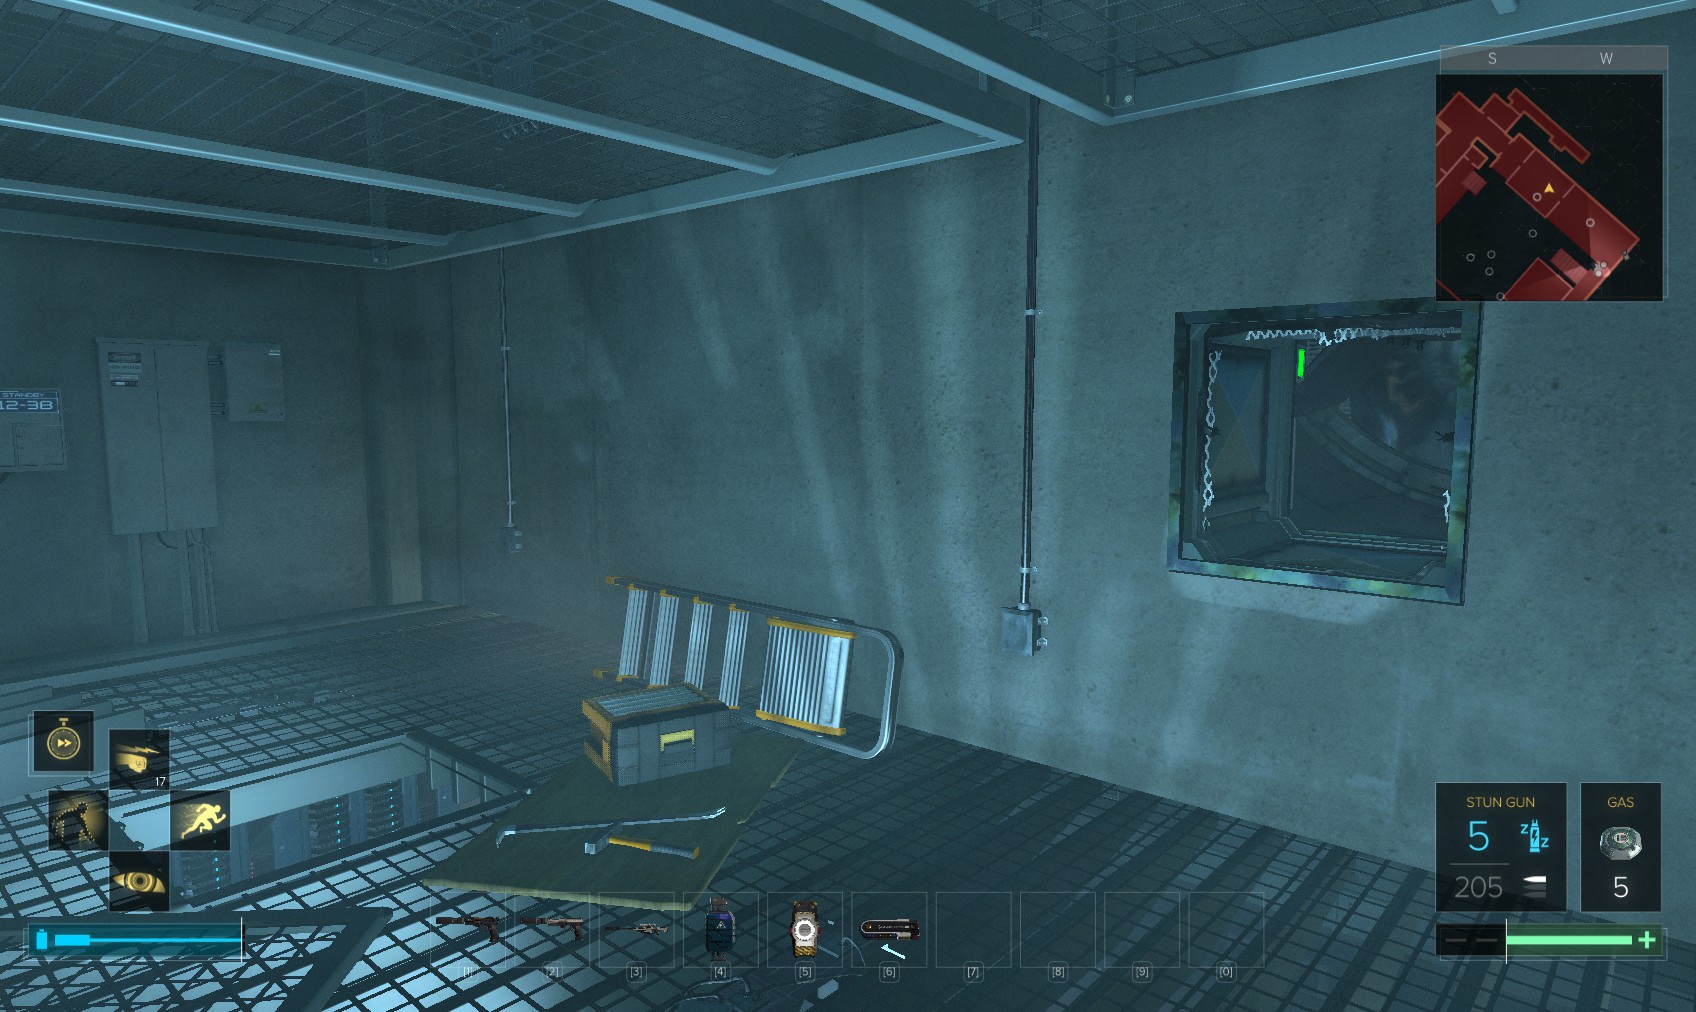
4. In the North-East corner is another door (level 4, 155XP) leads to an electrically charged room.
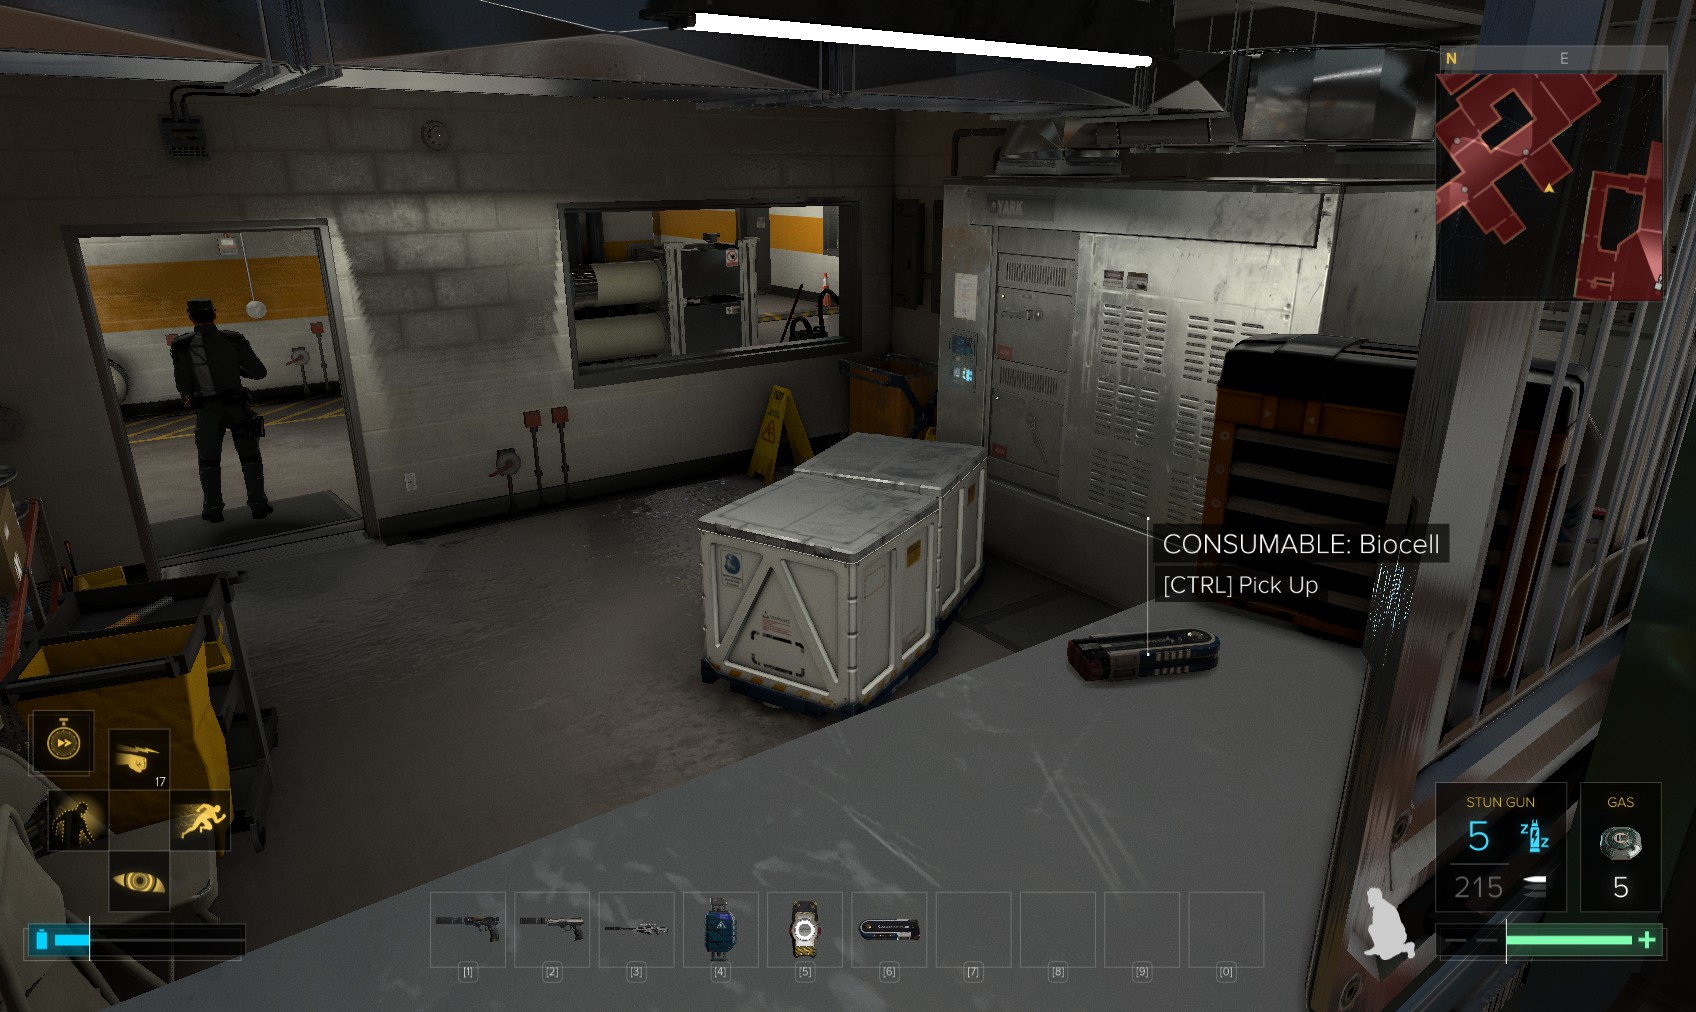
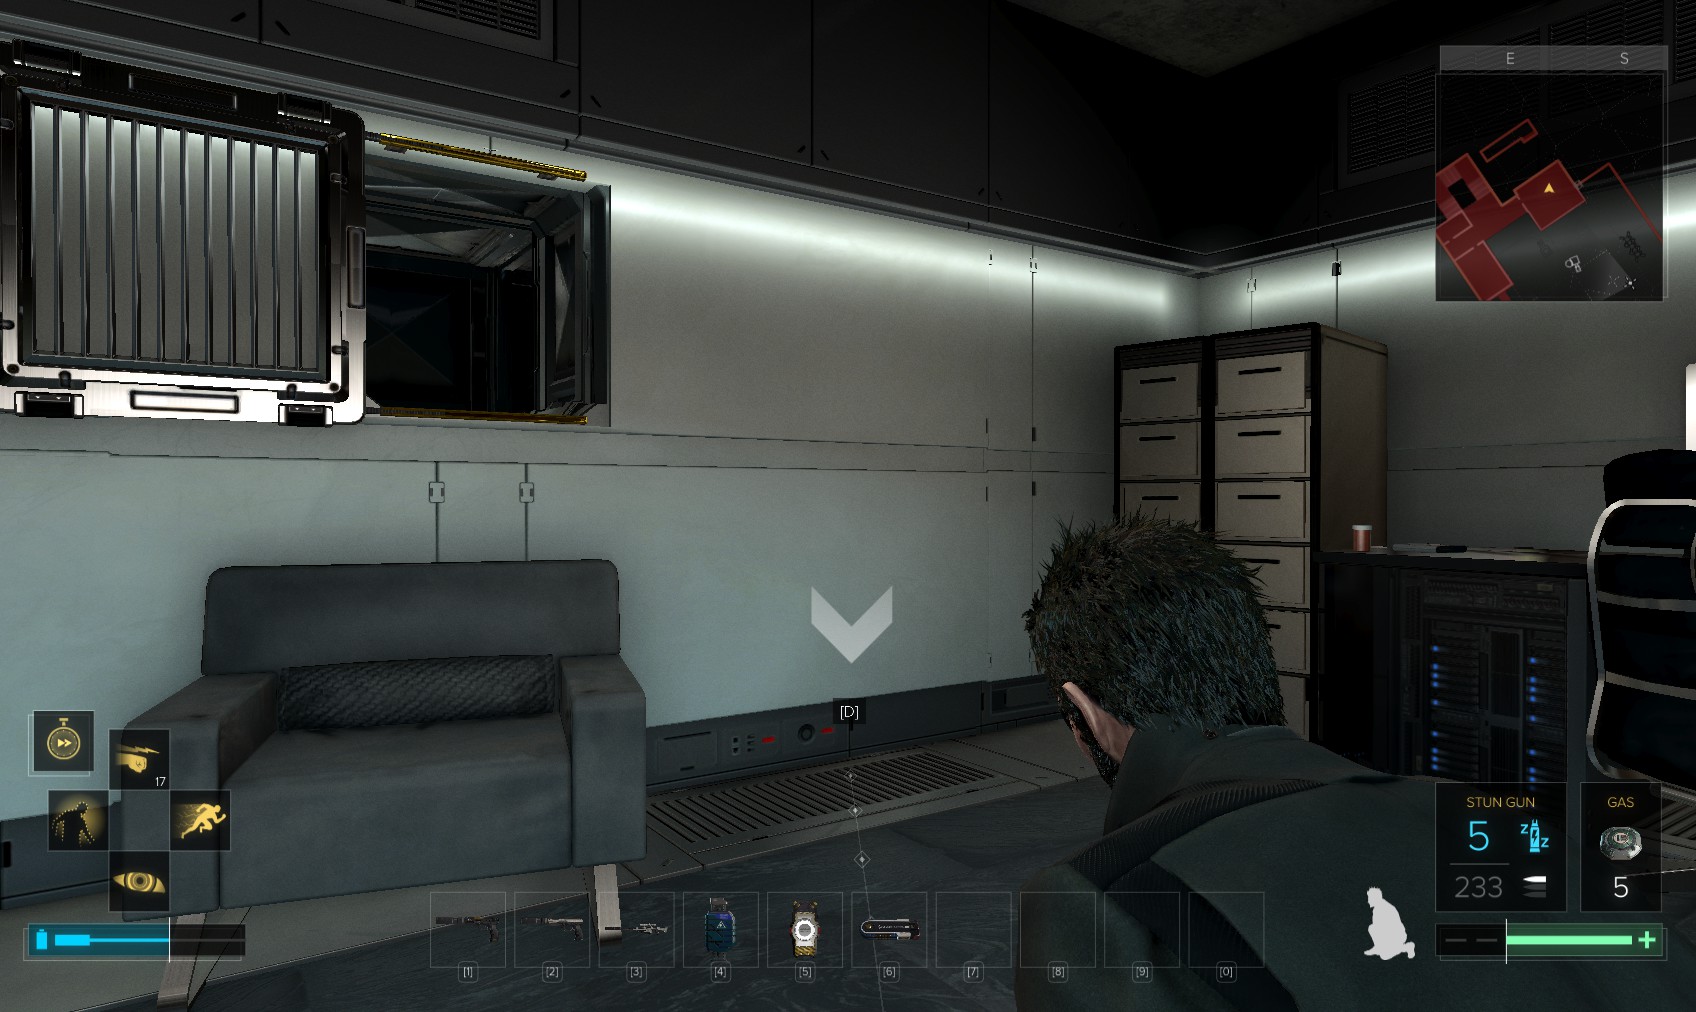
5. The breaker box is above the door. Raid the cabinets inside for hacking tools and ammo.
6. Lastly, East of the landing platform next to the elevator is this level 4 door (Nuke software) leads to a room with biocell, hacking tools and crafting parts (some of these require you to climb on the machinery).
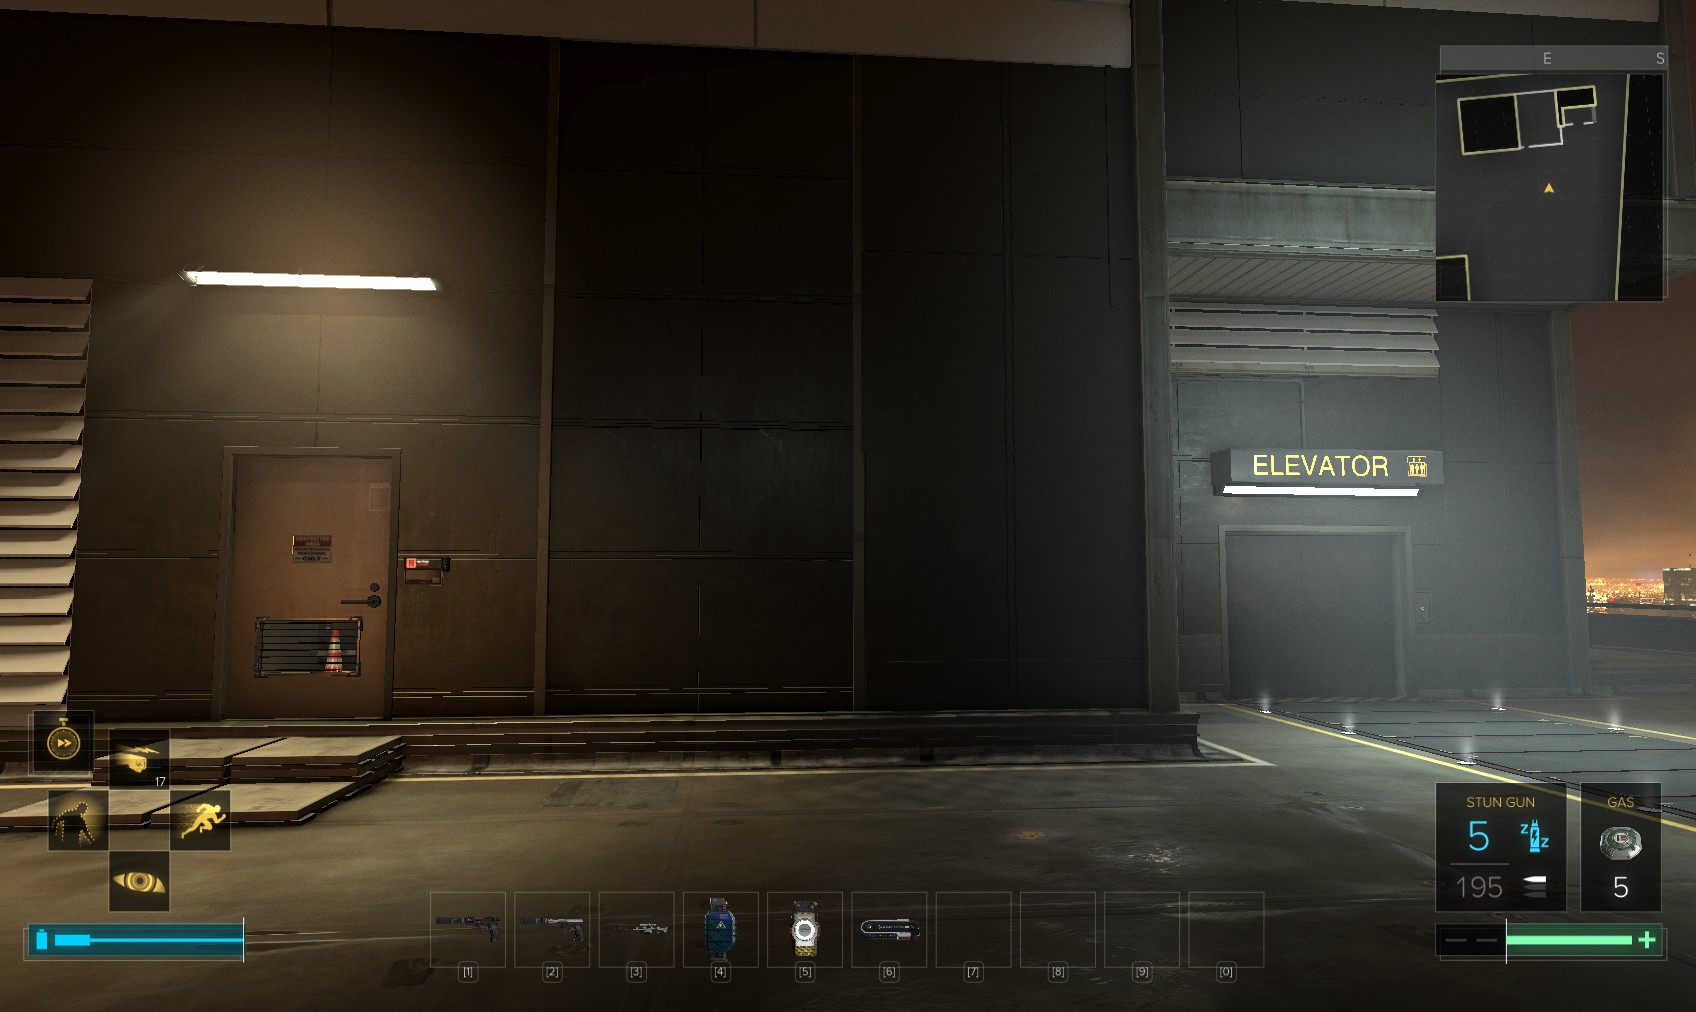
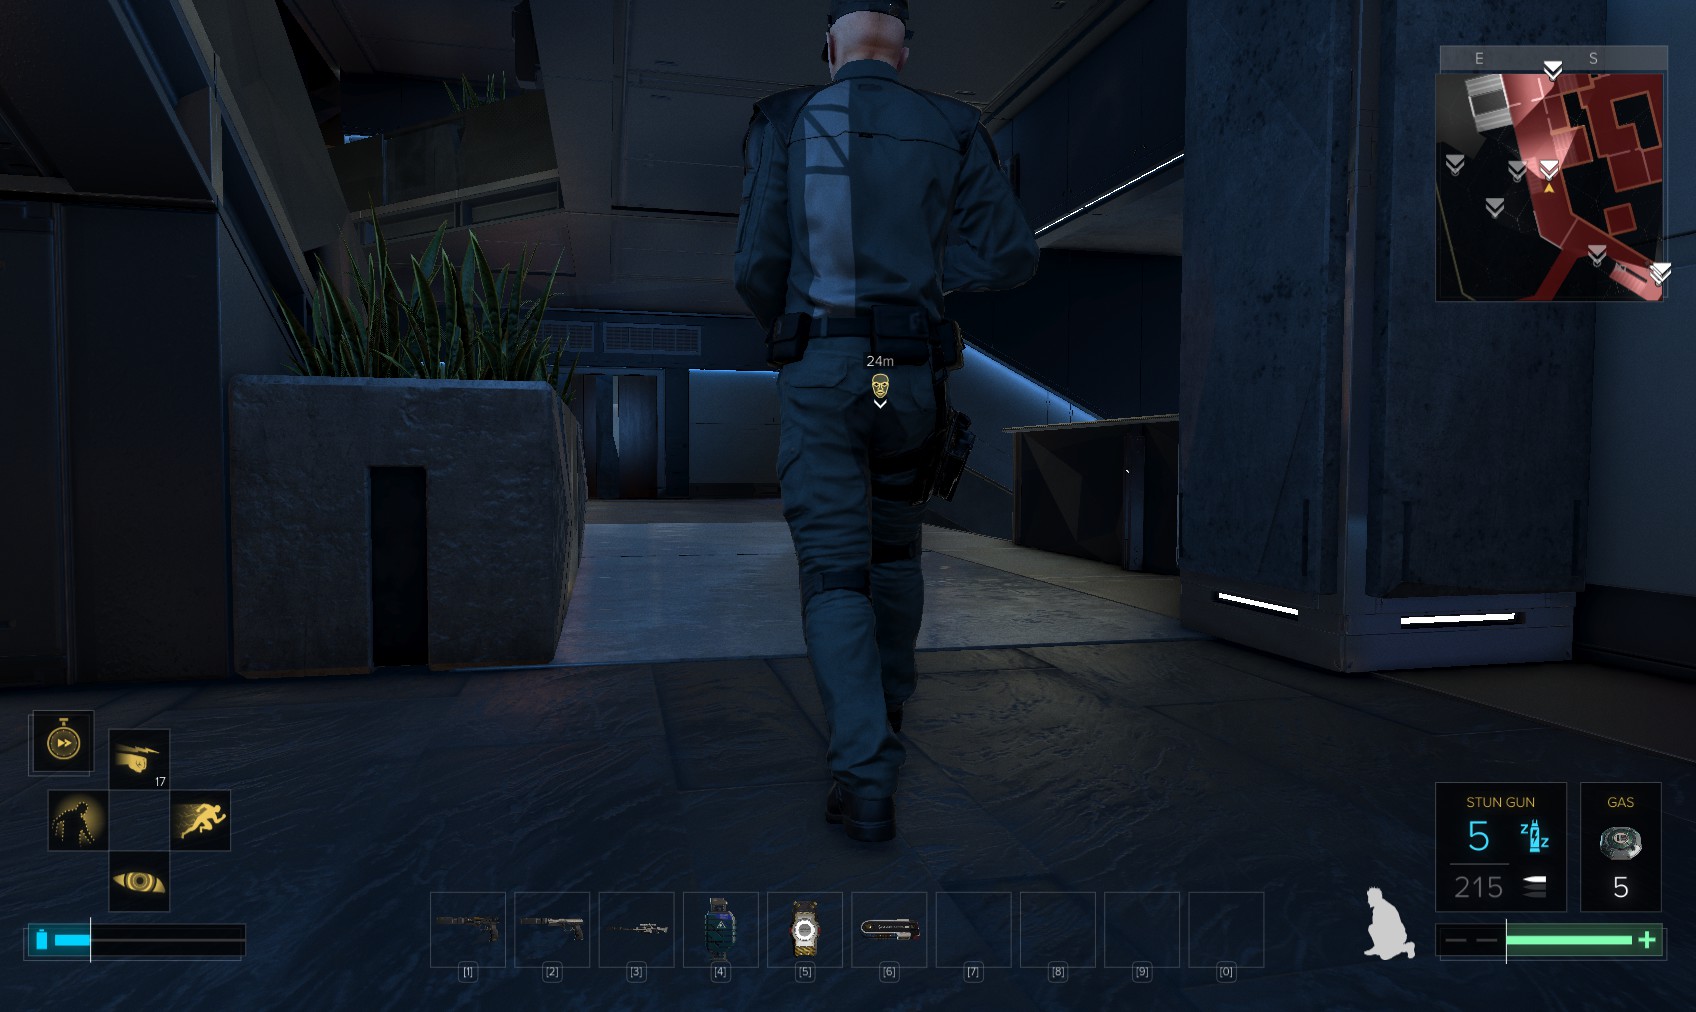
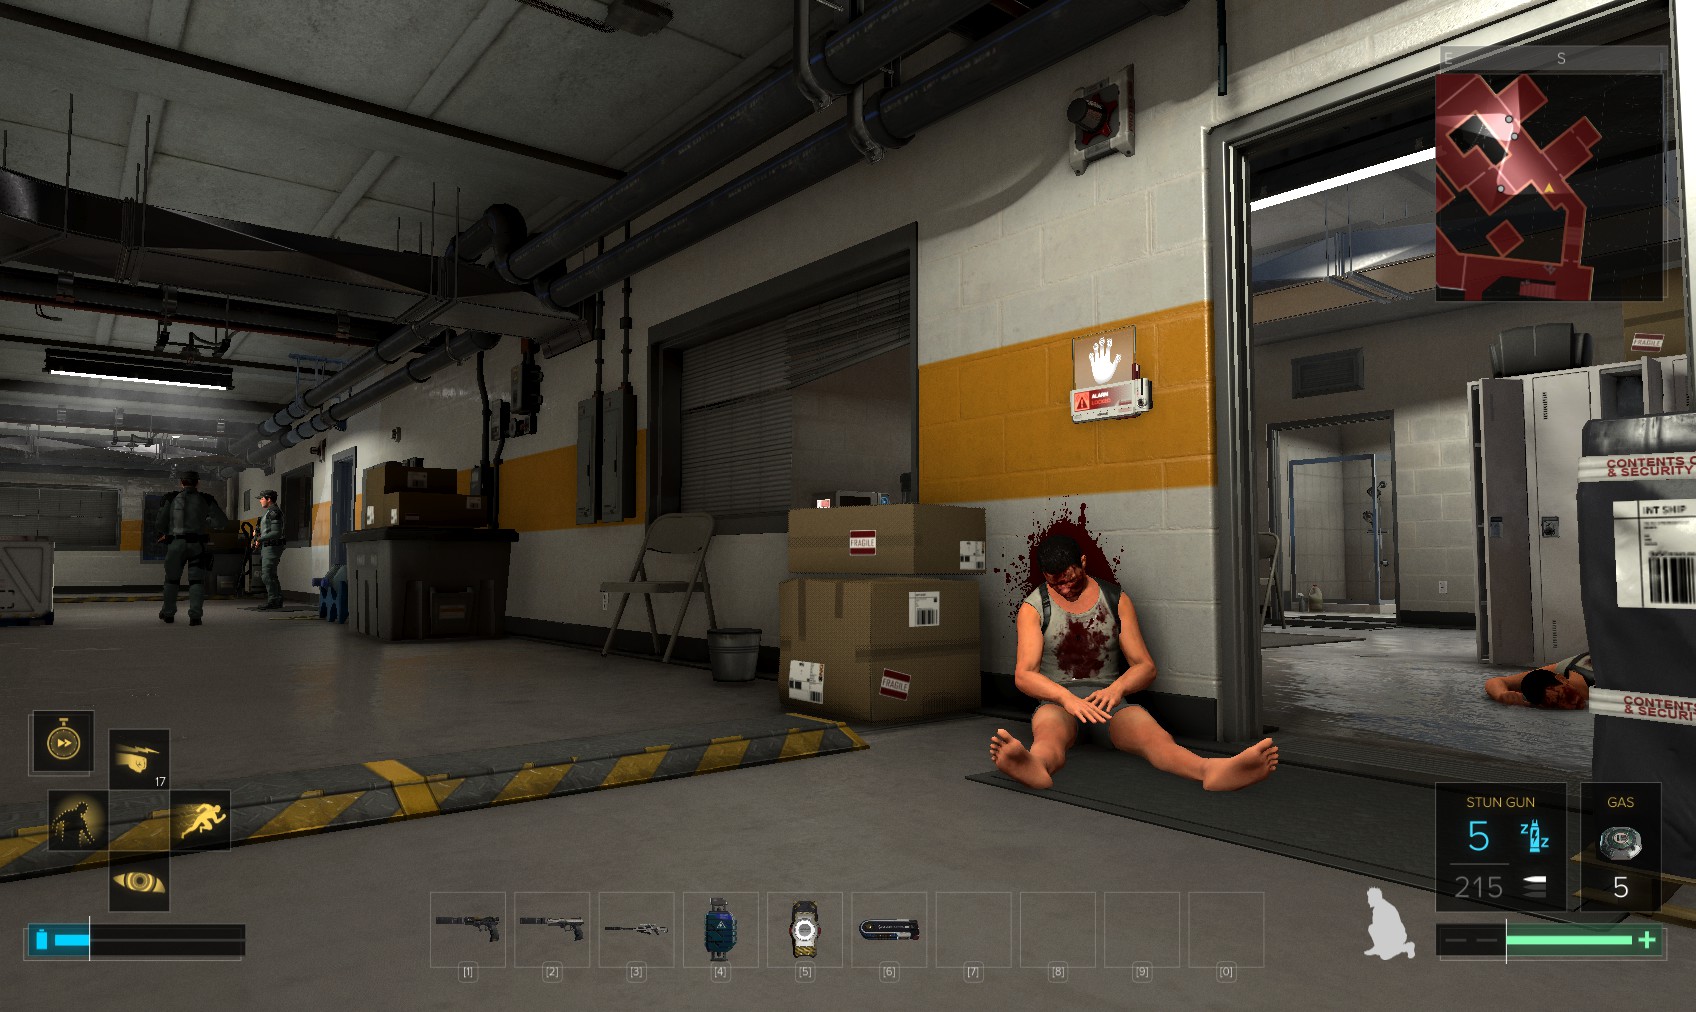
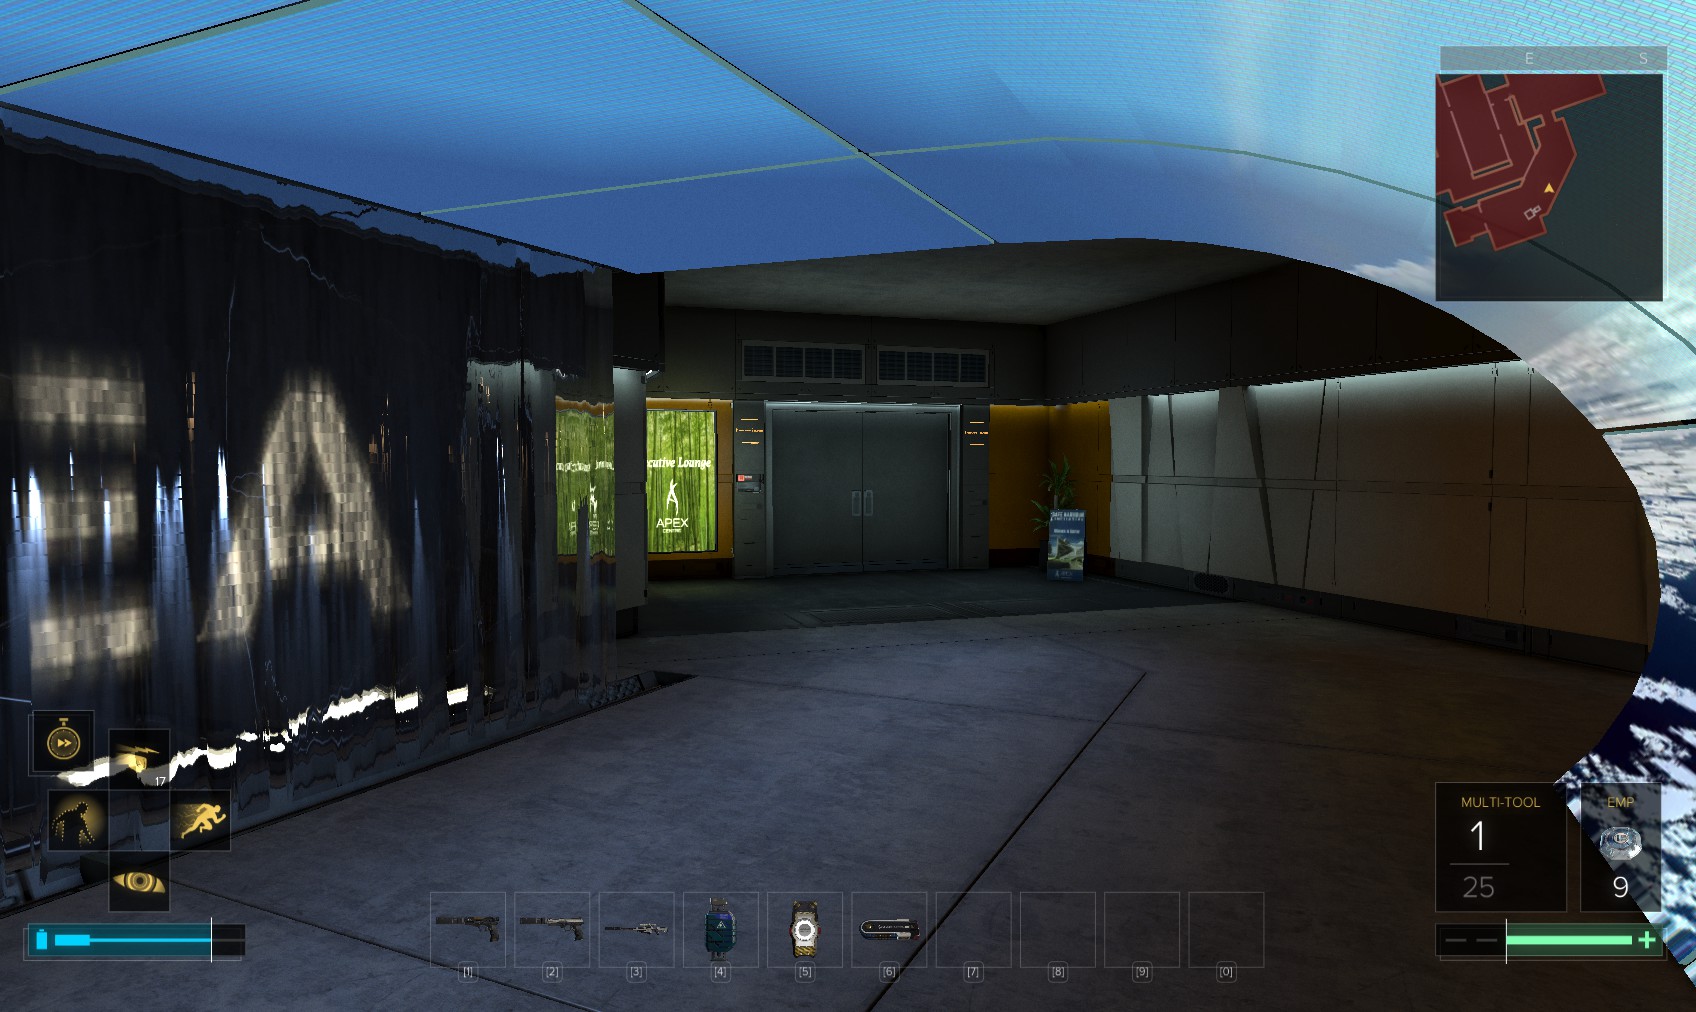
7. When you’re satisfied, use the elevator and ride it down. You contact Alex and Janus responds - you must protect the UN delegates. You emerge by the security supervisor’s office.
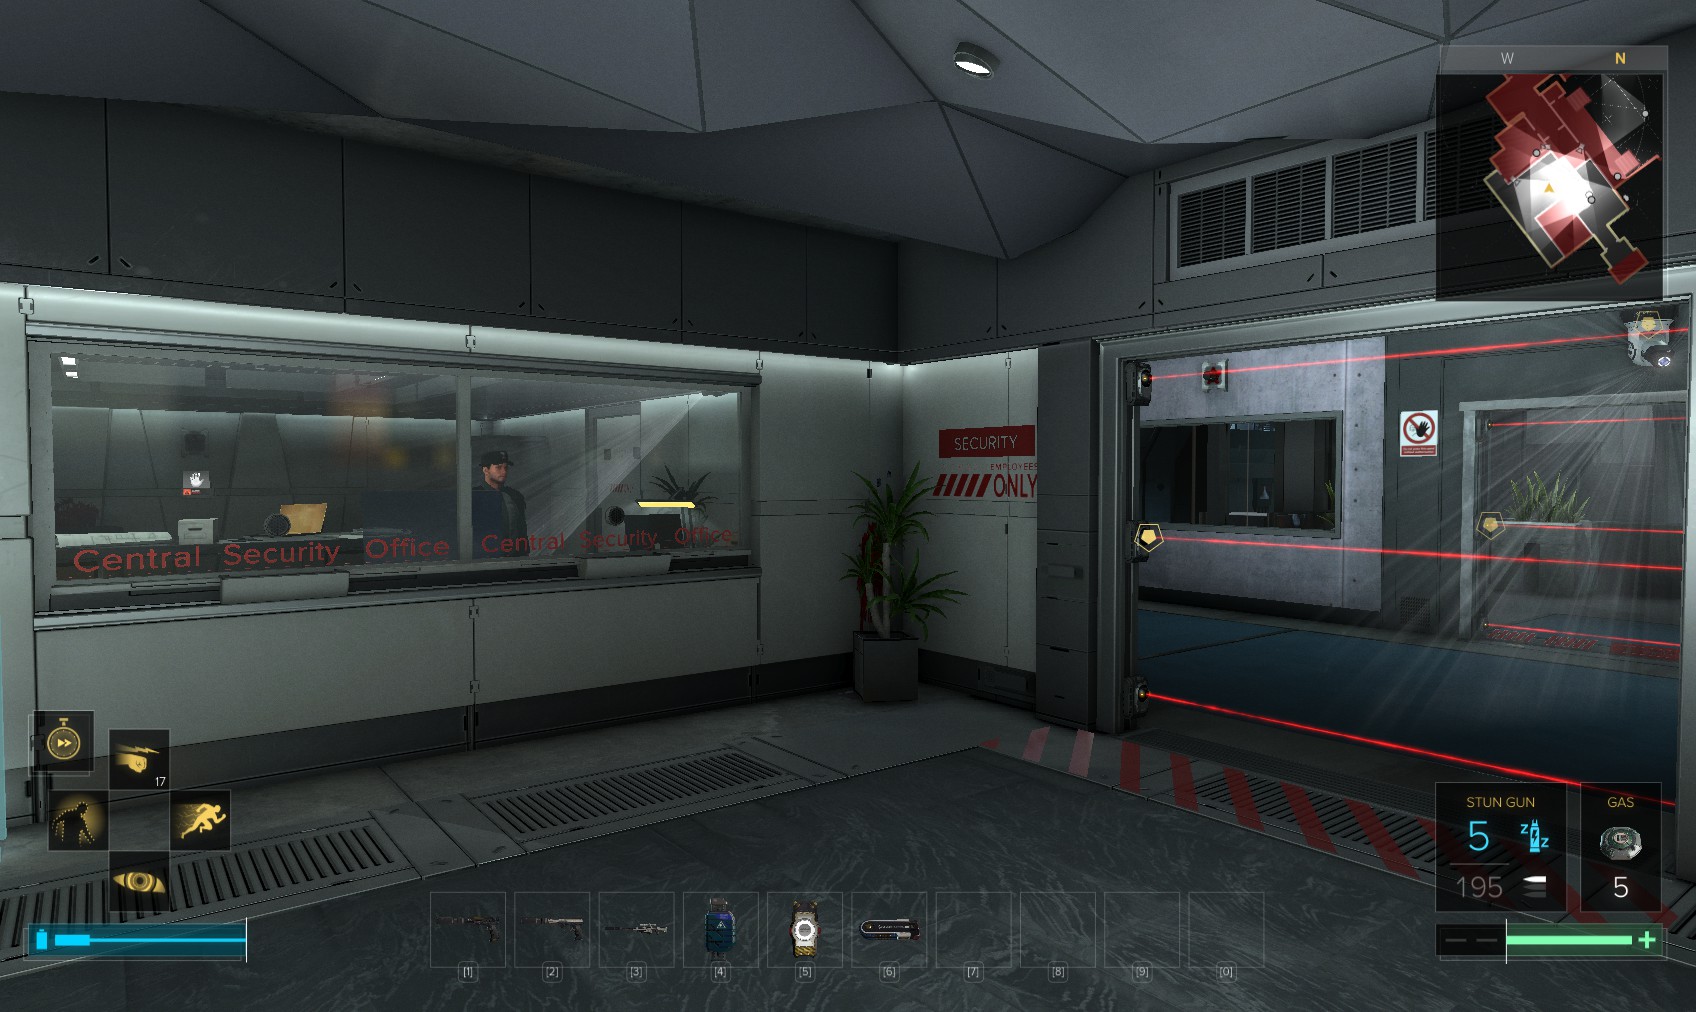
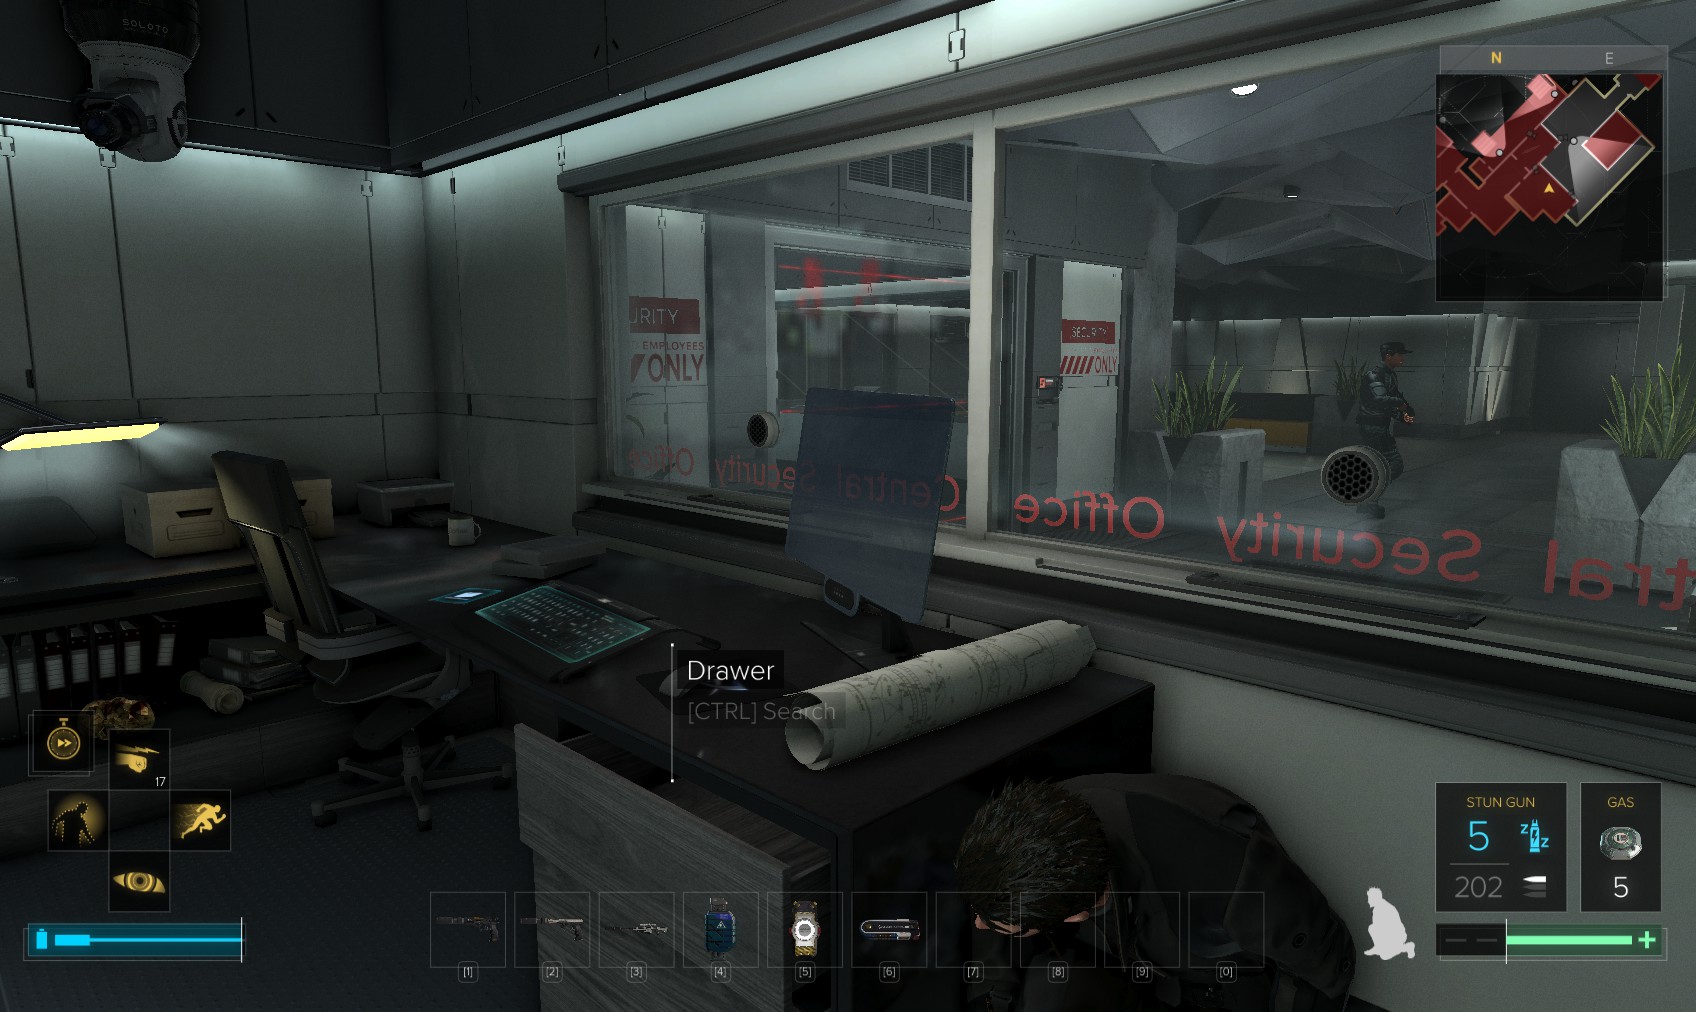
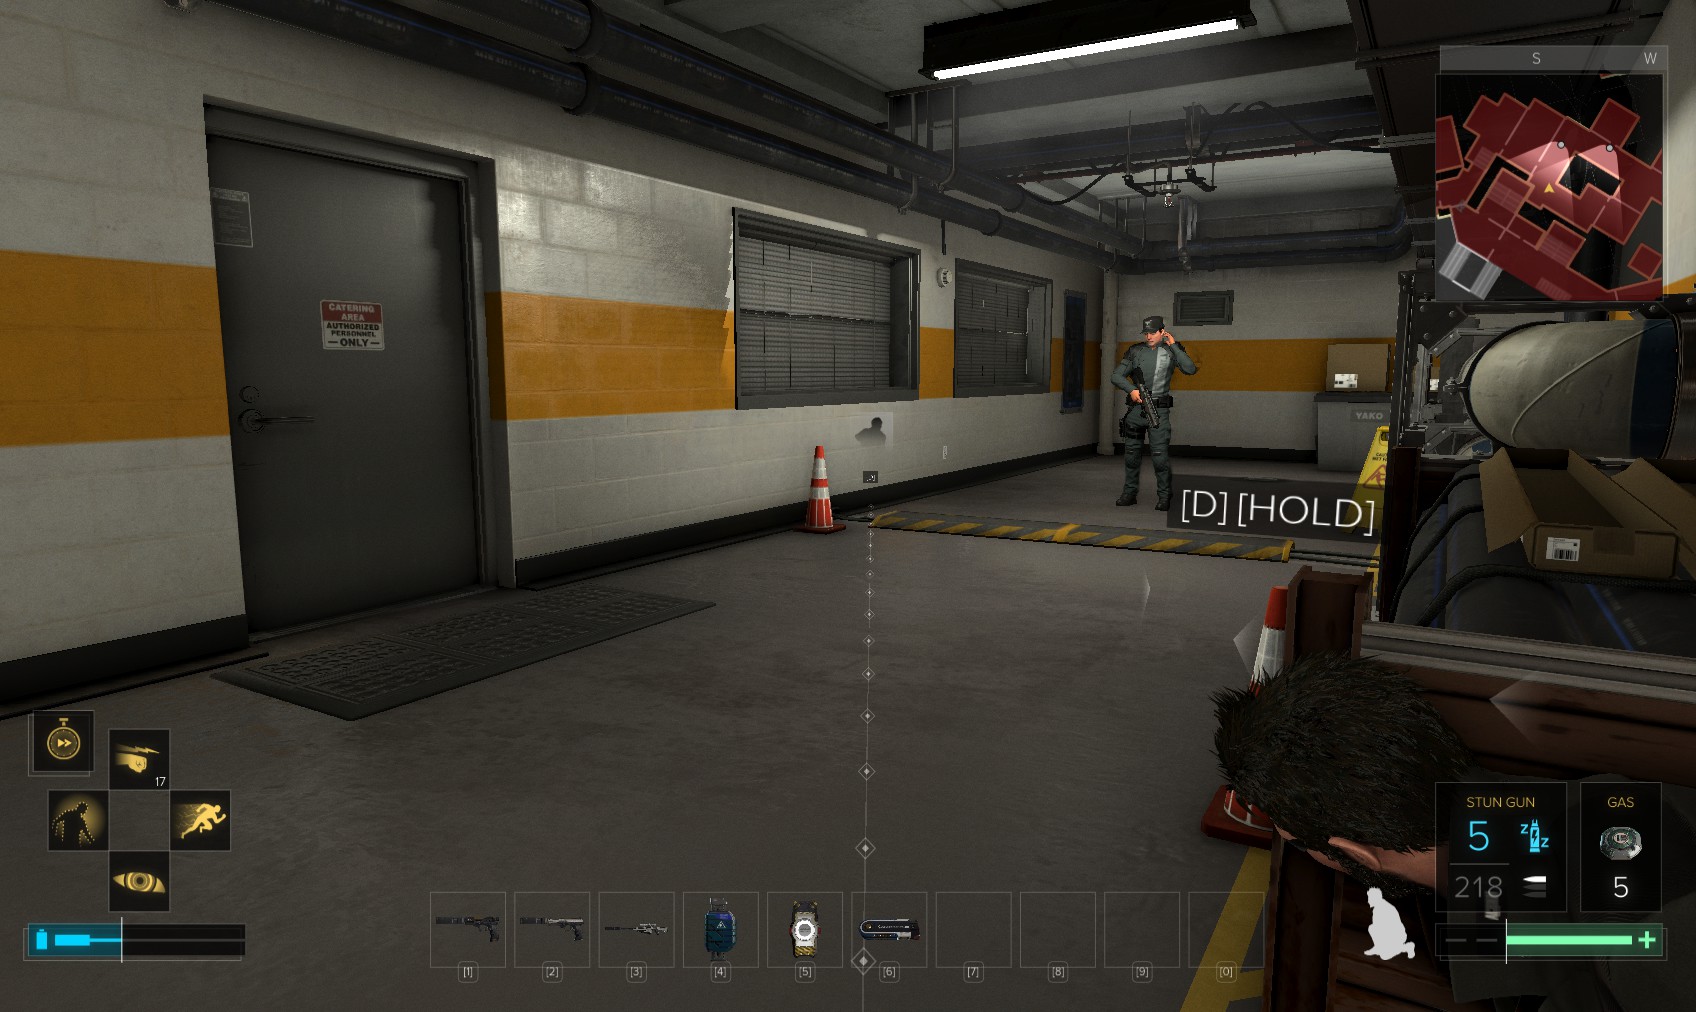
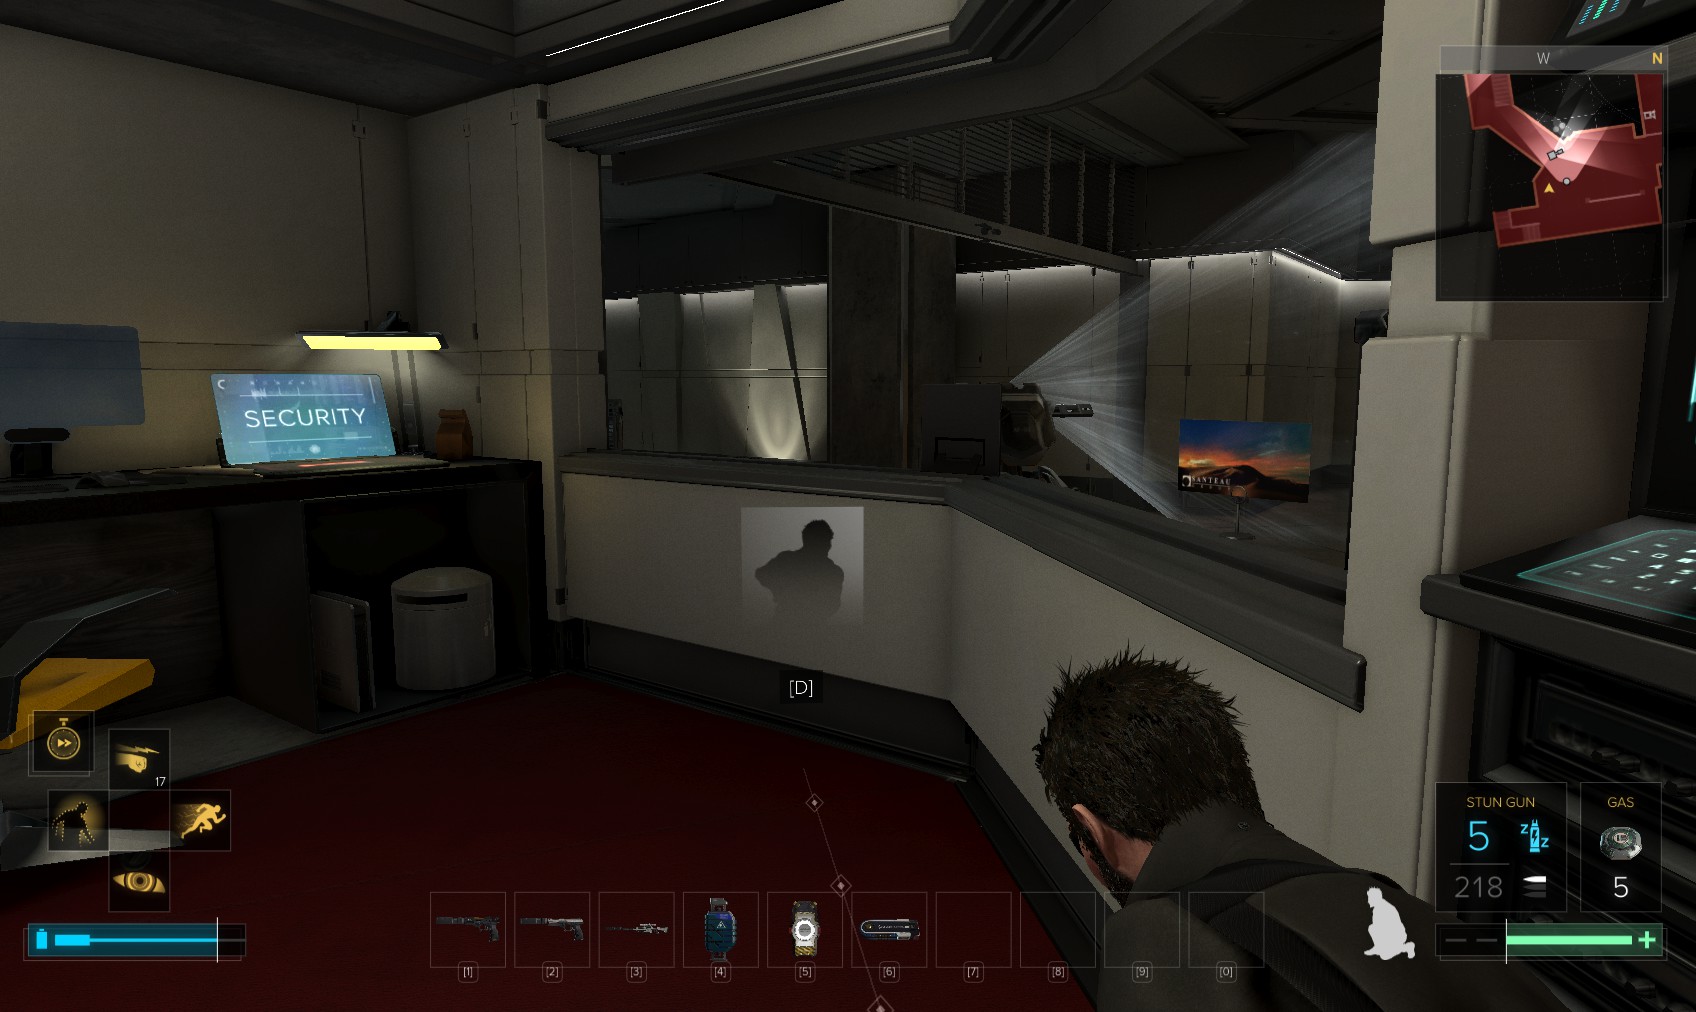
8. You’ve been tasked to meet Liam Slater, the man in charge of security. Speak with the guard in the booth.
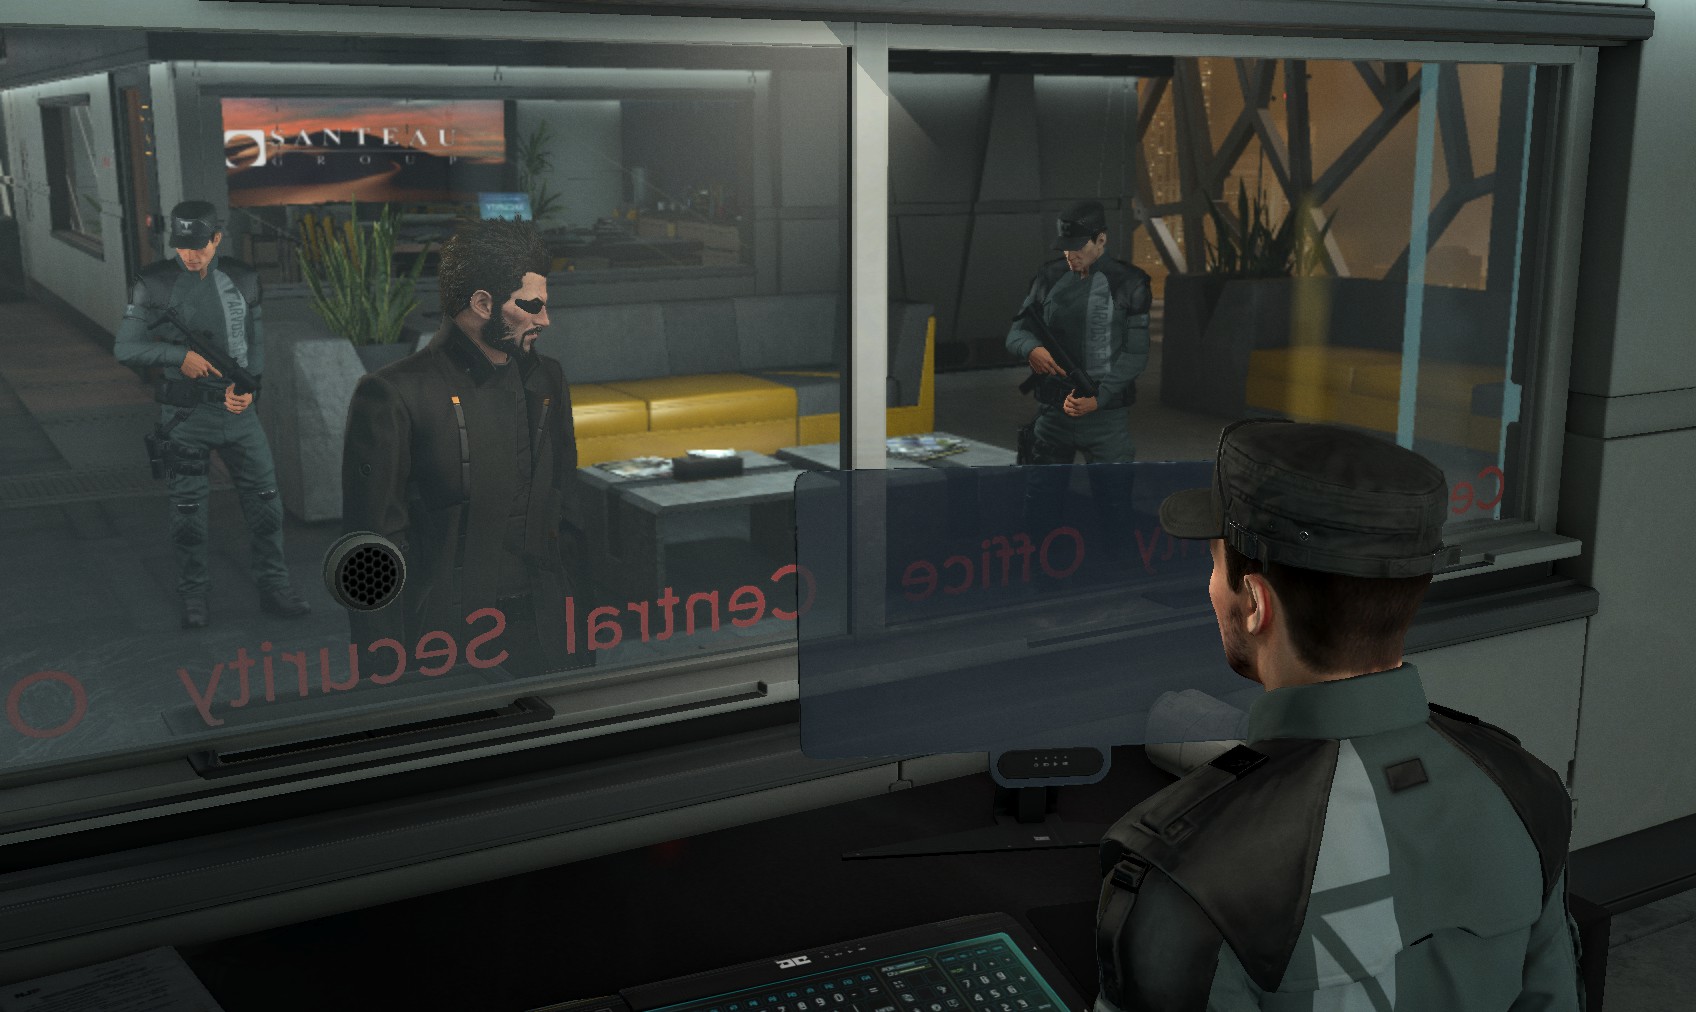
9. He seems unsure who Slater is, and I’m suspicious. I try a trick to confirm my suspicions, and sure enough he wanders off. Now I just need to get to Slater’s office without raising the alarm!
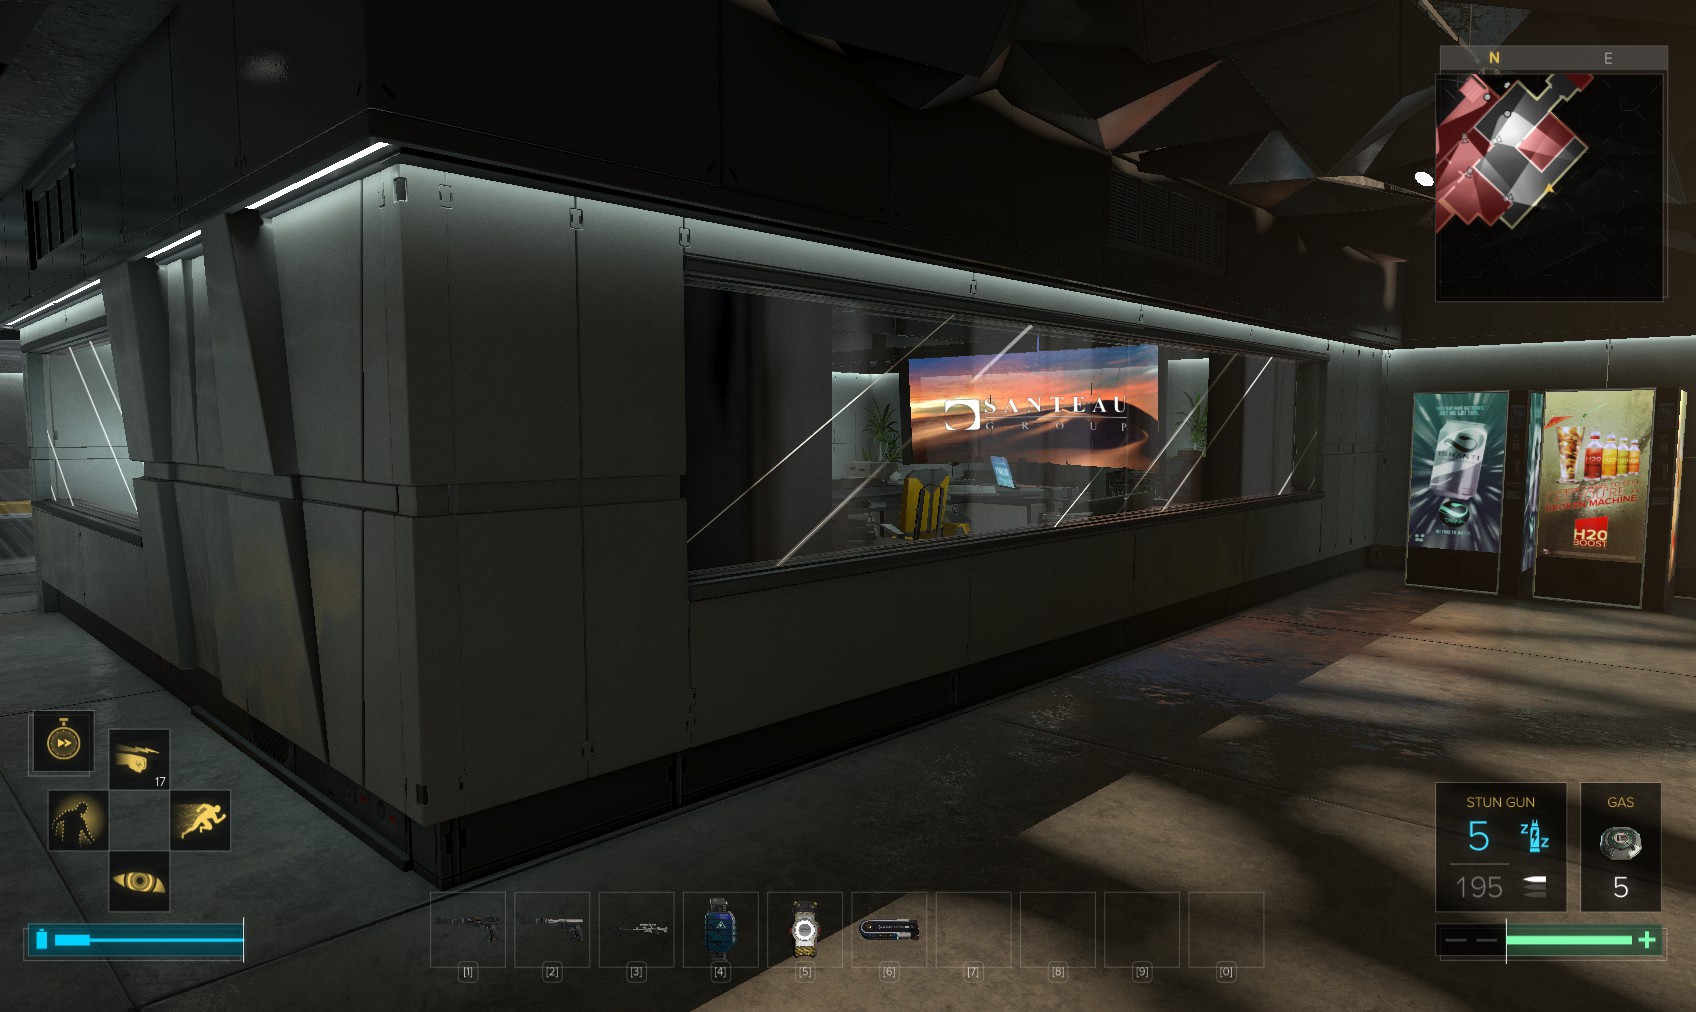
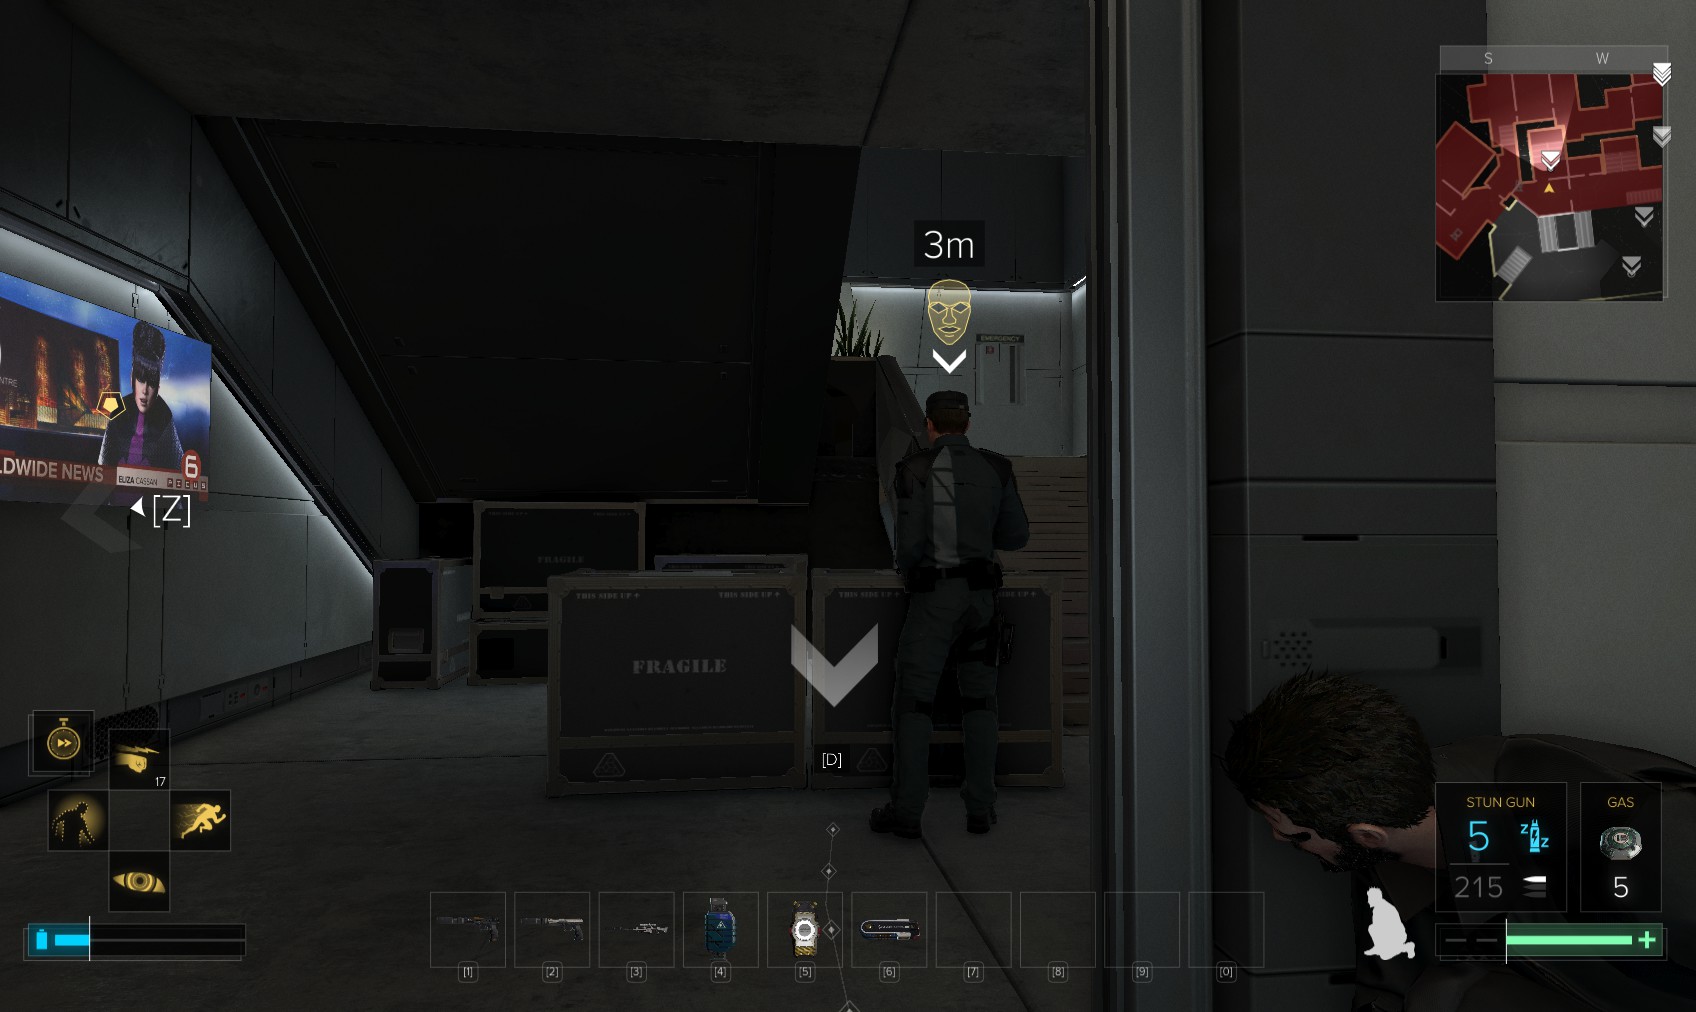
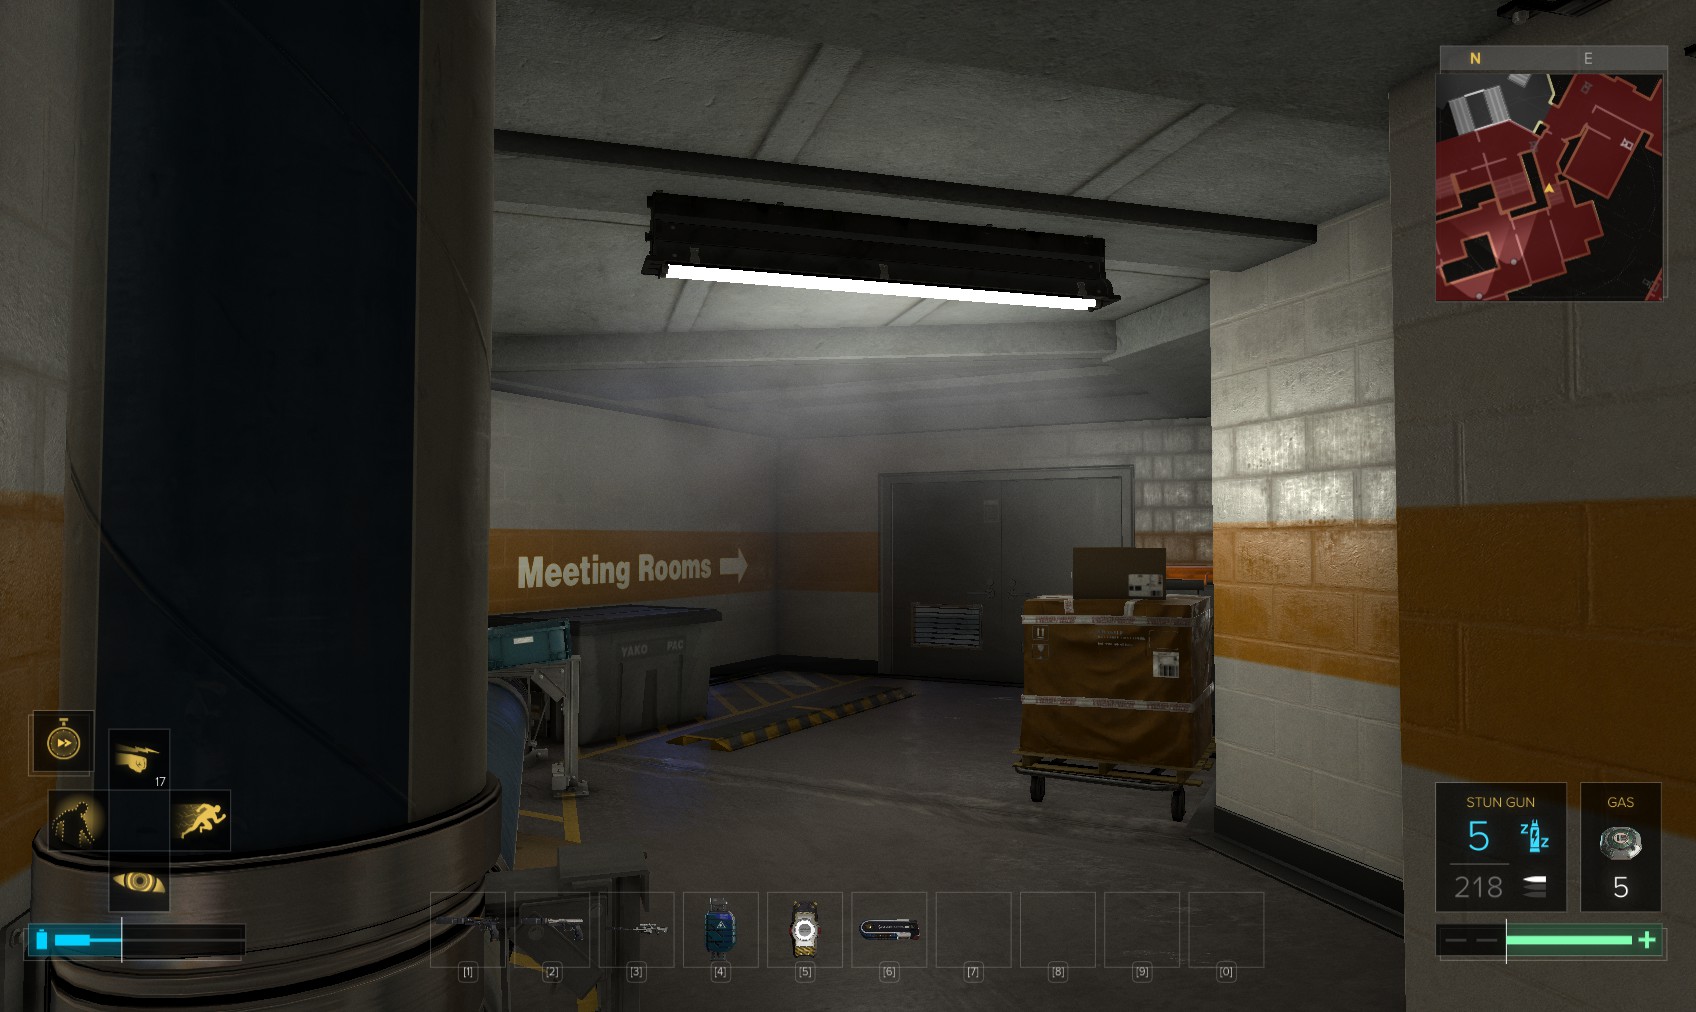
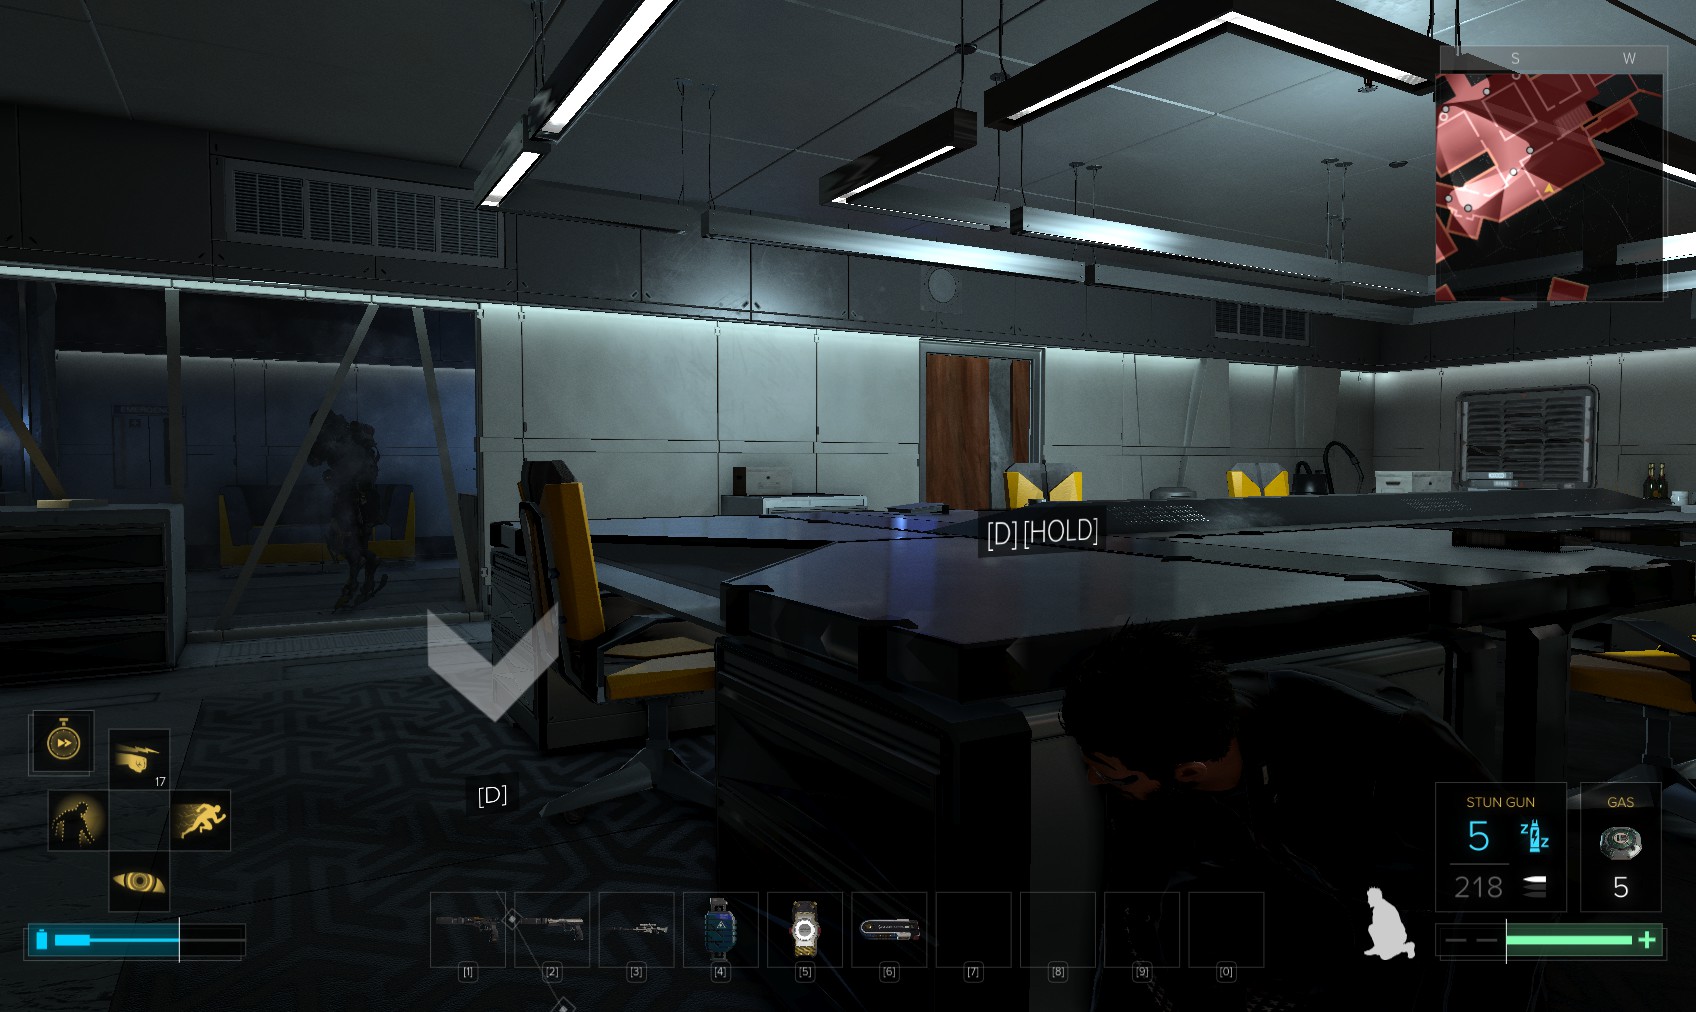
10. One of the goons is still prowling around. There’s a security console in the meeting room. Behind the vending machines, a vent. It’s a perfect combination.

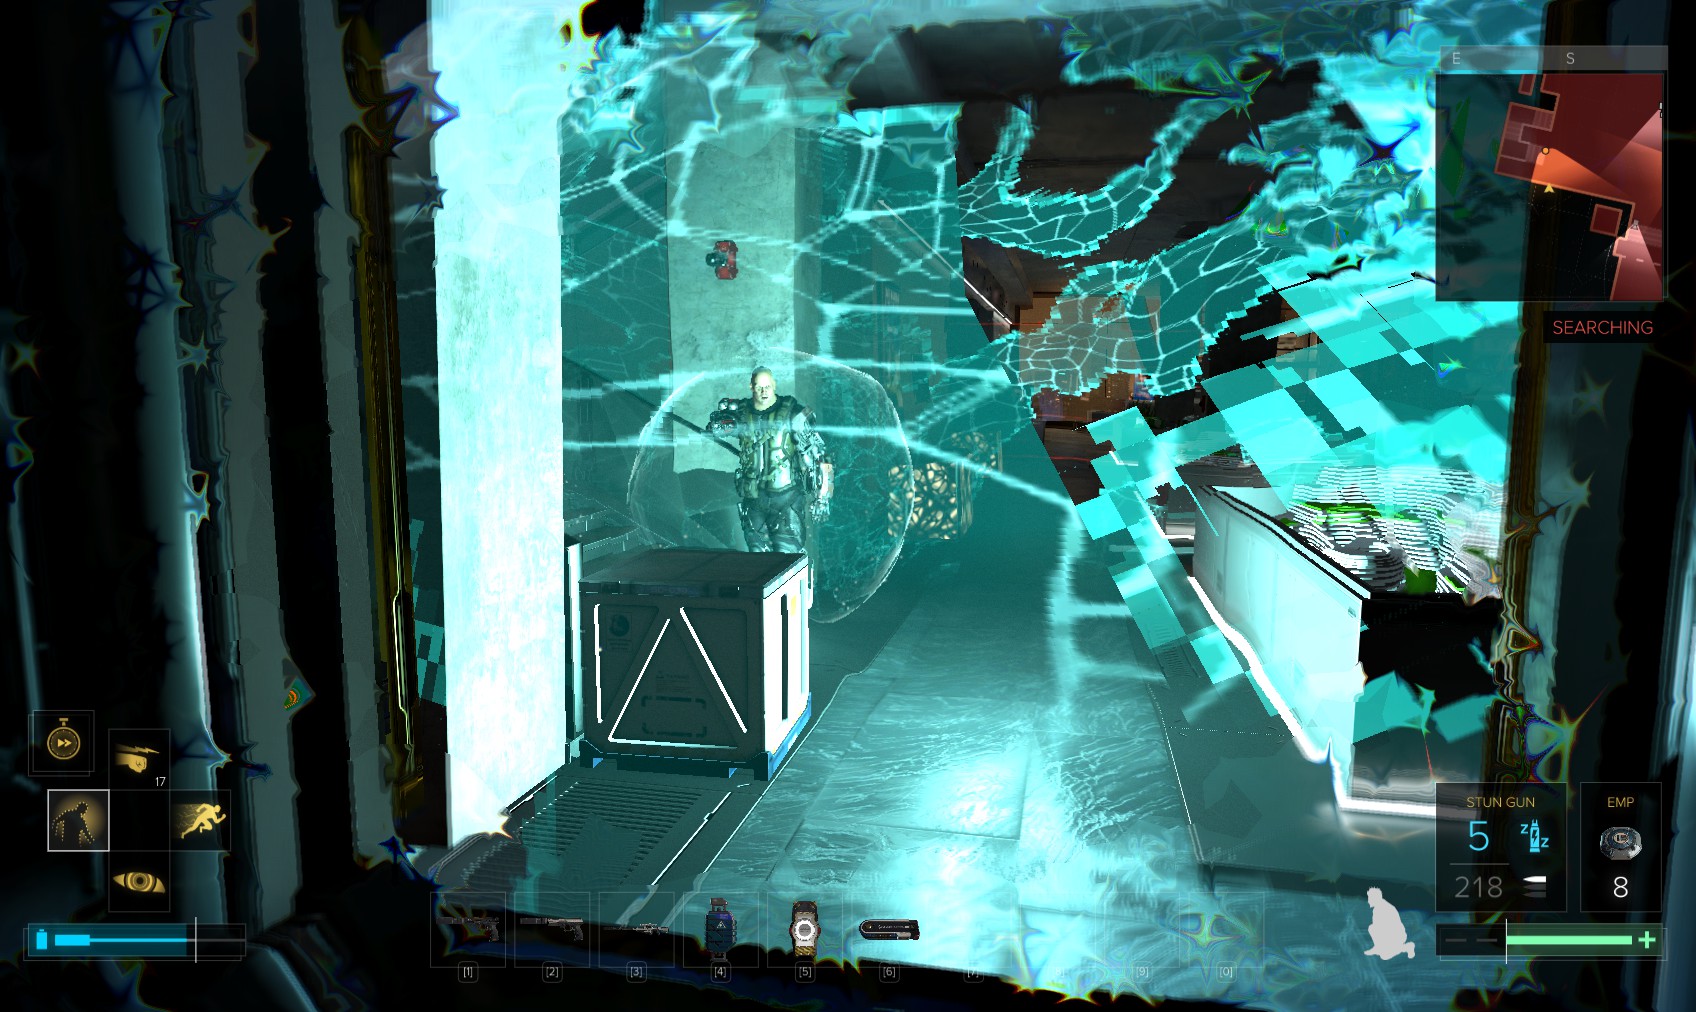
11. Enabling the EG Glass makes the guards suspicious so I hide until they calm down, then head back in. The security console is a level 4 (100XP). A nearby pocket secretary doesn’t have the password on it. Disable 4 cameras and a robot.
12. With the cameras out I decide to nip into the security booth. The level 1 door is easily hacked for a stop worm while the guard does his rounds.
13. Check out the eBook and the gold mask while also being careful of the guard.
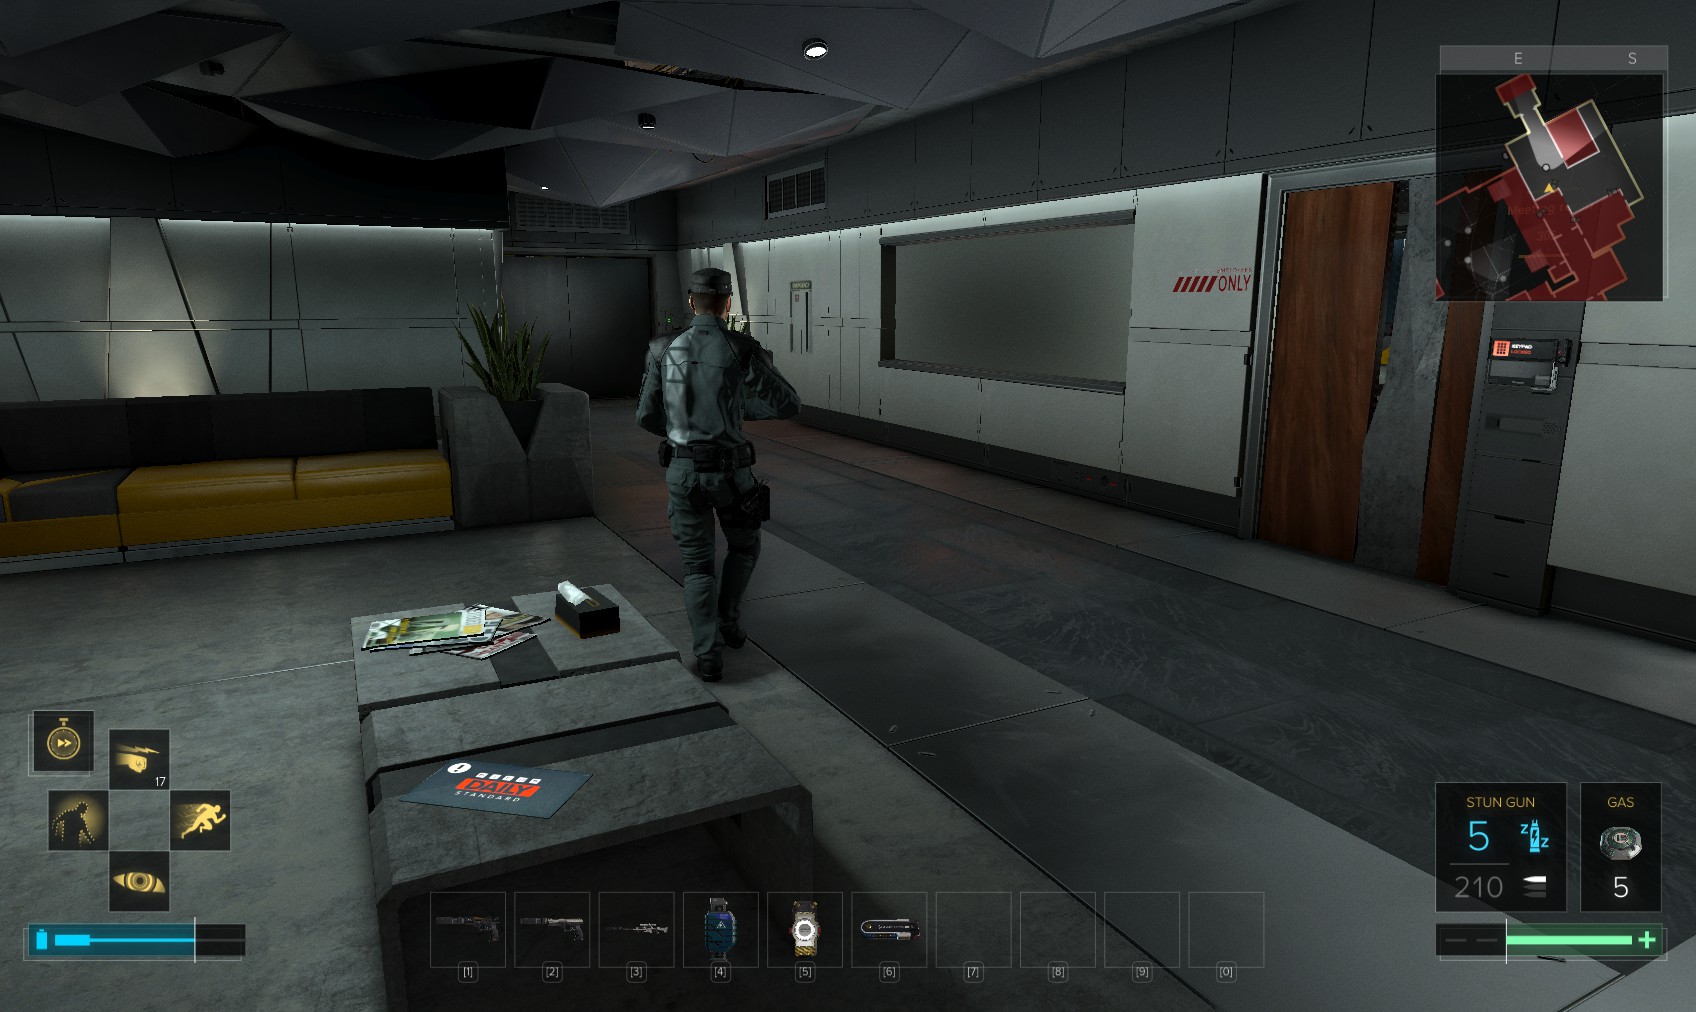
14. An unlocked PC has some background emails, and a weapons cabinet is also here. I head through the door.

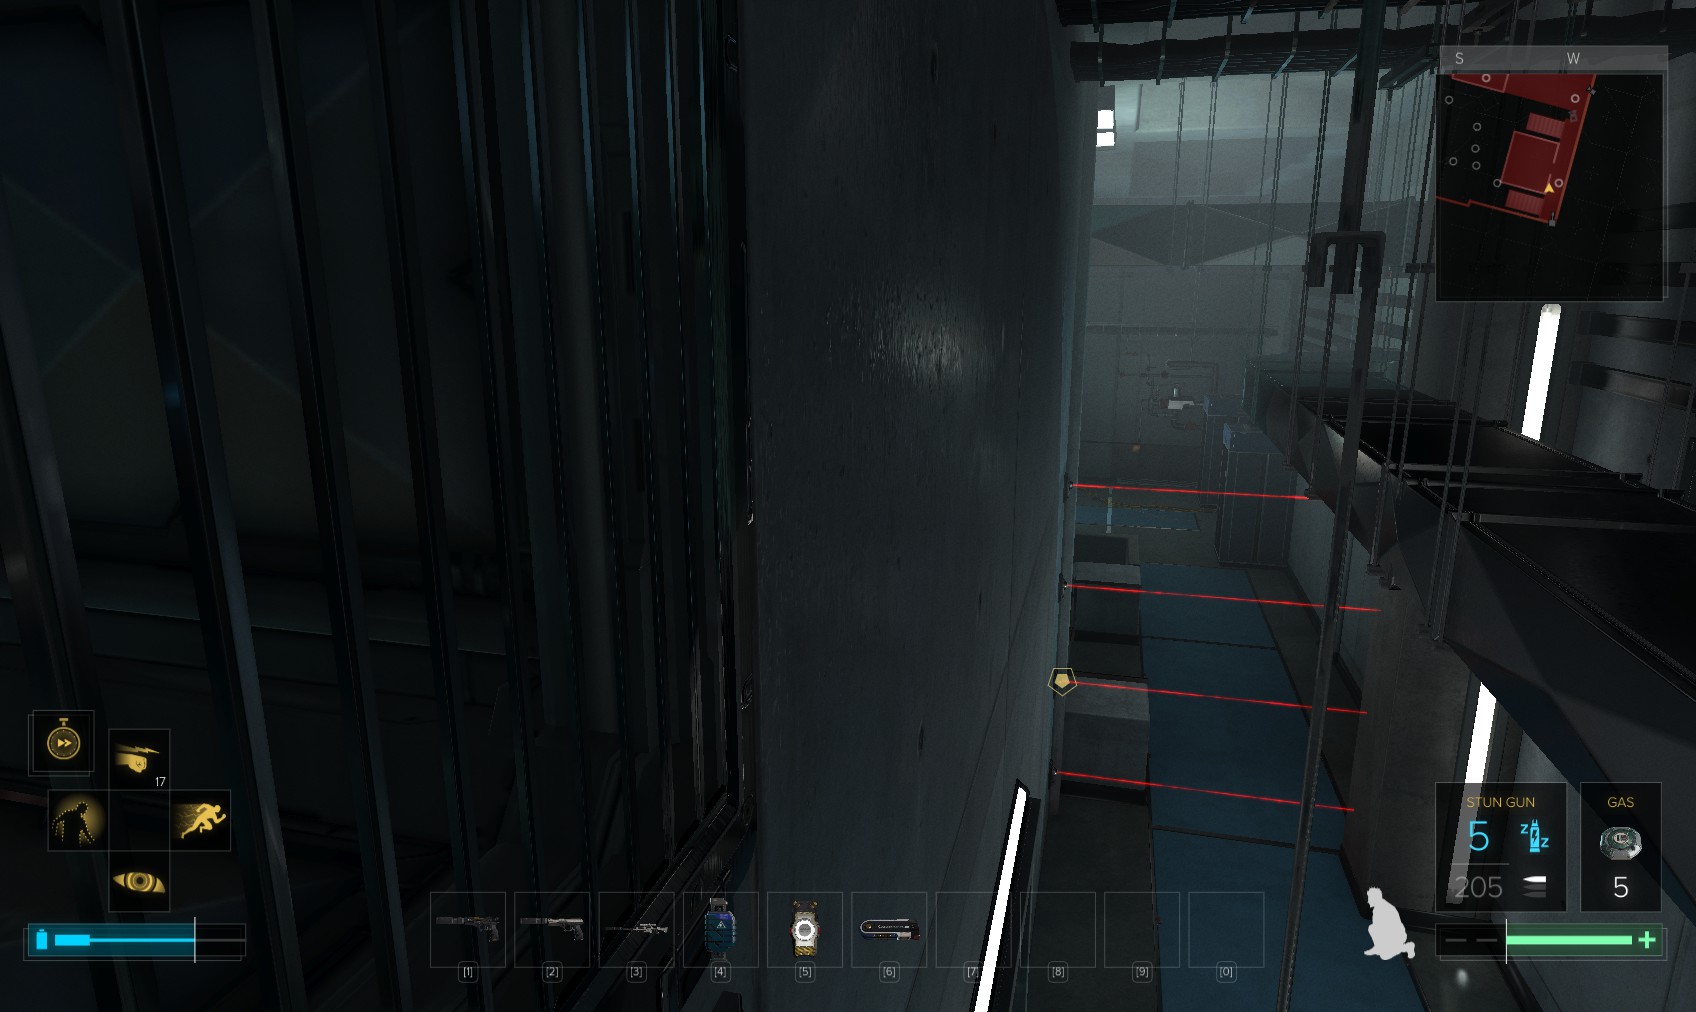
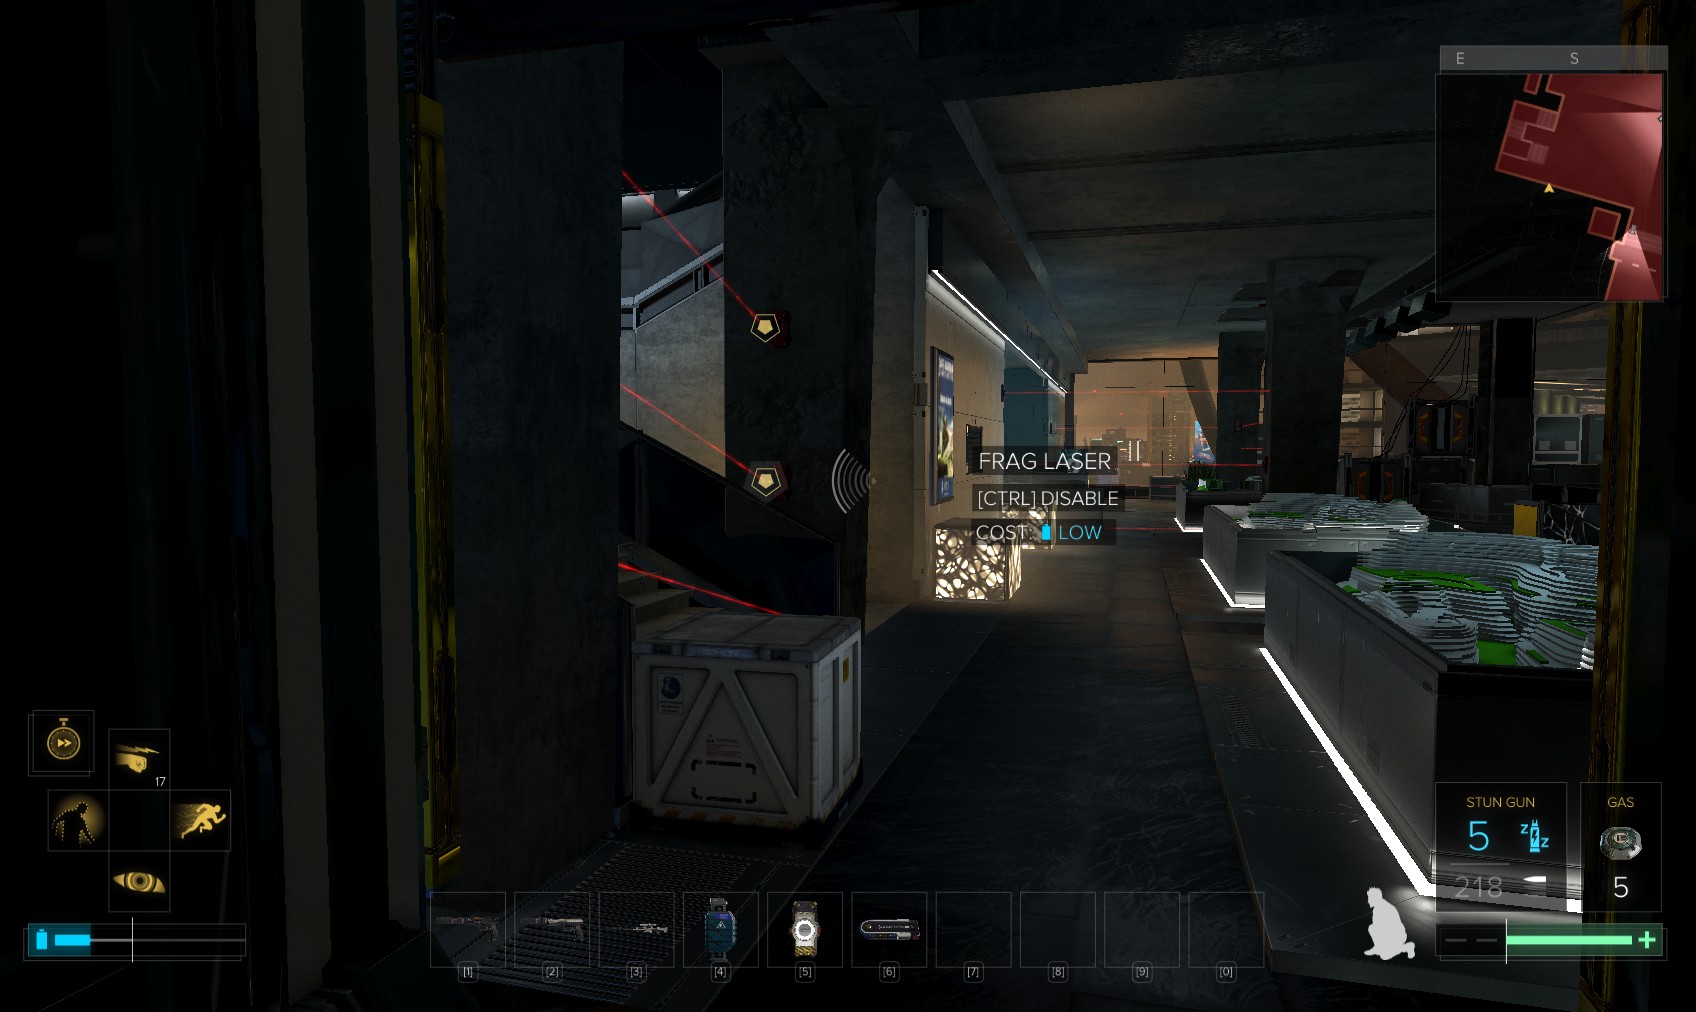
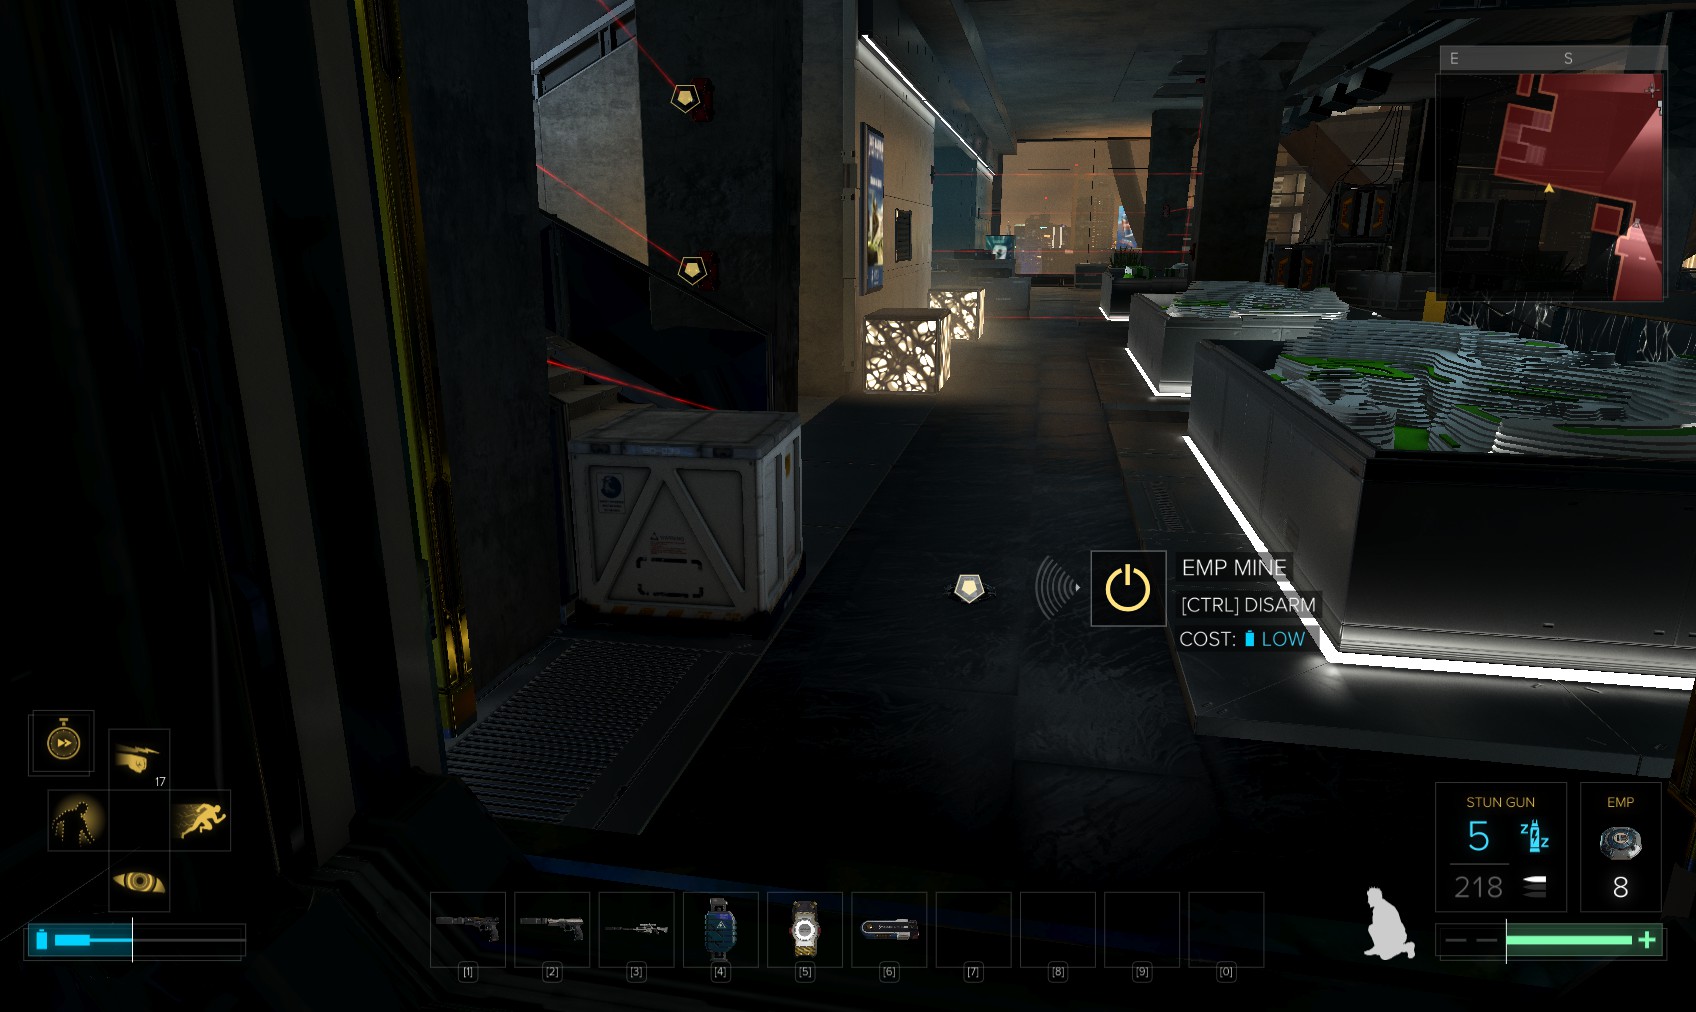
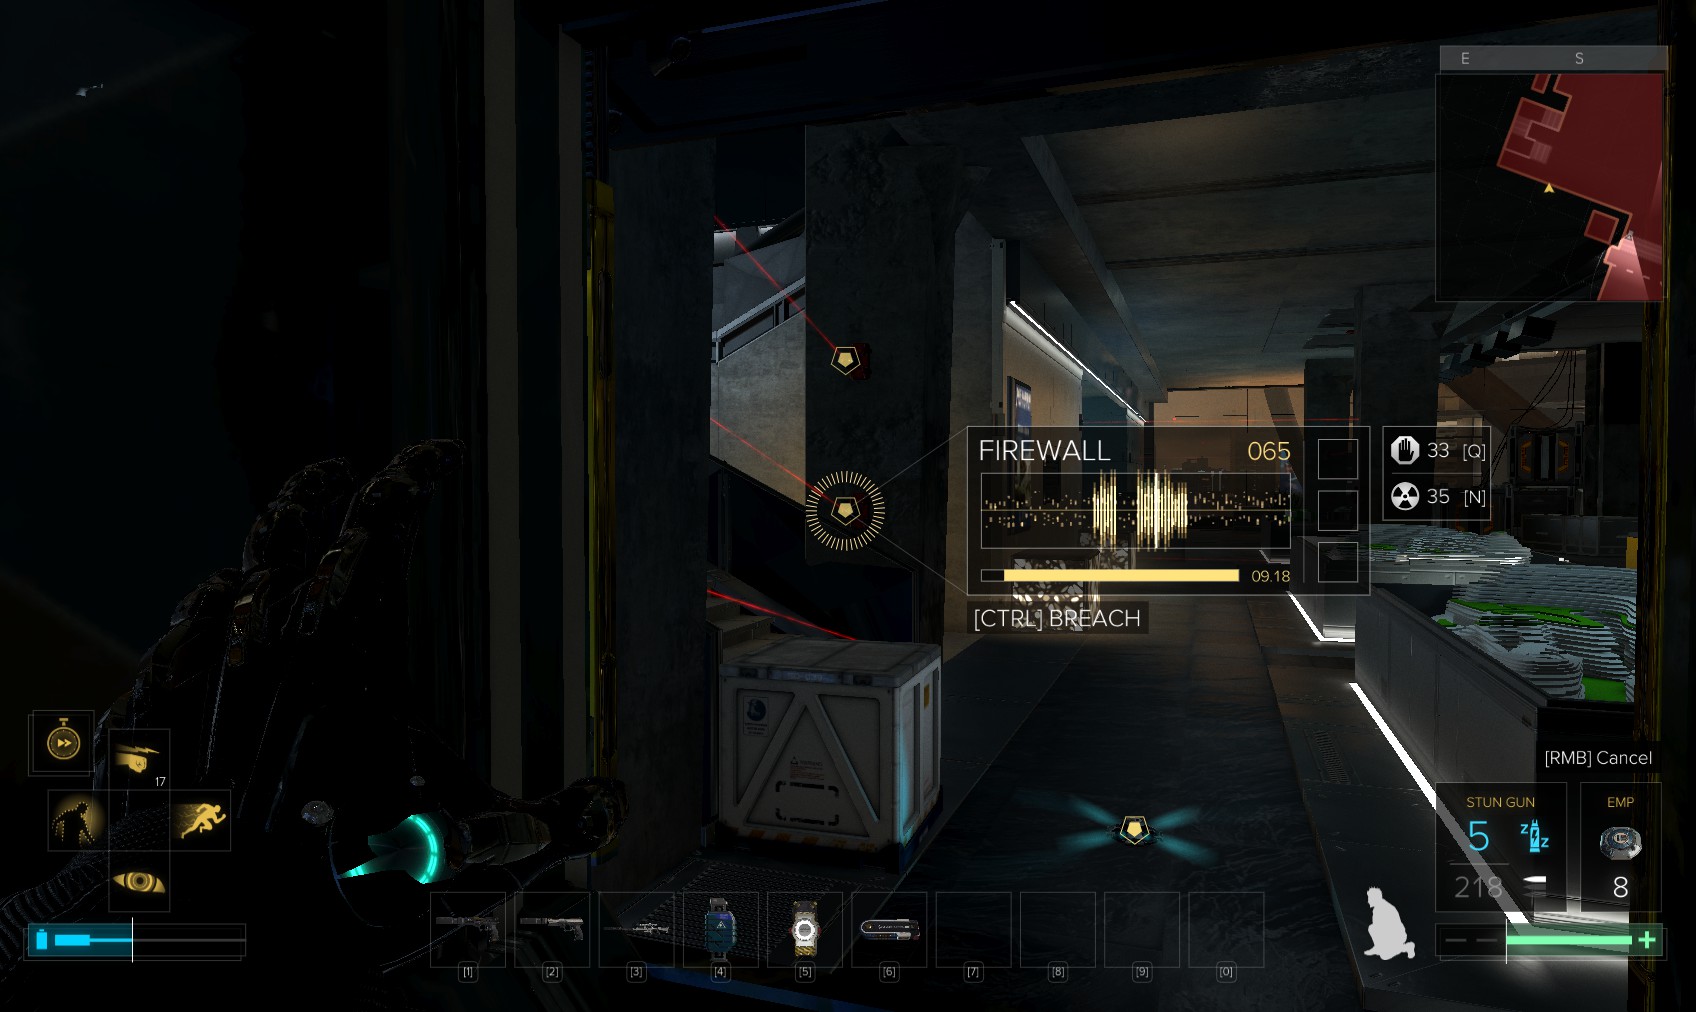
15. Minding the guards at the window, I head left and disable the lasers. Beyond this door is a locked door (level 4 for reveal software) into a room confirming that security has been compromised.
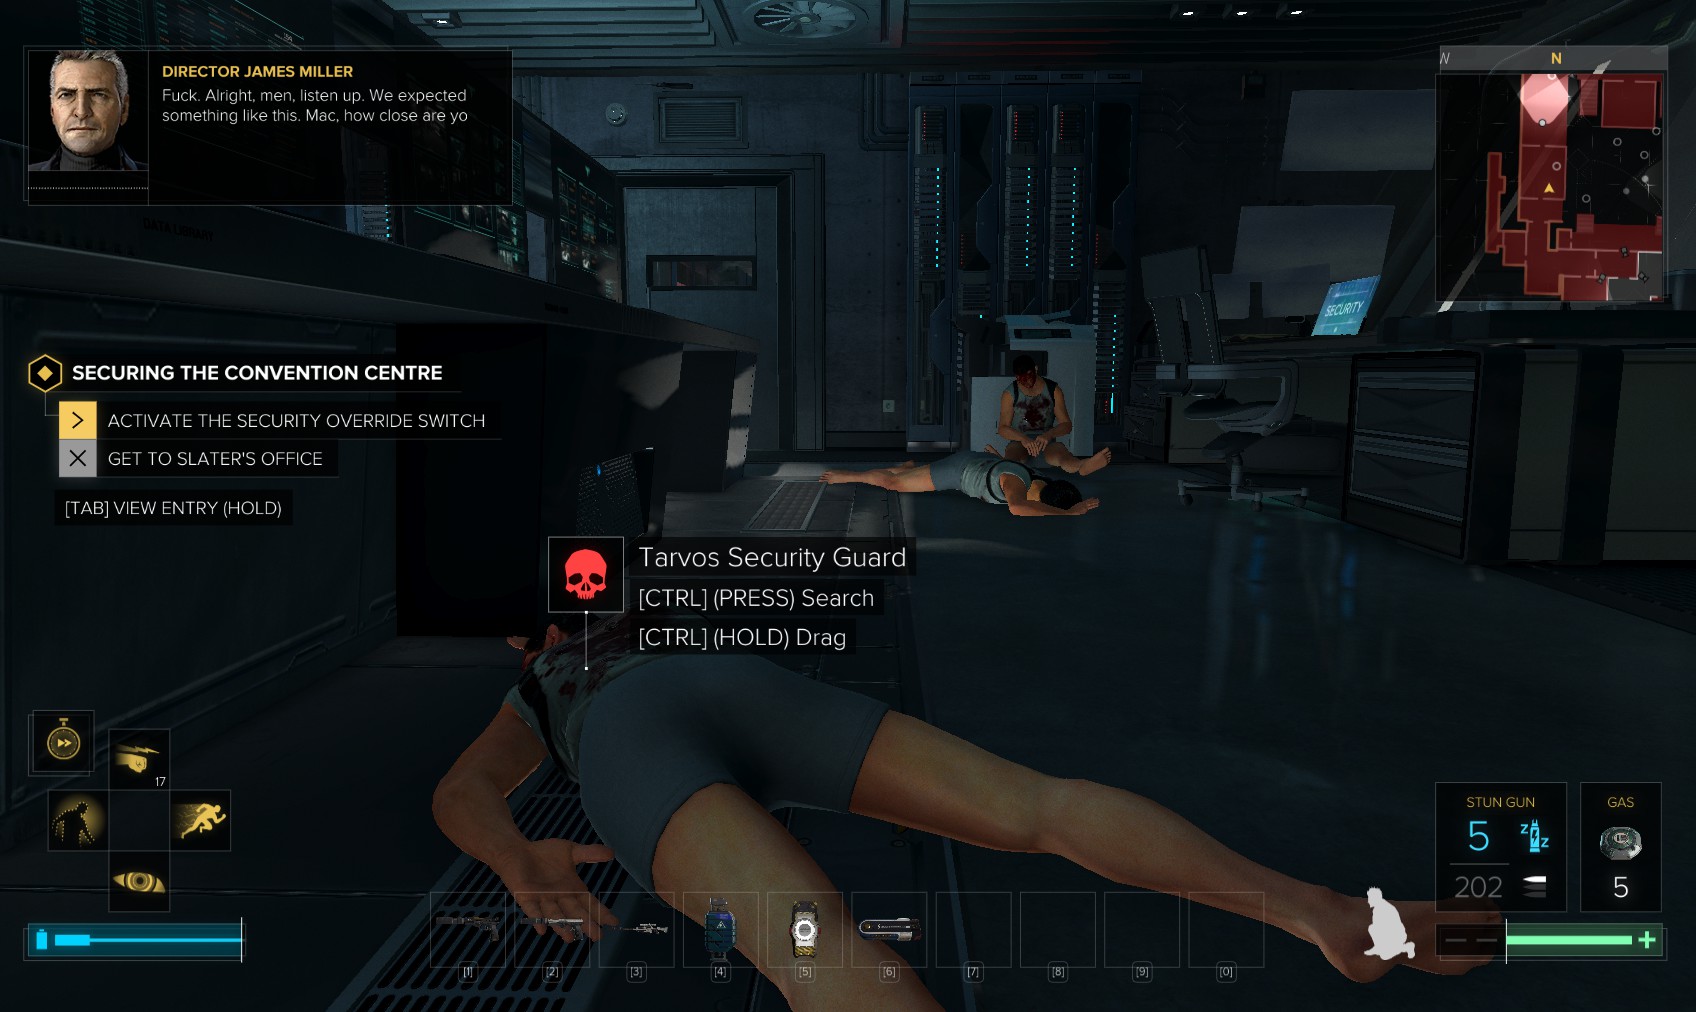
16. Search the bodies for ammo, the weapons cabinet for weapons, and behind an exercise ball for hacking software. The security console is level 4 and yields a stop worm, datascan software and 100XP. Disable 2 cameras and a turret.
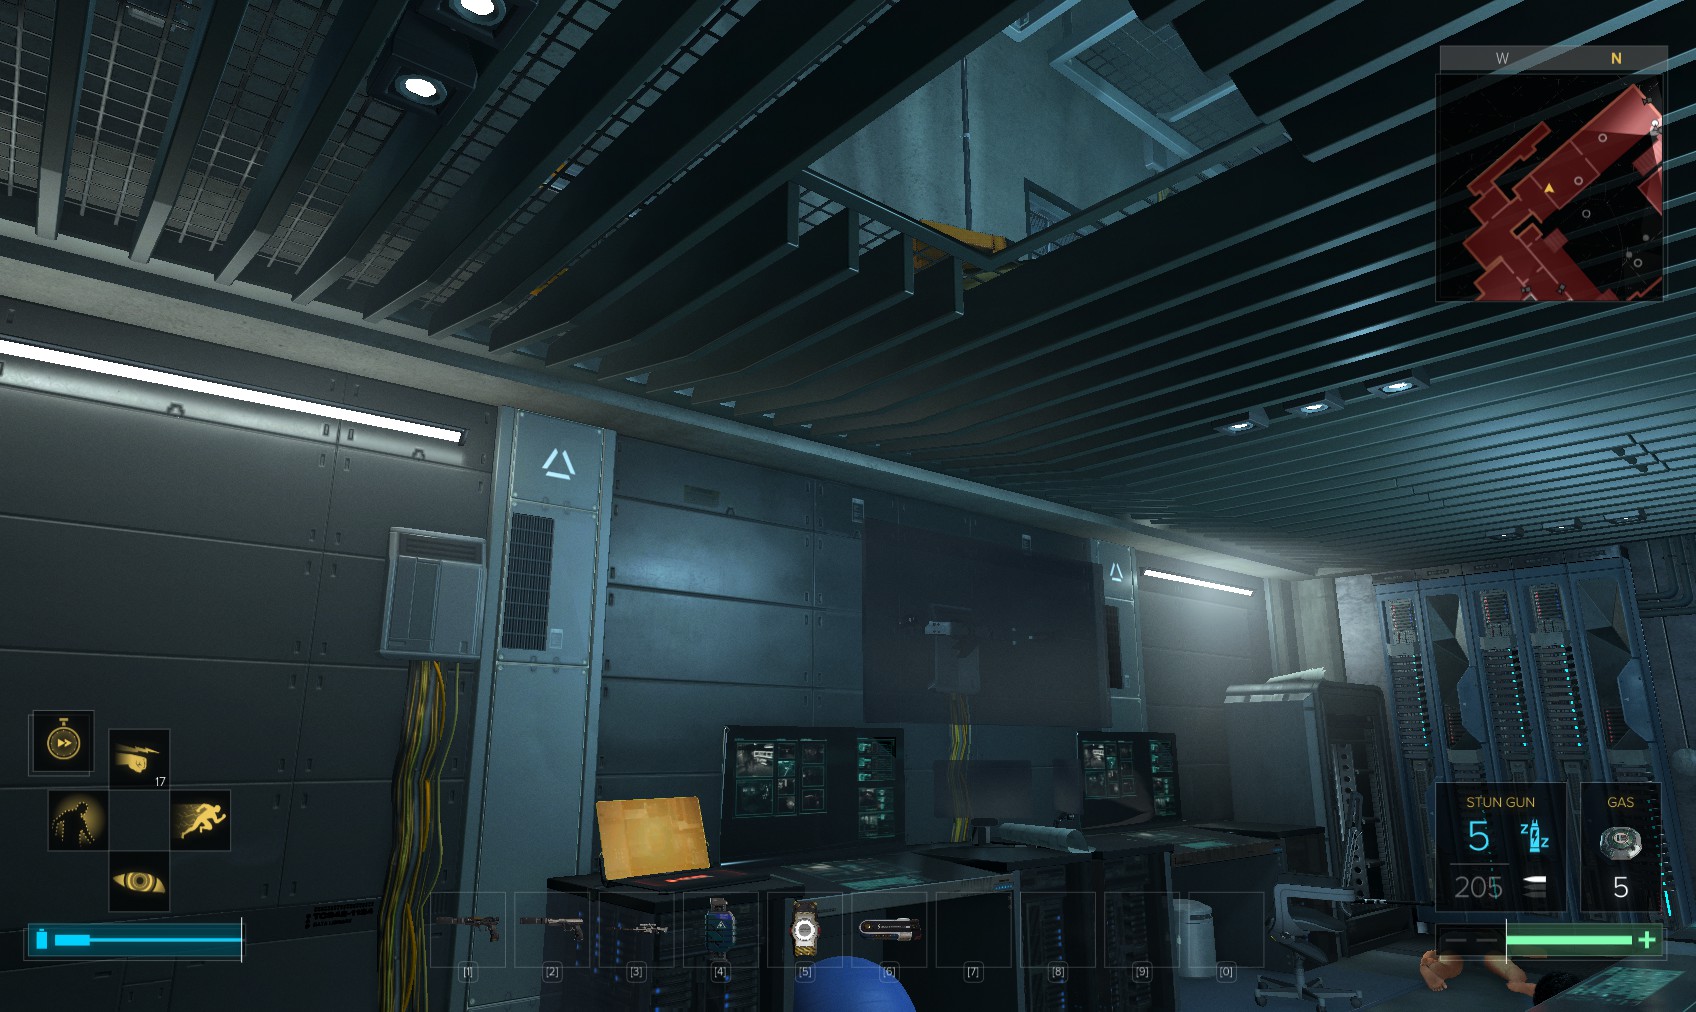
17. Hack the level 1 laptop for 65XP and some background emails before jumping to the ceiling for a 300XP bonus.
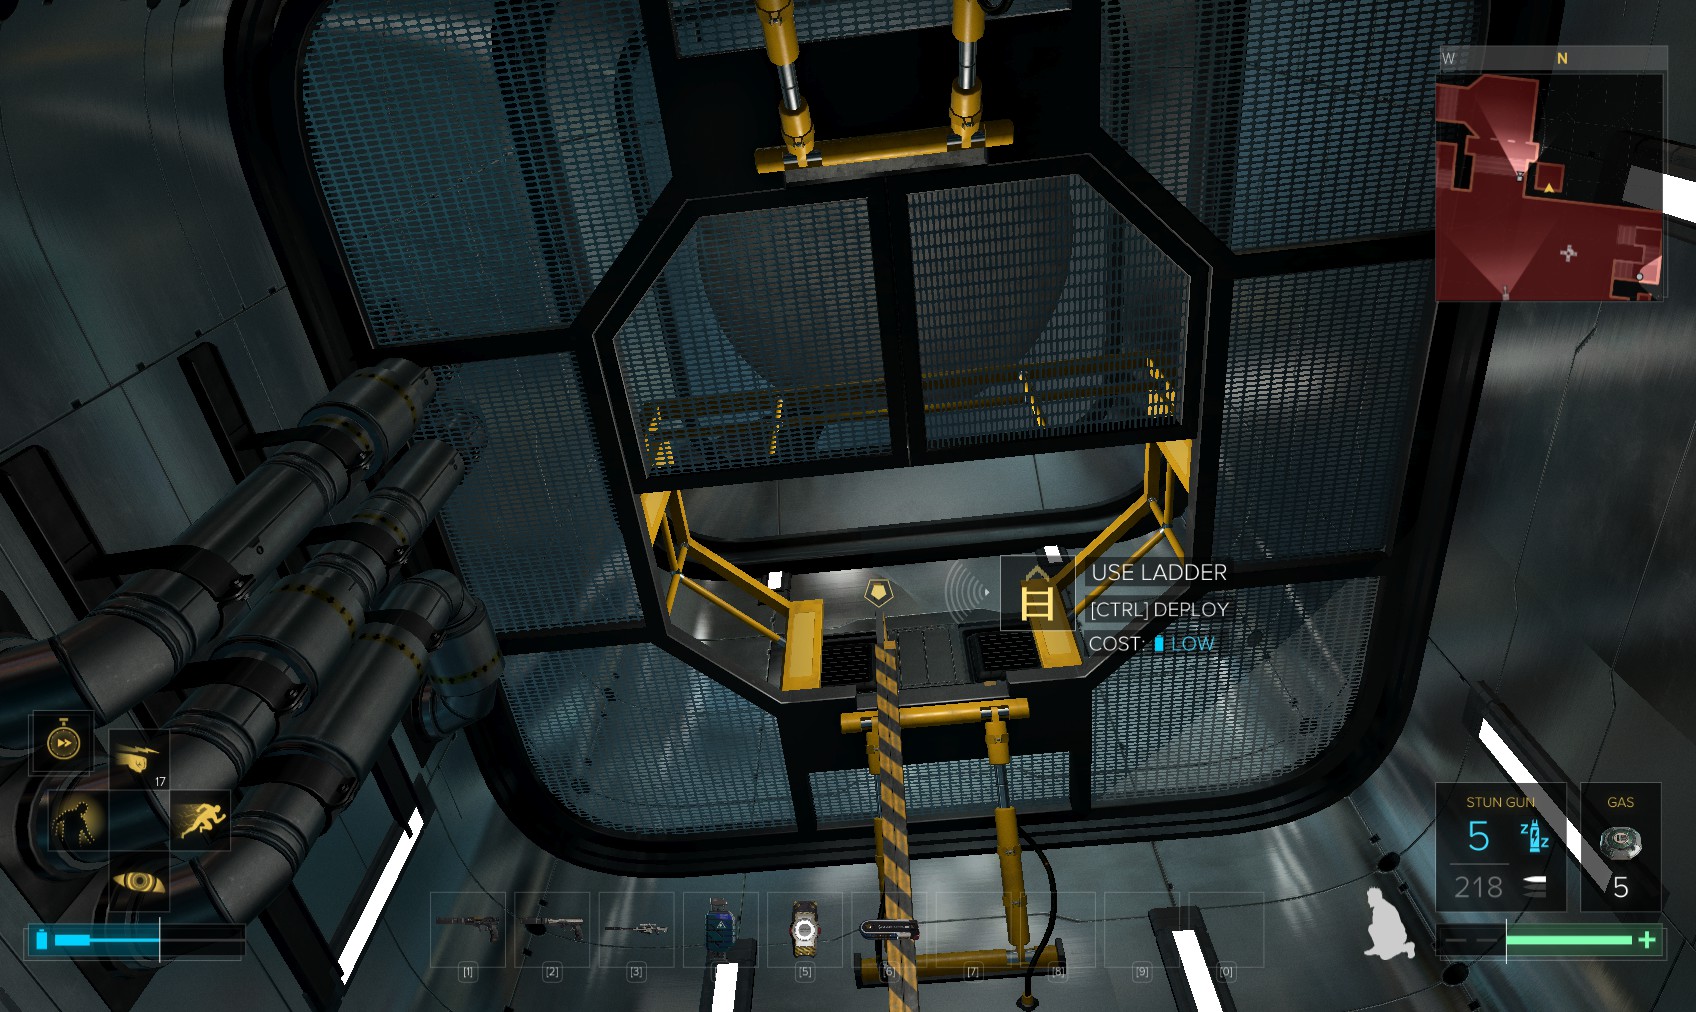
18. There are 2 vents up here. Slip through the one to the West nearest the gap in the ceiling. Inside, use the button to disable the fan. Drop down the other side for a 300XP pathfinder bonus.
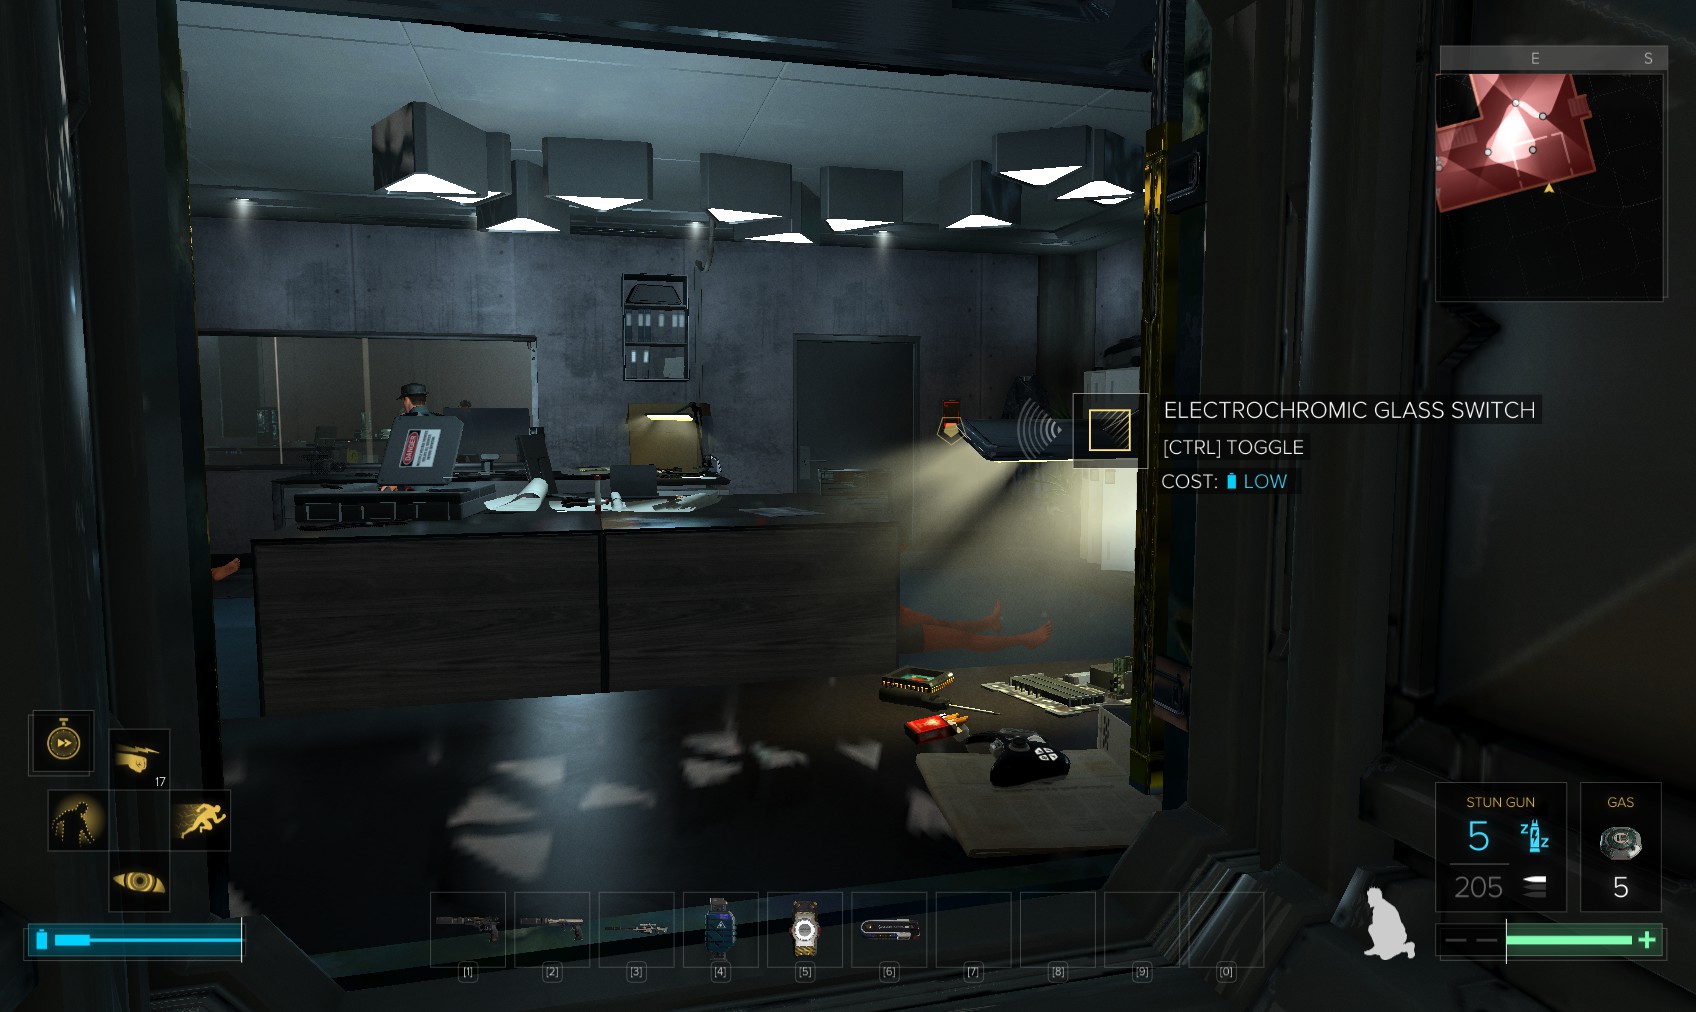
19. You will land near another vent (there is also a weakened wall further along). Go in the vent, and enable the EG Glass.
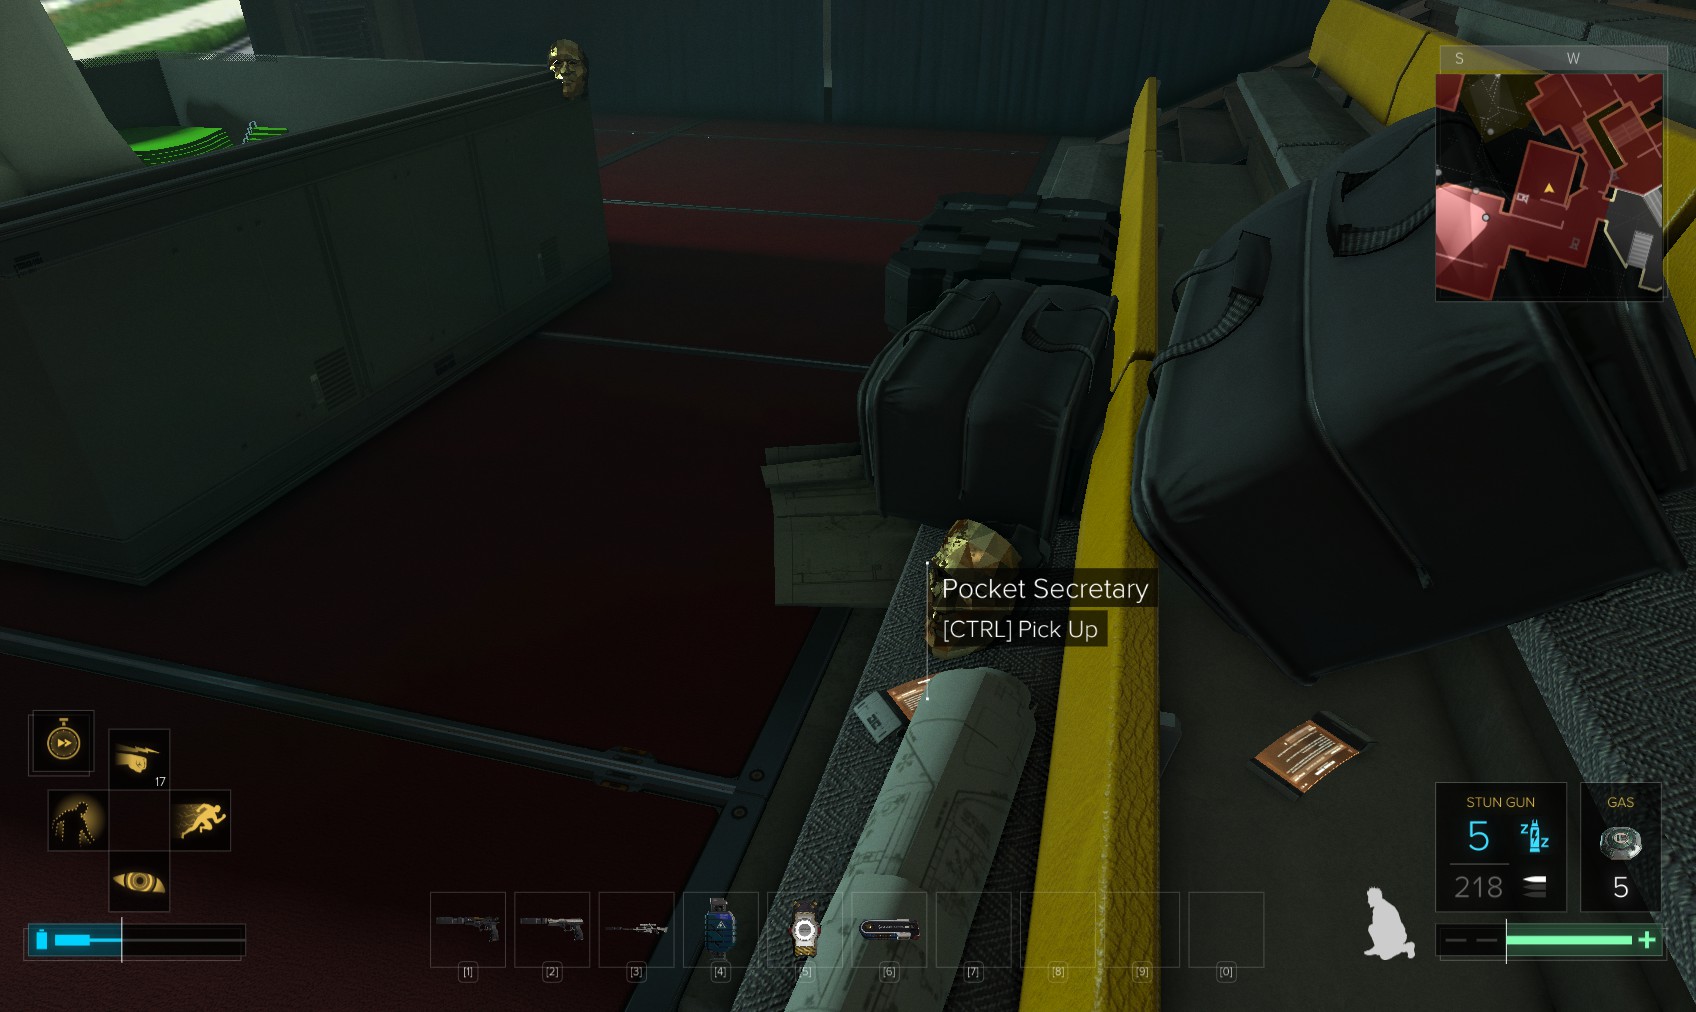
20. More bodies of real security staff are in here. Nab this pocket secretary that still doesn’t reveal Maxim’s password. Hunt around for ammo, hacking tools, a biocell and an EMP grenade. Raid the cabinets too (you might need to cloak after breaking a lock).
21. Go back through this vent.
22. Climb all the way back up to the fan and the ceiling, we’ll try the other vent.
23. Exit another vent and move round to the left above the server room. Climb up onto the ducting.
24. You can get over the other side if you’re carefull. That office straight ahead is our target.
25. Drop to a lower duct over the laser array to this vent and go through for another 300XP pathfinder.
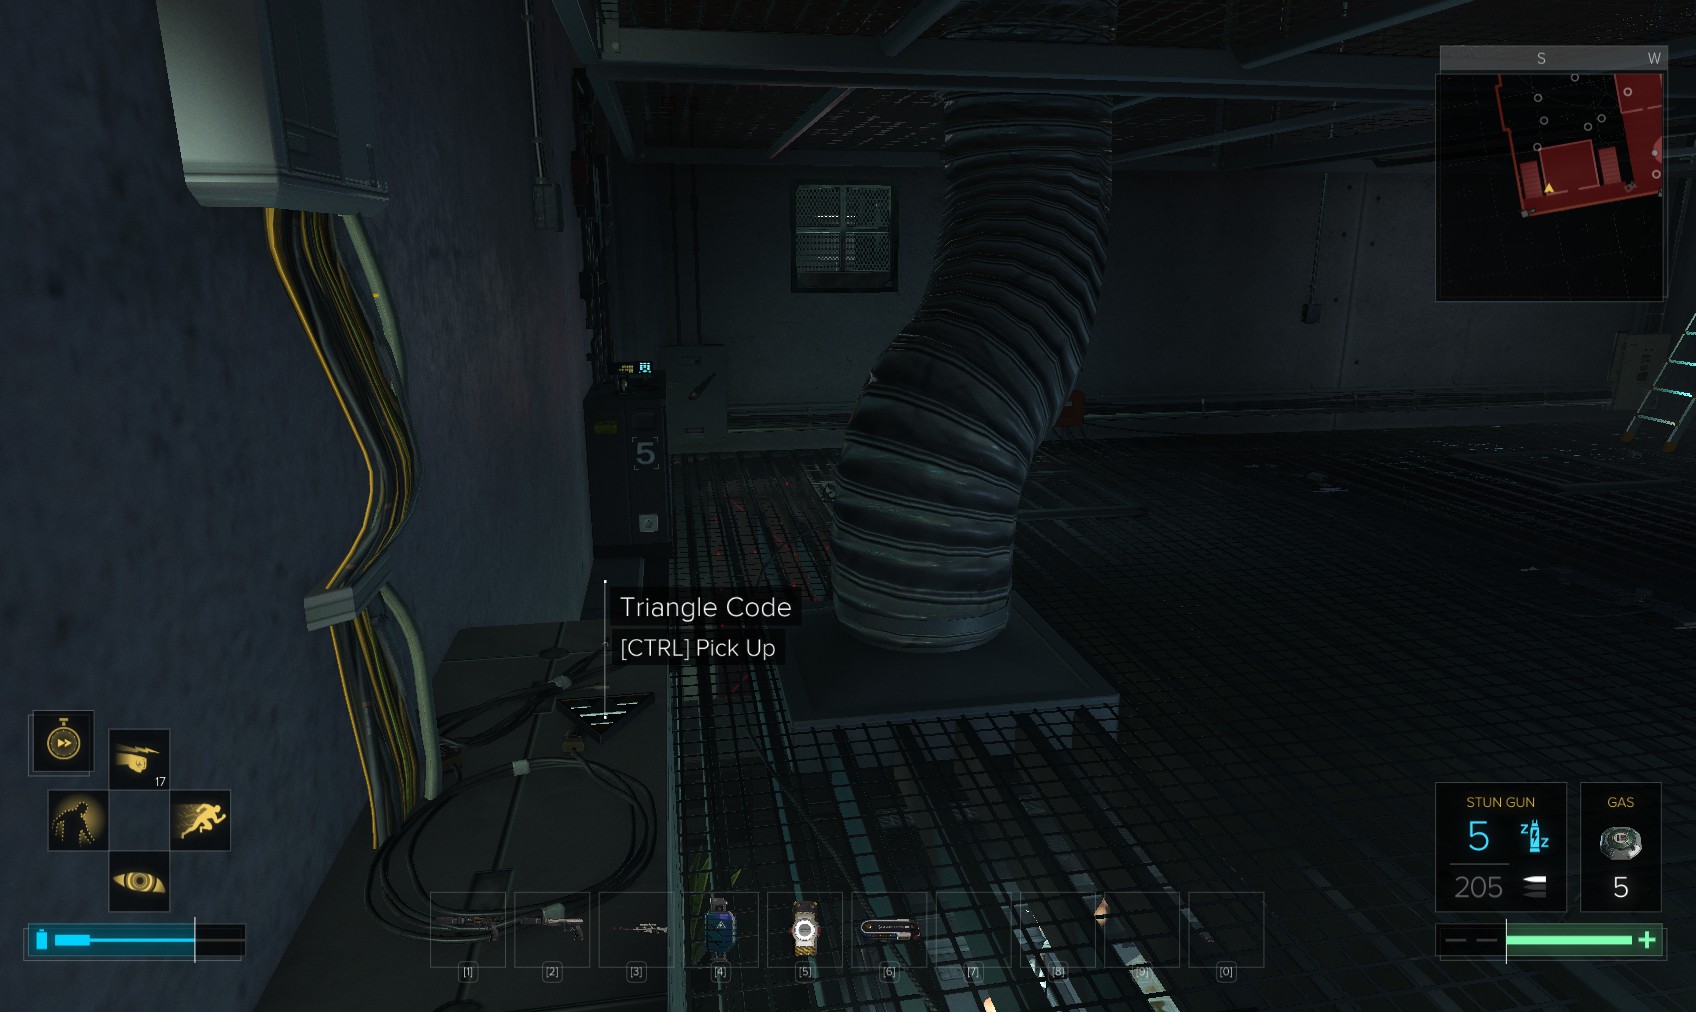
26. Grab the Triangle Code and drop down through another ceiling gap. The other vent up here leads over the main security floor.
27. Hunt around for hacking tools, money and ammo.
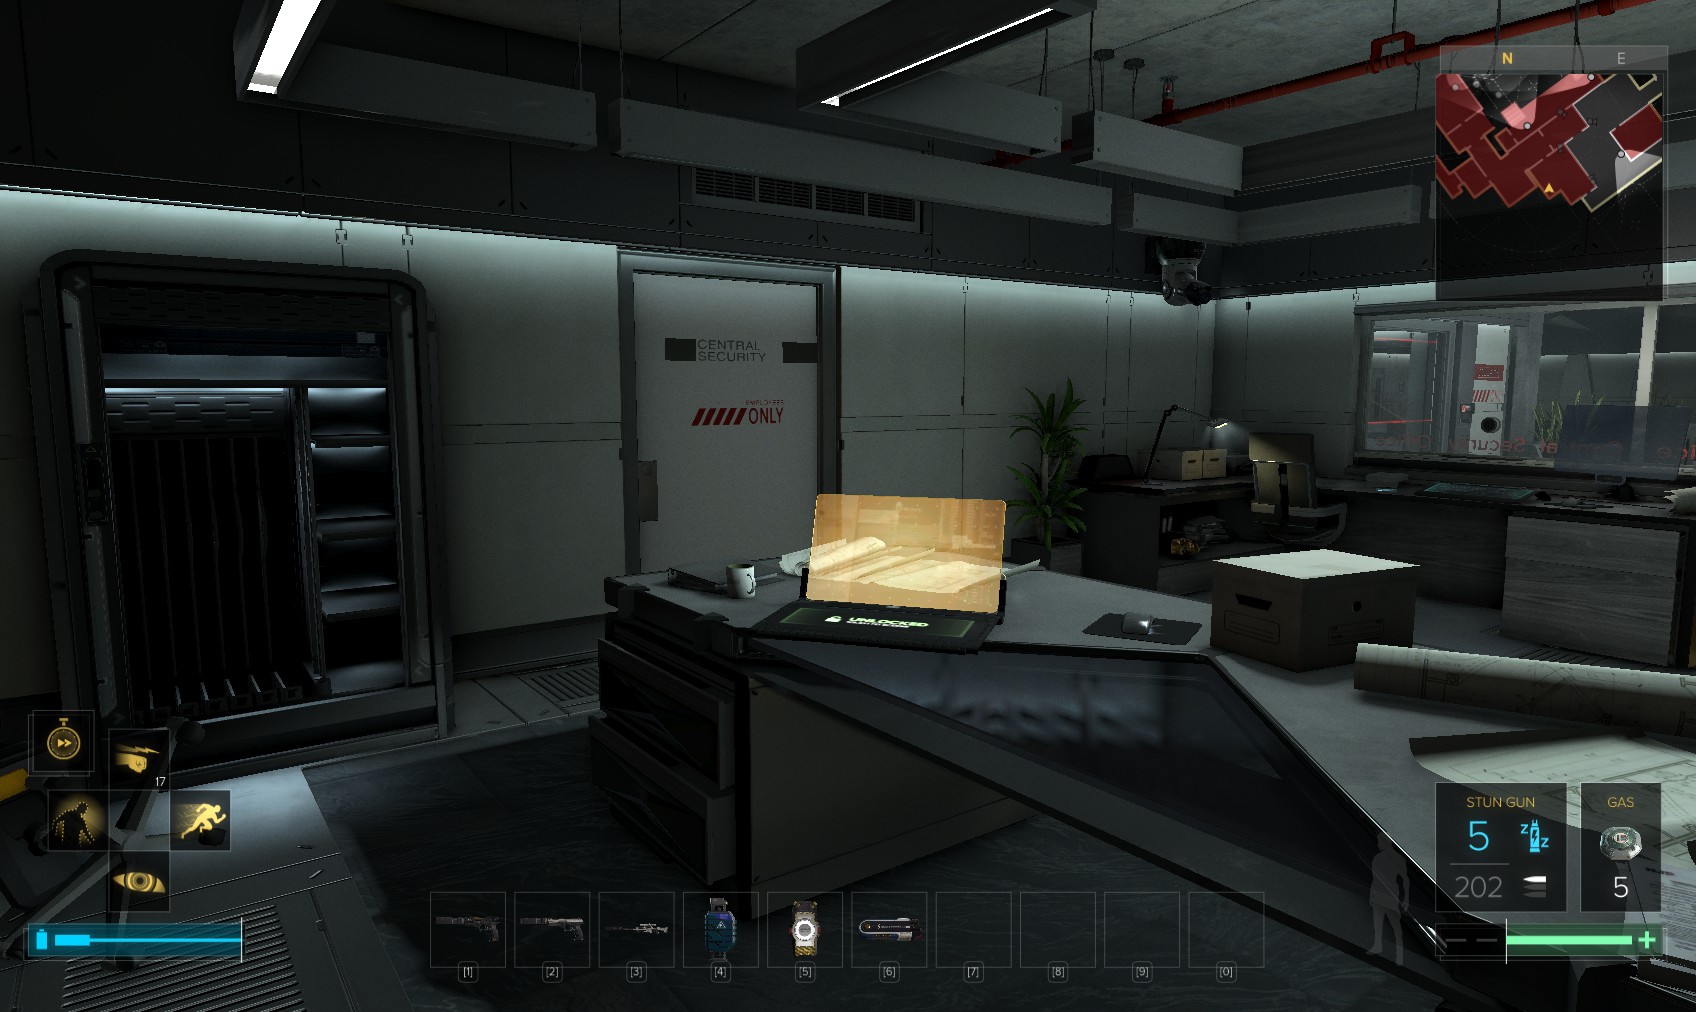
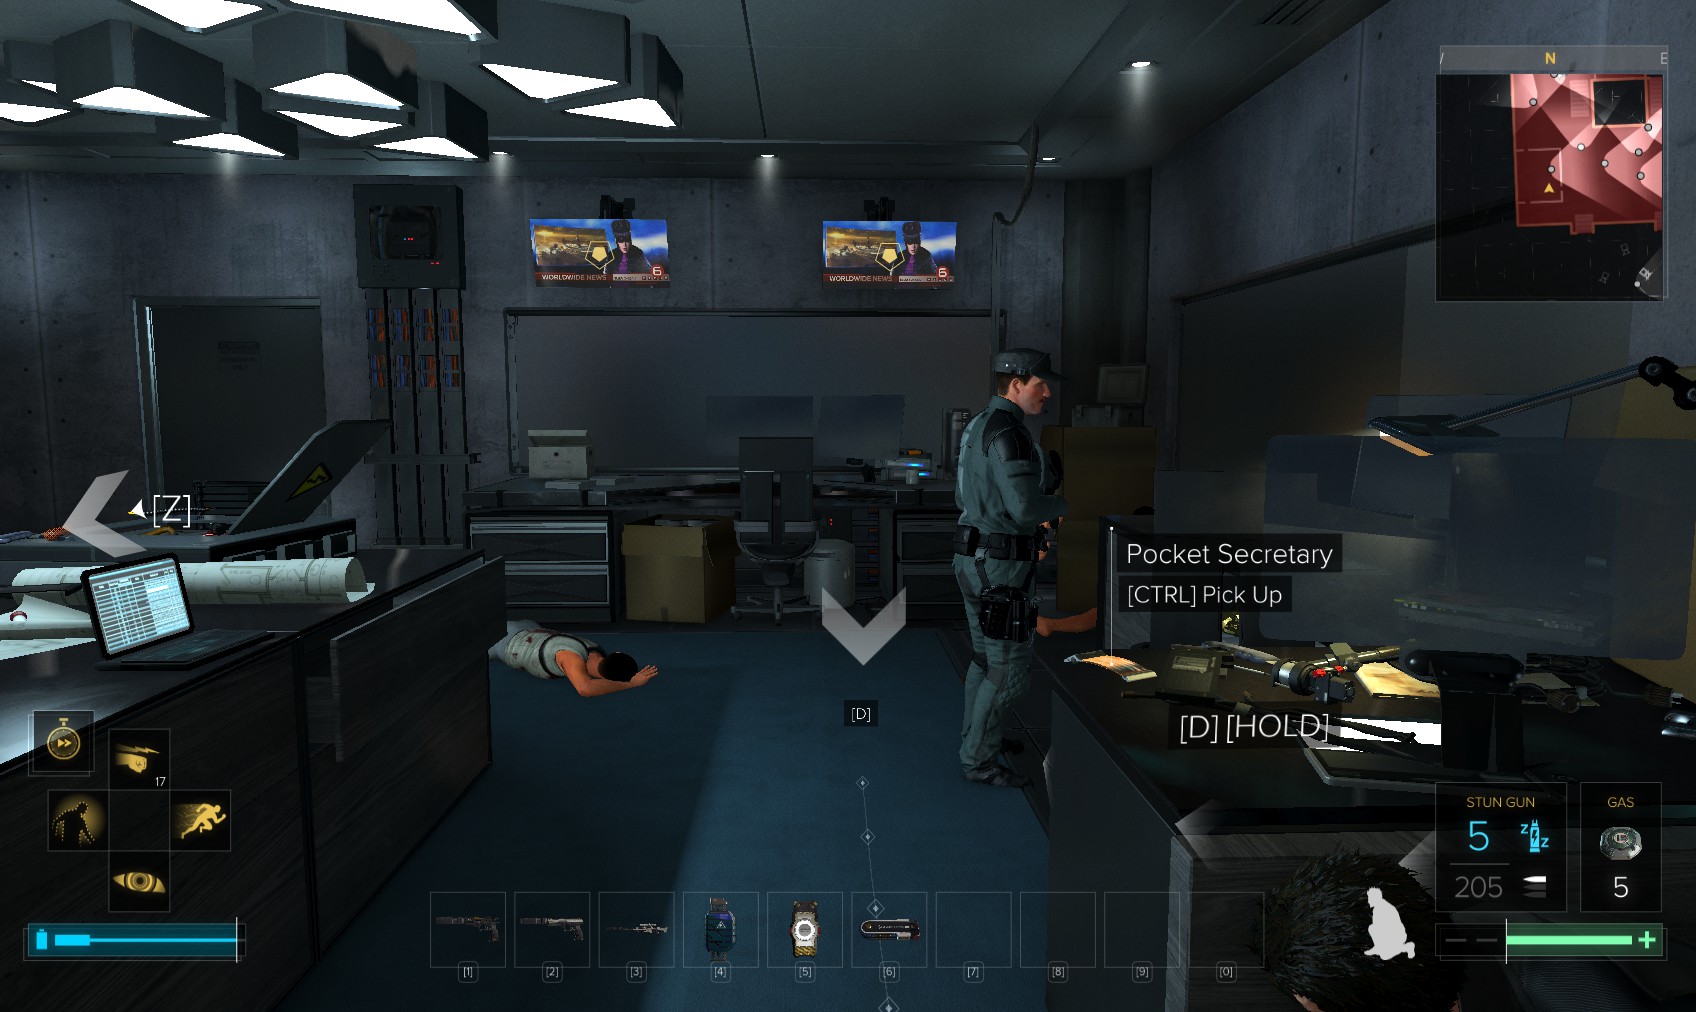
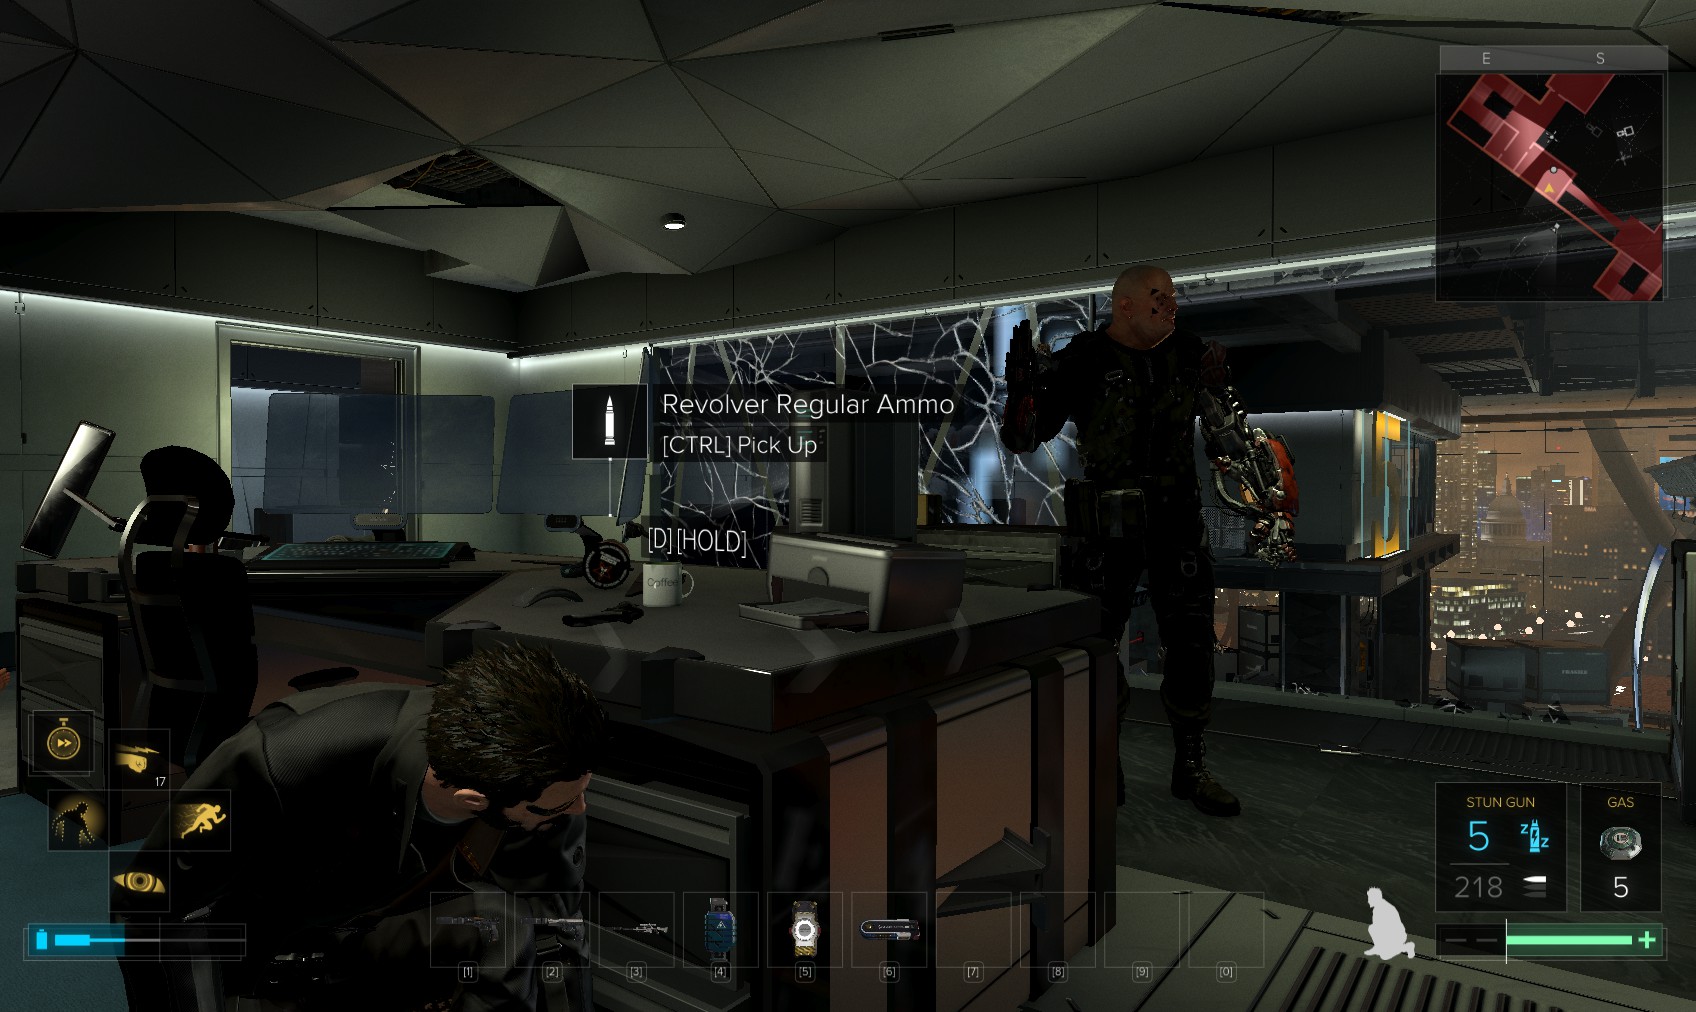
28. The weapons case contains another devastator shotgun. Slater’s unlocked PC ha the code 5359 for the security override switch, which is a level 1 hack for nuke and datascan software. Use the code for more XP if you prefer.
29. That’s one part done. As you watch, it becomes clear that the reception area is filled with Marchenko’s people too. You get a new mission to find a way into another secure area.
30. Return to this room (the way you came over ducting in the ceiling, or around the servers, up to you).
31. Then leave via this door and head into the vent.
32. Raid the case for a biocell. The vent along the hallway leads back to the security console in the meeting room.
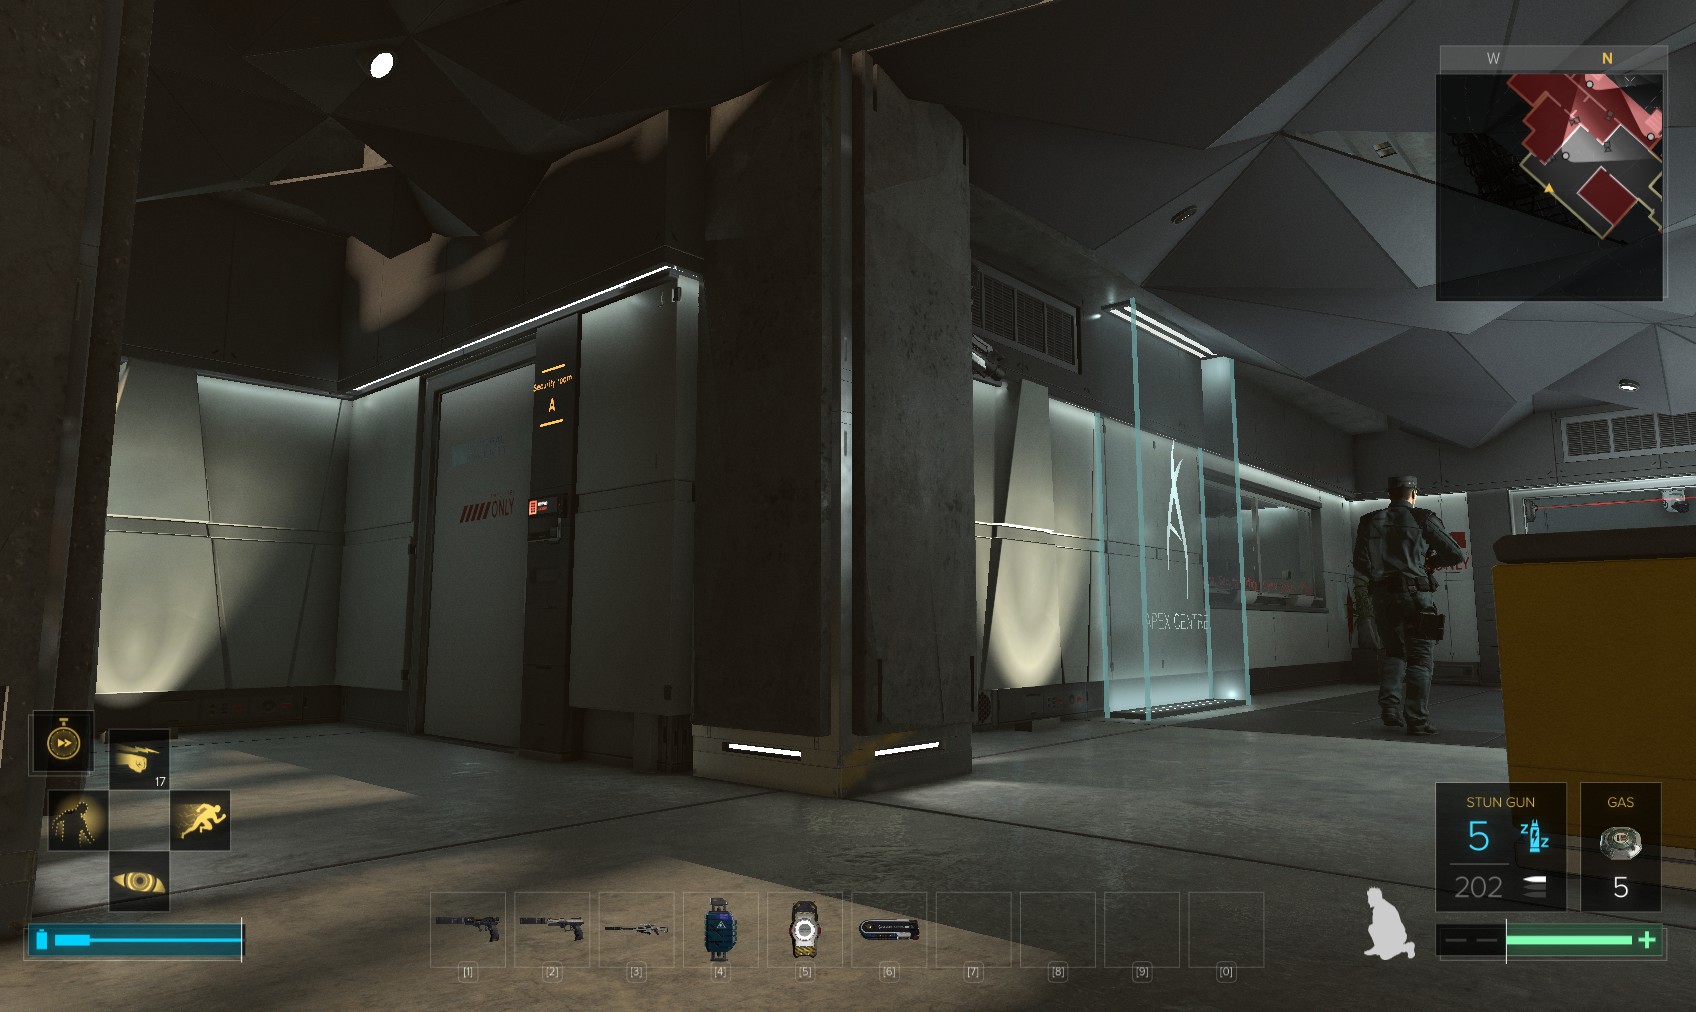
33. Head back to here - the elevator you came down in from the roof. This is not hostile territory and this guard will ignore you. Take the lift down to reception.
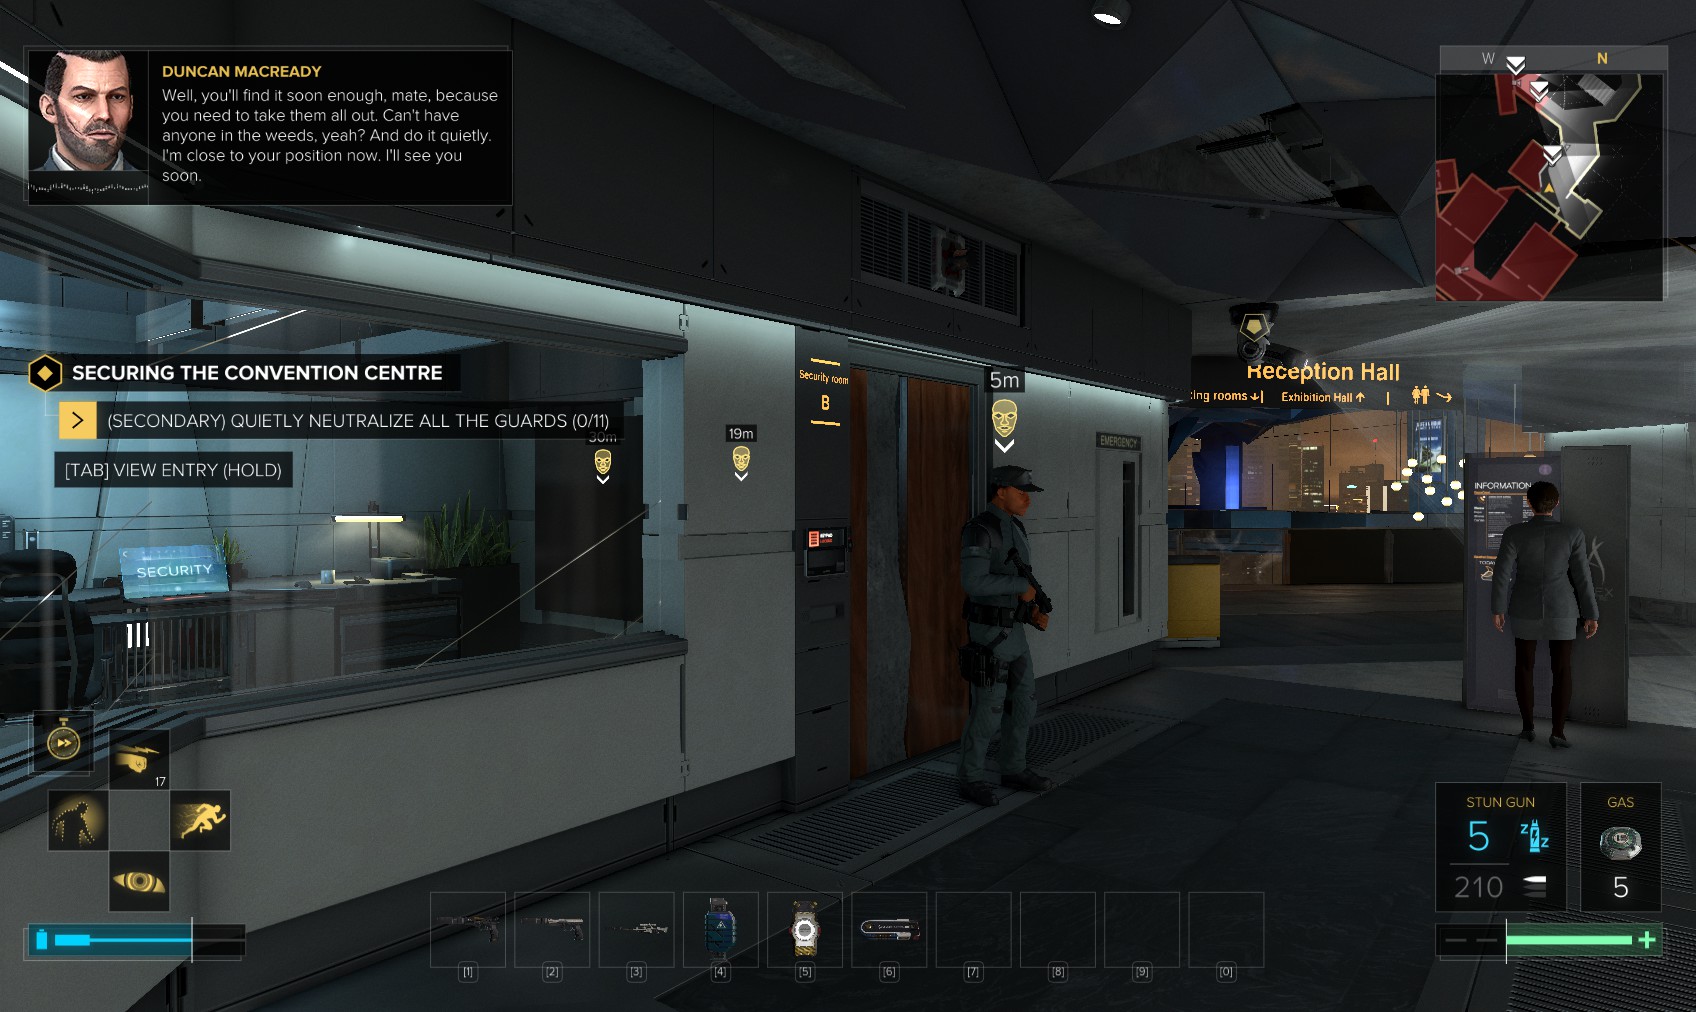
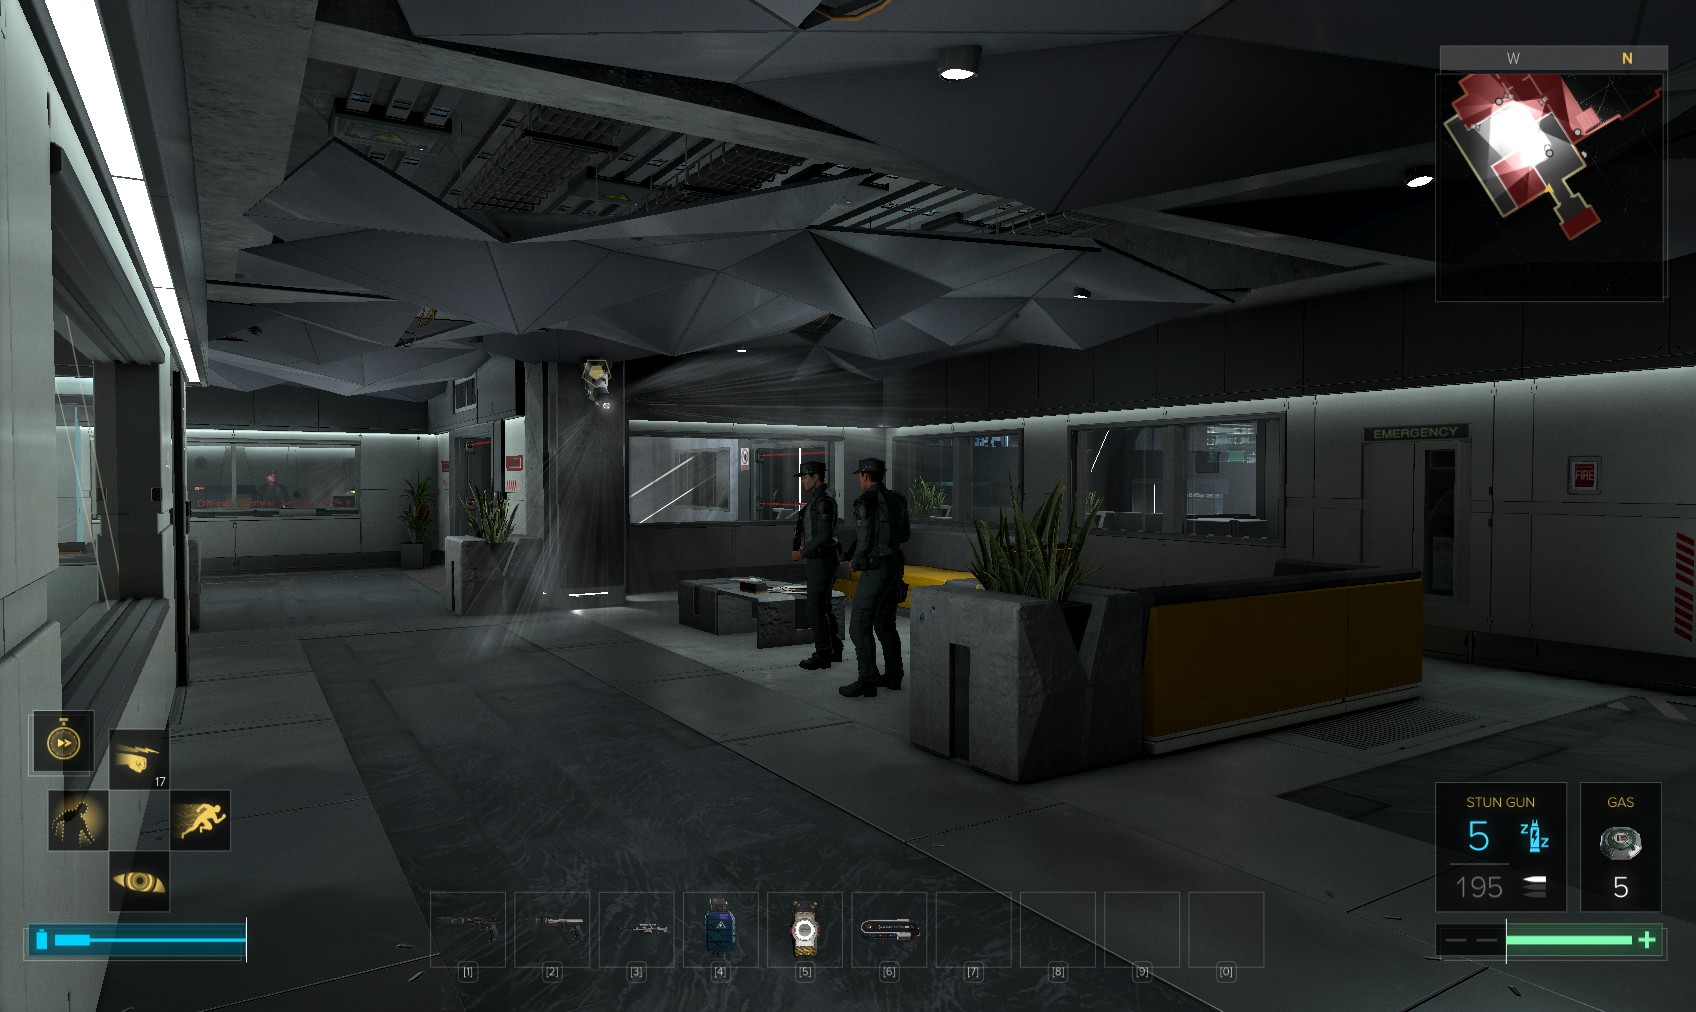
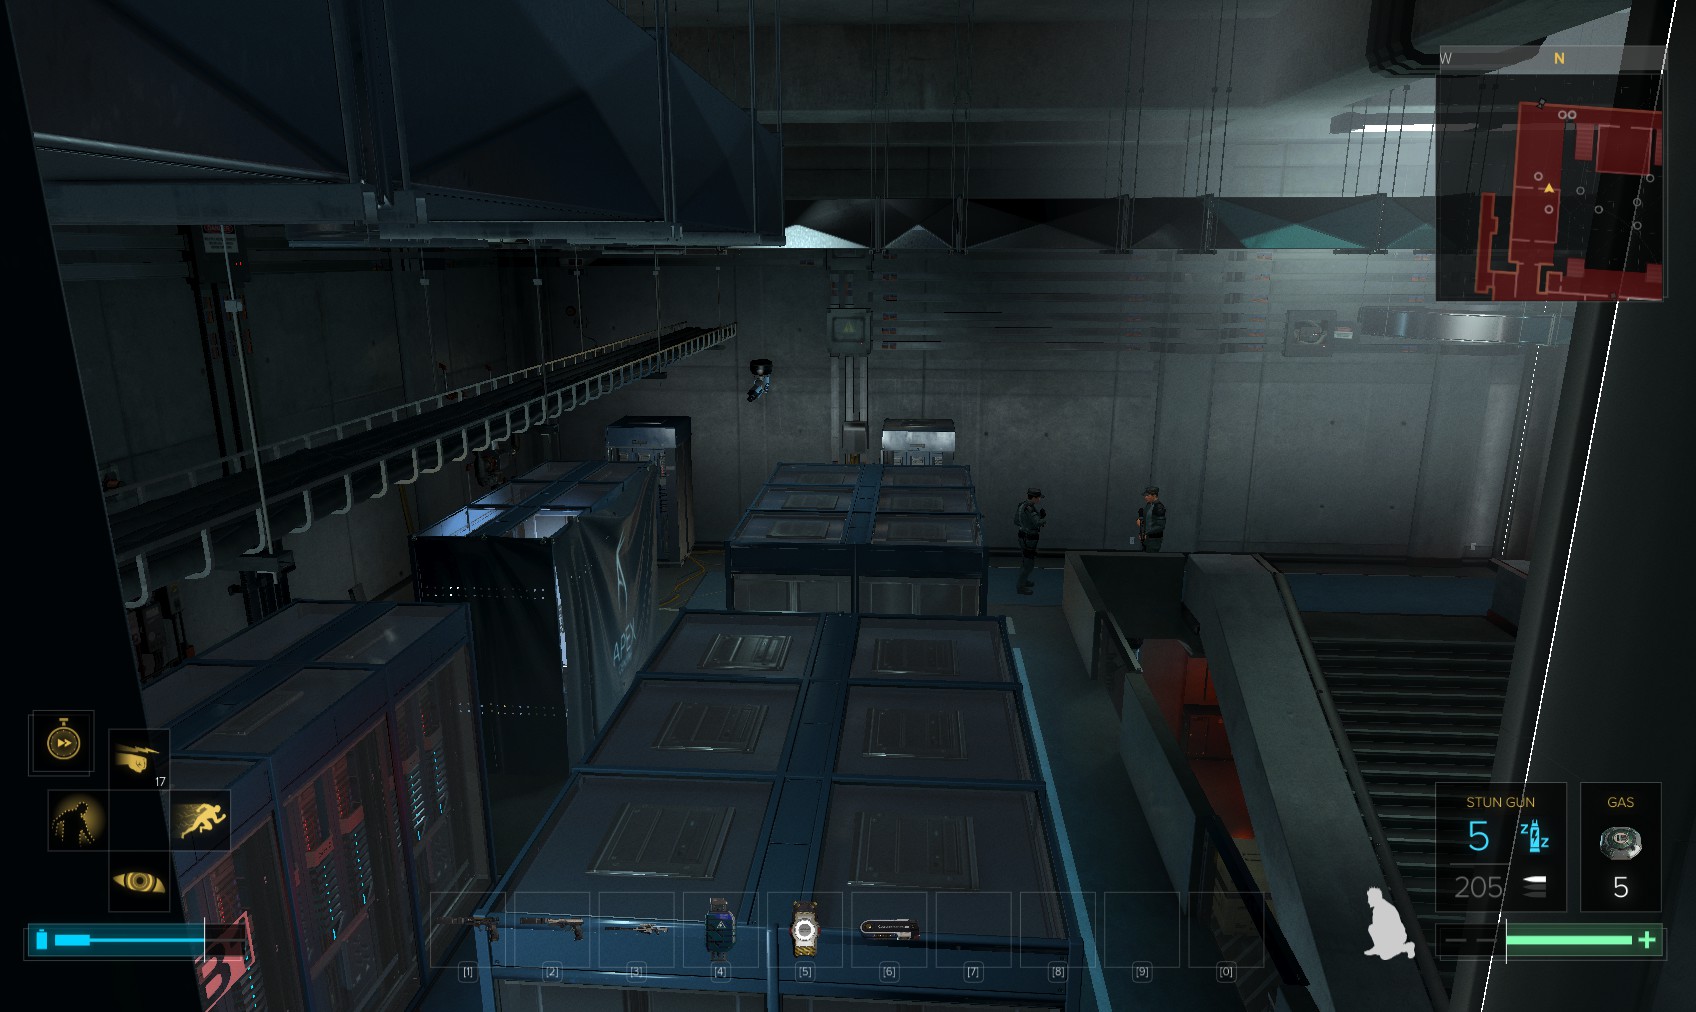
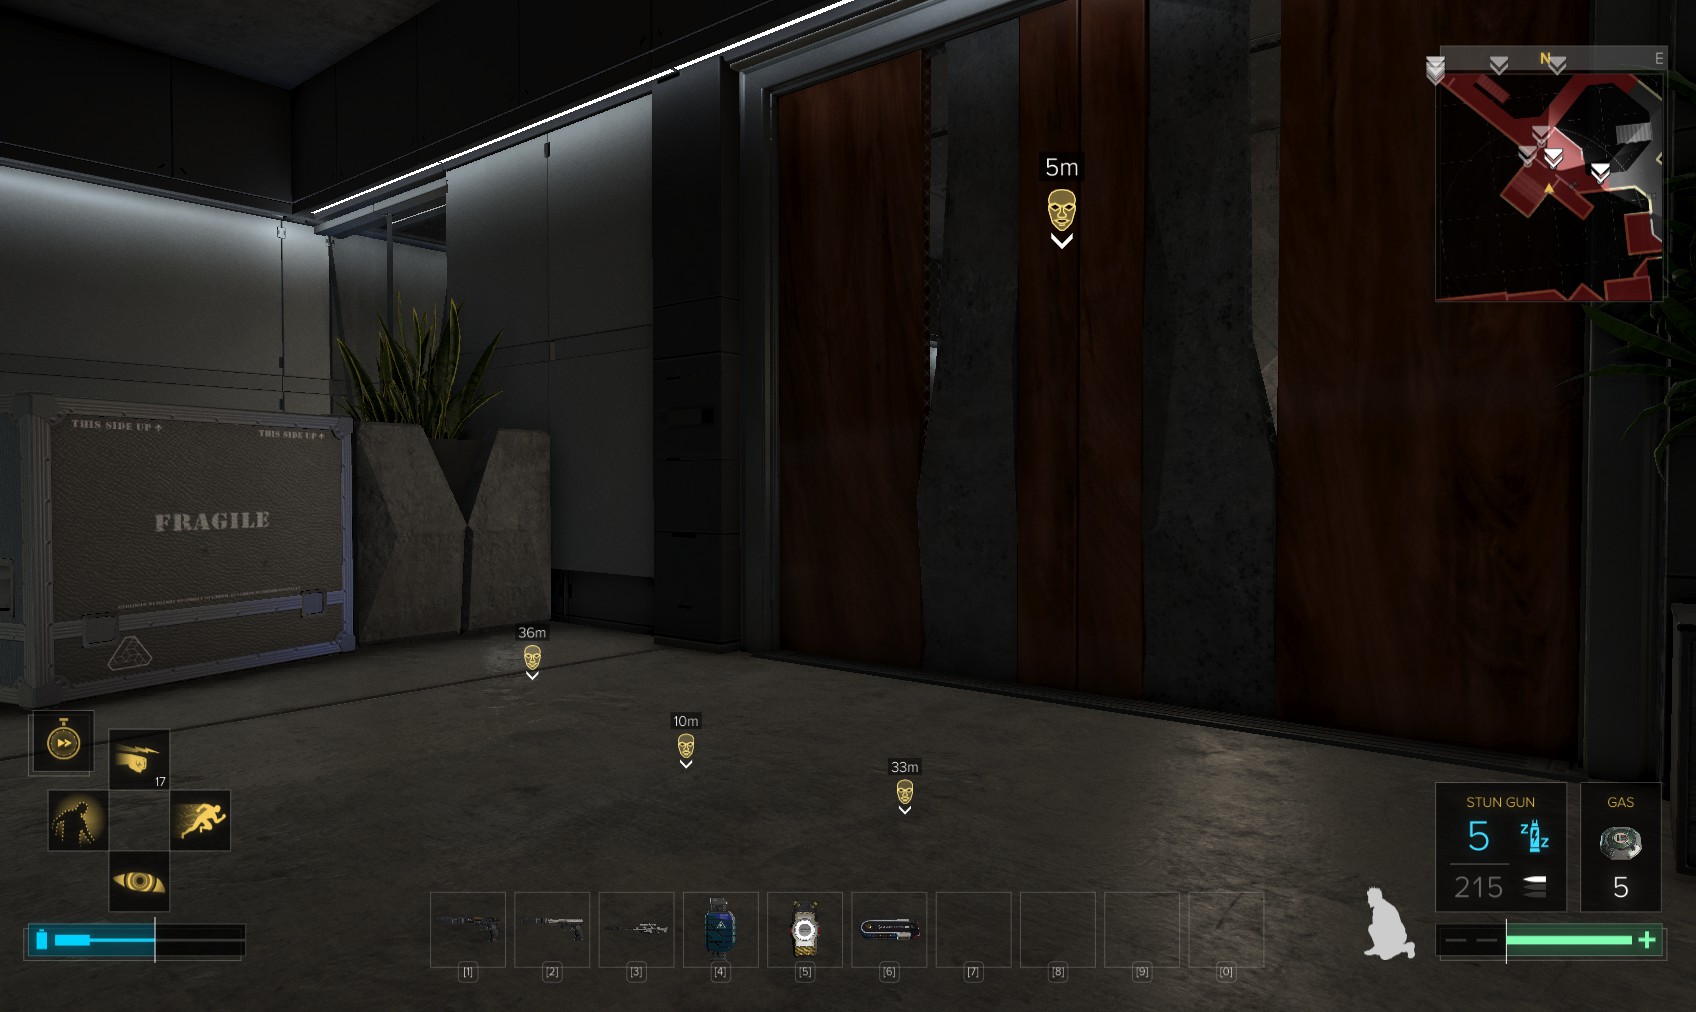
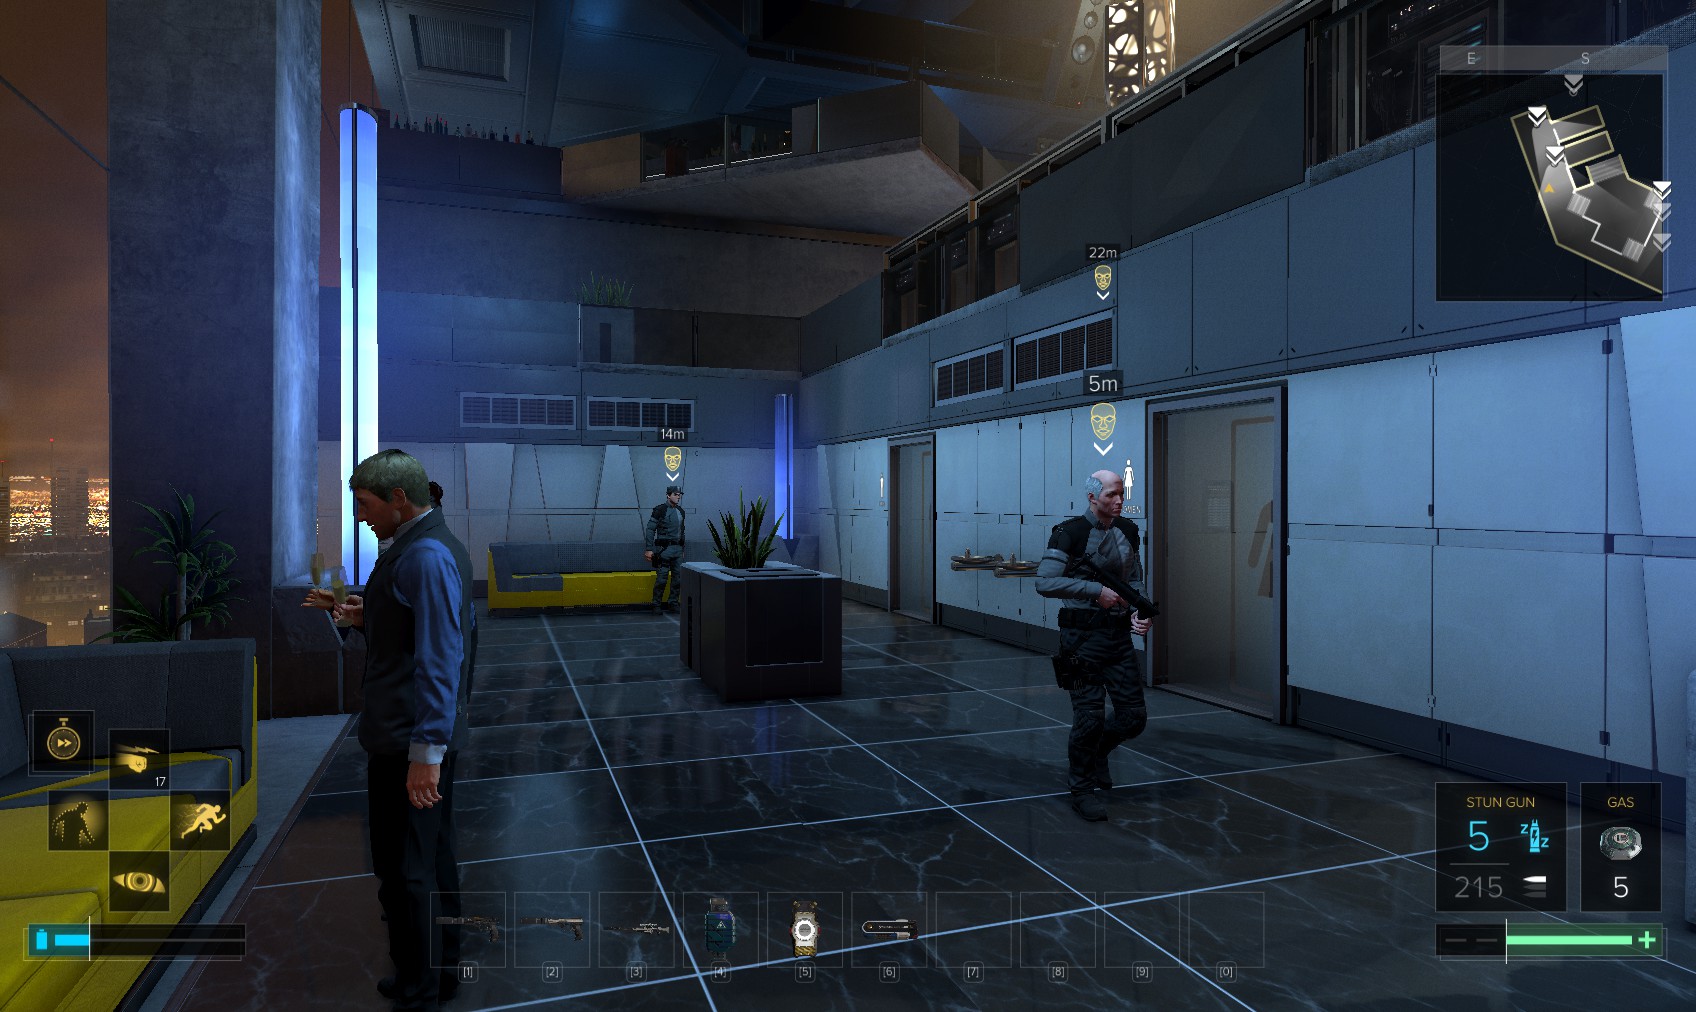
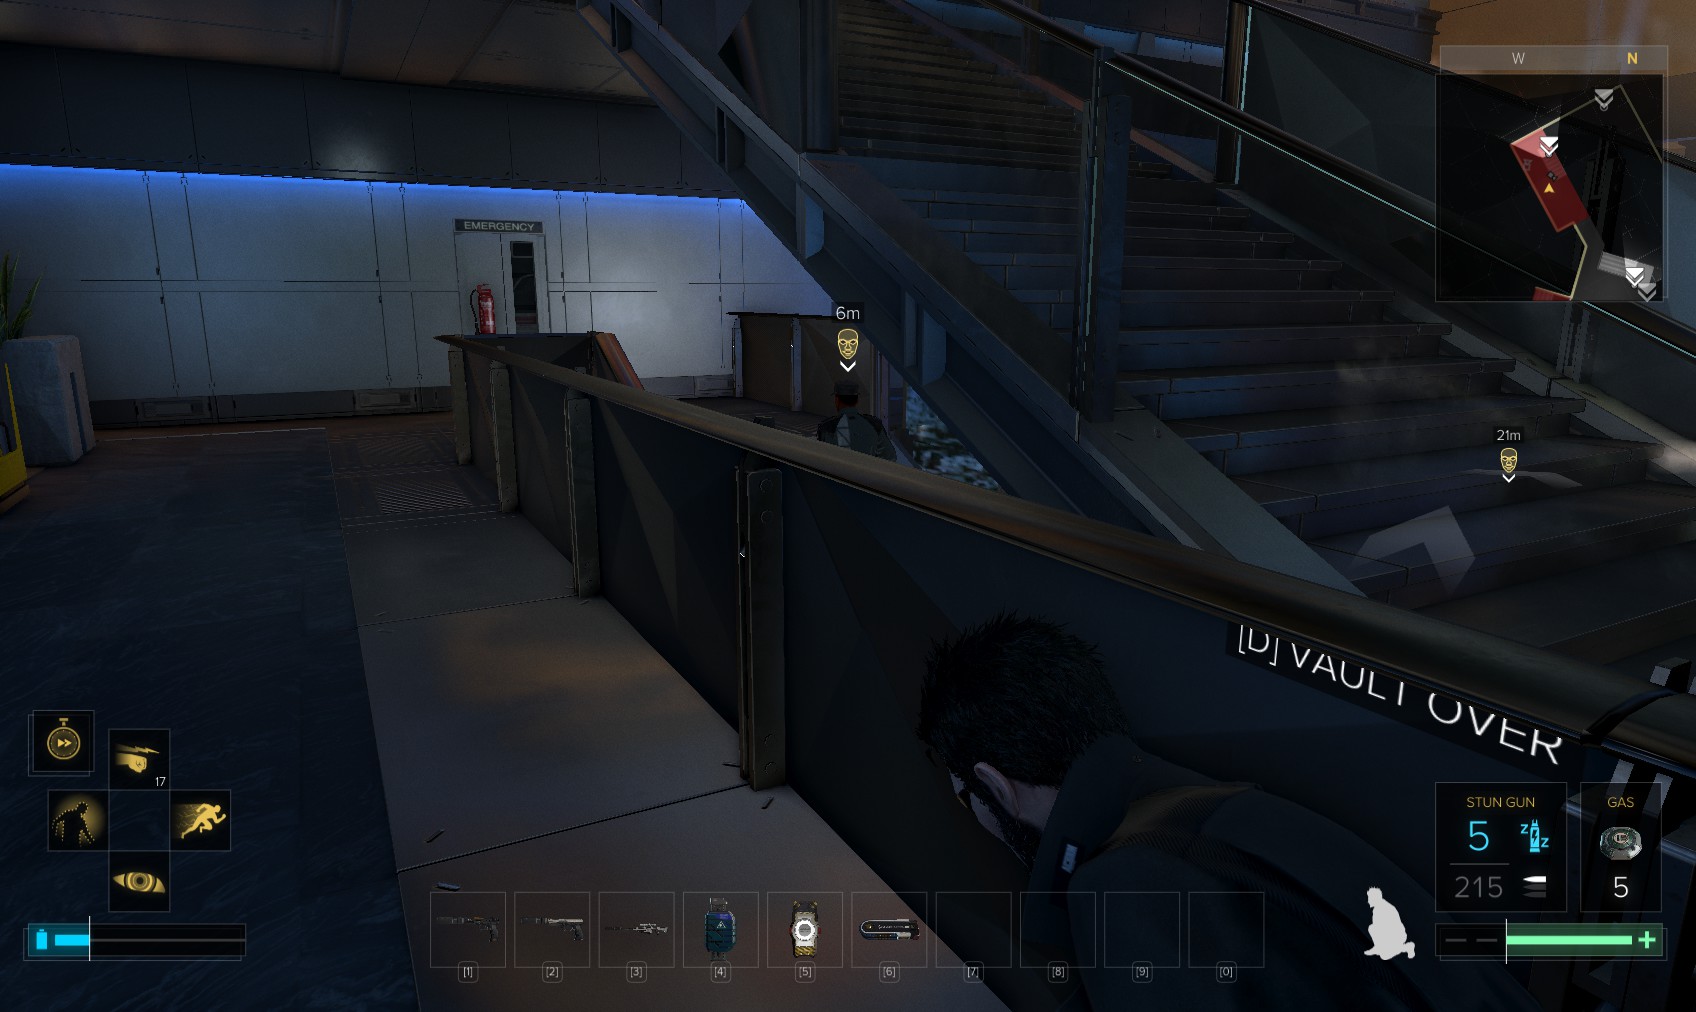
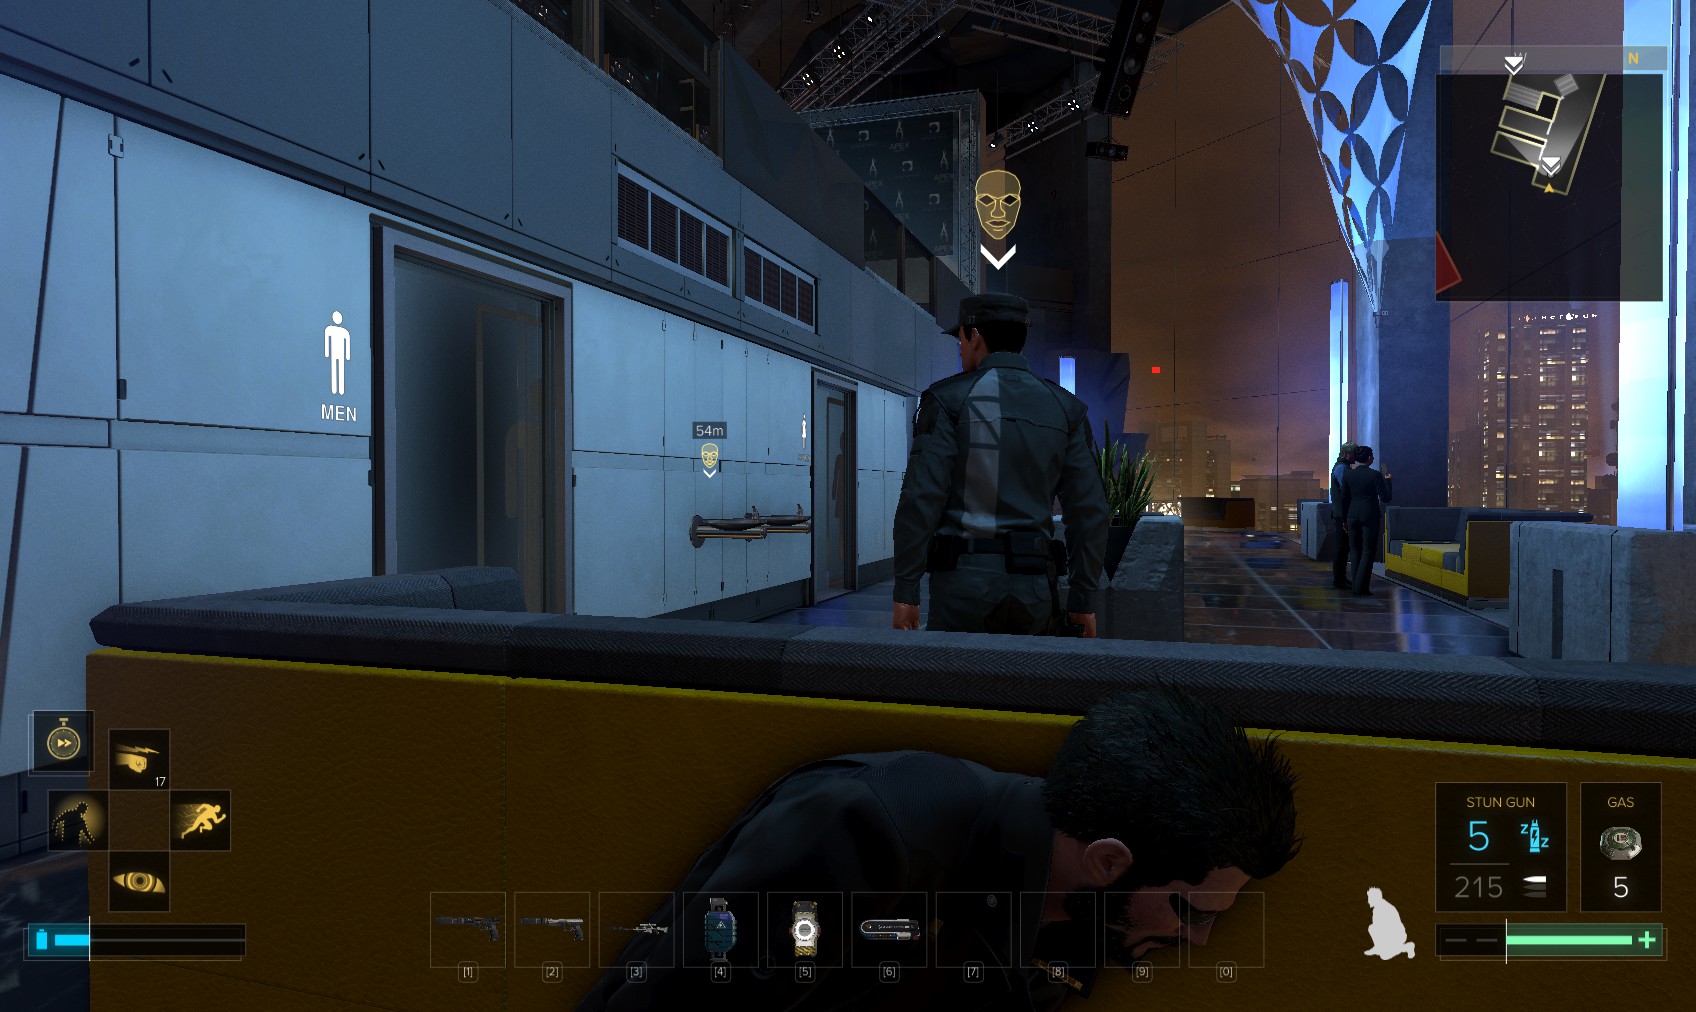
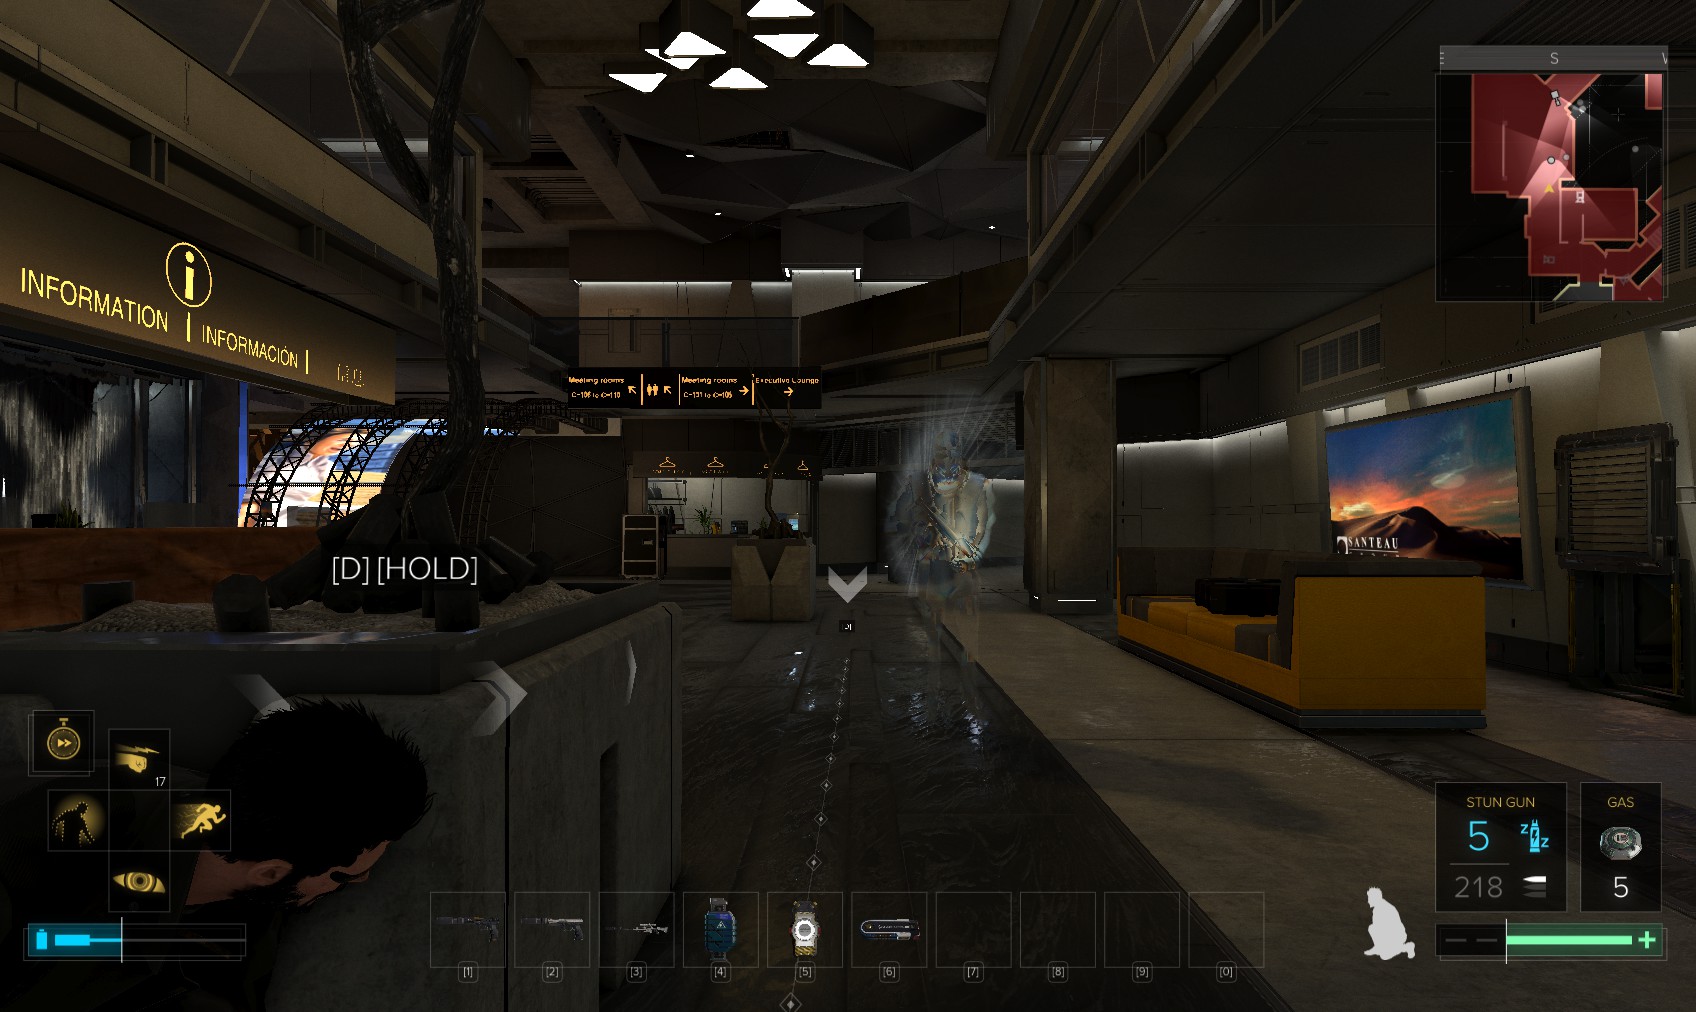
34. You come out here. You radio in, and Macready reminds you to take out all 11 of the guards who are marked with golden masks. They’re also highlighted on your HUD, whether you have the LIDAR augmentation or not. Note the security console in Security Room B.
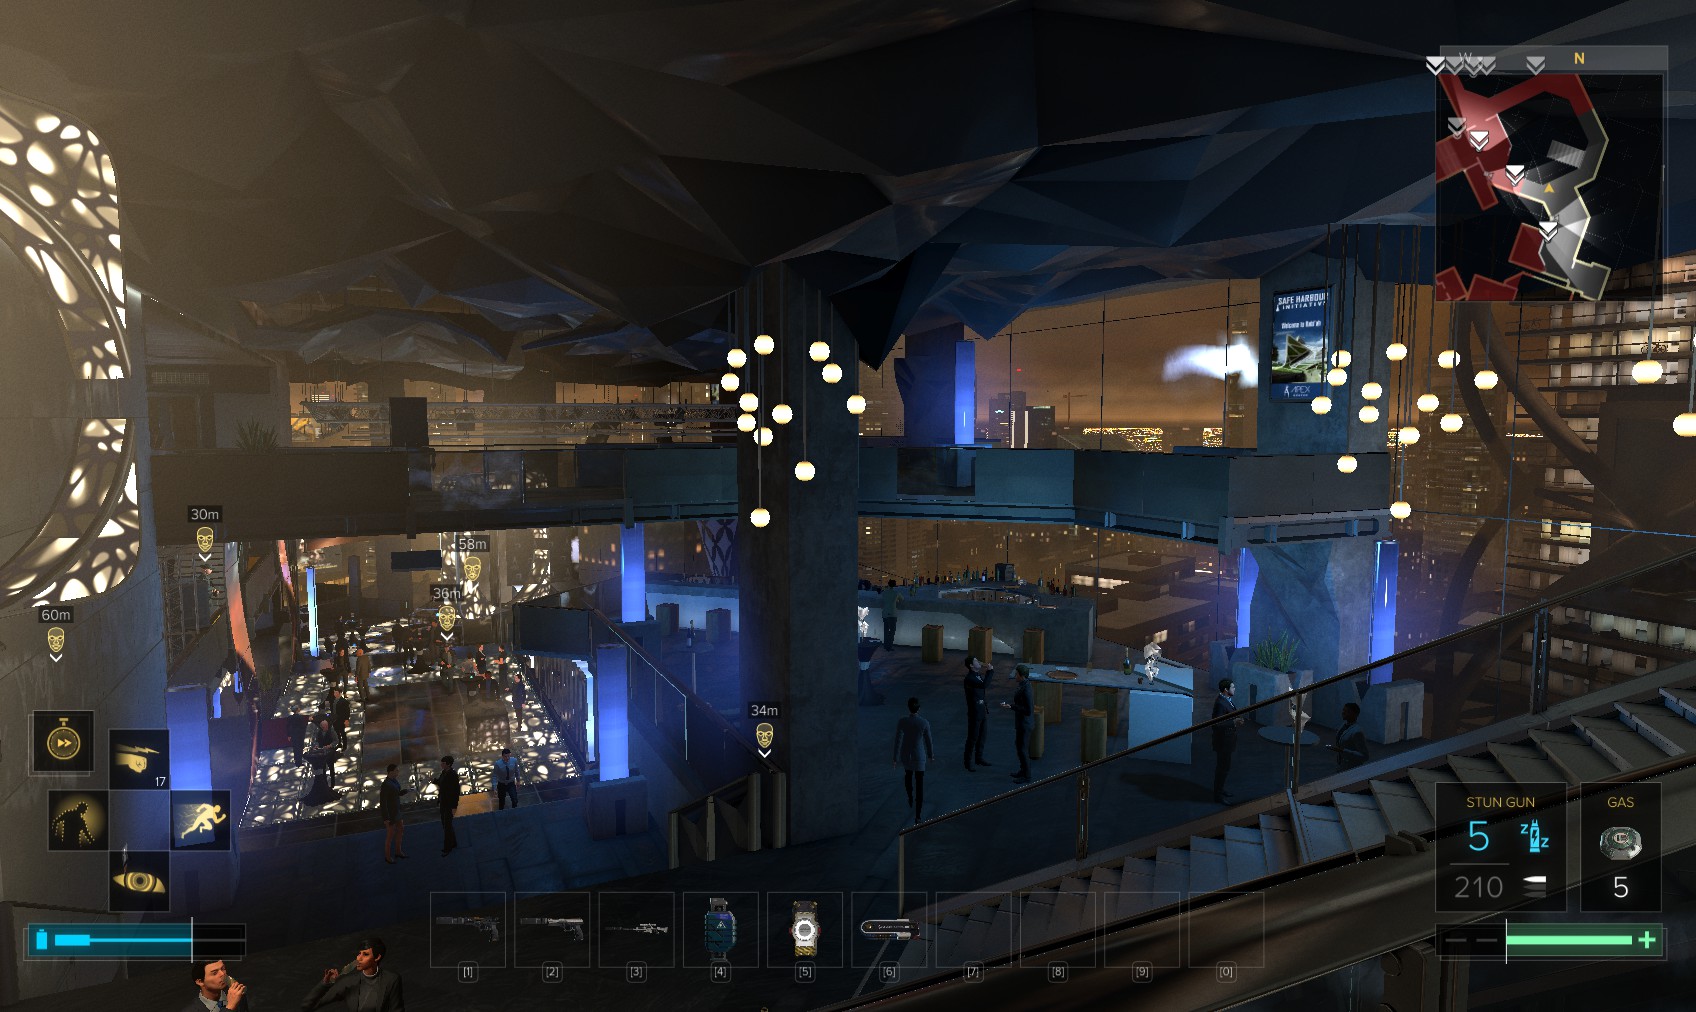
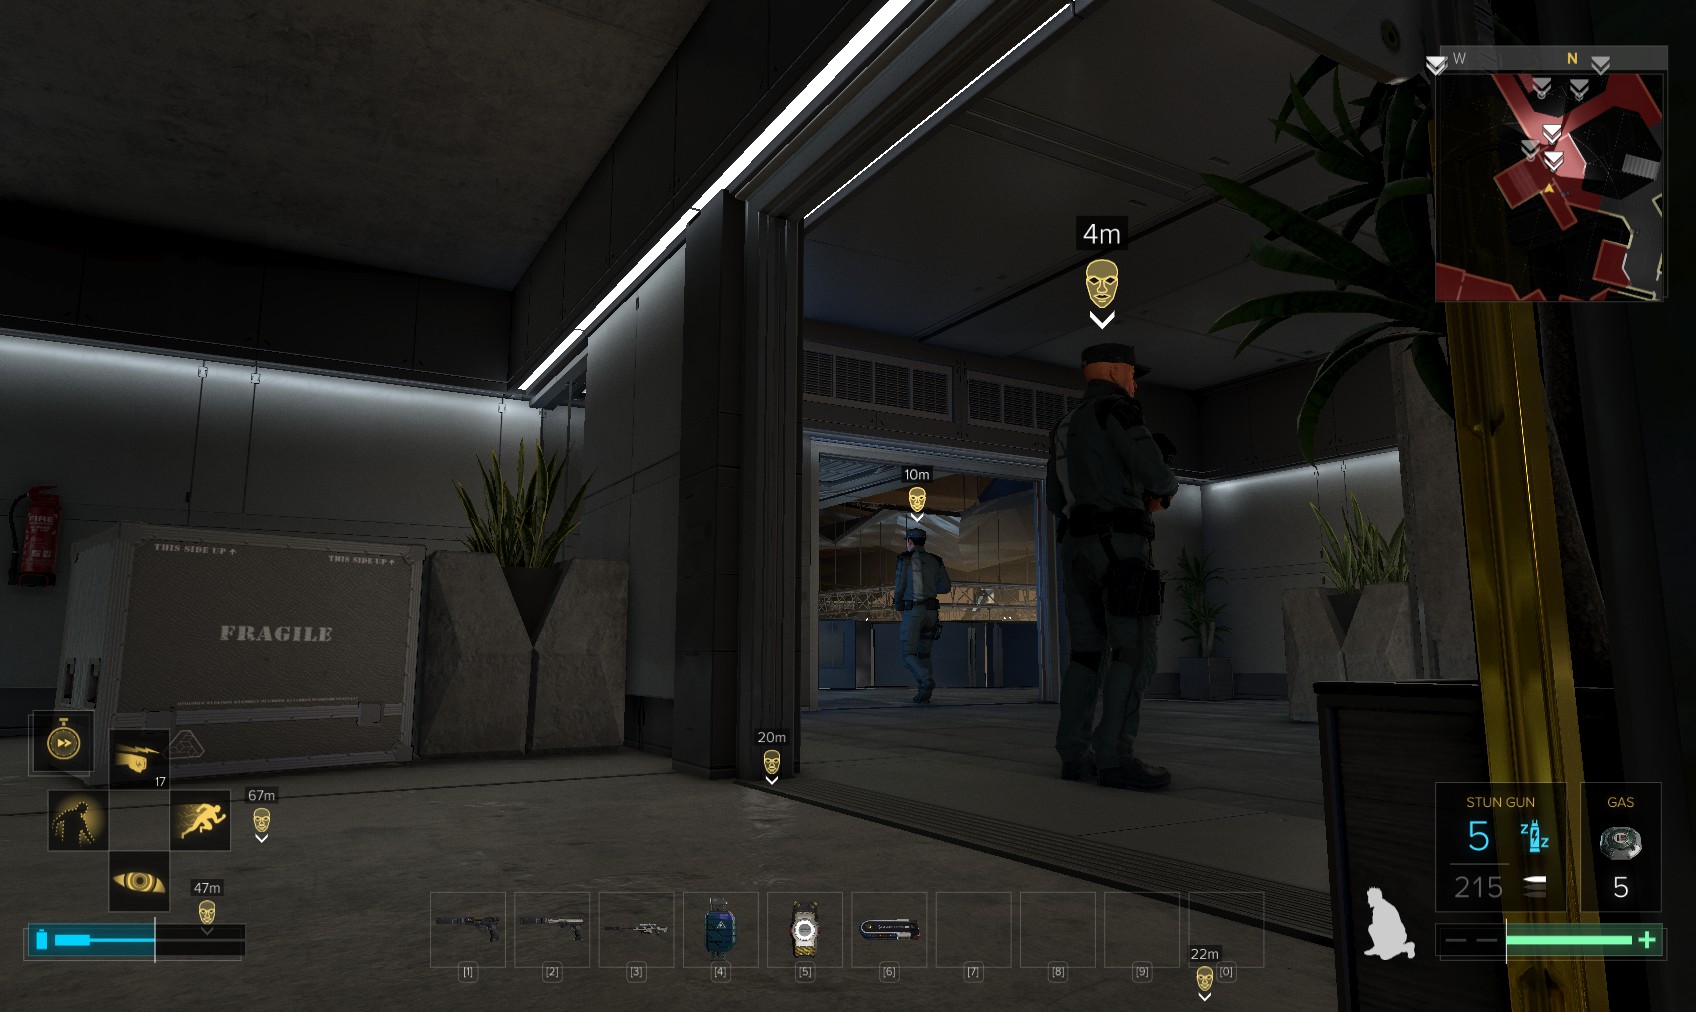
35. The view through the window here is quite something. The point about taking the guards out quietly is that if anyone witnesses a take-down - other guards, cameras, or delegates - a panic and alarm will ensue.
36. Approach this guard to learn 2 things - this area is out of bounds, and there is a vent (bottom left). I bet that leads to the Security Room.
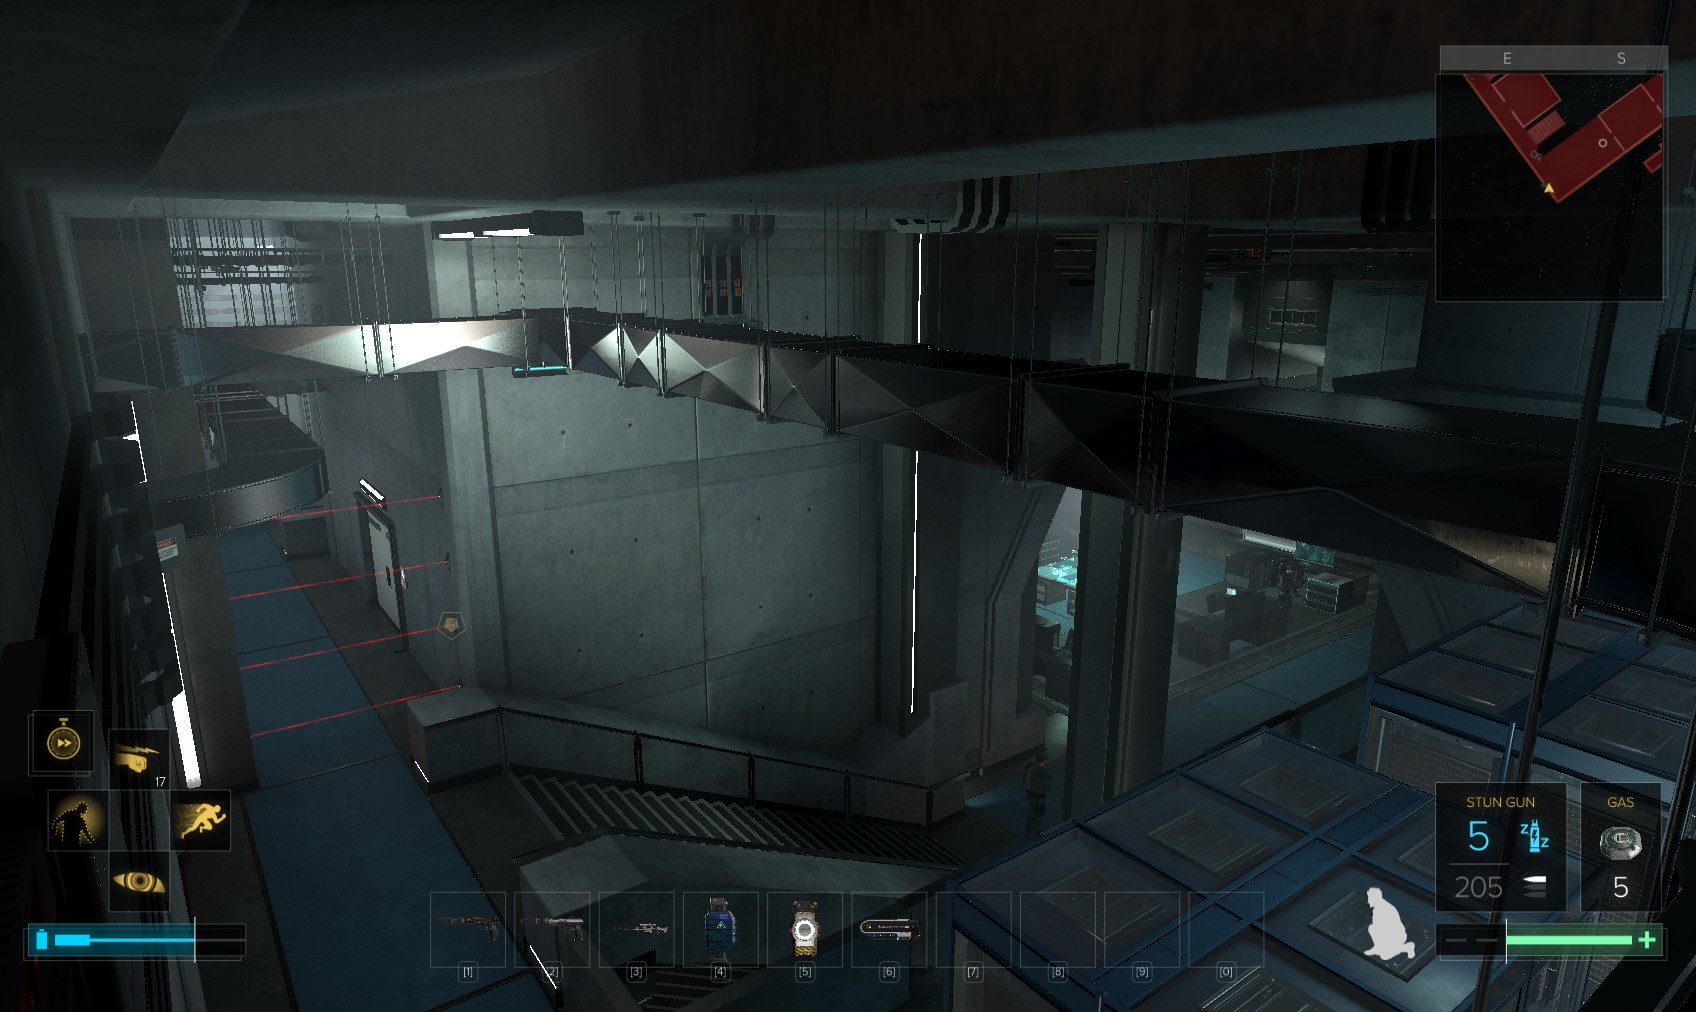
37. Of course it does, if you fork left. Trip the EG Glass and hack the terminal. It’s a level 3. Disable 4 cameras.
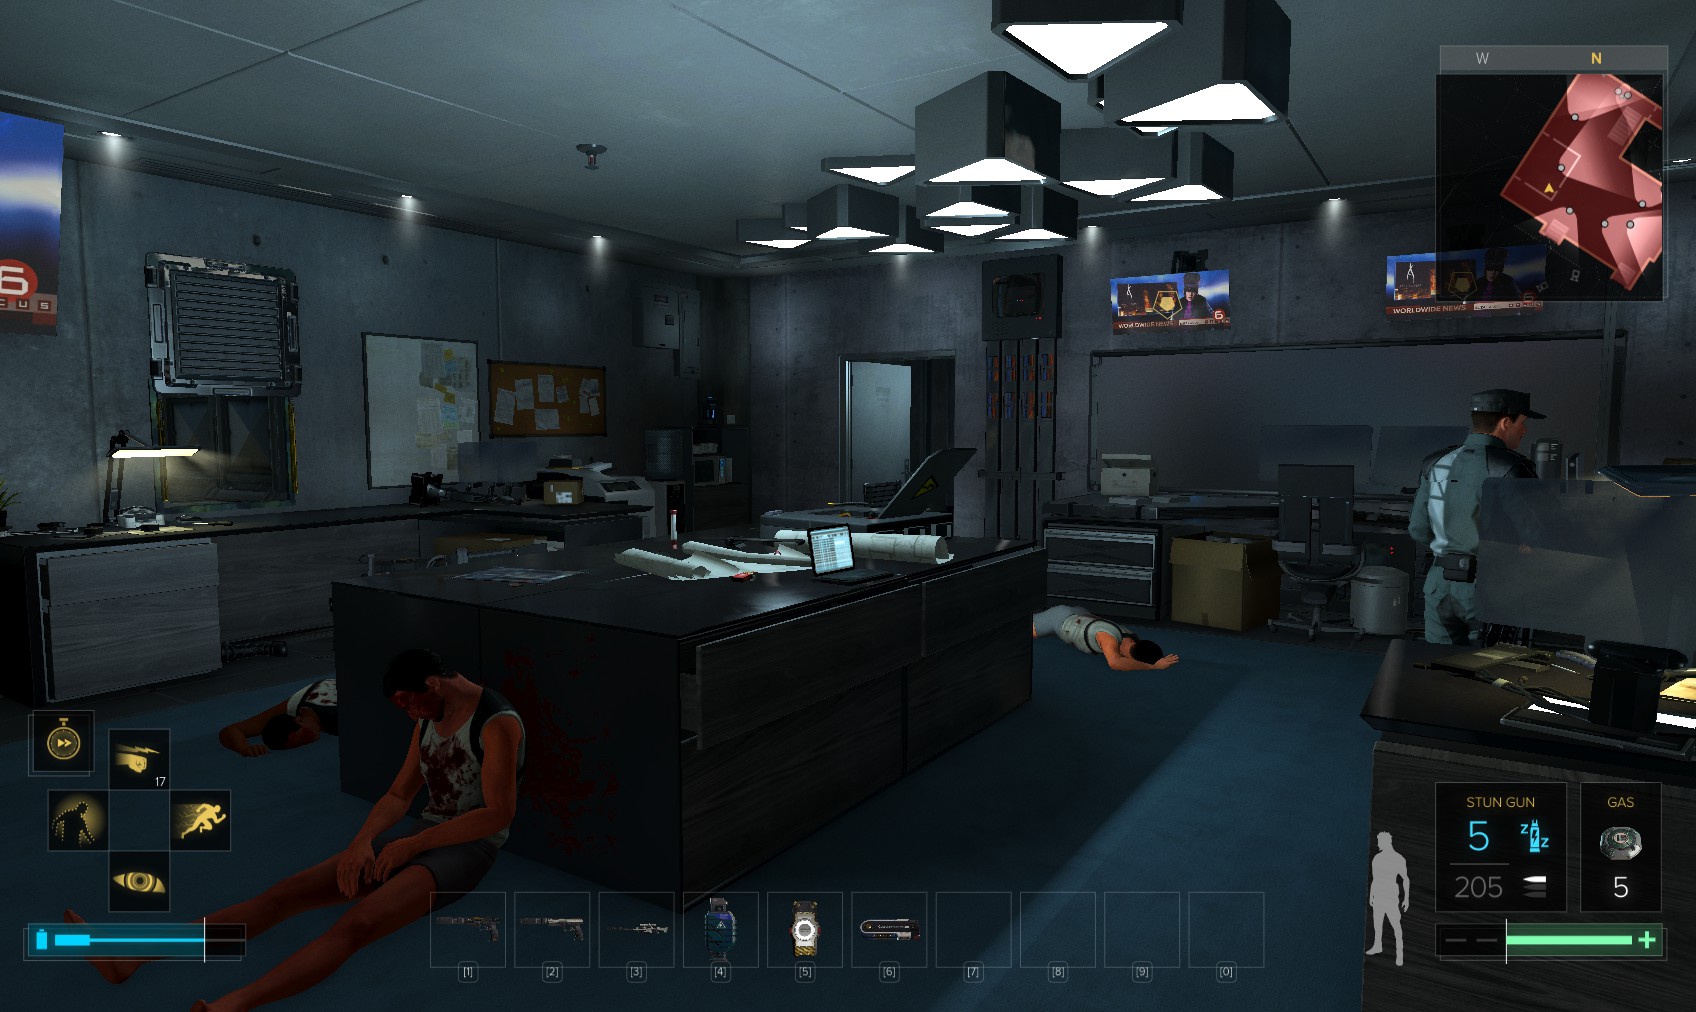
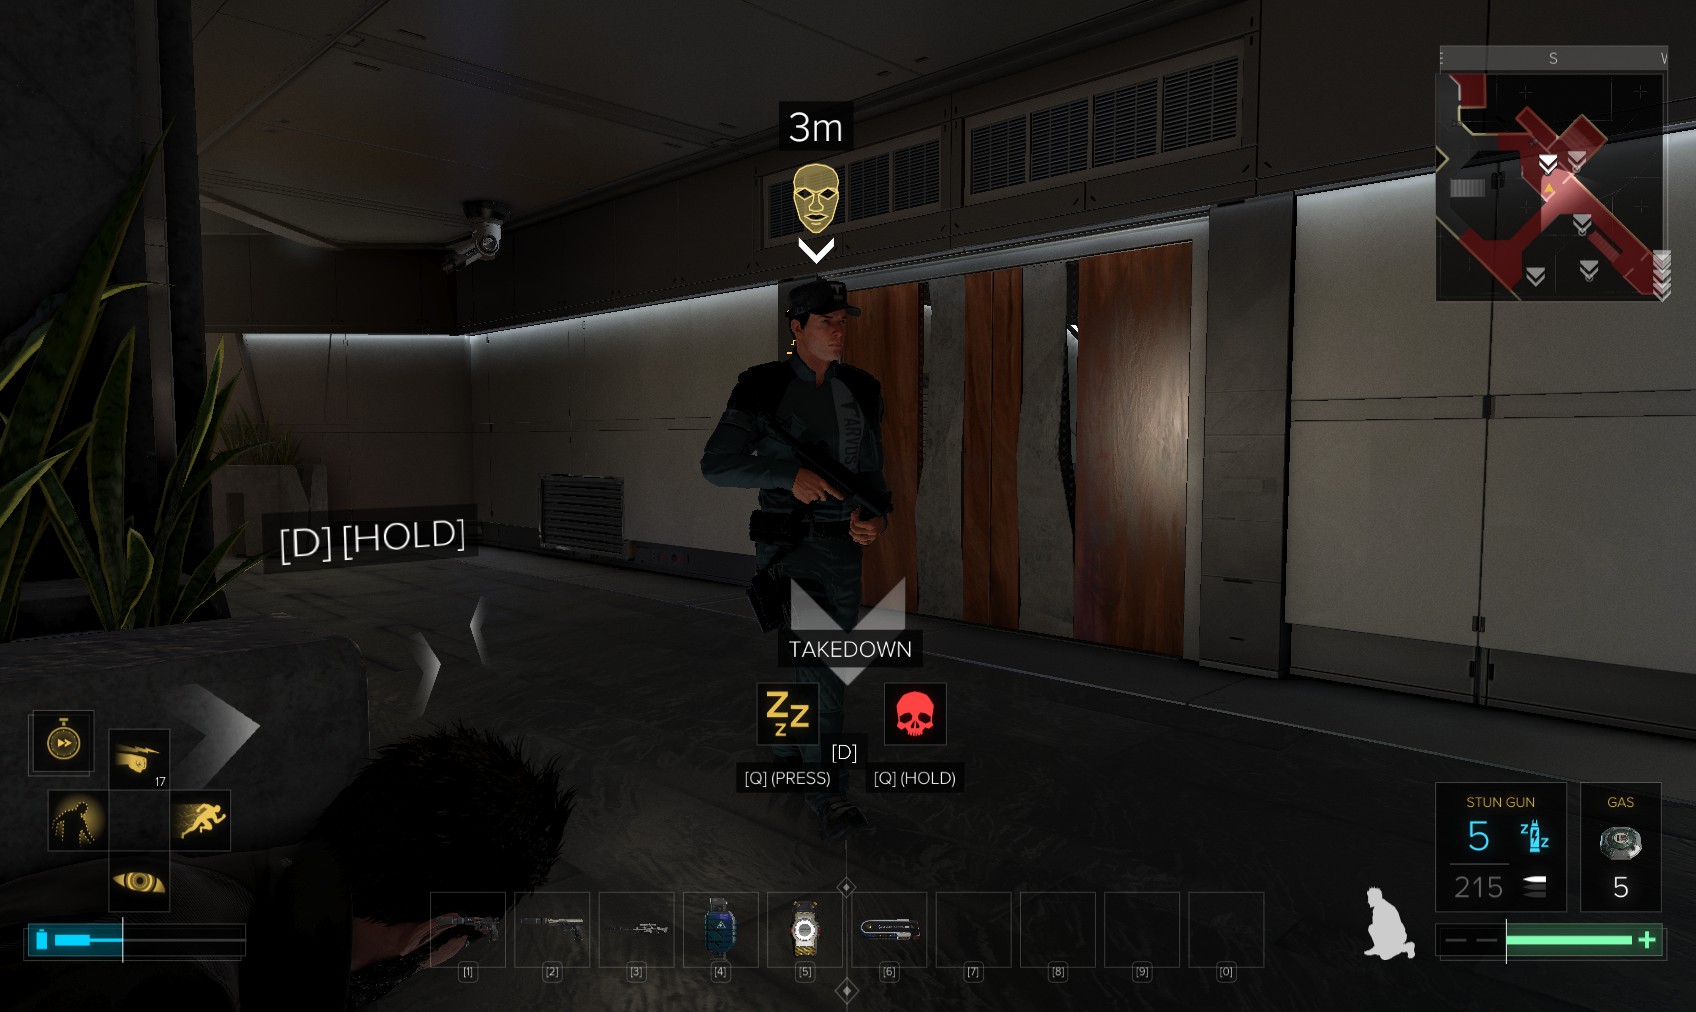
38. Opening the door will cause this guard to become suspicious, but it’ll pass, and you can take him out from here. Wait for any delegates to move away first. 1 down, 10 to go. Search the body. No keycard.
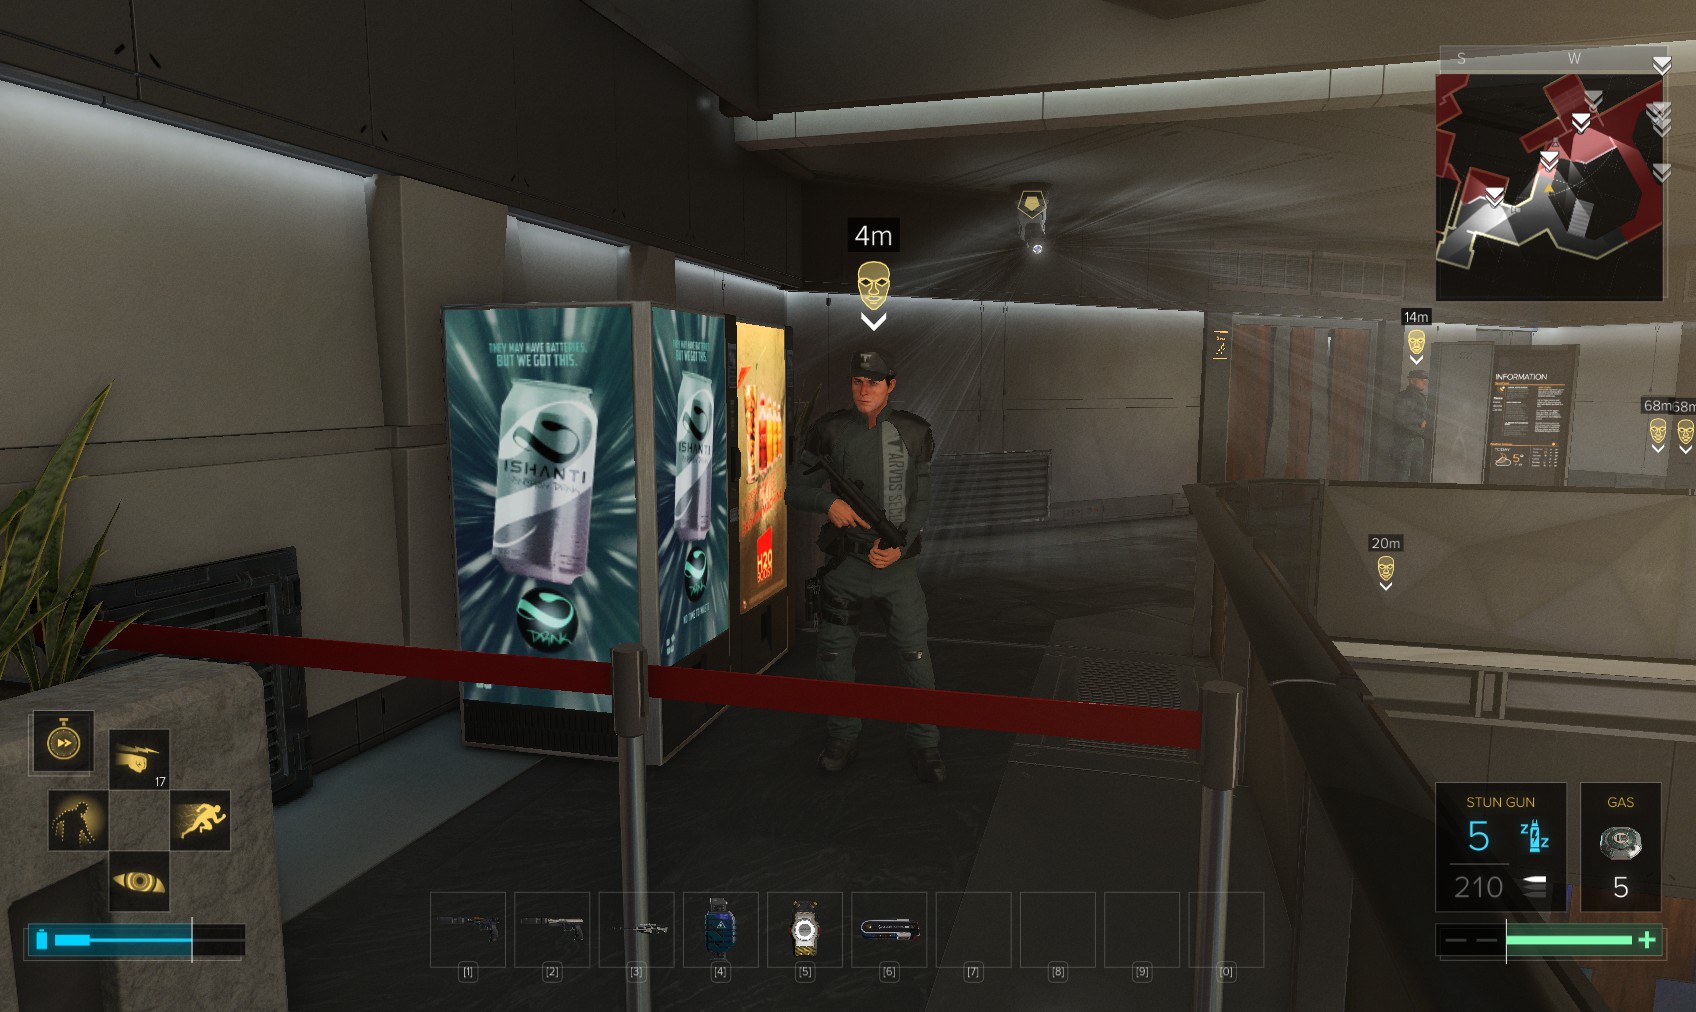
39. Go back through the vent and take the other path, which comes out here. Another guard stood by a door. This one’s not so easy, because he has a buddy who patrols here. Open the door then slip quickly back into the vent until he calms down.
40. When the patrol heads down the stairs, take out the guy stood at the door, and hide his body (in the vent is a good place).
41. The patrolling guard can then be taken out. How much harder would this be without having disabled the cameras? He has a pocket secretary with the code 1515 for a lower floor door. Hide his body, too.
42. Head through the door he was using for his patrol (North-West). Wait at the top of the stairs for these two to stop chatting and get on with their patrols.
43. About here is nicely out of sight. He also has a pocket secretary telling you to look out for Cenda who has the keycard. Move the body out of sight of the door ahead, then head in there carefully.
44. A window off the right of this shot can make slipping in harder. Take him out with his back turned. Another pocket secretary with the password arcturus - probably for the security console we used earlier.
45. Go back upstairs (from here, or back the way you came). Hack this level 1 door for nuke software or use the code 1515 for a little extra XP. Behind a sofa is a weapons case.
46. Double back down the stairs to this door (it’s locked from the other side, level 1 hack for nuke software, or again the code 1515). It’s time to mingle. Be careful not to be seen emerging from the door.
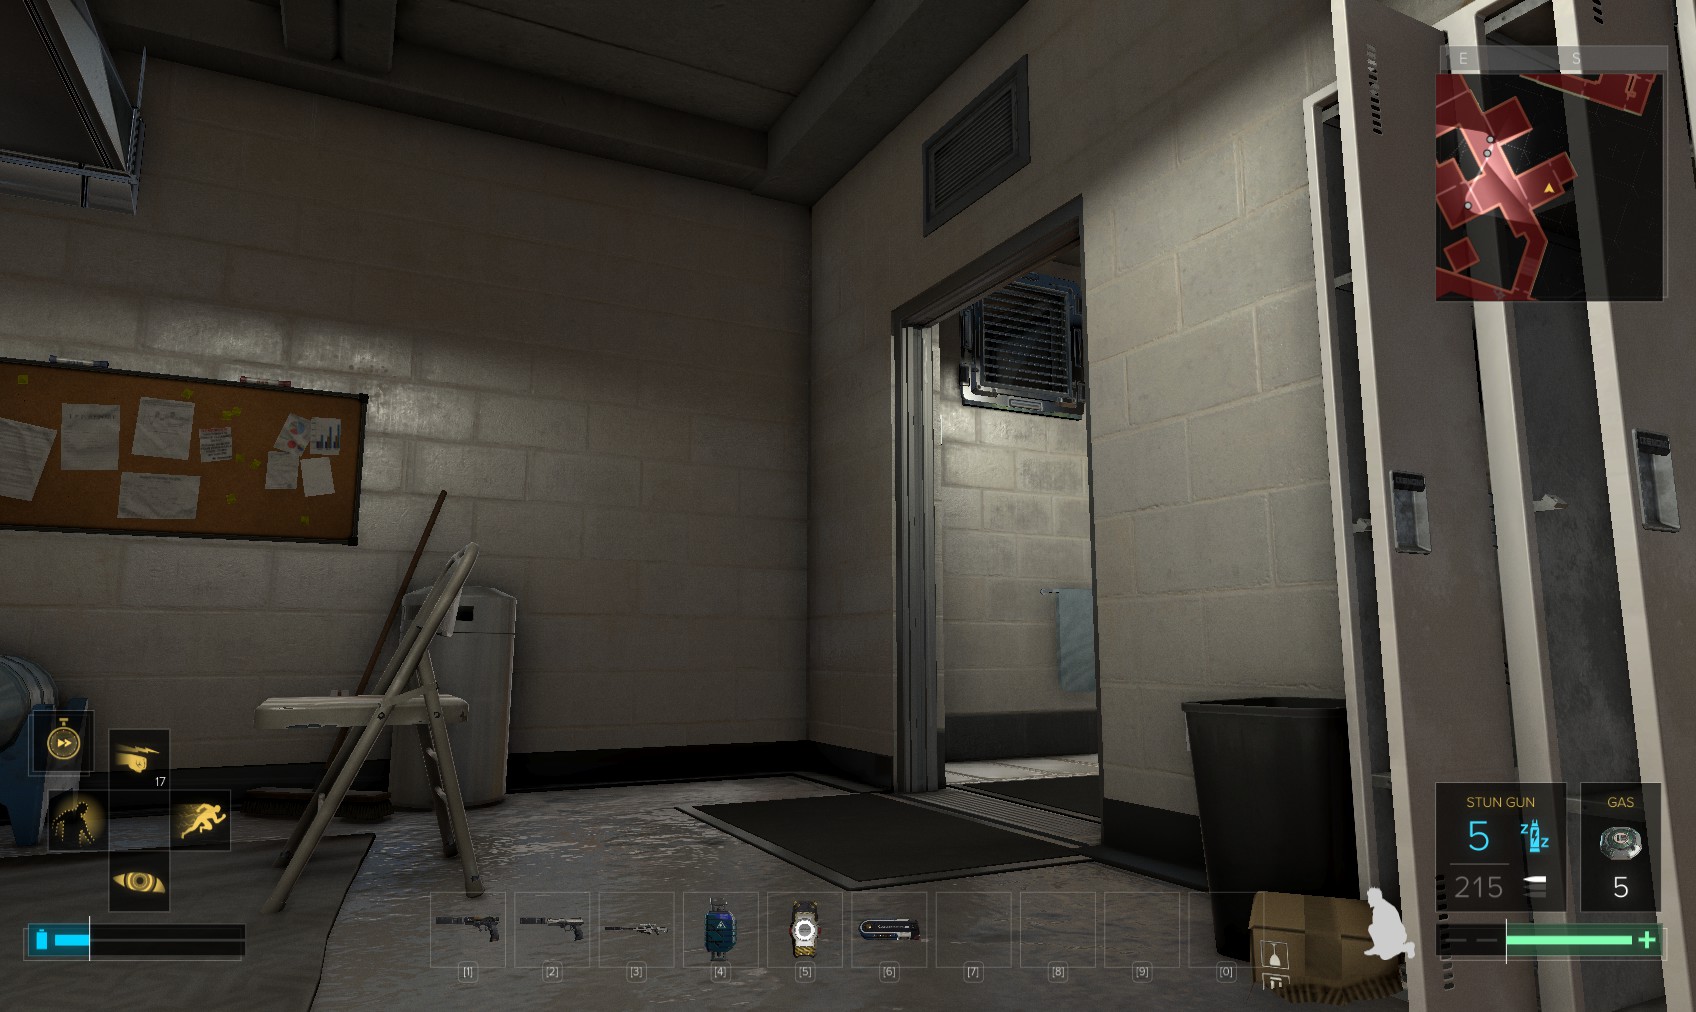
47. Head all the way down to the restrooms. Odd - that one security guy looks like he’s lost his cap. Leave these two be for now. Find an eBook near here, then head into the gentlemens' room.
48. Go into the vent, and fork left at the first junction.
49. Keep climbing up and you get to here - this is another keycard that’ll get you through, but don’t swipe it yet.
50. For now, double back, and see there is an upper vent that you can climb to.
51. It comes out in a maintenance shaft. Climb up and go through another duct all the way to the end (past 2 breakable vents).
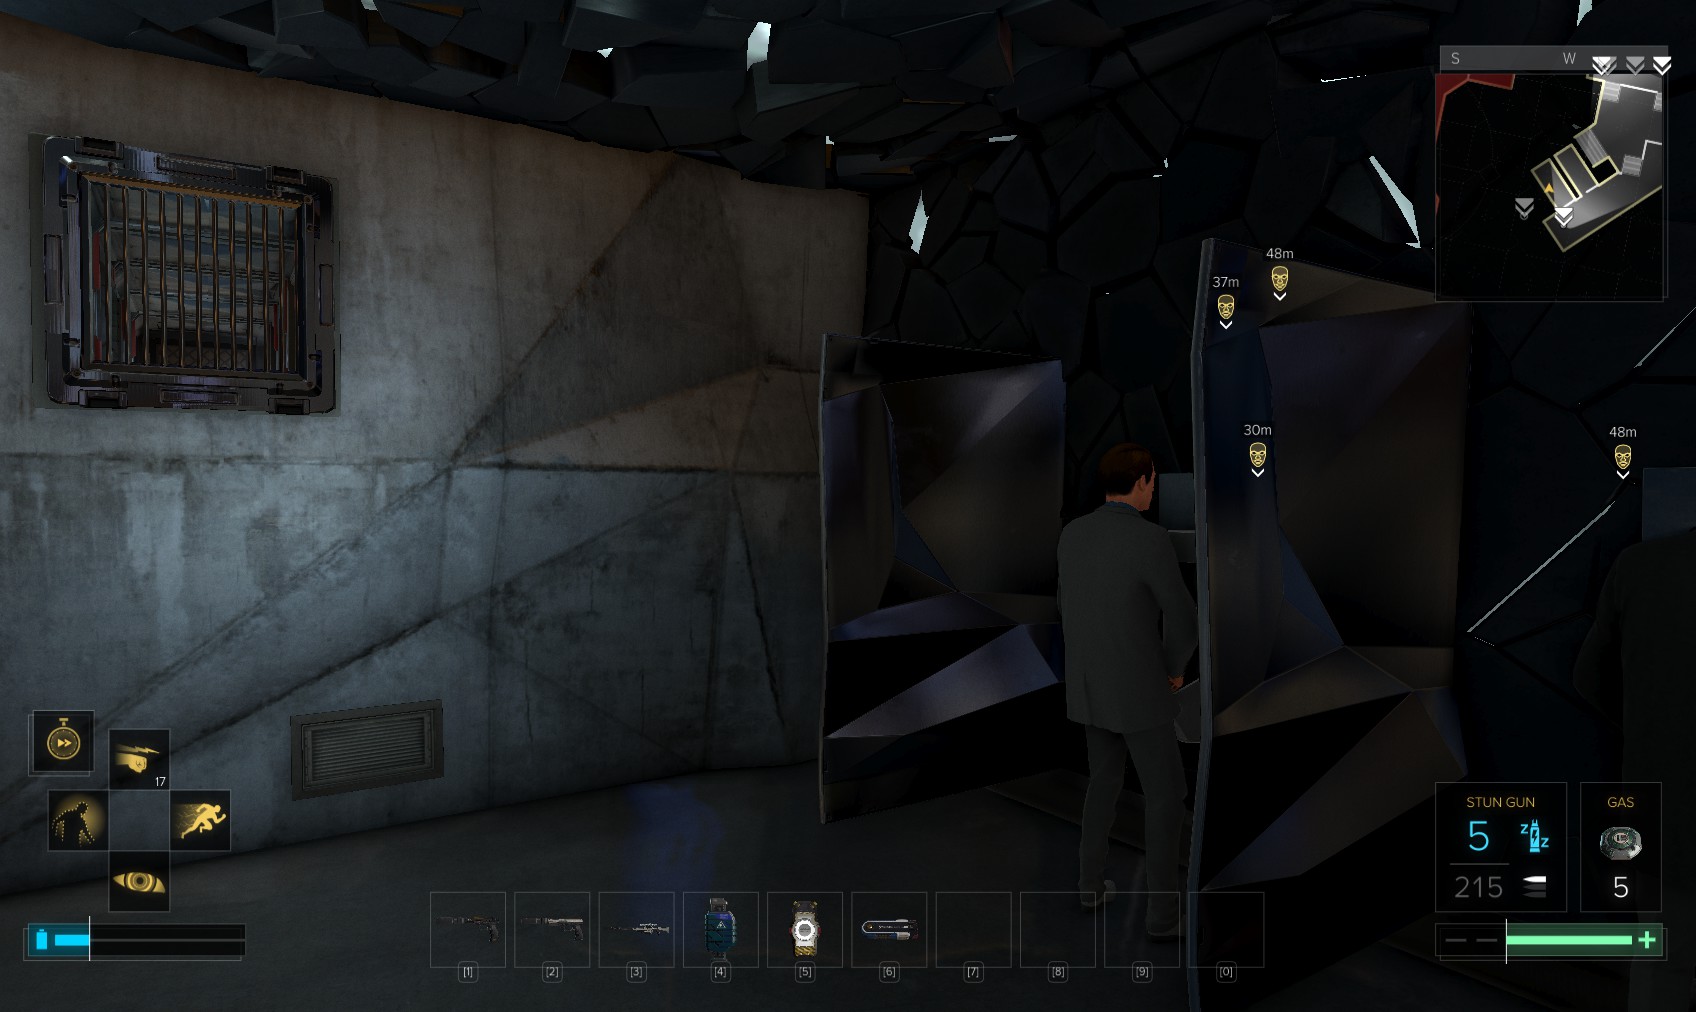
52. It comes out here over a prohibited section. Drop down as stealthily as you can.

53. When the far guard looks away, take out the near one. He has a pocket secretary again mentioning Cenda.

54. The other guard patrols up and down the stairs. Here’s a decent spot to get him quietly. He carries a pocket secretary too, but it’s just about some Champagne.
55. Quietly go down the stairs nearby, where another goon patrols. Another info pocket secretary from OldBlueEye.
56. 3 guards remain. This one behind the large Safe Harbour sign (which is a good place to hide his unconscious form) also has a pocket secretary with the code 1515.
57. This guy by the restrooms just has ammo. Careful to hide his body behind the sofa out of sight.
58. The last guy I find lurking here. With no hat.
59. Sure enough he has the card. Sure, I could have taken him earlier, but you still have to clear all the guards. Go back to the vent in the restrooms and get the other keycard - it’s useful later.

60. The secured door is near the top of this staircase.
61. Use your keycard to go through.
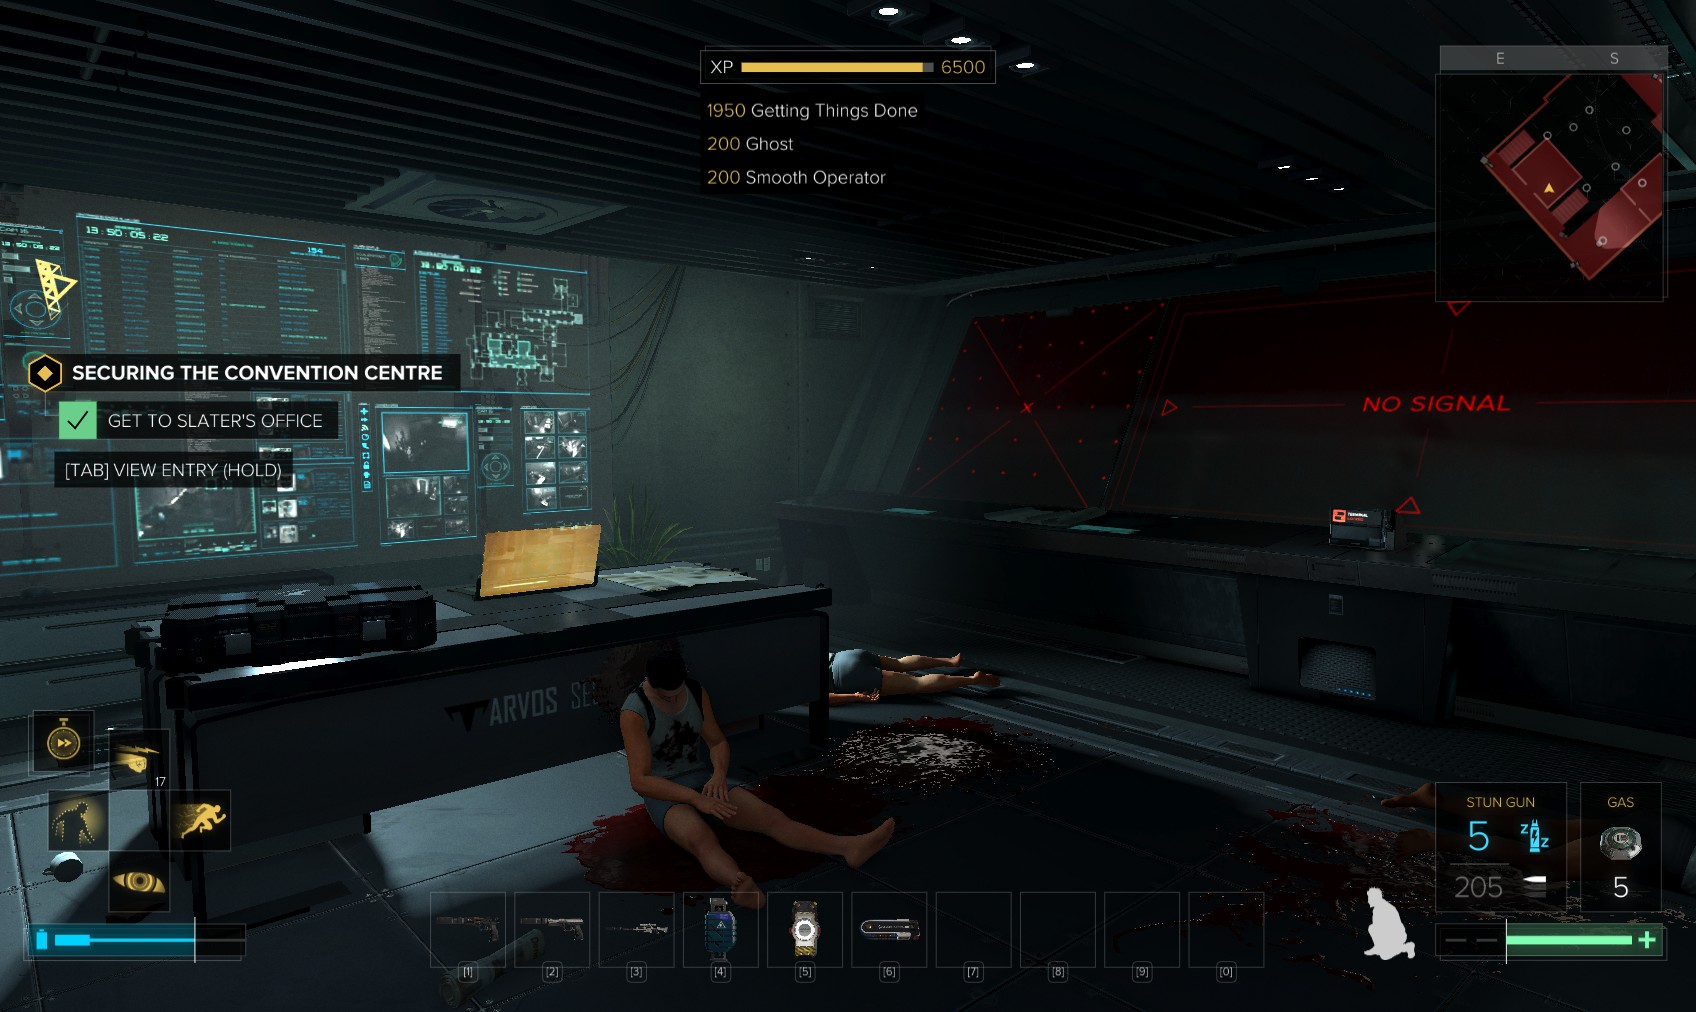
62. As you enter, Macready contacts you. Miller’s gone of the air. Better find him before pressing onward. Head into the locker room on the left and search round for stuff - one locker contains a Triangle Code.
63. This vent in the bathroom…
64. ...leads handily to the next room. Don’t miss the biocell on your way out. When the patrolling guard heads left, slip out of the window, cloak, and head right, following the corridor to the very end.
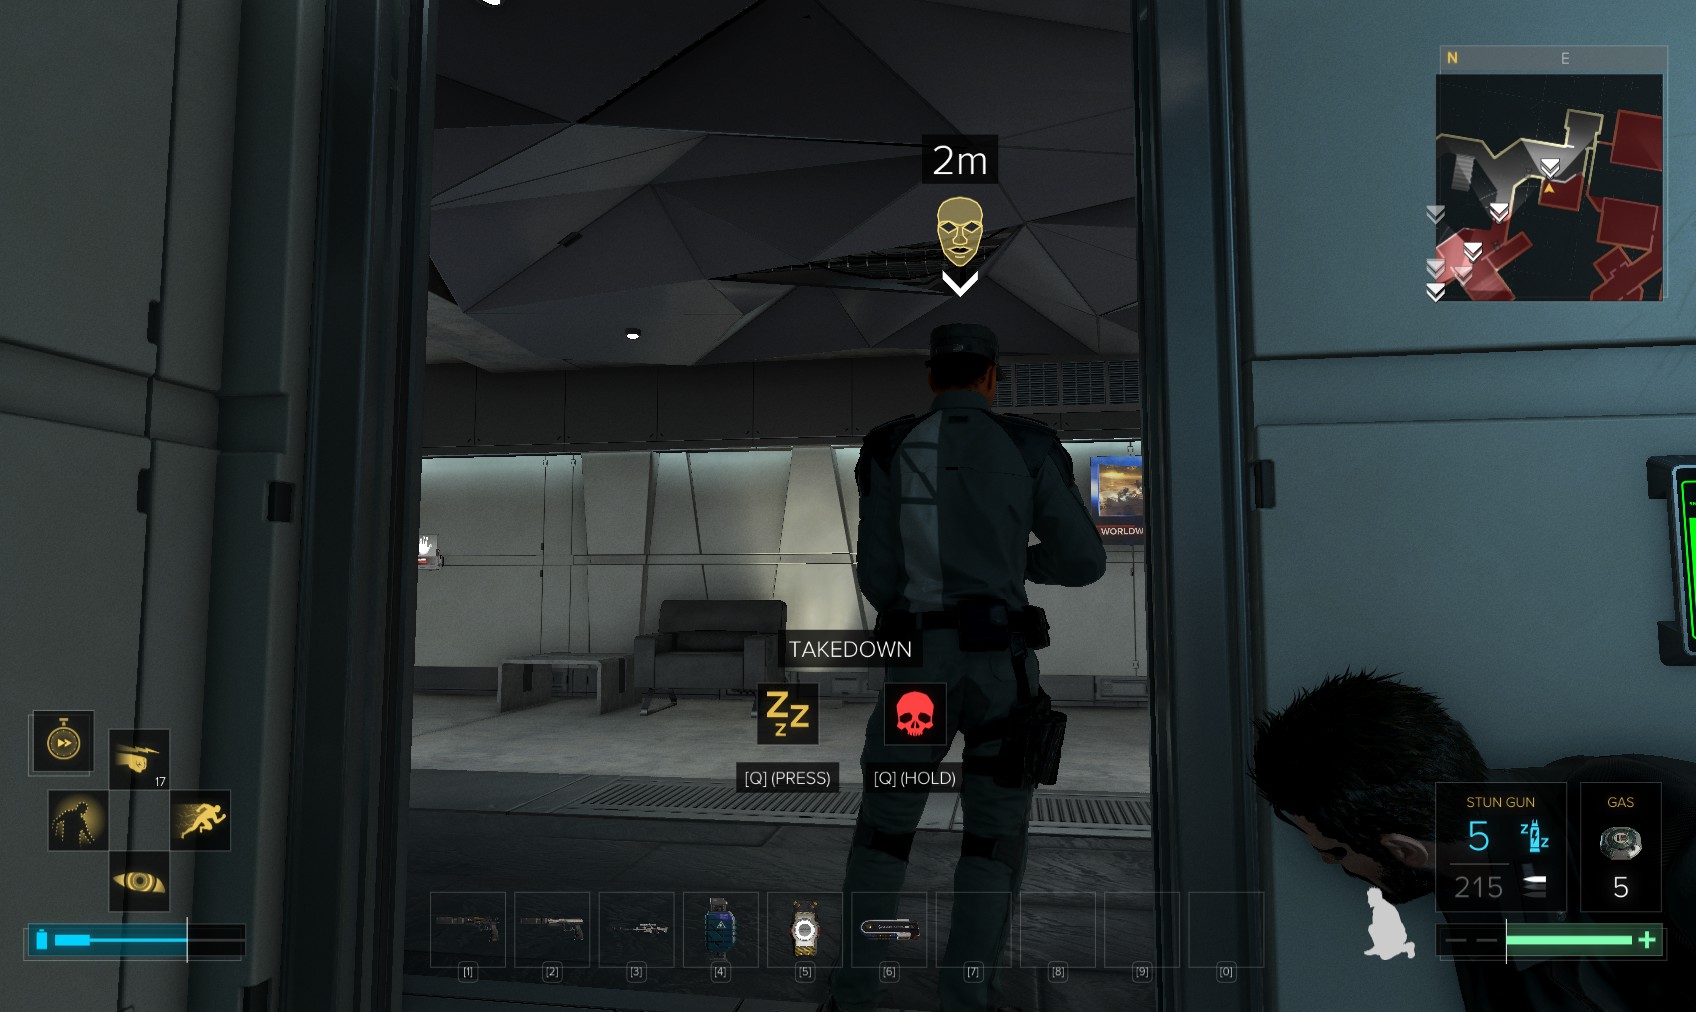
65. As you approach, a guard in here will start thinking about patrolling. Position yourself by the door and take him down when he opens it.
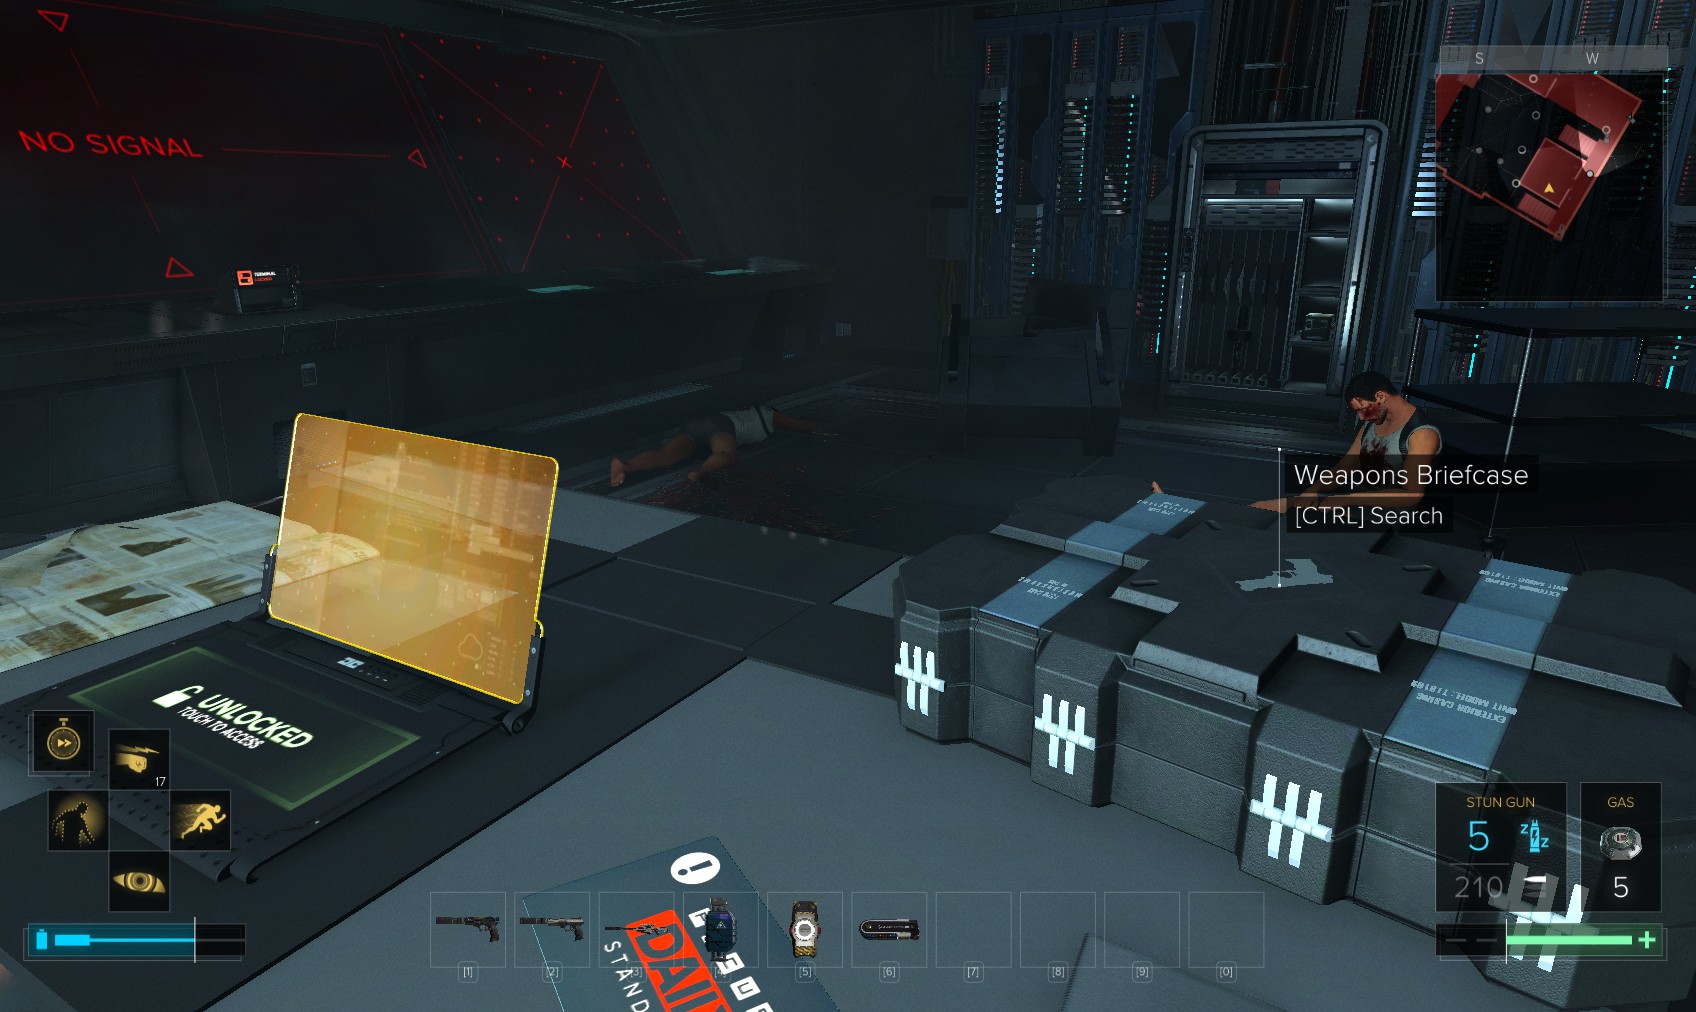
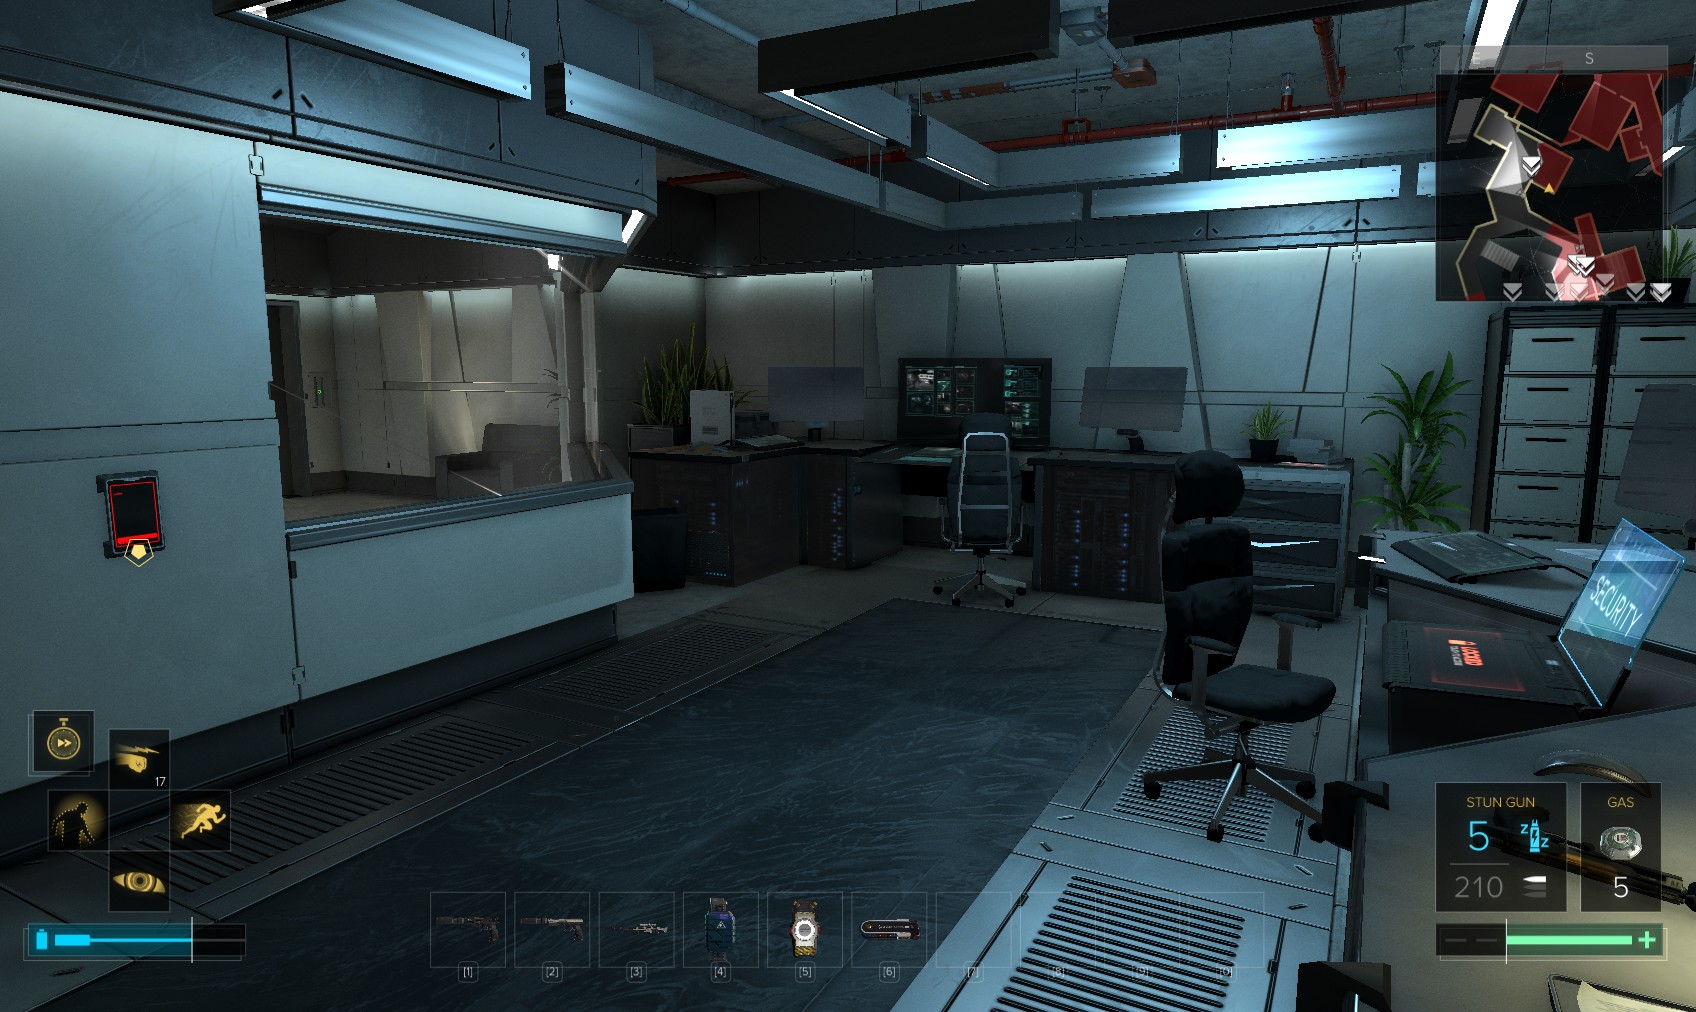
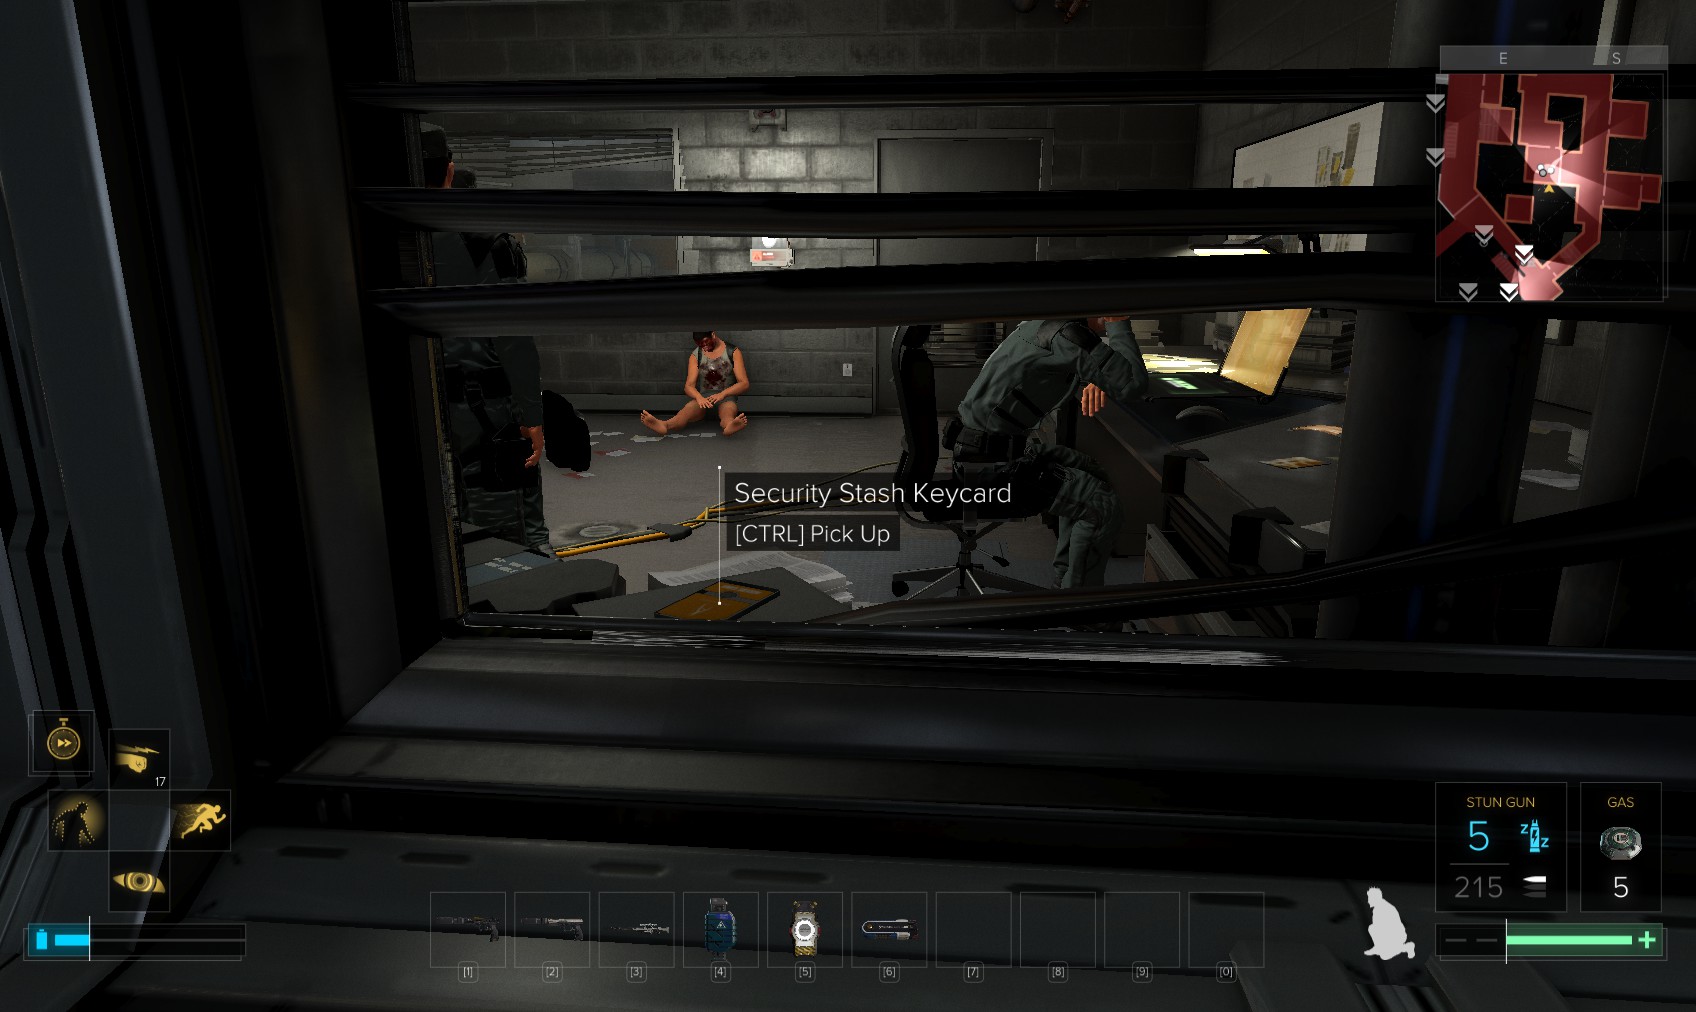
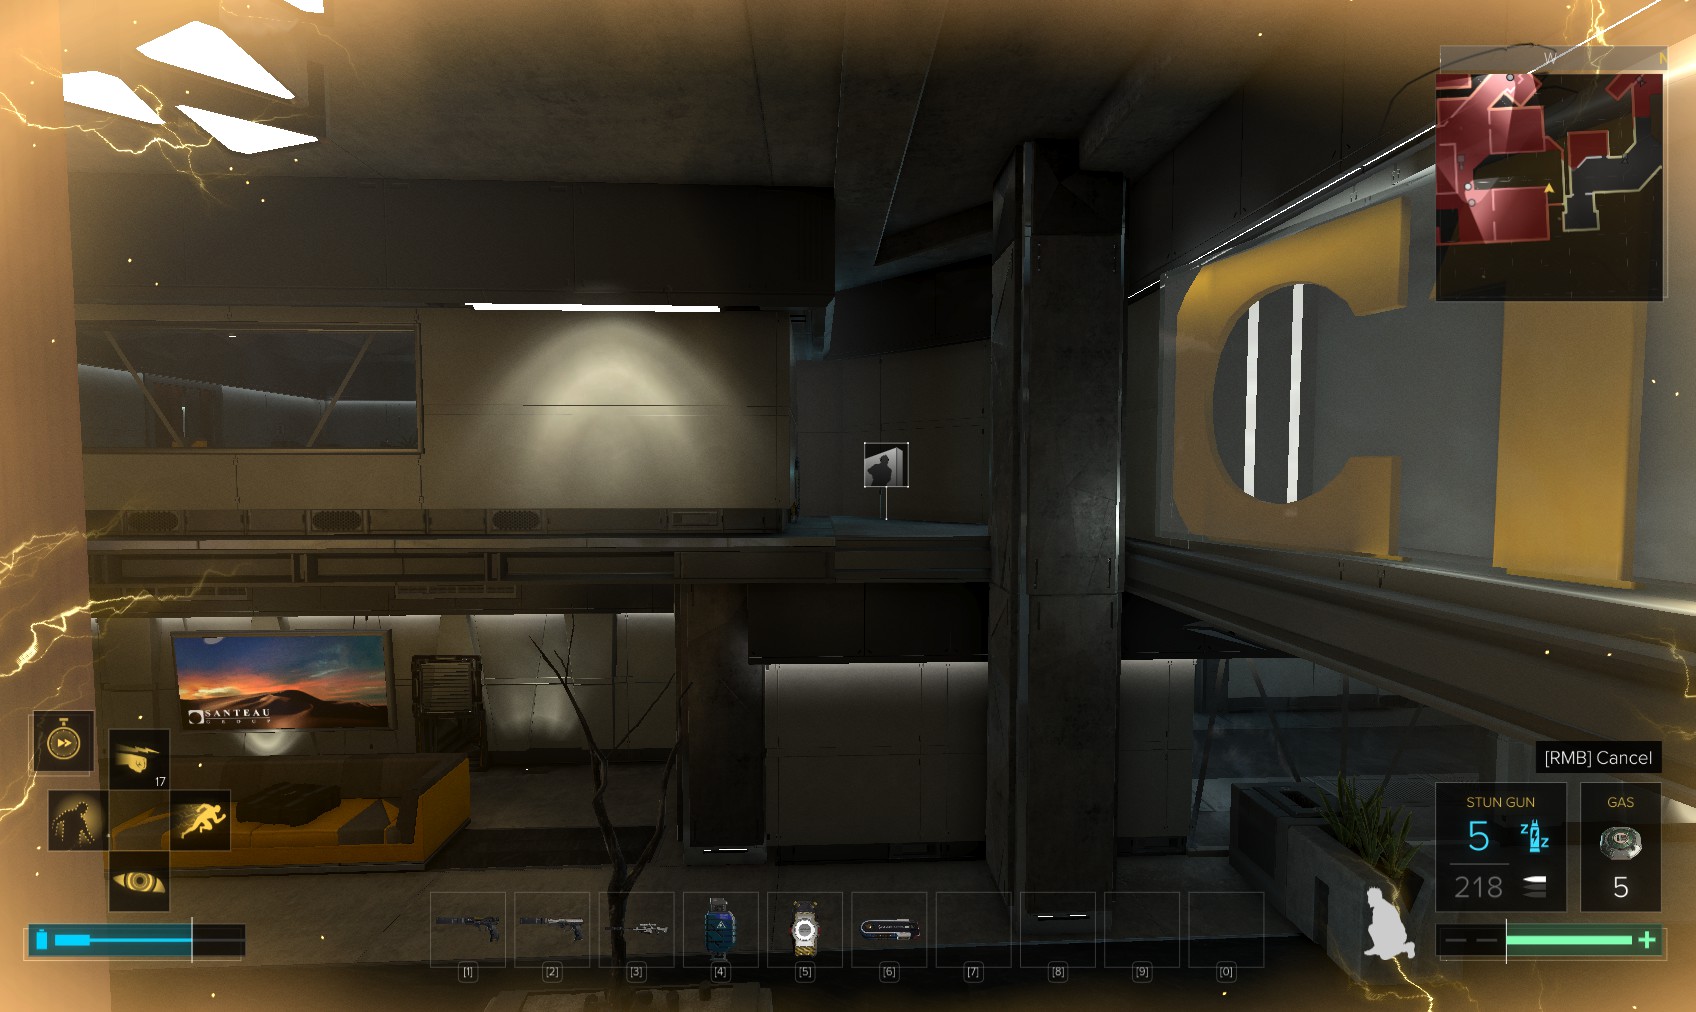
66. This is the room you saw from the other side of that broken vent. The unlocked PC reveals some of Marchenko’s plans. A nearby pocket secretary refers to "Damocles Sword" - MrM’s kill switch. If you hadn’t already stolen it in G.A.R.M., it would be in here hidden behind one of the bags under the desk. Hunt around for hacking tools and ammo.
67. On your way to here from the window, you passed an unlocked door. Go back there now.
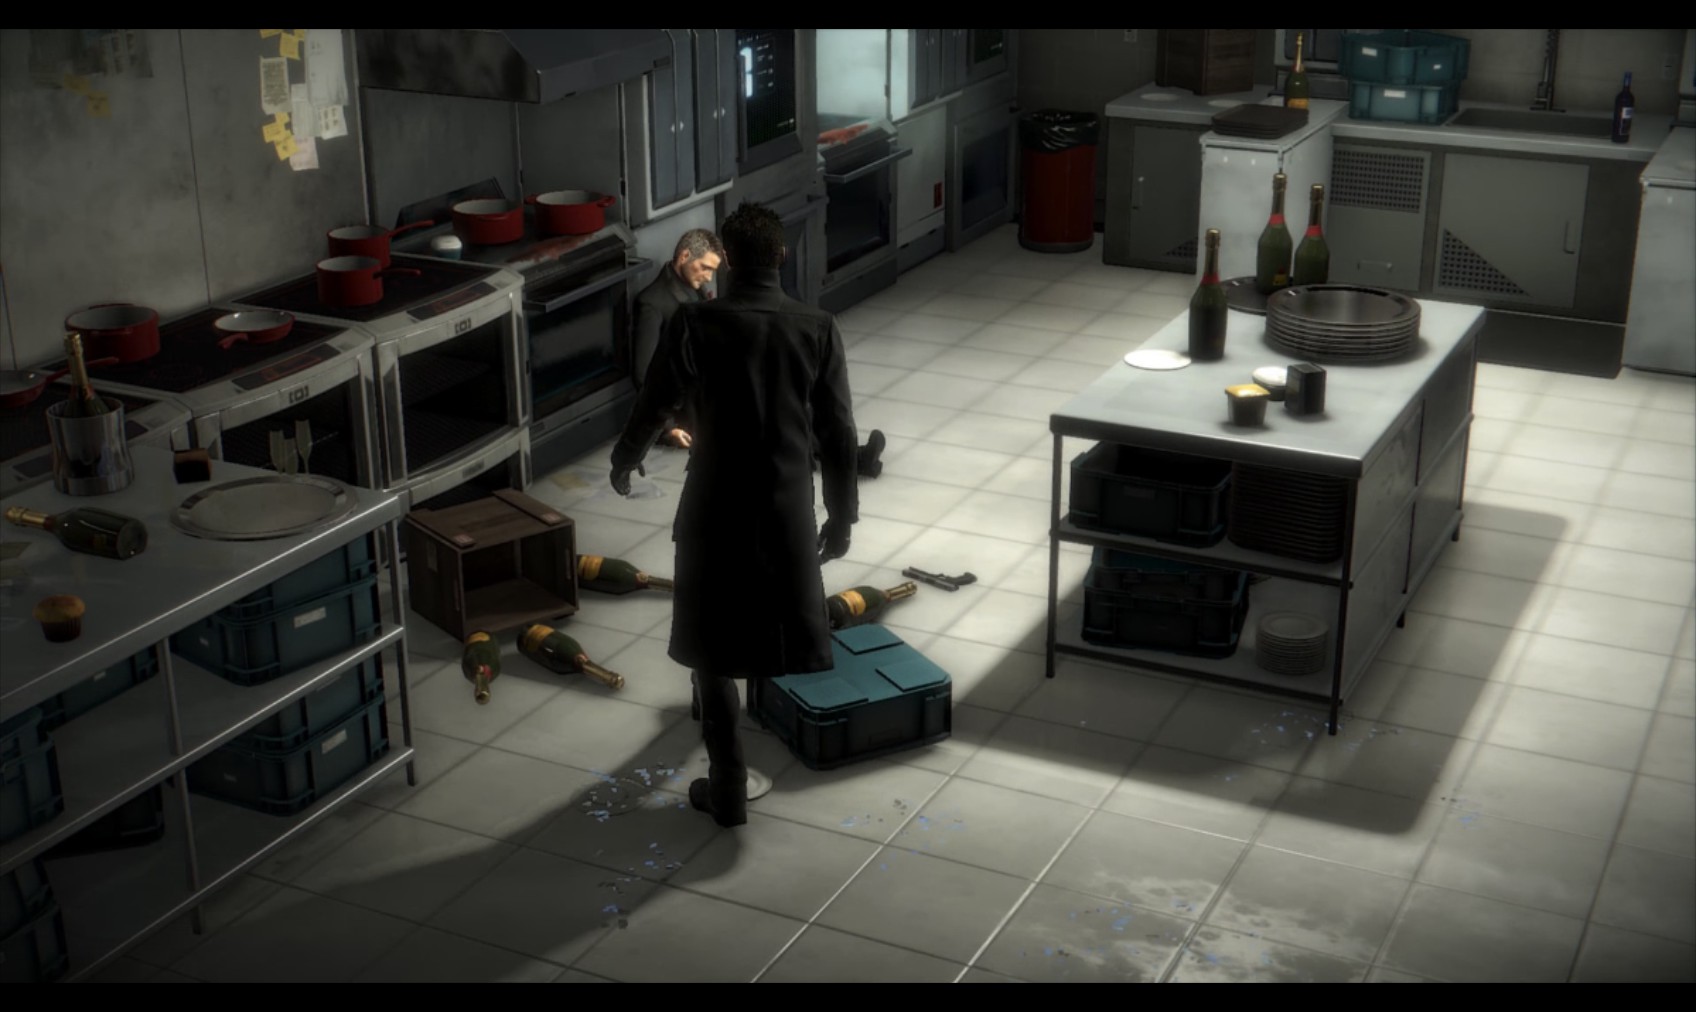
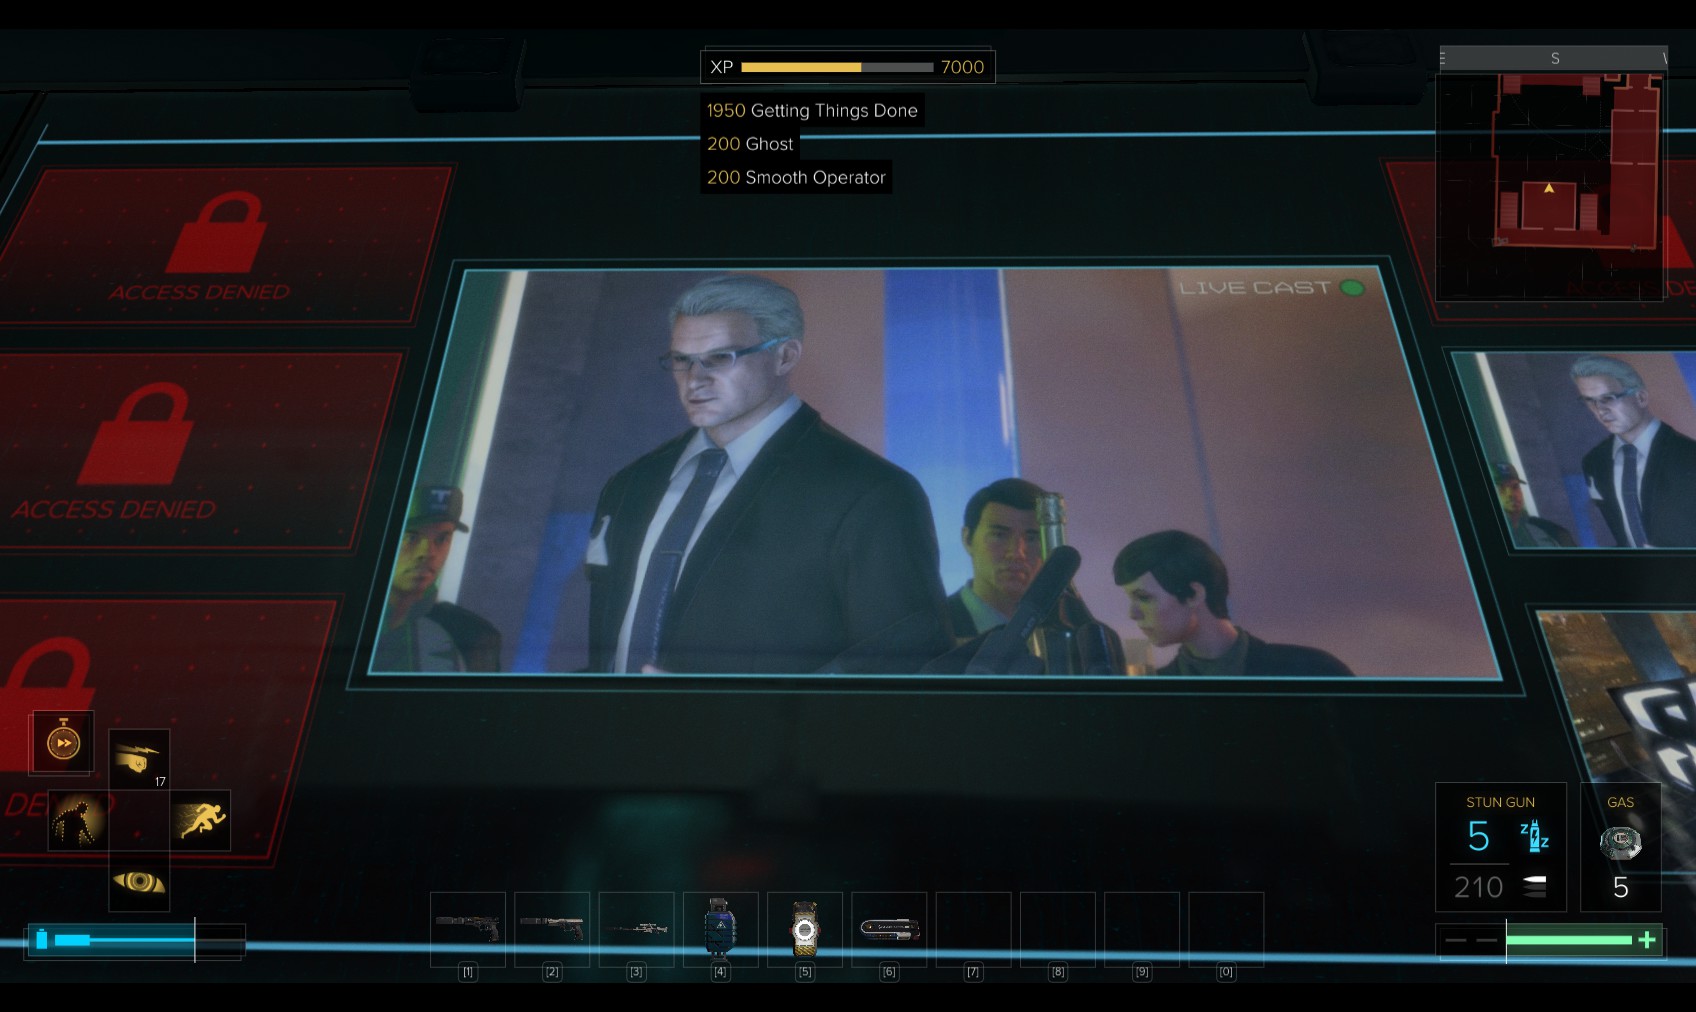
68. Open the door for a cutscene. You learn the champagne for the UN Security Council reception has been poisoned, and Marchenko cuts in on your comms link and effectively gives you a choice - save the UN delegates, or…
69. ...find him - Marchenko - and prevent him from exploding more of Allison Stanek’s "little ones". My initial choice is "Save the delegates", but I think I can deal with Marchenko too - if I’m quick enough to get to him.
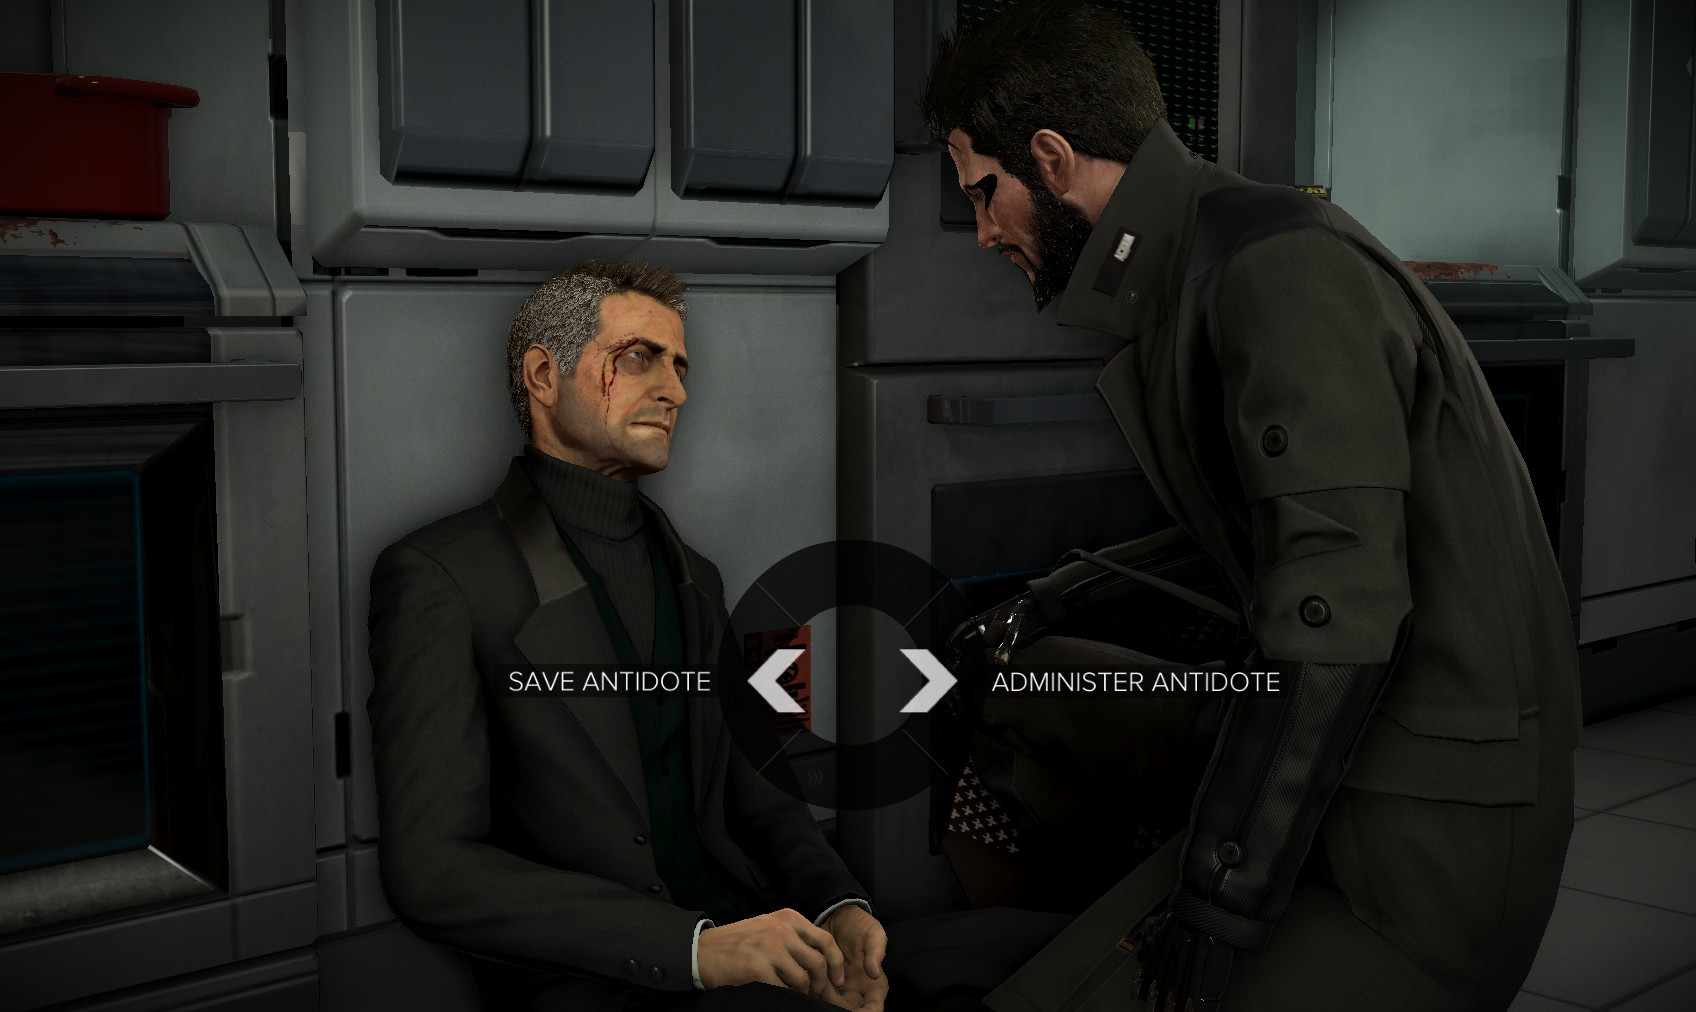
70. I speak with Miller again to learn he’s been given the Orchid poison. Another choice - give him the antidote I collected from Versalife’s vault, or save it for the delegates. I give the antidote to Miller, and go and deal with the delegates first before confronting Marchenko. I can warn Brown not to consume the champagne (and be poisoned by it), which doesn’t need the antidote.
71. I leave by the other door leading here.
72. On the left is the reception we just left. Go through the door on the right, and into an auditorium.
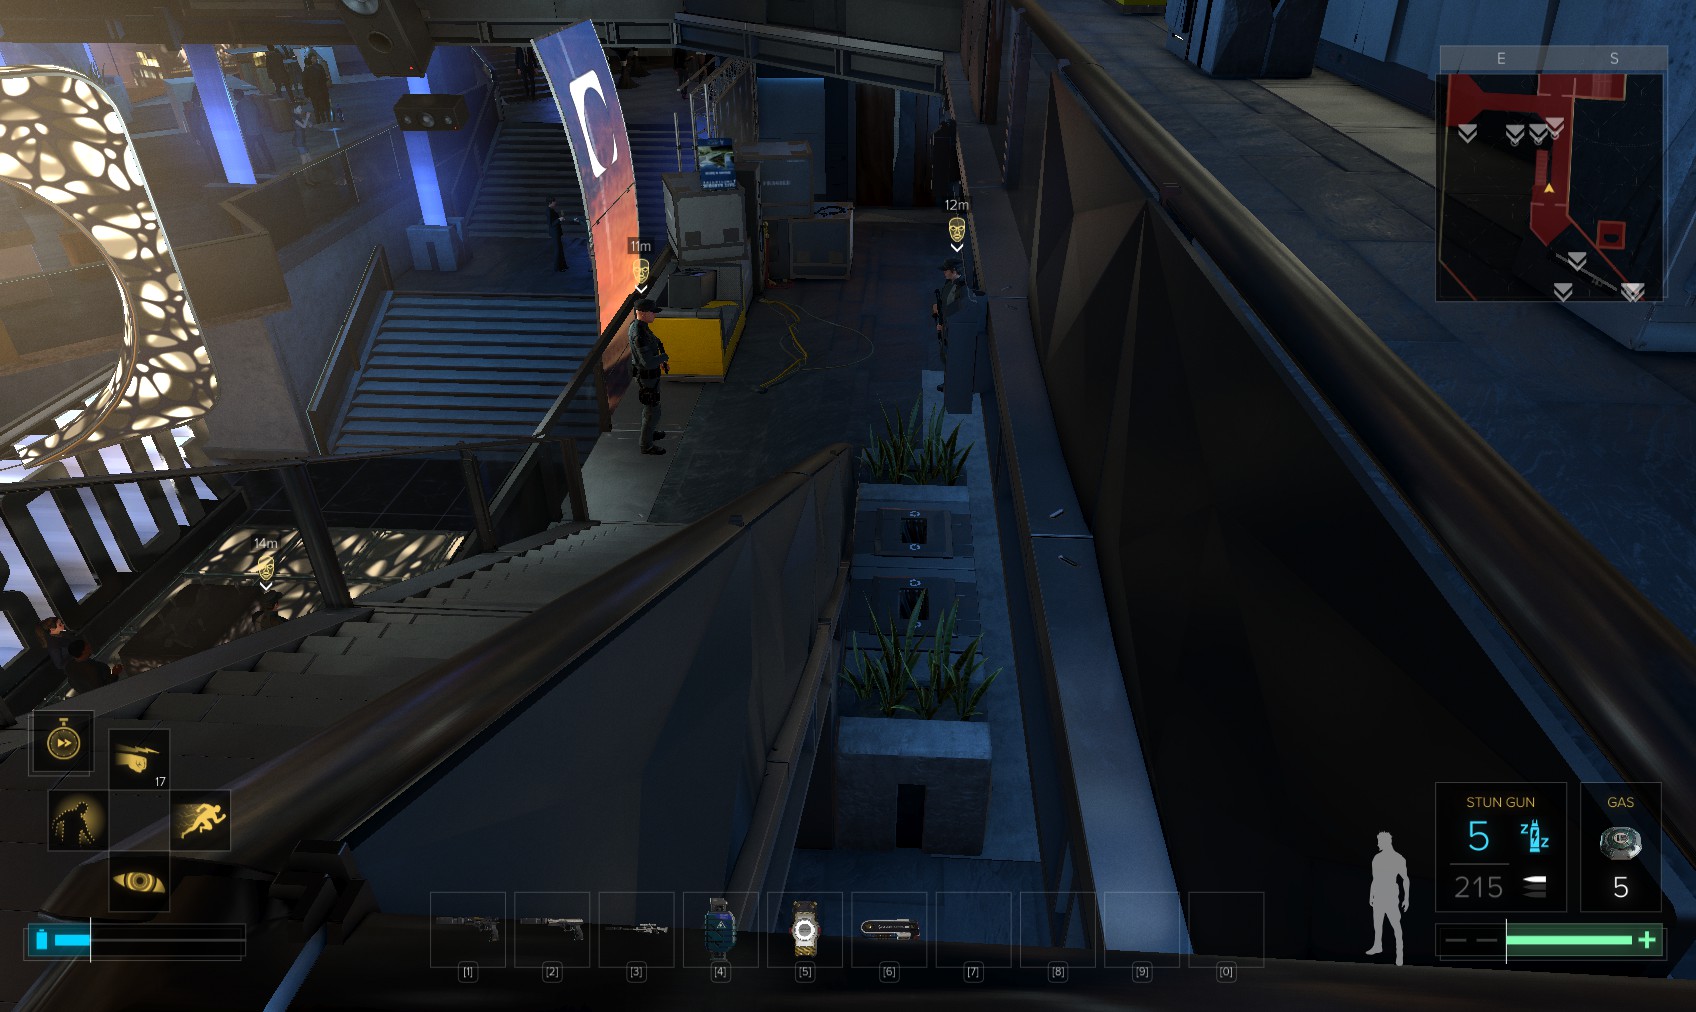
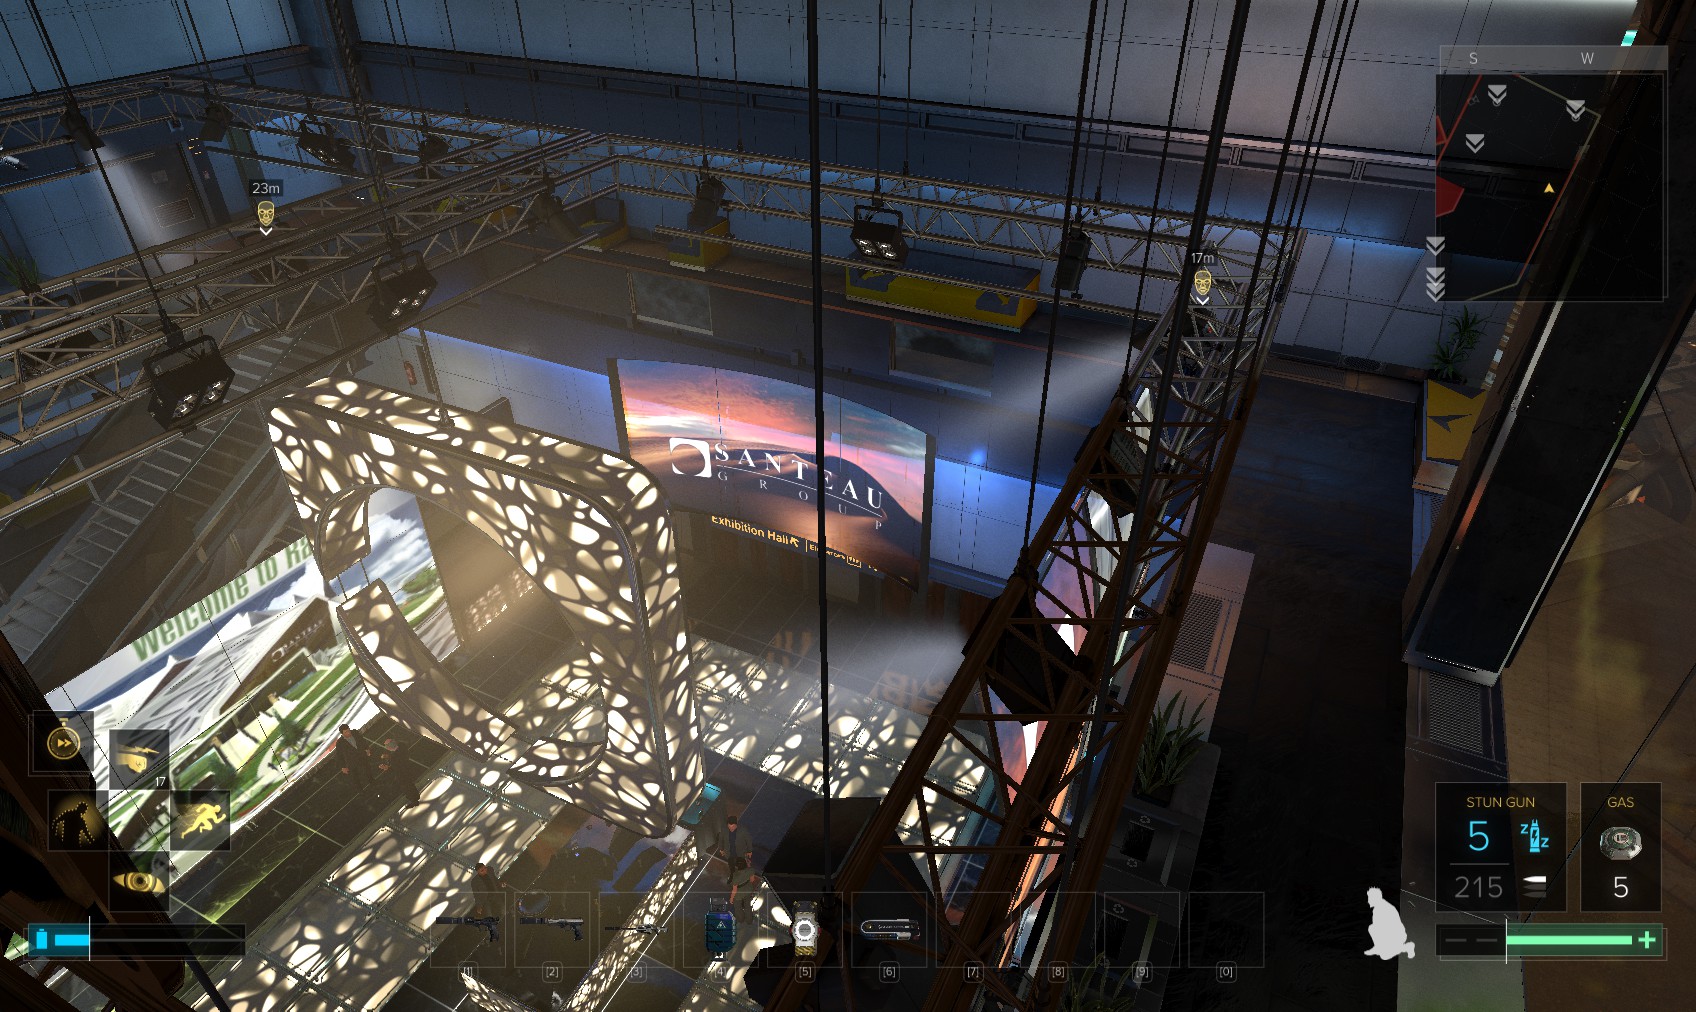
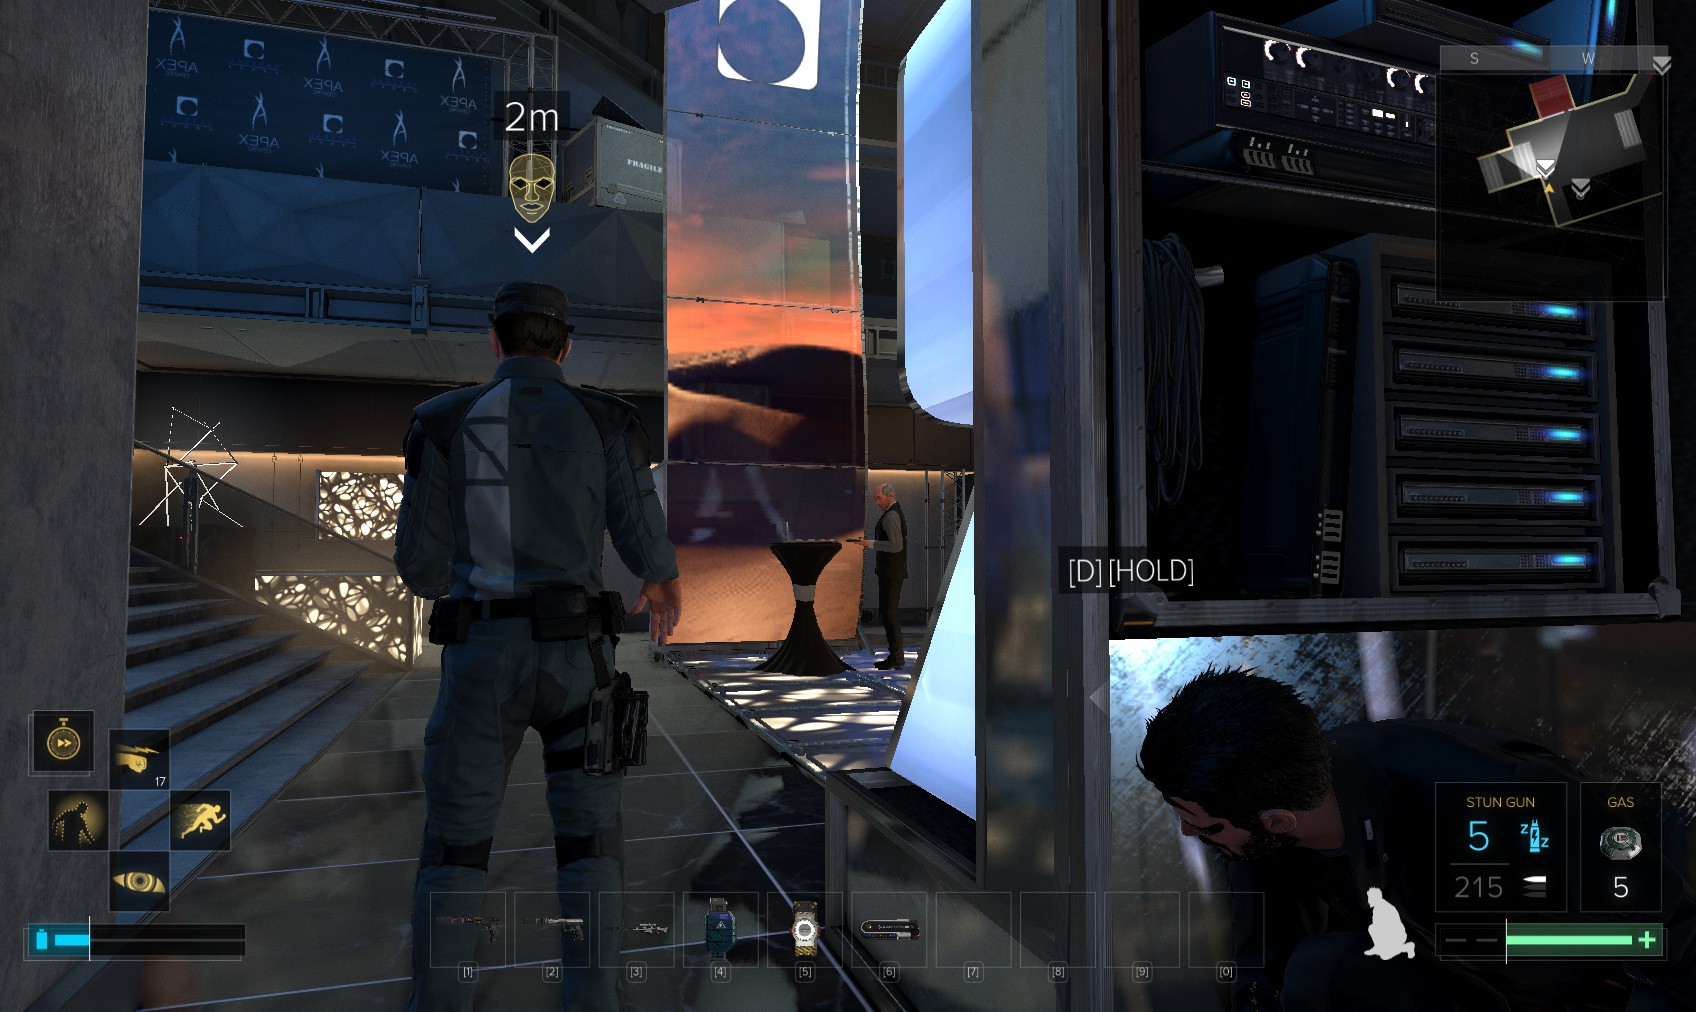
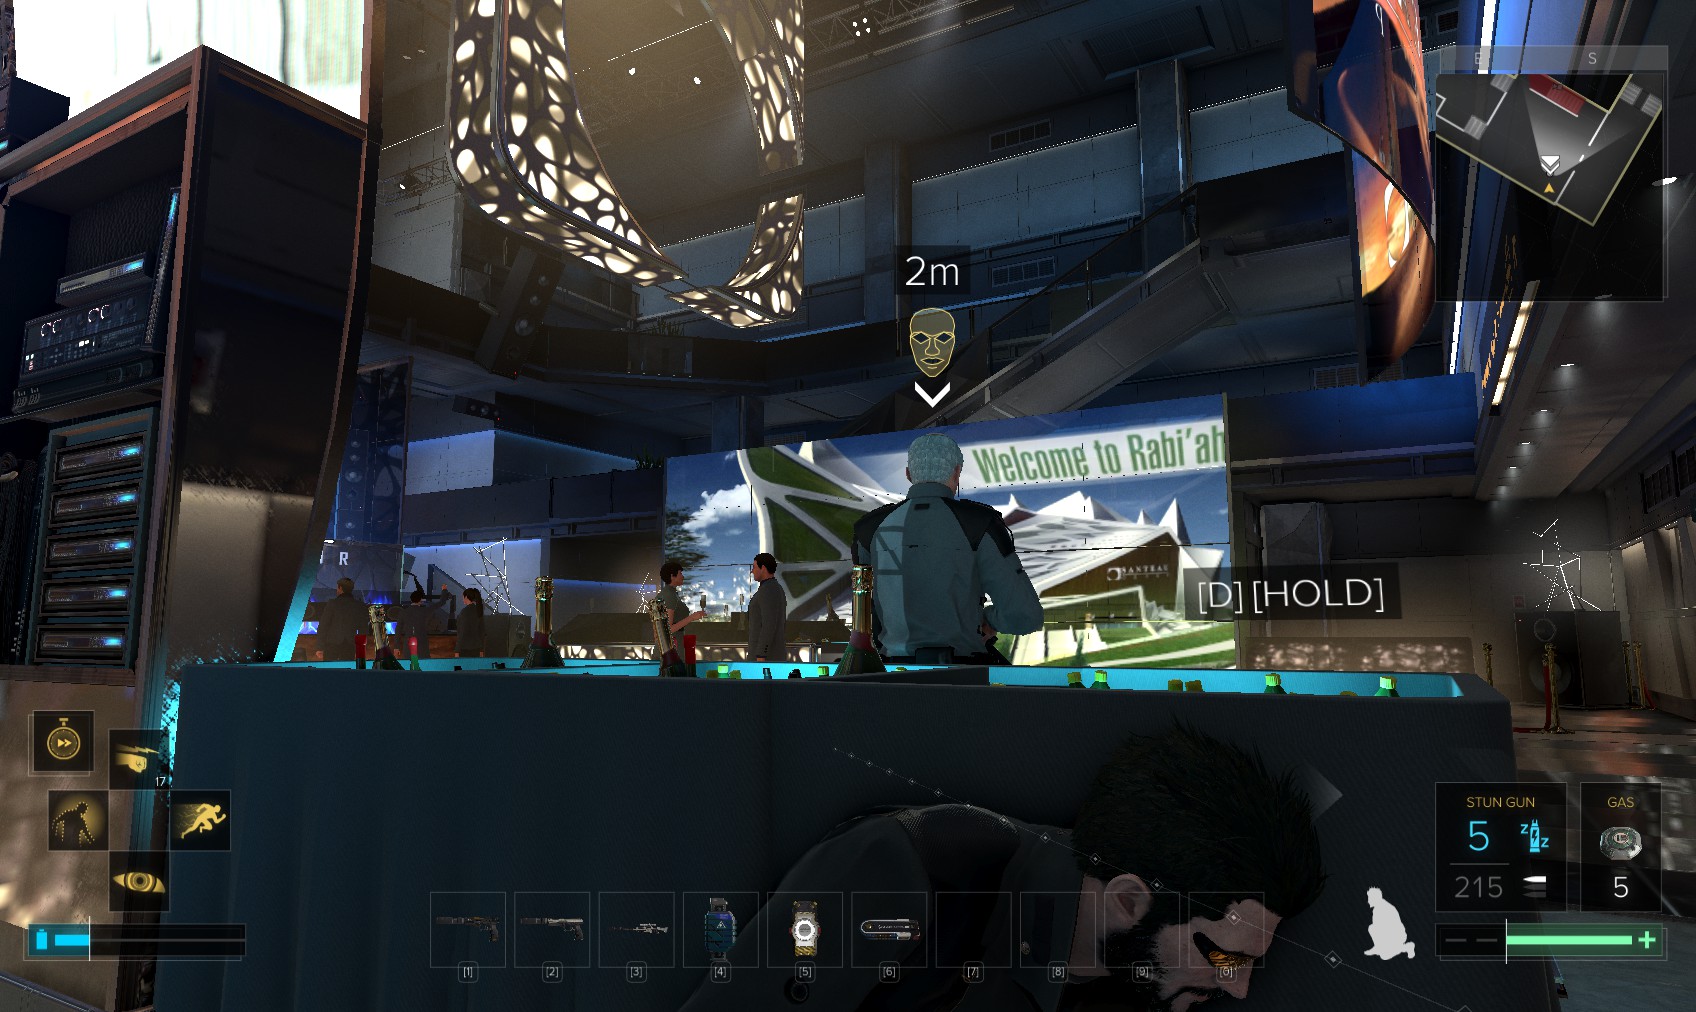
73. Two pocket secretaries are on the lower bench seats, one with the password fireworks to security and defense systems. A weapons case is also nearby. There are two vents beside the big screen. Take the left one (the other goes to the same place by a longer route).
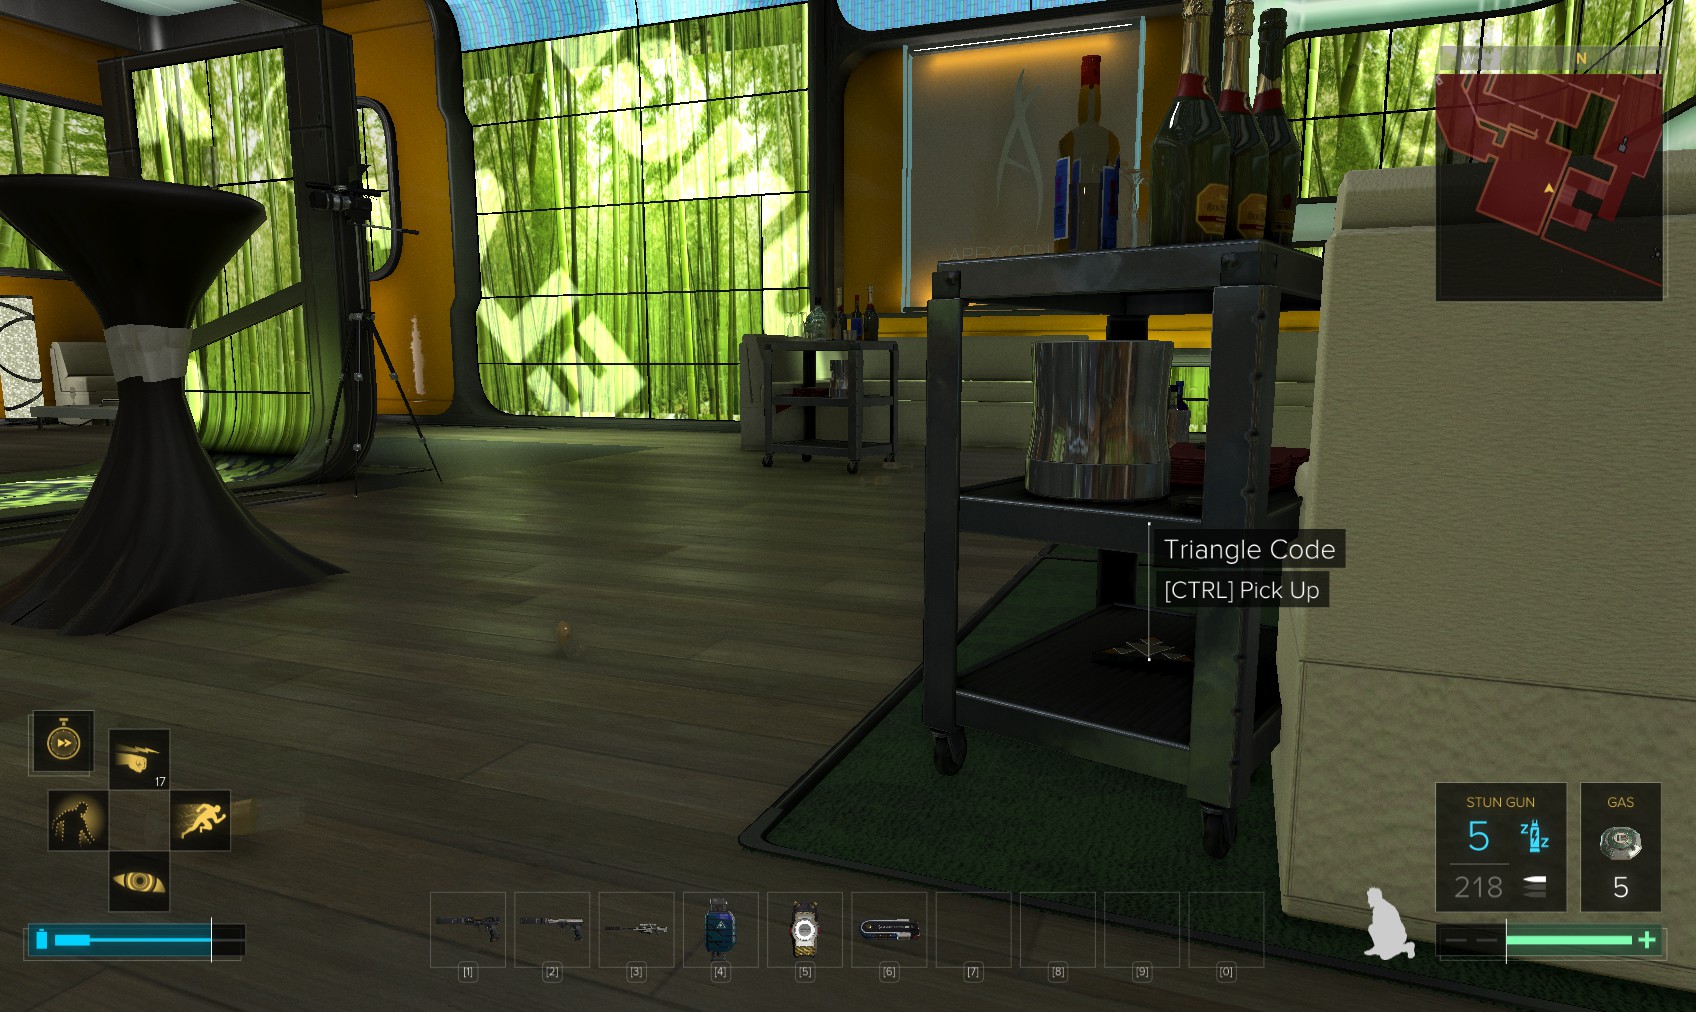
74. You come out behind the sofa on the right. If you look carefully, you can just see a cloaked guard on patrol.
75. I slip quietly left to the area behind the information desk. From there, I sneak to the booth behind the turret.
76. This security console does not recognise fireworks as the password, so I cloak and hack it (level 4 stealth software) and disable the turret.
77. I head up the stairs - my time limit doesn’t actually begin until after I visit the VIP lounge where Brown and the delegates are. That door ahead is a level 1 hack for nuke software that I can easily do while cloaked. I head inside.
78. The cabinet on the right by the window has a Triangle Code. Head through that vent on the left.
79. With Icarus Dash I can jump across here to another vent. Without it, you can drop down and jump up the other side if you avoid the patrol below. Enter the room carefully as one of the goons patrols in here.
80. There’s not much in here except that suspended ceiling. Jump up when it’s clear.
81. You come out into an open space in the ceiling, with a vent straight ahead. Be aware - you can be noticed up here. Instead, turn right, and then right again.

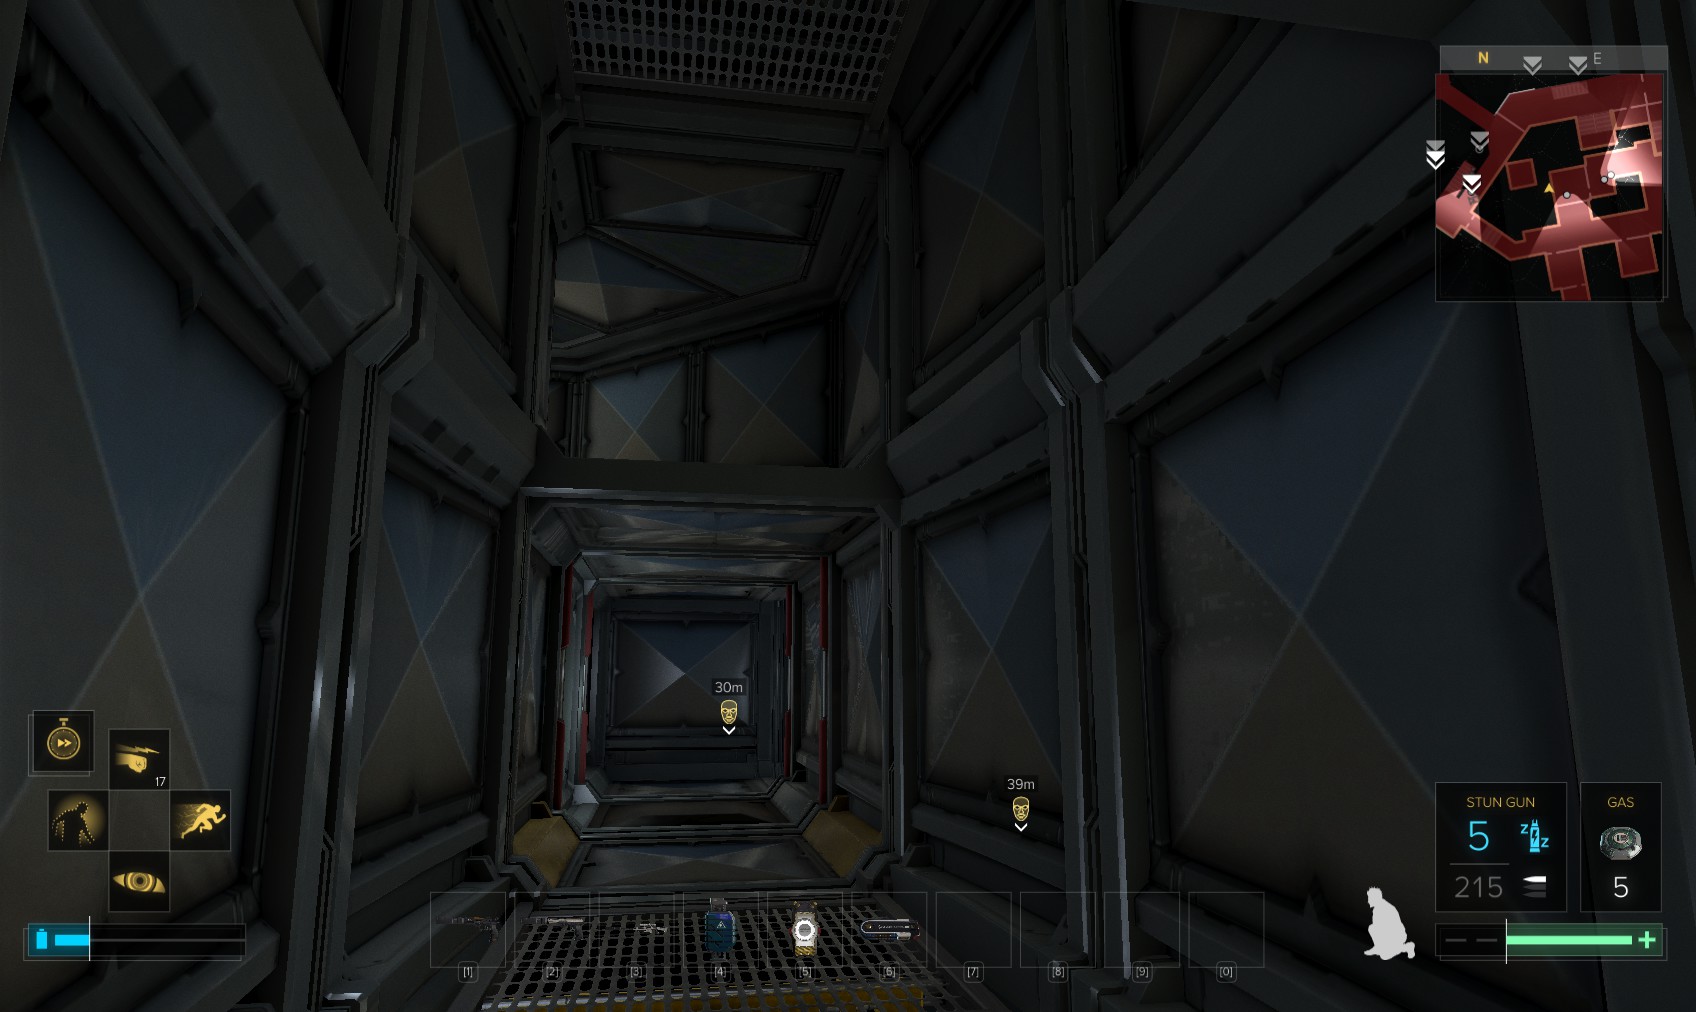
82. You drop down into a maintenance room. The cabinets contain hacking tools and other goodies. Jump back up into the vent in the ceiling.
83. Continue North-West into the far vent. Eventually drop into this room. Search the drawers carefully (no EG Glass here!) for an EMP grenade and other stuff), then, when the guard outside is not actually looking into the room, break through the weak wall vent on the right.
84. Through another vent leads here. Take the destructible vent if you have Icarus Lander. If not (how did you get here without it?!?) you’ll have to use the other vent and ride the lift - possible, with cloaking and care. I do have the Lander…
85. The destructible vent comes out here in the lift shaft. If you want more exploring, you can head through one of the doors to search rooms on this level for minor goodies. I’m just going to jump down the lift shaft.
86. Drop into the lift and select the VIP room. Alex contacts you with the door code.
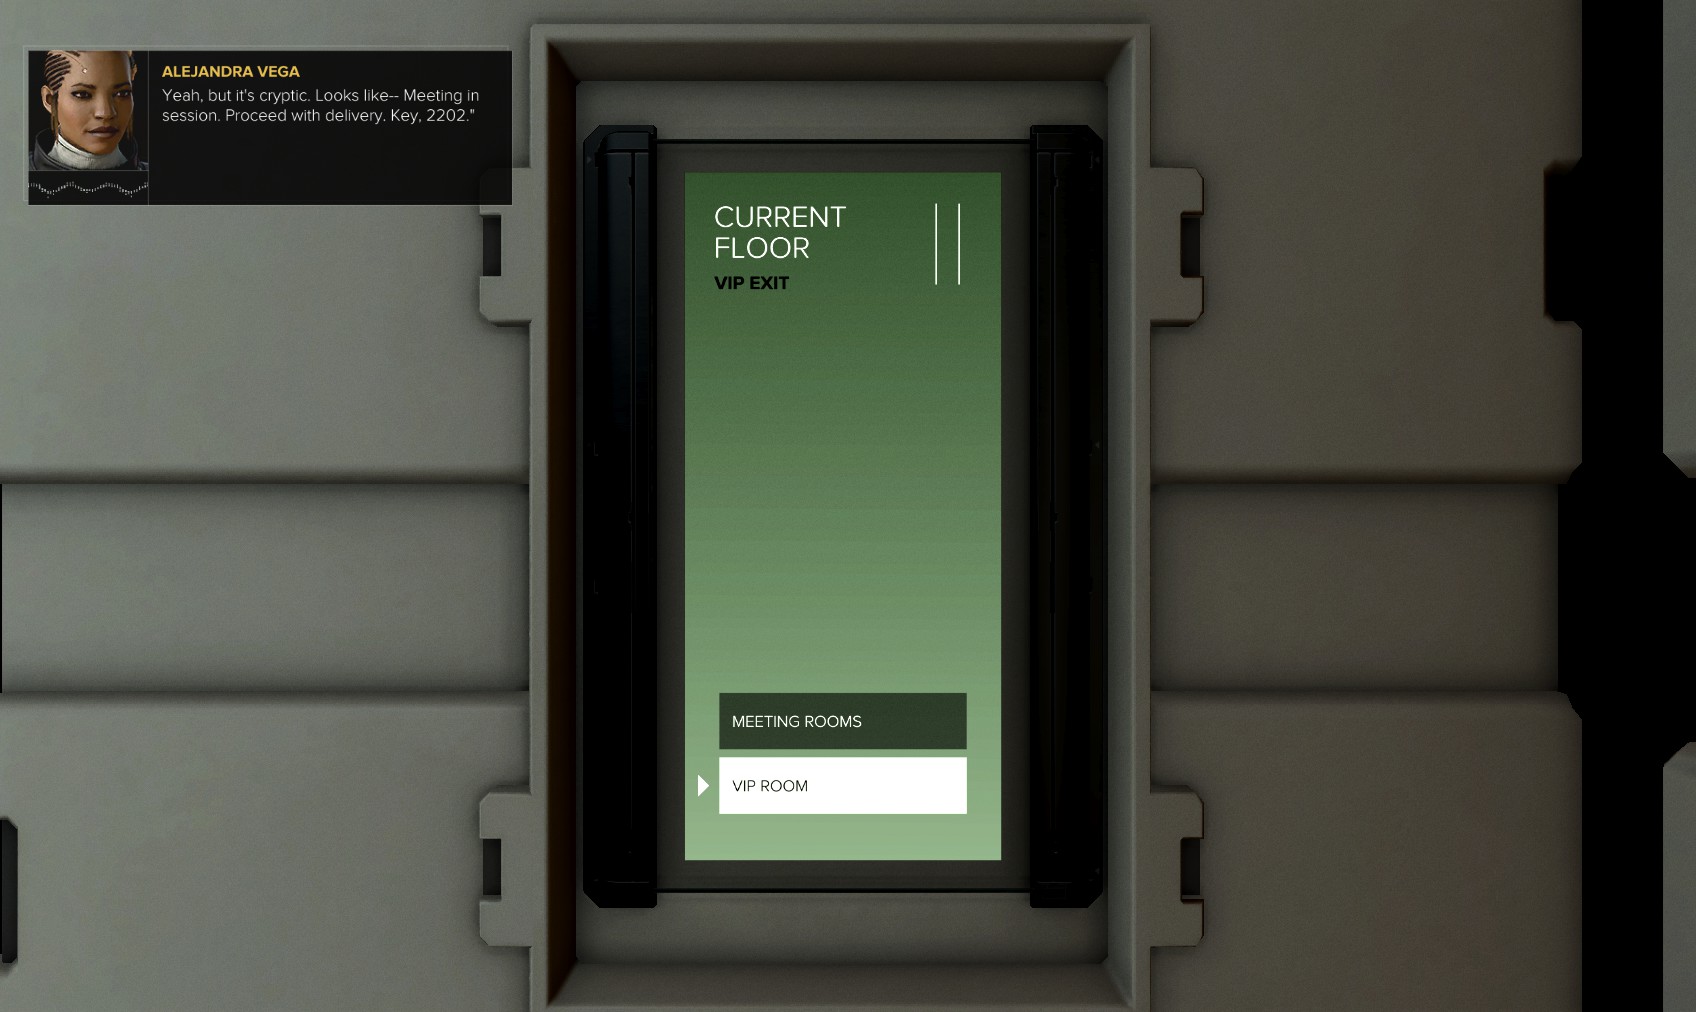
87. You can hack the level 1 door for 2 nukes and overclock software, or use the code given you by Alex for higher XP. Head inside for the cutscene with Brown.
88. He’s upset to throw away such fine Champagne, but does as you ask, and gets the delegates out too. Job #1 done.
89. Another Triangle Code here, and another eBook. Check out the HUD map - right ahead is supposed to be a room.

90. Sure enough, a fake door.
91. That door ahead is why we went back for the second keycard. You did, right? Head through for the confrontation with Marchenko.
92. He actually thinks you came straight here, which is fine. You can kill him right off with the killswitch. I choose to fight him and take him out non-lethally.

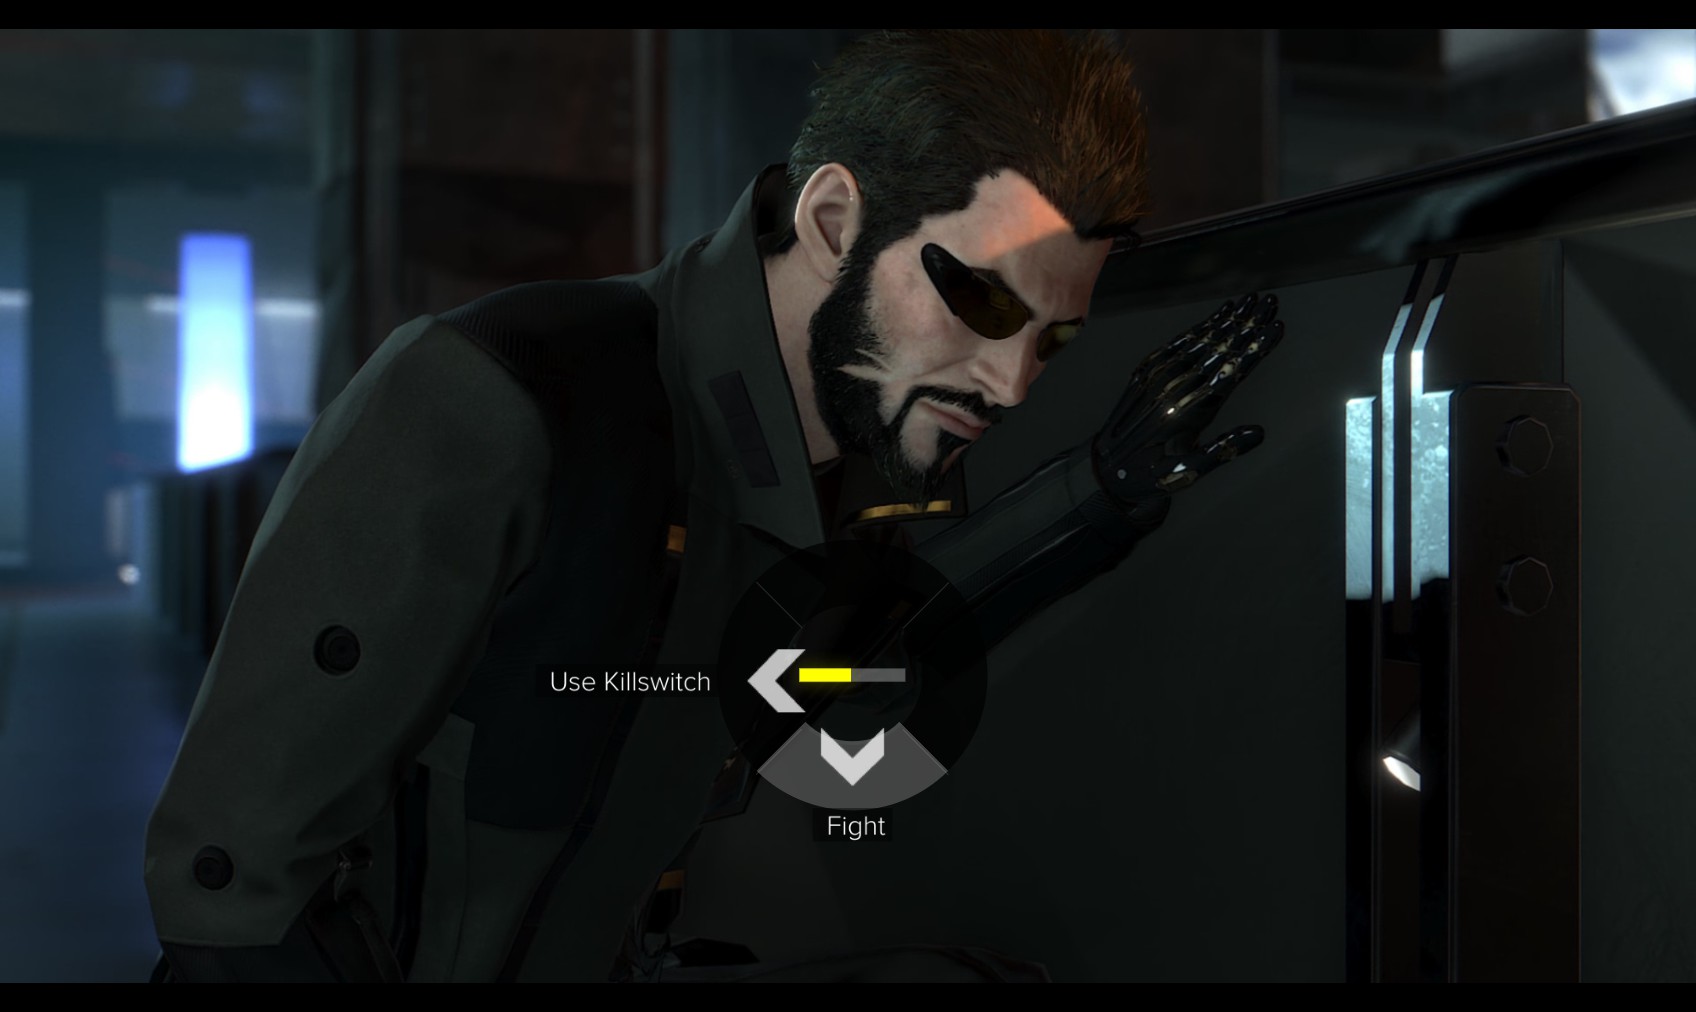
93. Immediately behind you when you get control back is a vent. Get straight in there. Marchenko is massively armoured and armed, and there are plenty of traps to avoid.
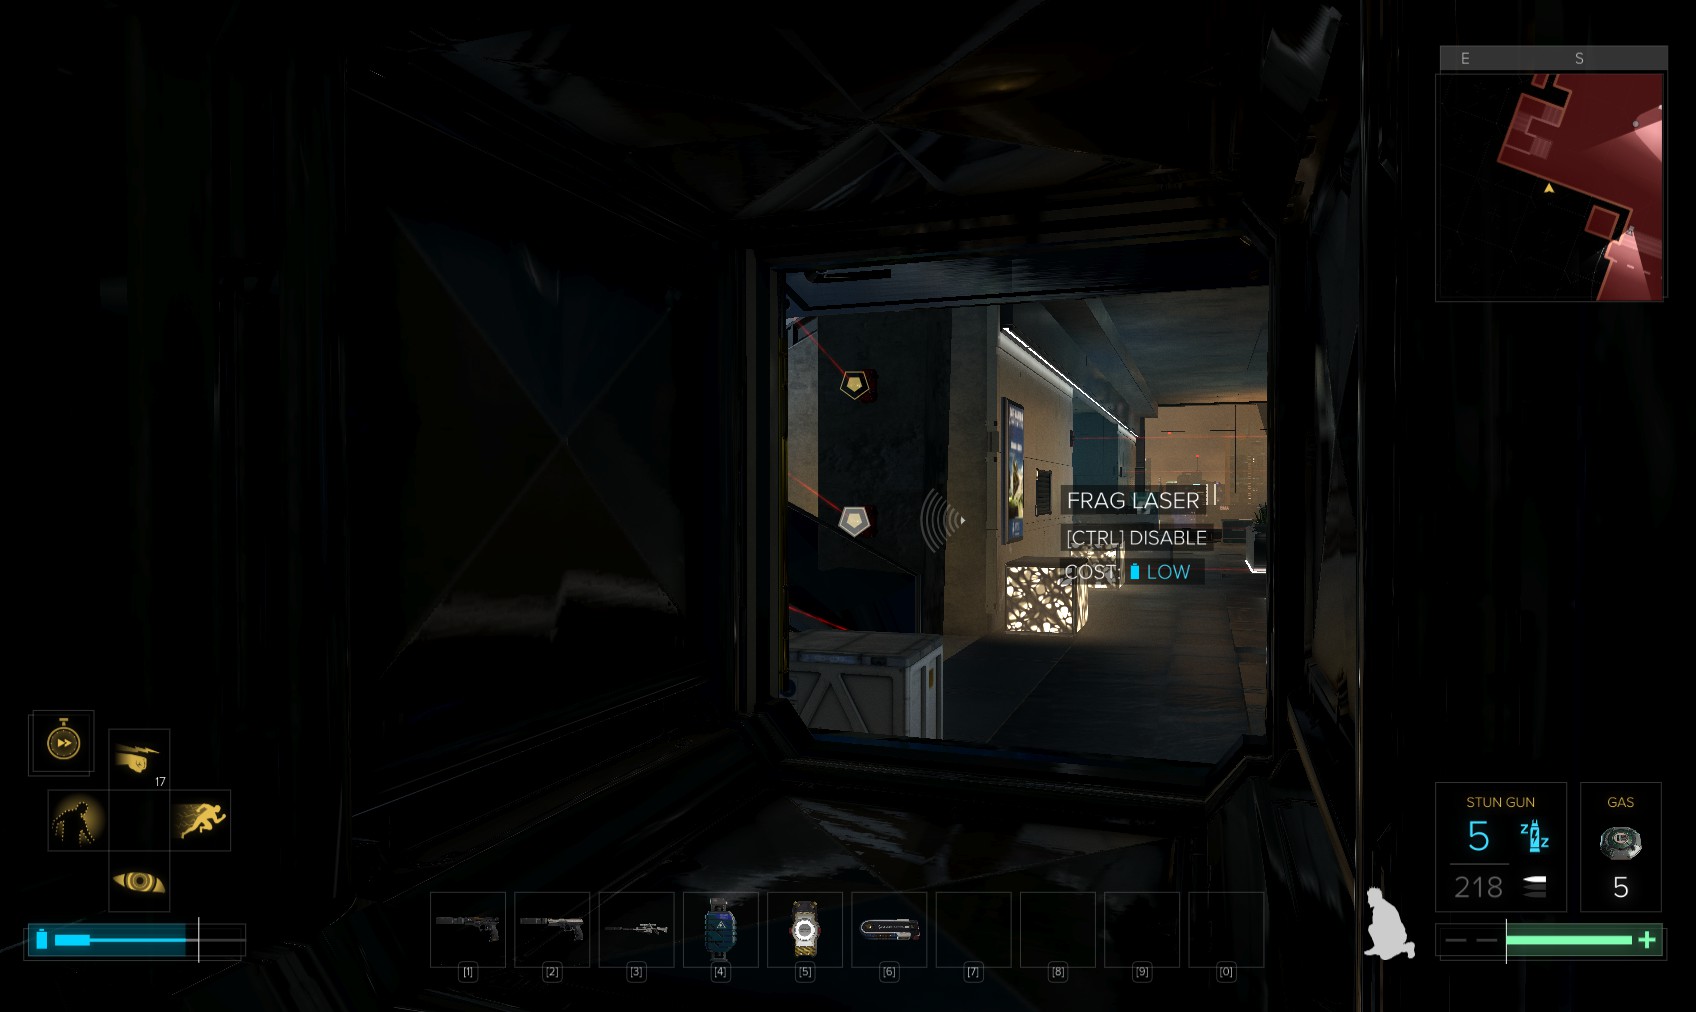
94. At the other end of the vent, you can disable the lasers fairly safely, although doing so will alert Marchenko. So, there’s a quick and easy way to take him out right now, if you want. Otherwise, cloak and head up the stairs to the left (cloak to avoid tripping the lasers).
95. At the top, move those boxes to reveal a door, or climb over and through the vent visible on the right.
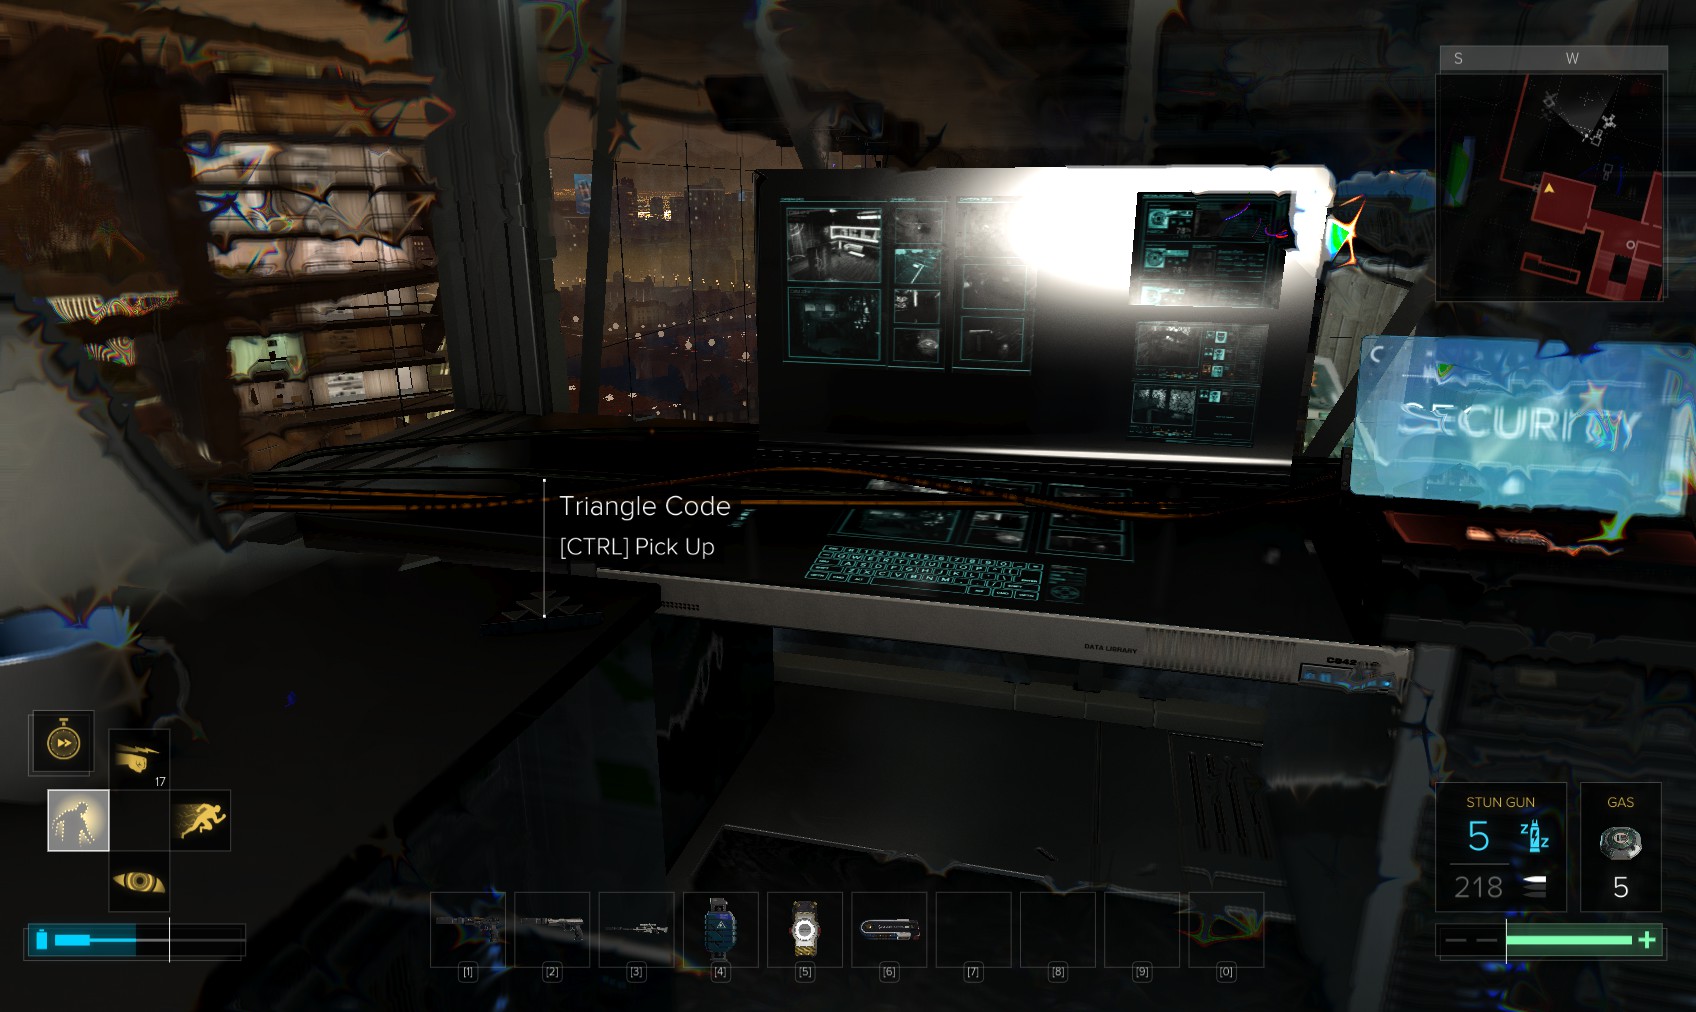
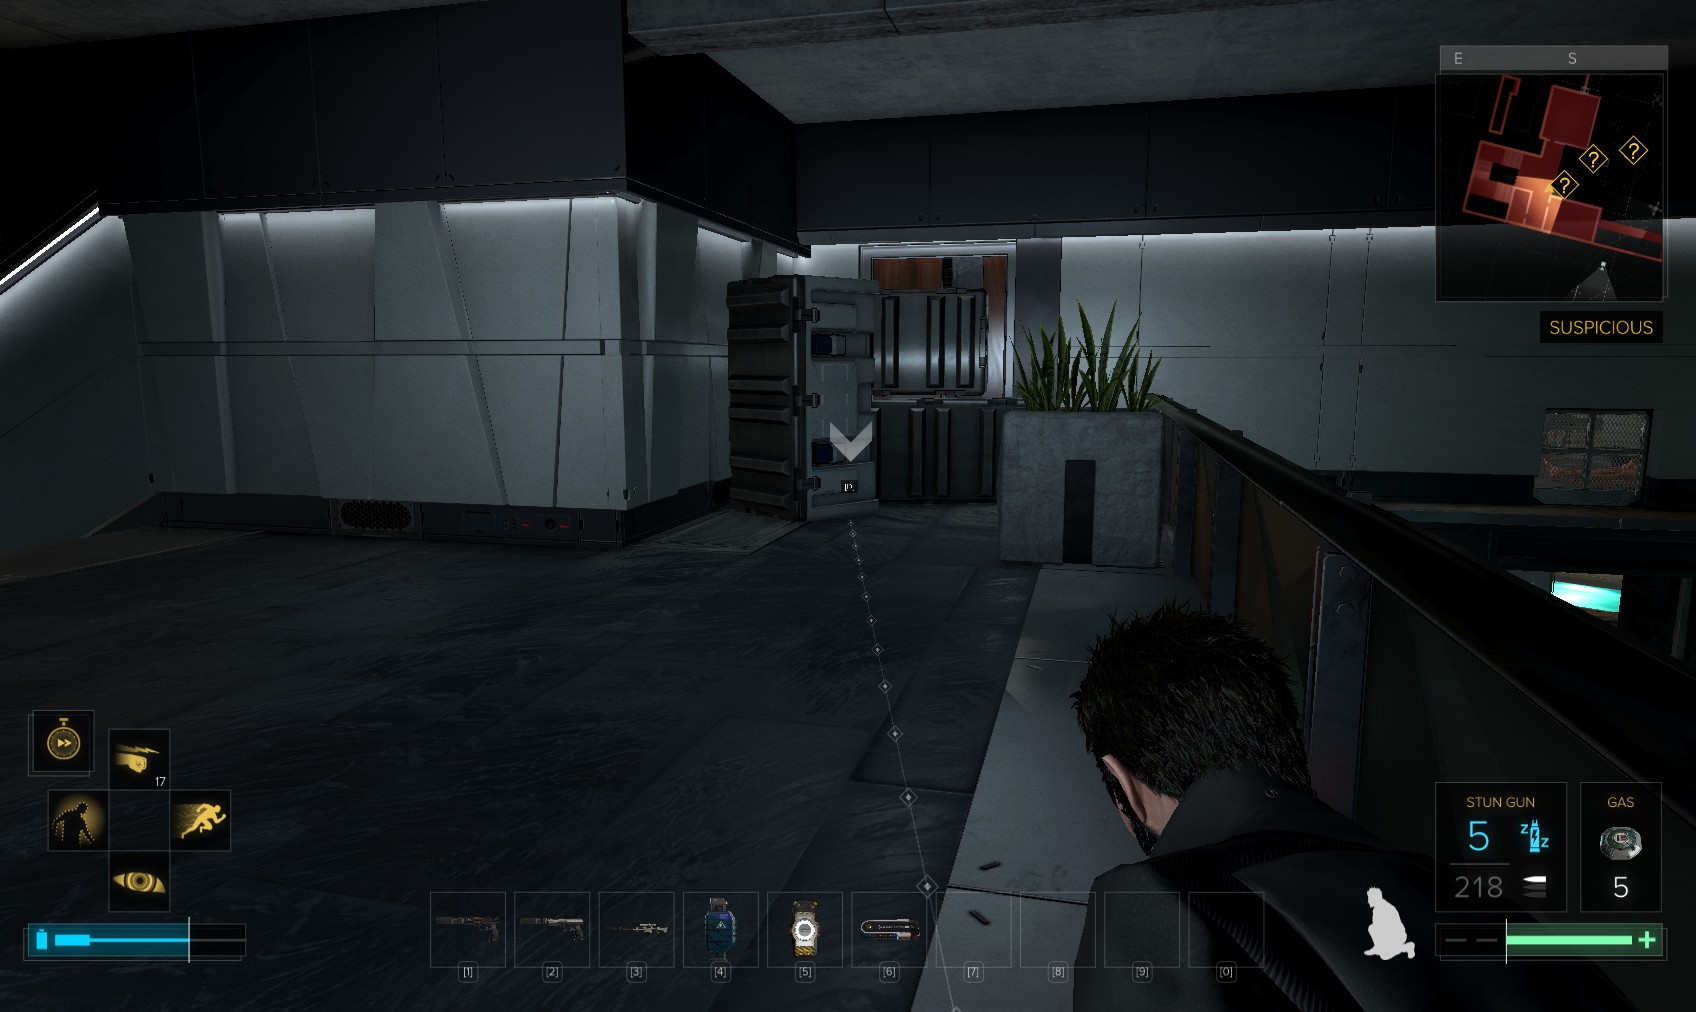
96. The security console is level 5, and not really hackable stealthily. There are lots of goodies to collect here, but it’s the Triangle Code I really came for.
97. A vent at the rear of the room leads to a maintenance area and a weakened wall. Or if you want something sneakier…
98. ...return through the door that was blocked with crates, and enter the far room on the left.
99. Marchenko periodically enters all these rooms so be careful.

100. In the corner, hidden by a bag, is this vent under a desk. Go in
101. ...and climb up.
102. For a nice view - you can still be seen up here too.

103. Or drop down to the very bottom for a series of vents along the Northern part of the hall.
104. Time to put an end to Marchenko’s ranting. I’ve returned to this point for continuity, but this technique can be used anytime. Equip an EMP mine if you have one.
105. Marchenko is heavily armed and armoured, but is susceptible to an EMP attack which will disable him temporarily. It doesn’t completely take him out and must be followed by a take-down. When that’s done, all the security measures in the room are automatically disabled, and the game ends. Drop an EMP mine not too far away (an EMP grenade also works, but is harder to pull off).
106. When Marchenko is prowling nearby, remote-hack one of the lasers to get his attention. He’ll come and investigate, tripping the mine. The drones can get in the way of doing this unseen - a fully upgraded cloak or tactical save game can help with that.
107. When he sets off the mine, cloak and take him down. If you’re quick, before the end-game cutscene interrupts, you can get a Praxis Kit off him.

108. And that’s how you get Smooth Operator for this mission - and Foxiest of Hounds for this playthrough.

109. Eliza Cassan - the PICUS one, not Helle - reads the news.
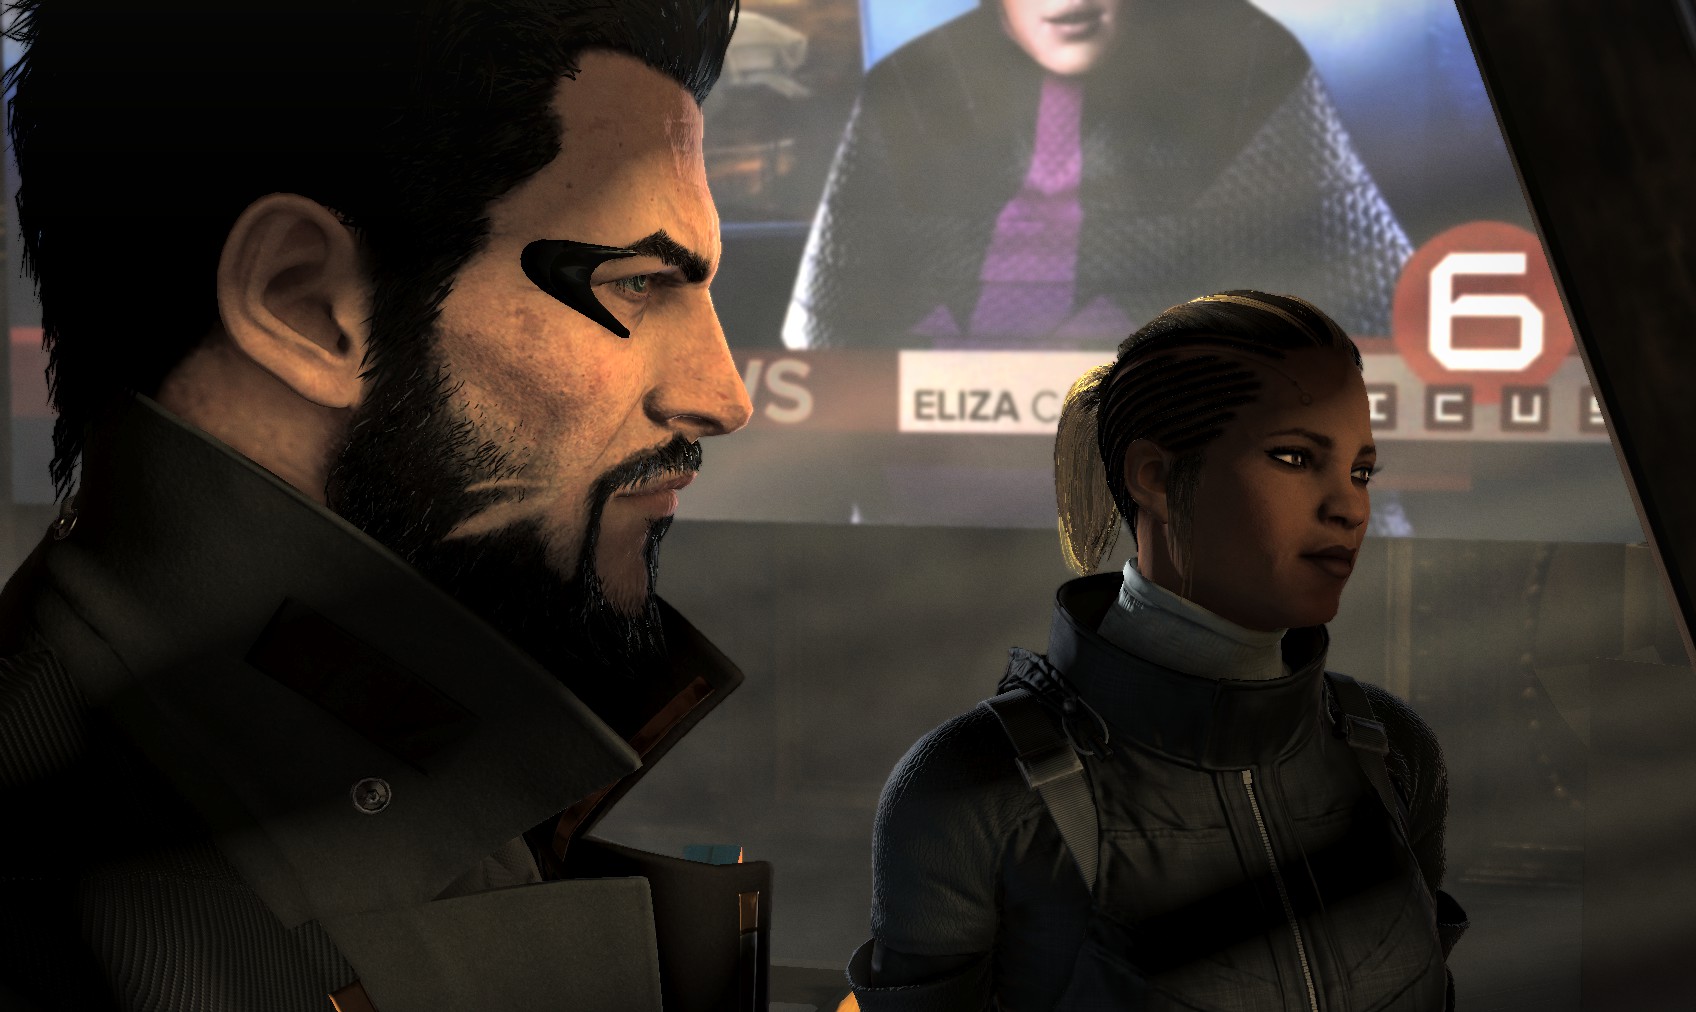
110. Alex and Adam debrief and chew over what’s happened. After the whole journey, only new questions. And the news?

111. Palisade break-in denied.

112. Talos Rucker’s death pinned to alcoholism.
113. Sweet dreams.