
1. The lift brings you to here, on level 1. Head round to the right behind some black display boards.
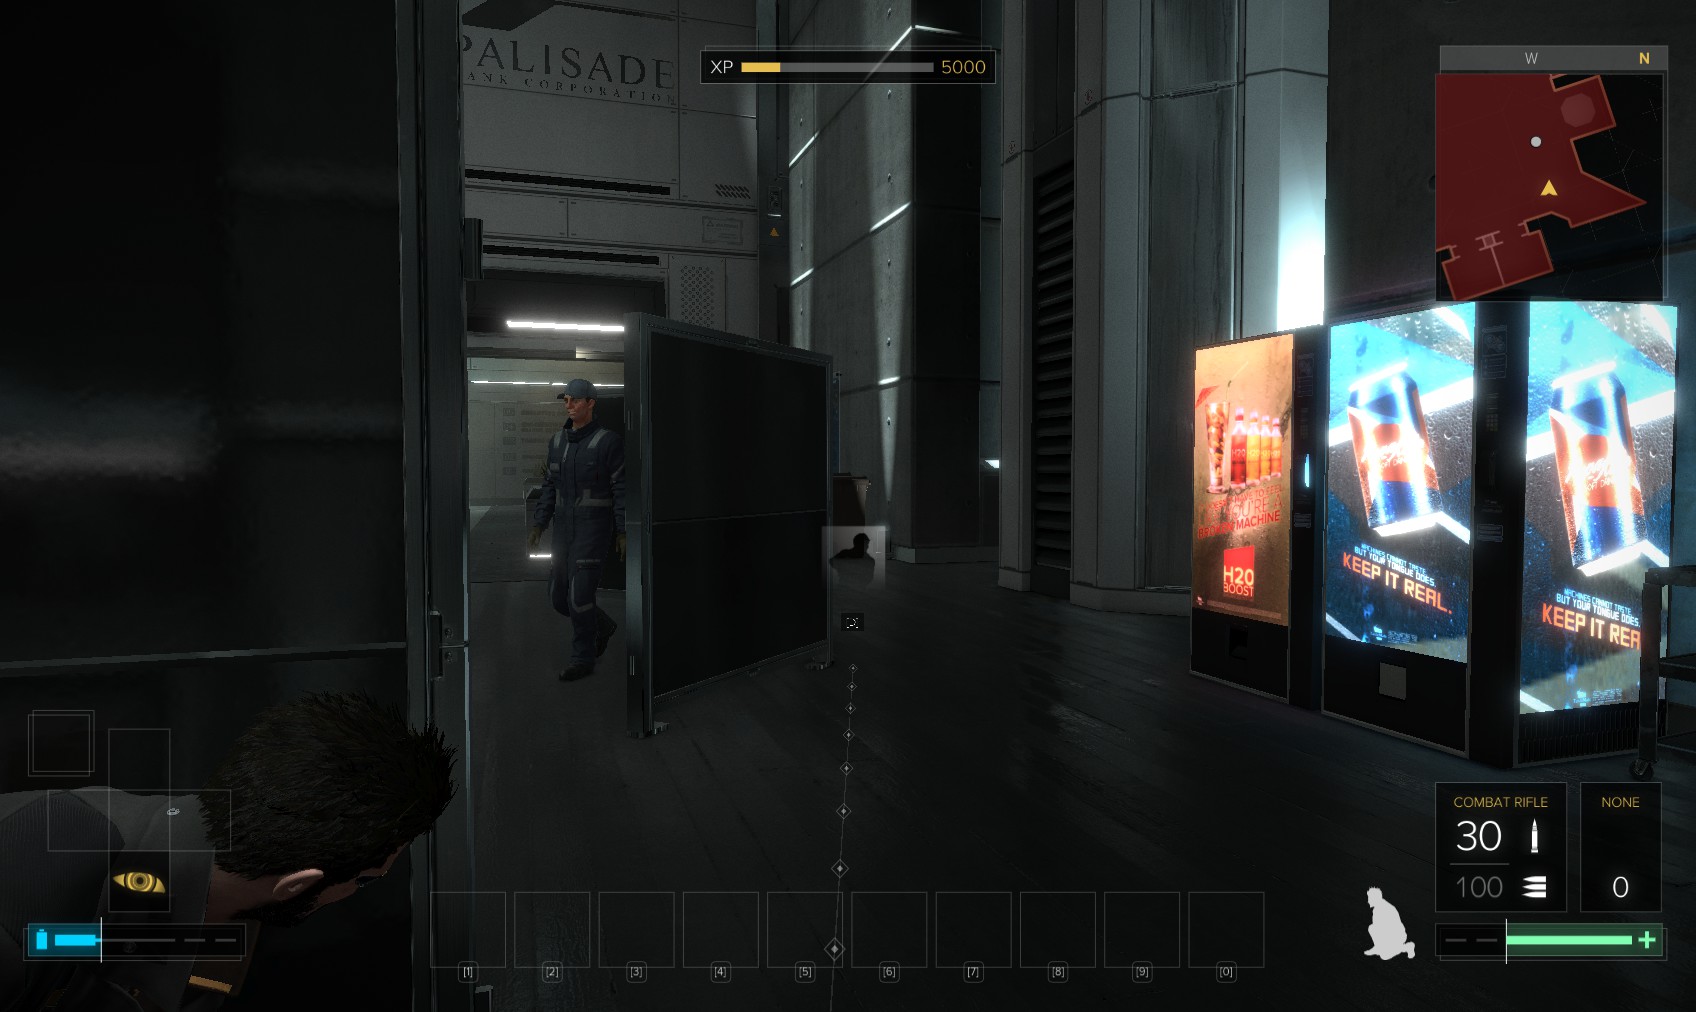
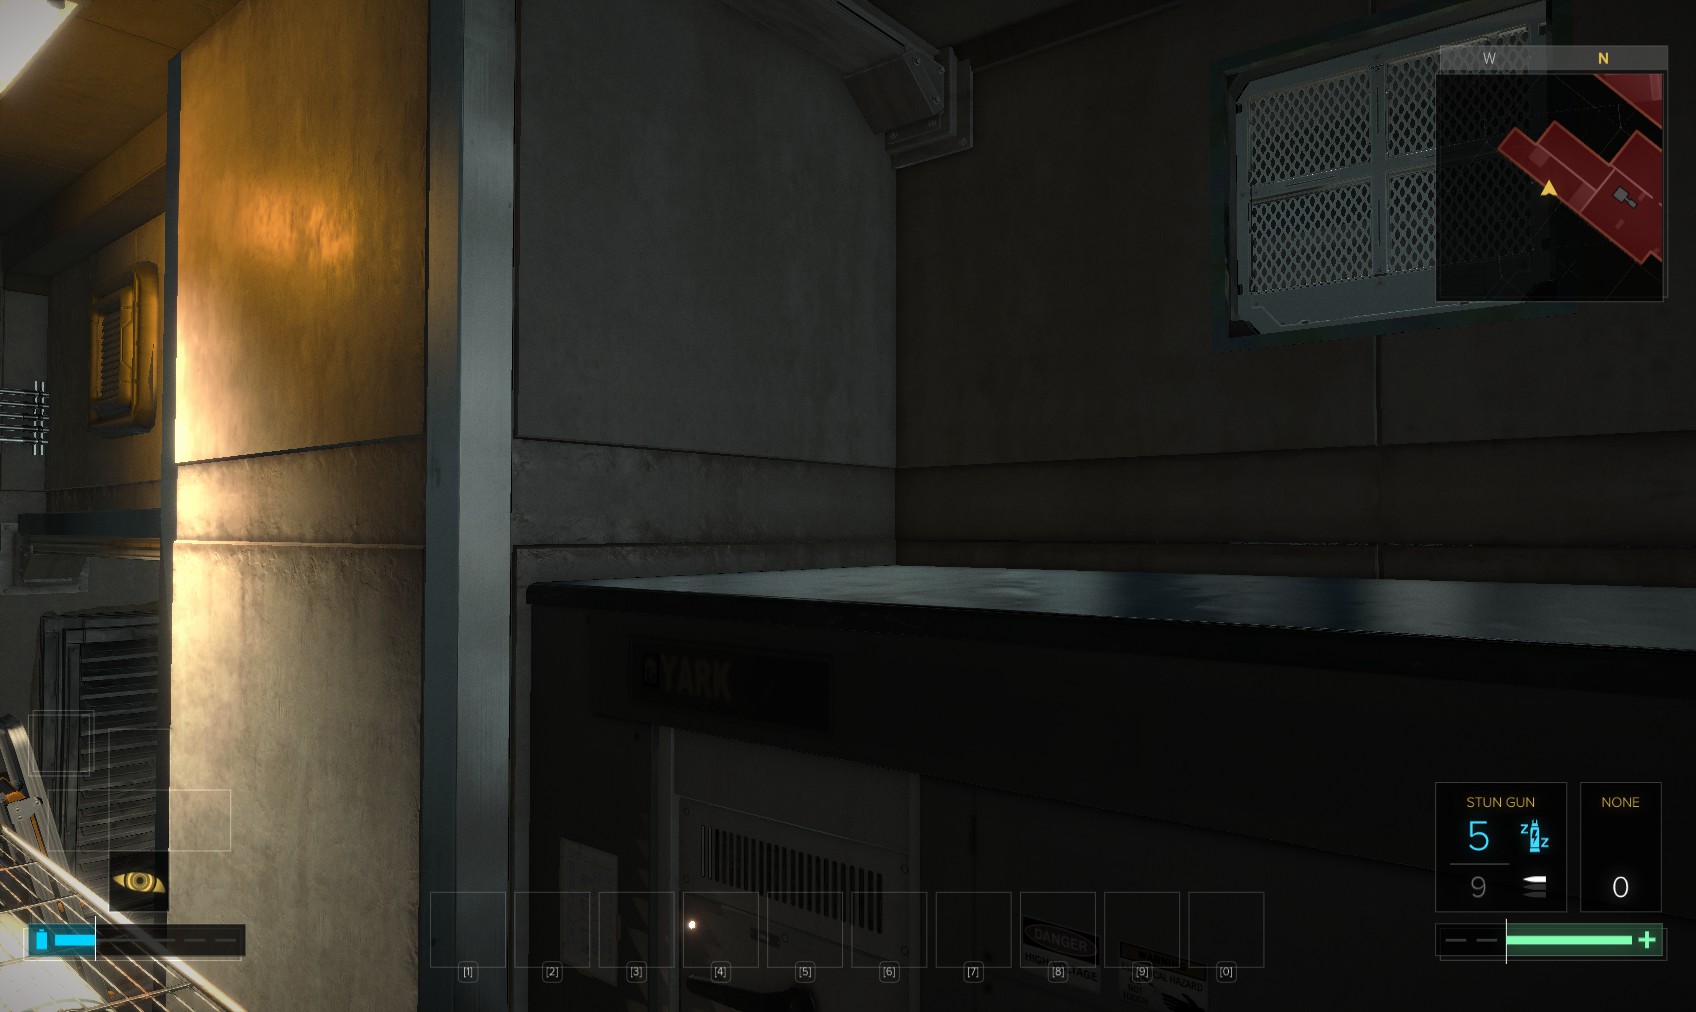
2. To the left of these vending machines is a column, behind which is a vent. Head in for a 100XP traveller bonus.
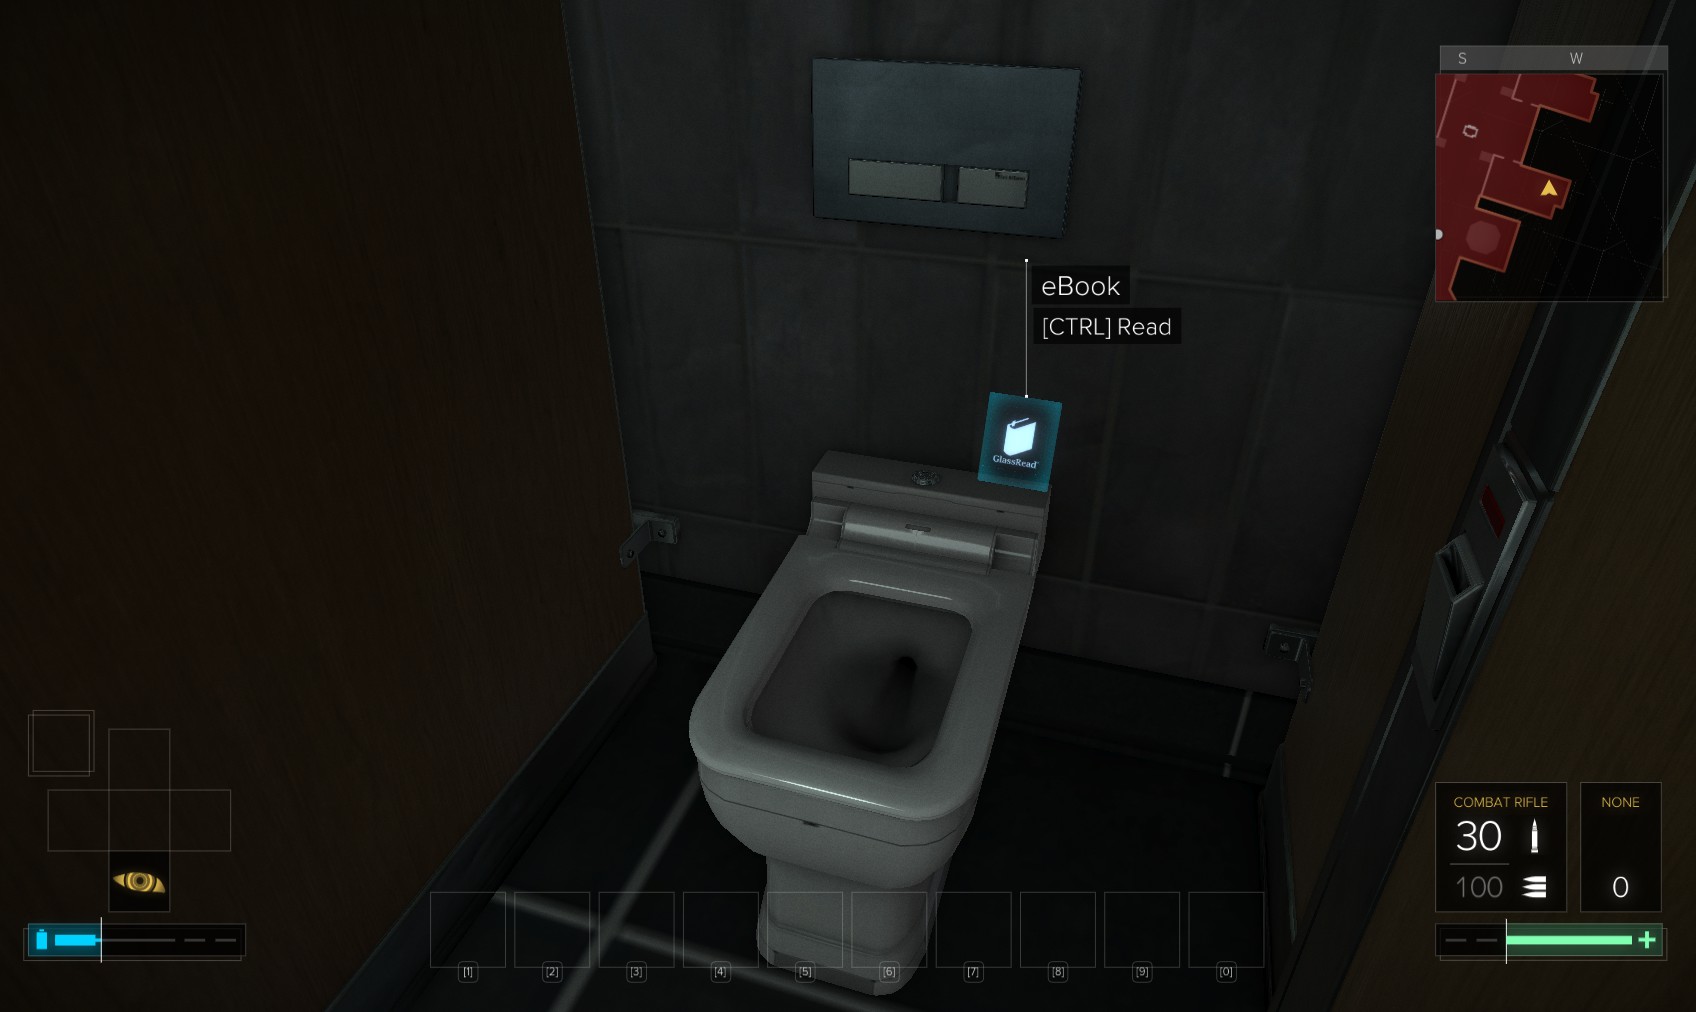
3. You emerge in the ladies' loos. The right-most cubicle has an eBook. "Alli Gatornaut and the Robots of Venus".
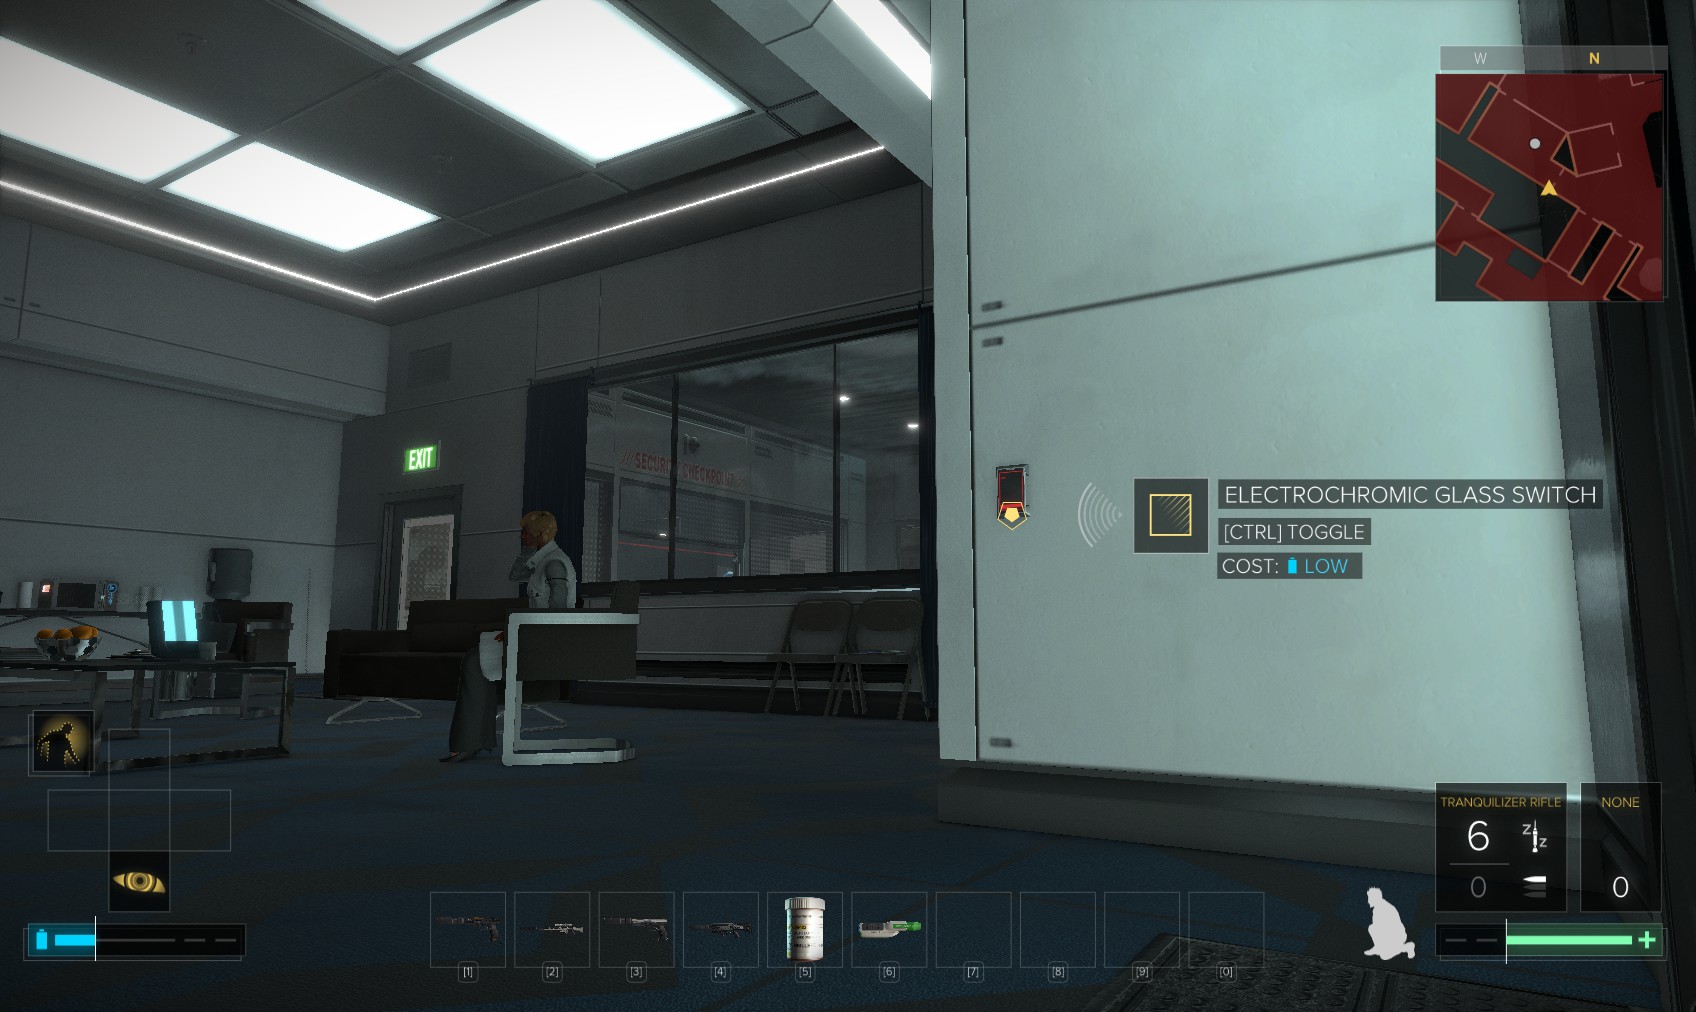
4. Leave via the door and toggle a nearby Electrochromic Glass switch to go over to the gents' loos opposite unnoticed.
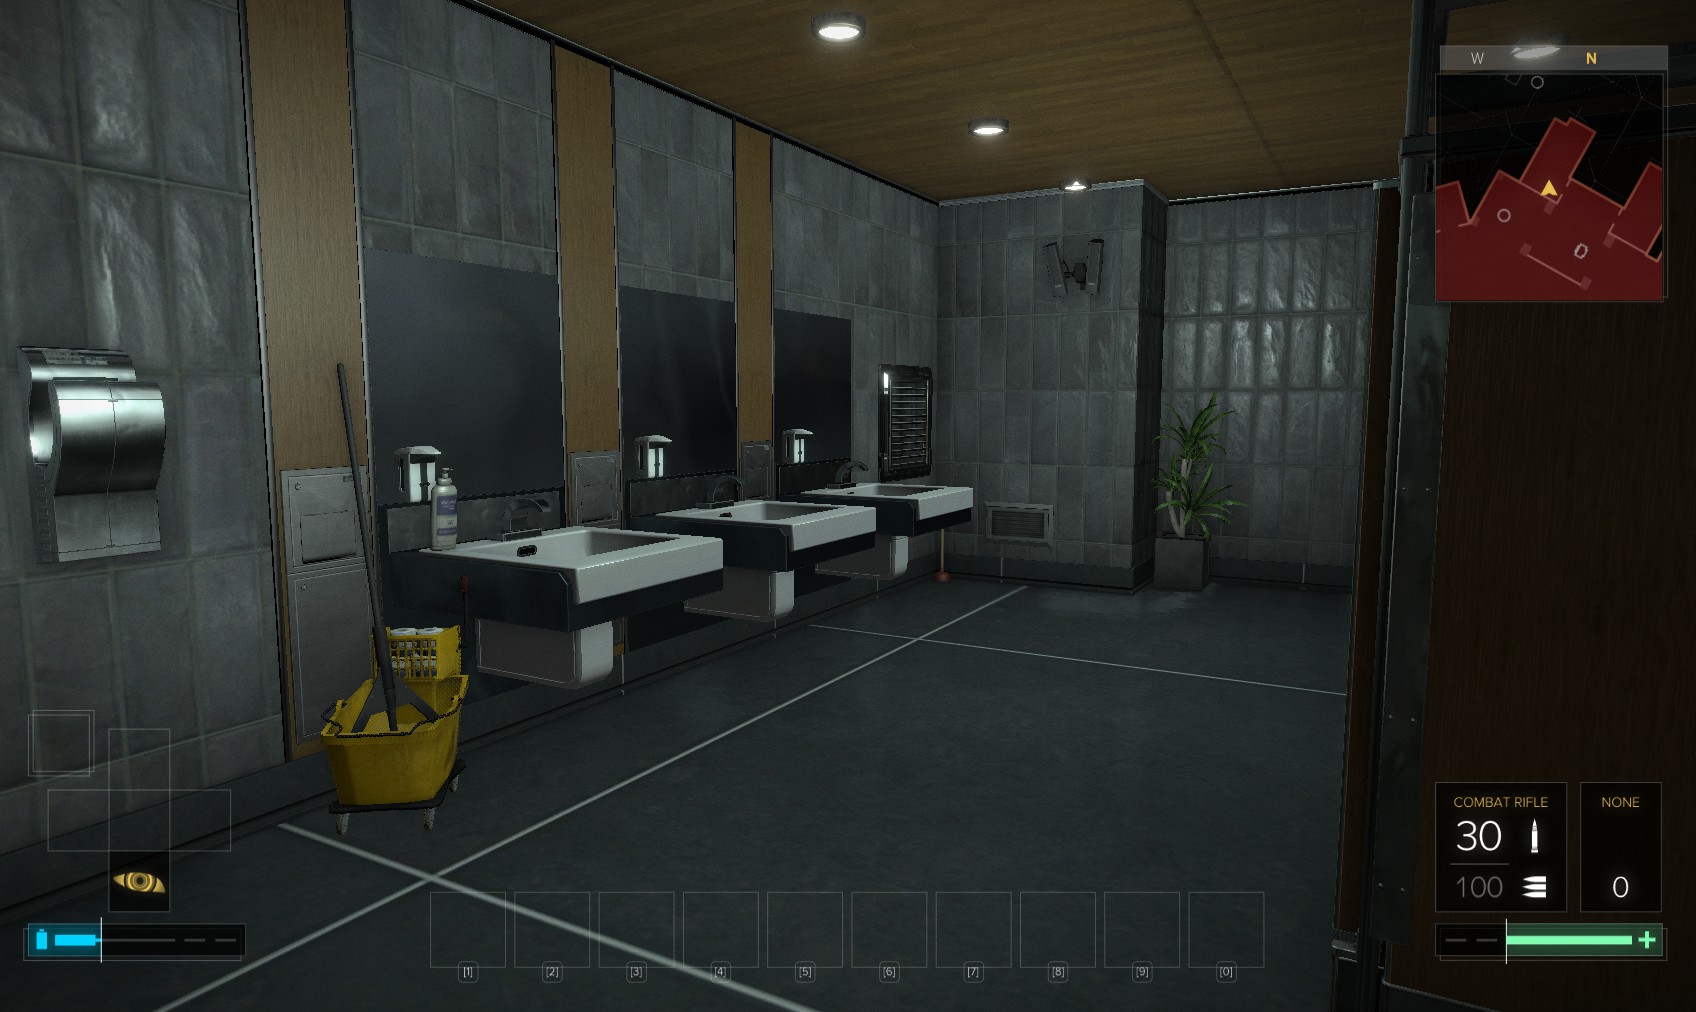
5. Inside is another vent you can go through for another 100XP traveller bonus.
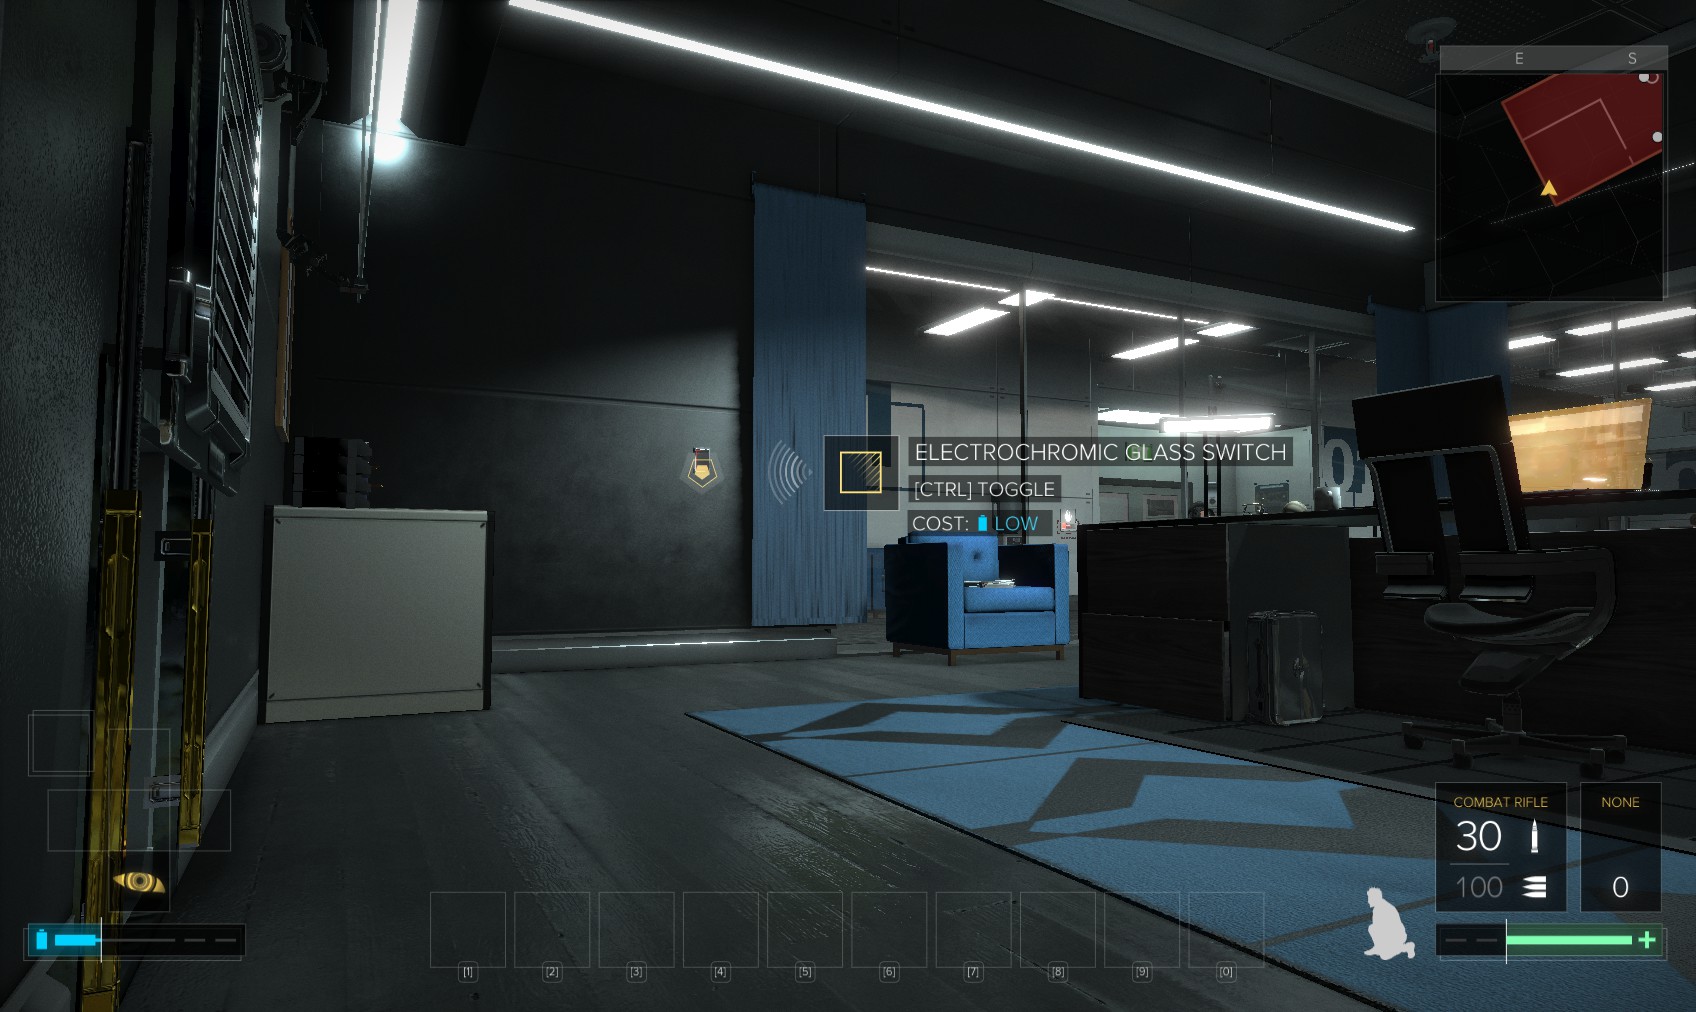
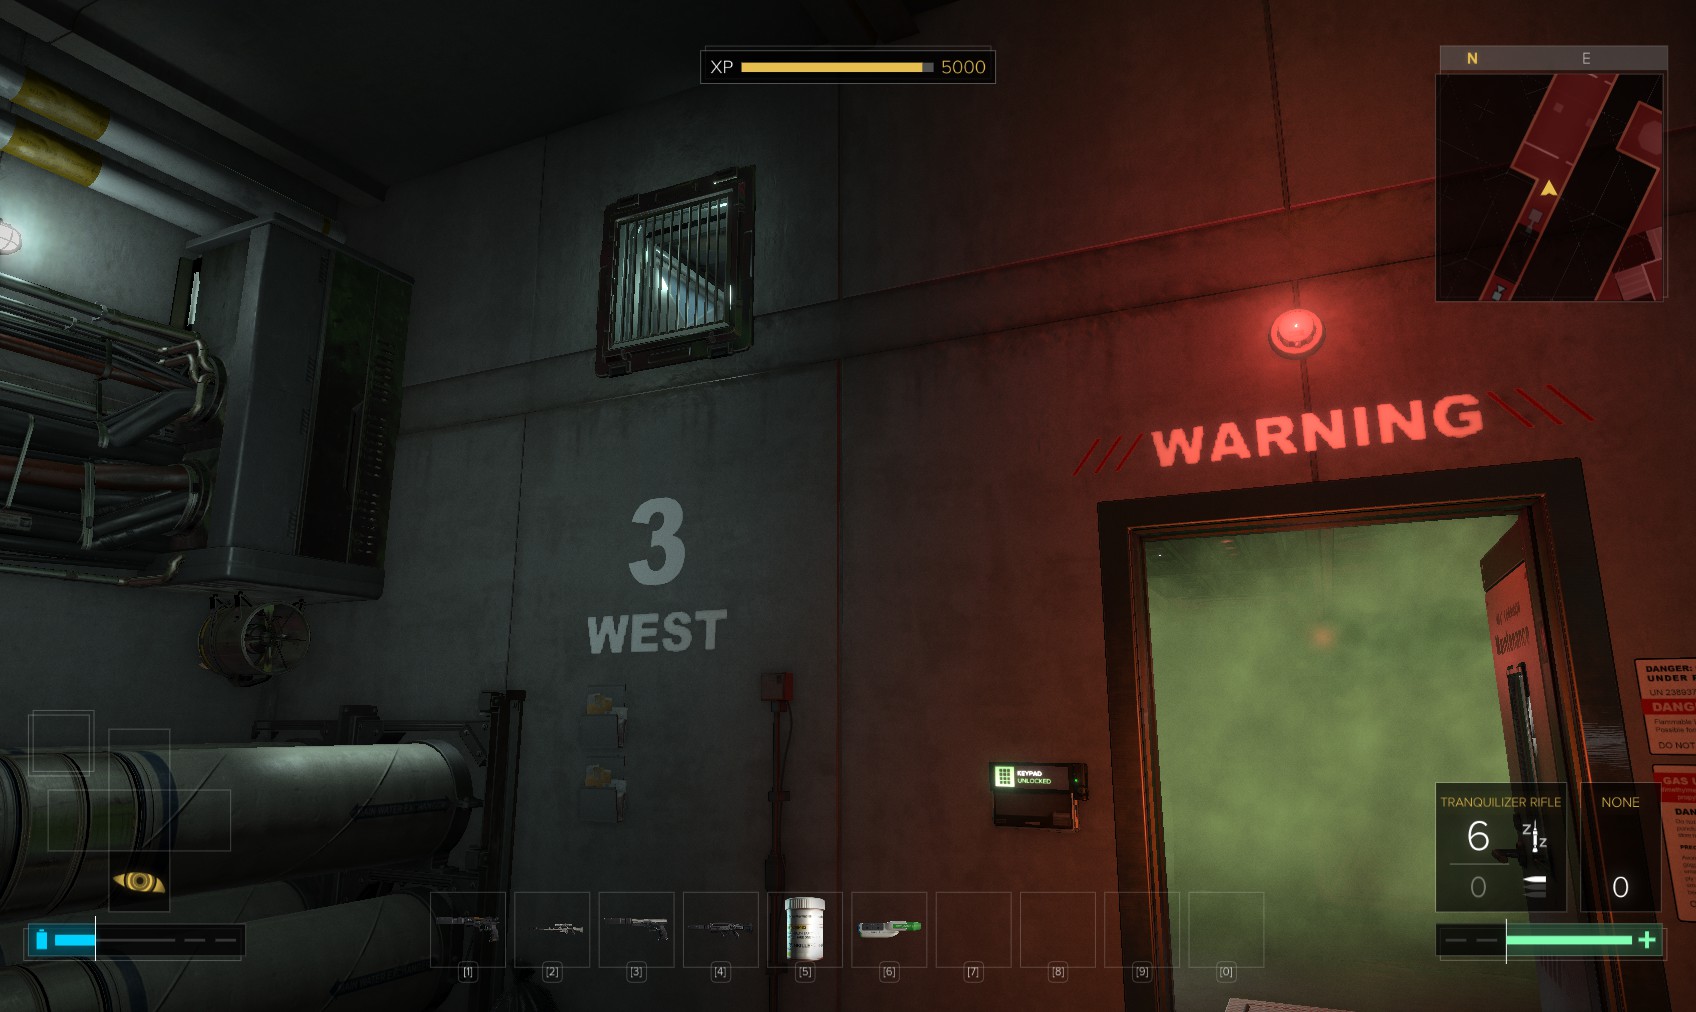
6. You emerge here. Toggle another EG switch to move around unseen.
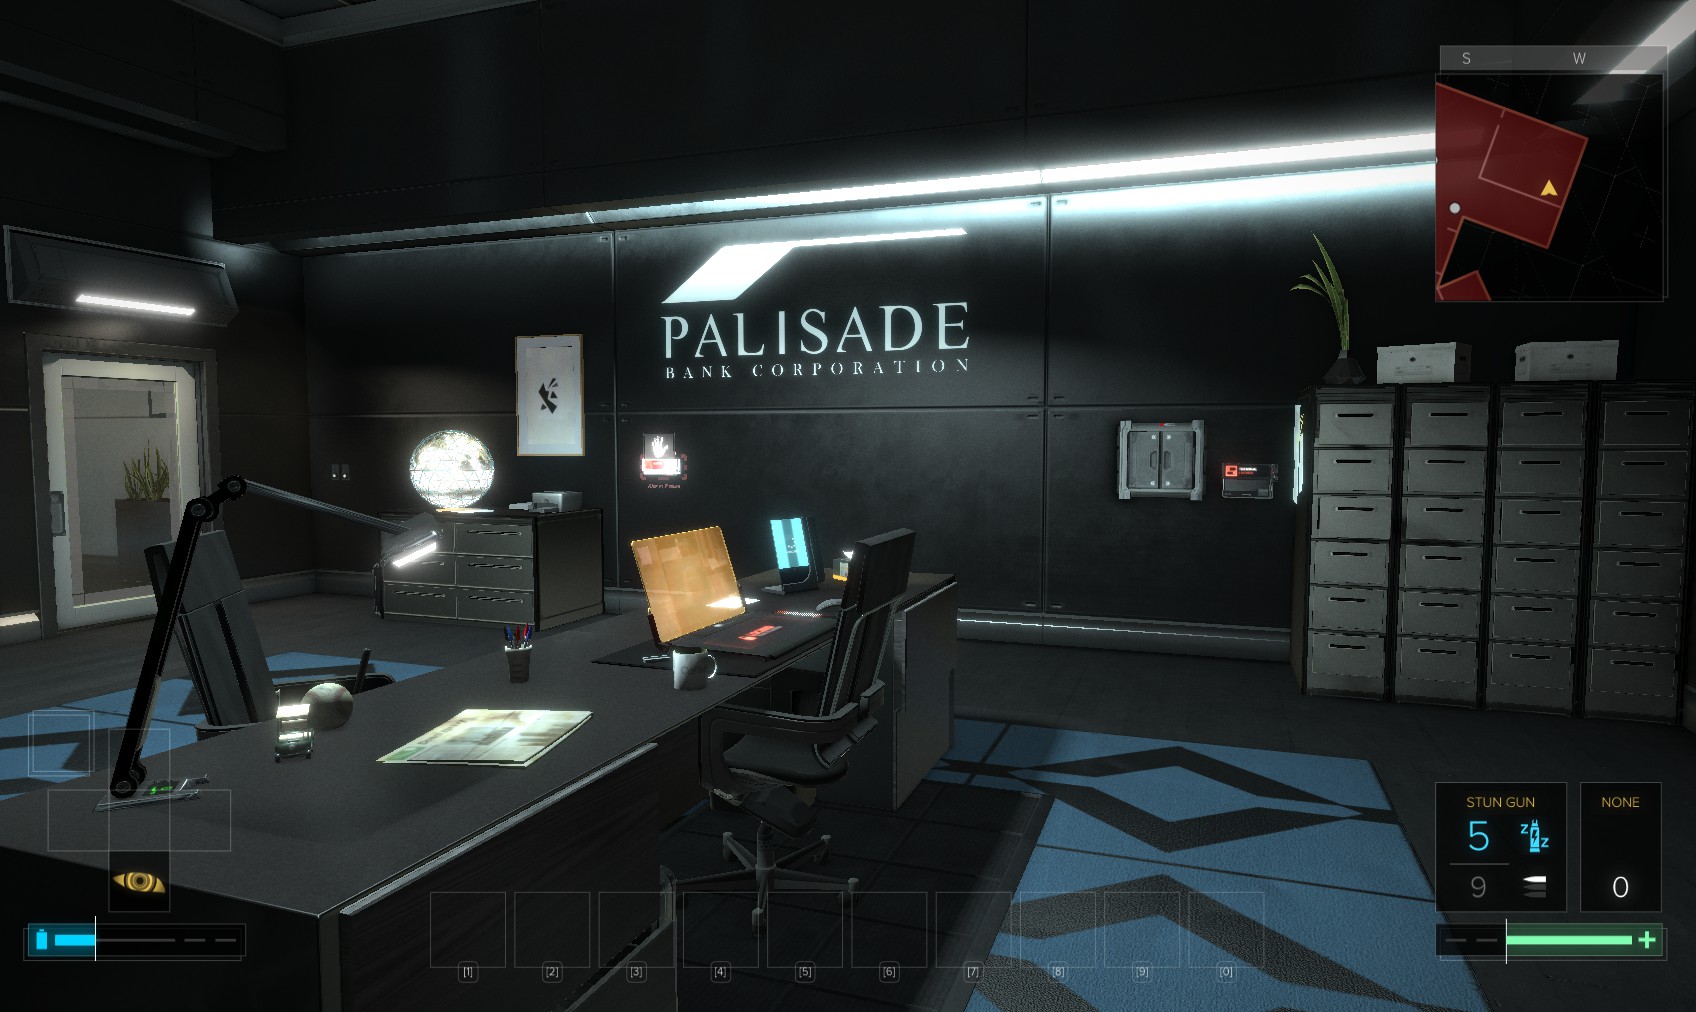
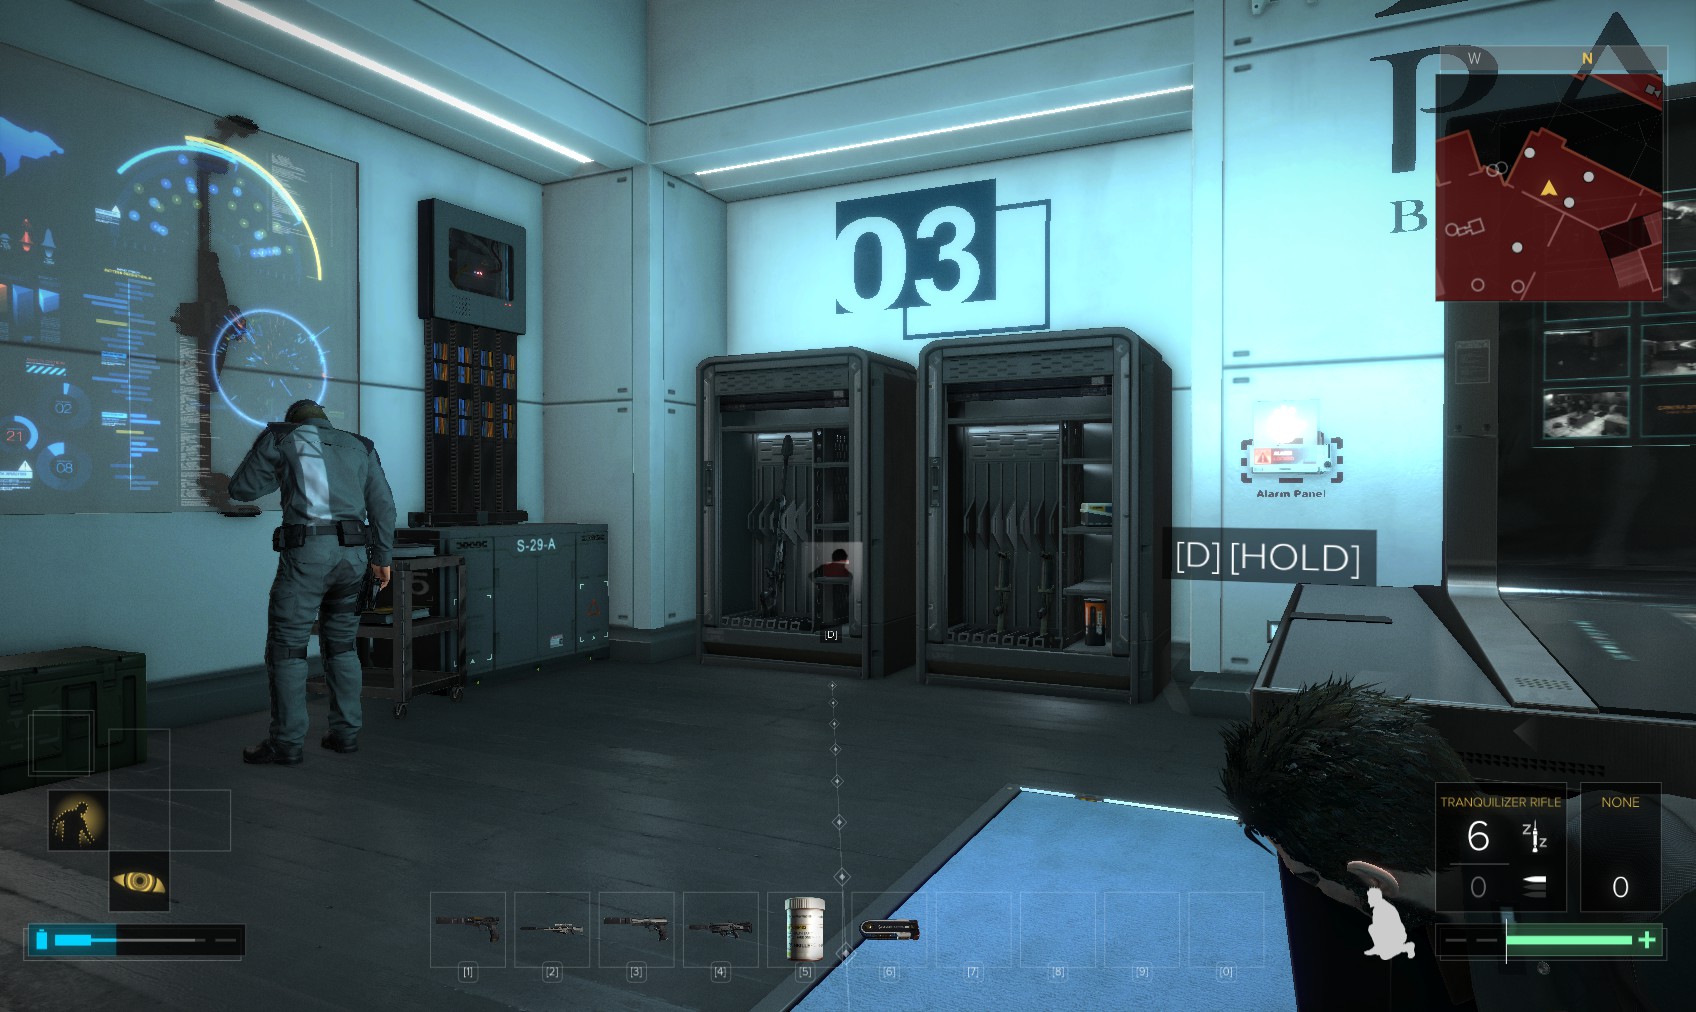
7. The level 3 PC gets you 200XP and a possible code - 0622 - amongst the scary HR emails. The code does indeed work on the nearby level 3 safe for 200XP. Hacking it gets you only 100XP.
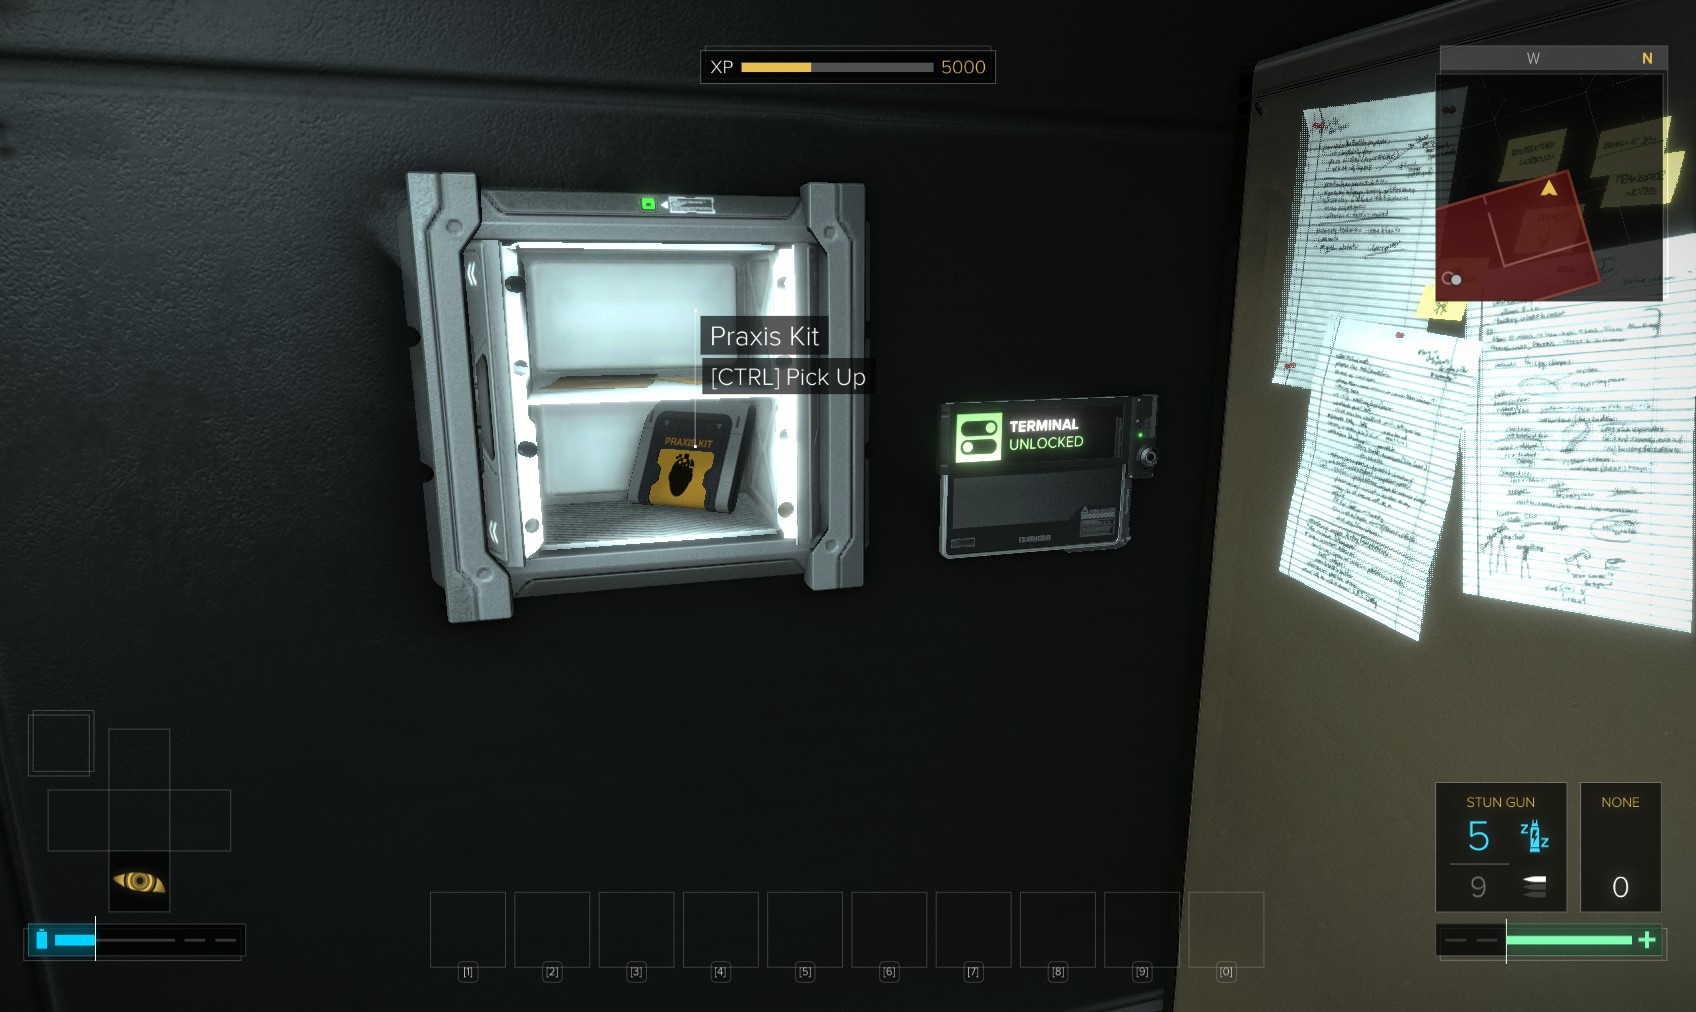
8. It’s worth it for this Praxis kit. Nearby cabinet contains reveal software. Hacking the level 2 alarm panel is worthwhile for the stealth software.
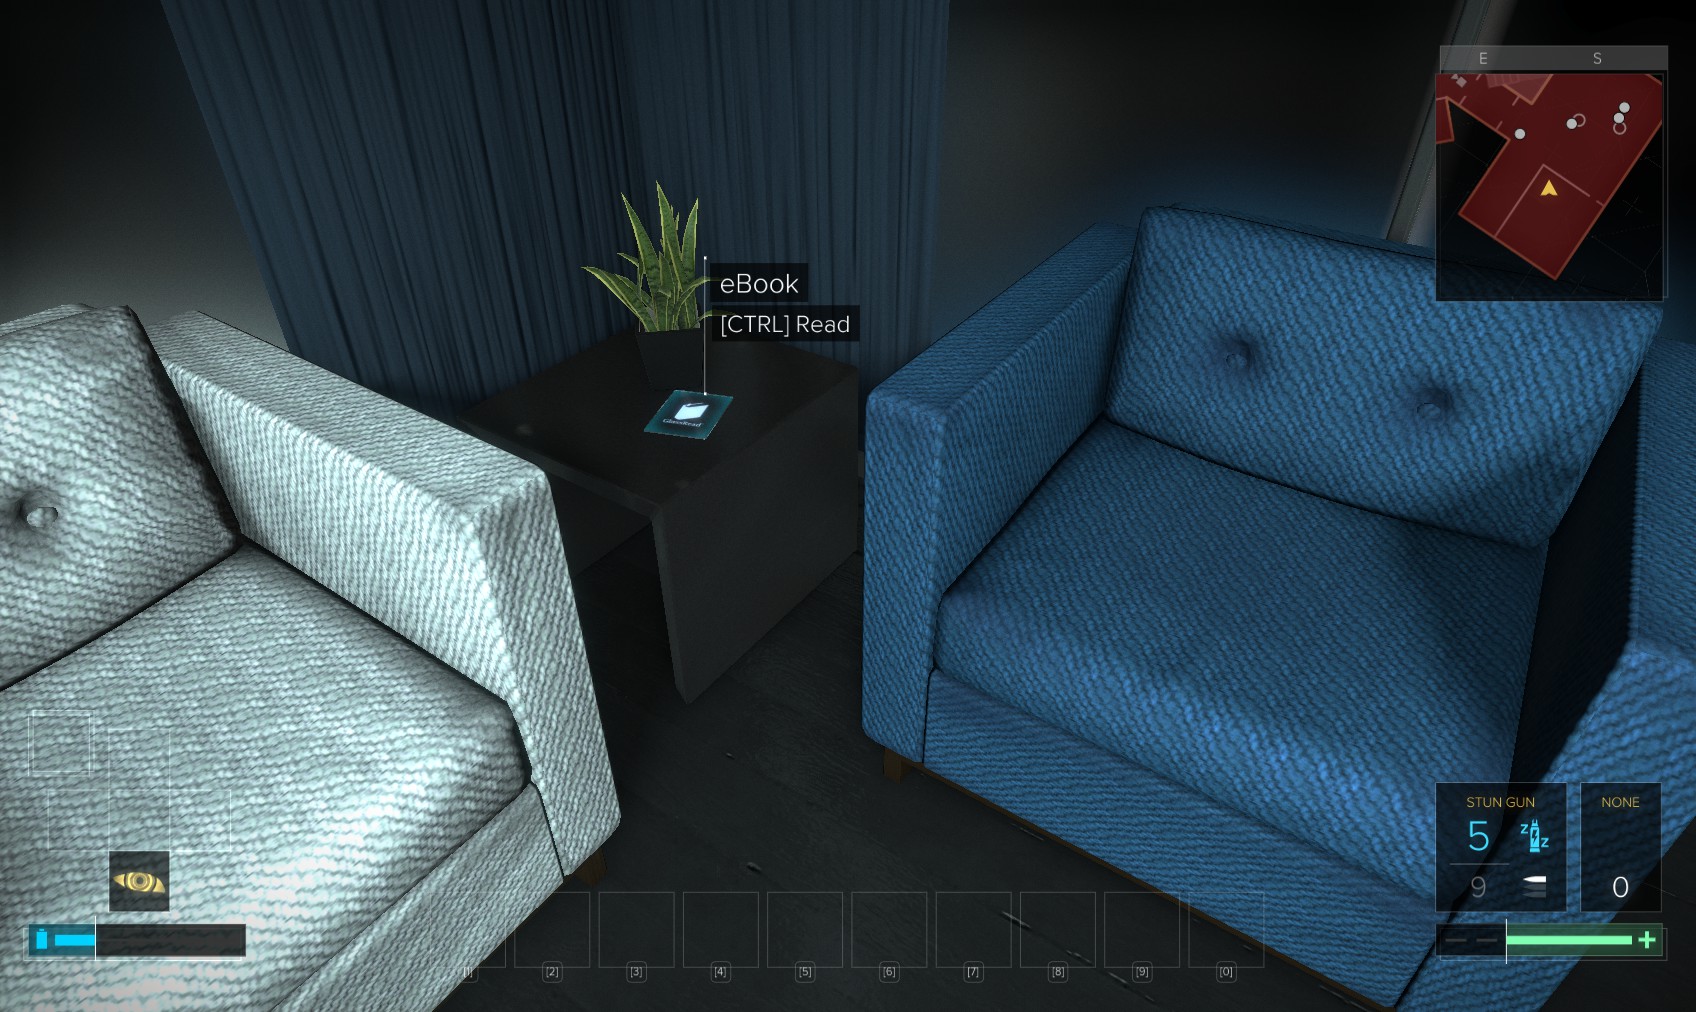
9. A table in the corner has an eBook. "The Moment to Fight Back, chapter 5, p.75".
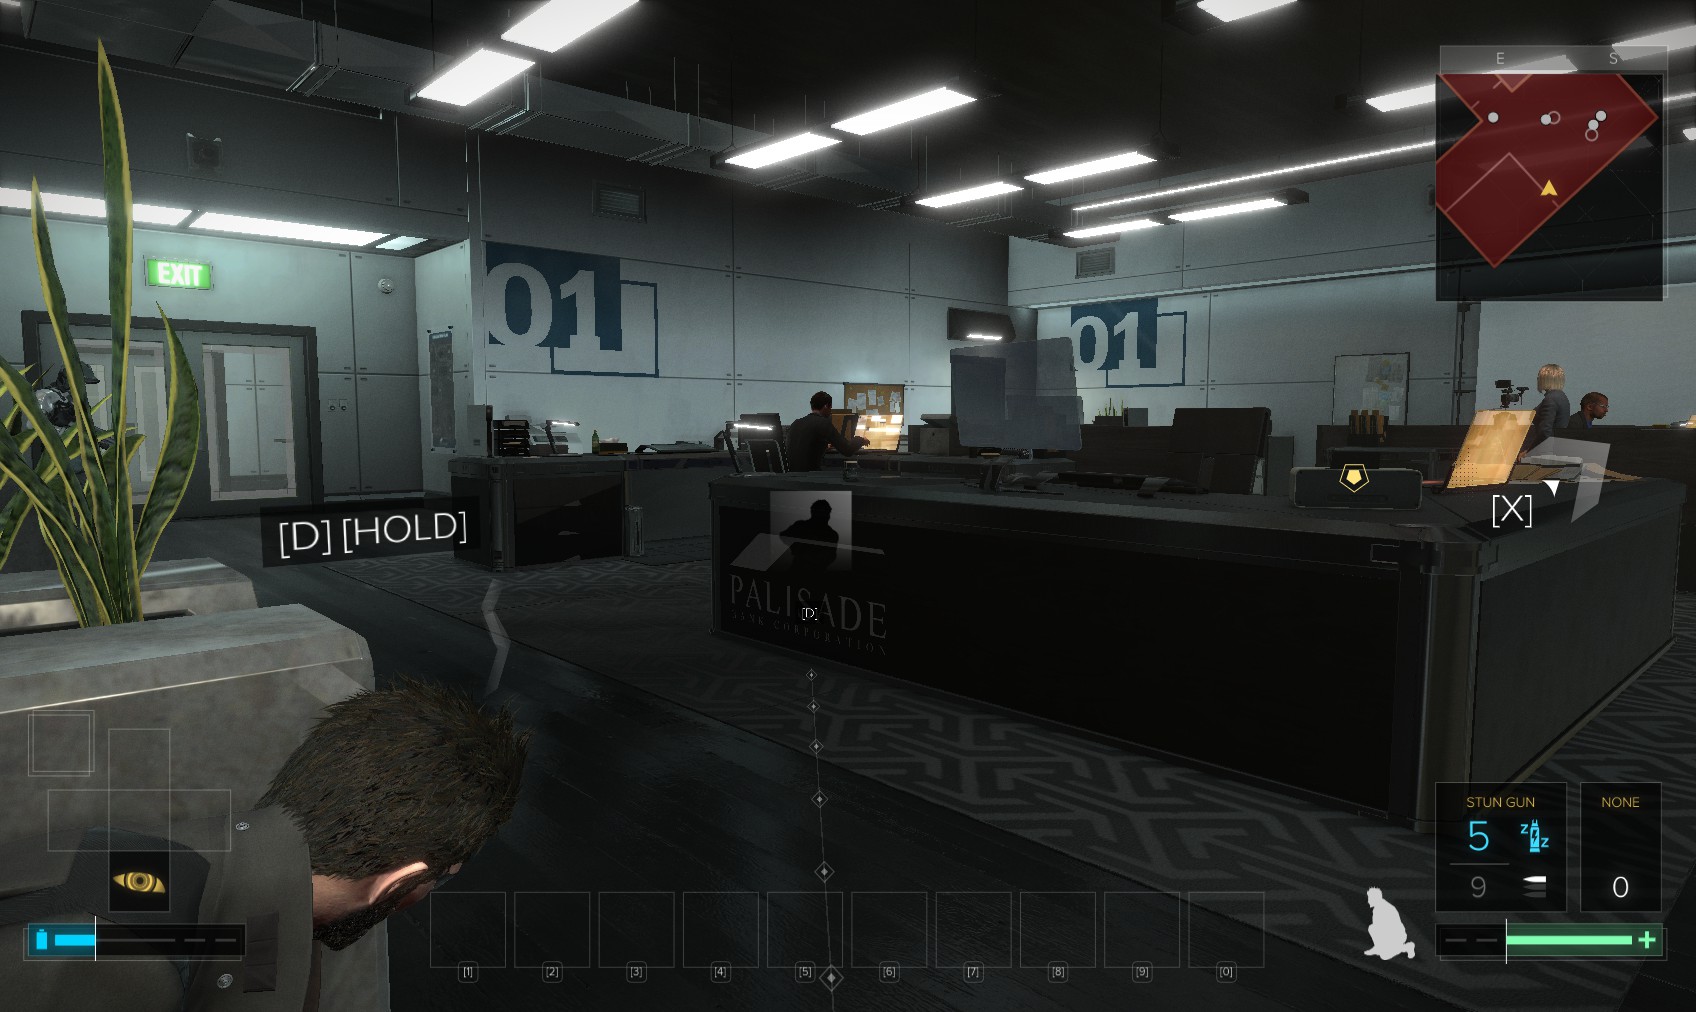
10. Leave via the door into the HR office. It’s possible to sneak to the right behind the desks without the guard paying too much attention.
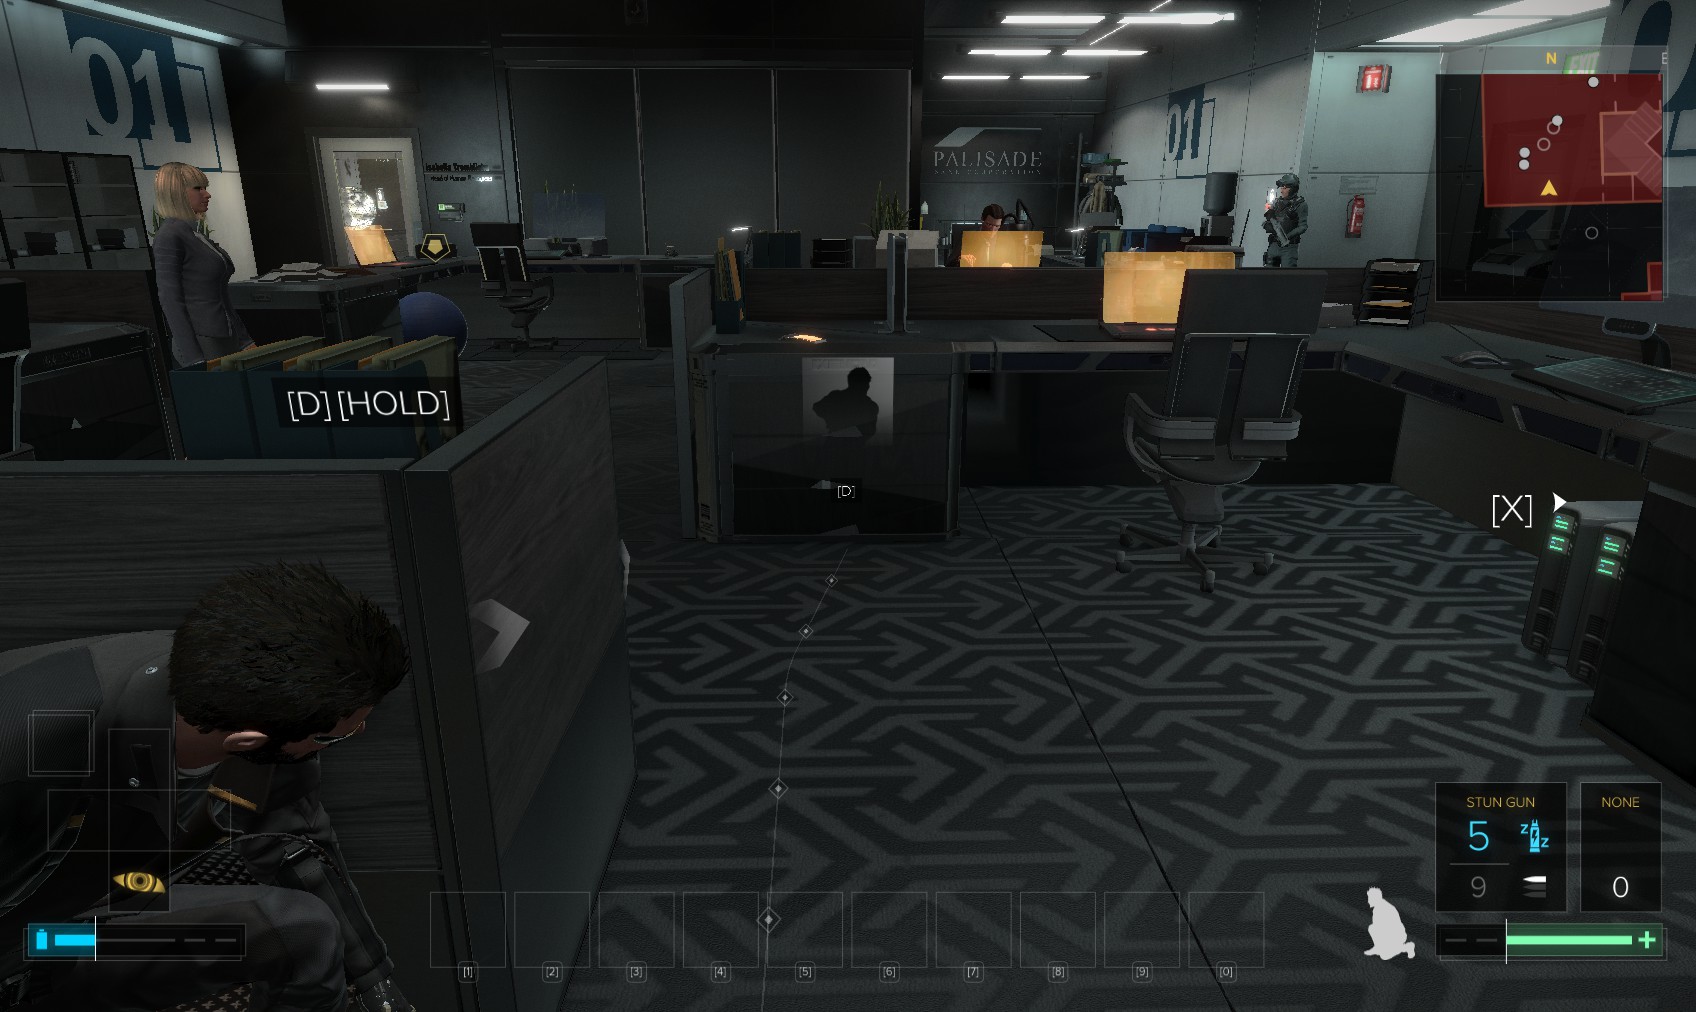
11. Wait for this employee to sit down before snaffling the pocket secretary on her desk. It’s an HR caution to Pavel Hubnik - a.k.a. Slaw.
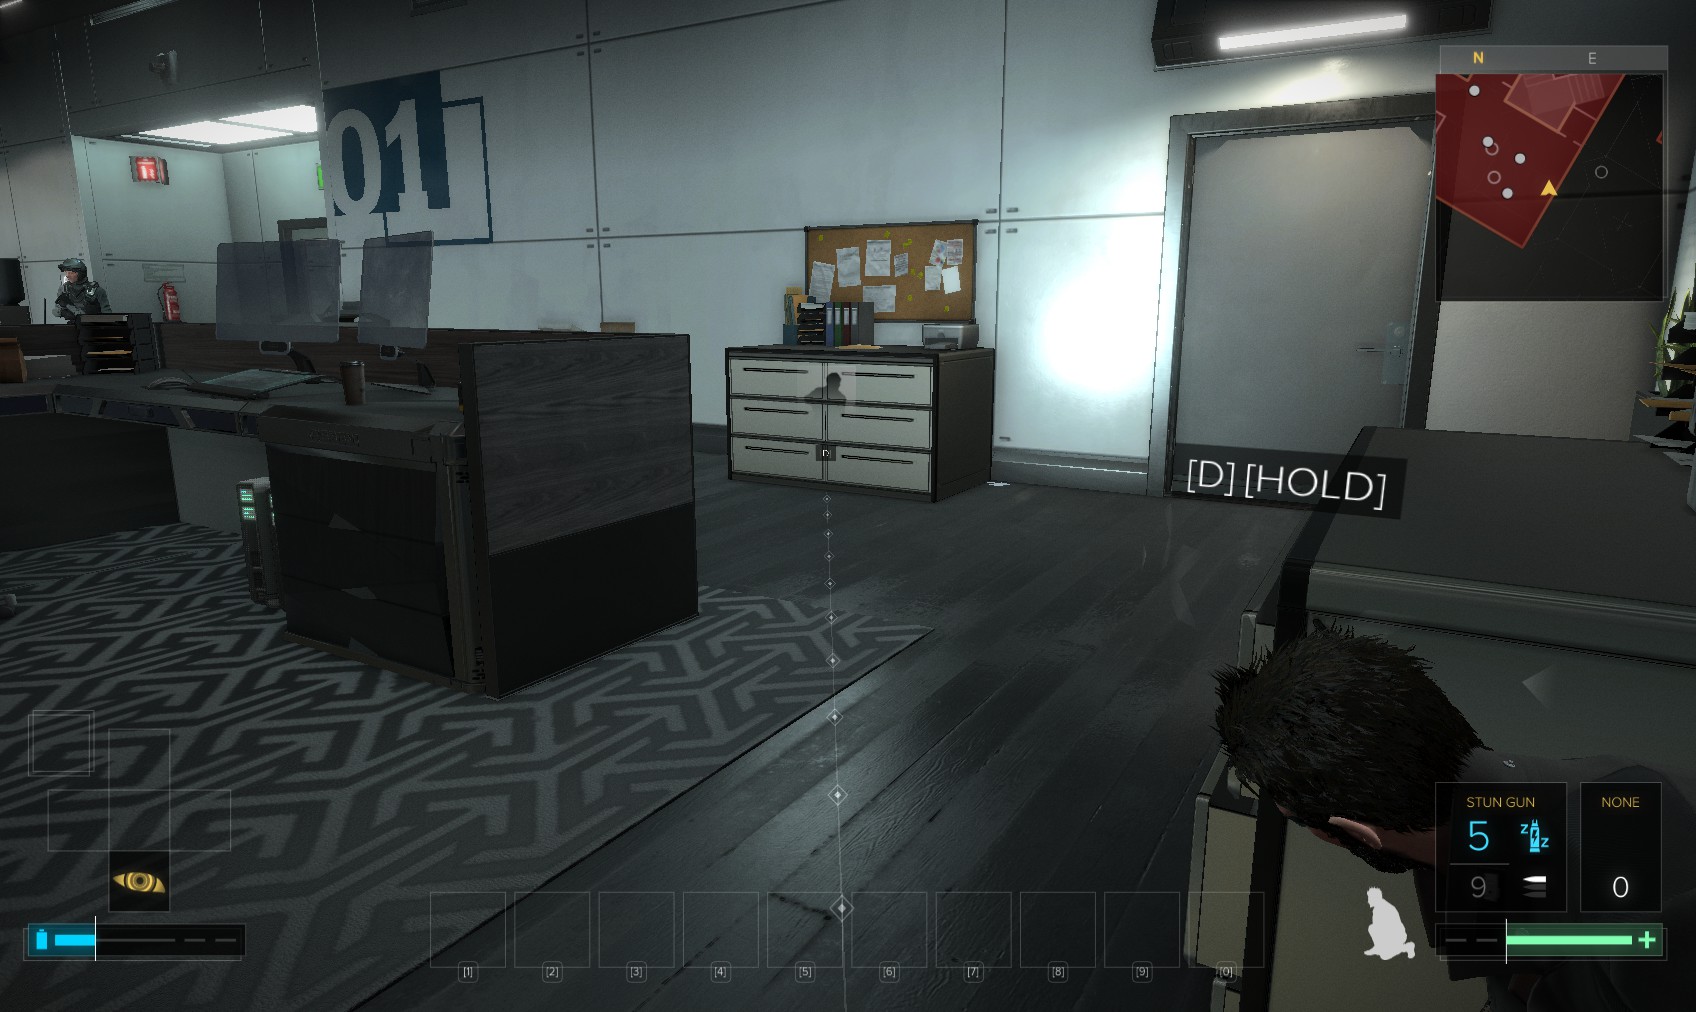
12. The drawers next to the door contain reveal software. Nick that, then go through the door into a storage room.

13. Find a biocell on the shelves and a hypostim in the medical box. The vent leads back to the main area, below a staircase up, watched by two guards and a camera. I choose to double back to the HR office, and back through the vent to the mens' toilet.
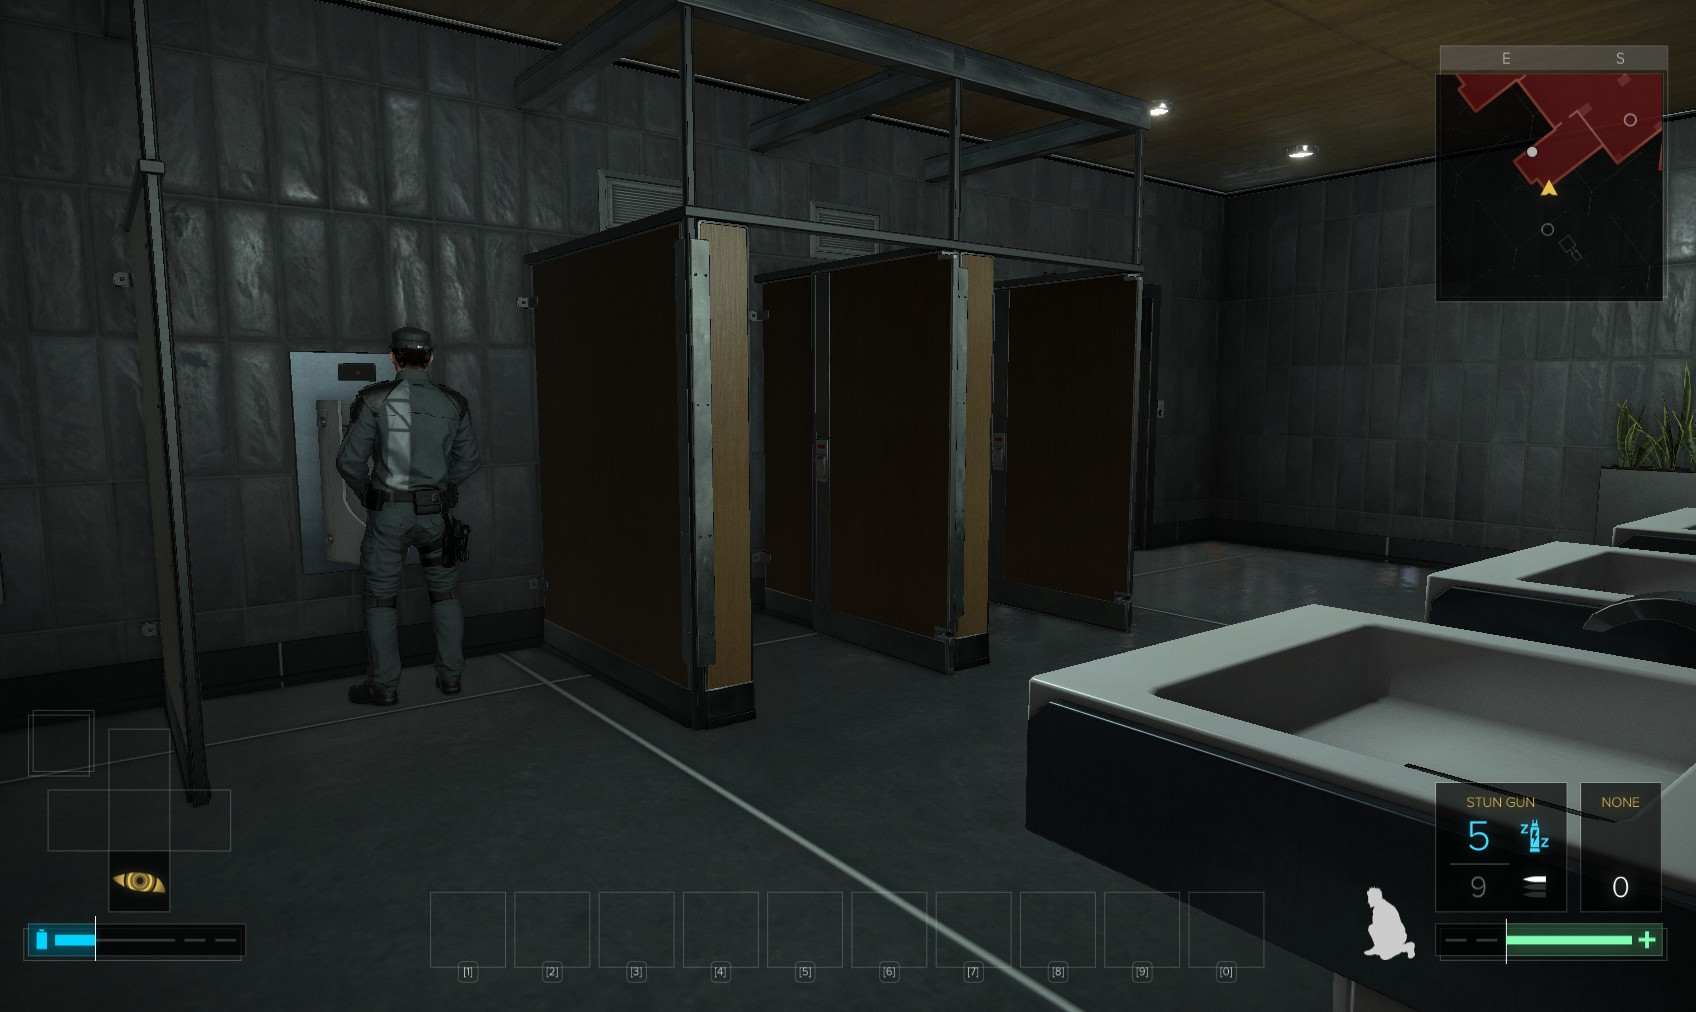
14. This guard is easily sneaked past, back through the ladies' toilet to the main hall.
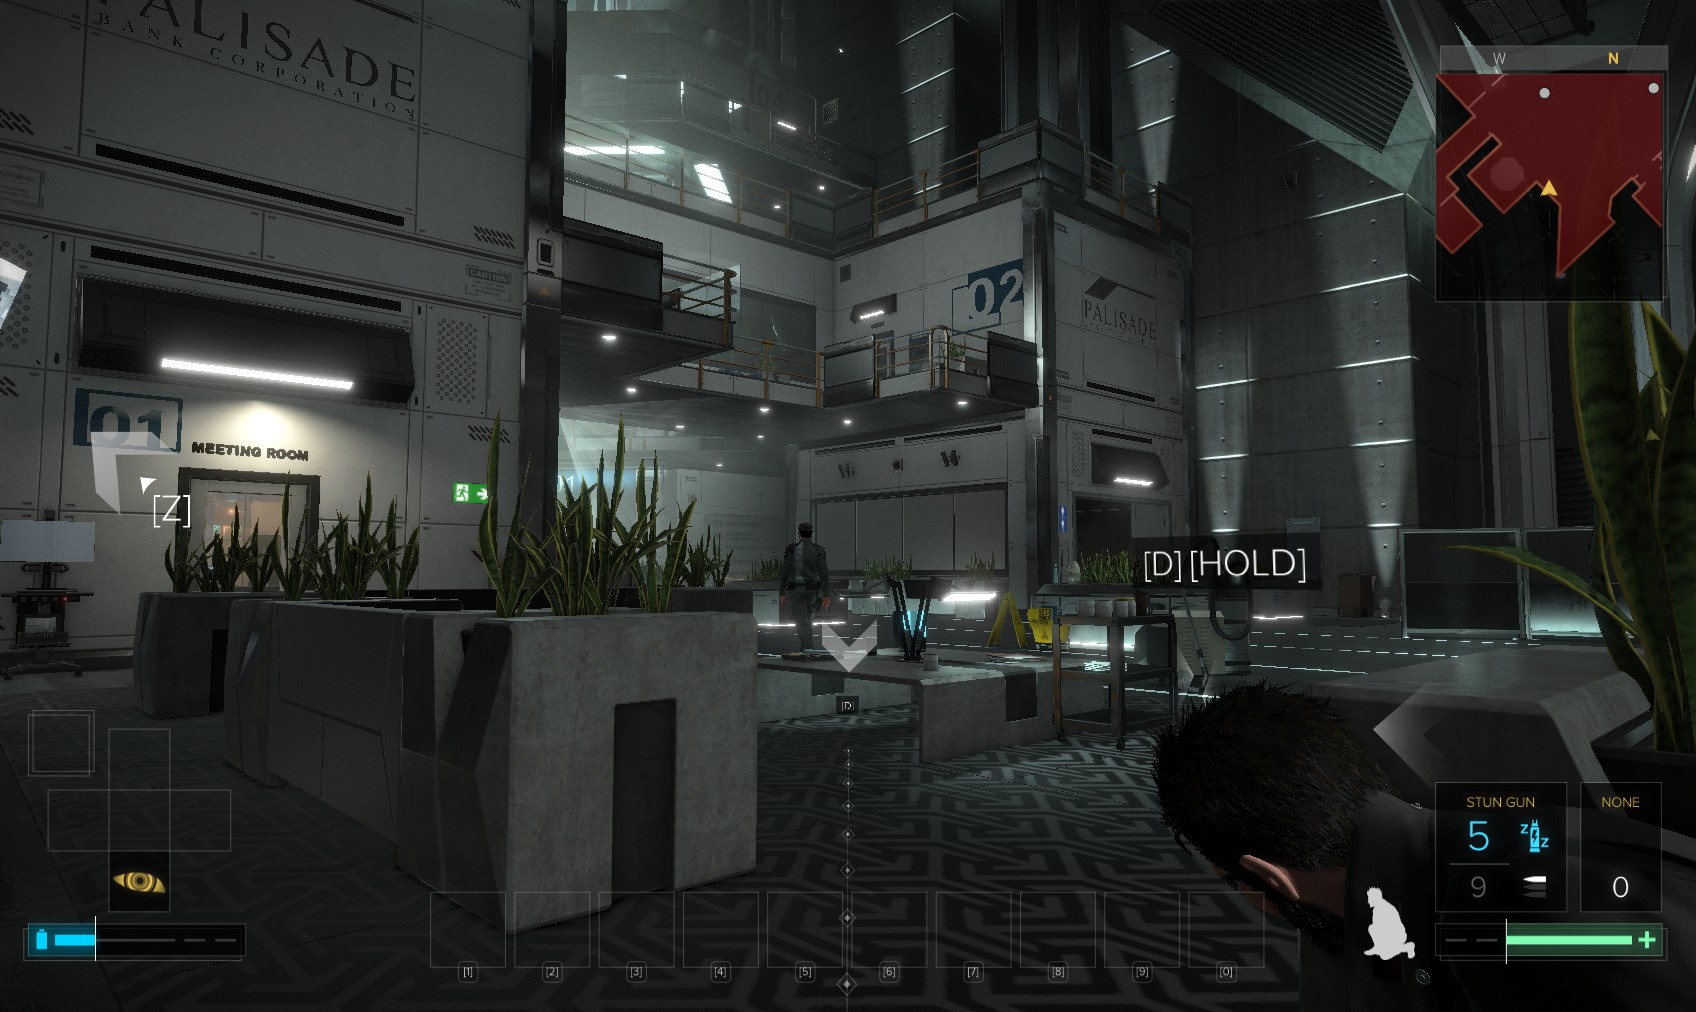
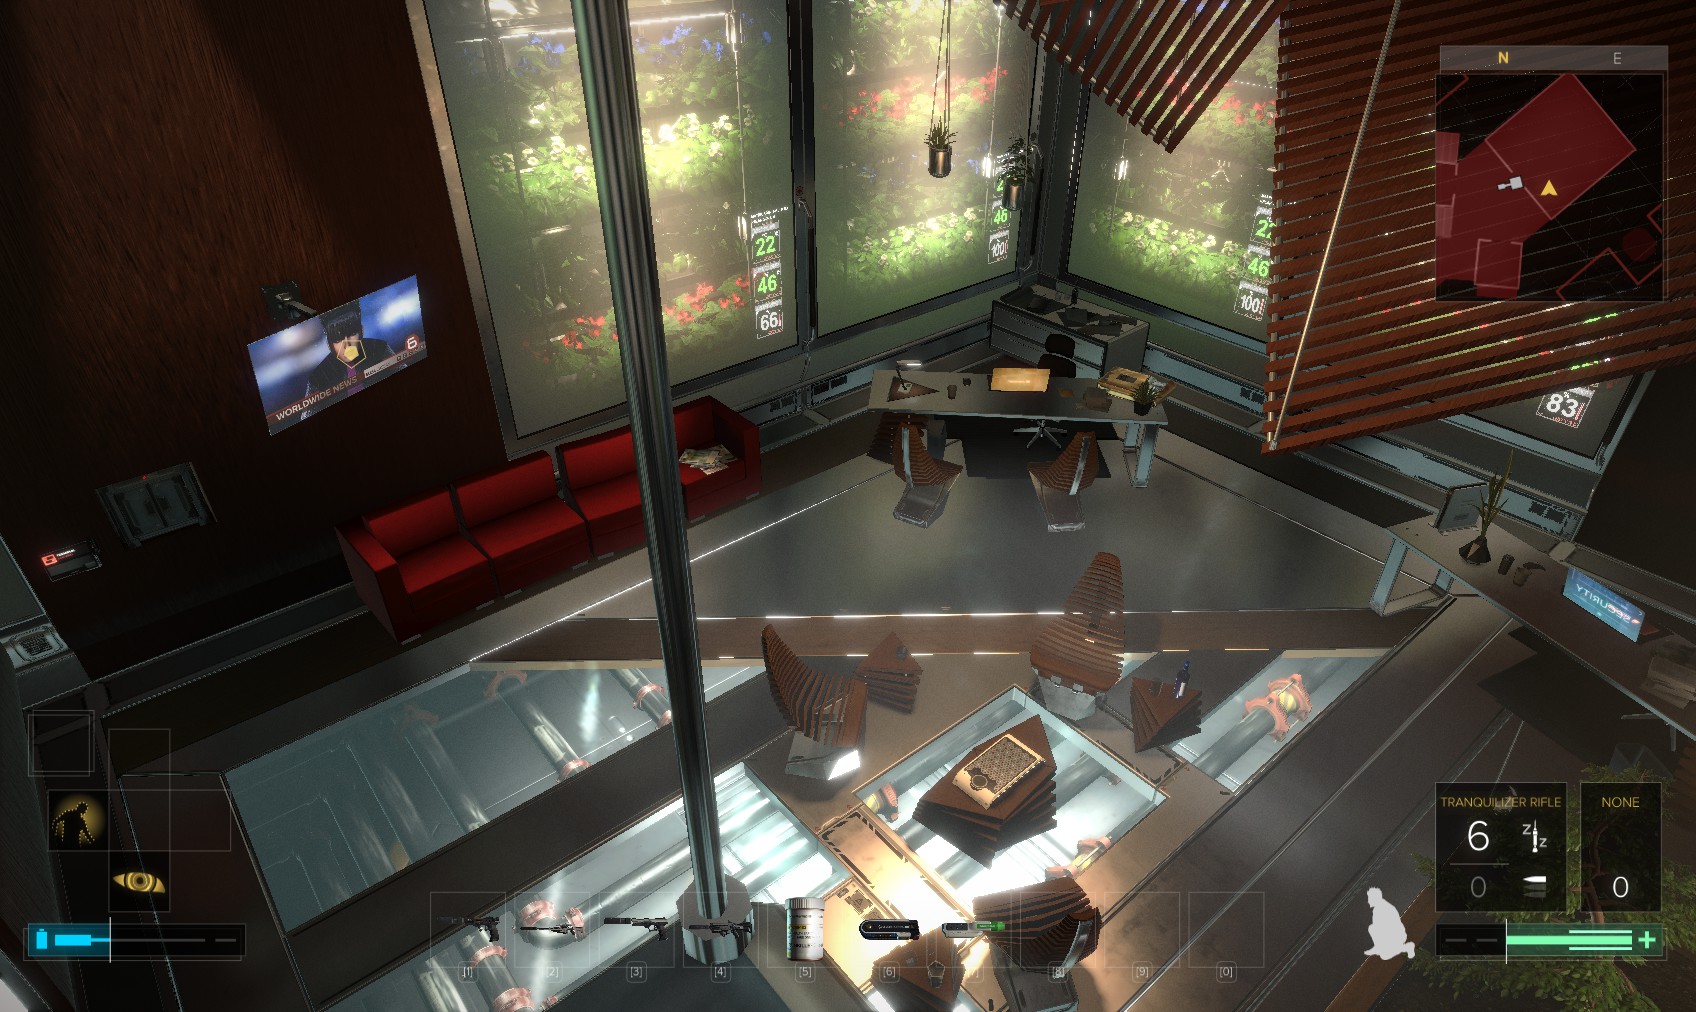
15. I sneak all the way back past the lifts. My destination is this meeting room on the left.
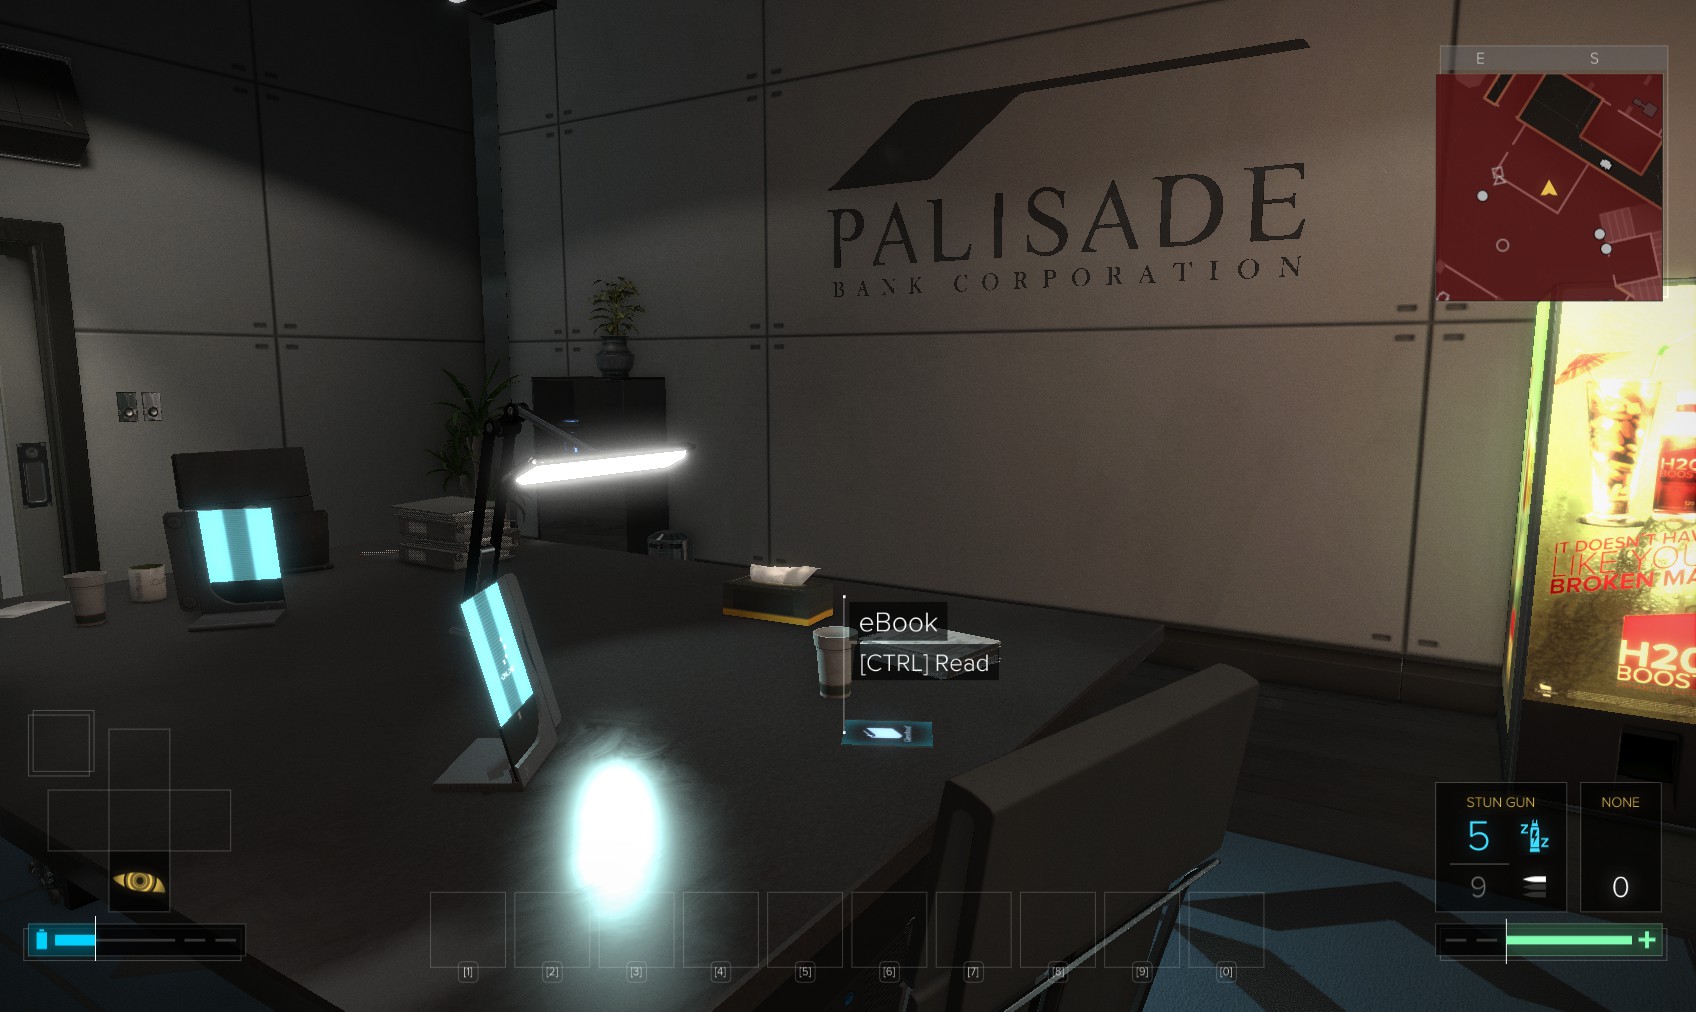
16. Inside is an eBook. "Palisade Bank Corporation: History". Behind the vending machine is a vent - you know what to do.
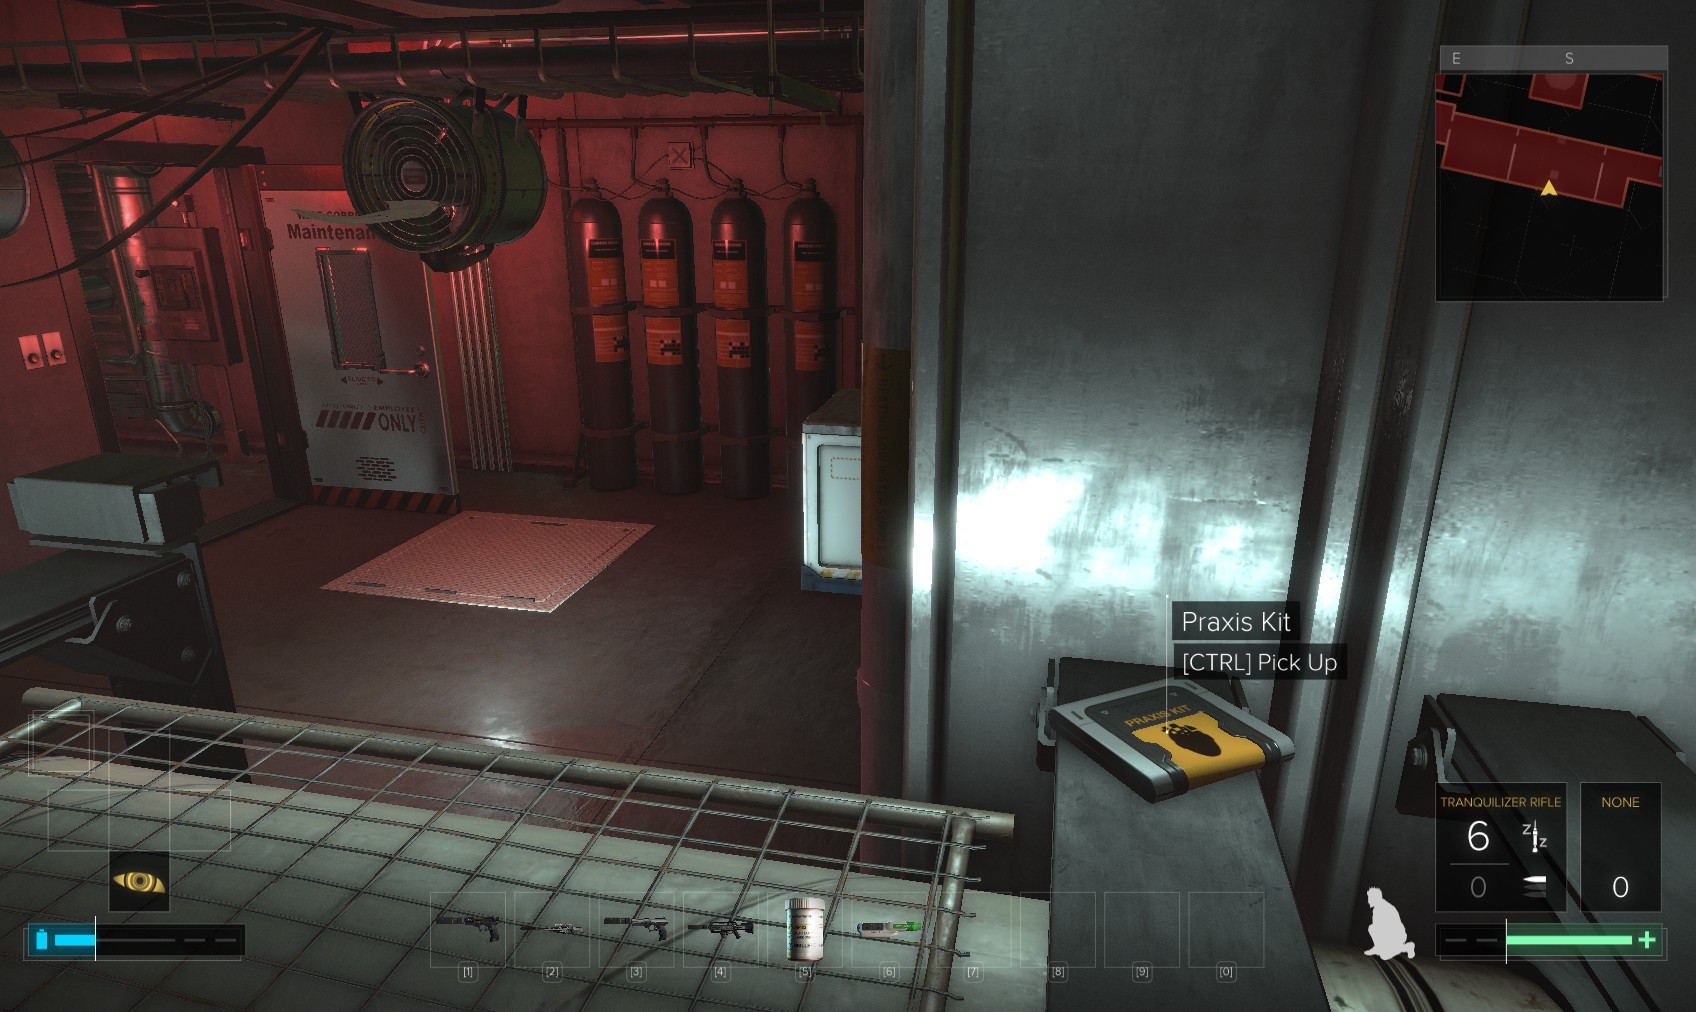
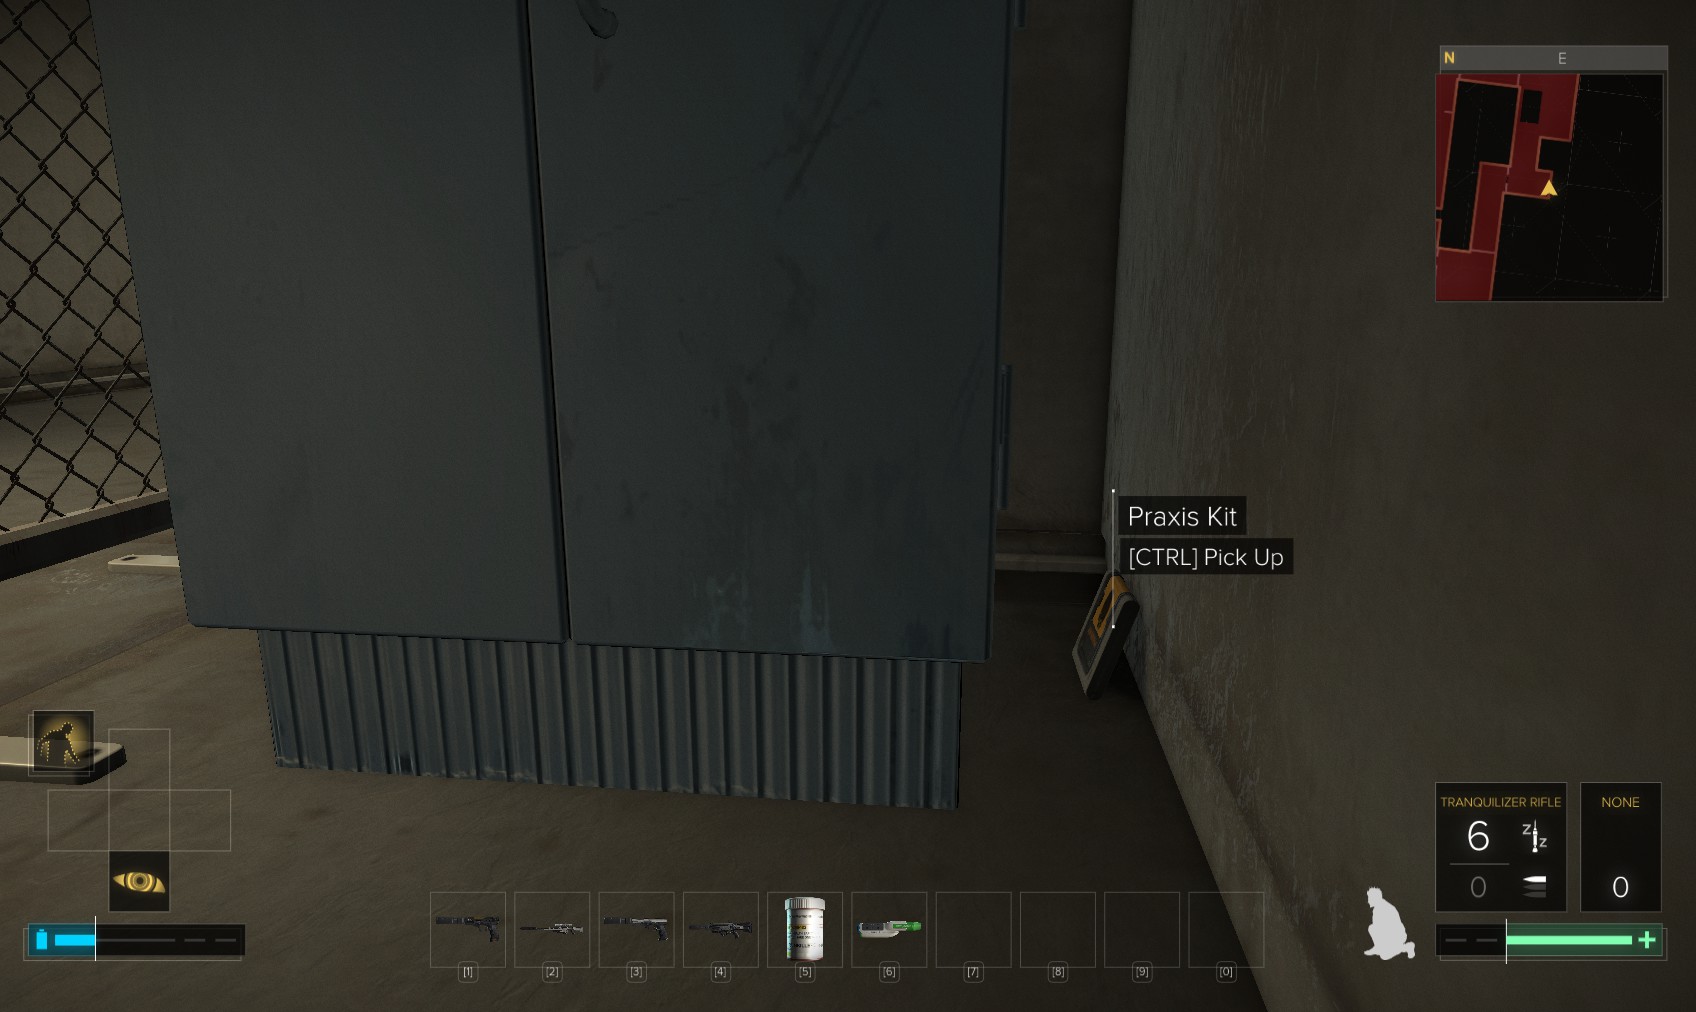
17. It comes out in a maintenance area. Loot a medical box for a multi-tool, and the cabinets for overclock software, ammo and a biocell. The level 1 laptop is worth 100XP and provides the code 8153 for a door. An email pointing you to the safe in Isabella Trmbliska's office for a Praxis kit is also here.
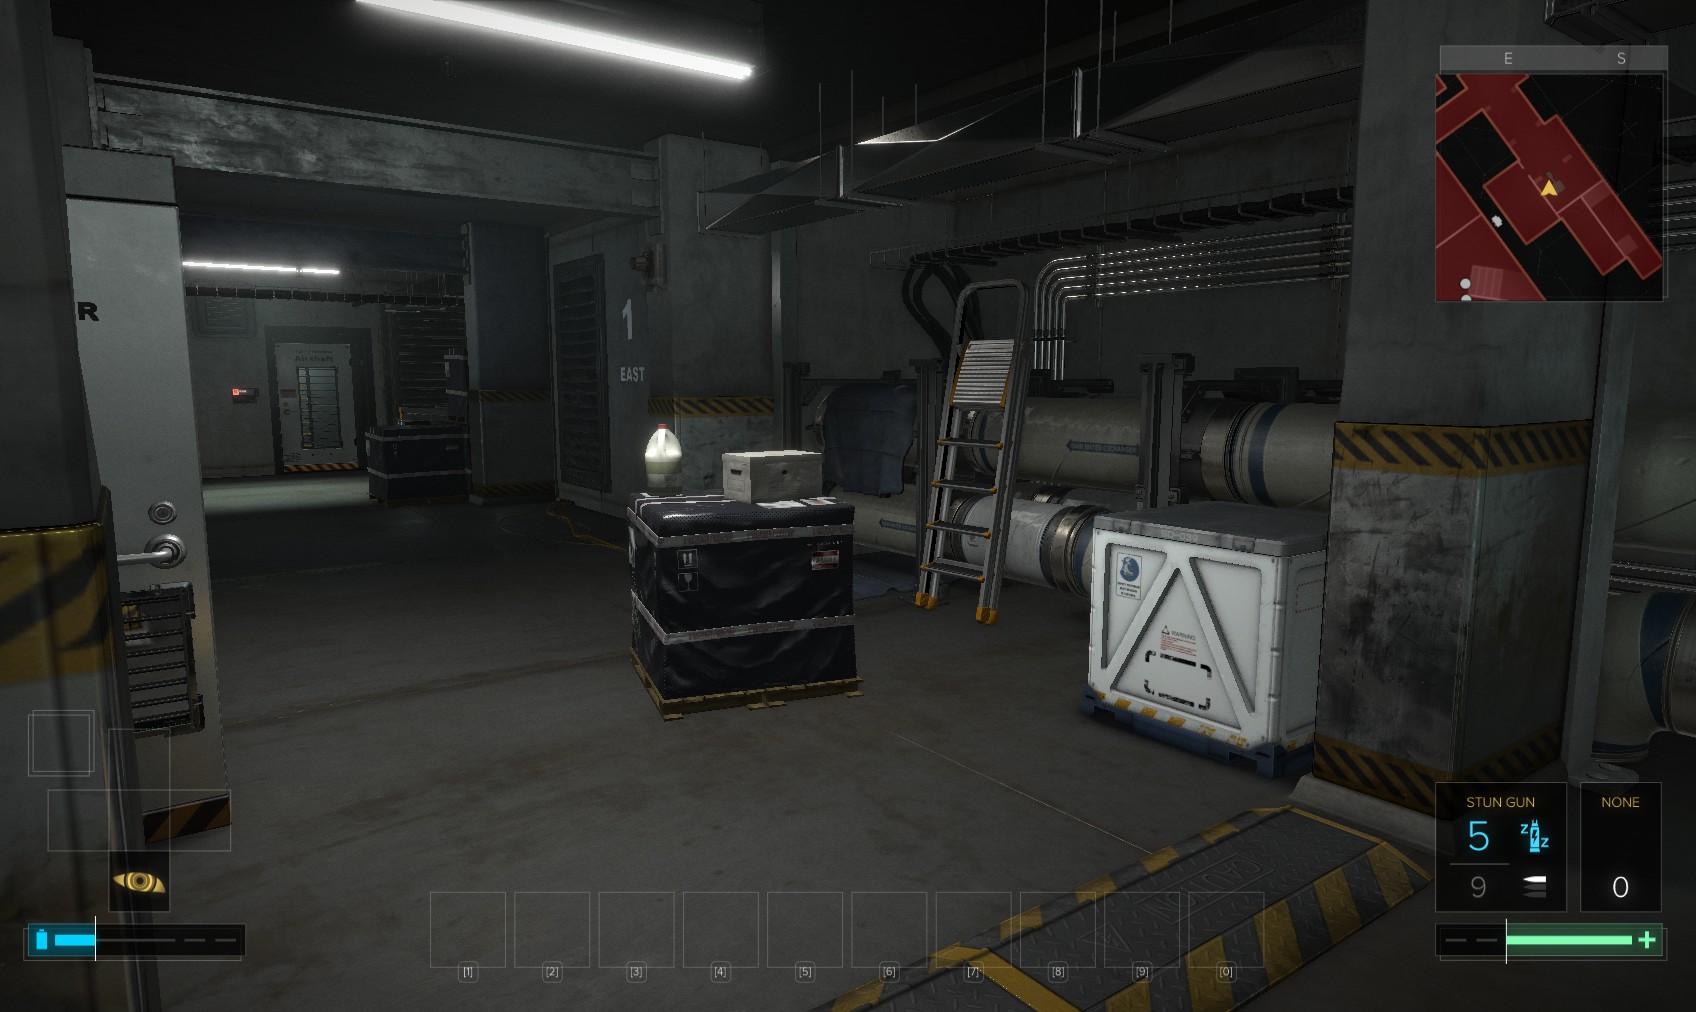
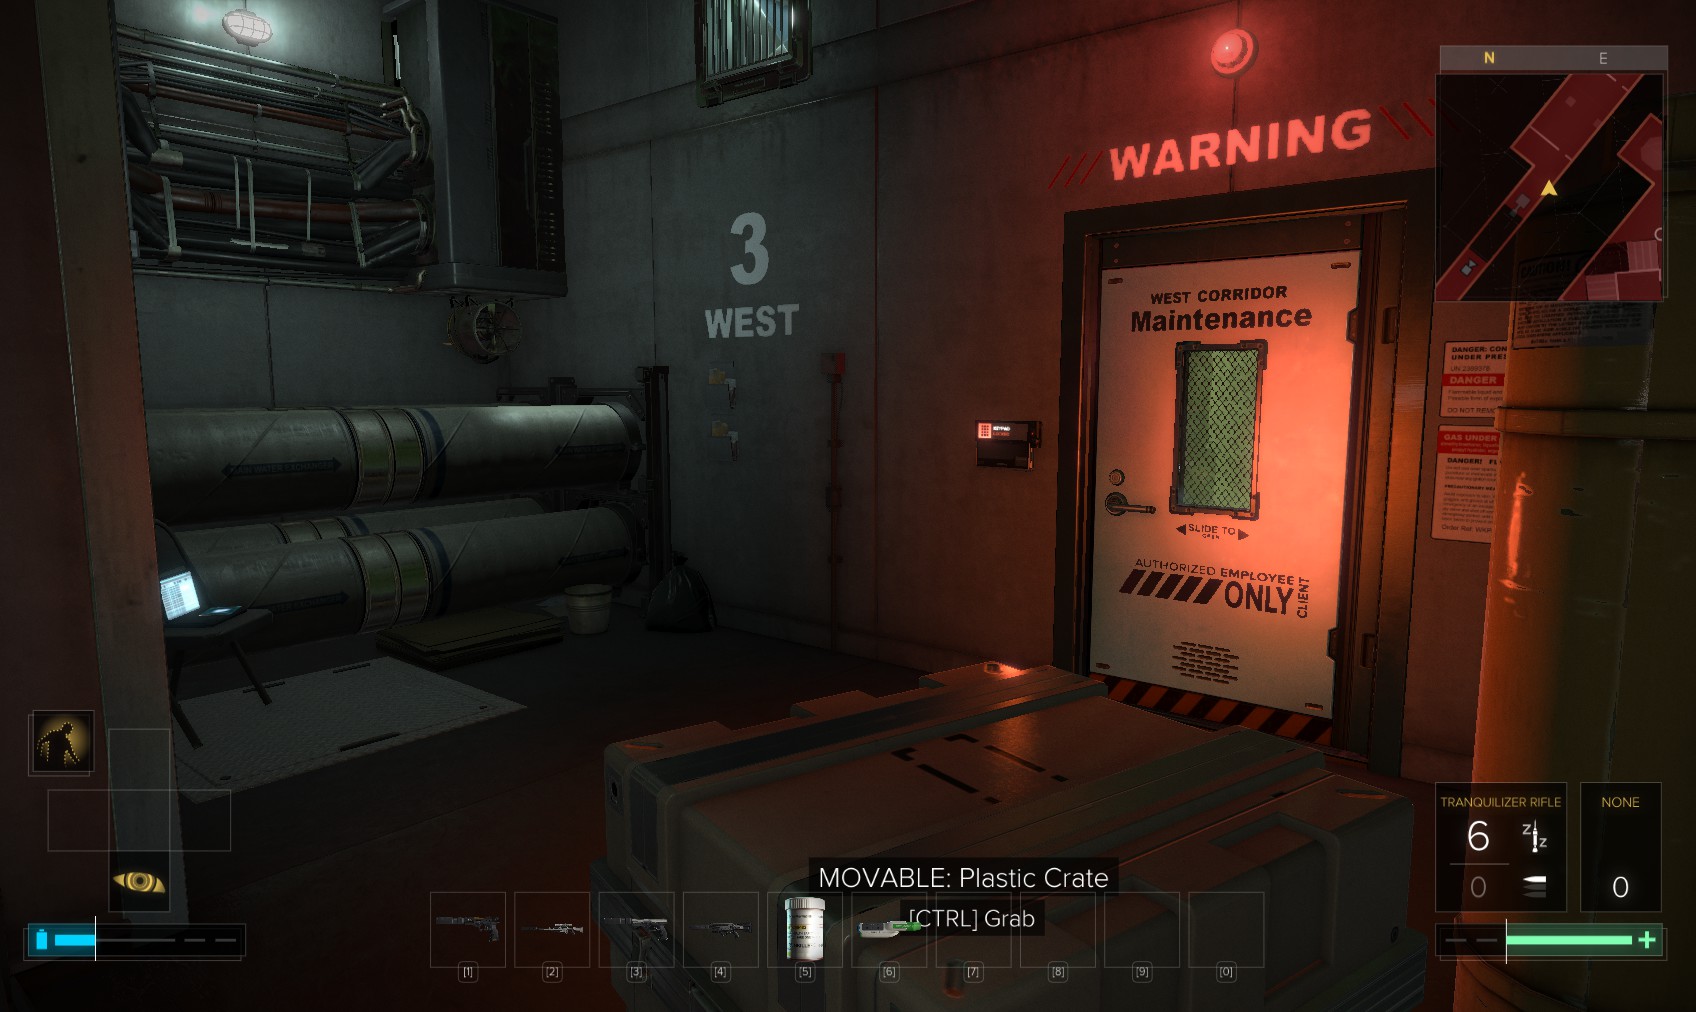
18. Go through the door (locked from the other side, so one hacking opportunity missed!) and move this crate. Follow it to the right to the end for a 200XP explorer bonus and a medical box containing a multi-tool.
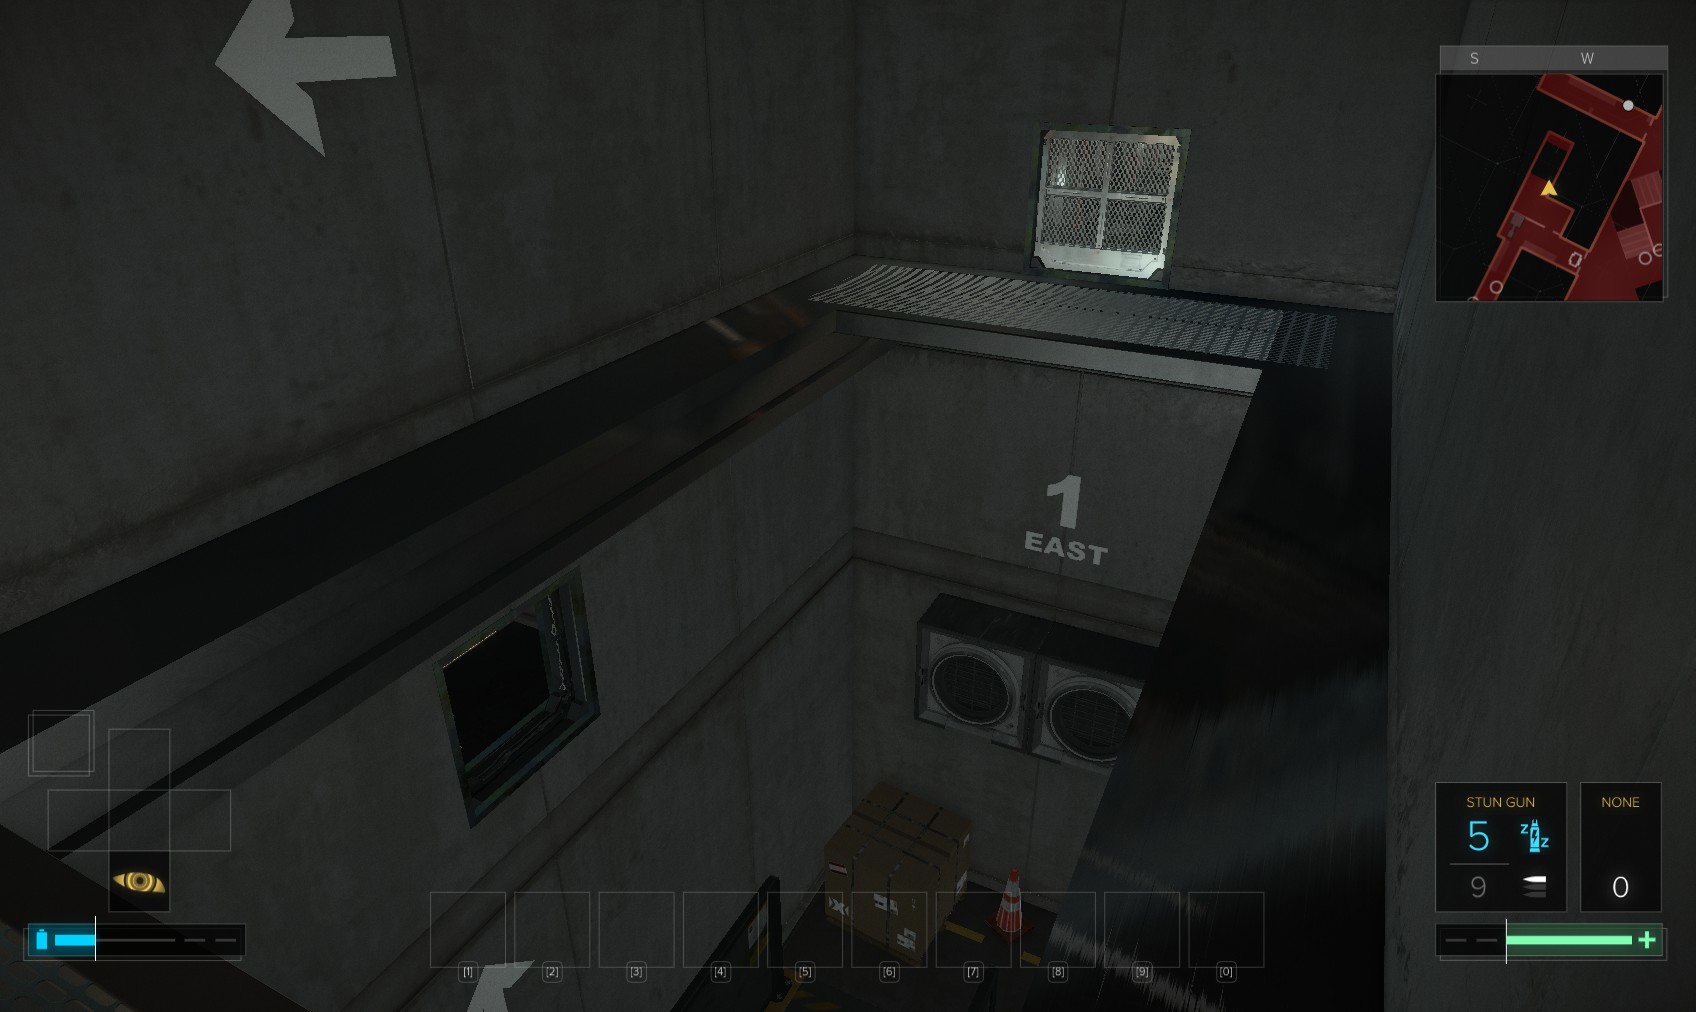
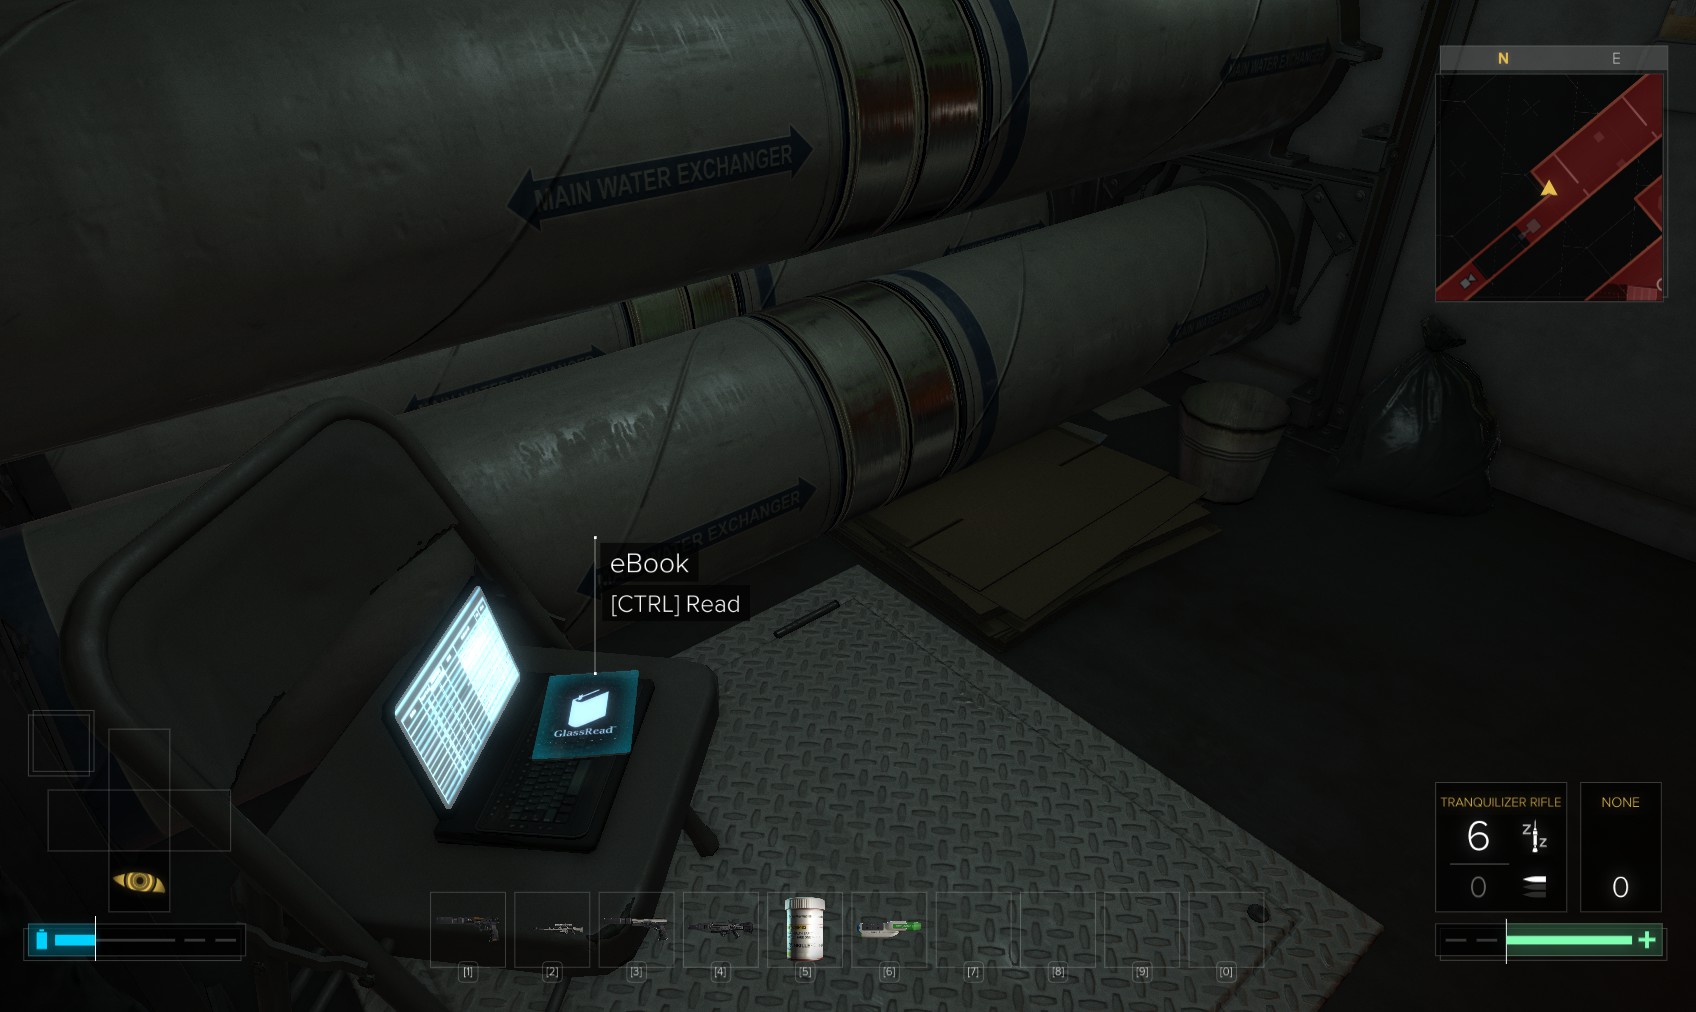
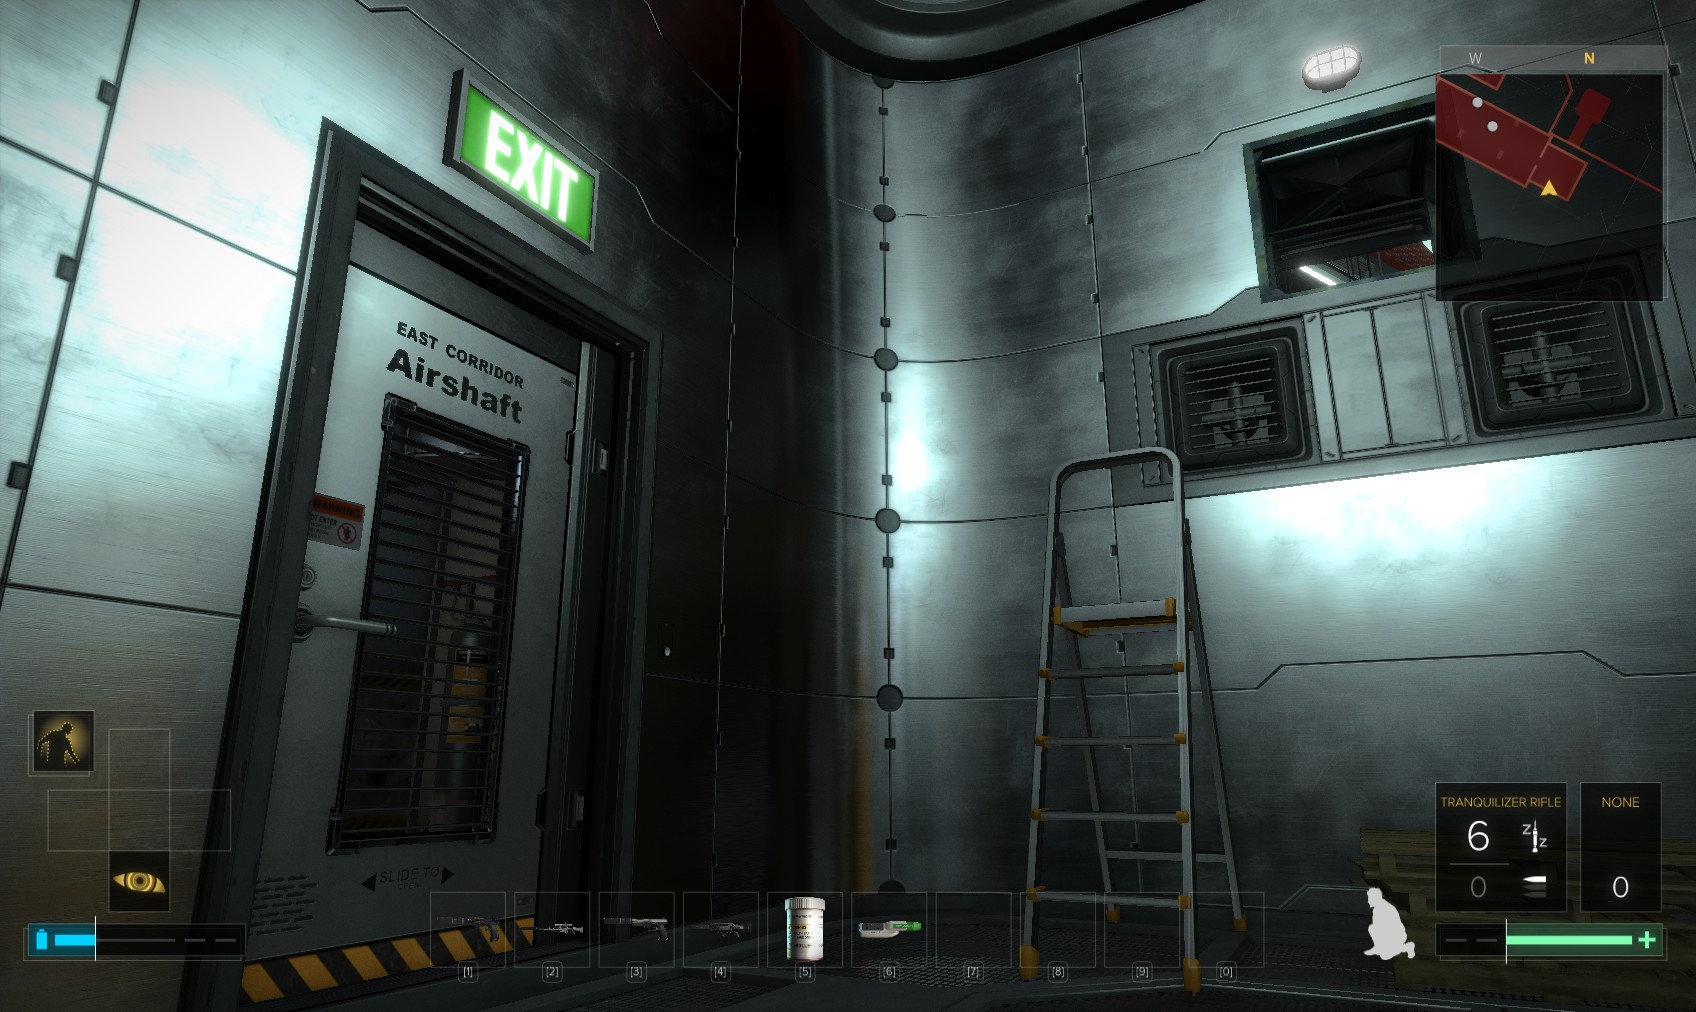
19. Climb on to the pipes next to a stepladder to find this breakable vent. Go through and drop down the other side.
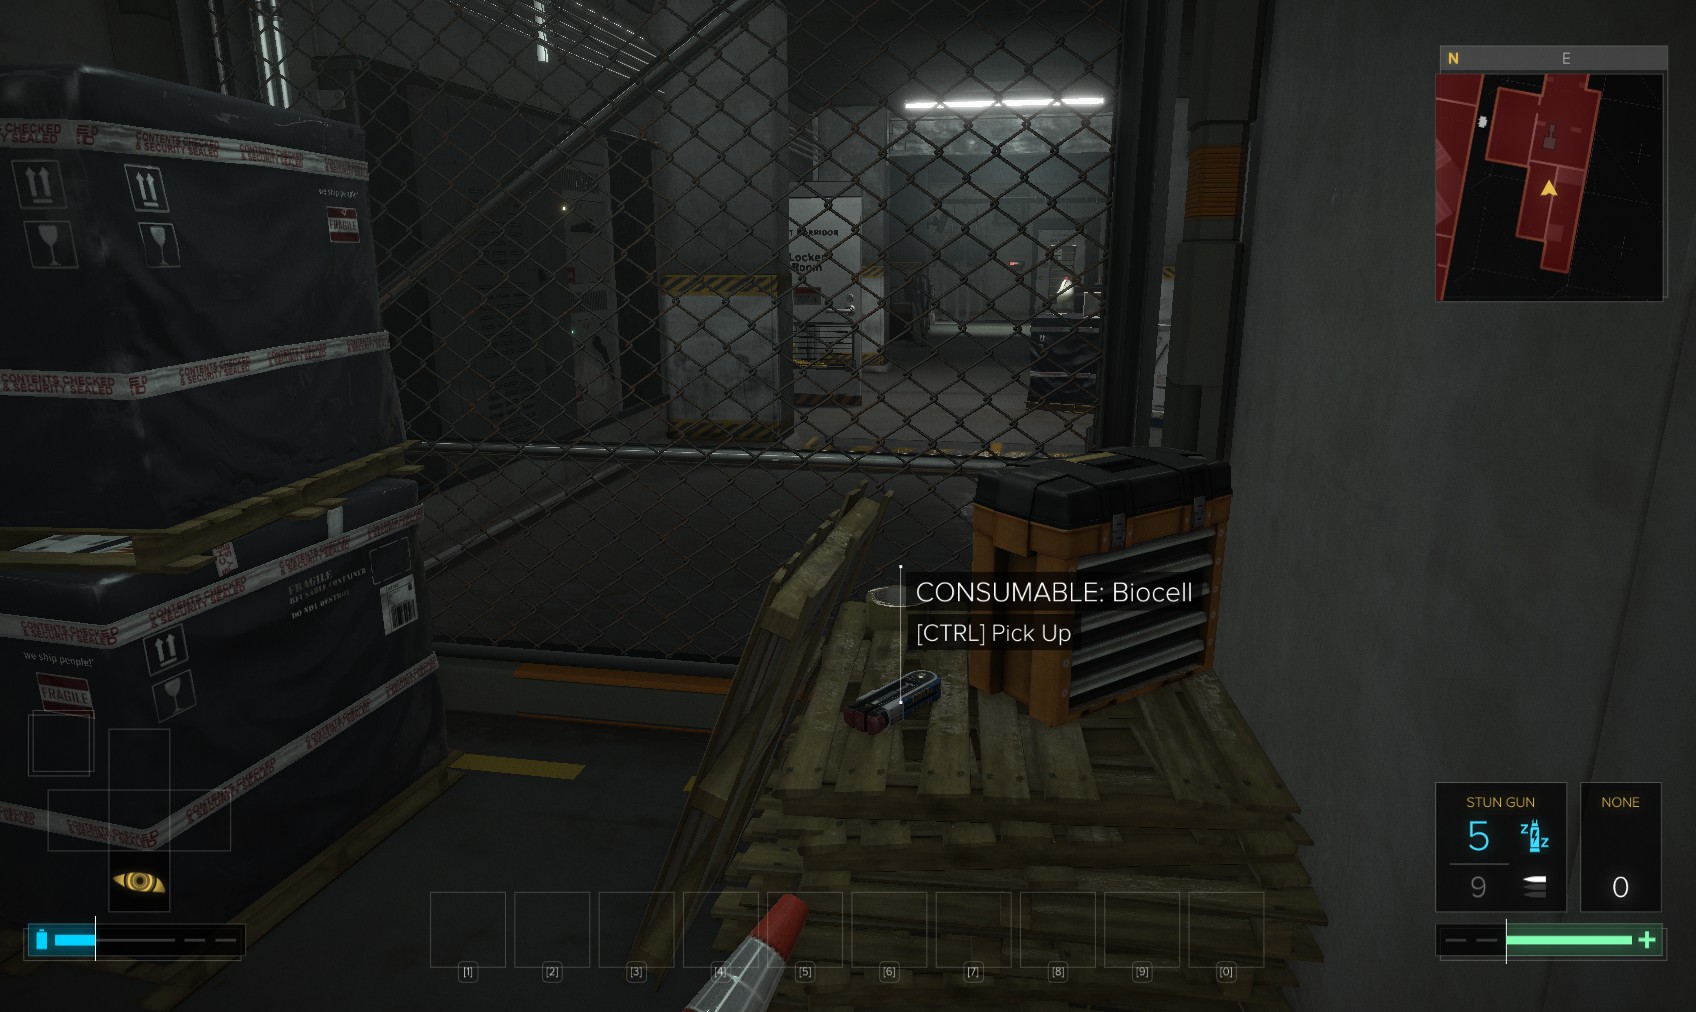
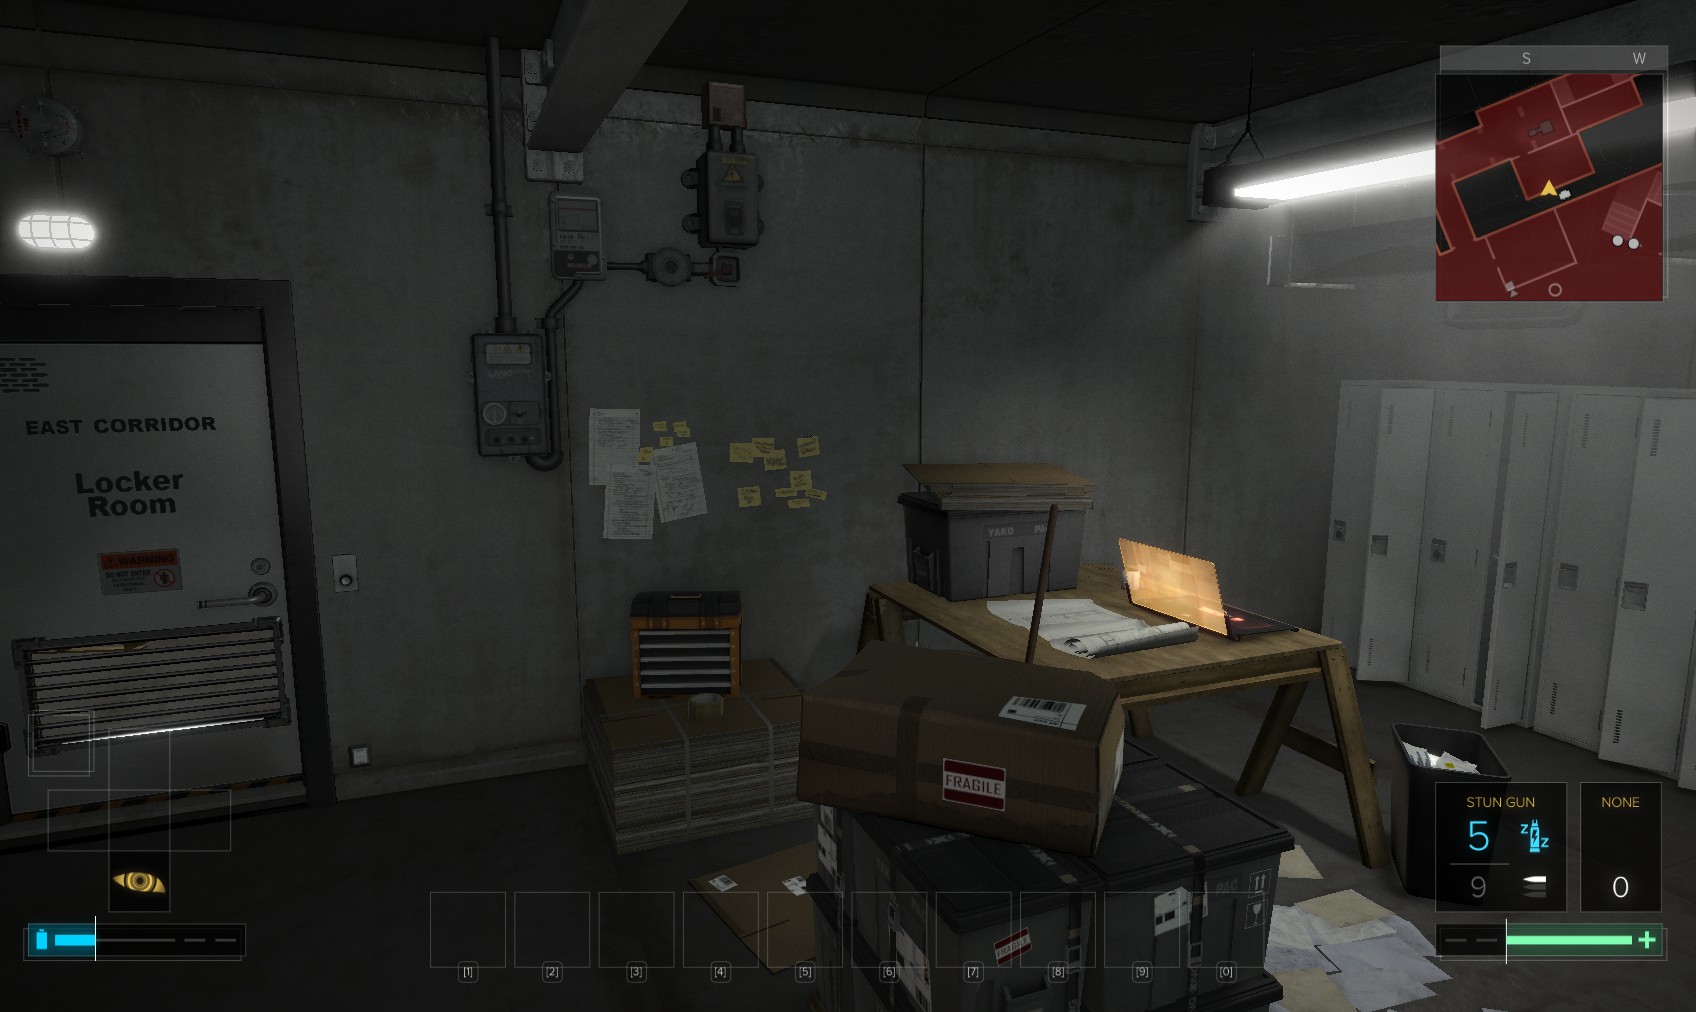
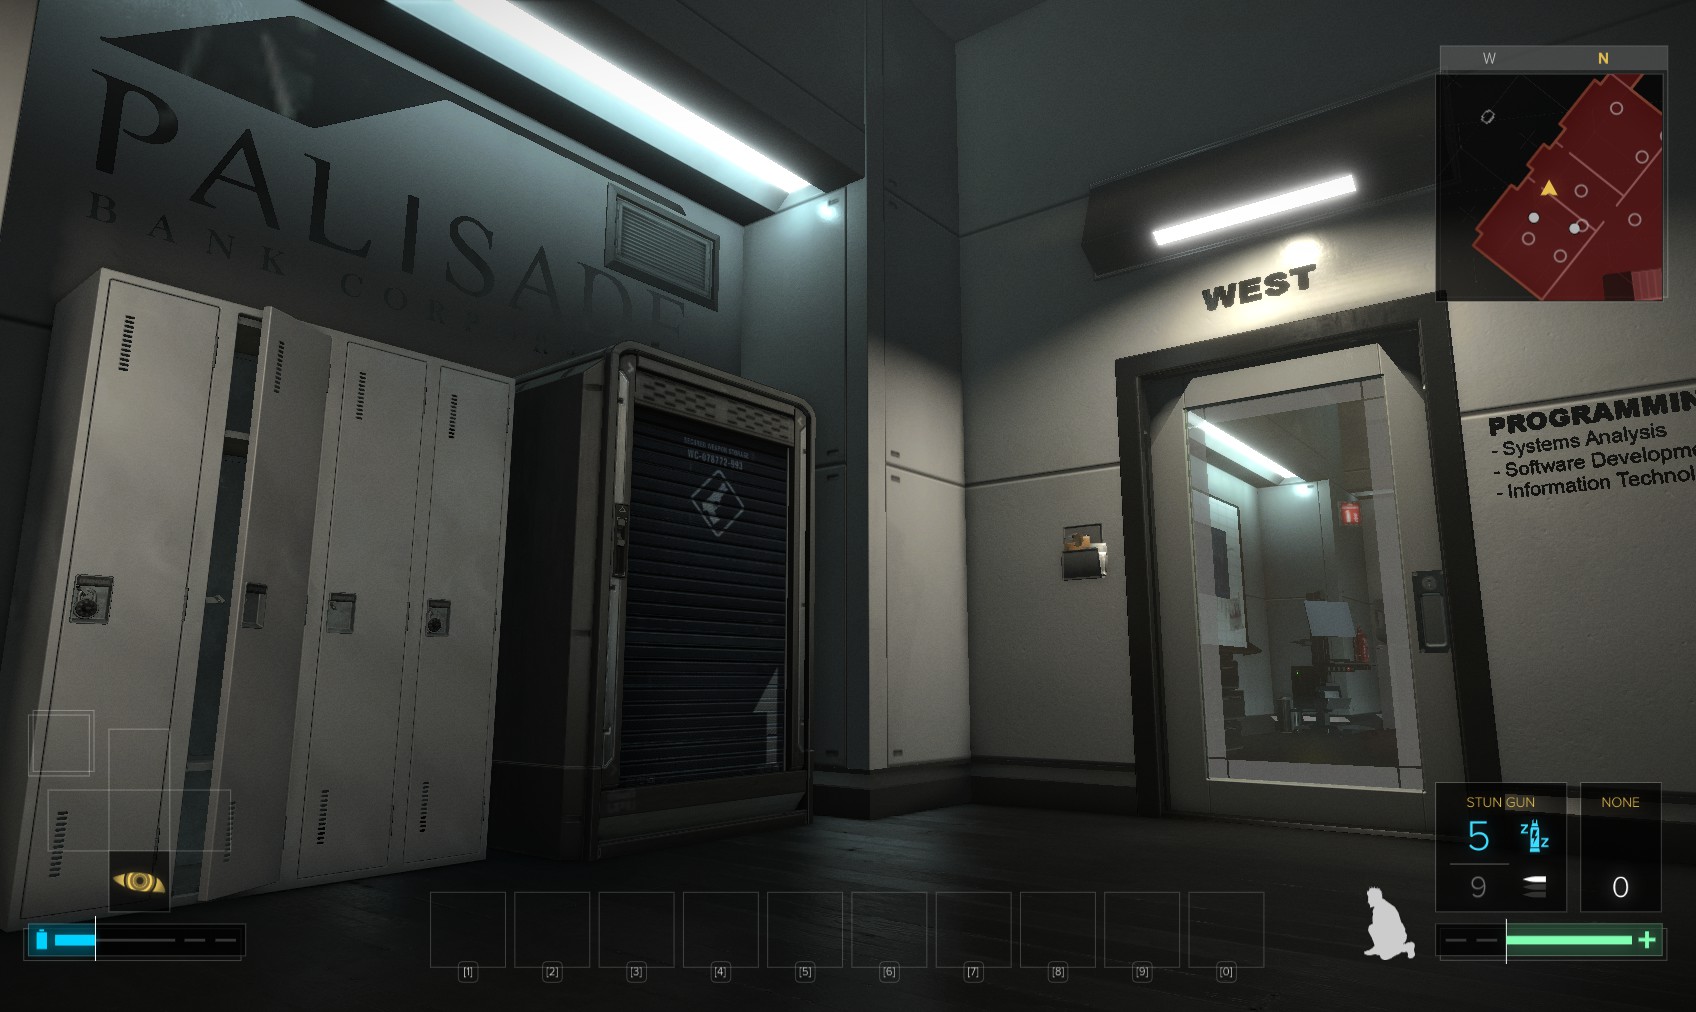
20. Swipe the biocell. This shot shows the locker room door you just came through, and another locked door beyond. Double-back to there, and hack the level 2 door for datascan software (or use the code 8153 for 75XP). A nearby level 1 security panel has no downloads. Go through for another 100XP traveller bonus.
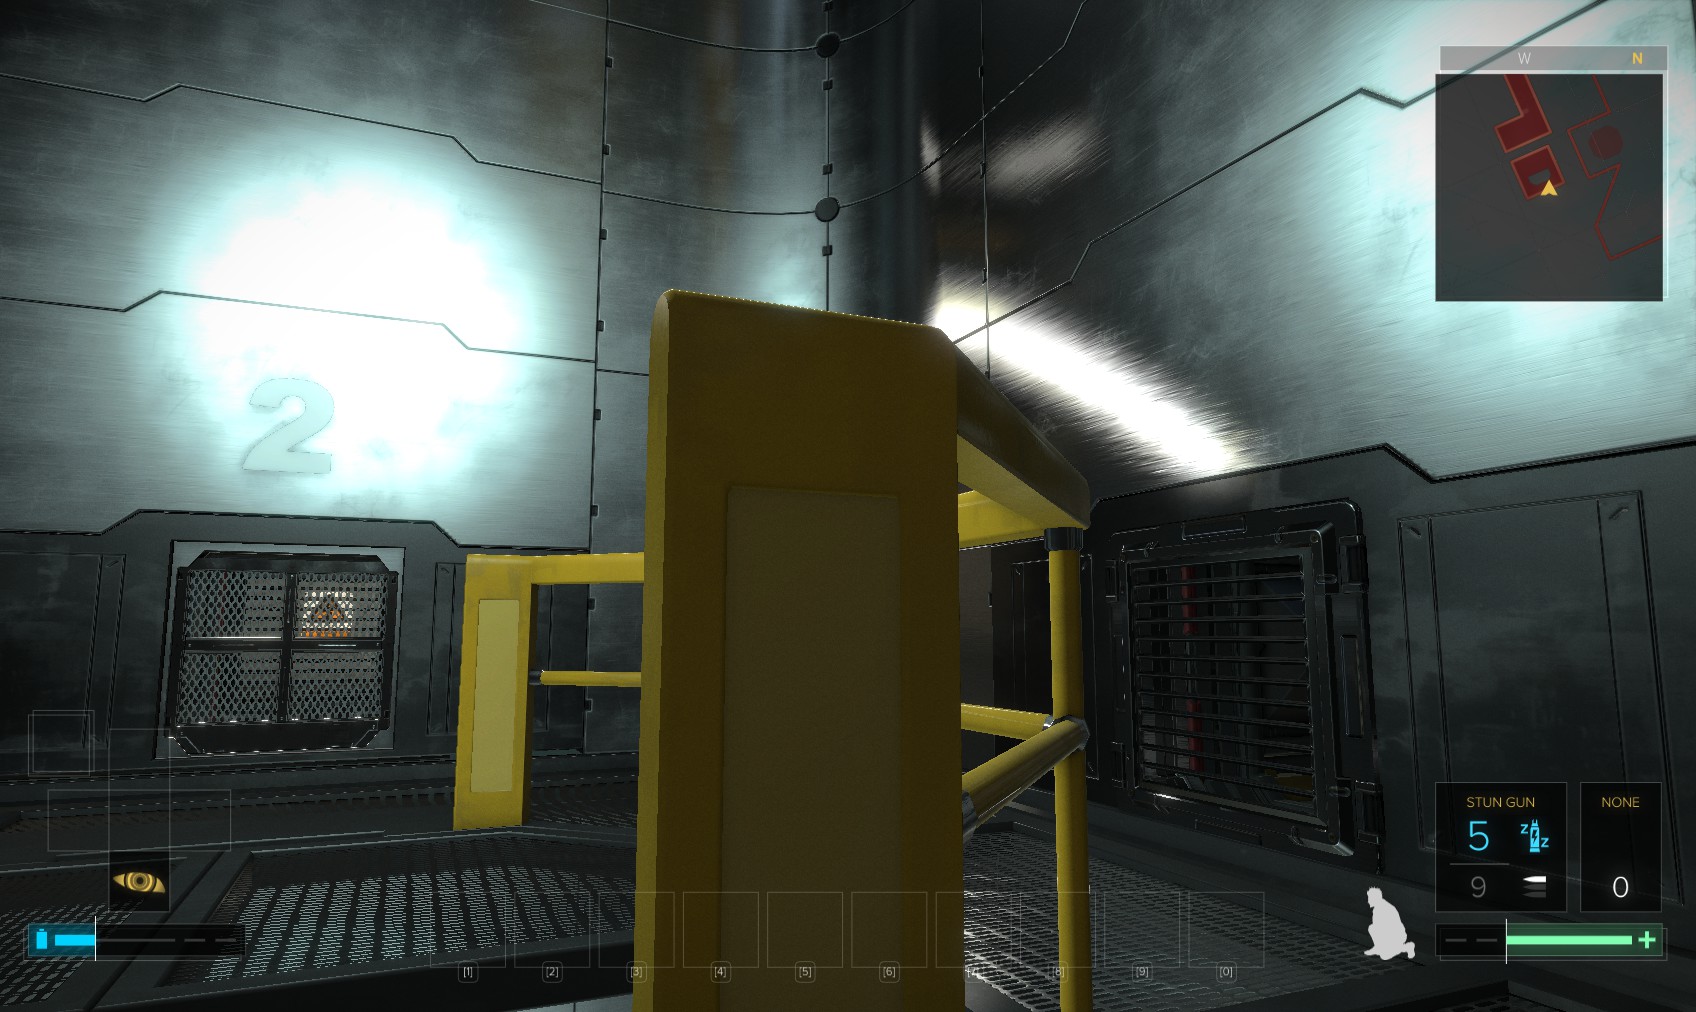
21. At the top of the ladder are 2 vents. Take the right hand one first. It leads to a medical box containing ammo. Double back and break through the other vent.

22. Disable the electrical hazard with the breaker box behind the grate.
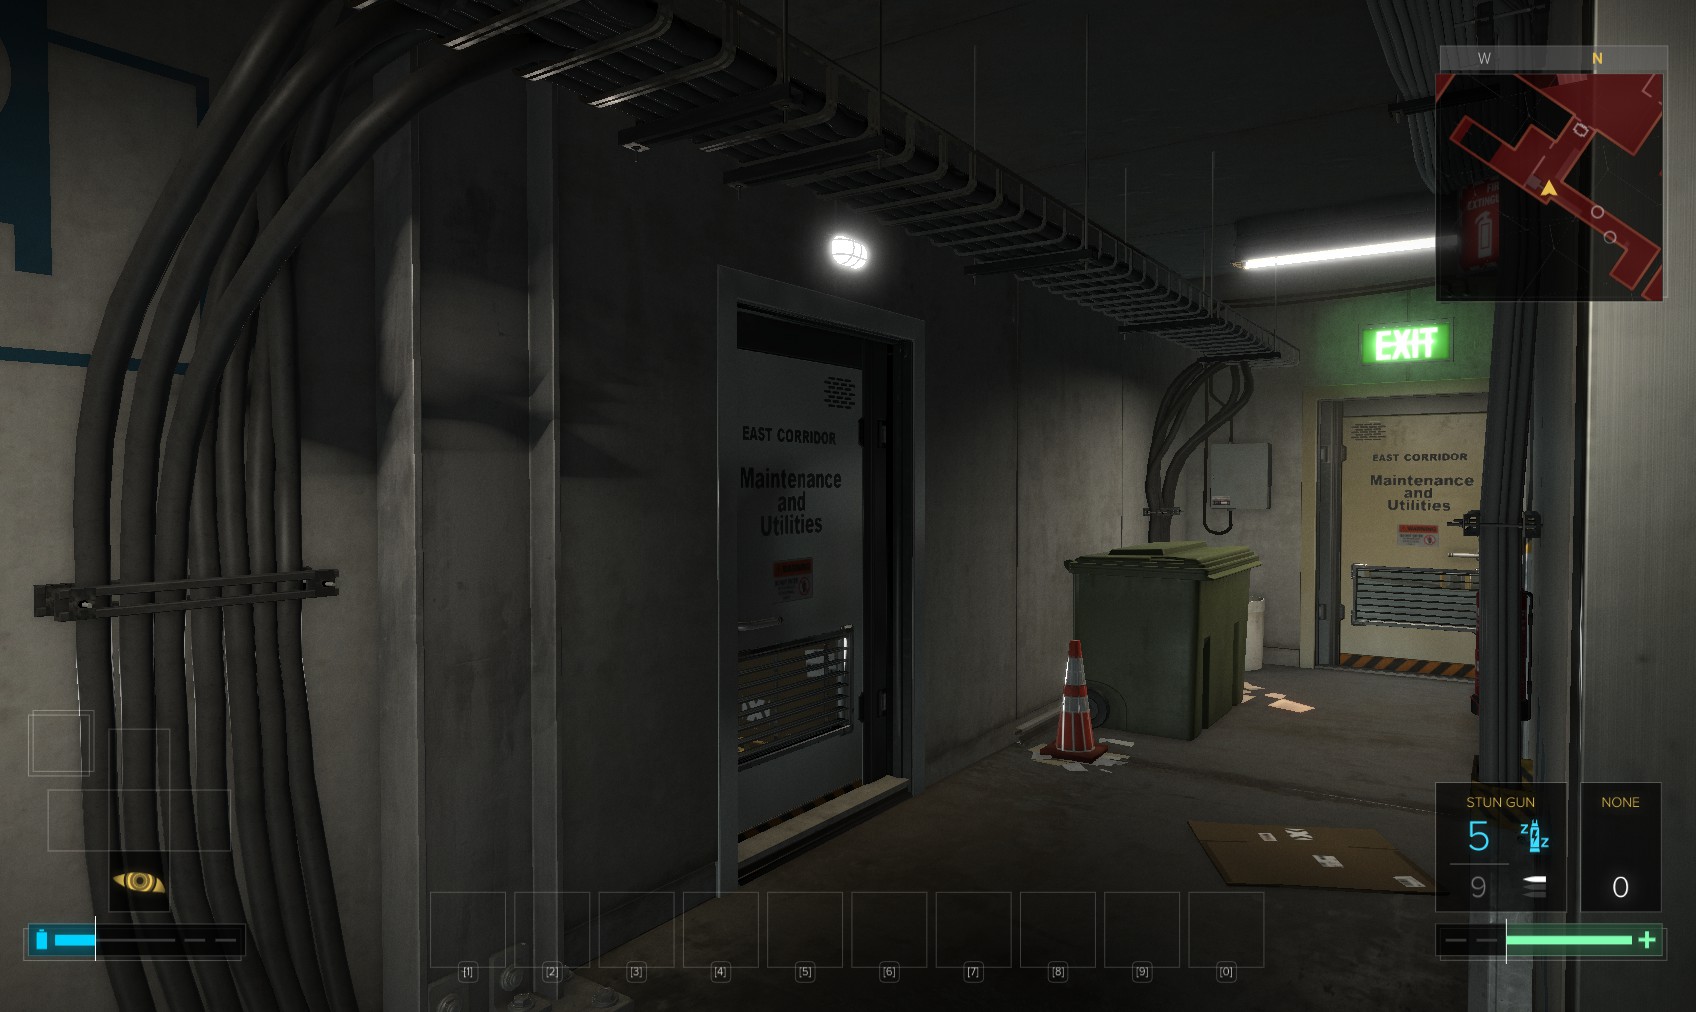
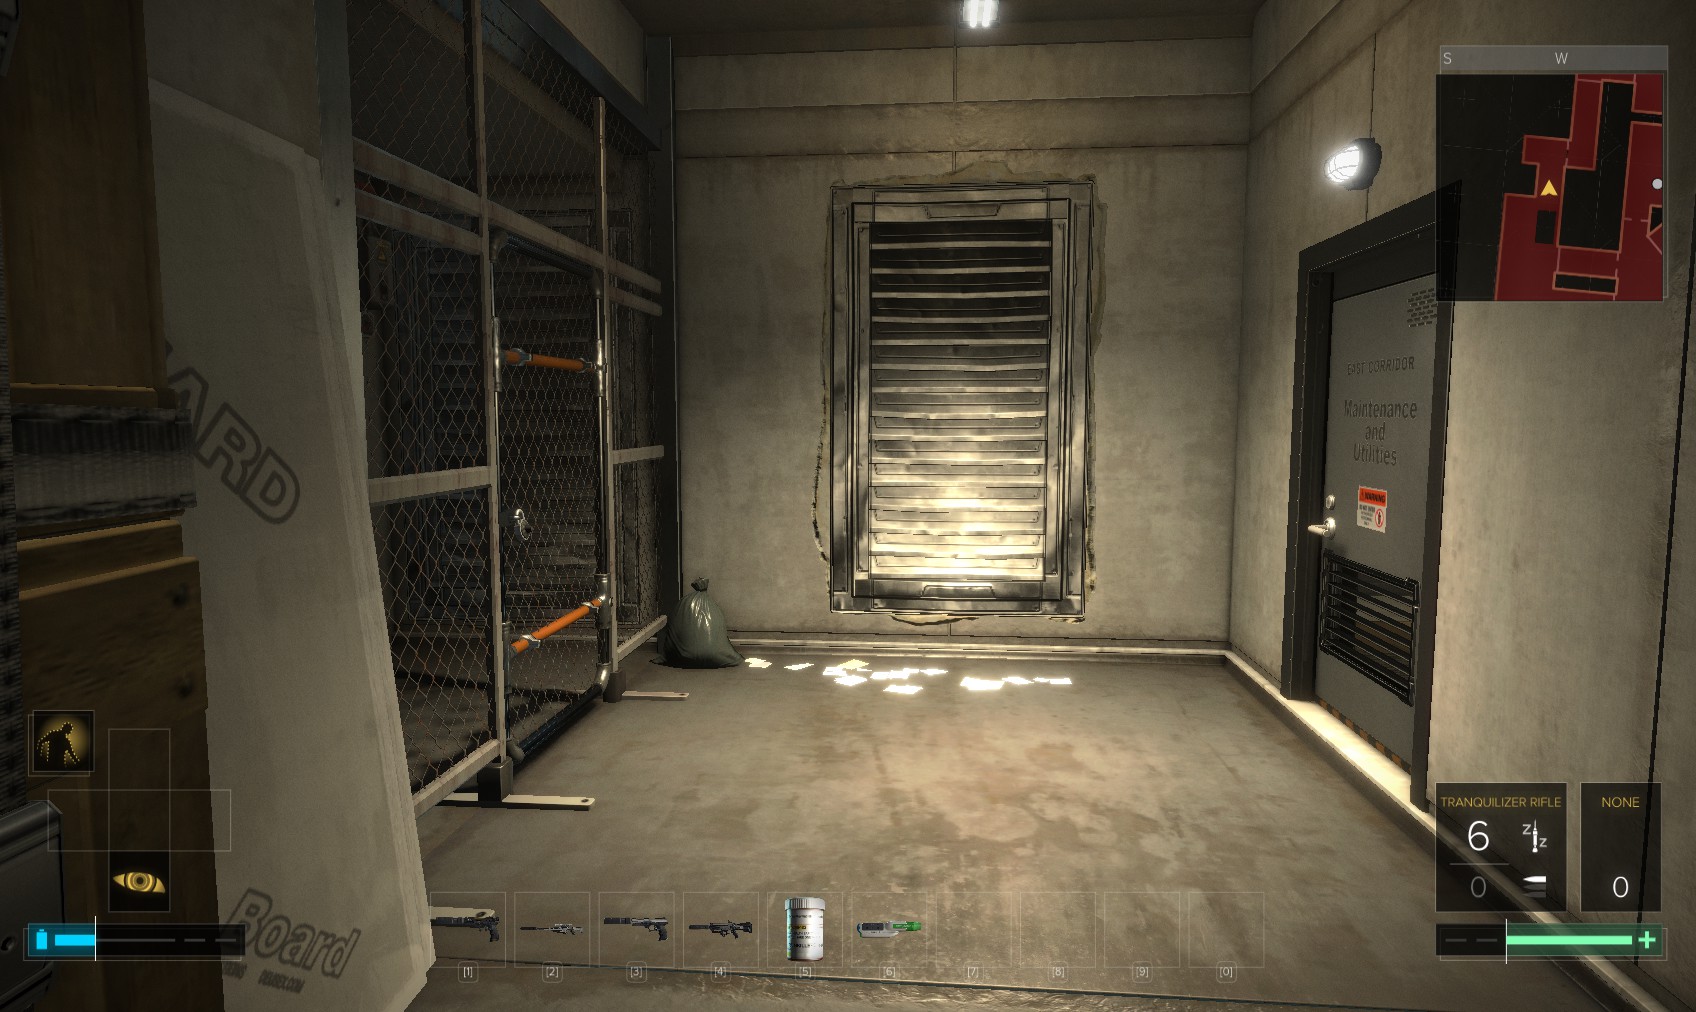
23. Beyond the hazard is a corridor with 2 doors. The one on the right leads out onto the main floor of level 2. Take the door on the left.
24. Right below here is the lift you visited earlier. Break the vent ahead and go through.
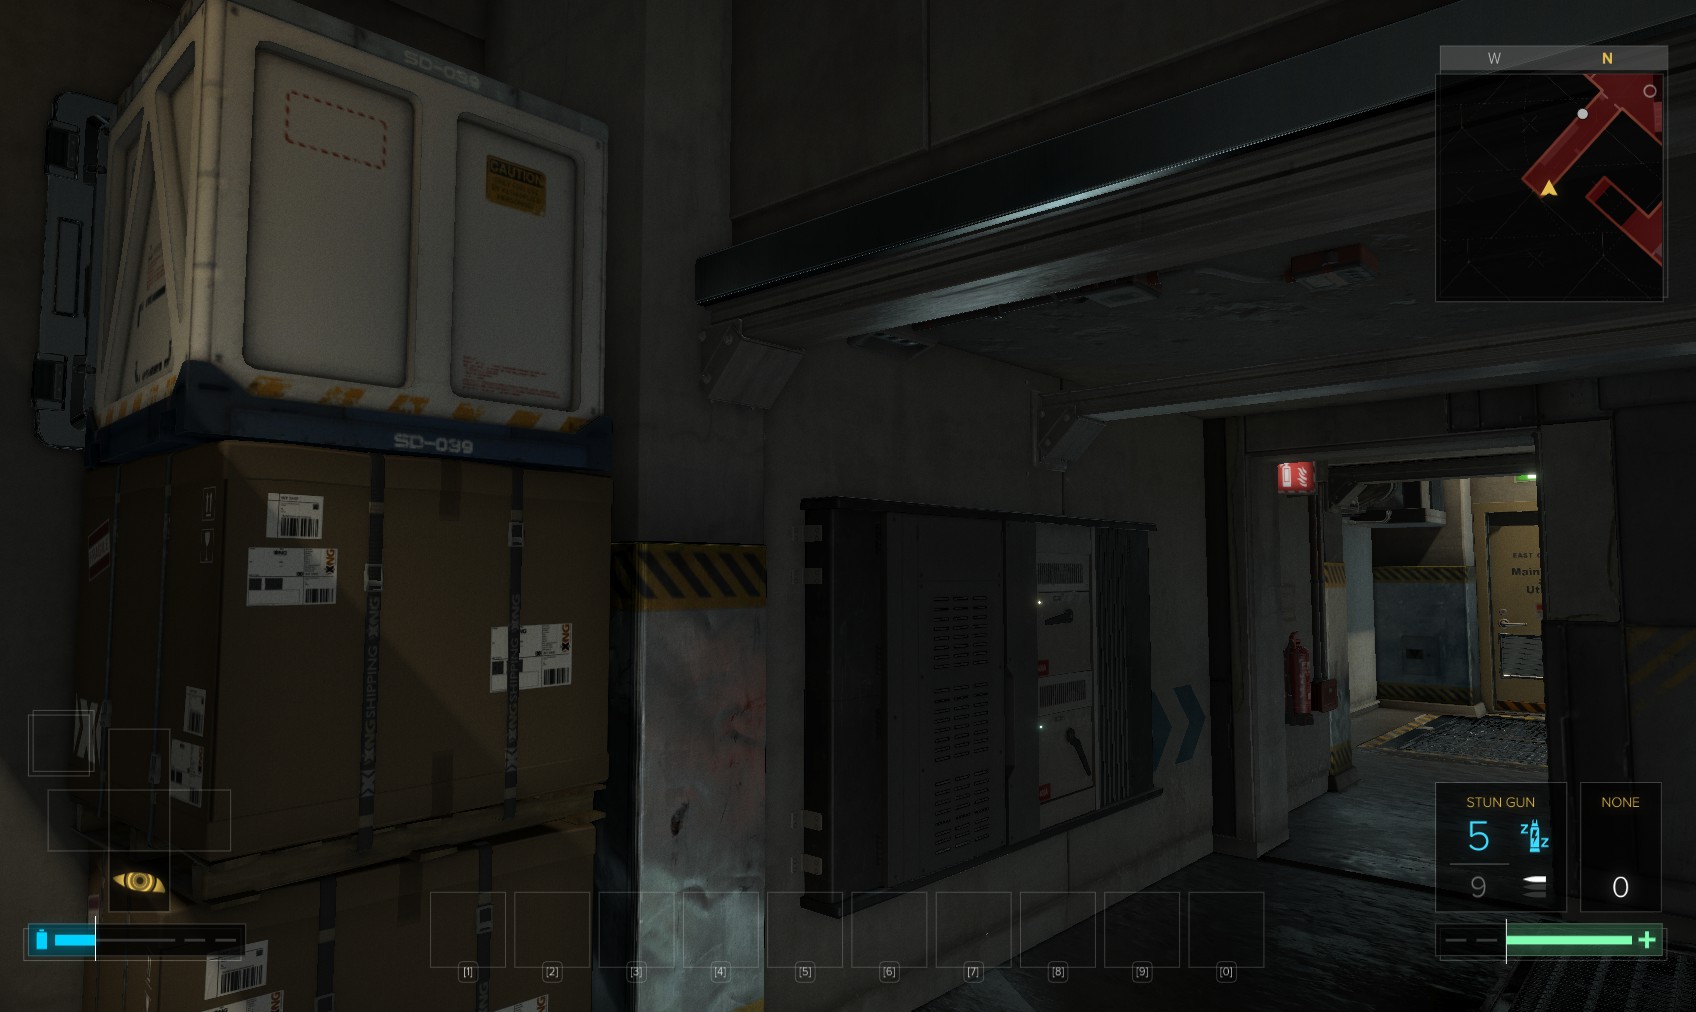
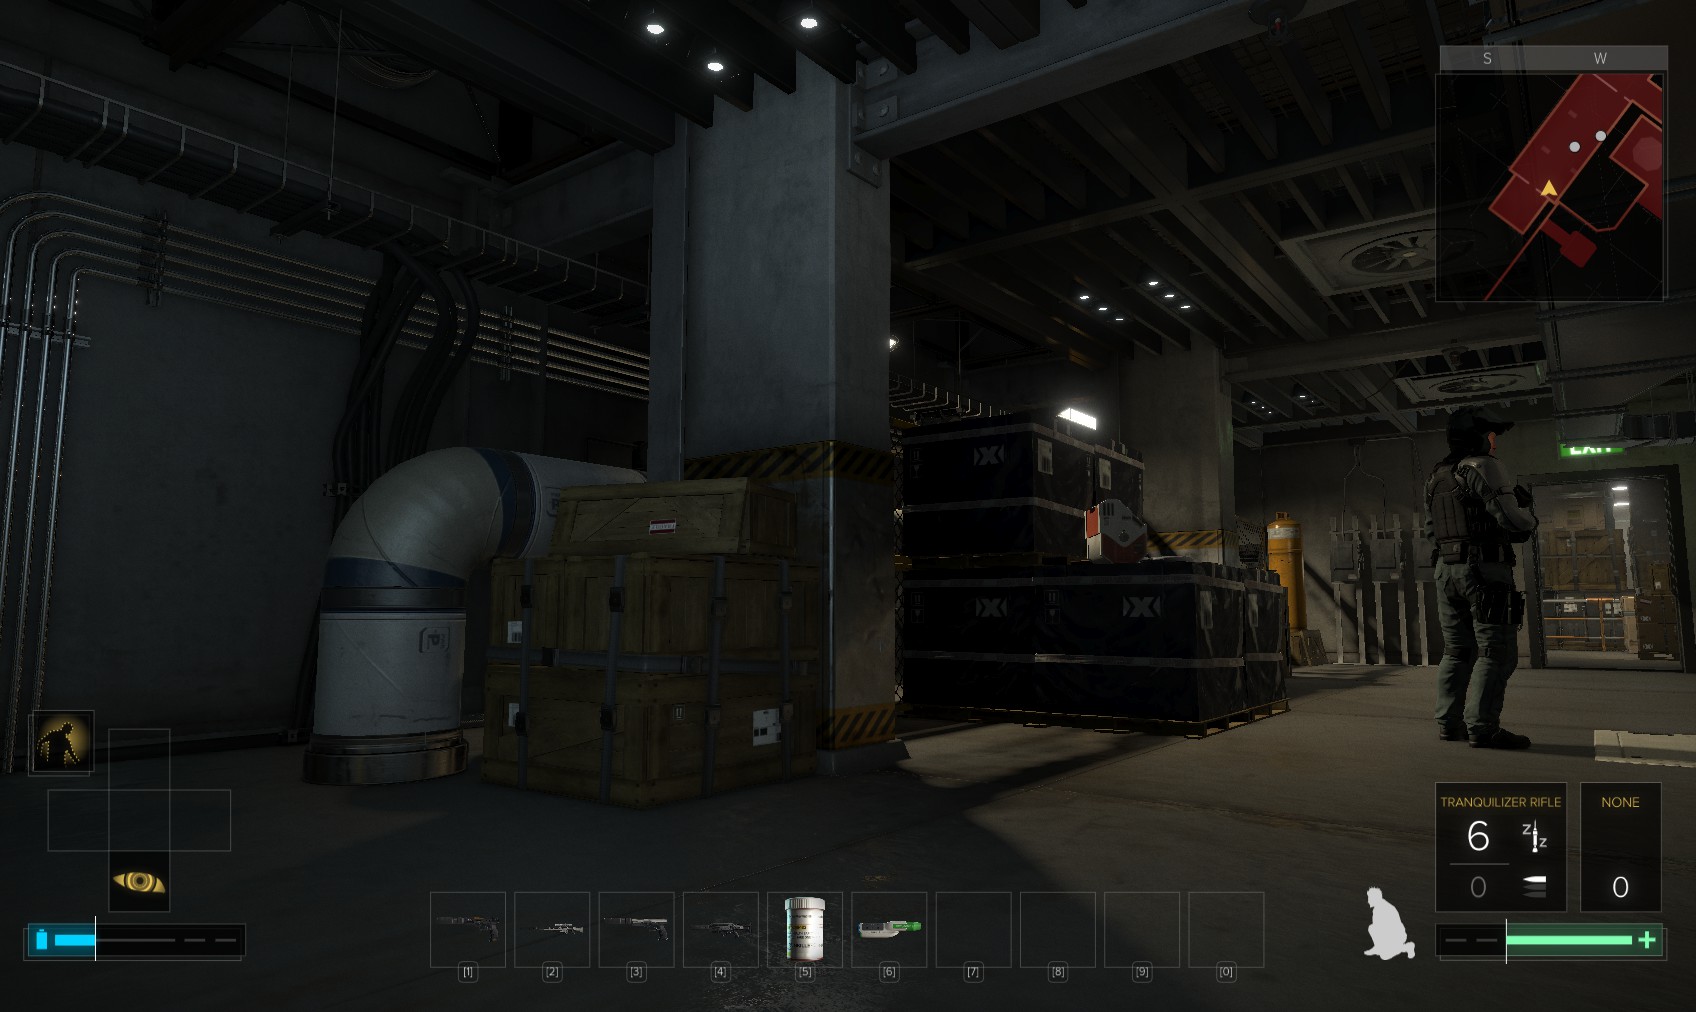
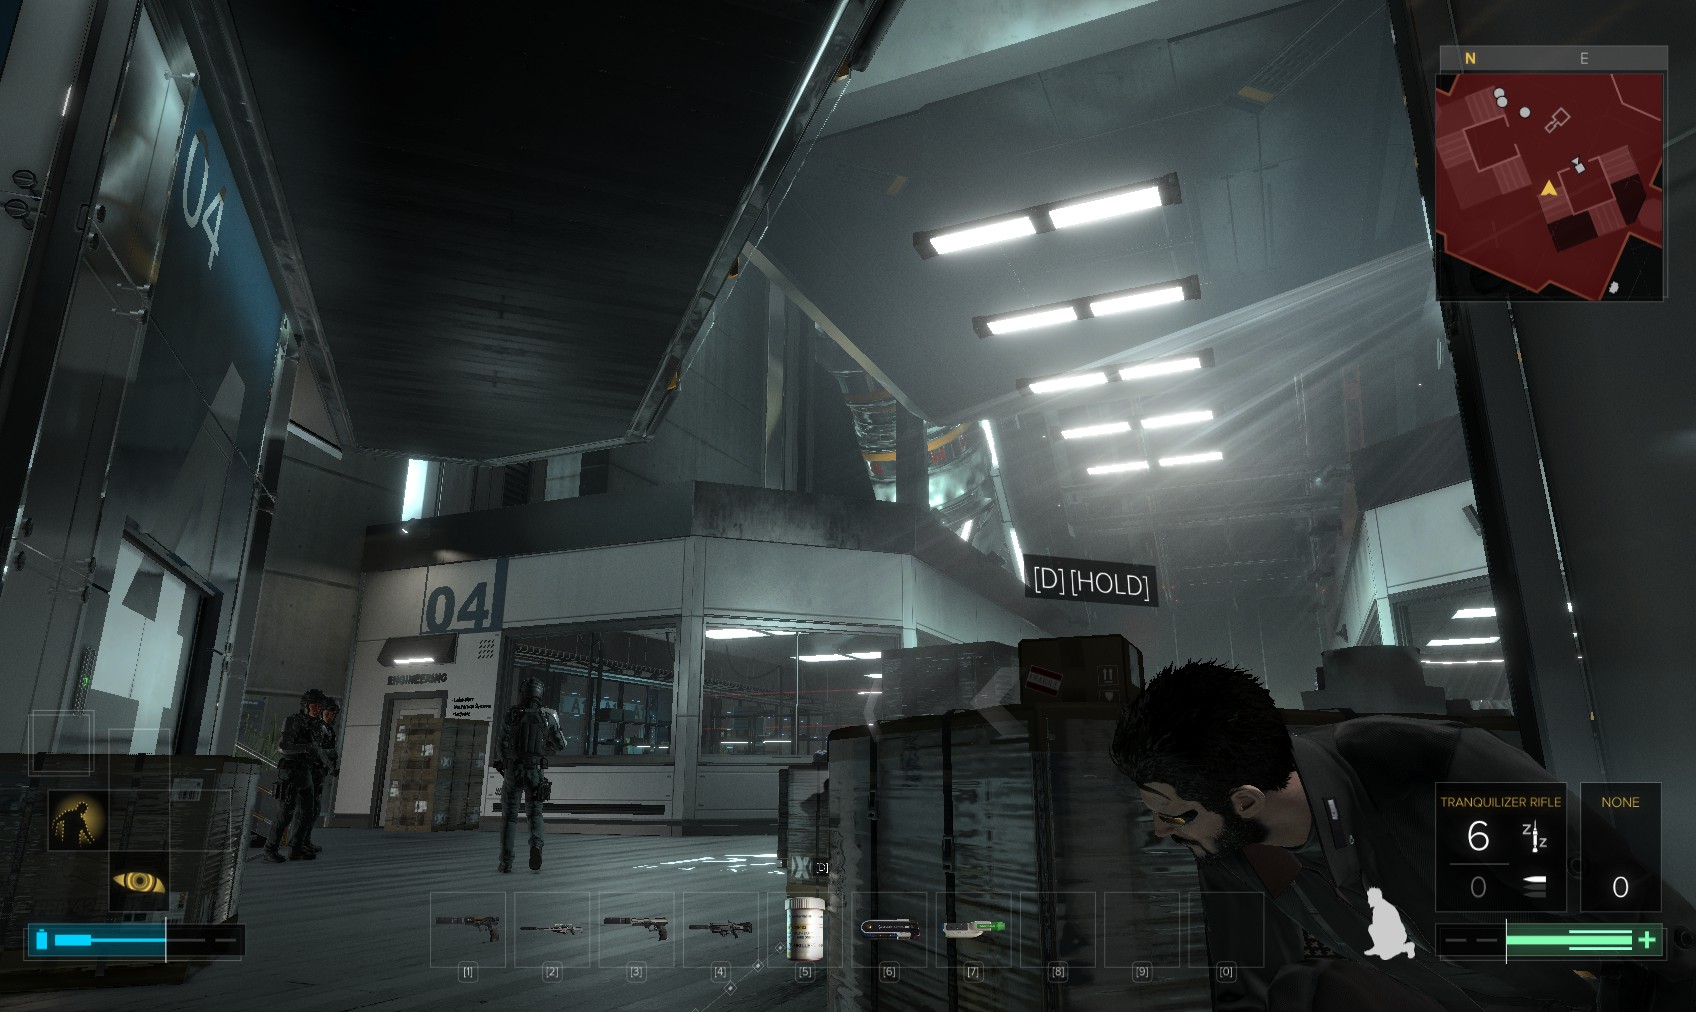
25. Out the other side, mindful of the guard having a crafty smoke near the door at the end, move the crate on the left to reveal yet another vent.
26. Follow it to the end to come out here. Remote hack another EG switch.
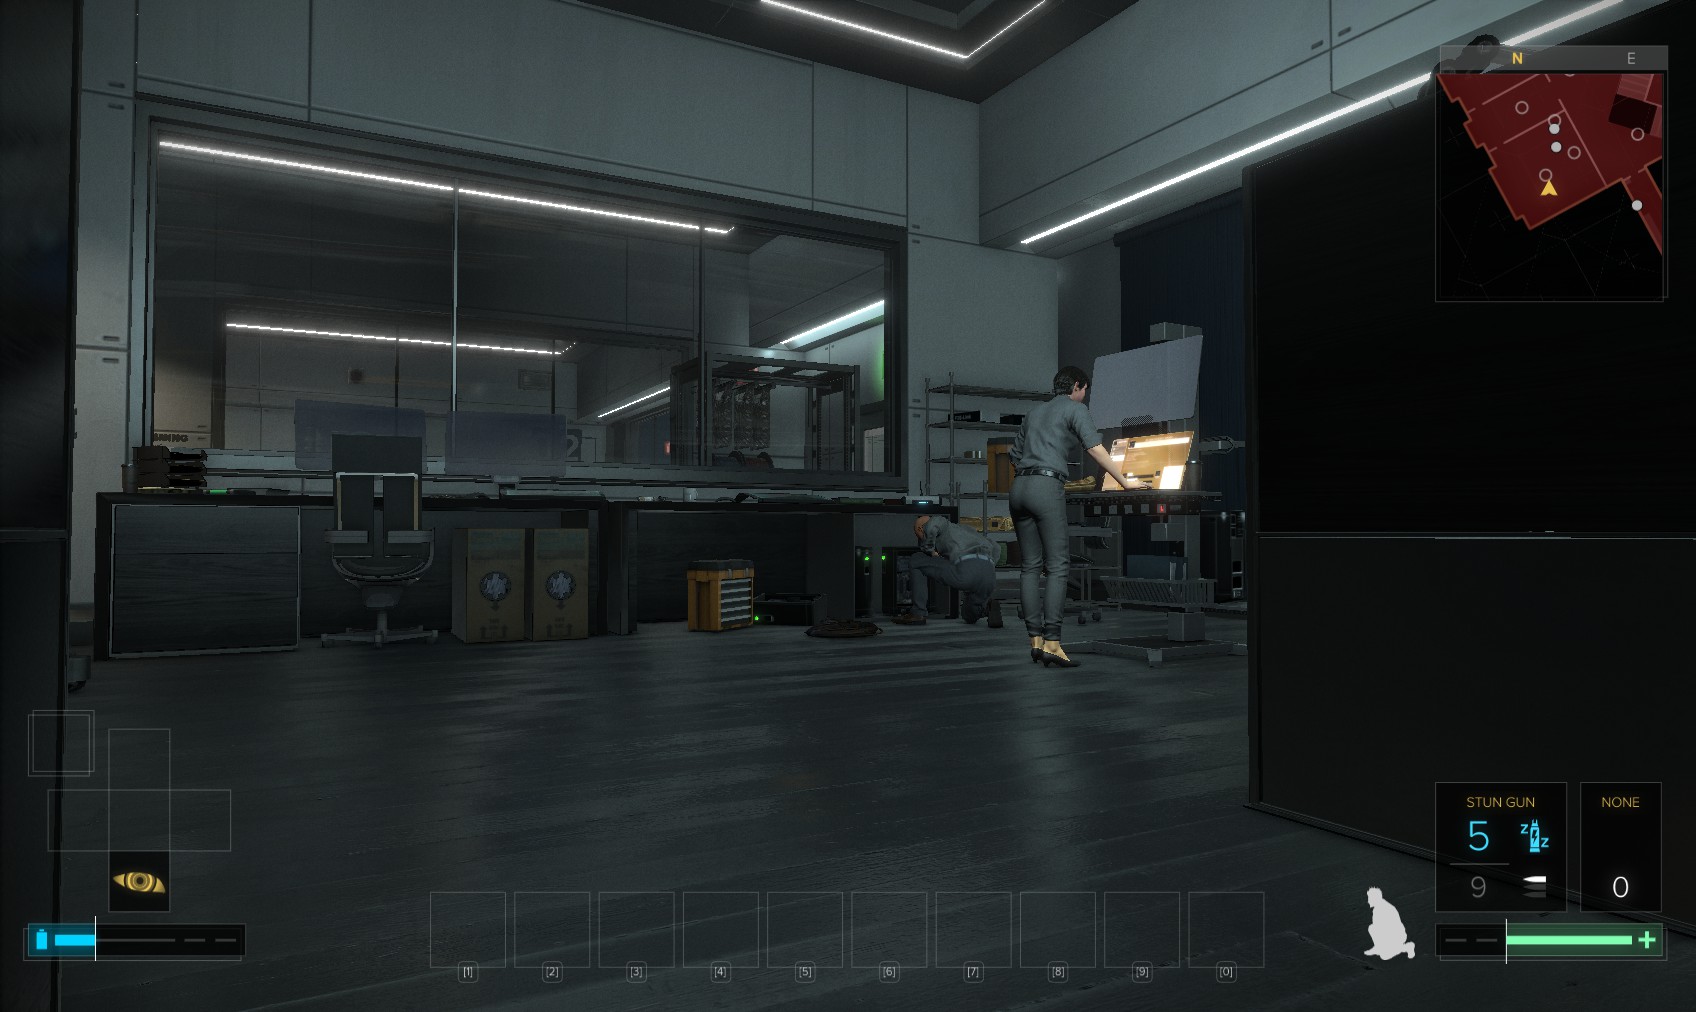
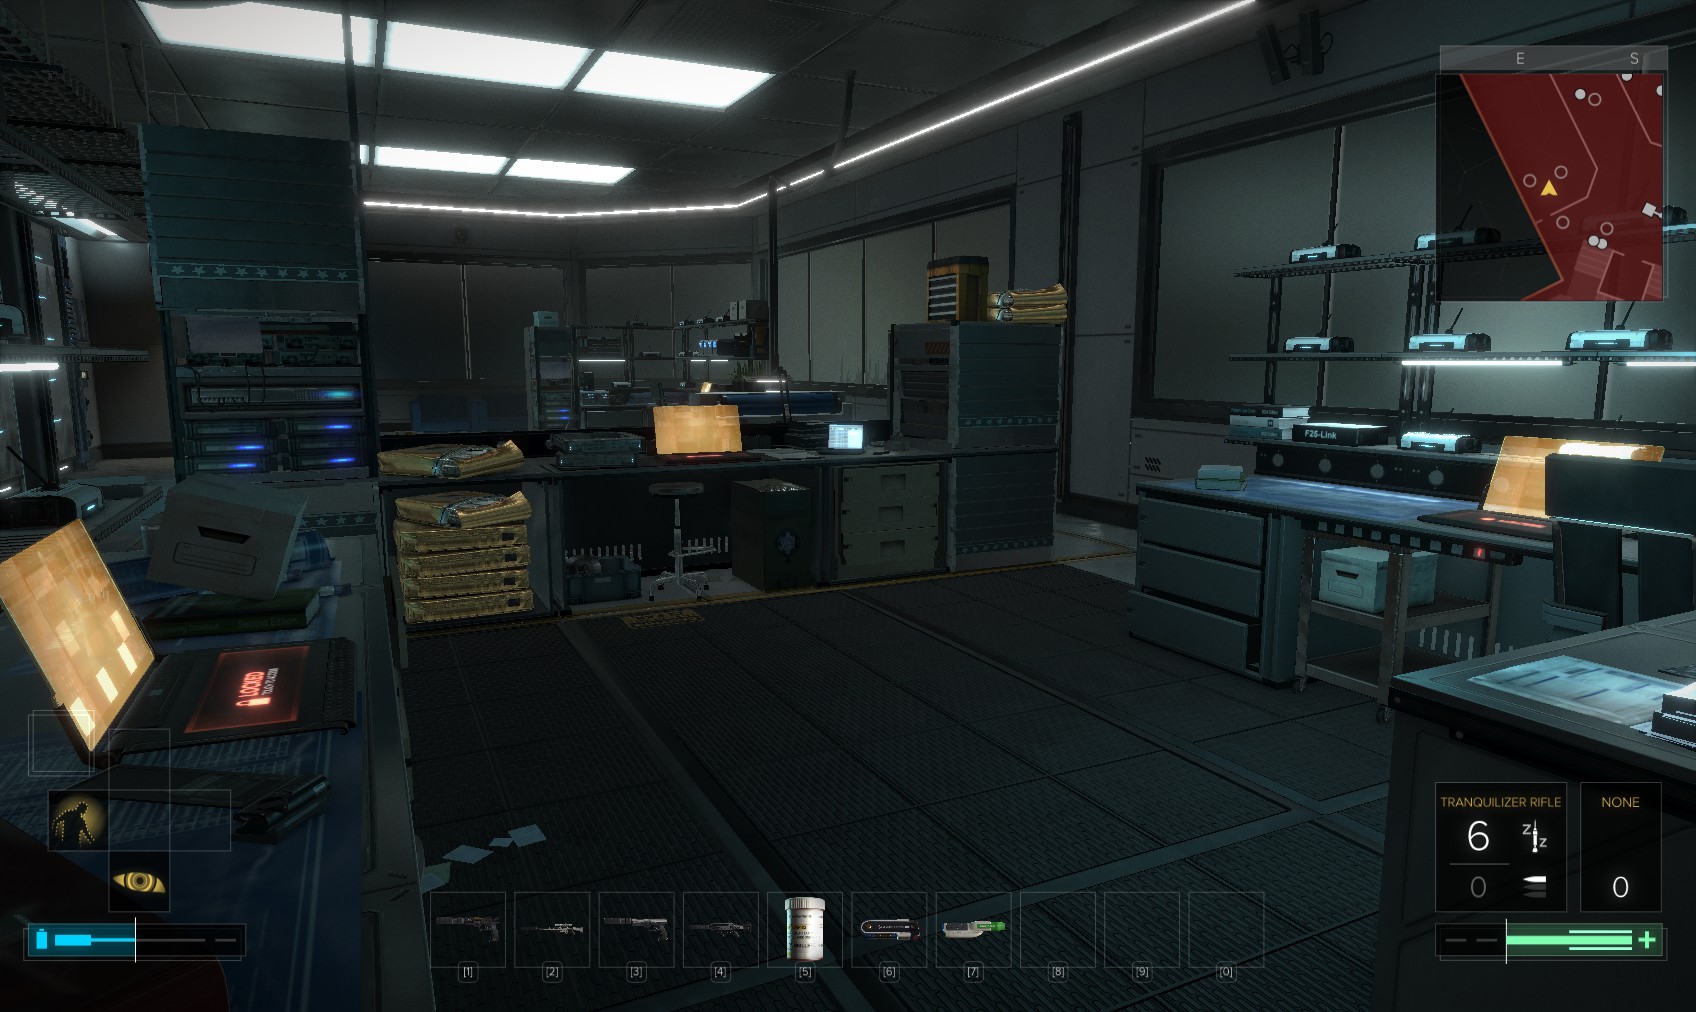
27. On the right-hand side of the room, this level 1 laptop on the left can be hacked for overclock software and you can learn - amongst other things - that perfume of any kind is banned. The level 1 PC at which the female employee is working is just about hackable for stealth software when she moves away and before she turns round. It might take a couple of goes to actually read the emails. A tesla cartridge and biocell are on some shelves next to the working engineer.
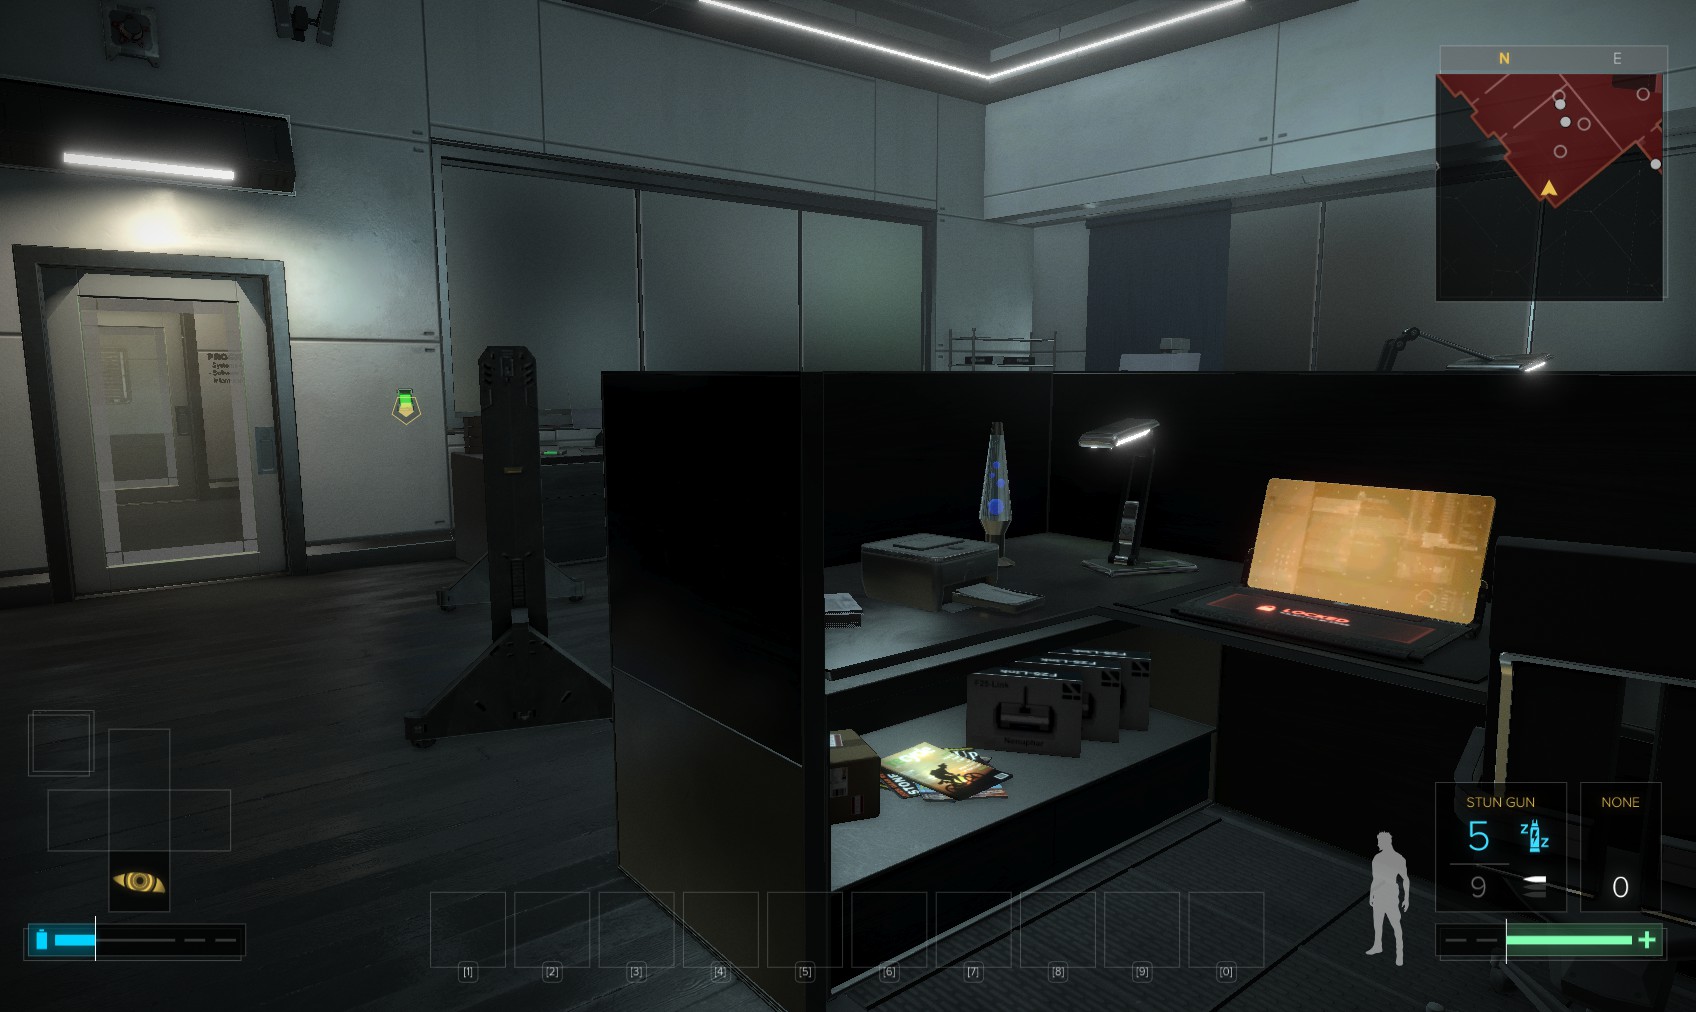
28. On the other side of the room a level 2 PC gets you 100XP and some security emails. Leave via the door shown when it’s clear, but don’t miss the overclock software on the desk next to the door, and in the drawers below.
29. Raid these cabinets for a stop worm, and a silencer in the weapons cabinet, before entering the empty office straight ahead.
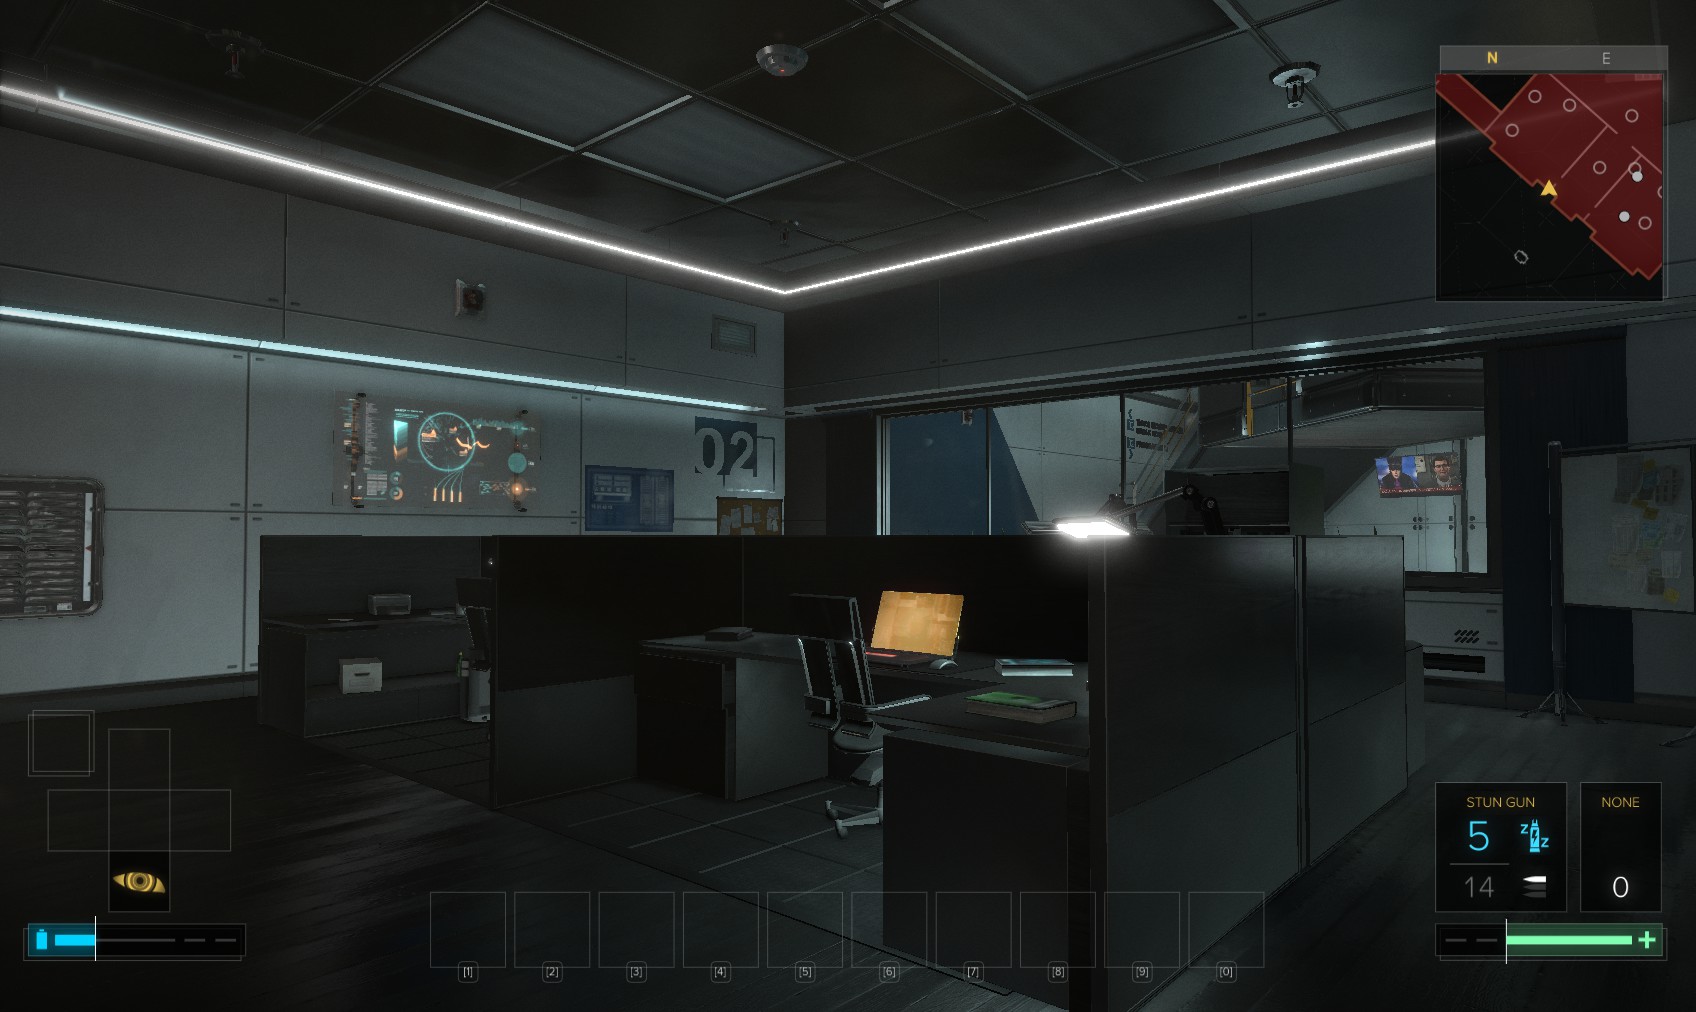
30. Toggle the EG glass once more, and search the cabinets and desks for hacking software. There are 2 level 4 PCs in here, so I upgraded all my hacking skills. In the South-West corner, the level 4 PC has 100XP and reveal software. In the North-Easy corner is a level 4 PC for 100XP and stop worm. Next to it in the South-East corner is a level 3 PC for 100XP.
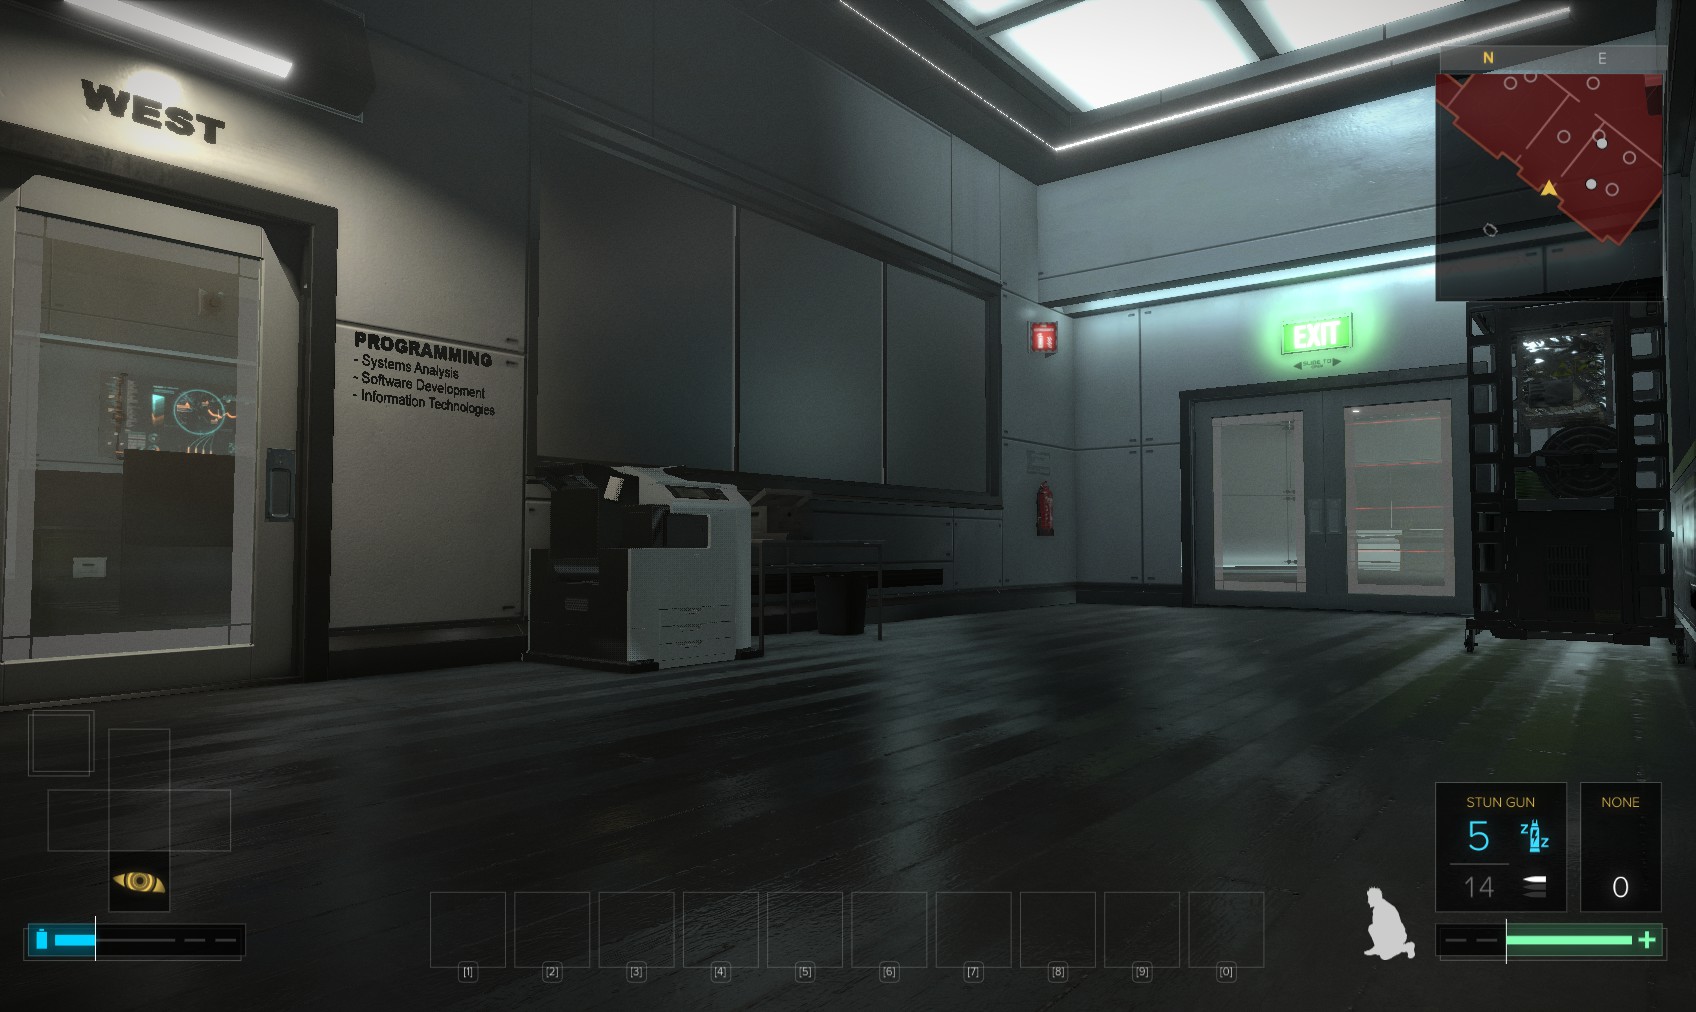
31. There’s a breakable wall in here, but I don’t have that skill, so I return to the corridor and exit via the main doors into the level 2 hall, snaffling a multi-tool as I pass the trolley on the right.

32. Head round to left by the television, beneath the staircase.
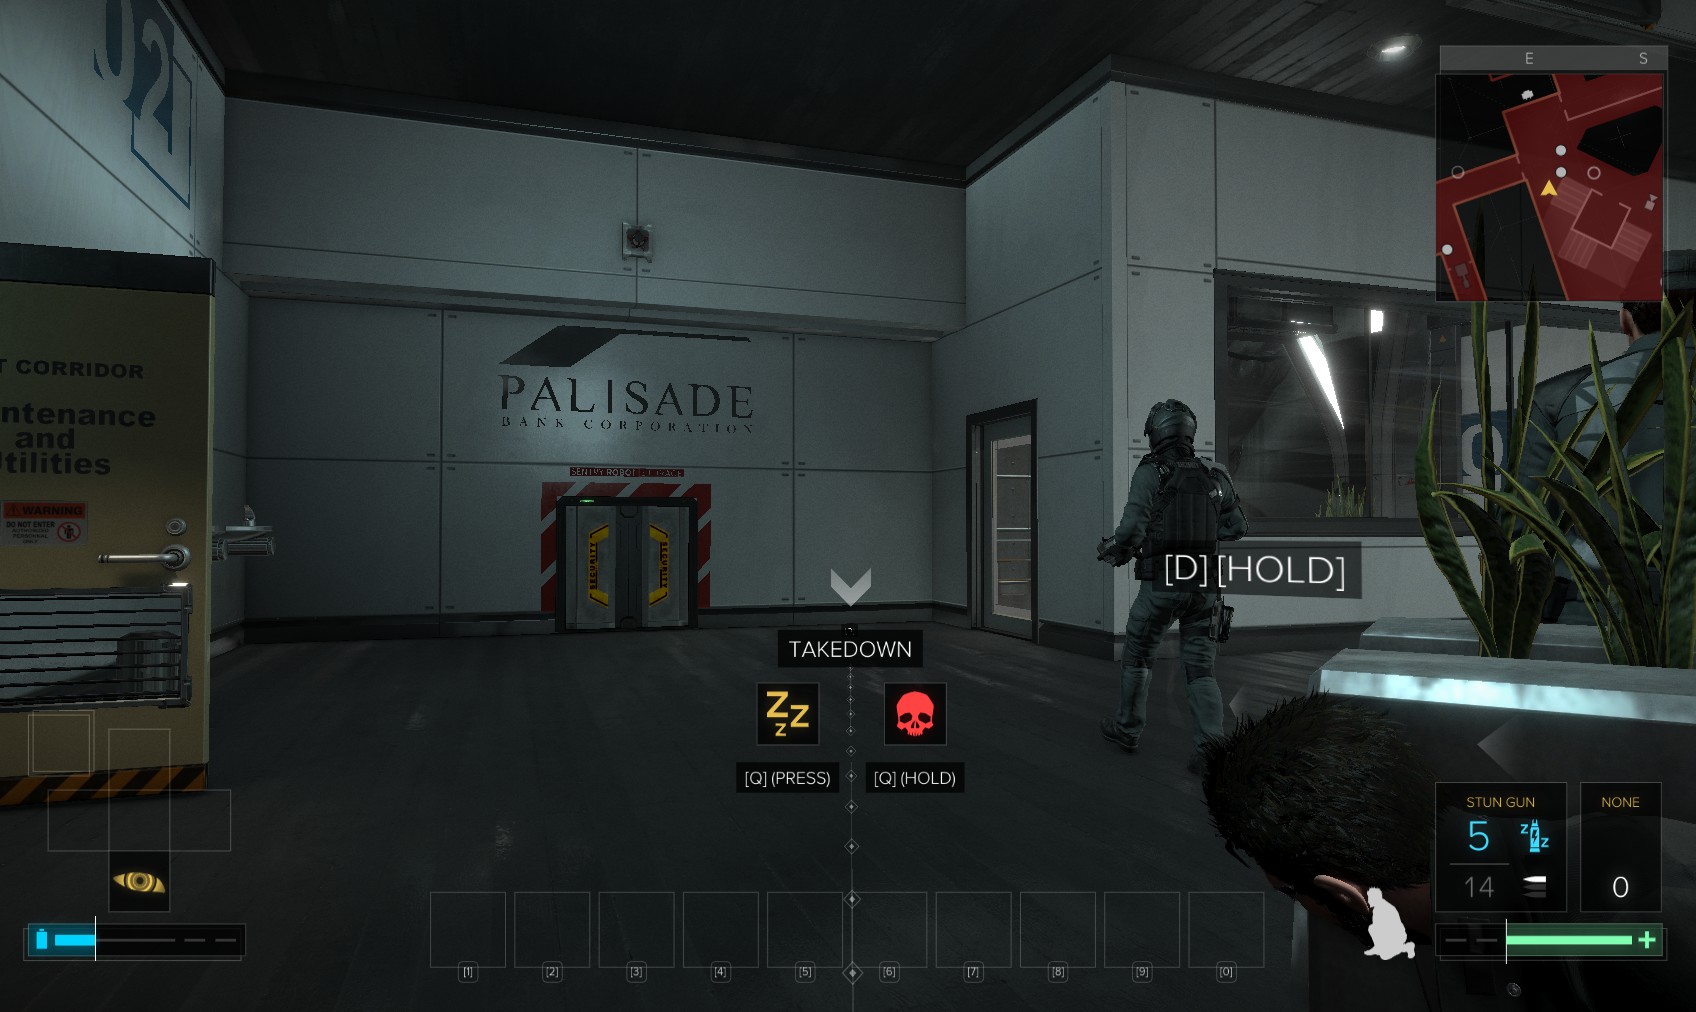
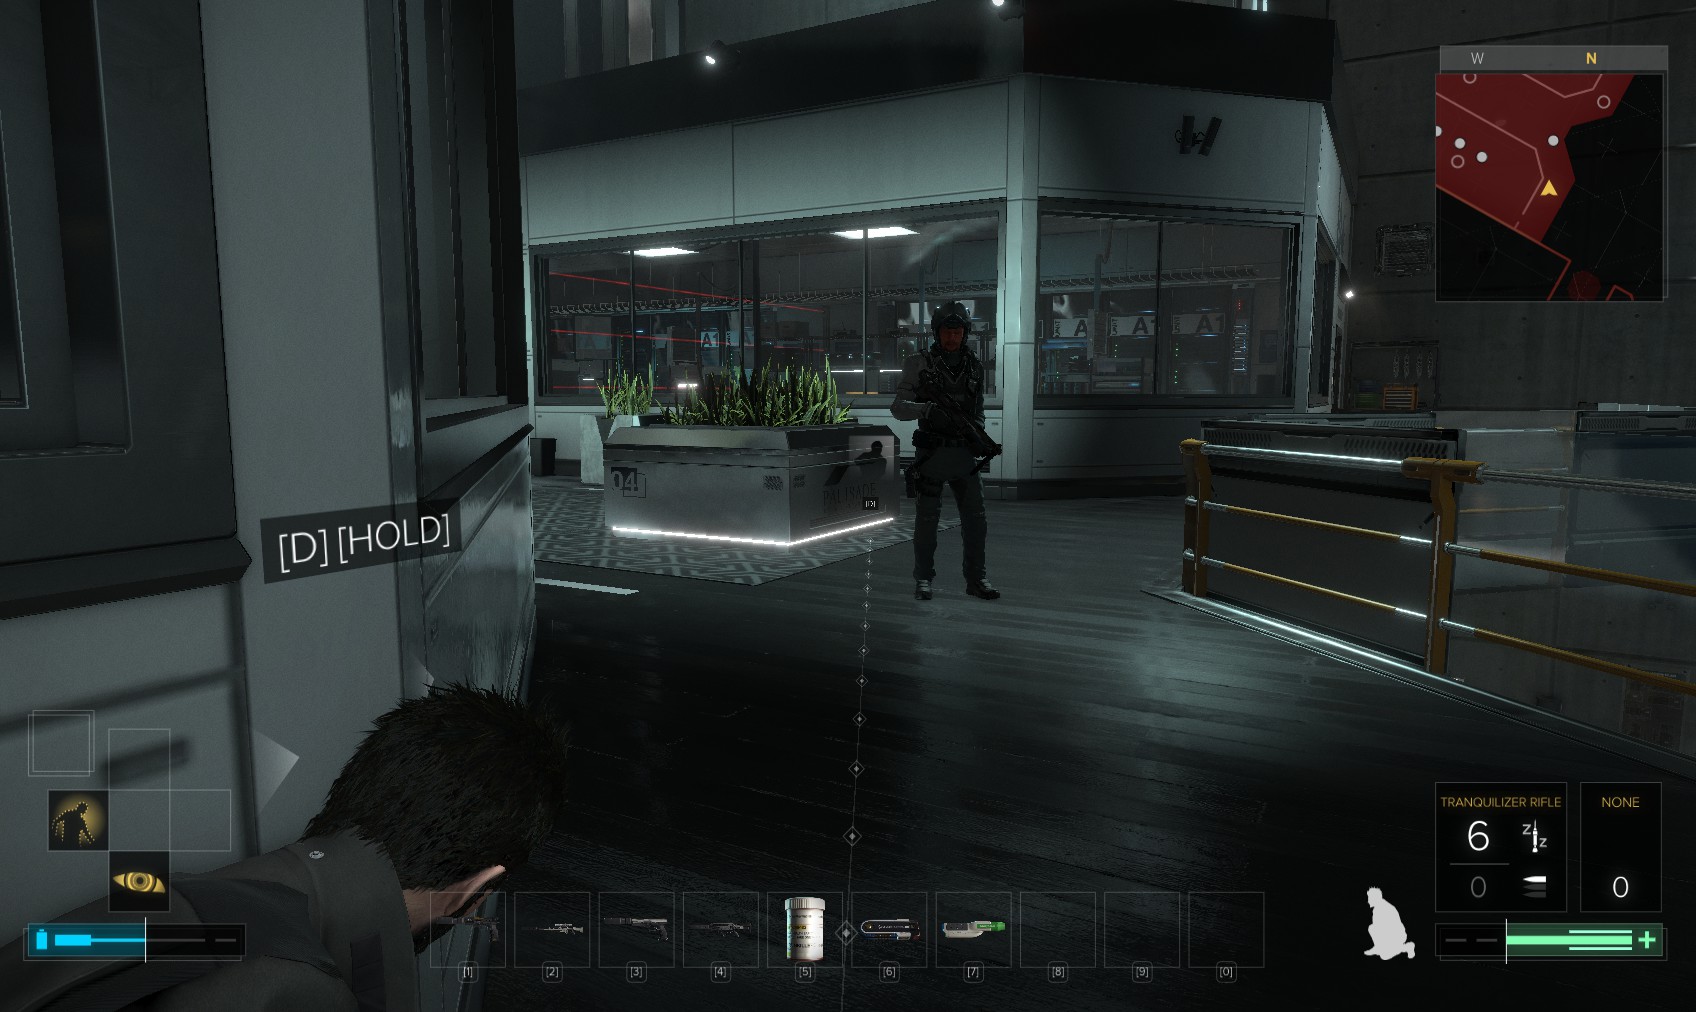
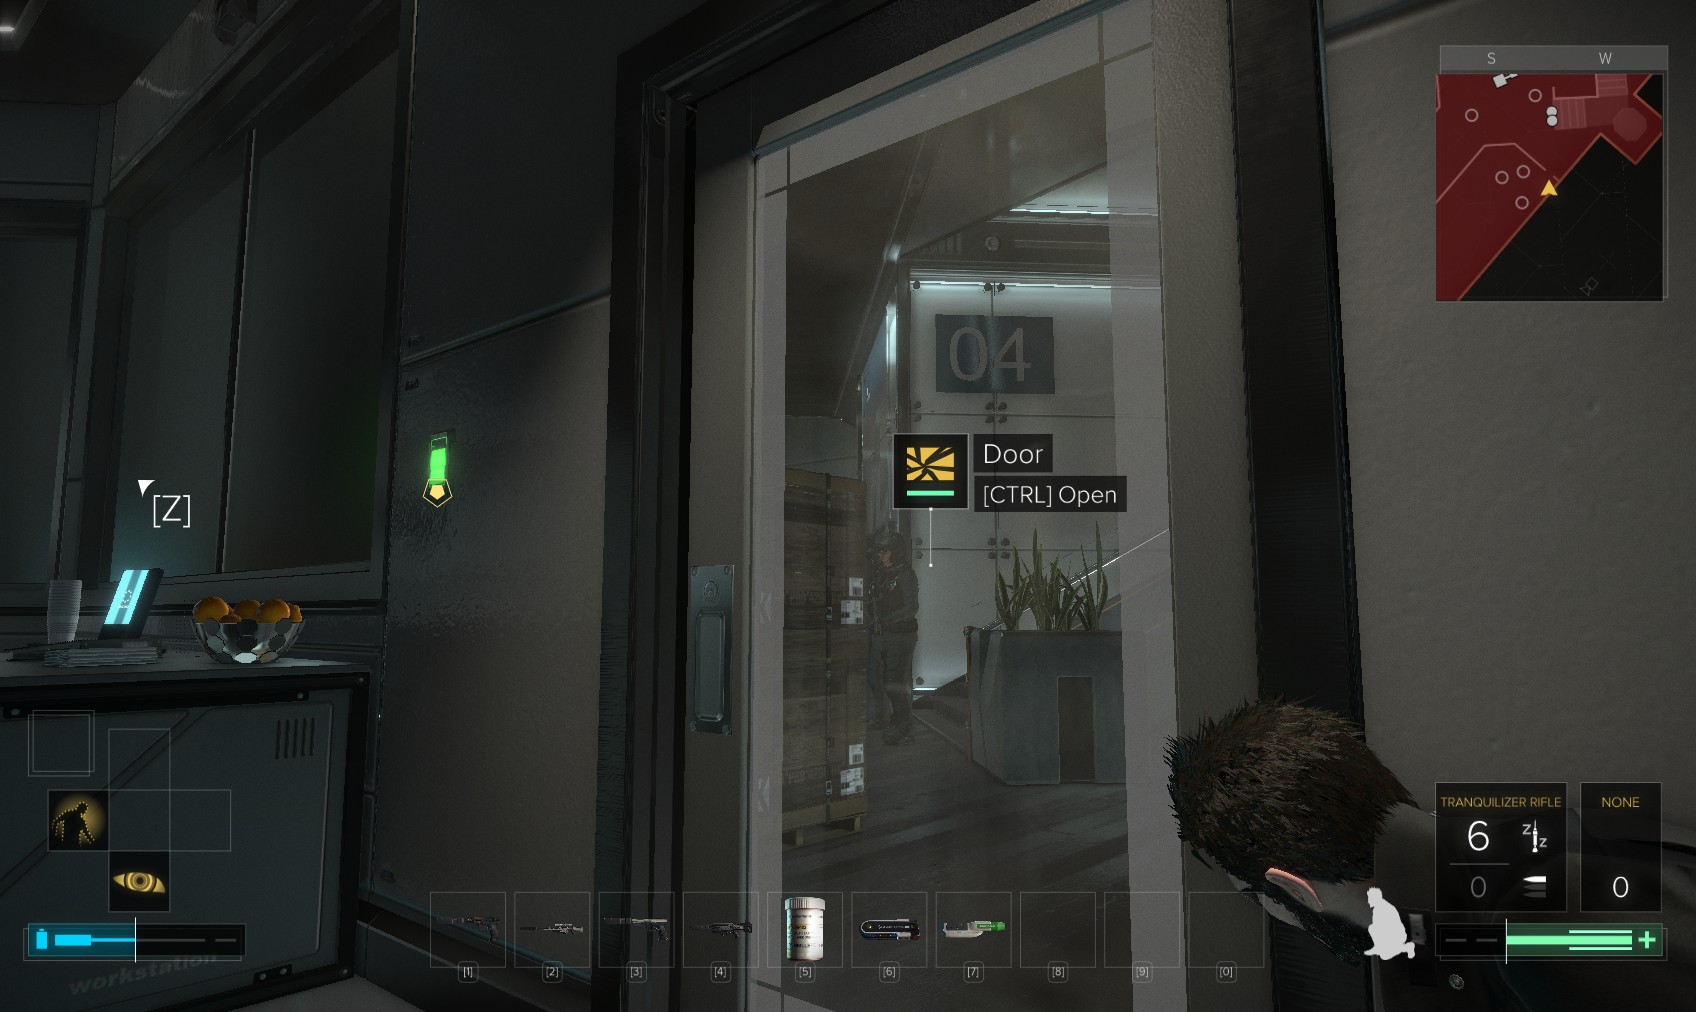
33. Wait for the two guards here to start their routines, and then head through the open door to the left. Close it behind you.
34. Round the corner is a familiar face, muttering to himself: it’s Slaw! As I approach, a cinematic begins.
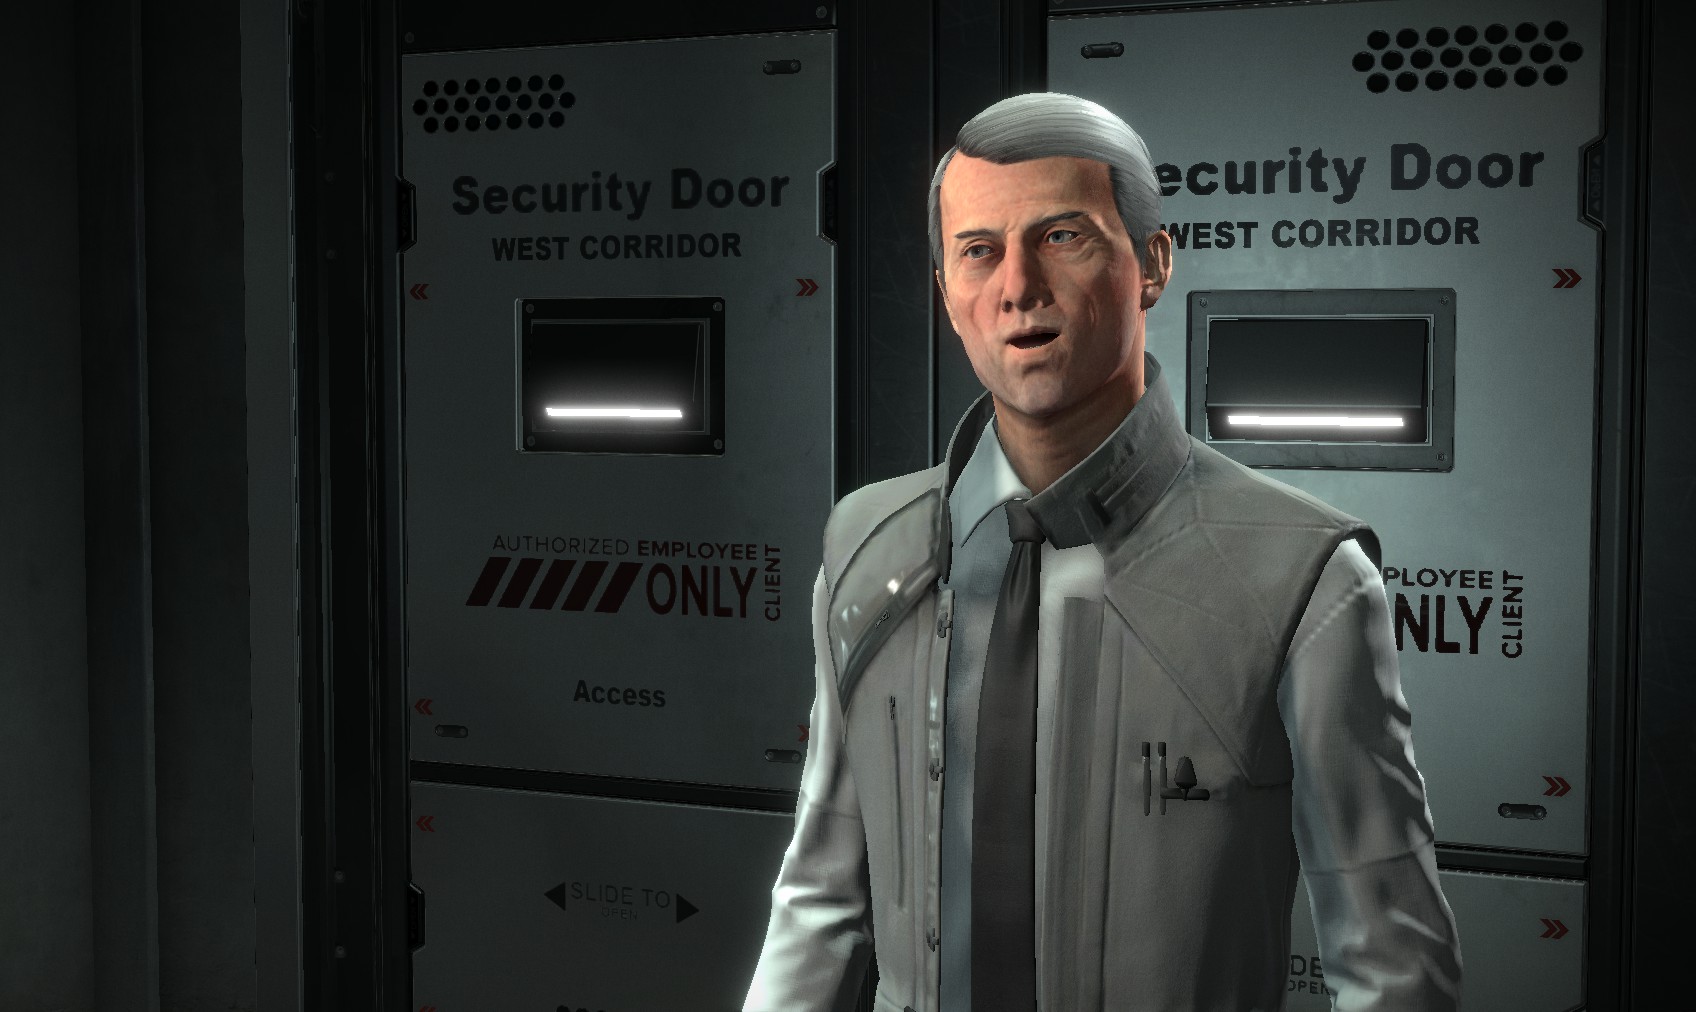
35. He compliments you on your progress so far, and offers to open the security door behind him. He asks you to knock him out so he has an alibi. If you don’t, he’ll raise the alarm. Search him for a pocket secretary.

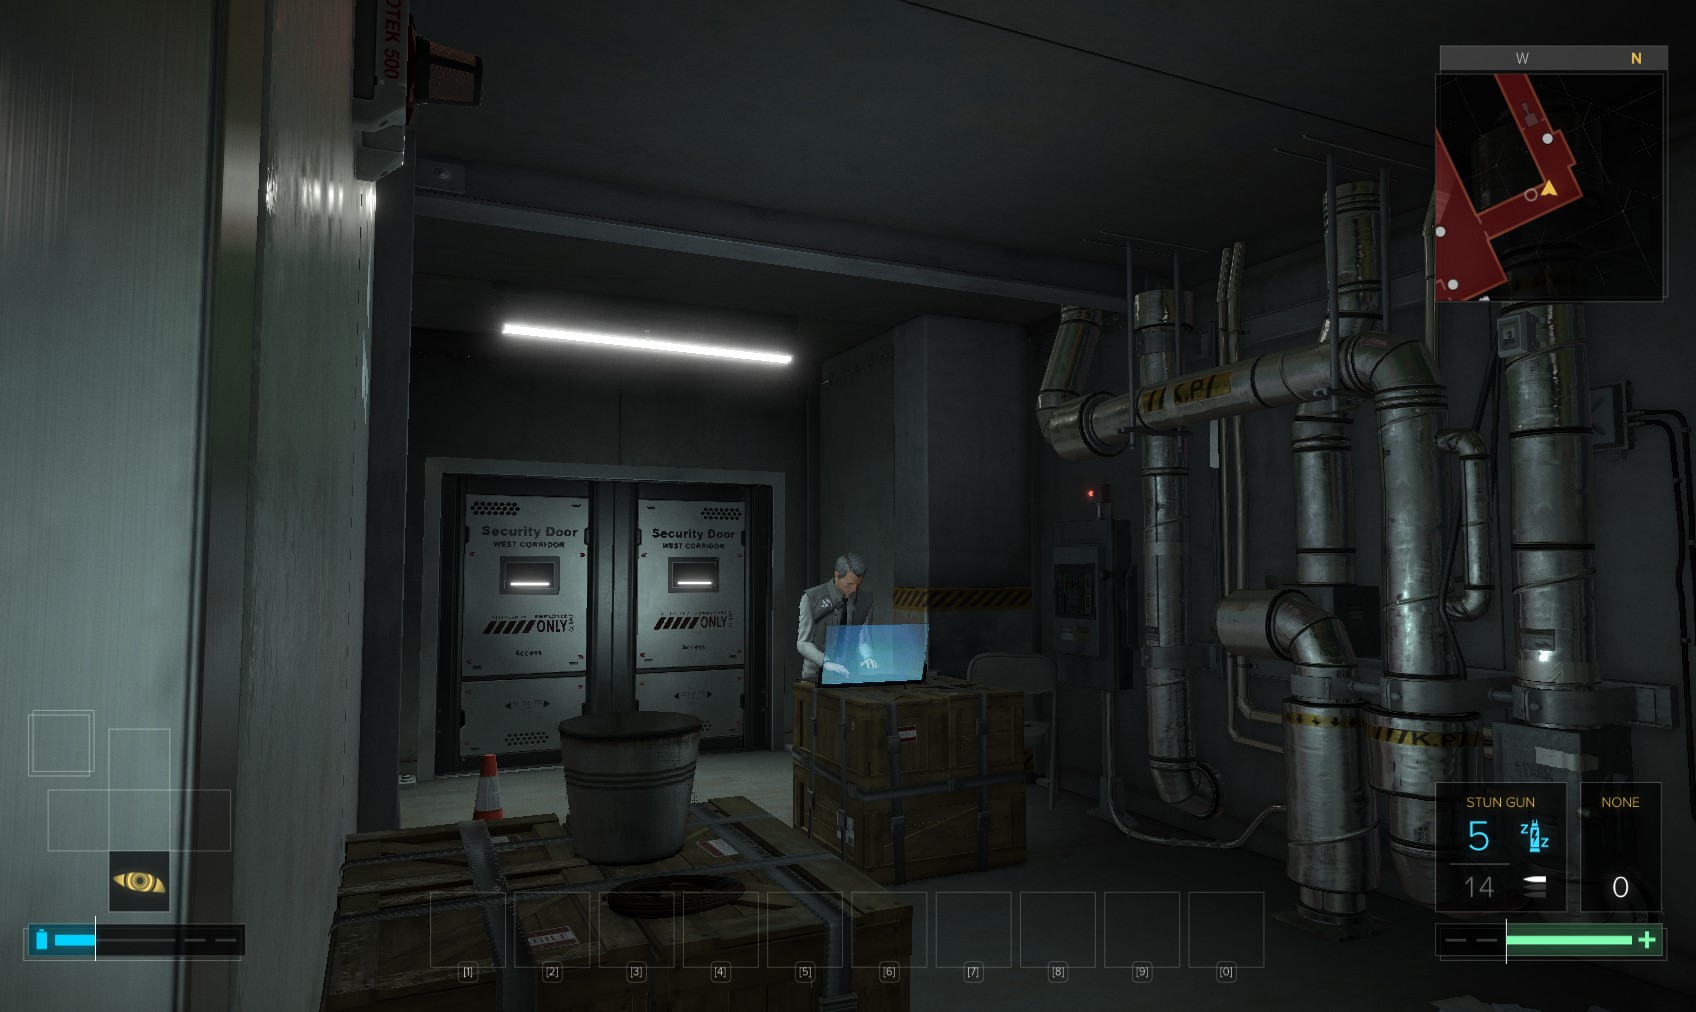
36. The level 2 security console has no downloads, and allows to re-enable a security camera and turret if you’ve upgraded that much. Do neither. Instead head to the electrified corridor beyond. You could upgrade dermal armour to withstand the electrified hazard, but I saved my Praxis points by dosing up on painkillers to reach the breaker box at the far end.
37. My reward is a 100XP traveller bonus and this Praxis Kit. Another vent leads to a ledge above the column by the level 1 ladies' loos. Head back to the security console where Slaw is.
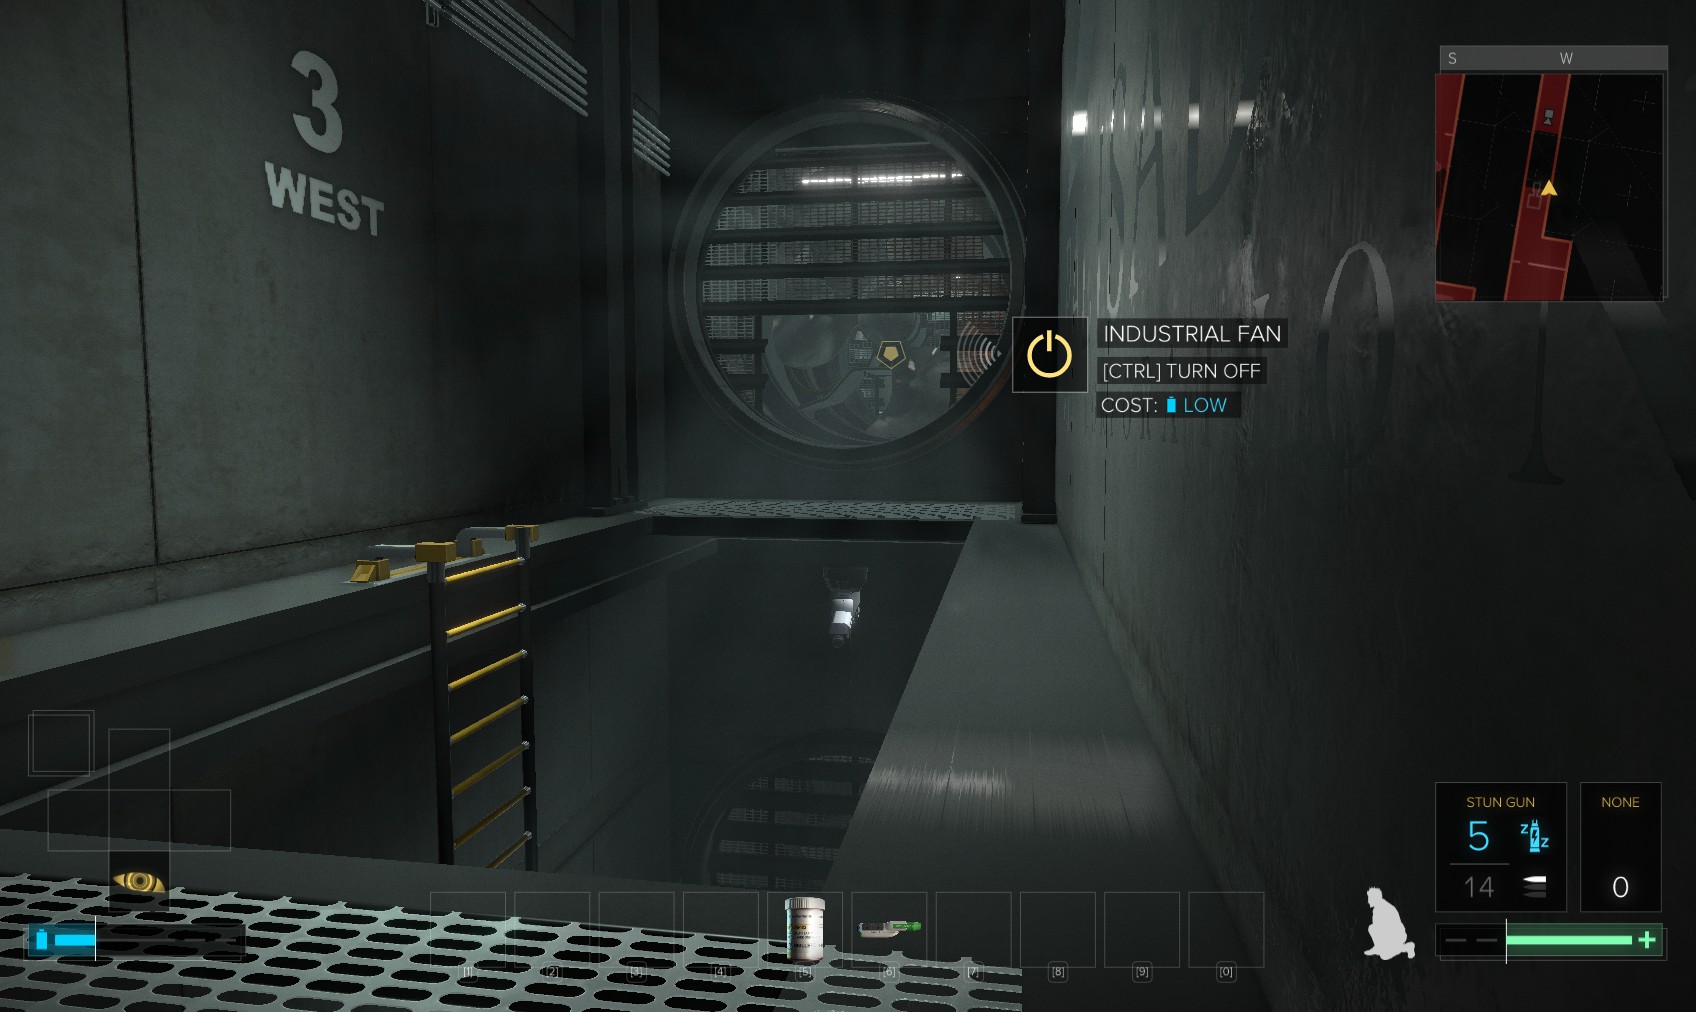
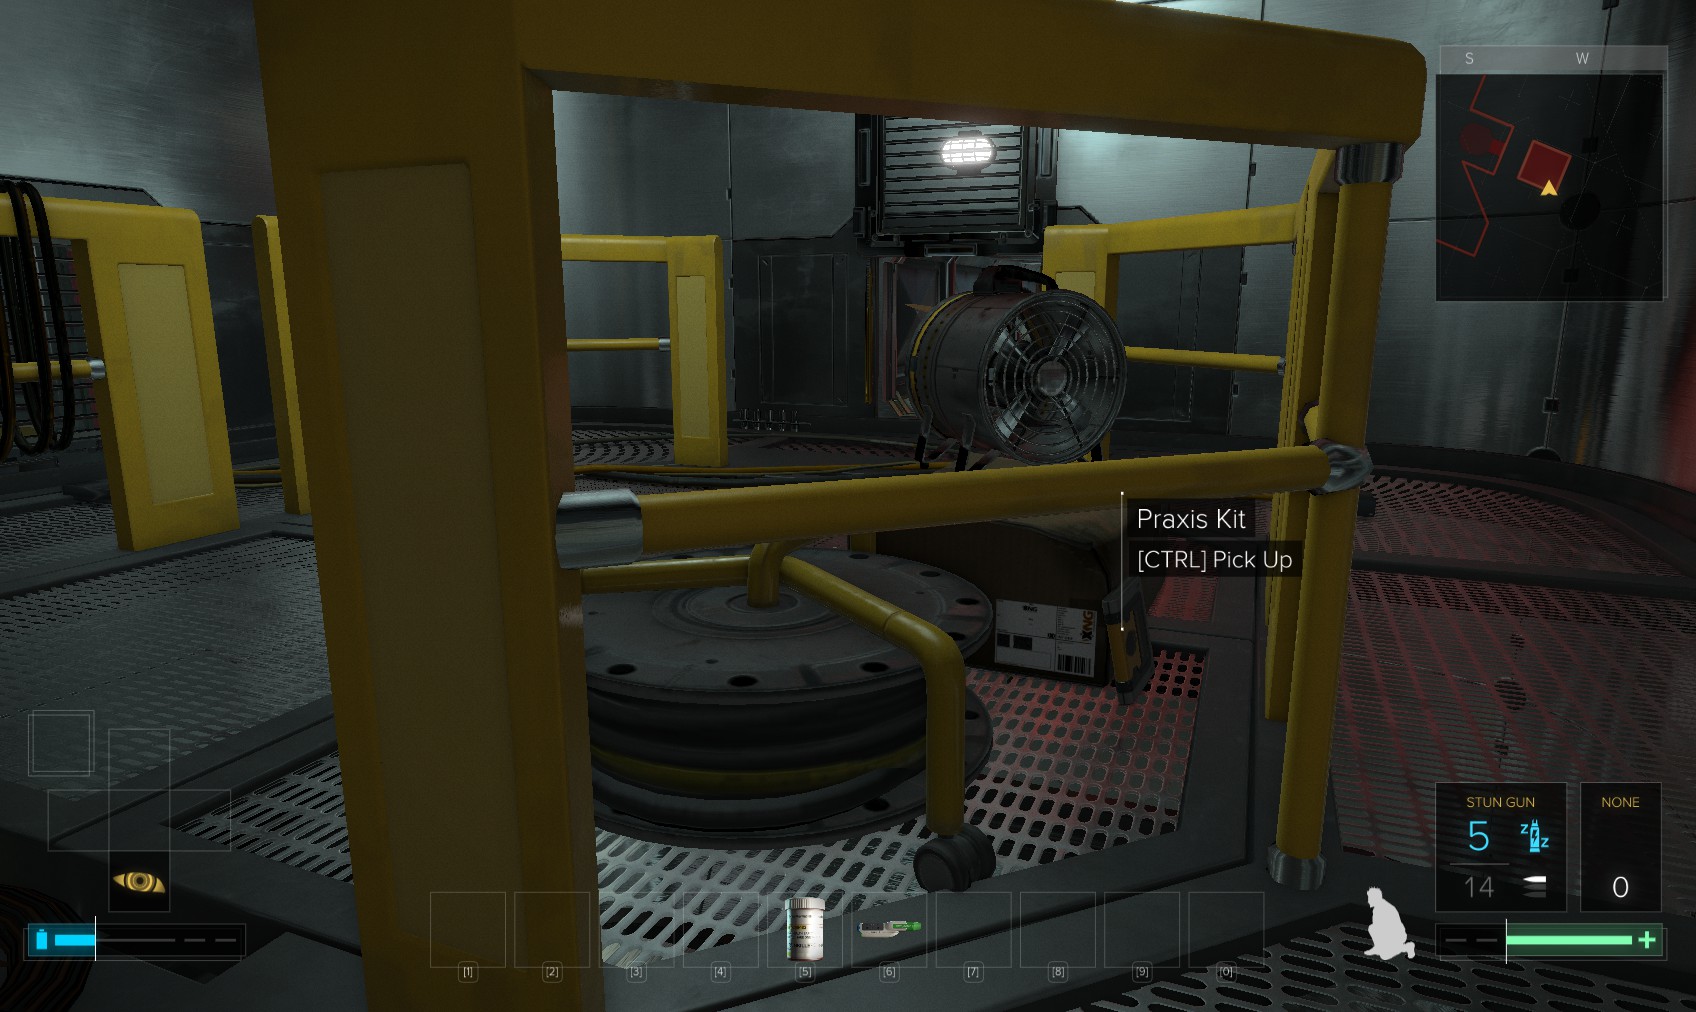
38. Beyond the security door that Slaw opened is a security console (with no downloads) and a ladder. Climb up to find this fan. Remote hack it and go through for a 200XP explorer bonus. Another ladder goes down to a door that leads to the other side of this breakable wall from earlier.
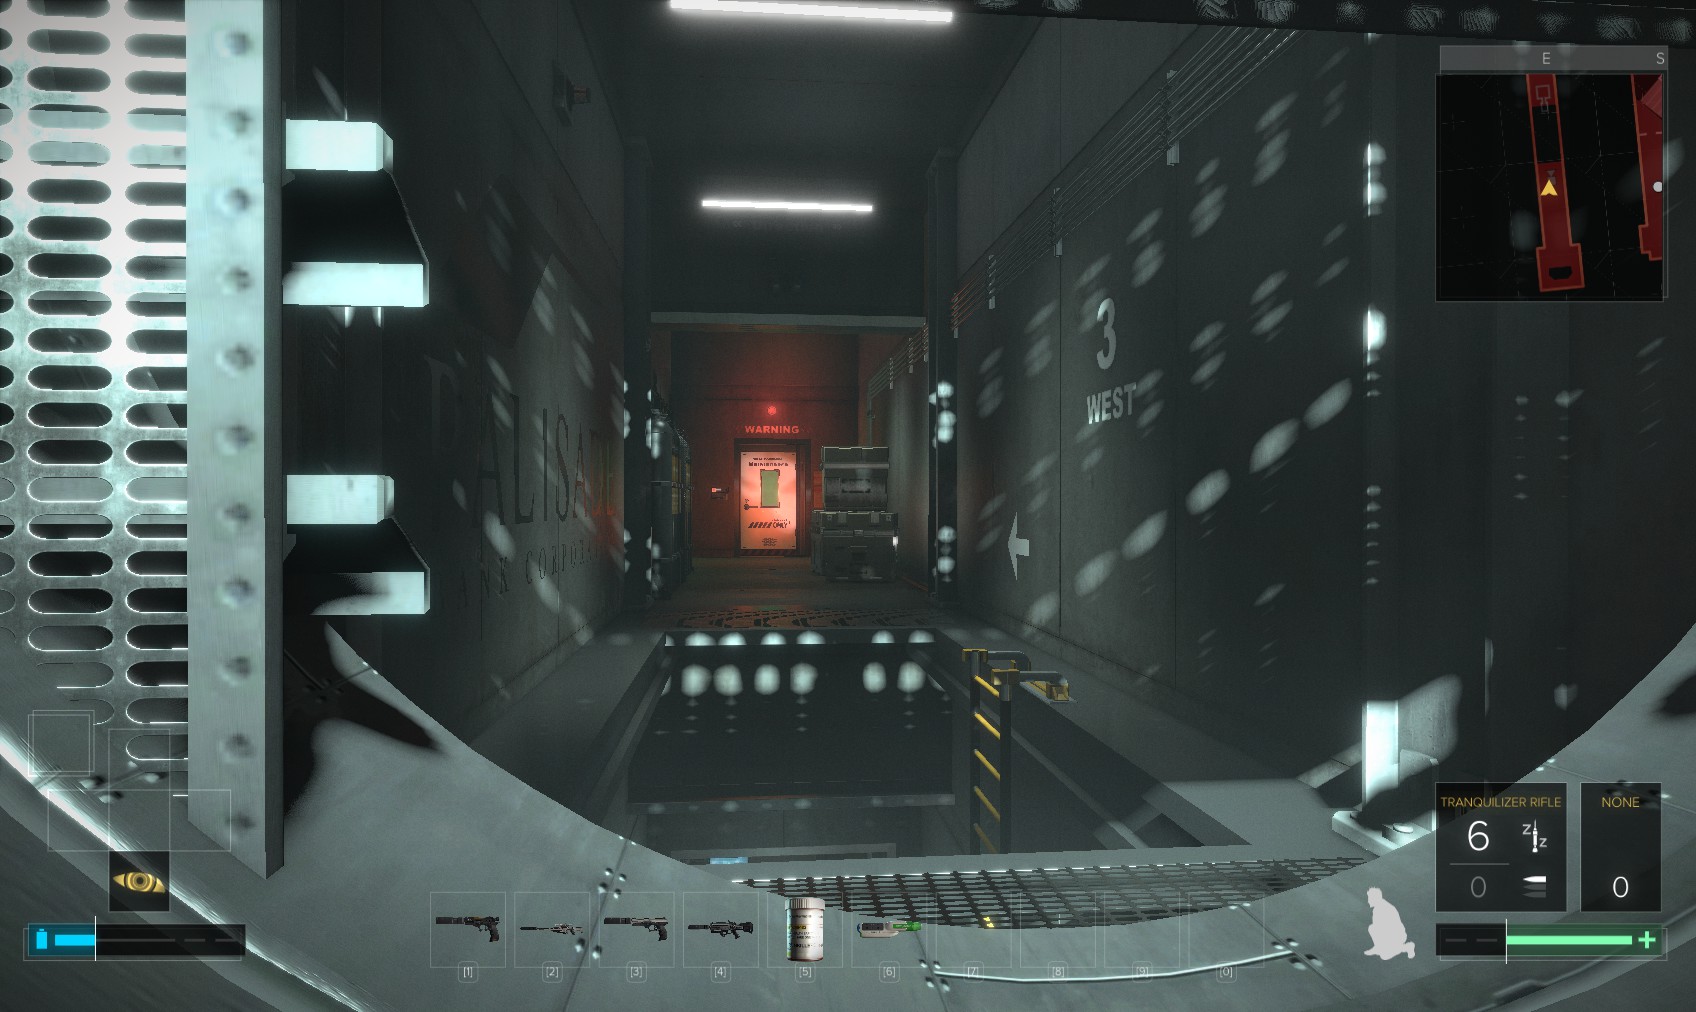
39. Return to the fan, and head towards this door at the other end of the corridor.
40. Nearby are some crates, behind which is a vent. Head in and turn right at a junction for a 200XP explorer bonus.
41. You emerge here. The door is a level 1 with reveal software.
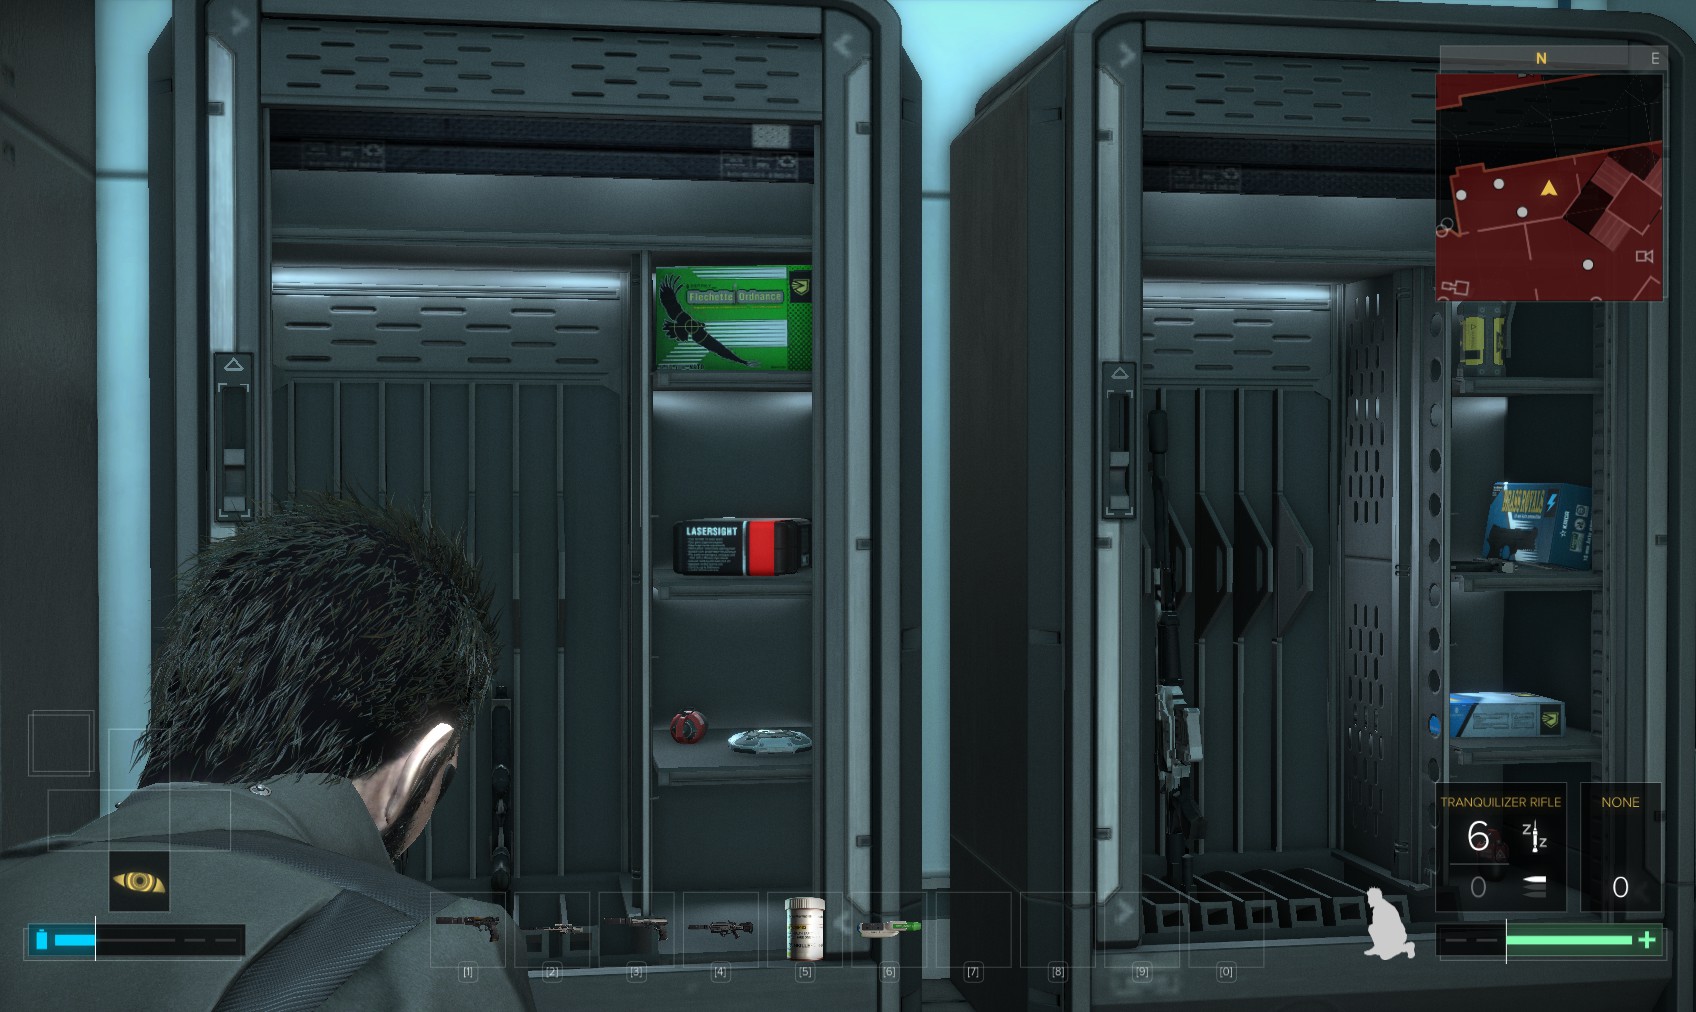
42. Just inside the door, the cabinet on the left has a laser sight and combat rifle, the other a battle rifle.
43. I invest in the cloak to raid the other cabinets at the far end of the room. It wasn’t worth it for the sniper rifle on the left or shotguns on the right. There is a level 4 security console in here (225XP) from which you can disable a camera and a turret, but not without knocking everyone in sight senseless. I go out the way I came in and back through the vent.
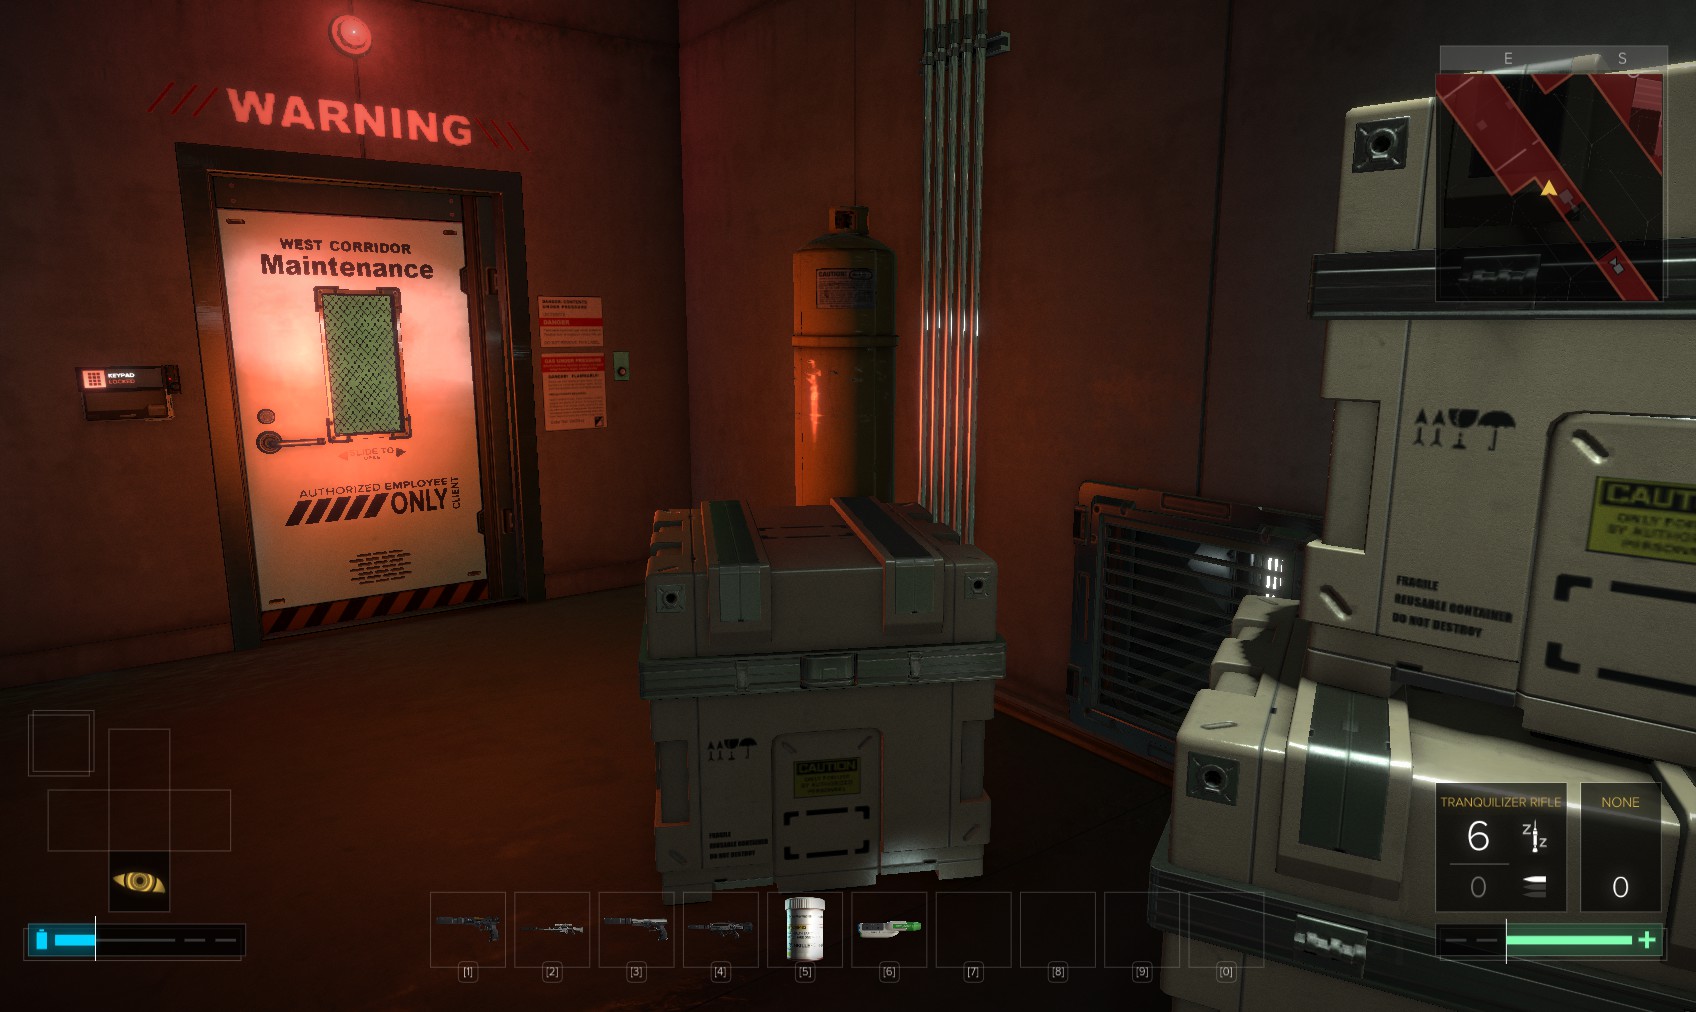
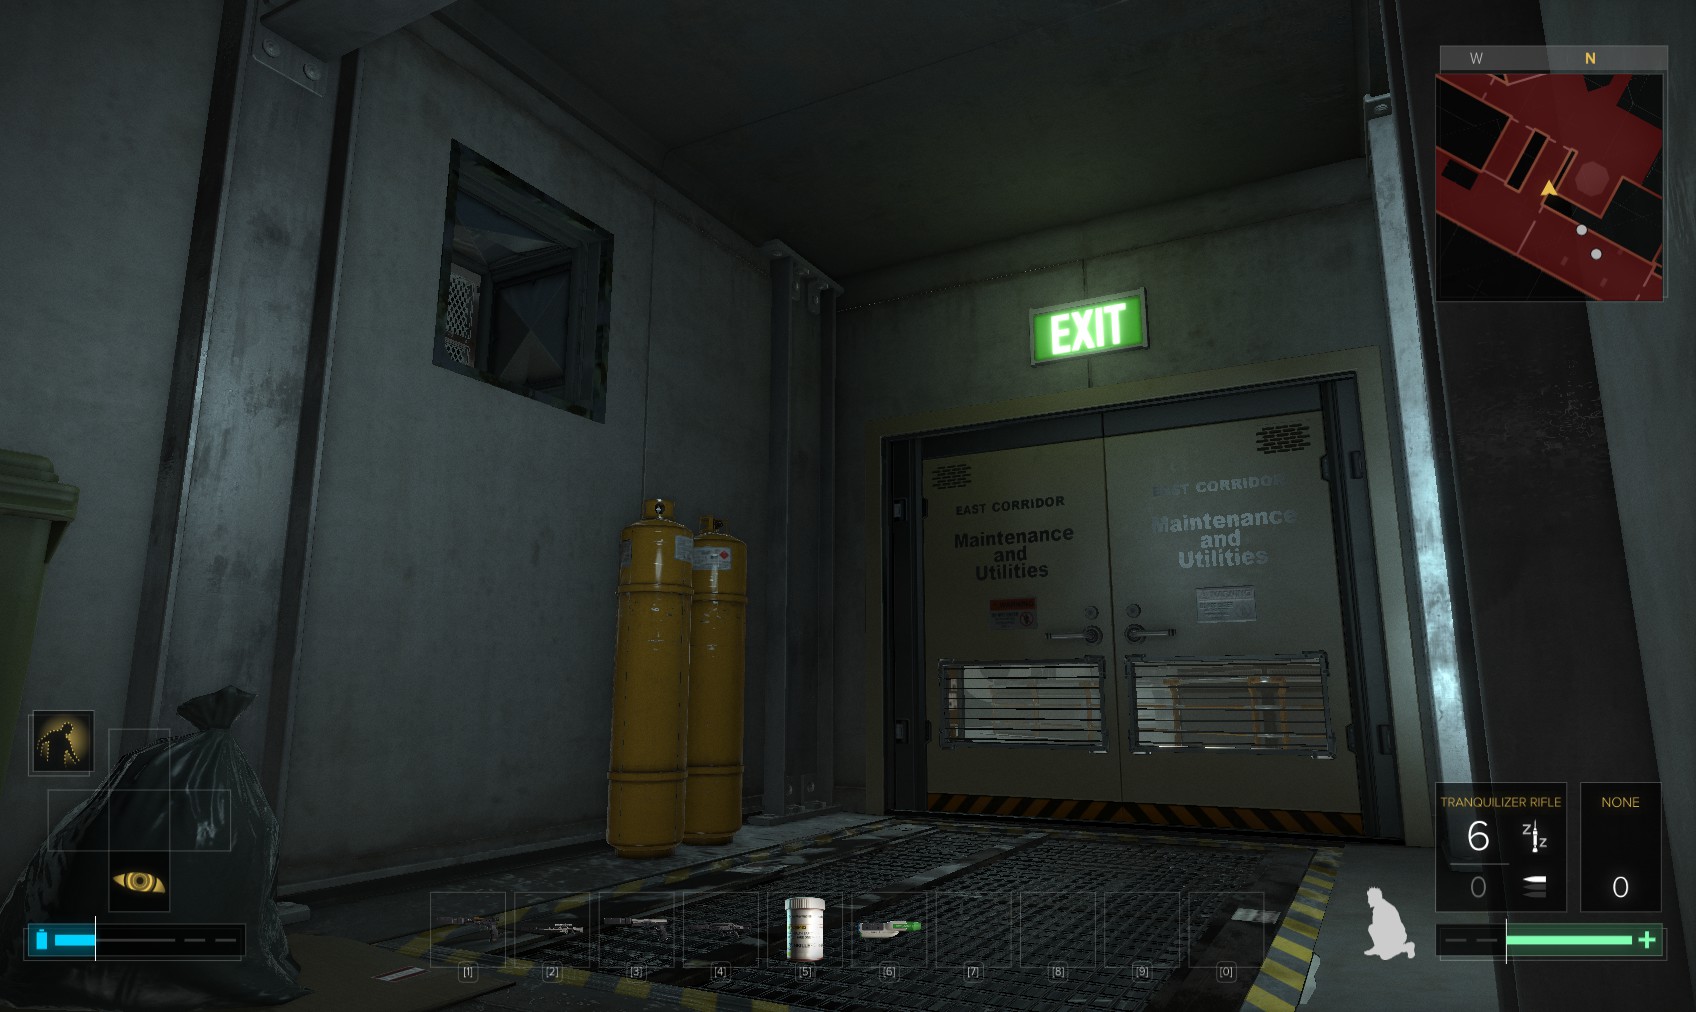
44. Turning left at the junction, I come back here. It’s a level 1 door with the code 8153. Use the code for a 475XP bonus, as hacking it gets you nought. Beyond is a gas filled room.
45. Don’t go in just yet. First read an eBook nearby. "Mold Fumigation"
46. There’s a vent too. Head in and out the other side.

47. Another level 1 door back to the gas-filled room also has the code 8153, and again nothing for hacking it. This cabinet has the valve to turn off the gas.
48. It was worth the effort for yet another Praxis kit.
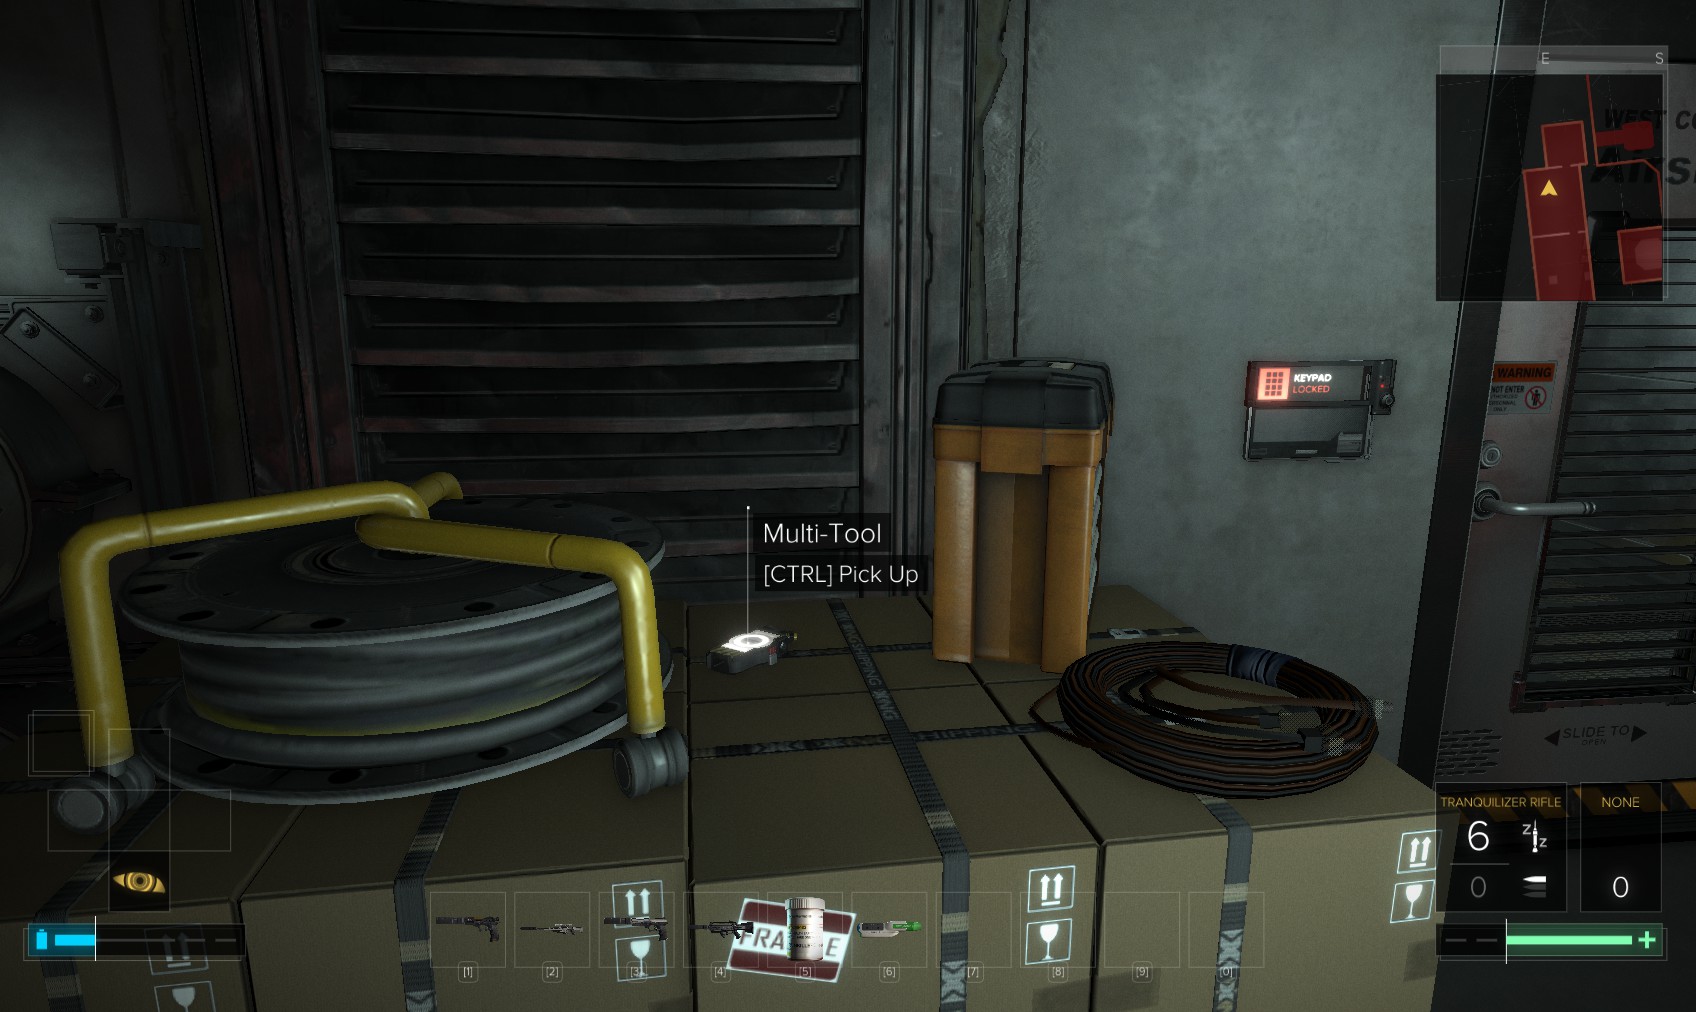
49. Back out by the gas valve swipe this multi-tool. The door is yet another level 1 with the code 8153. This time you are better off hacking it for the nuke software. Head through for a 100XP traveller bonus.
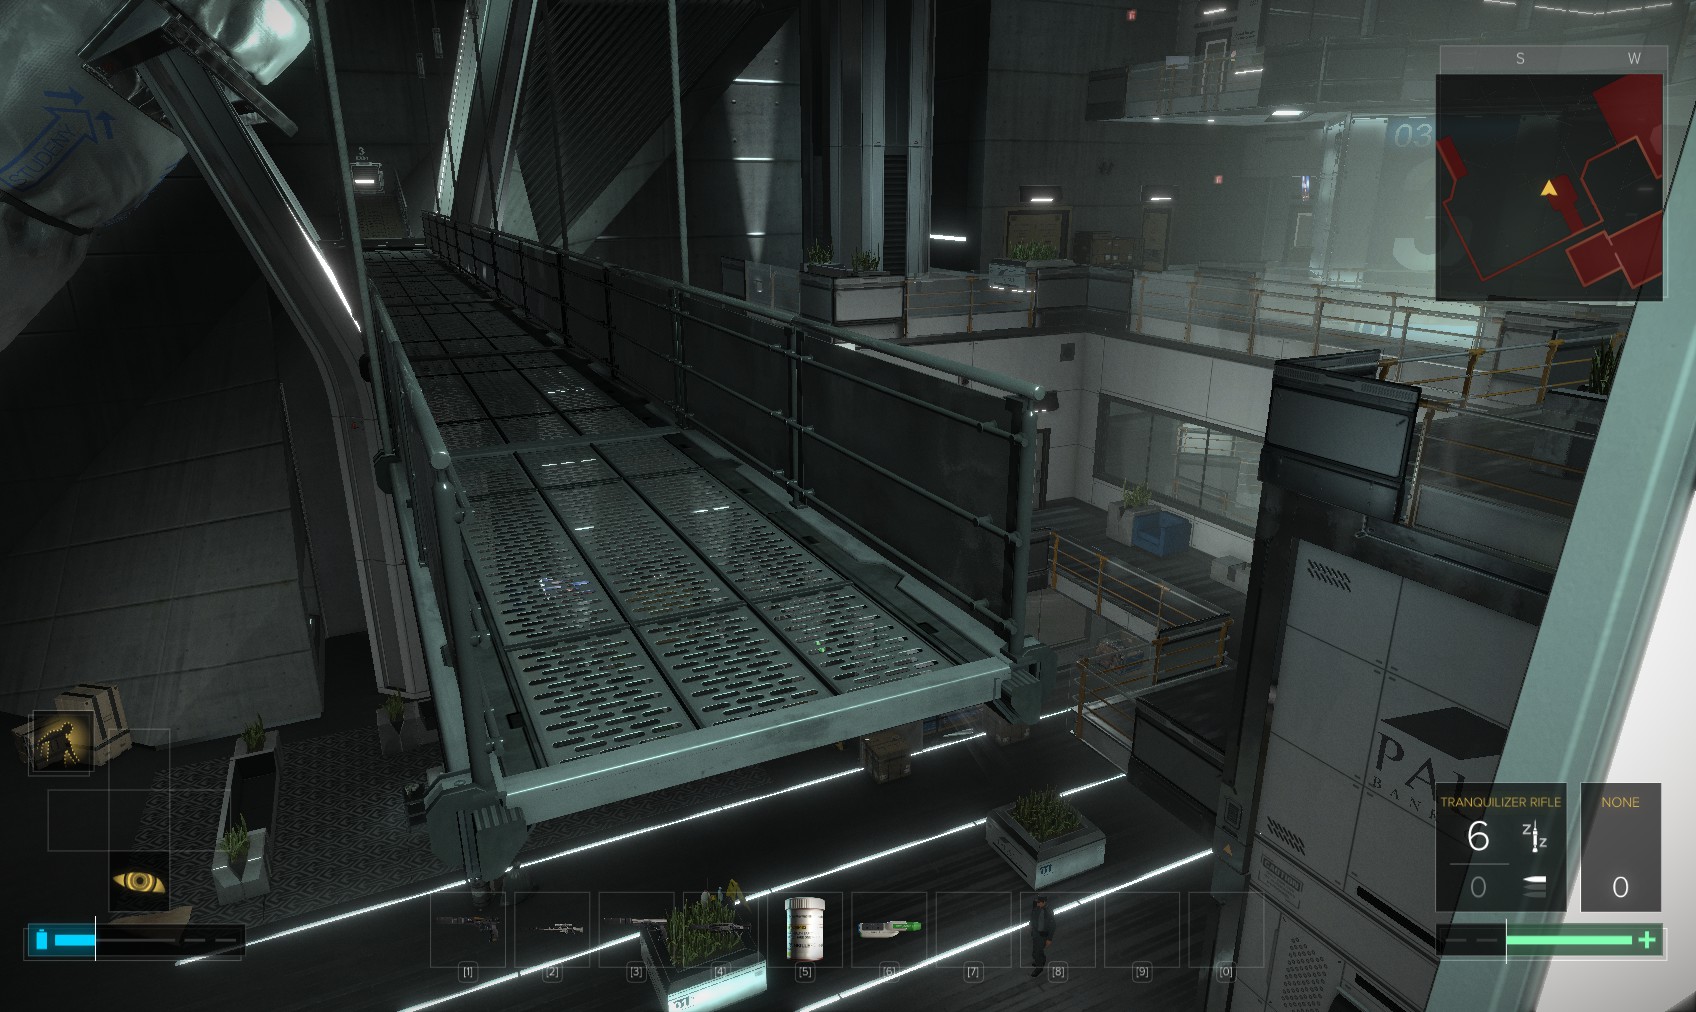
50. Up a short ladder leads you to here, high above the Atrium. Carefully jump the gaps to the other side for another 100XP traveller bonus.
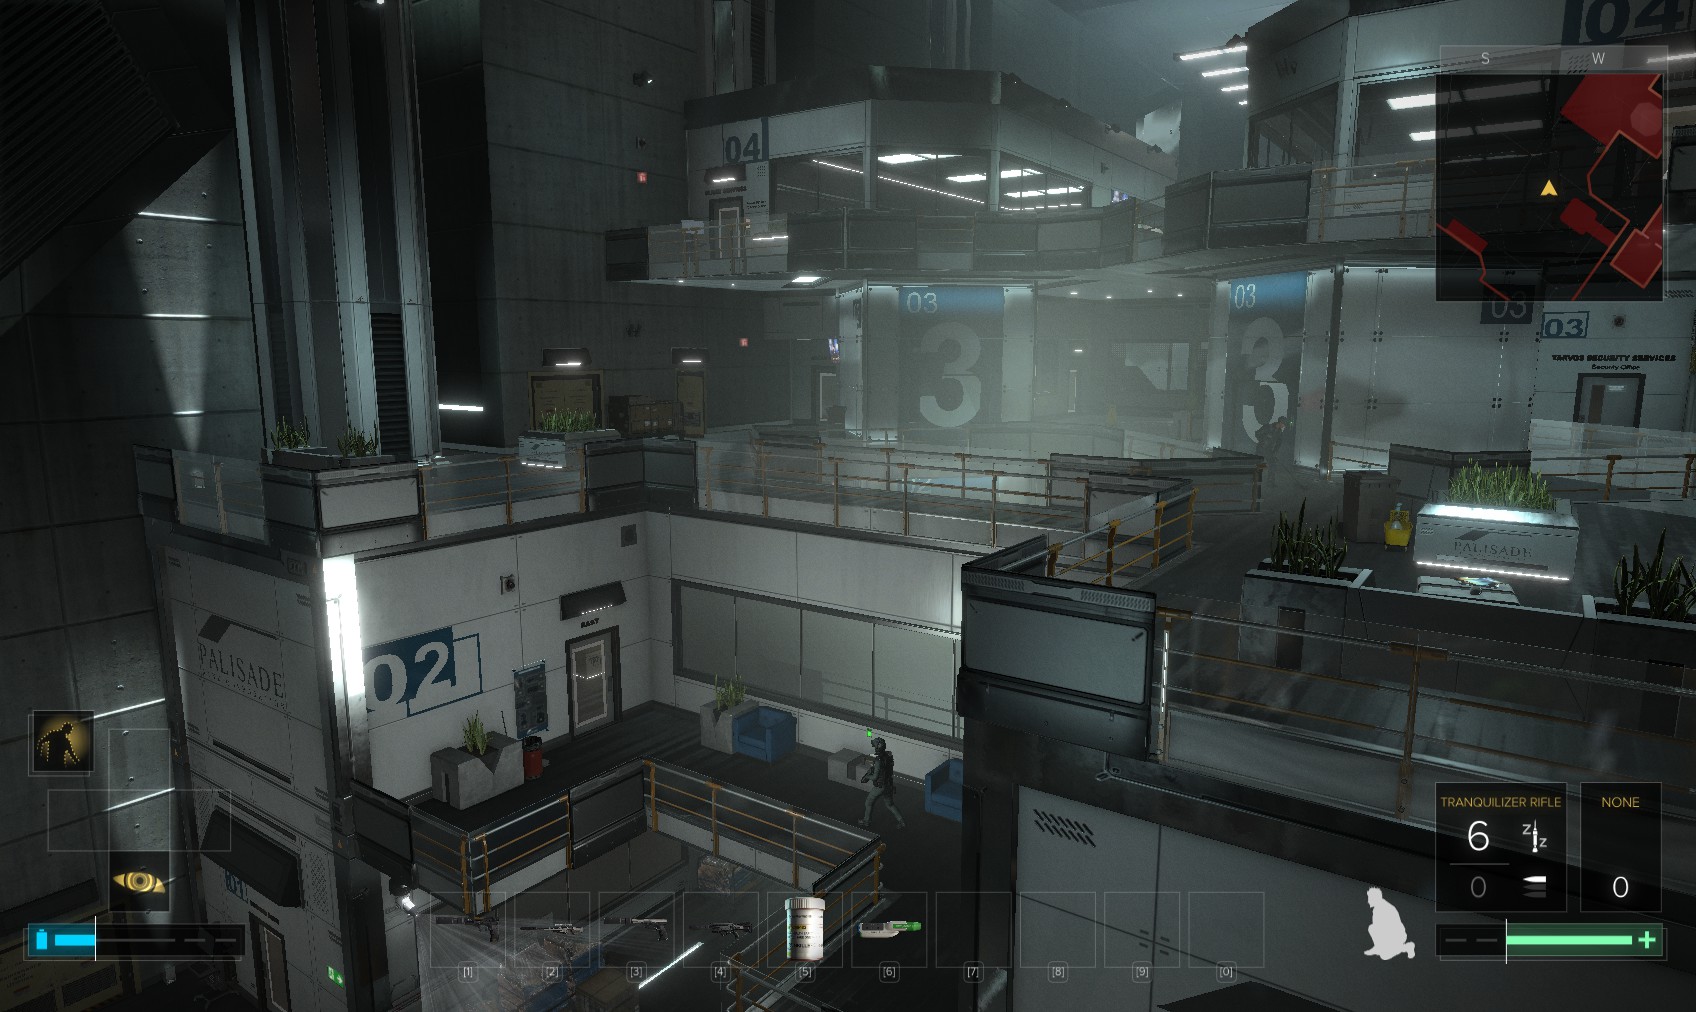
51. It’s a good view to admire from up here.
52. Go through another vent and drop down to here. Carefully open the door and slip inside to the left.
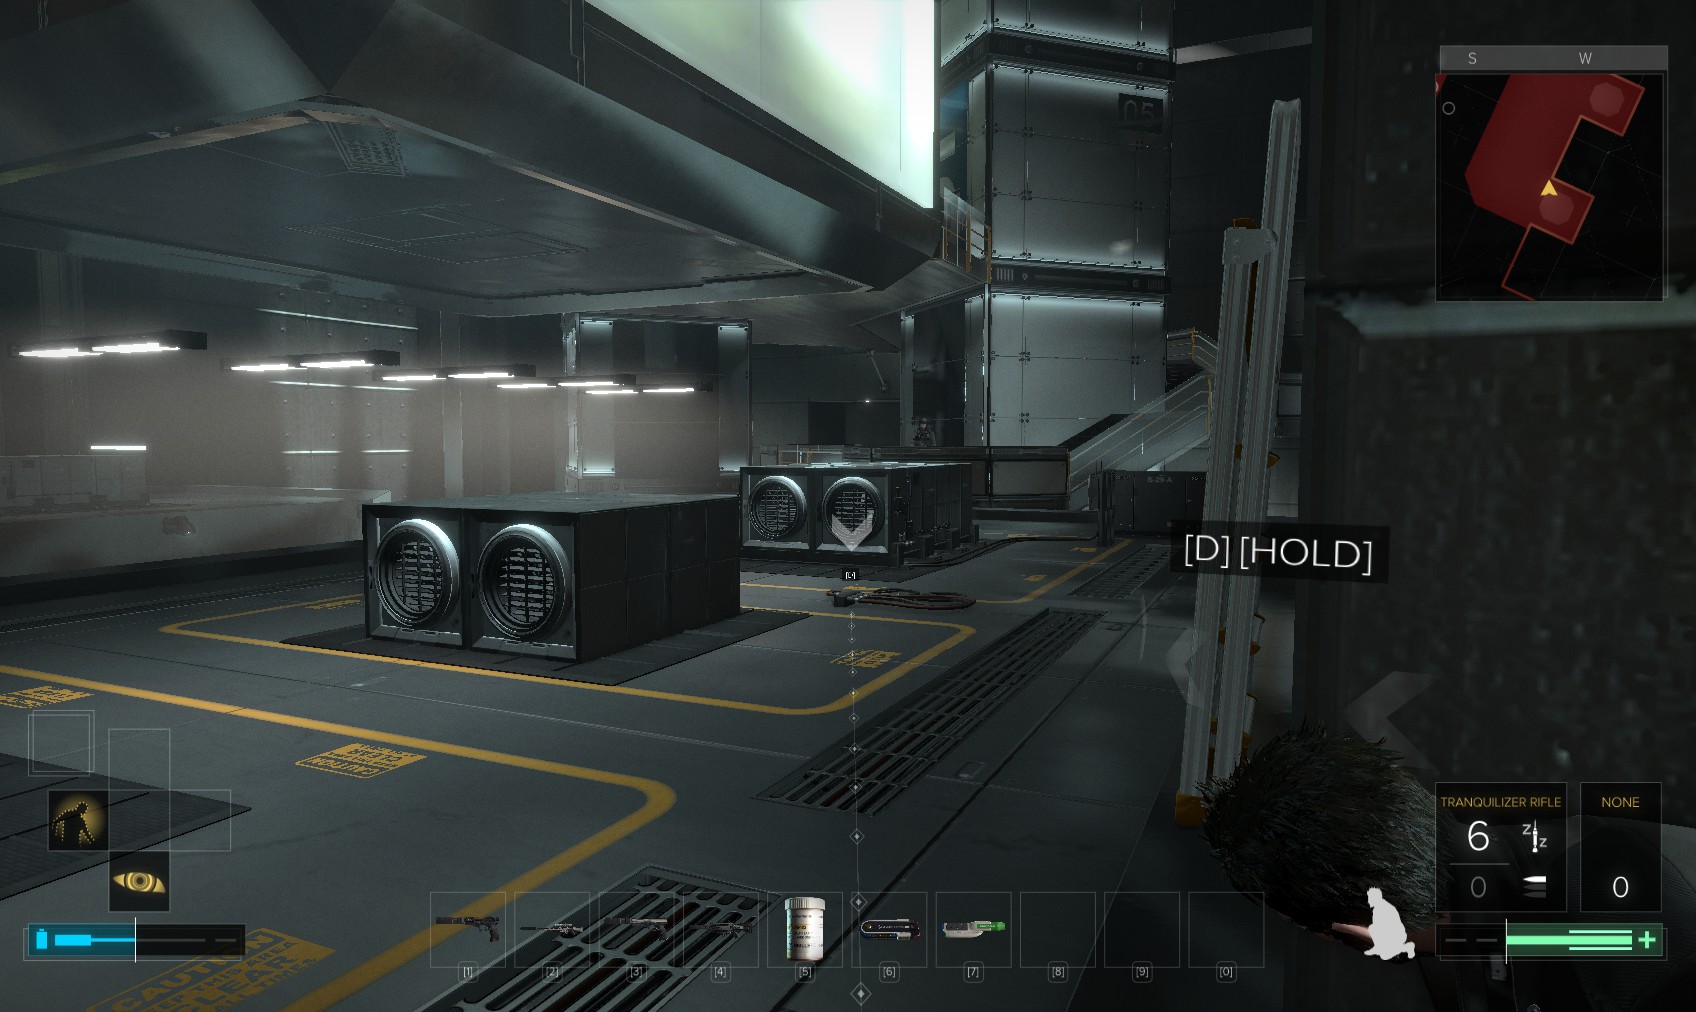
53. Snaffle a biocell from the medical box behind the standing guard, then duck under these pipes on the left and go as far as you can.
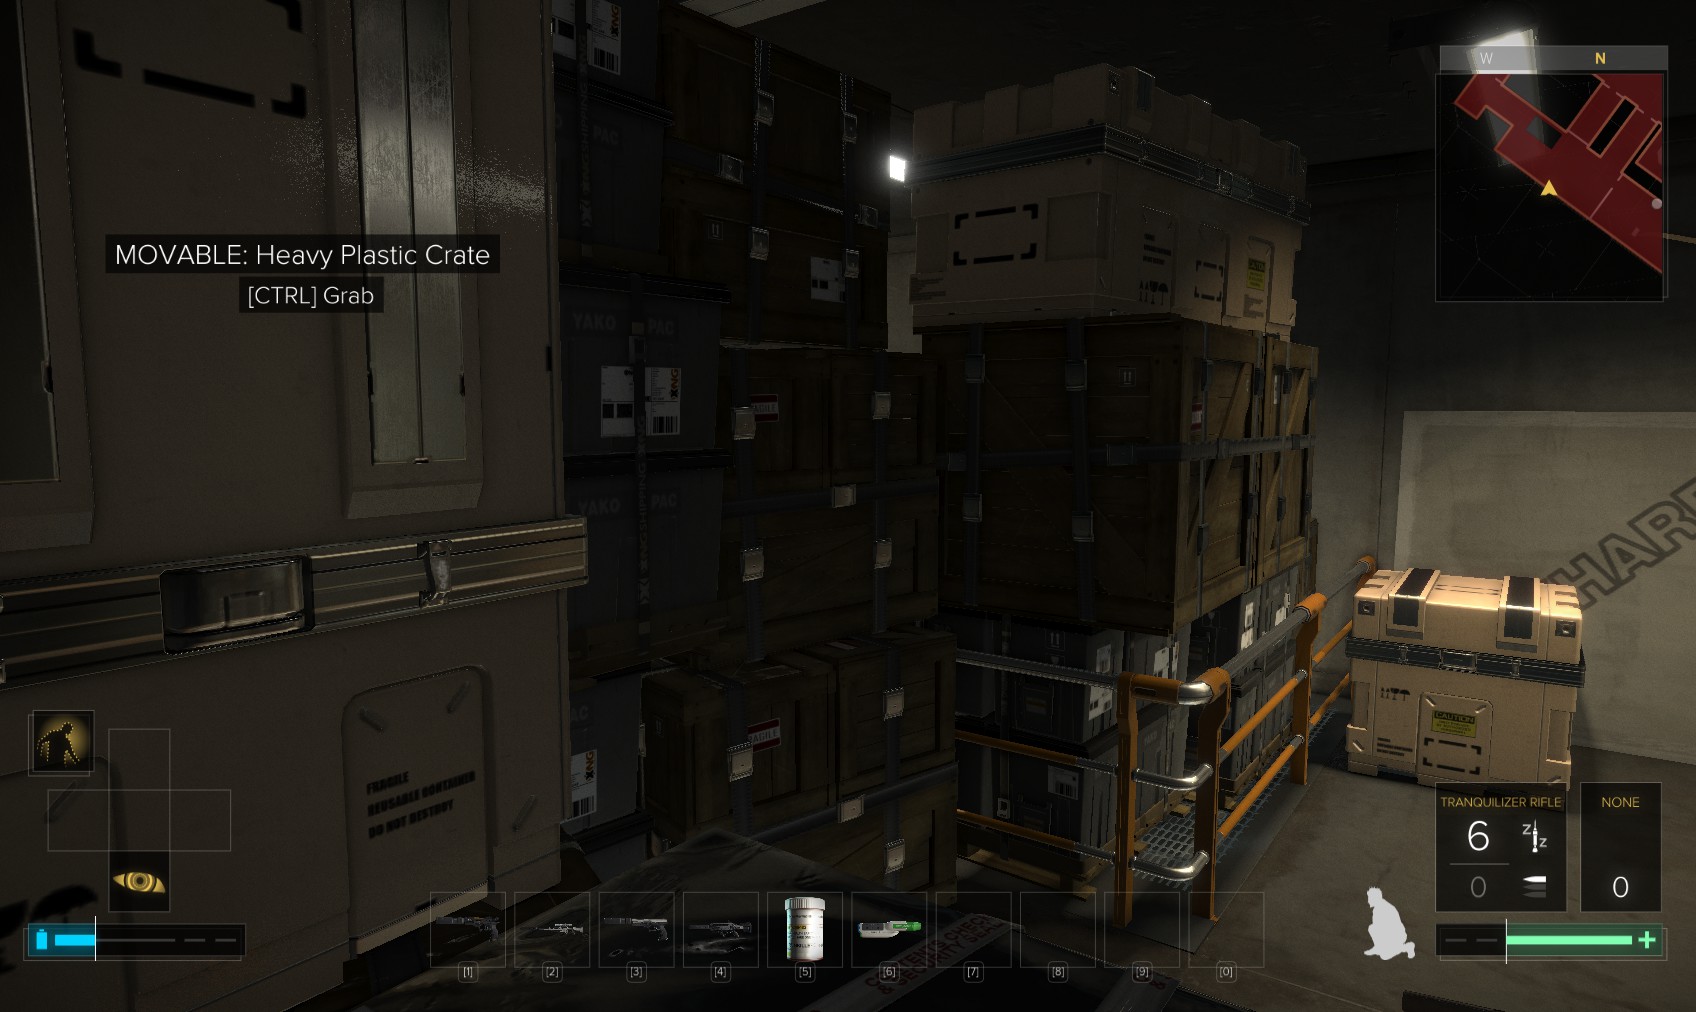
54. You’ll eventually reach this large crate. Move it out of the way and keep going for a 200XP explorer bonus. You’re a couple of levels up from here.
55. Break into the gate on the left.
56. Behind a generator inside is this Praxis Kit. The door opposite leads to a breakable wall, but instead double back to where you moved the large crate.

57. Drop down here. The open door is the far end of the room with the nattering guard and engineer. Close it.
58. Past the door is this main door out onto level 3, and this vent in the wall. Break through it and drop into the room beyond by moving a small crate.
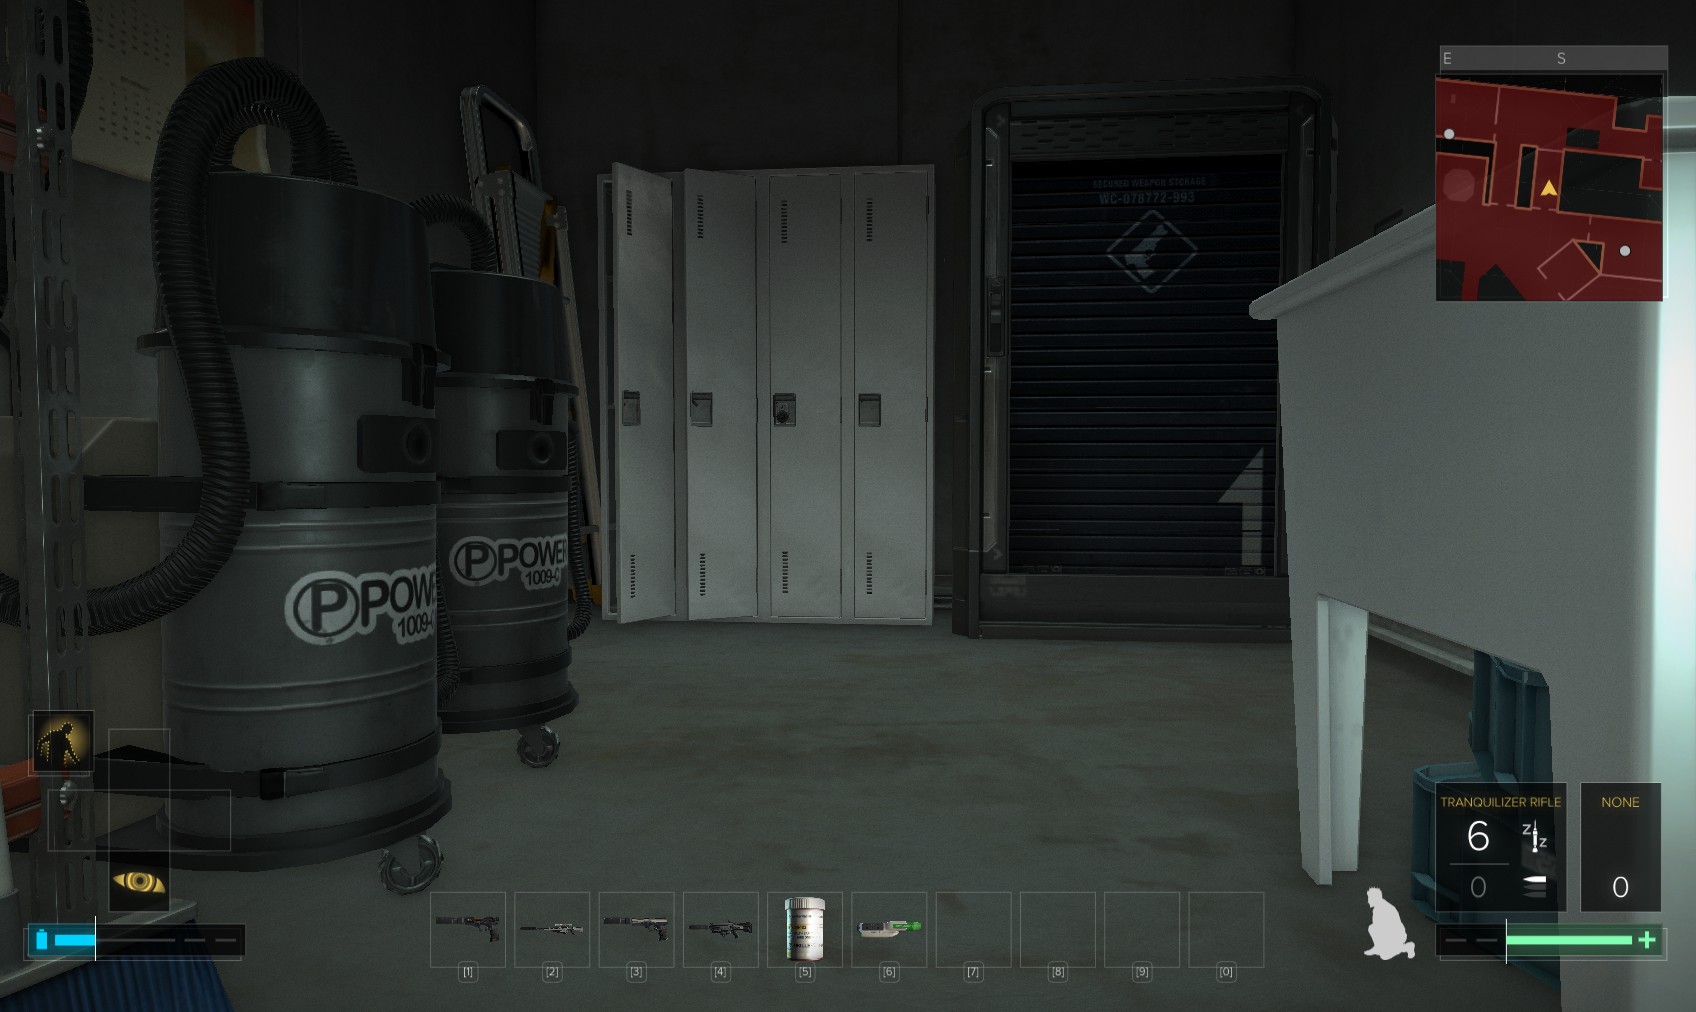
59. The lockers and weapons cabinet just have ammo.
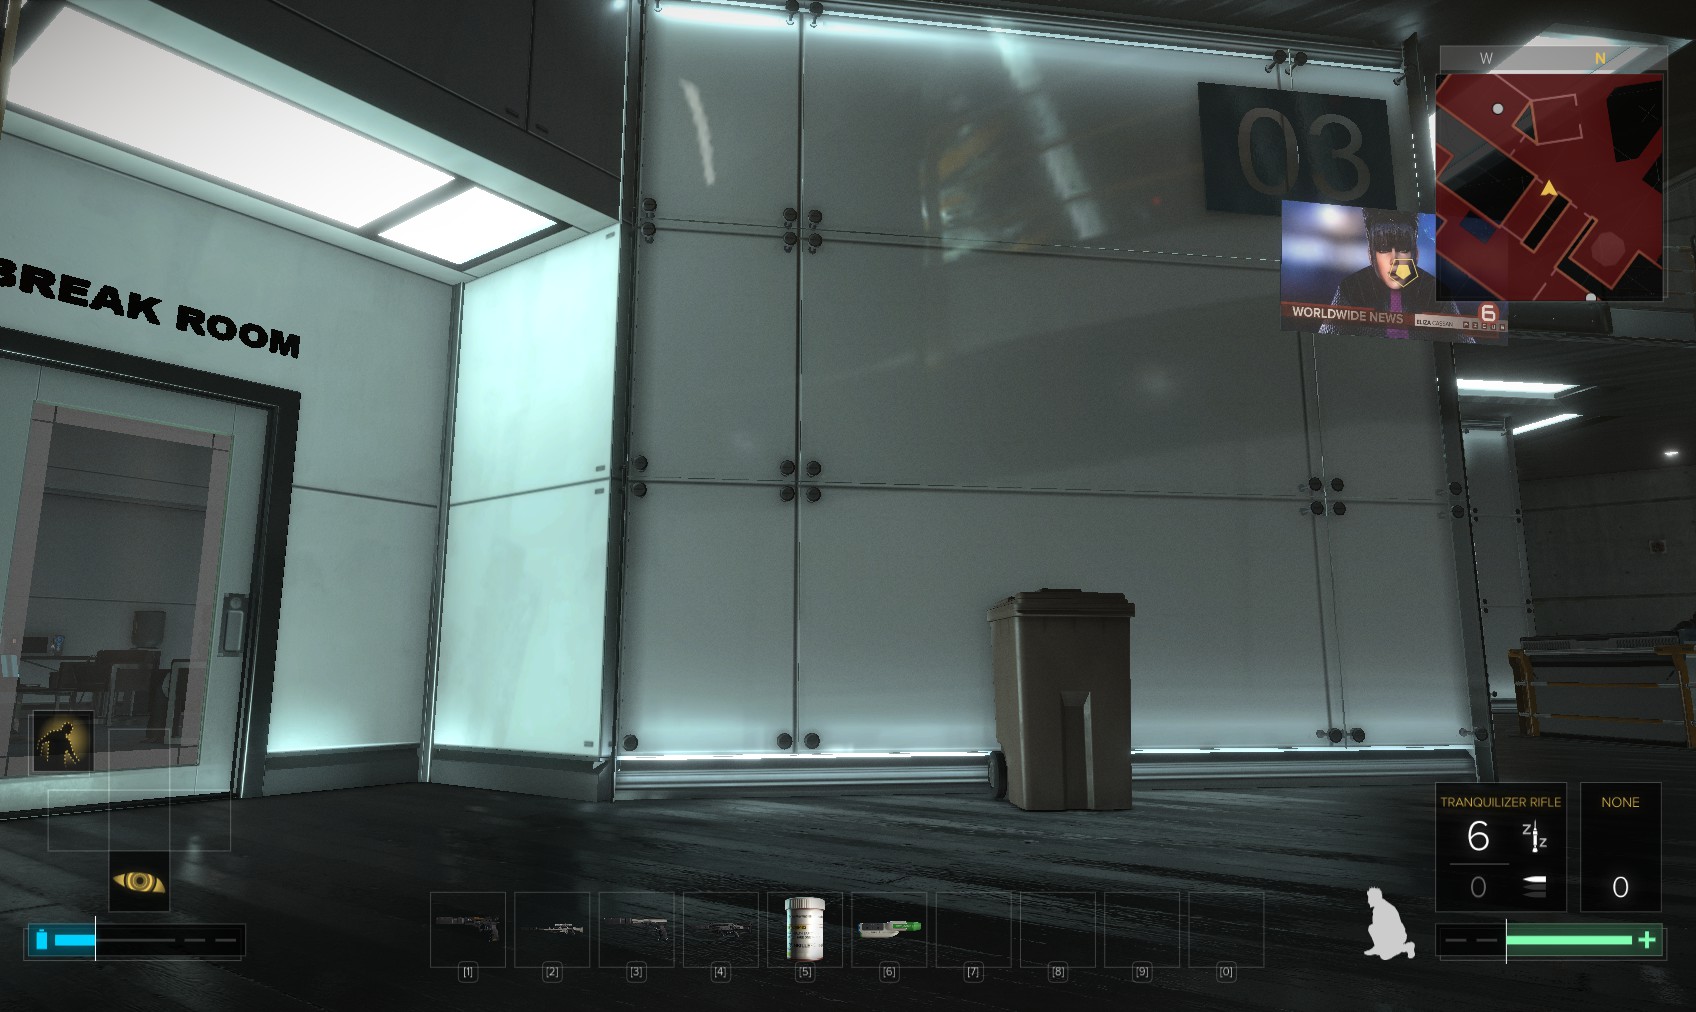
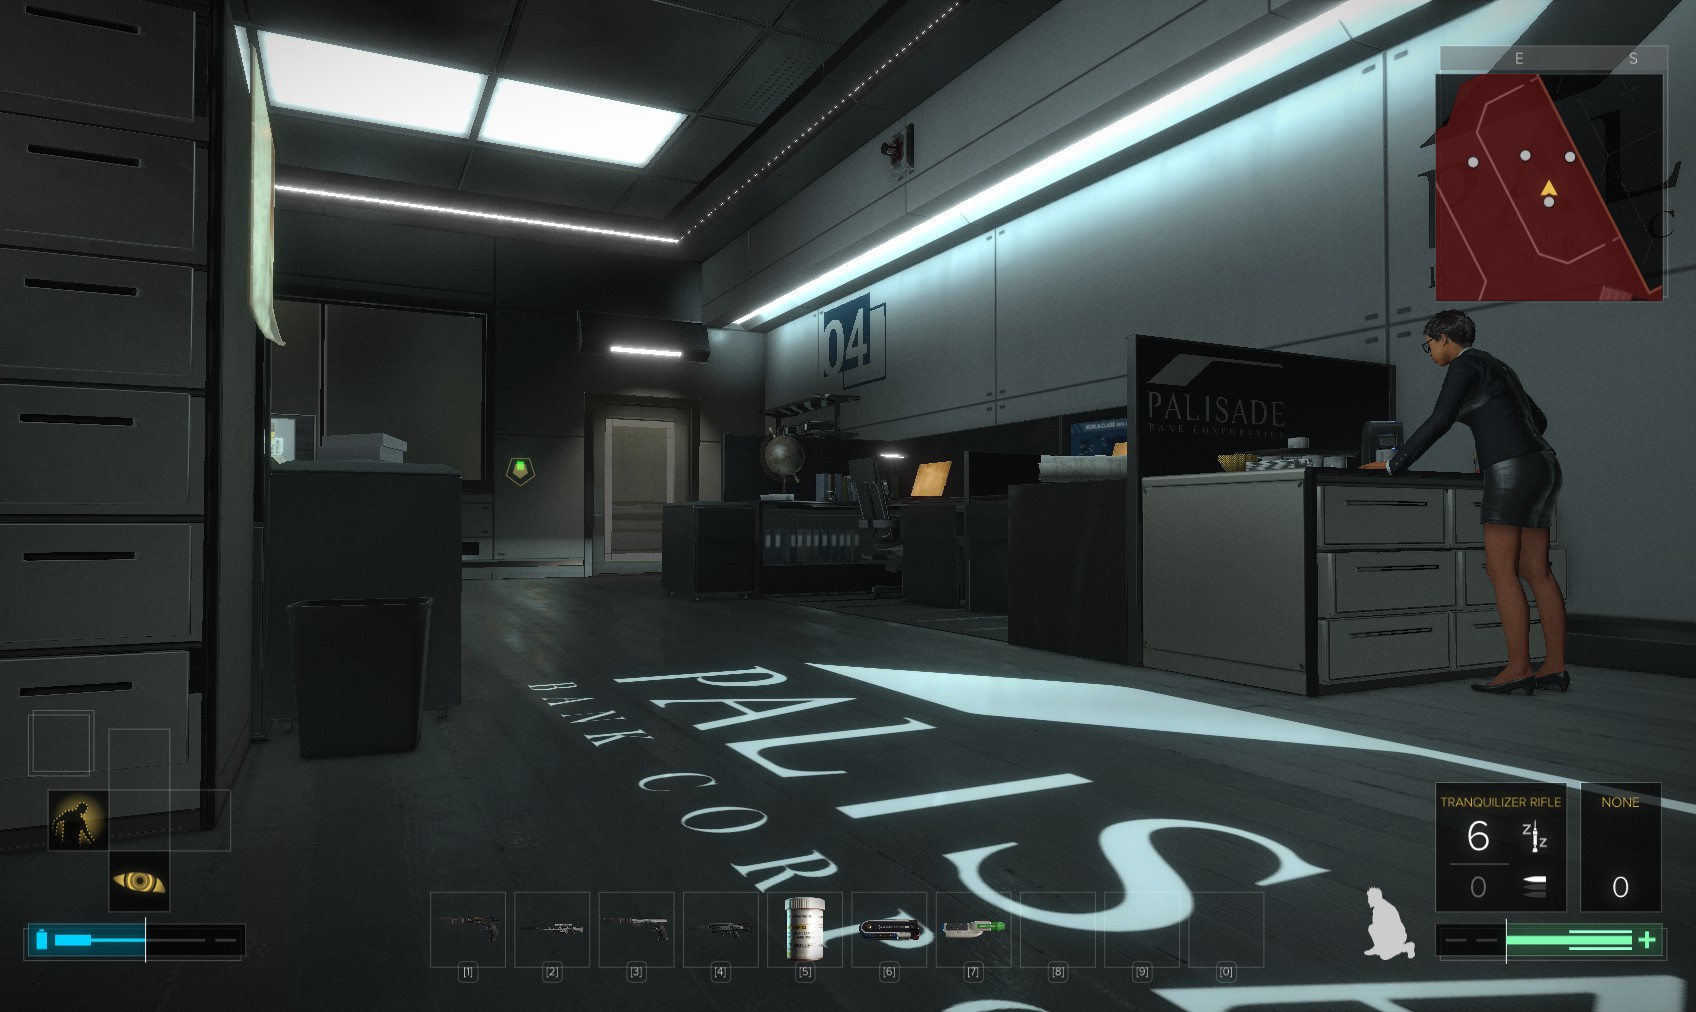
60. Through the door is this break room on the left. Slip inside.
61. Toggle the EG glass and listen to this employee for some clues to partial codes. A nearby level 1 alarm panel can be hacked for nuke software.
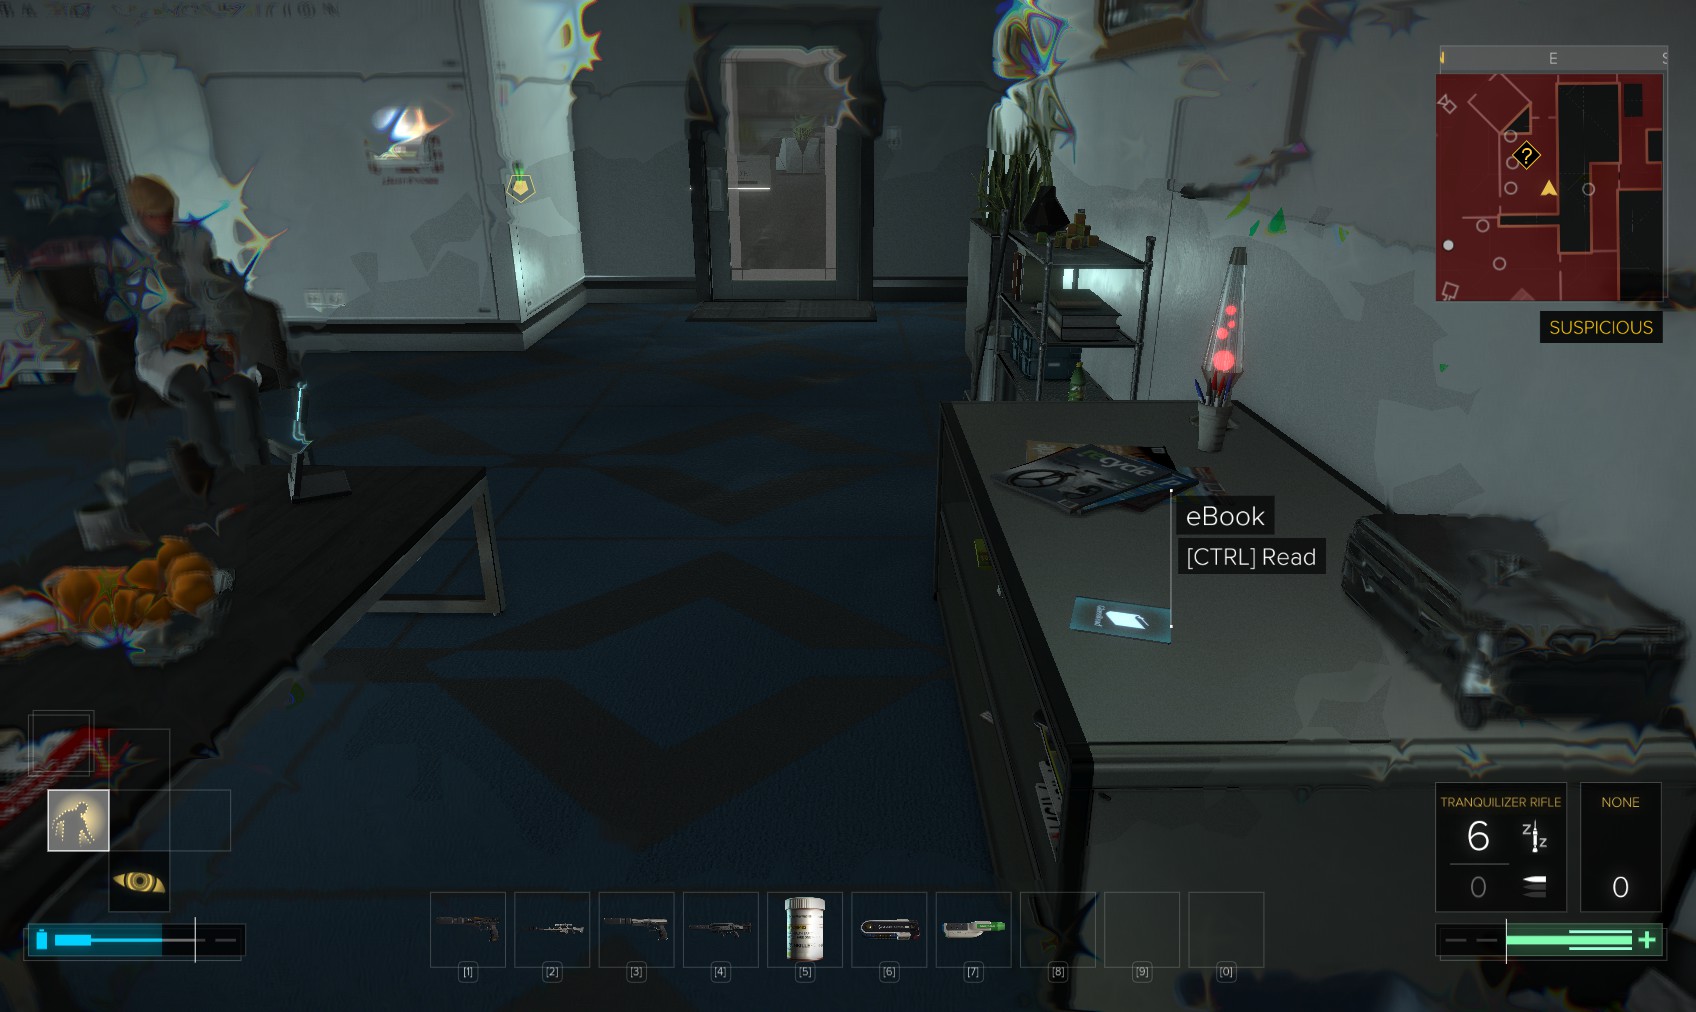
62. I use my cloak to get to this eBook without spooking the girl on the phone. "The Moment to Fight Back, chapter 5, p.76". A biocell on some shelves nearby also requires stealth to access.
63. This vent behind the vending machine does indeed take me where I need to get to, but that will really freak her out. Instead I exit carefully through the door on the right.
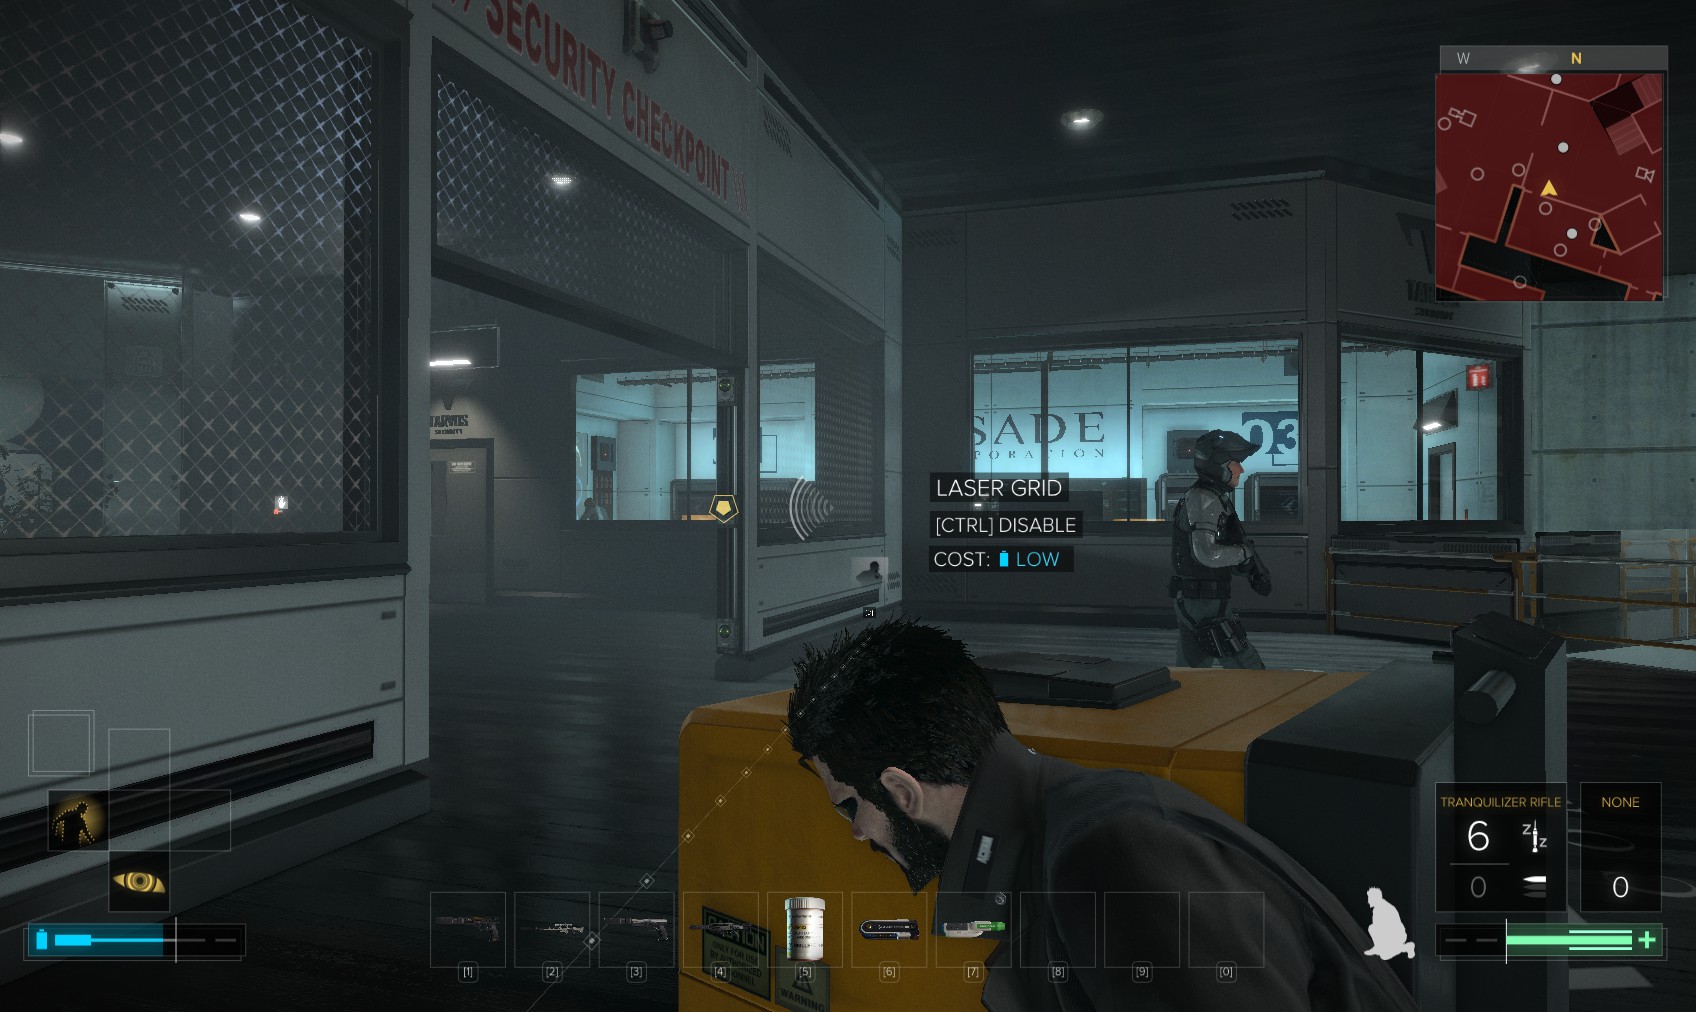
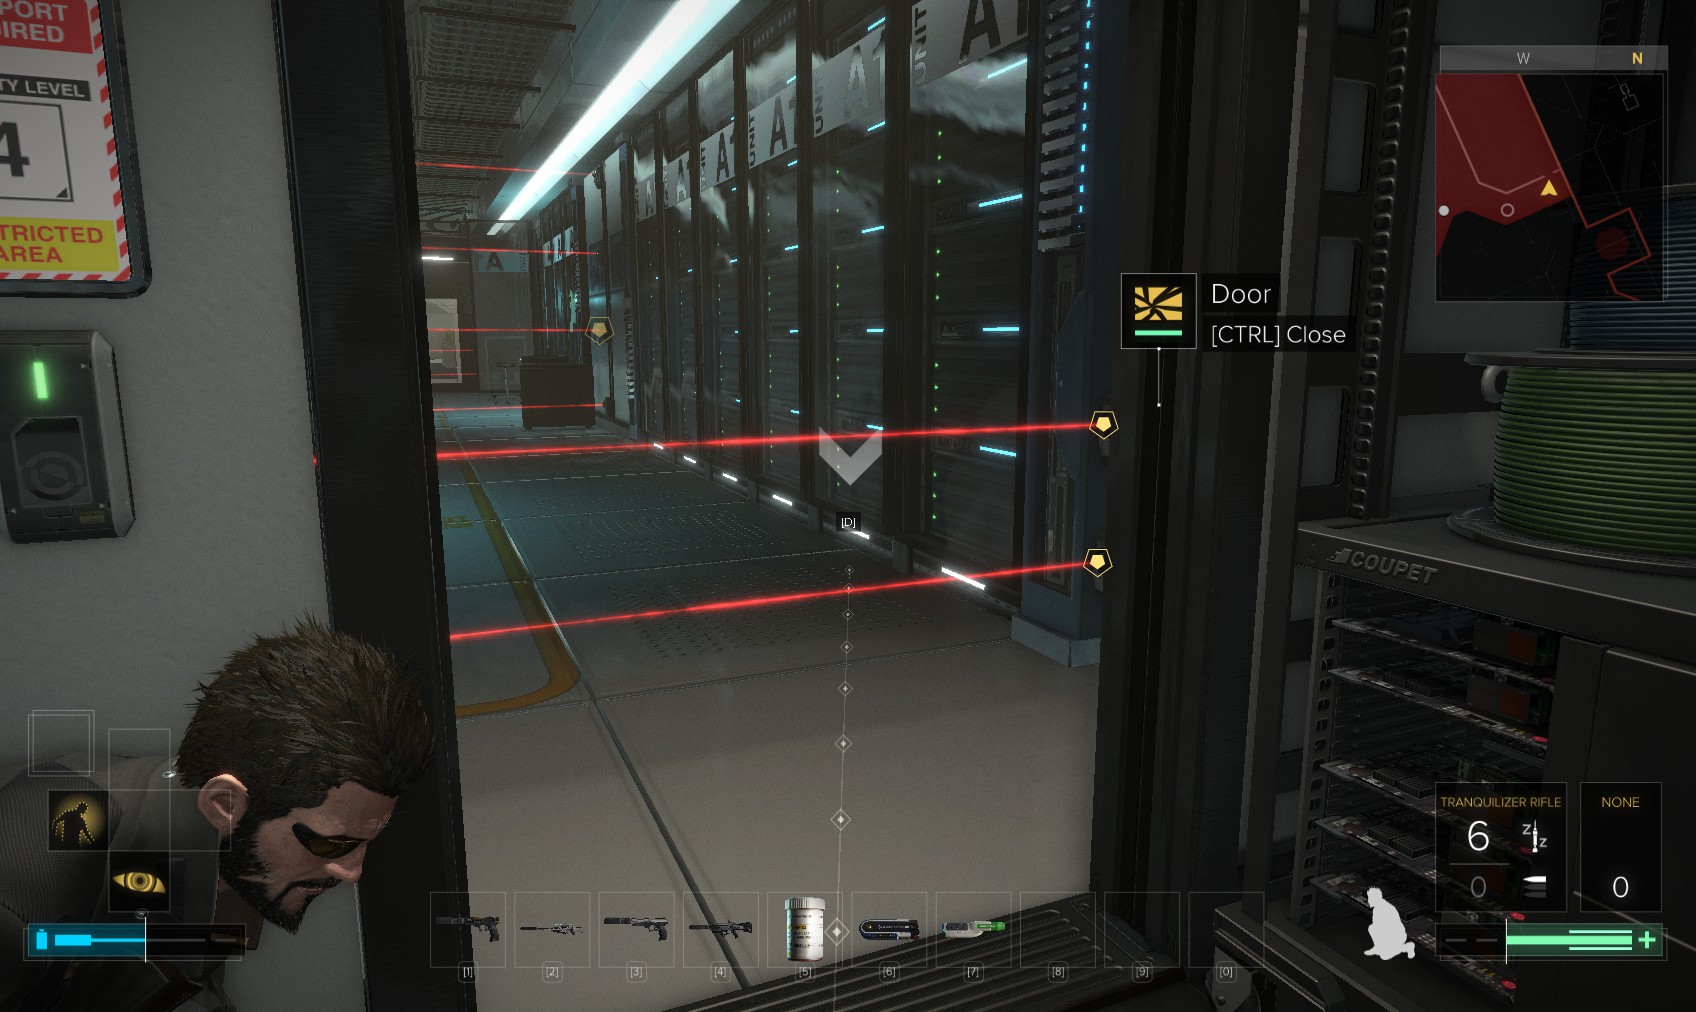
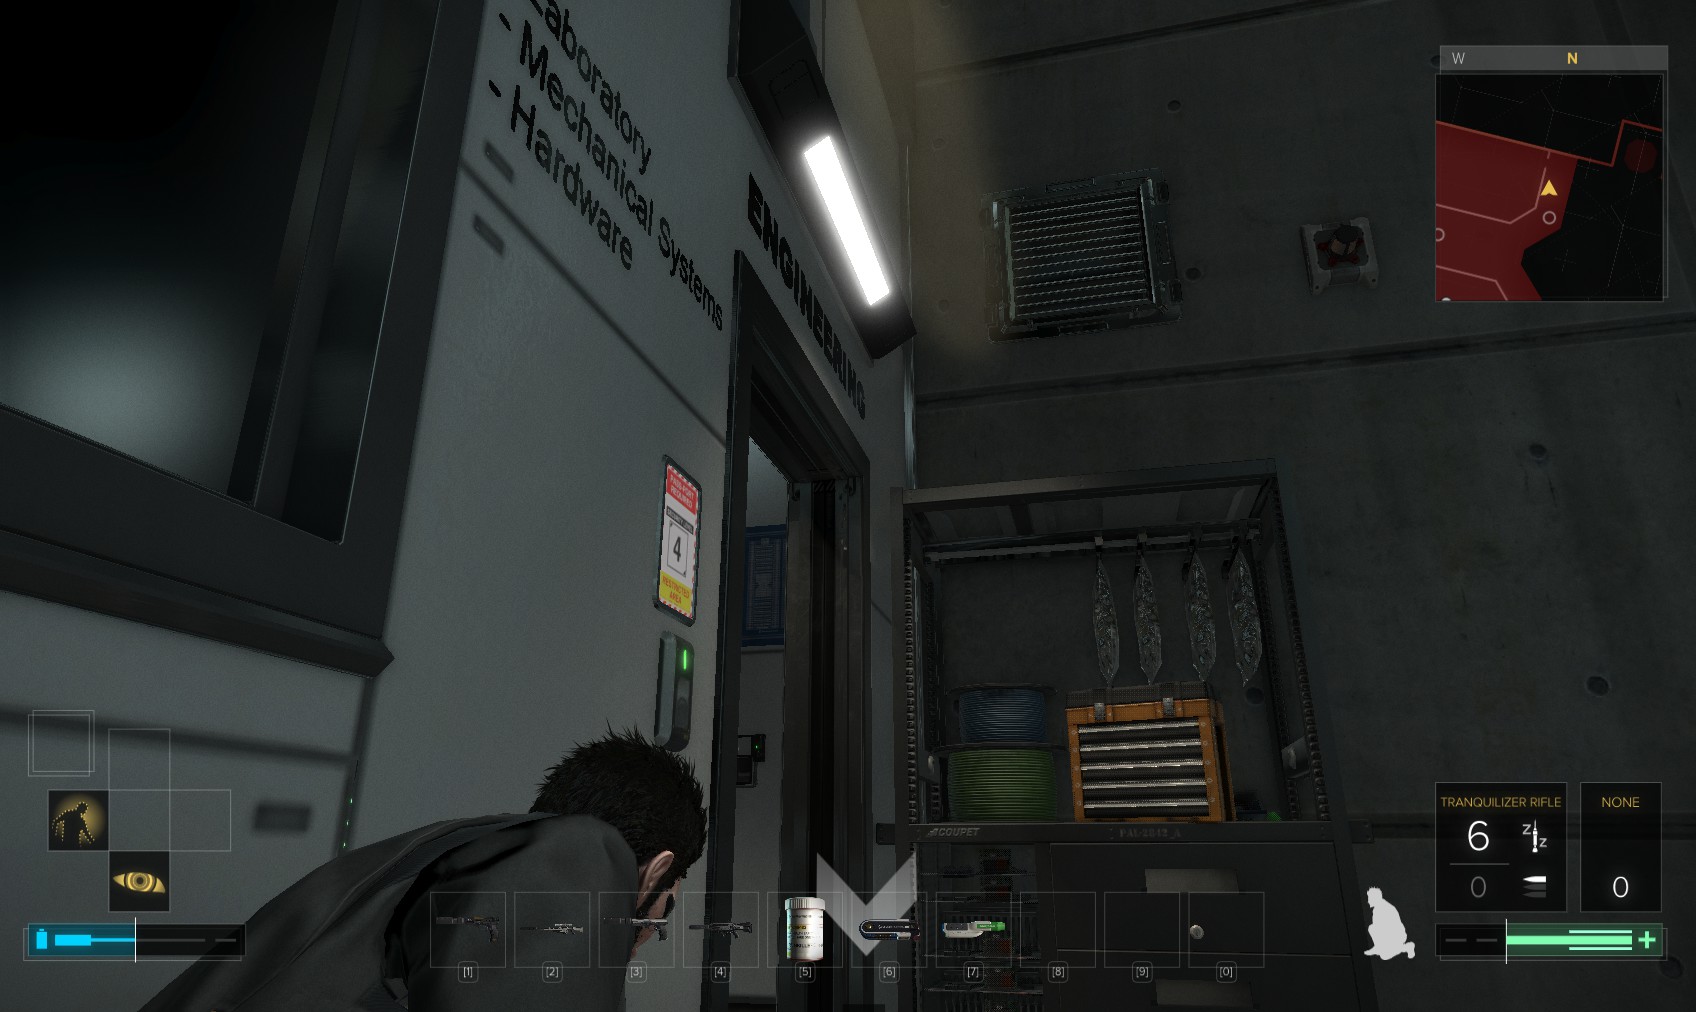
64. Taking care of this patrolling guard and one in the room beyond, I disable the lasers and slip through when he’s not watching.
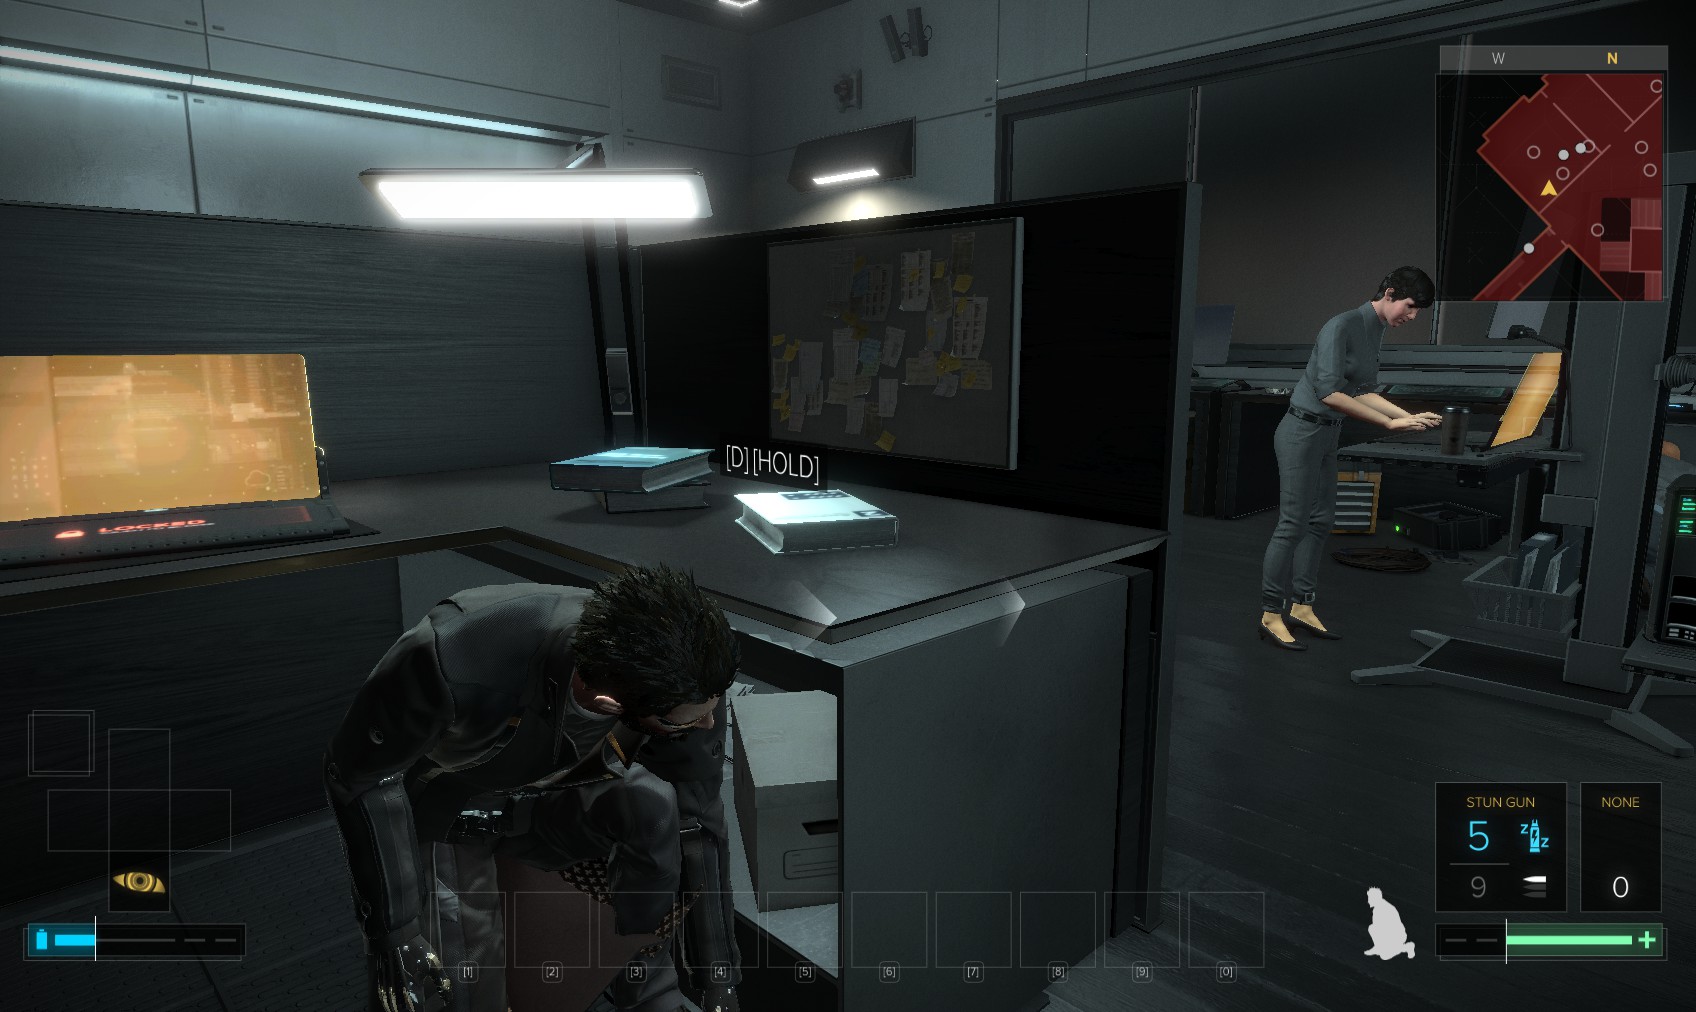
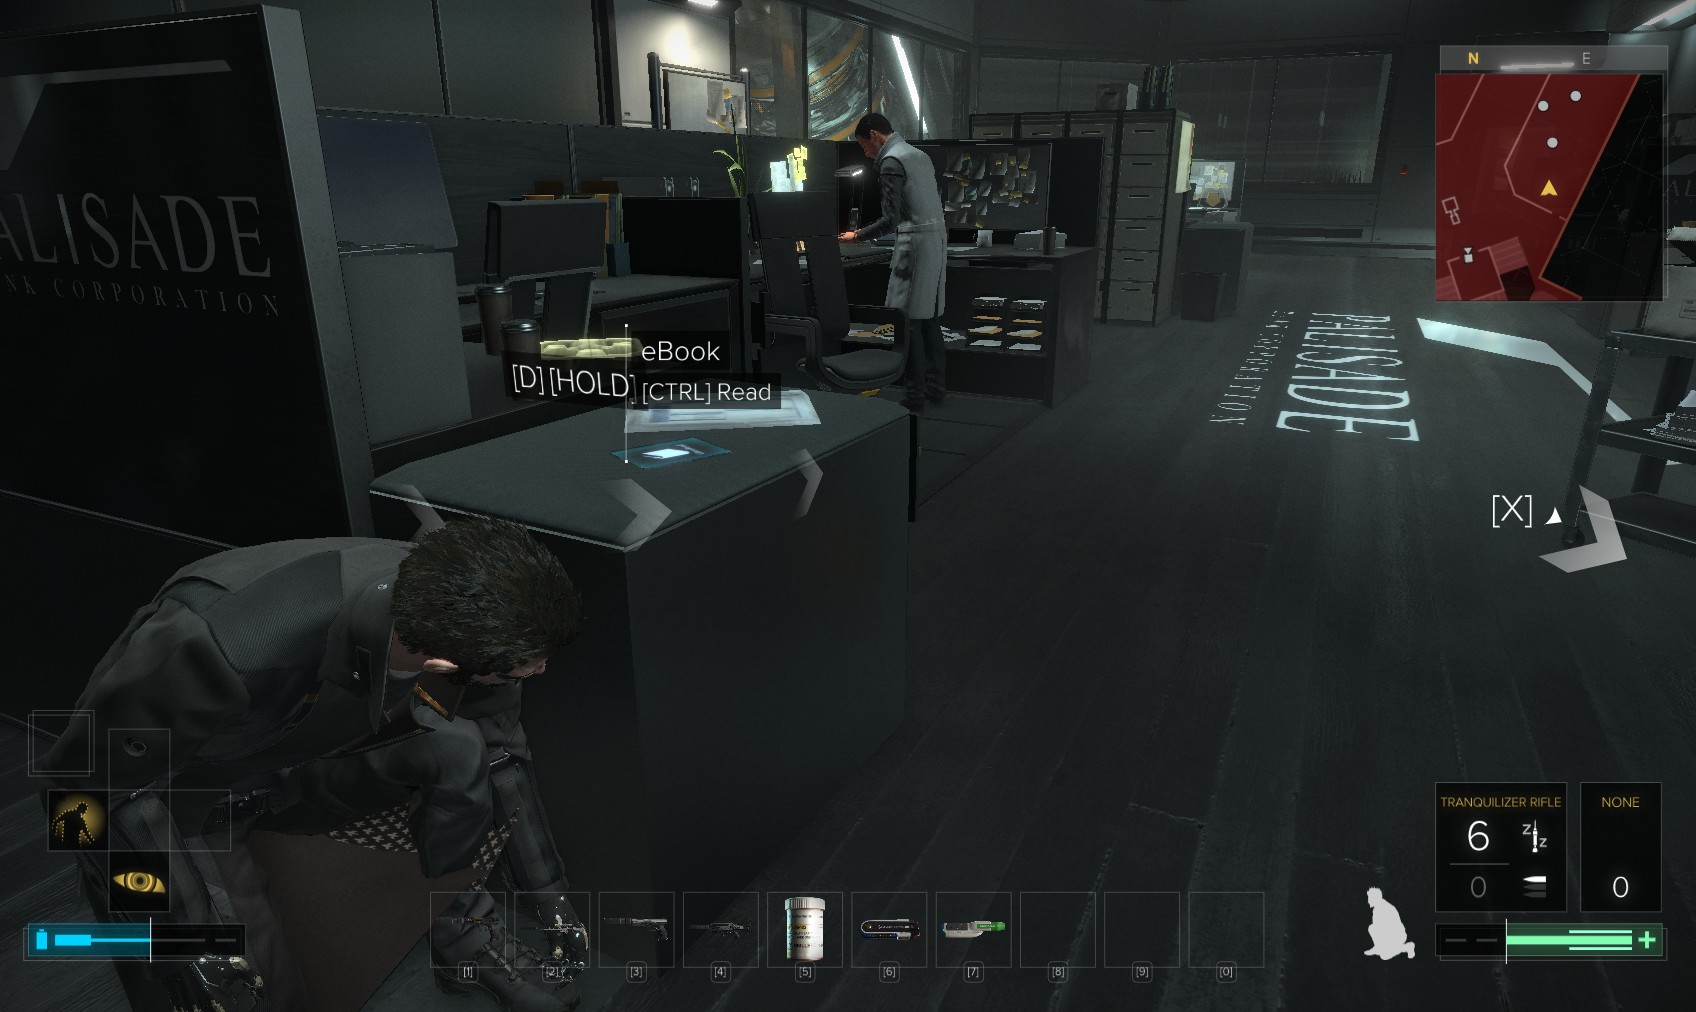
65. I sneak to the left to this door to the Head of Engineering’s office. Behind this viewpoint is the vent leading from the meeting room I just left. The door is level 3 hack for overclock software. Slip inside.
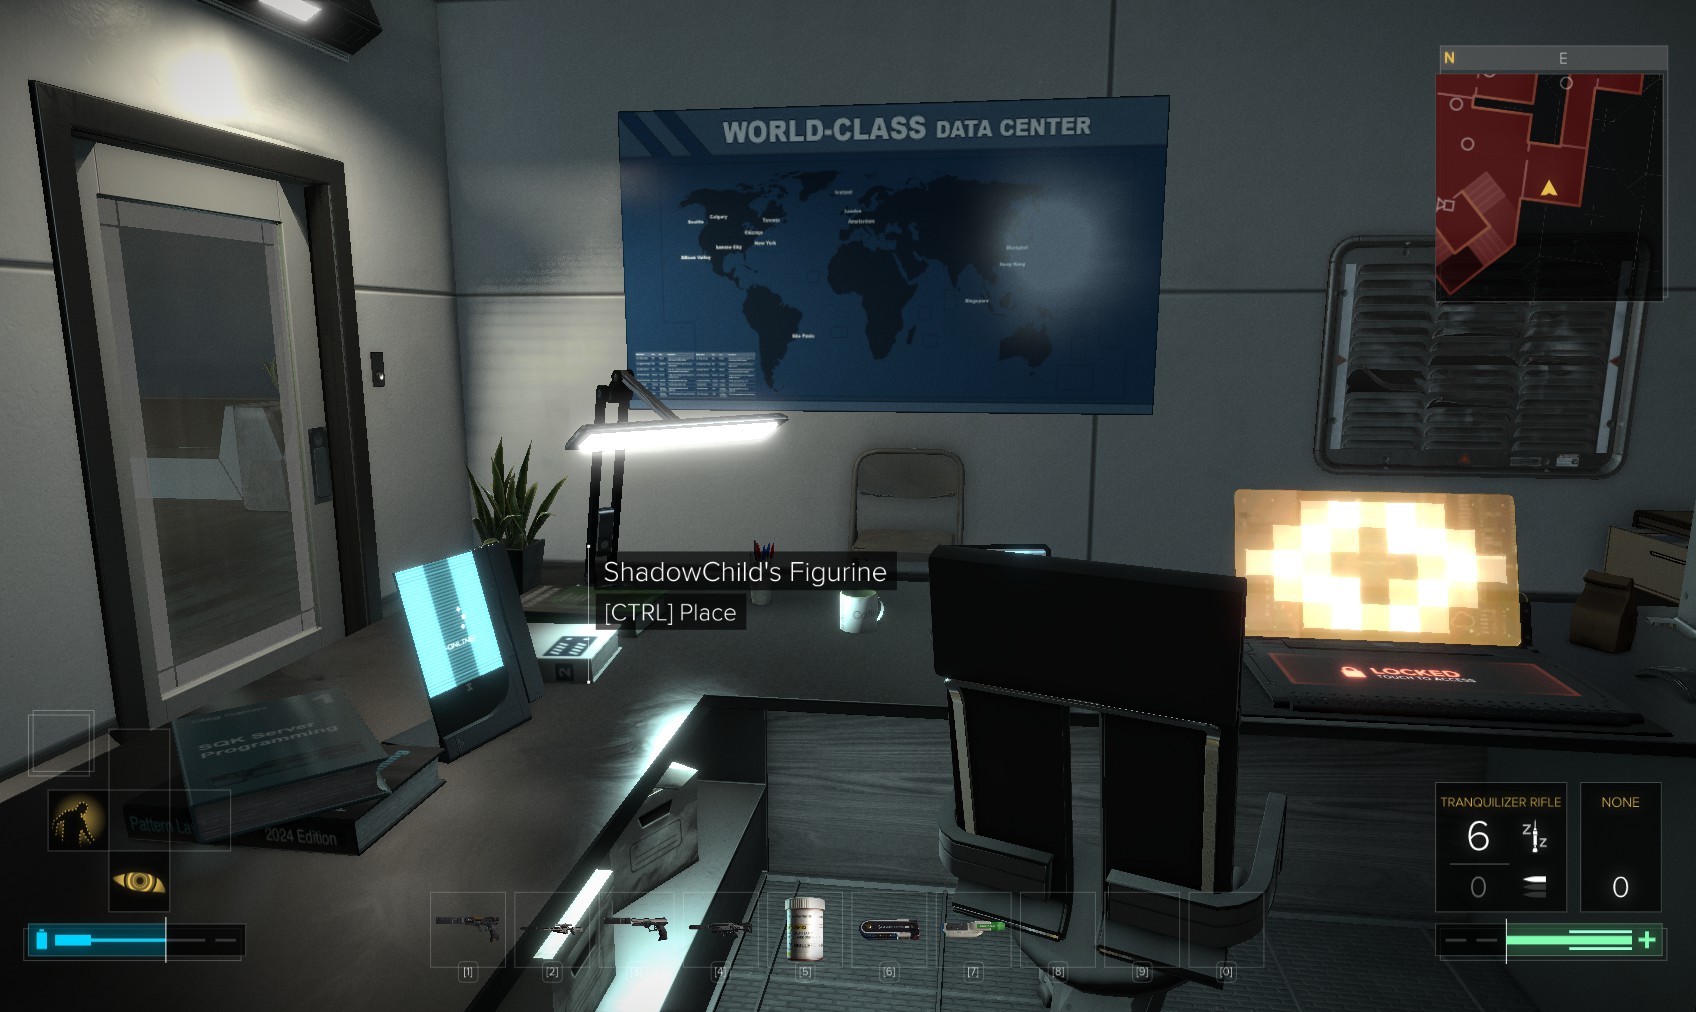
66. This is the office that Shadowchild asked you to decorate with a figurine. Find hacking tools in the drawers. The breakable wall we’ve seen from the other side. Plant the figuring and Shadowchild gives you the password "trustno1" for the PC. Hack the level 3 PC for 100XP and reveal software, or use the password for a meagre 75XP. The emails provide clues to Simono Saridakis's death.
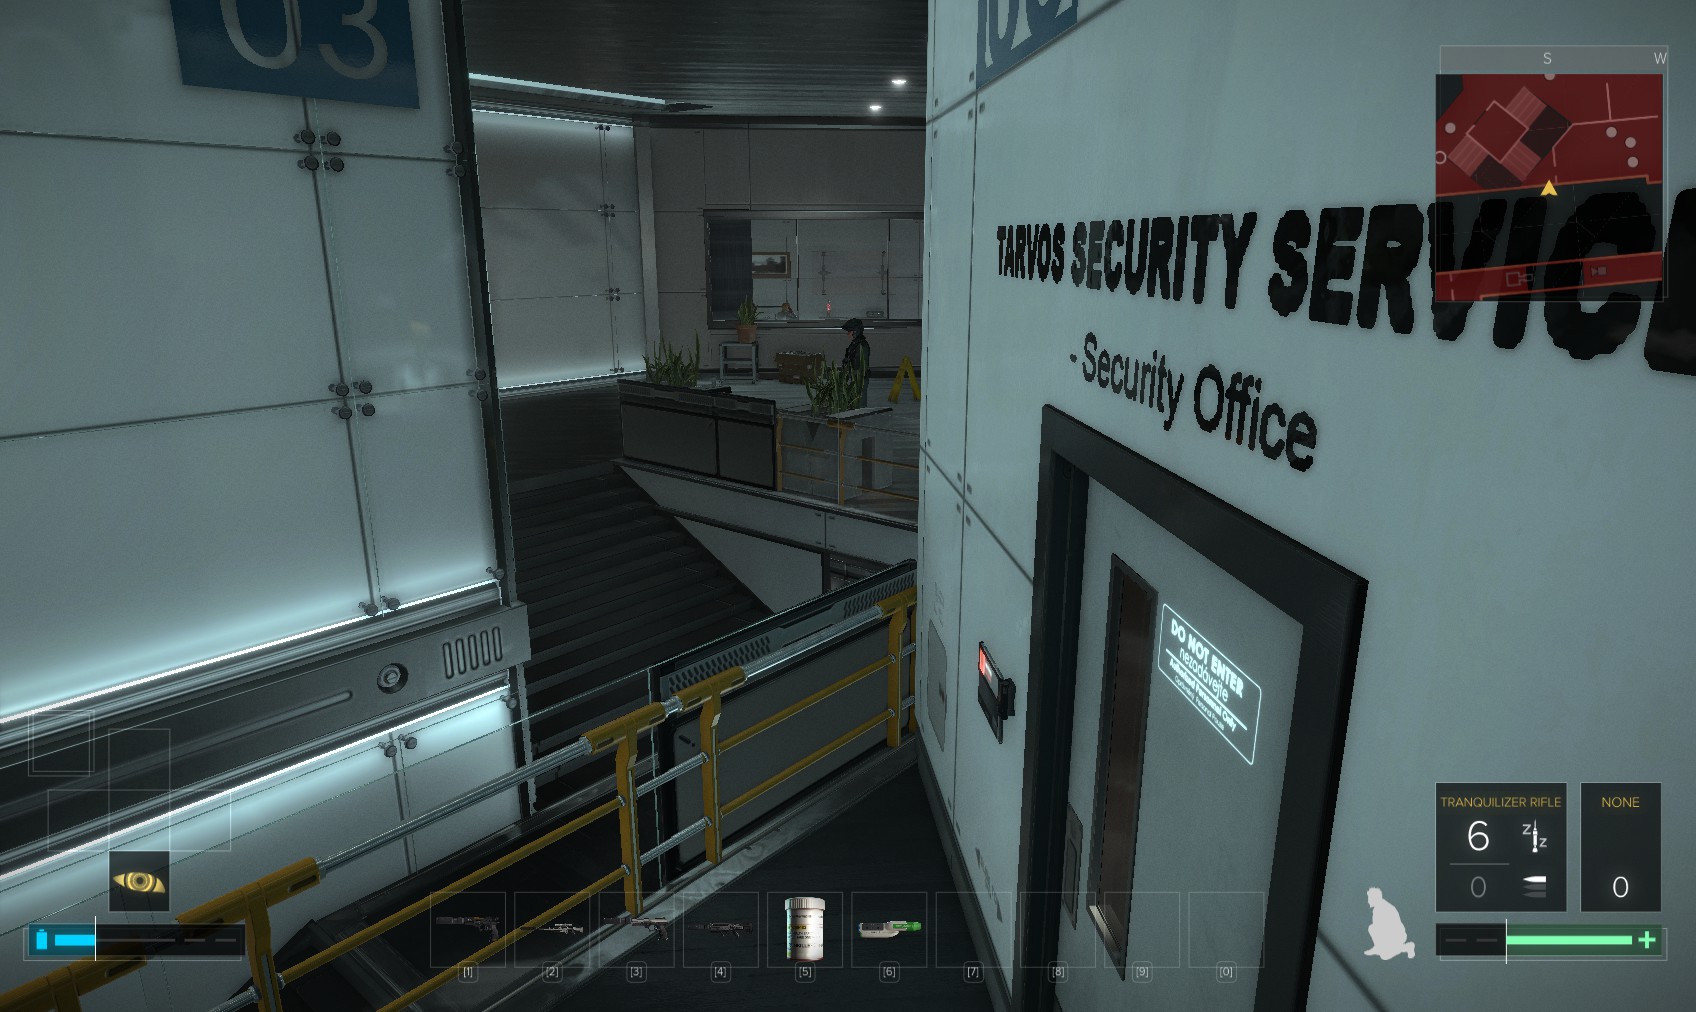
67. I leave via the door. The room opposite is the Tarvos Security Office. Mindful of guards and the turret camera, I head up the stairs on the left.
68. At the top are 3 guards. The two at the foot of the stairs stay where they are while a third patrols the floor. Oh, and the camera.
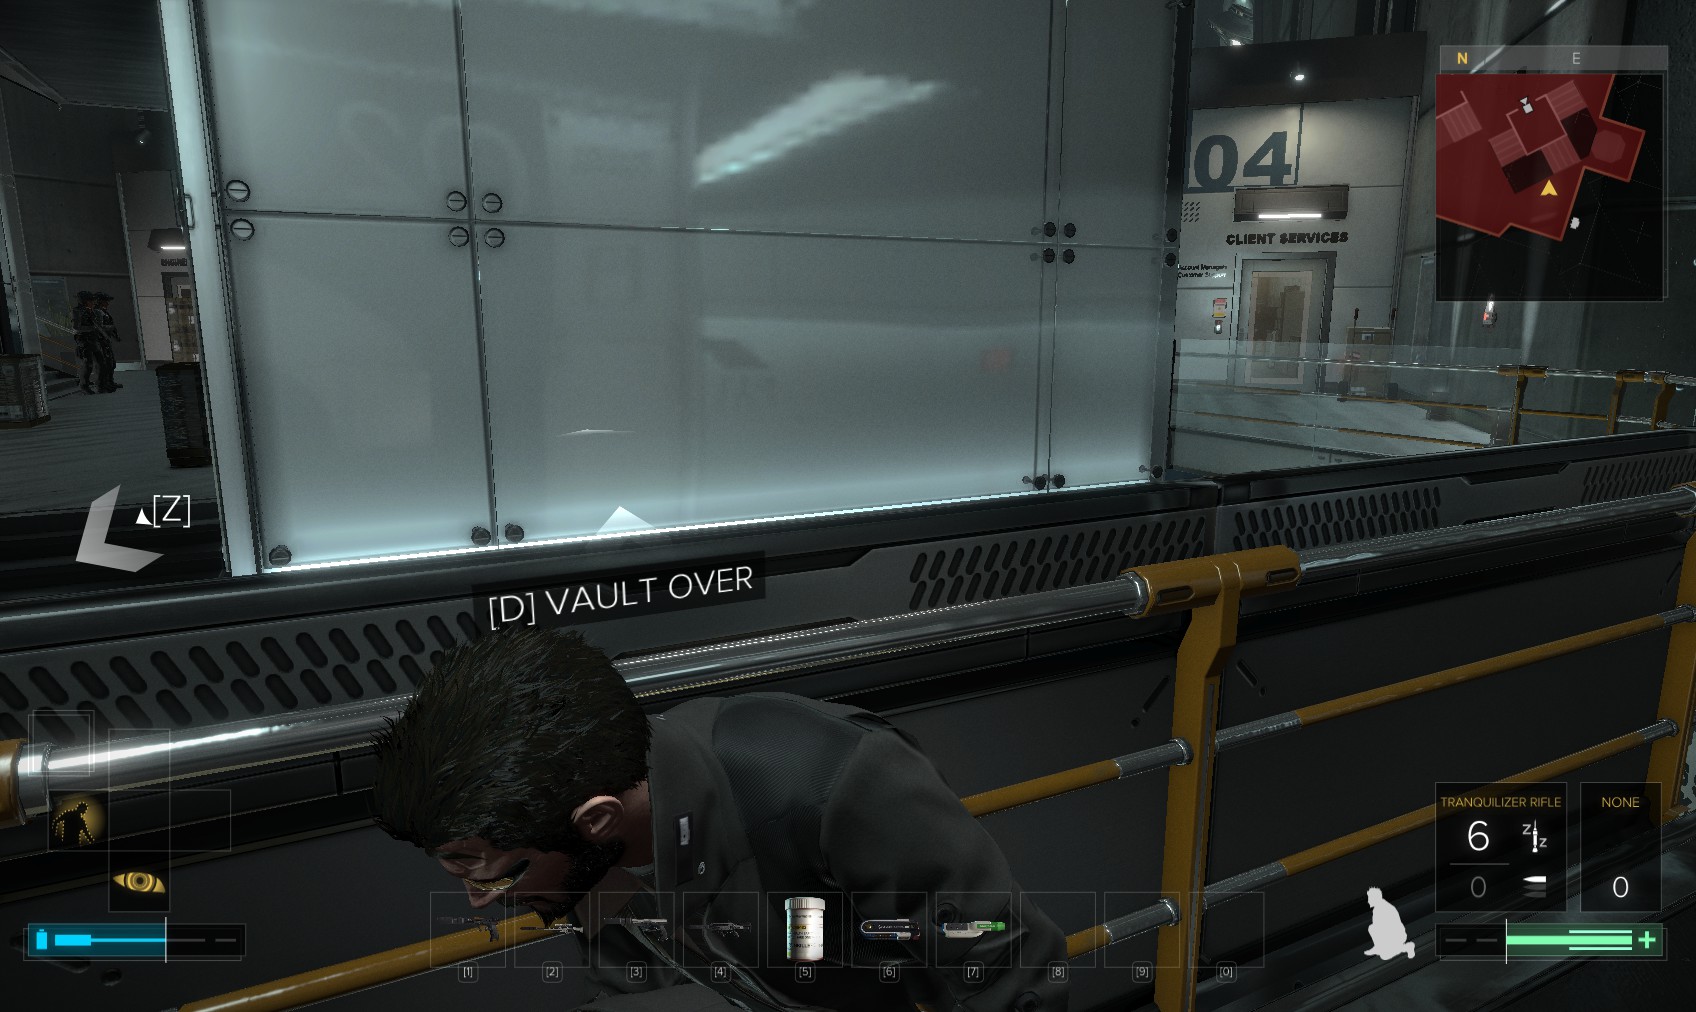
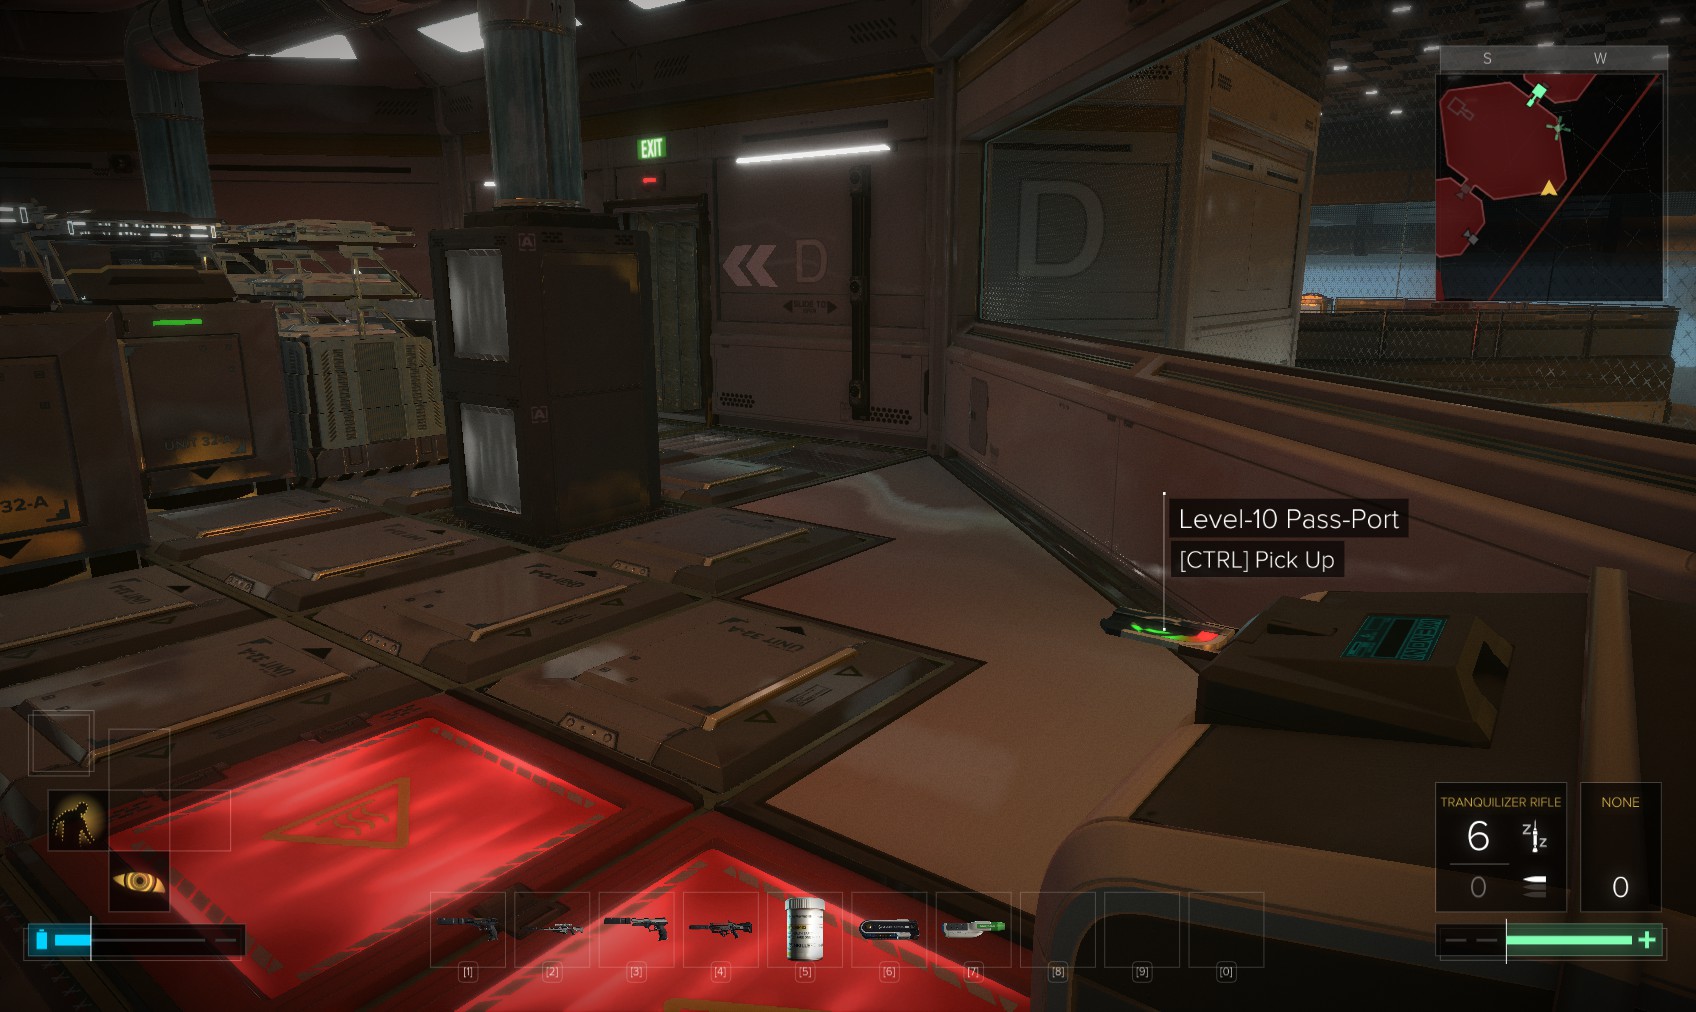
69. Heading left I go round the back of the stairwell. I want to get into the Client Services office on the right. Your pass-port will let you in.
70. Once inside a toggle the EG glass (it only does one half of the room!) and find an eBook. "Palisade Blade: Security Features"
71. At the far end of the room is another EG glass switch. Leave via that door. From there you can climb onto the roof of the office

72. A medical box behind the column contains ammo. More interesting is this Praxis Kit.
73. Return to ground level at the Eastern end. When the coast is clear head over to the Engineering department on the other side.
74. Once again your pass-port opens the door. There’s not much room inside to disable the lasers, but just enough! As in the Client Services office, the nearby EG switch only toggles half the room so beware of the roaming patrol when moving around. The terminal for these nearest lasers is a level 3 hack but it’s worth it for 100XP, plus nuke and datascan software.
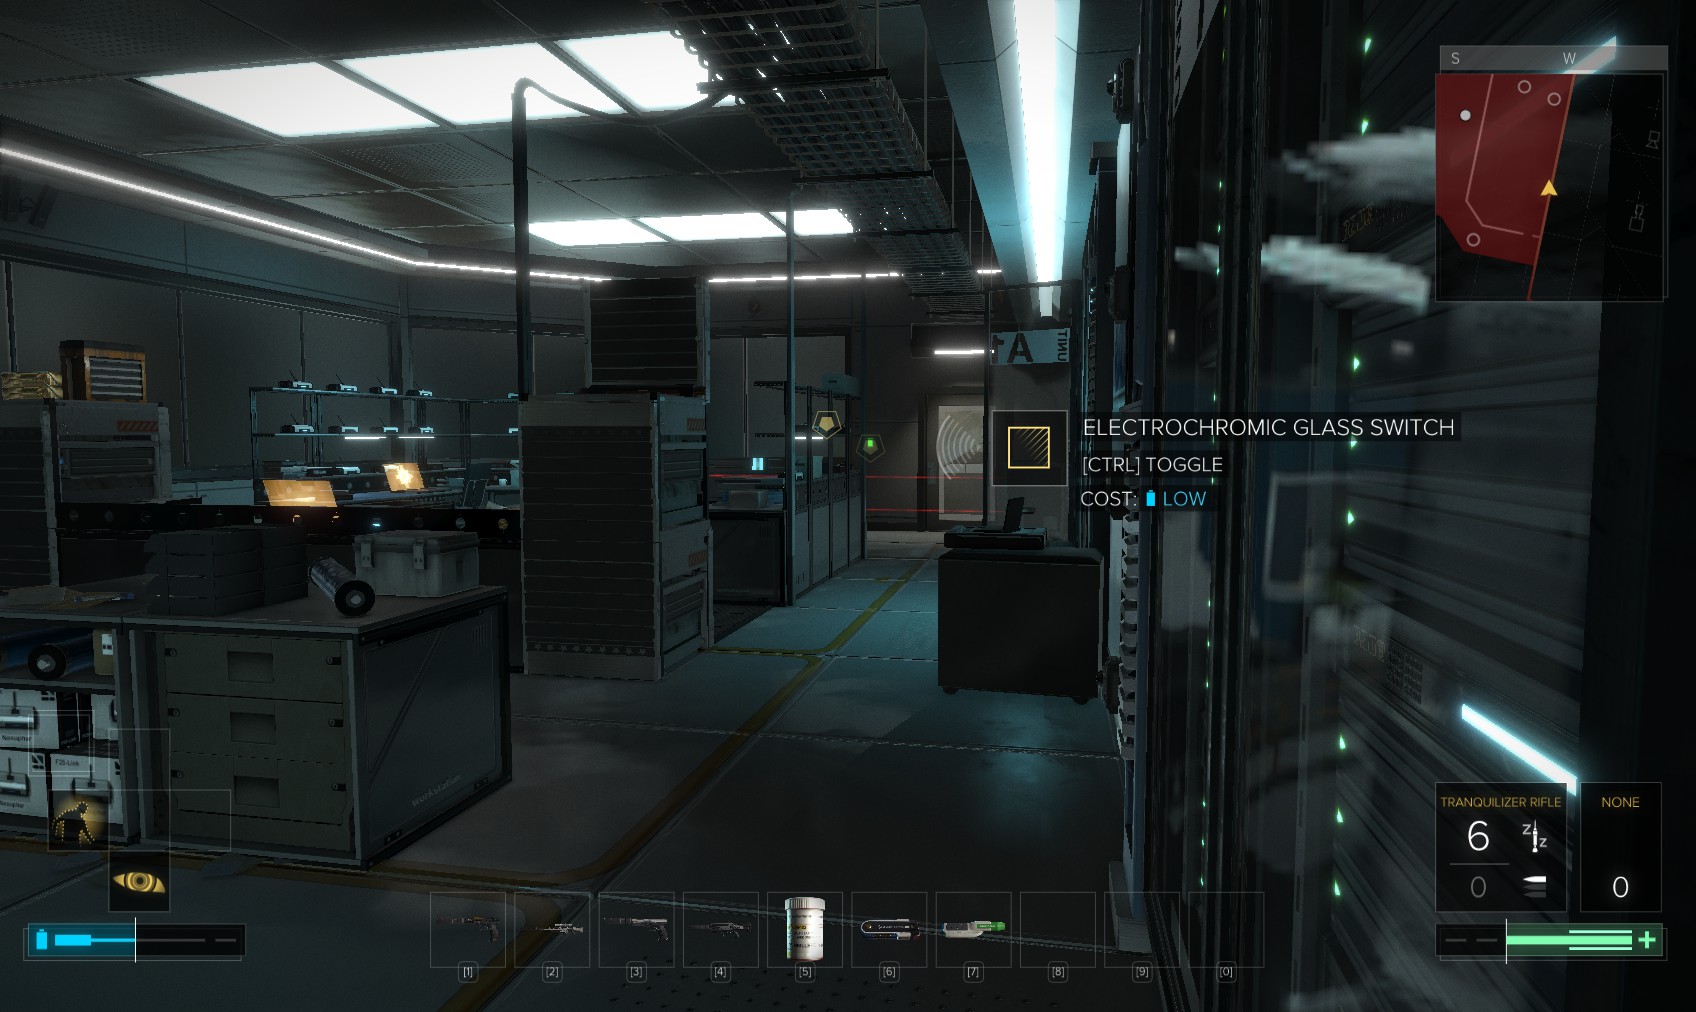
75. I toggle the other EG glass switch at the far end of the room (after having remote-hacked the lasers in the middle which have no keypad). Hunt for ammo - including Typhoon ammo - and hacking tools in the drawers and desks. A biocell and multi-tool are also lying around the place.
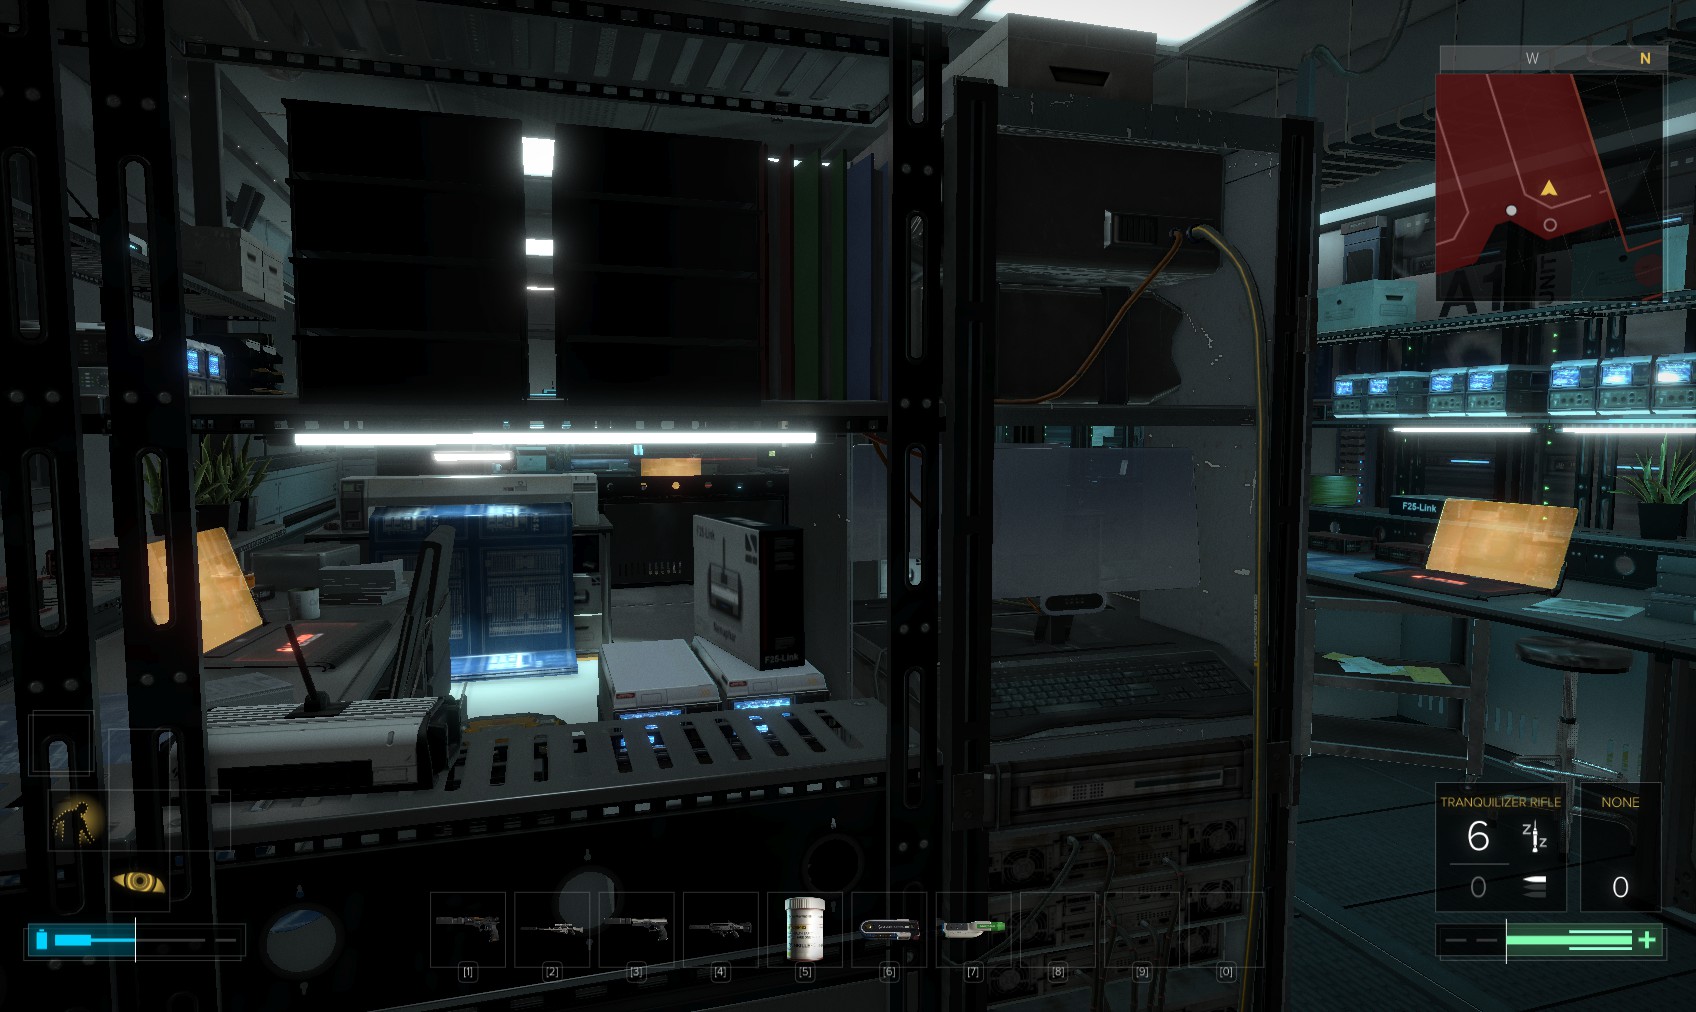
76. There are 5 PCs in here, all level 1 hacks. Starting from the door through which you entered: on the left, no downloads. On the right, reveal software.
77. At the other end of the room, on the left reveal software, the middle one has nuke software, no downloads on the right. The level 3 keypad for the lasers near the door at this end (behind me in this shot) has a stop worm and reveal software.
78. The door at the Western end of the room comes out right under the noses of the two guards by the stairs. Instead go back to the door you came in by.
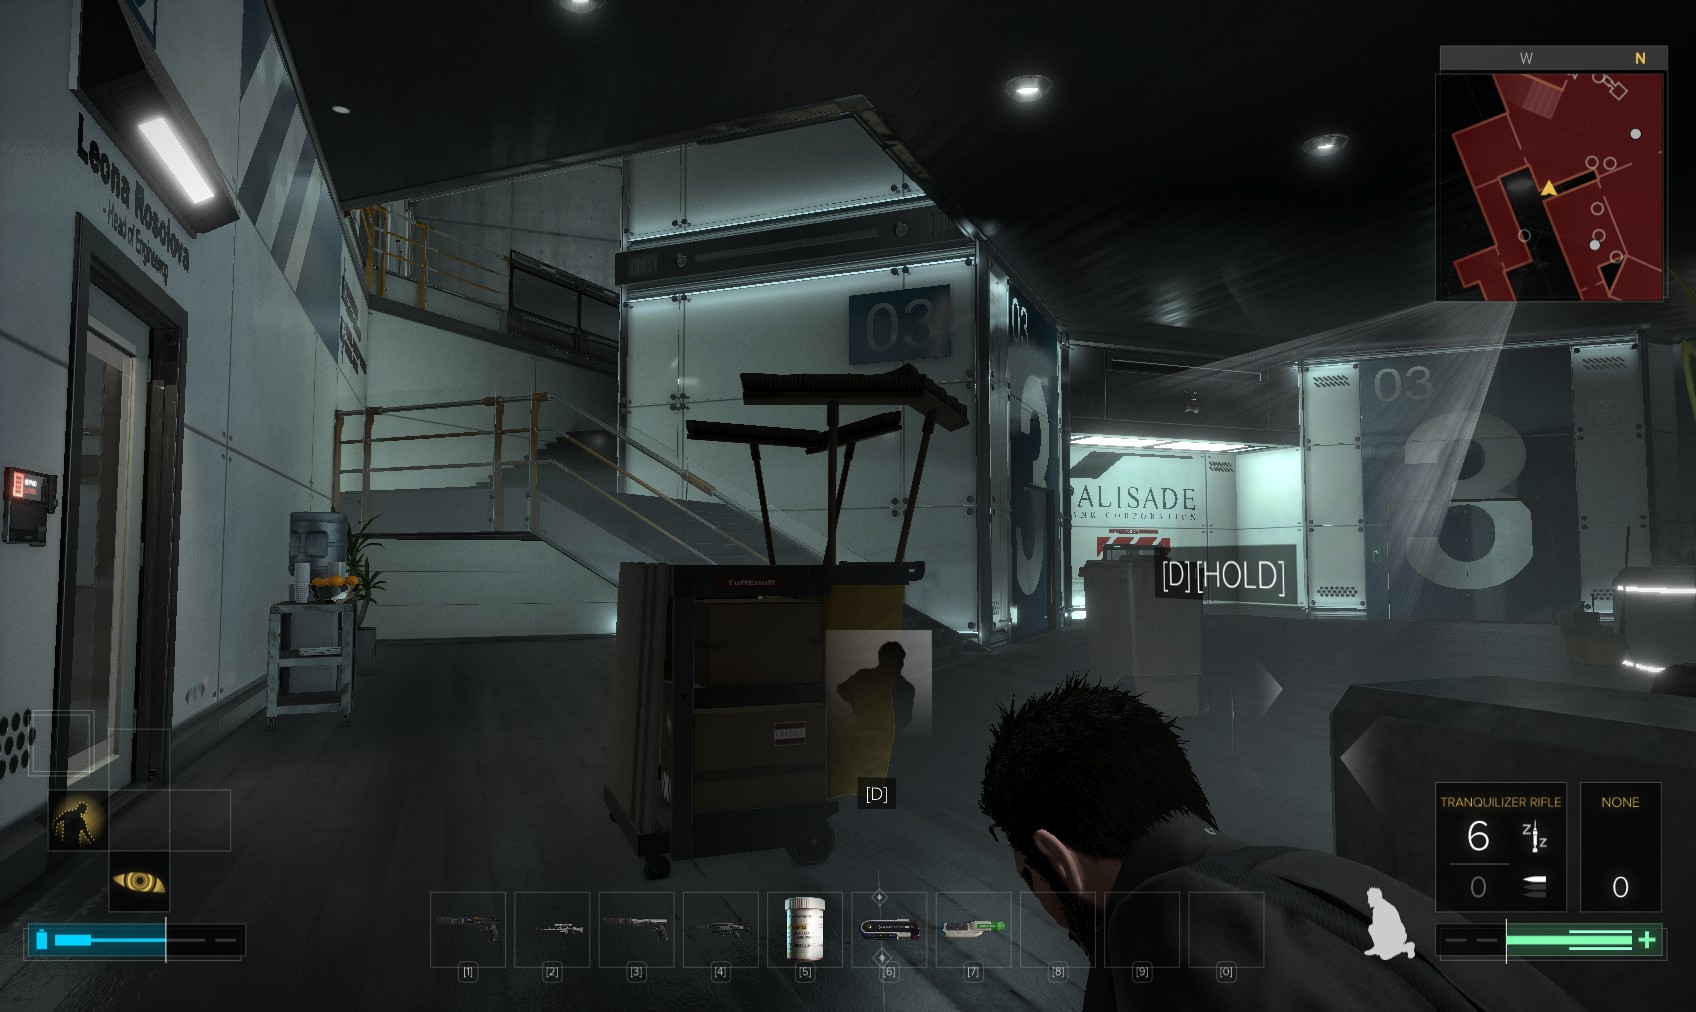
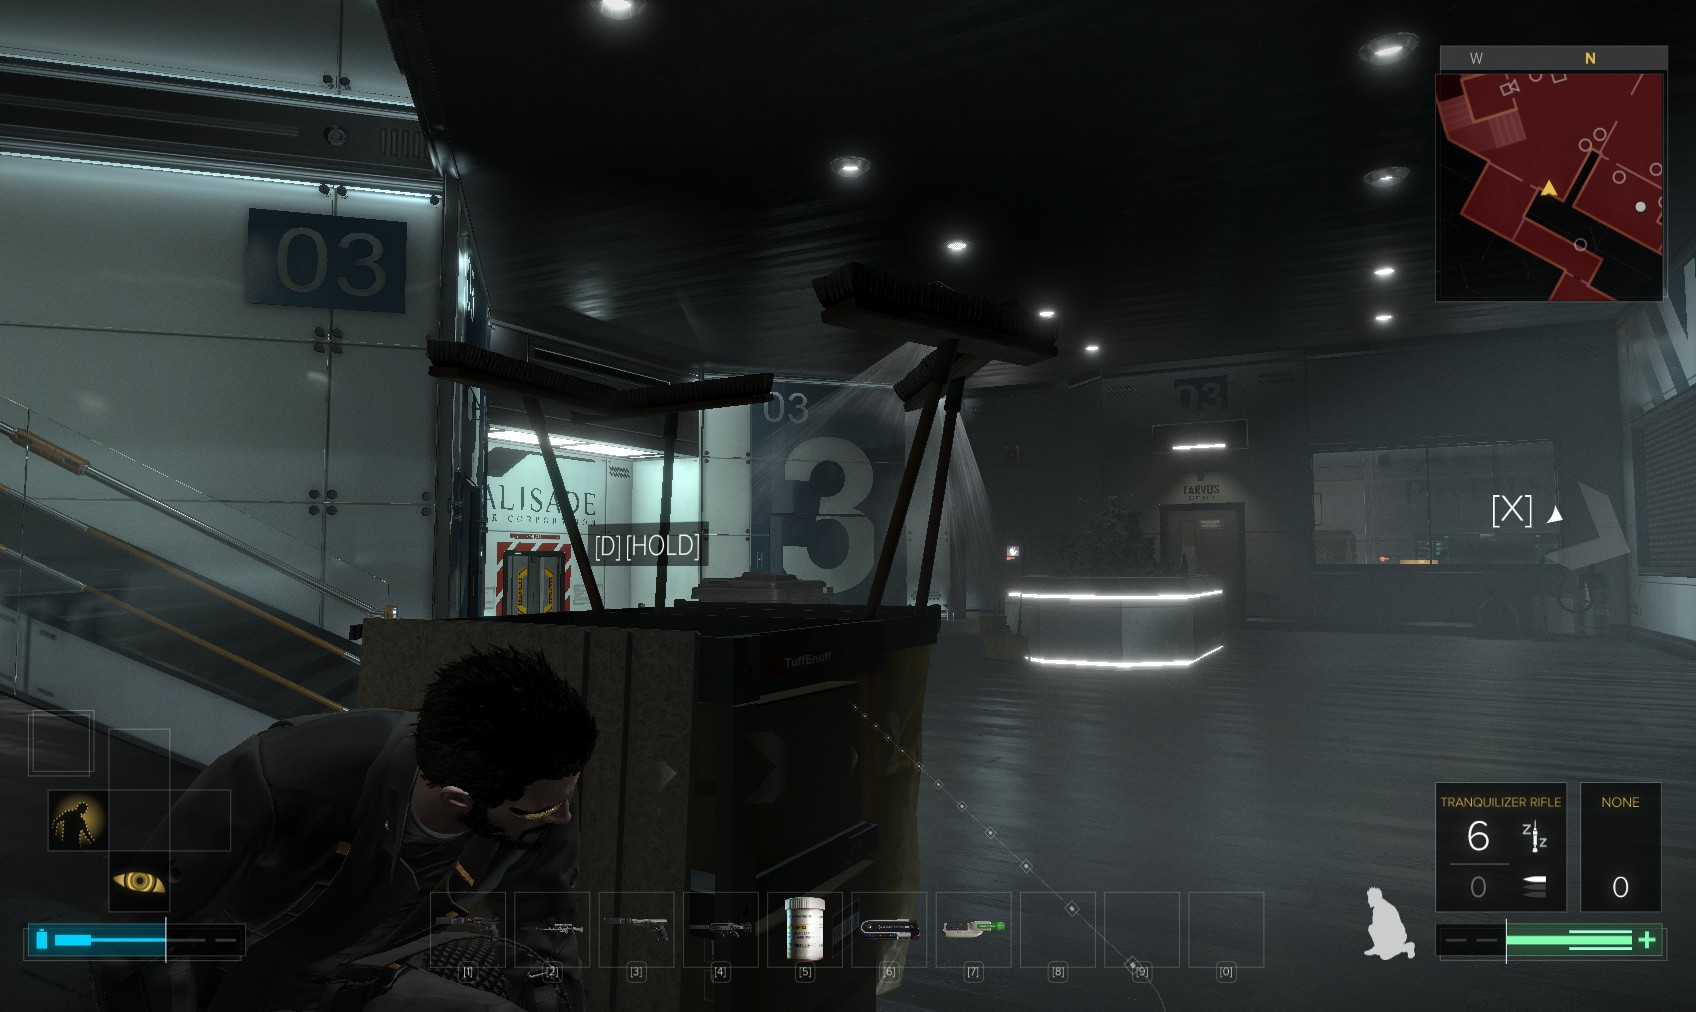
79. Mindful of the patrolling guard, swipe the multi-tool from the trolley, then jump up to the vent just outside.
80. It comes out on the roof of the Engineering department office. Watch out for the guard patrolling the stairs, then sneak over that way.
81. When his back is turned, you can jump from the roof over to the staircase. Head up.
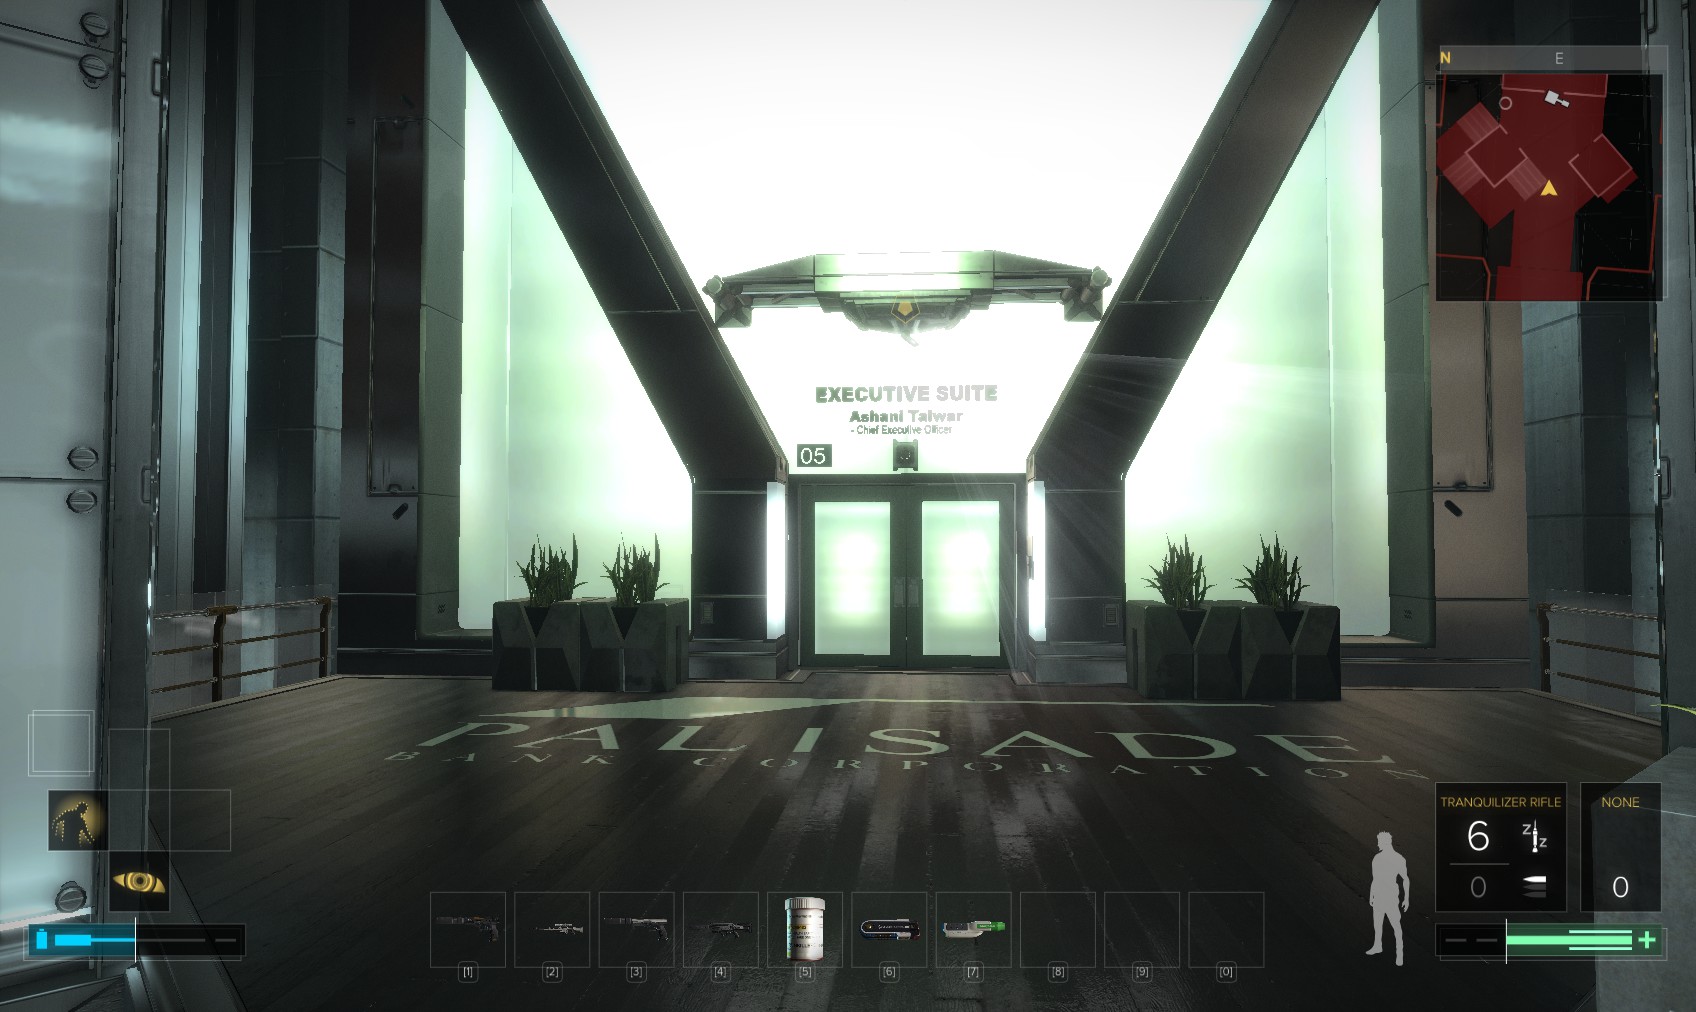
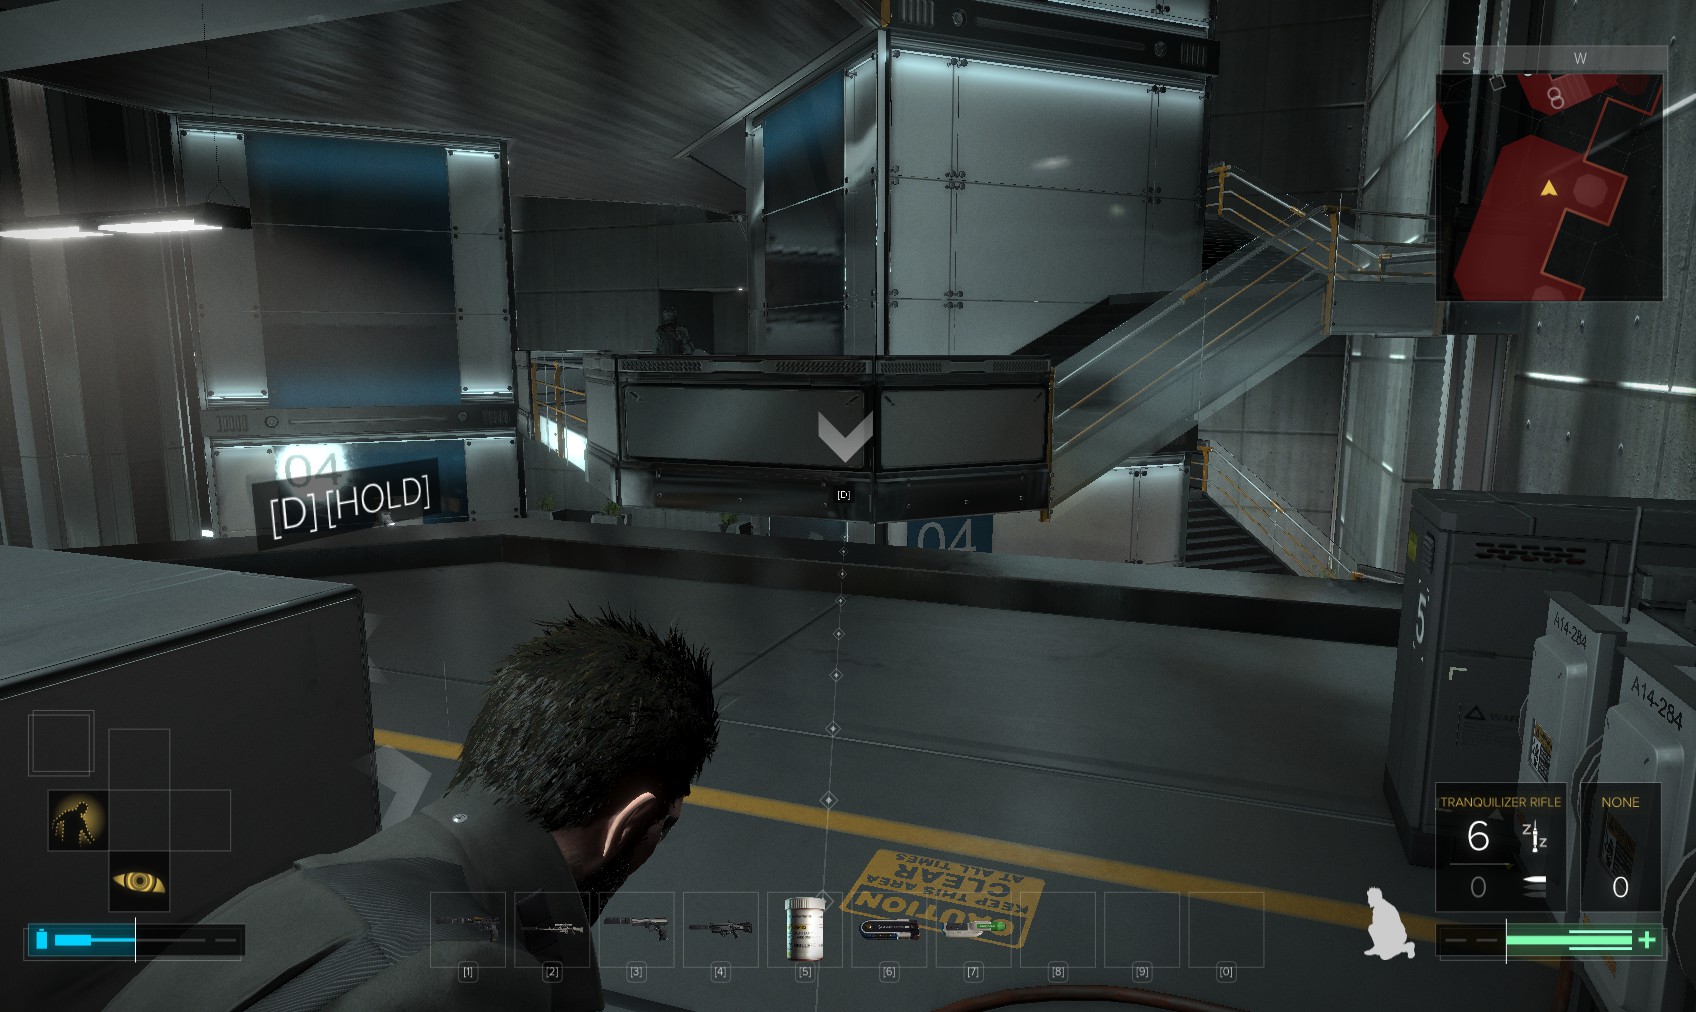
82. The office of the CEO is at the top, guarded by a turret. I can disable it, or cloak past it to hack the level 3 door (no downloads) …or find another way.

83. Head behind the left-hand lift to the right, past the stairs.
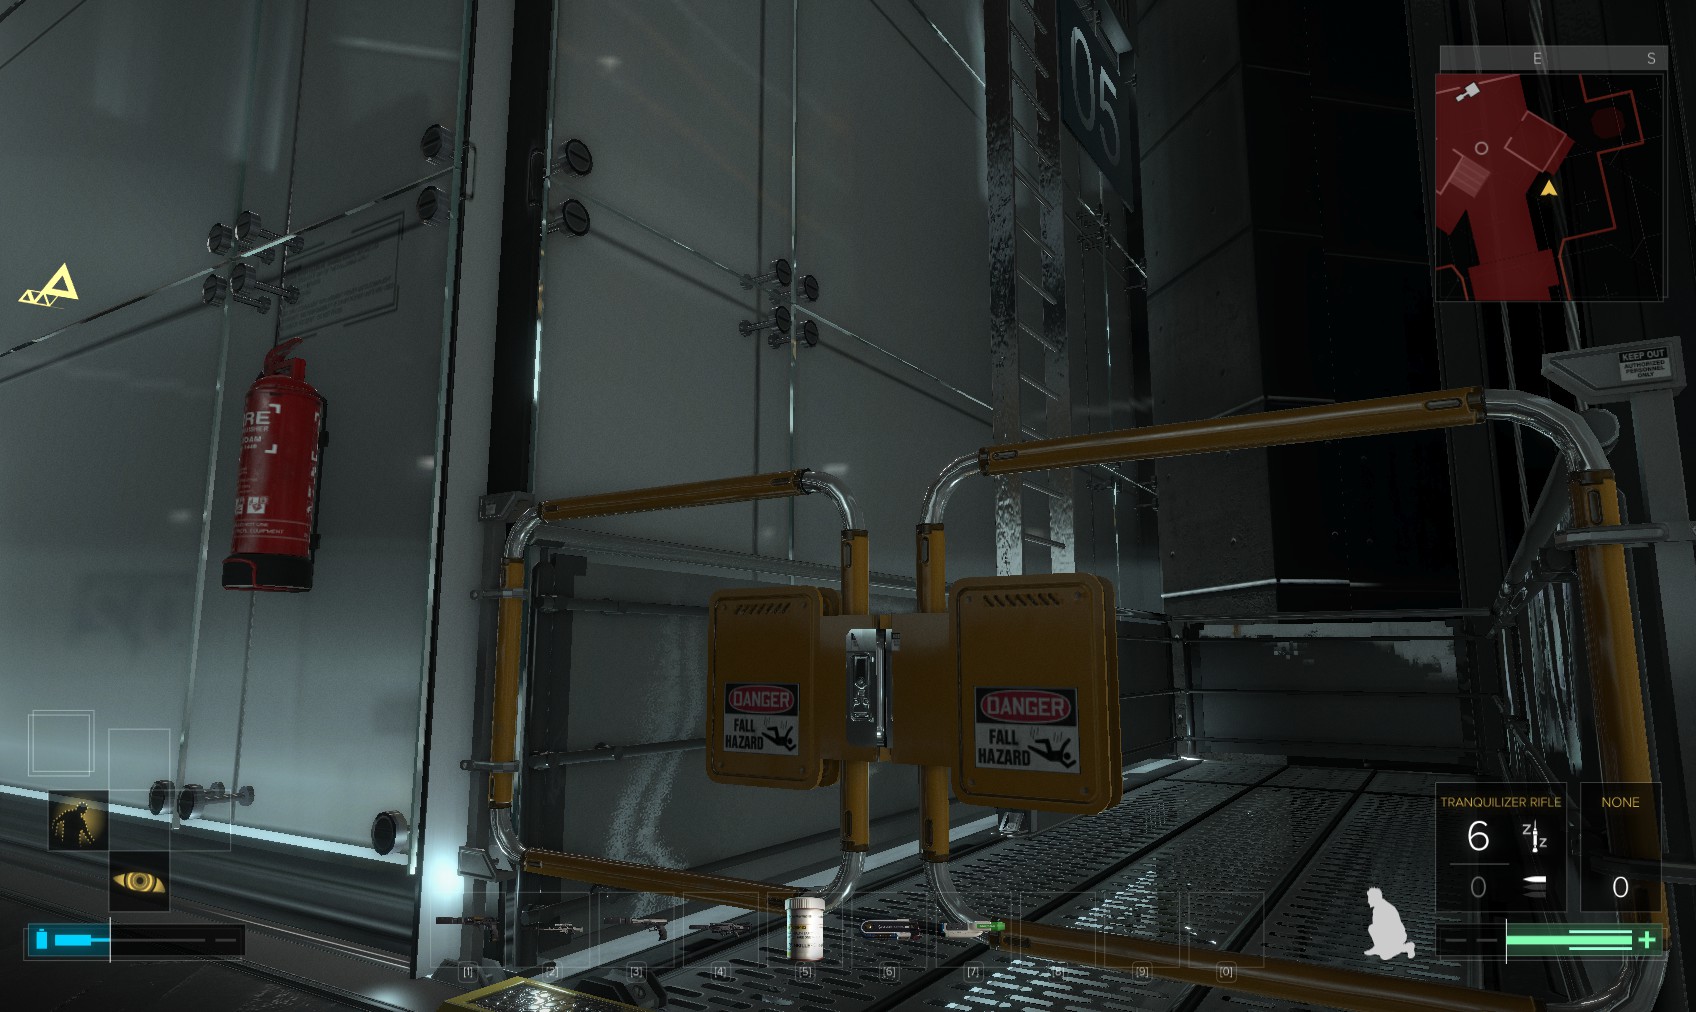
84. Jump over this gate and climb the ladder.
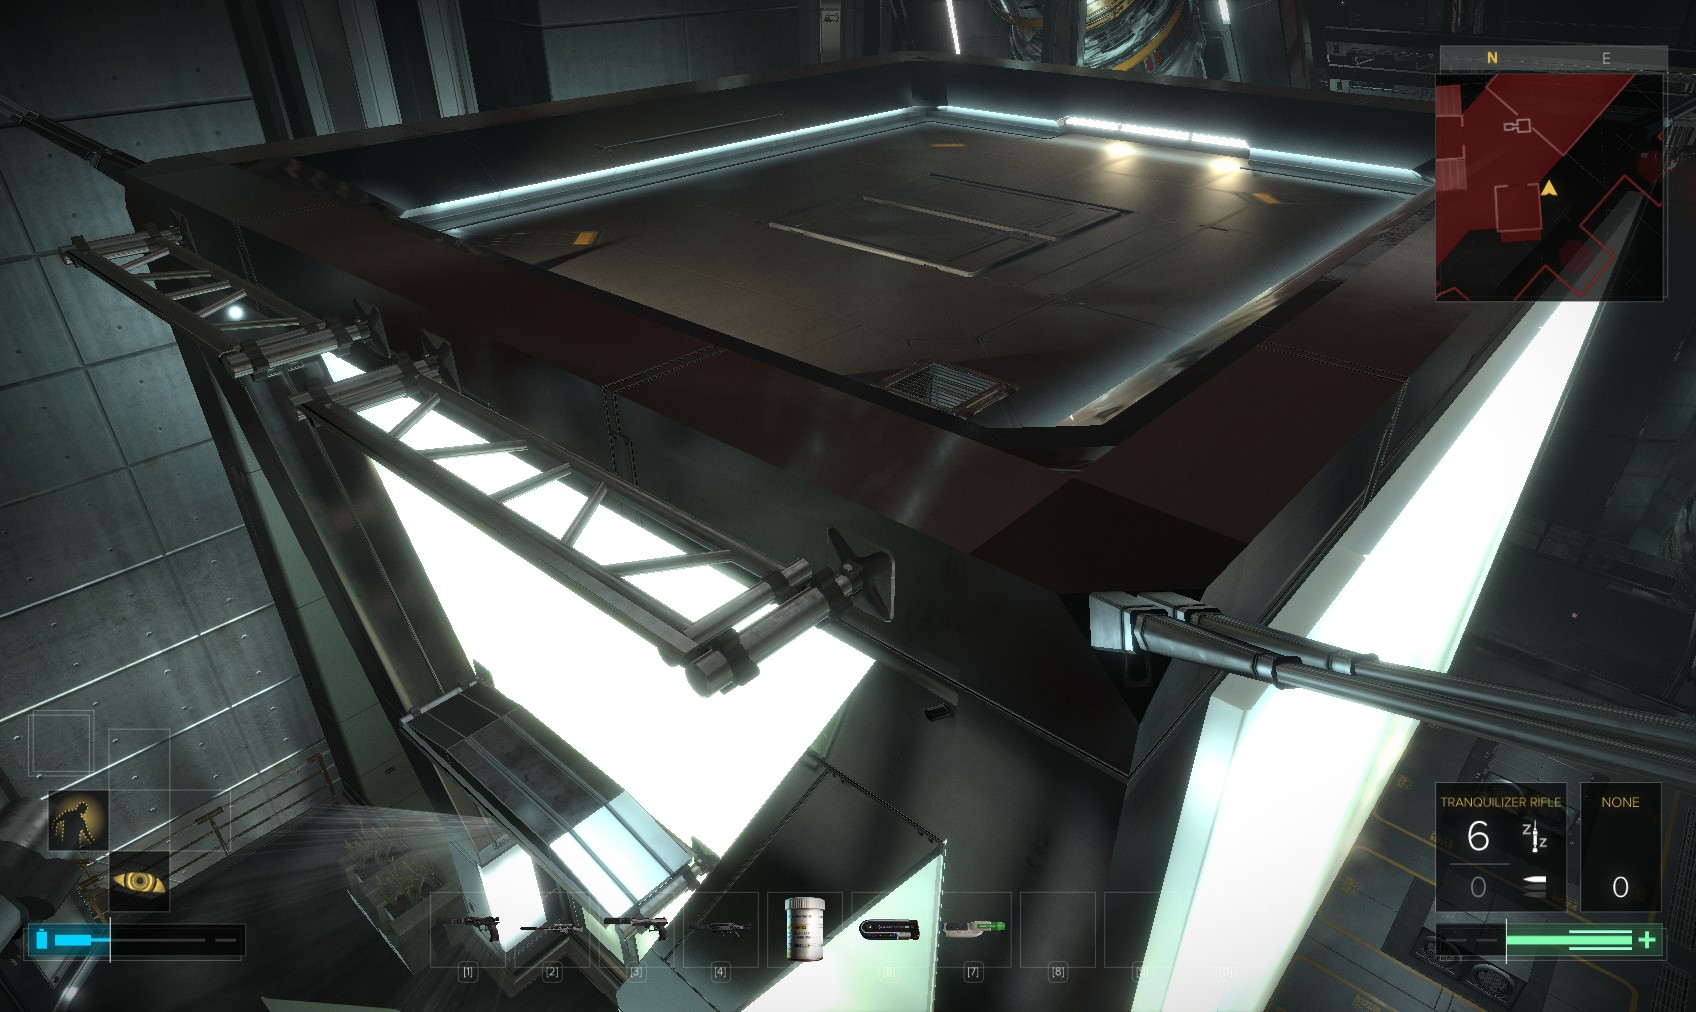
85. Jump over onto the roof of the suspended office for a 200XP explorer bonus. Drop down the vent.
86. In the office, a level 1 security console (200XP) lets you disable the turret outside. A level 5 safe is an extremely tough hack for 300XP for a revolver and ammo. The level 1 PC is also a tough hack for a stop worm. Read the emails for more disturbing details on the attitude to security.
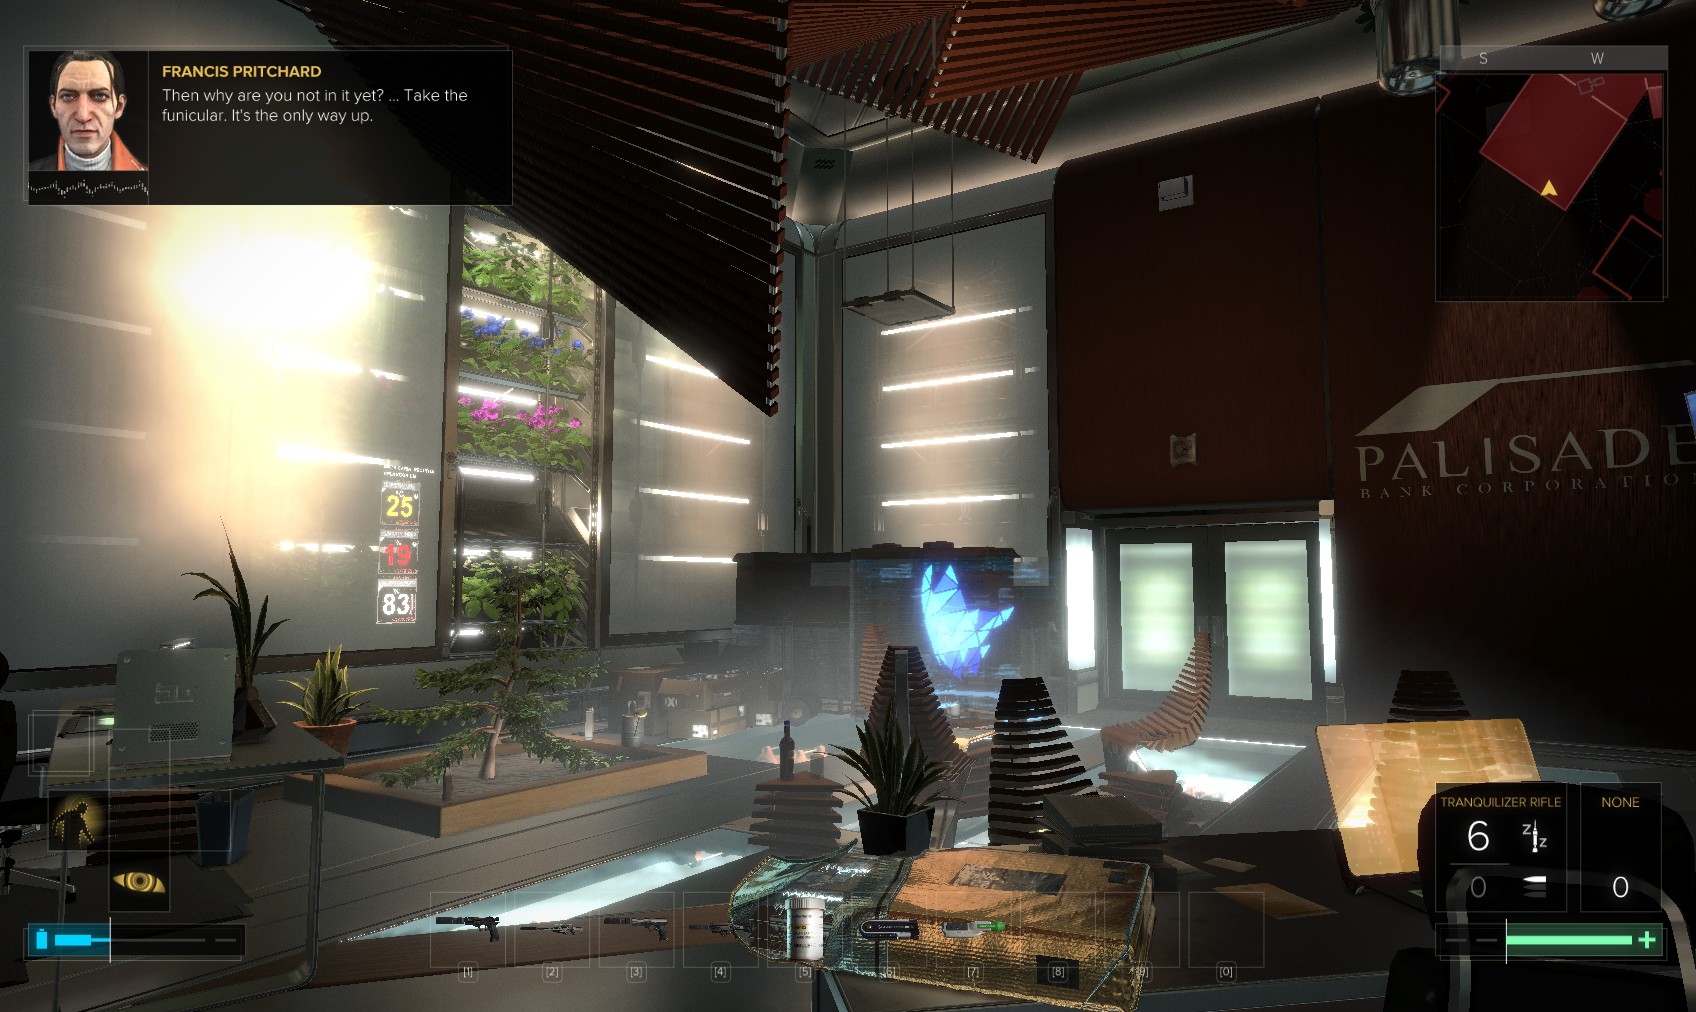
87. You also learn more about Simona Saridakis's death, along with the right server number for Pritchard’s pass-port. On to the next thing - ride the funicular up to the main server chambers. Having disabled the turret outside, you can exit via the front door.
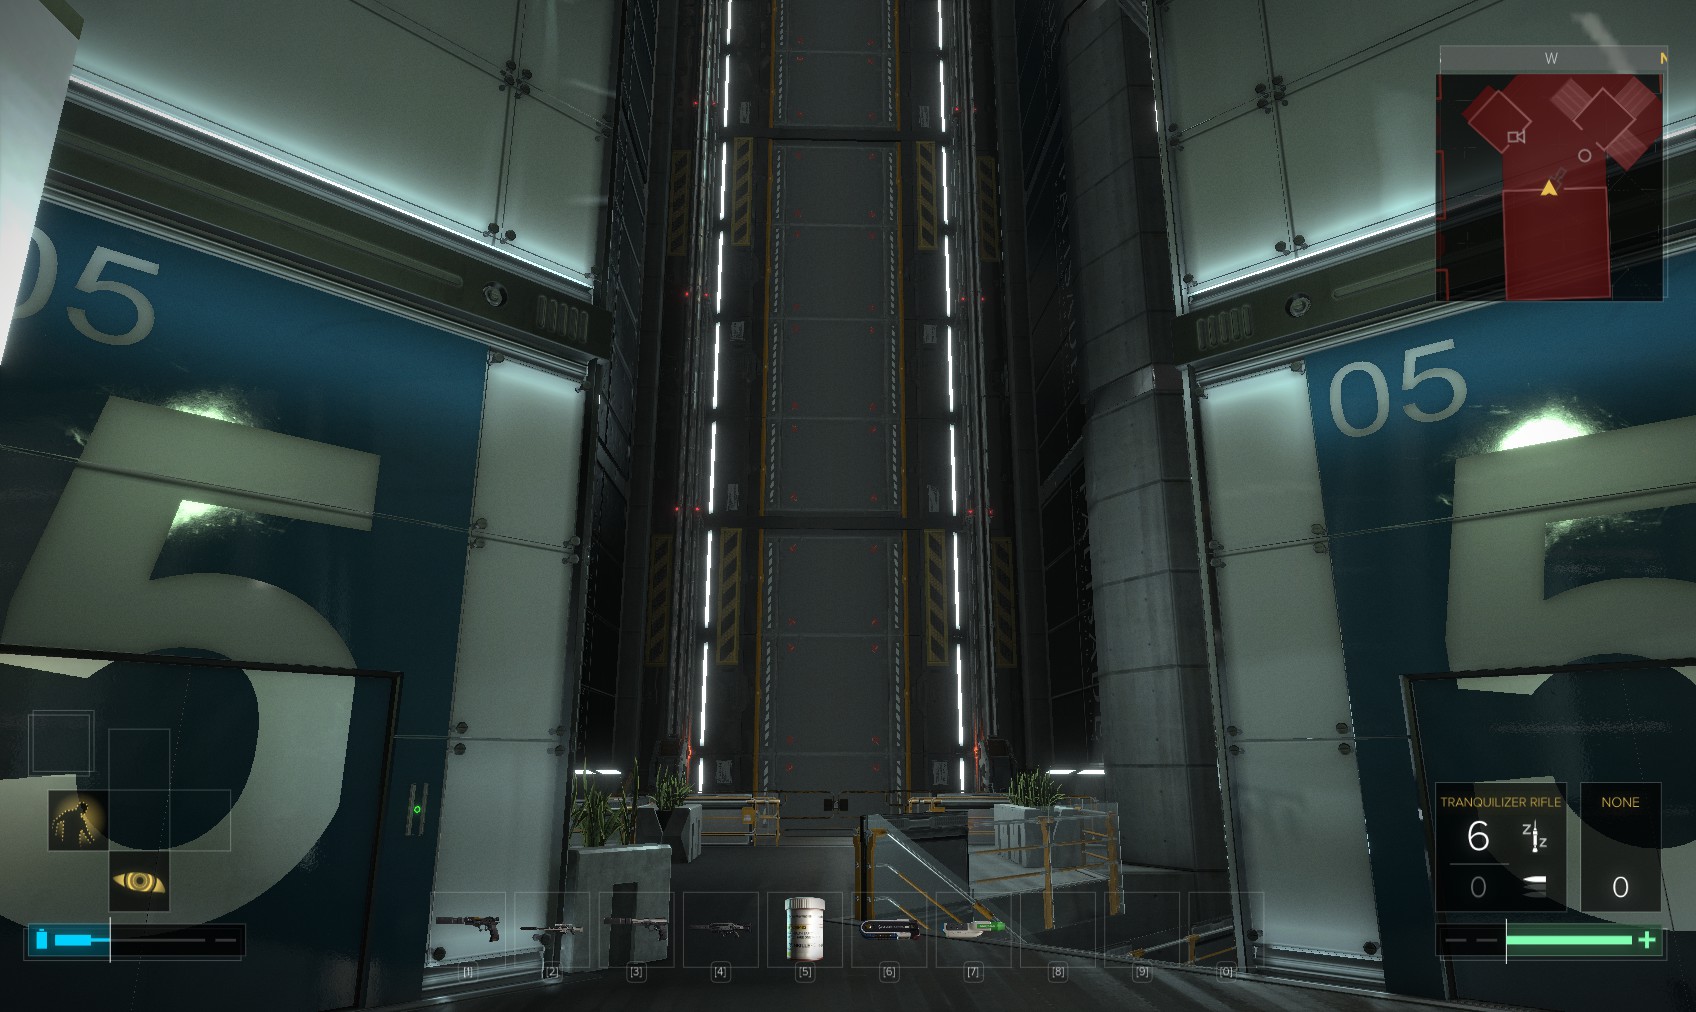
88. The funicular is almost directly opposite.
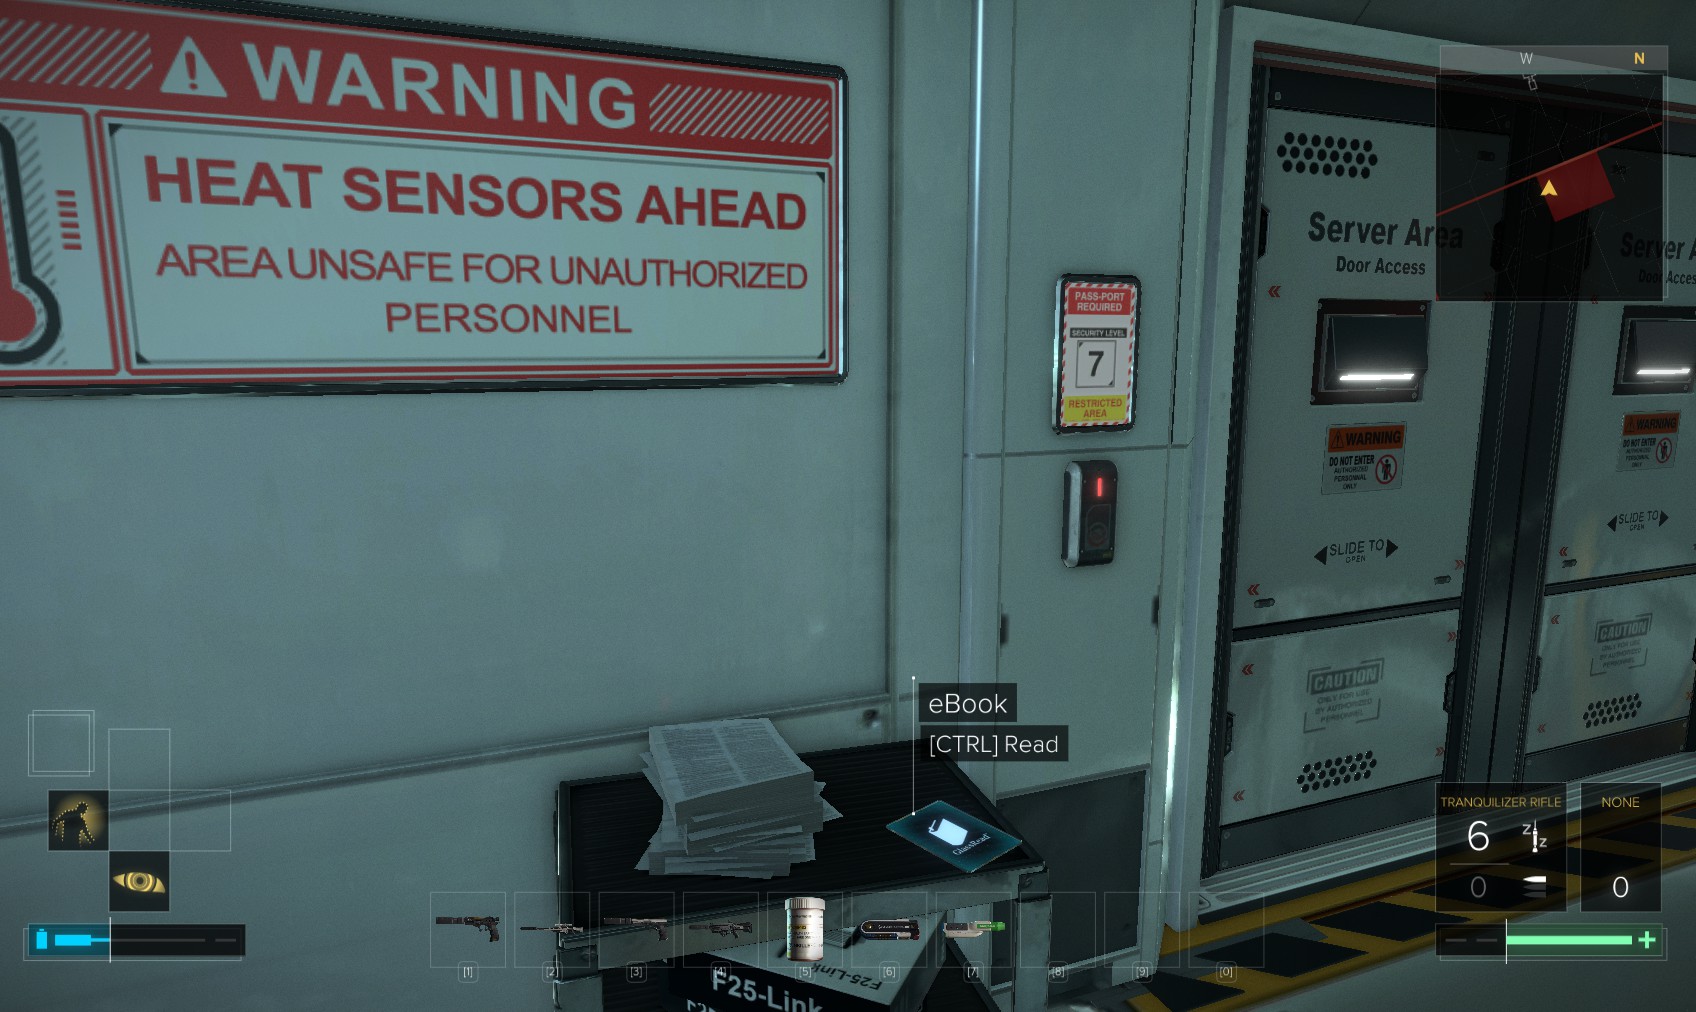
89. At the top, read this eBook to learn a little about the security systems inside, before using the pass-port to open the door. "HeatEye Sensors"
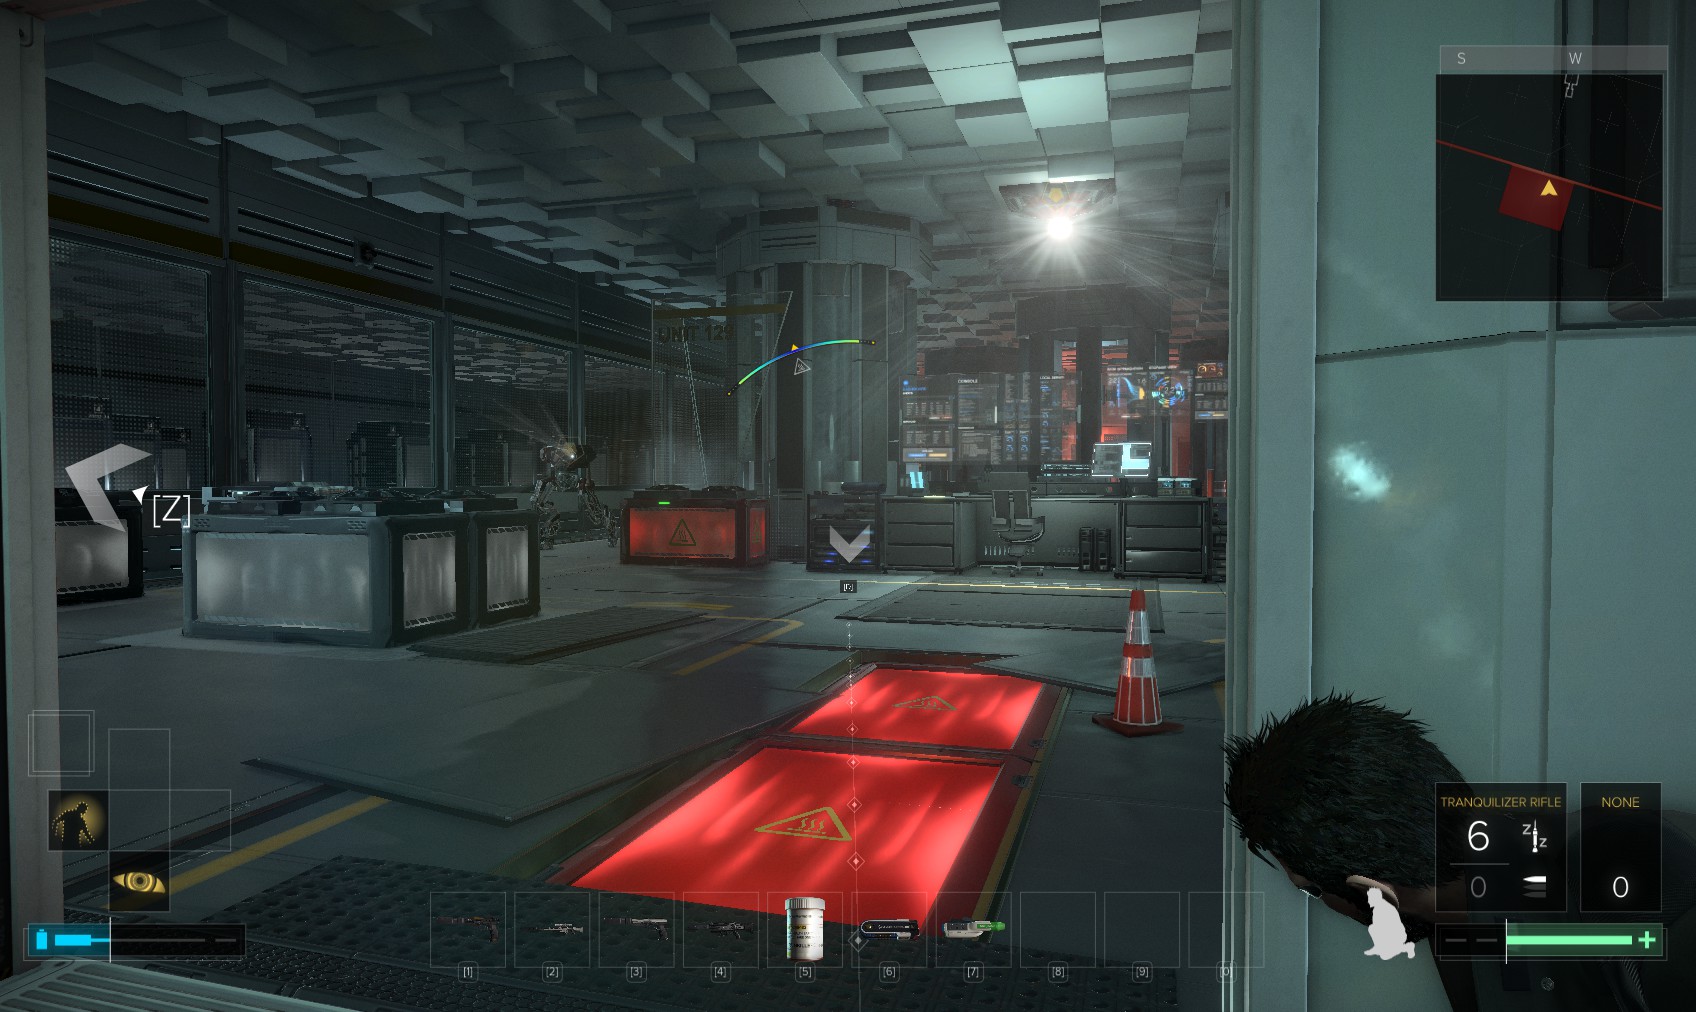
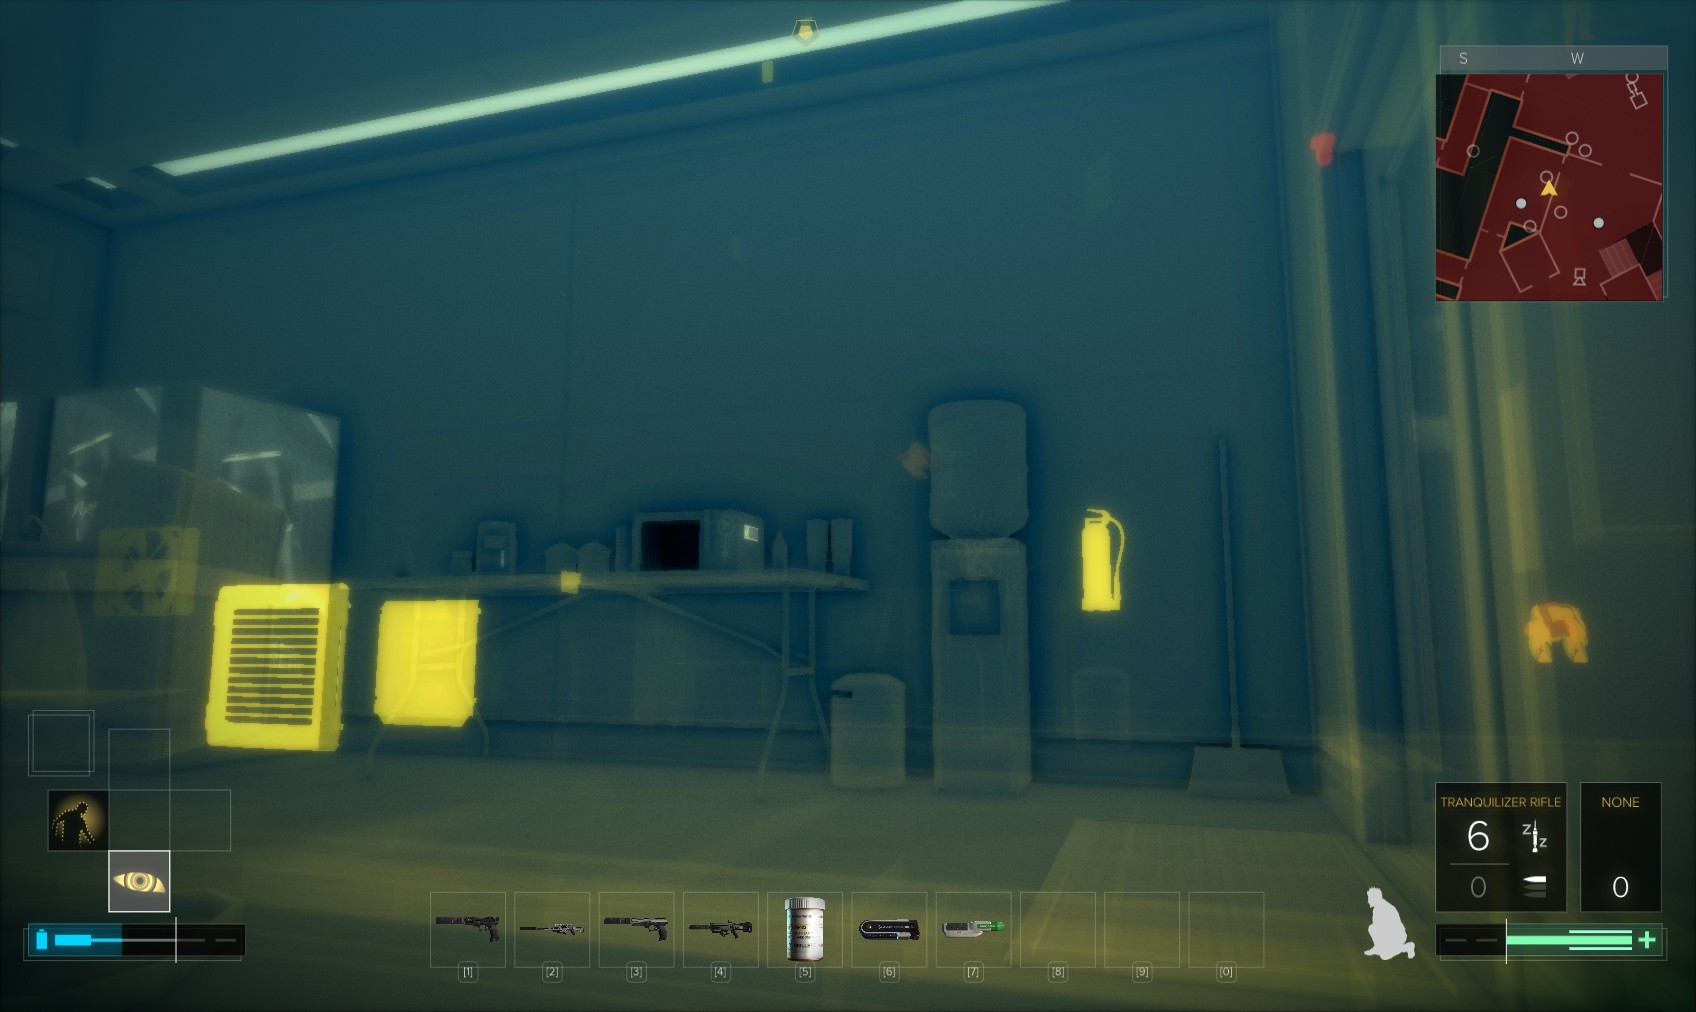
90. It took me a while to realise that the cameras and robots only use heat detection, and are unable to detect you when you are on or in cover against one of the heated areas (in red).
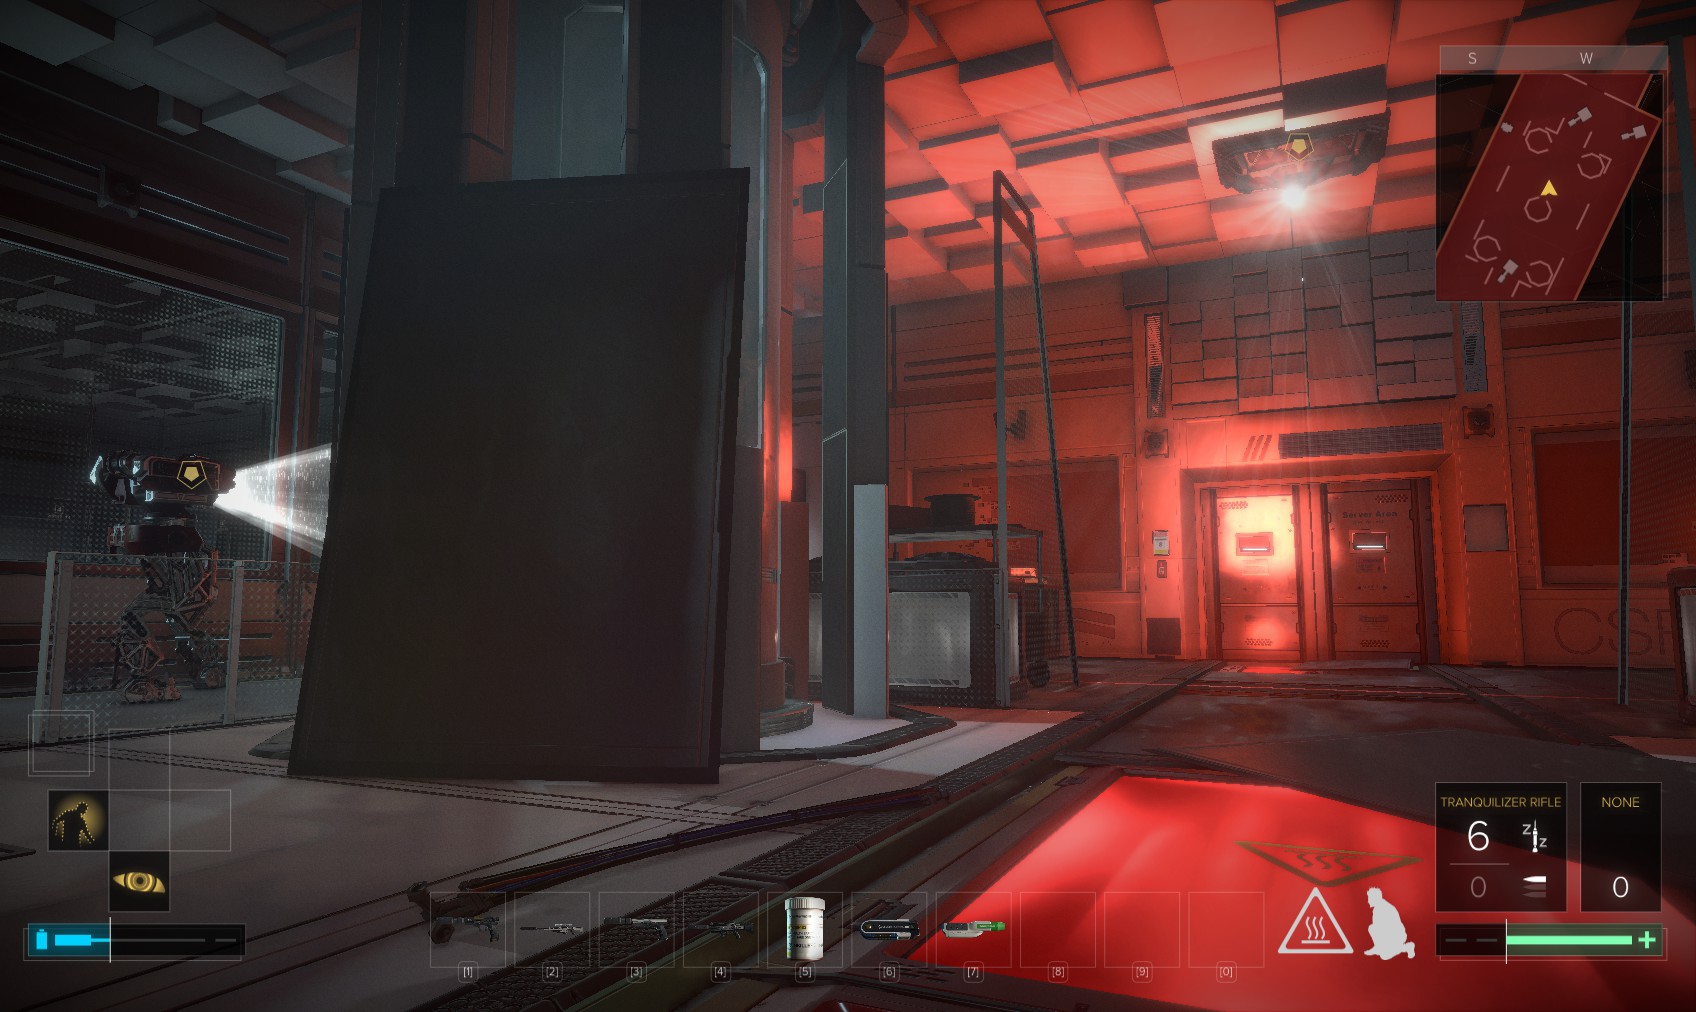
91. Remaining undetected is therefore just a matter of timing. Head through the door at the far end when the cameras and roaming robot aren’t looking your way.
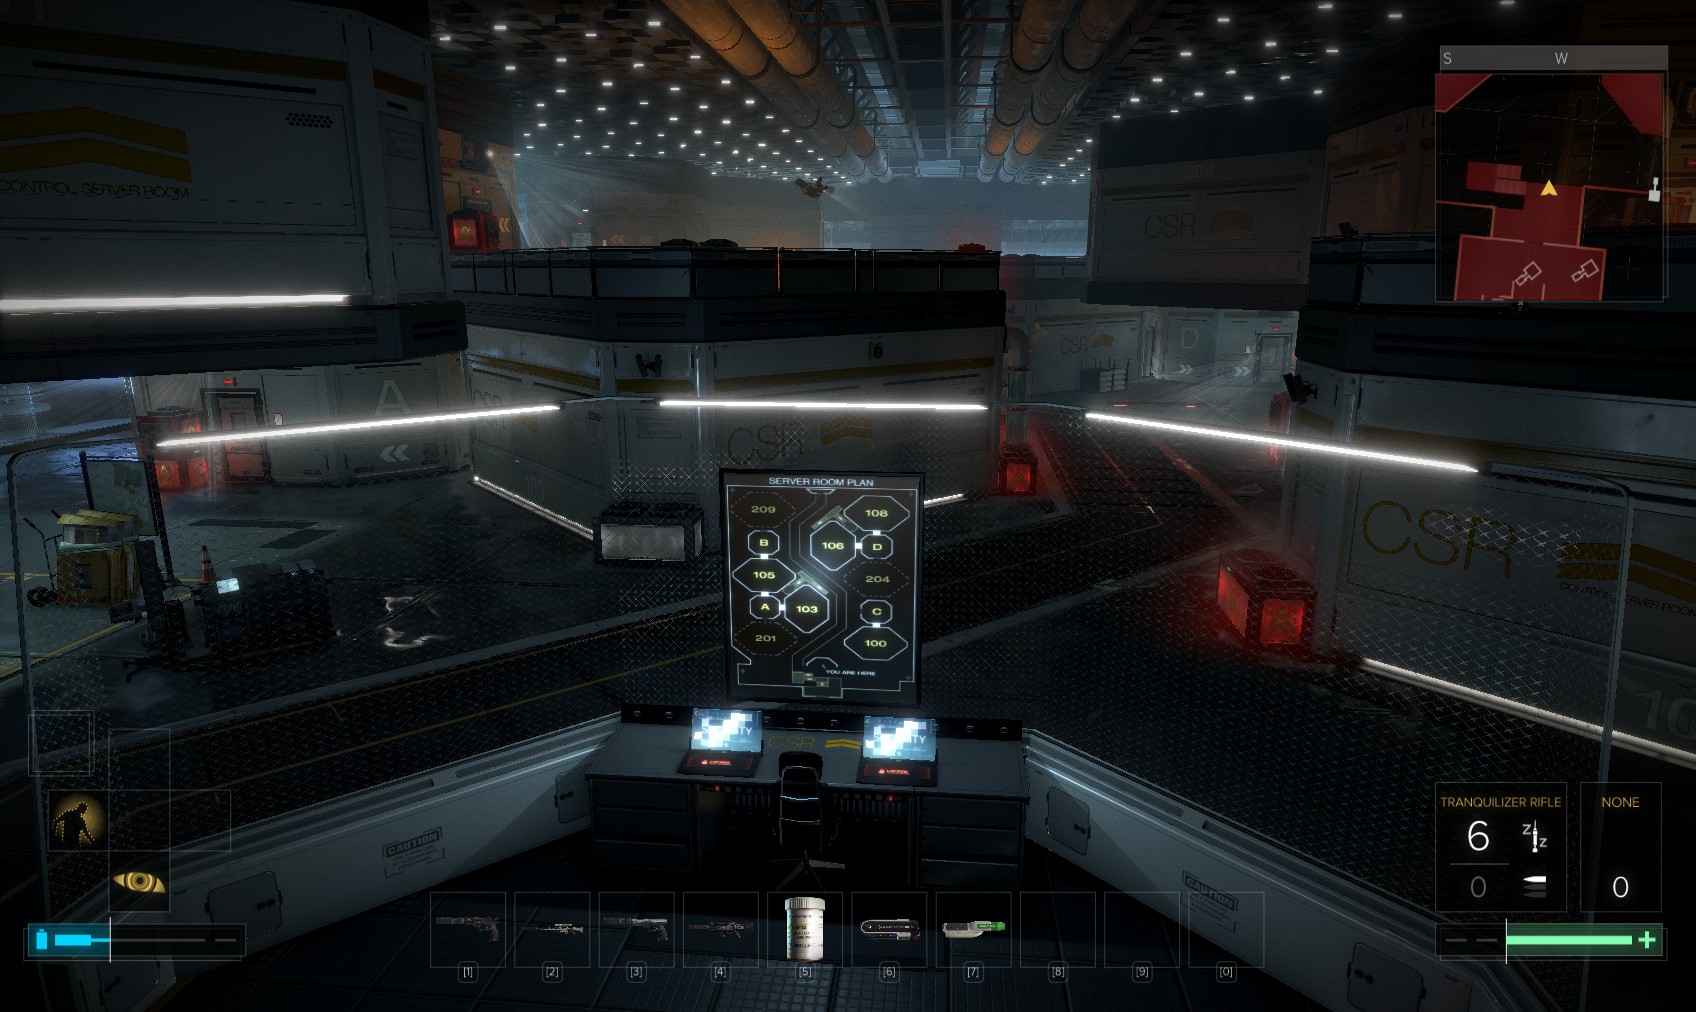
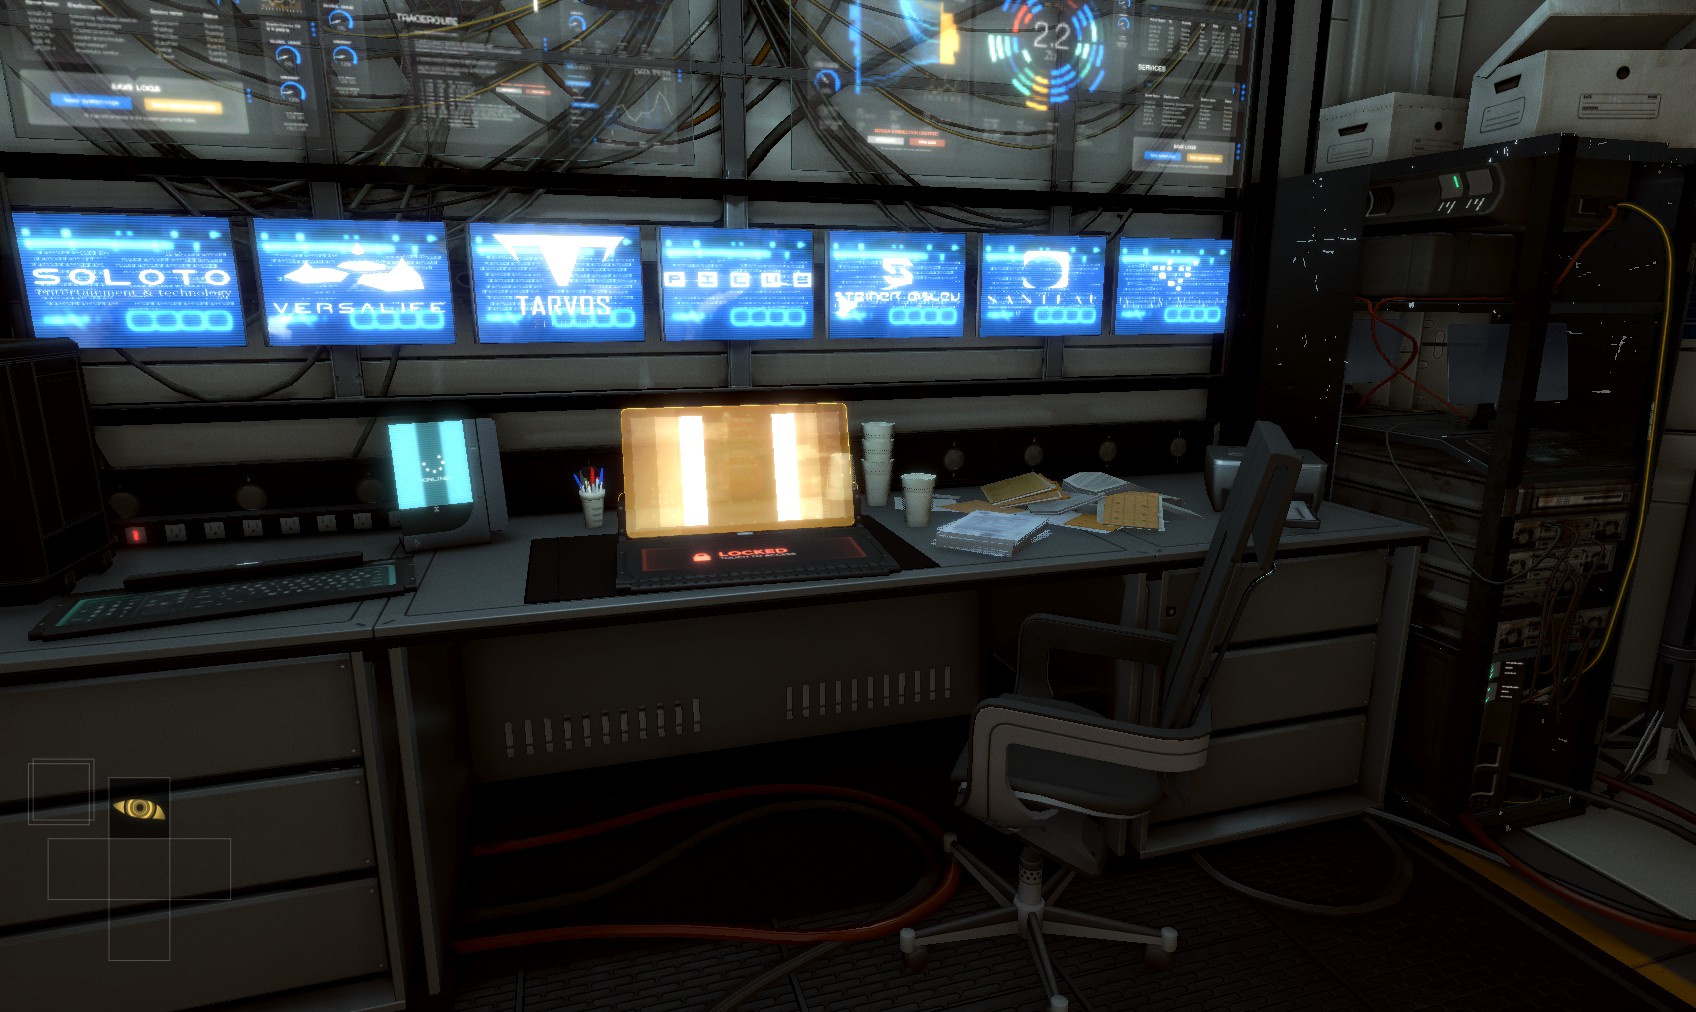
92. This is the server room. The security looks formidable, but you can disable it all using the 2 level 3 consoles visible below. Upgrade your hacking skills to control robots and turrets if you haven’t already. The left hand one gets you 200XP, the right hand one 300XP, plus overclock and reveal software.

93. Disable everything and open 6 doors. From this point in, there are only automated security systems, which means you can set turrets and drones to friendly fire for fun. Careful what order you re-enable stuff to track intruders if you do, because the systems will start to fight each other (setting an alarm state) if you’re careless. You’re now free to move around and hunt for hacking tools and other items.
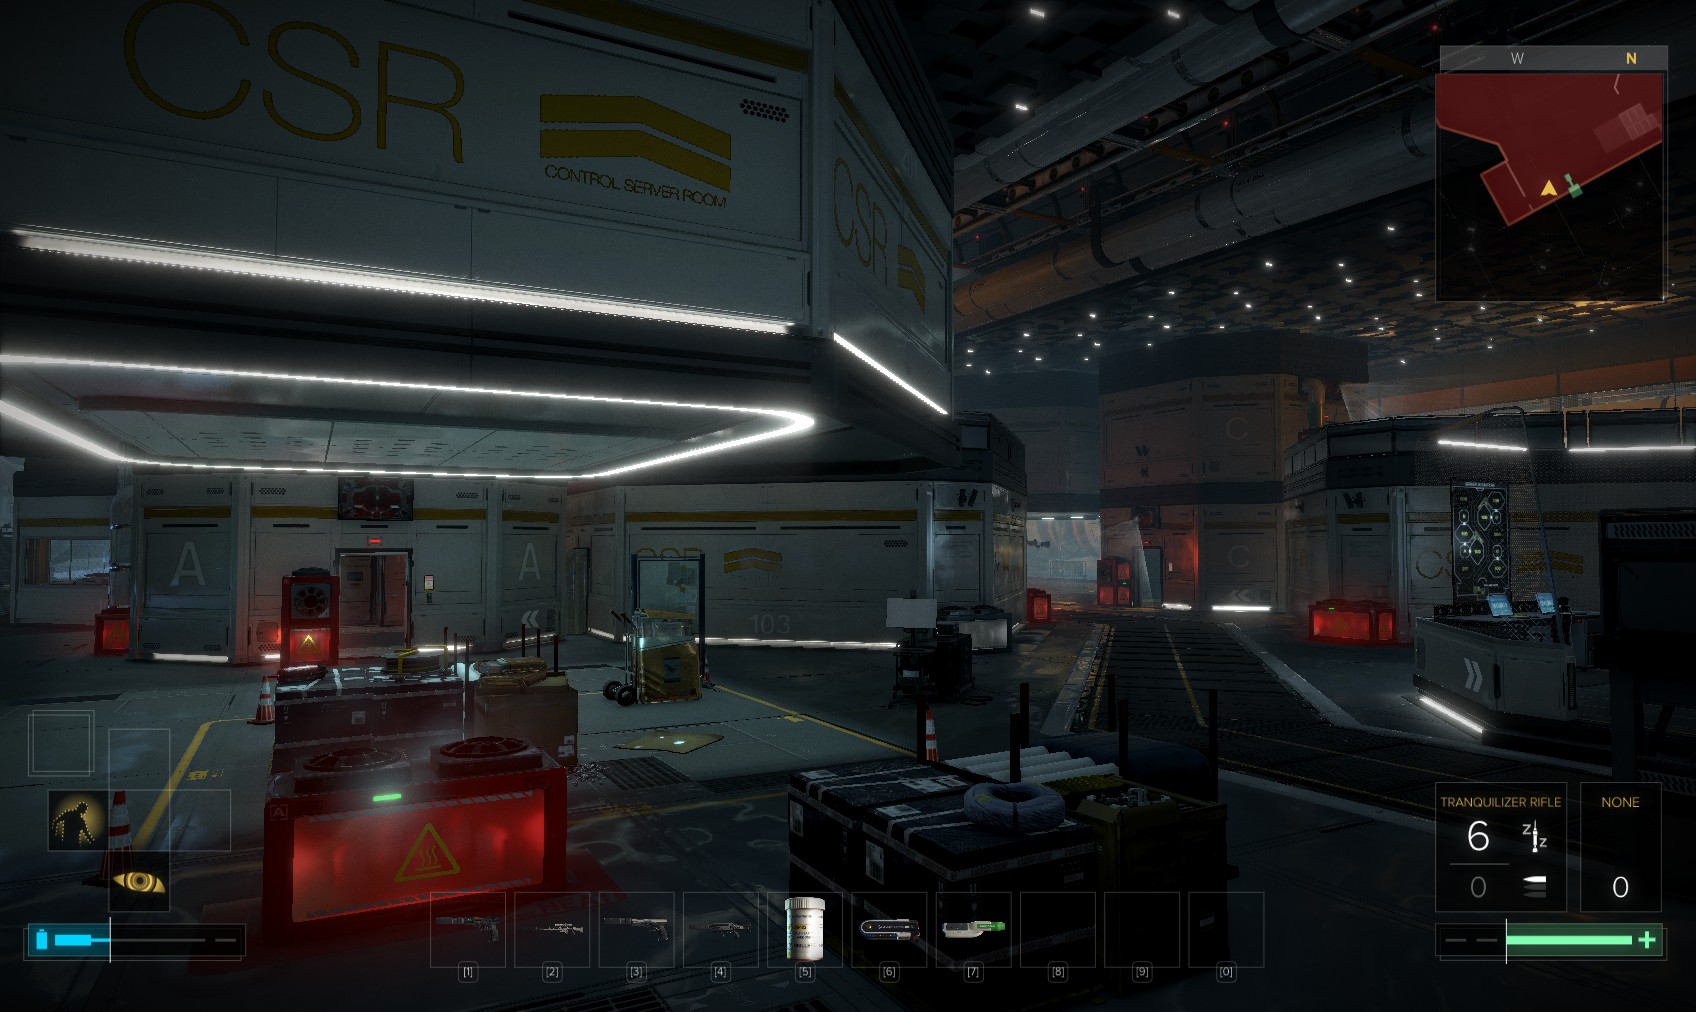
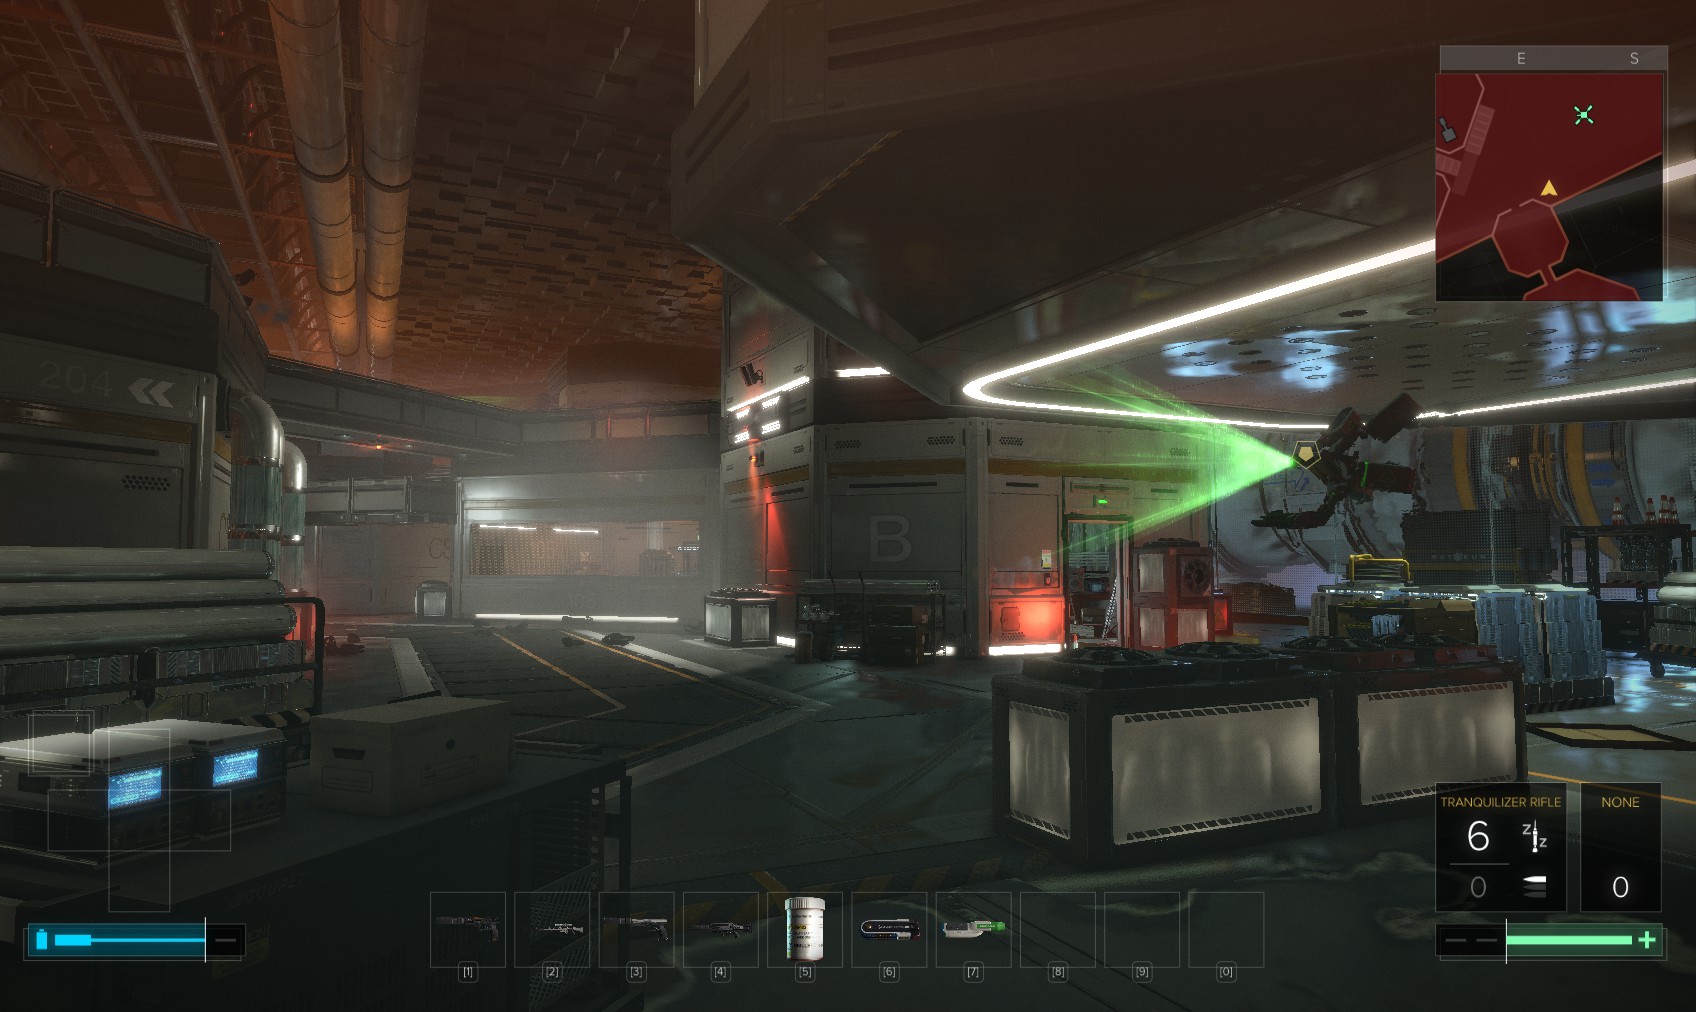
94. There are a number of chambers to investigate. We’ll start with the one on the lower floor’s left side labelled 'A'.

95. Mucking around in these rooms isn’t mandatory, and doesn’t get you anything special. Each room like this has laser, turret, and other hazards.
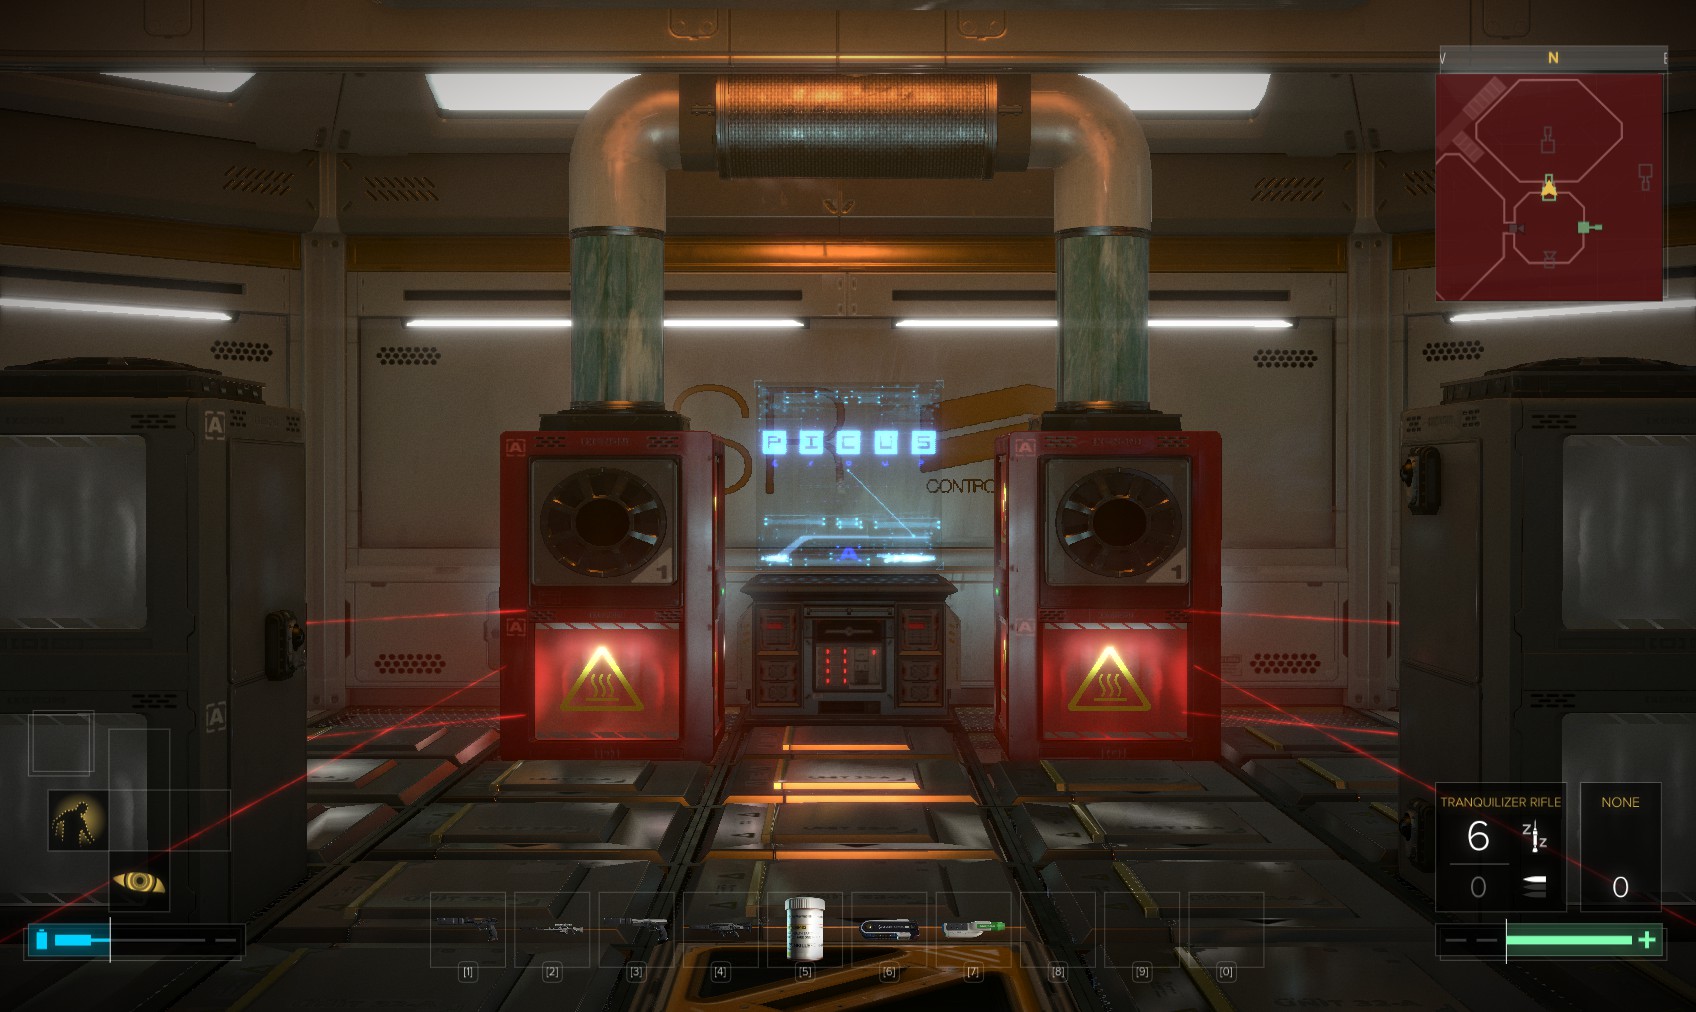
96. This one belongs to Picus. I’ll leave you to discover the others. Only 2 server rooms are required - the Santeau terminal, and chamber 209 as part of investigating the death of Simona Saridakis. Some get you a 200XP explorer bonus (chambers 100 in block C, 106 and 108 in Block D, 201 in block A).
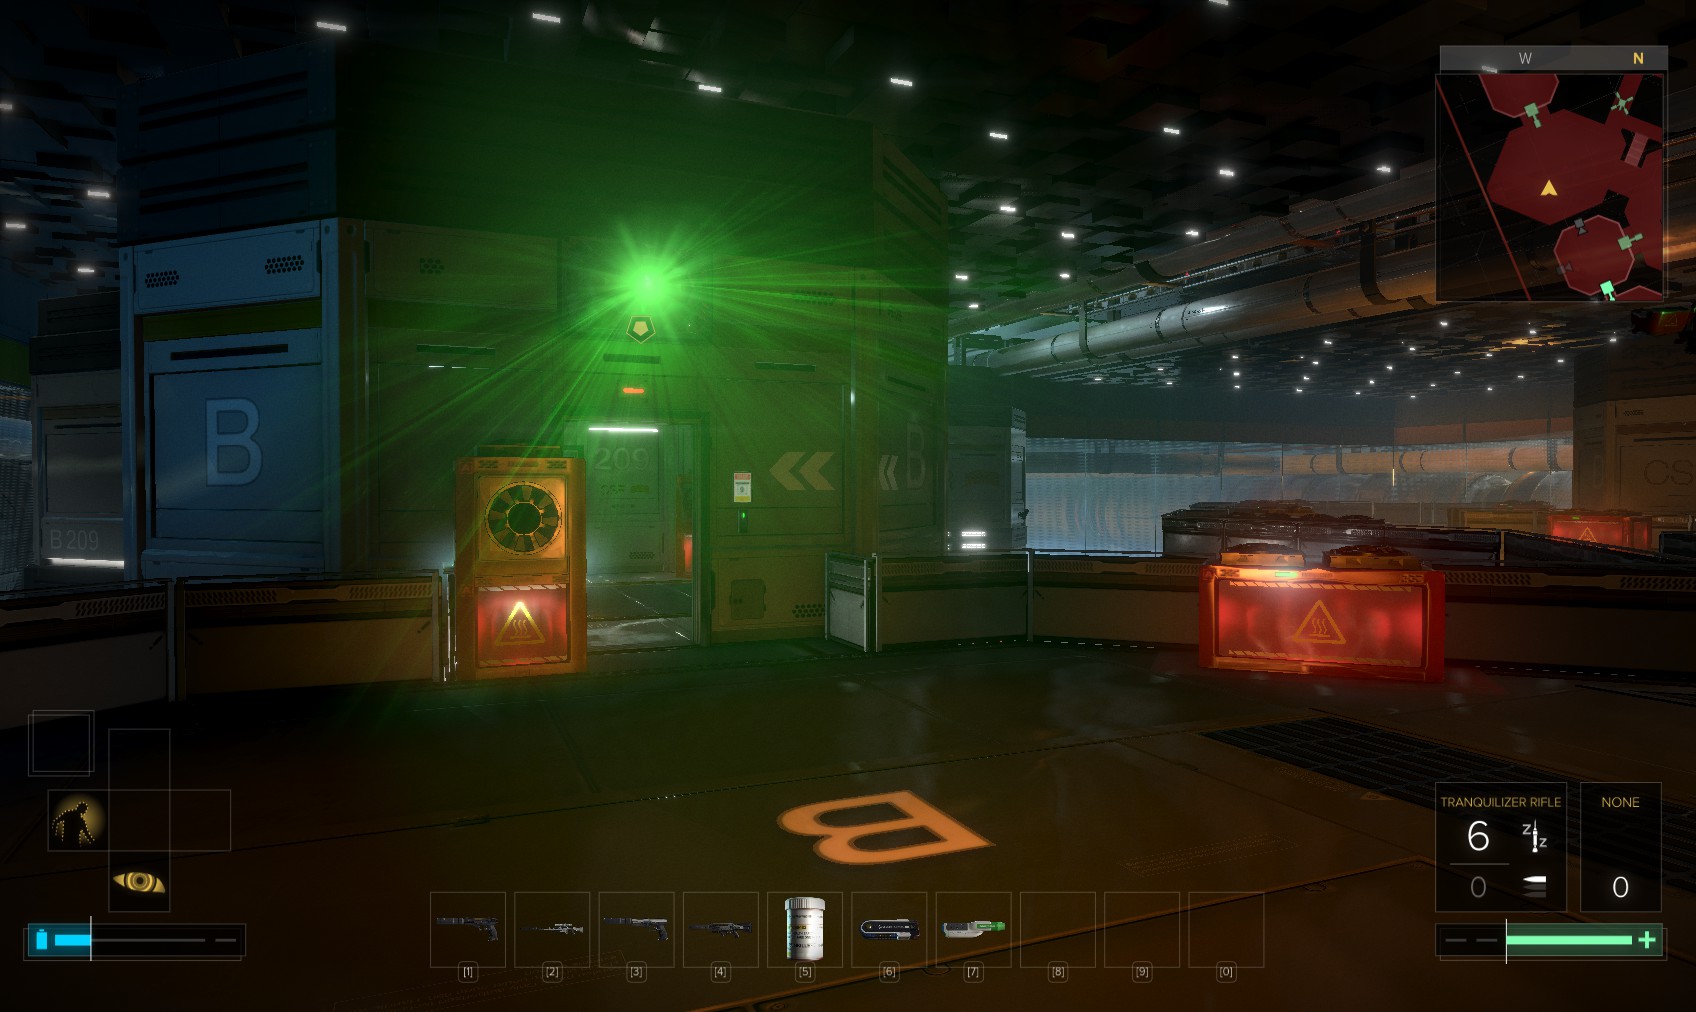
97. First up, I investigate chamber 209, on the upper level in block B. On the right through the door is a valve to disable the gas that’s filling the chamber.

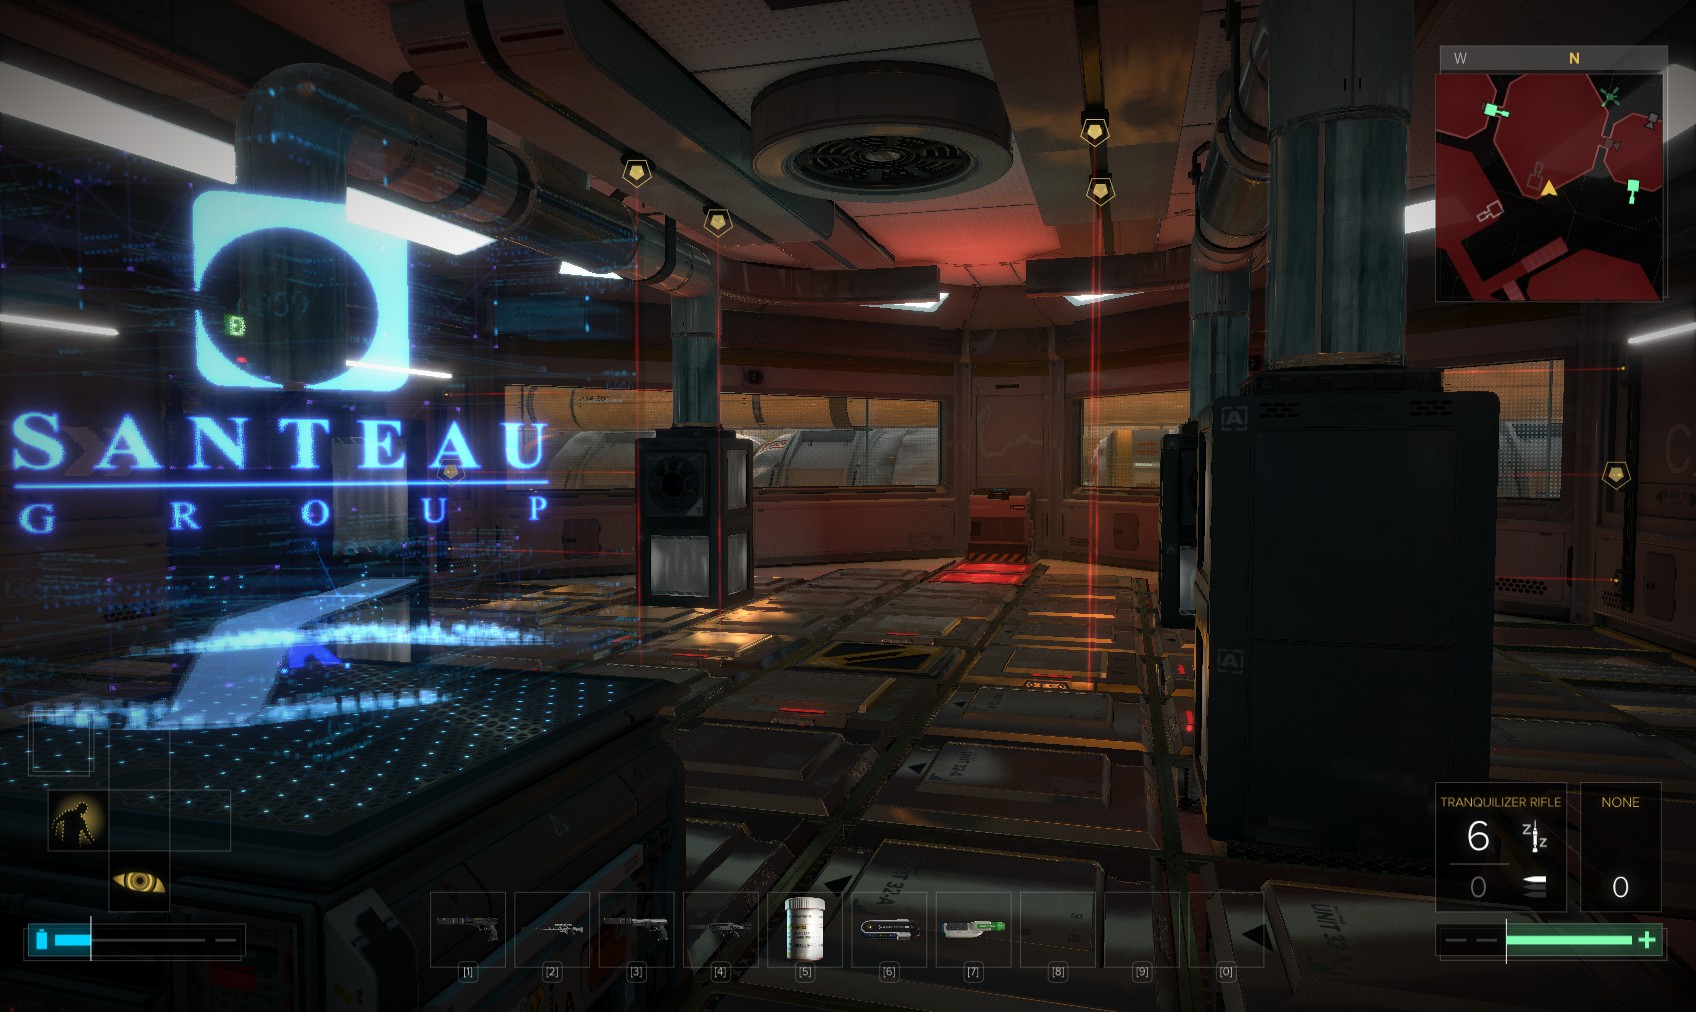
98. This chamber also gets the 200XP explorer bonus for going in. I enable to hologram to learn it’s Tai Yong Medical’s server. Almost hidden at the back is a pocket secretary.
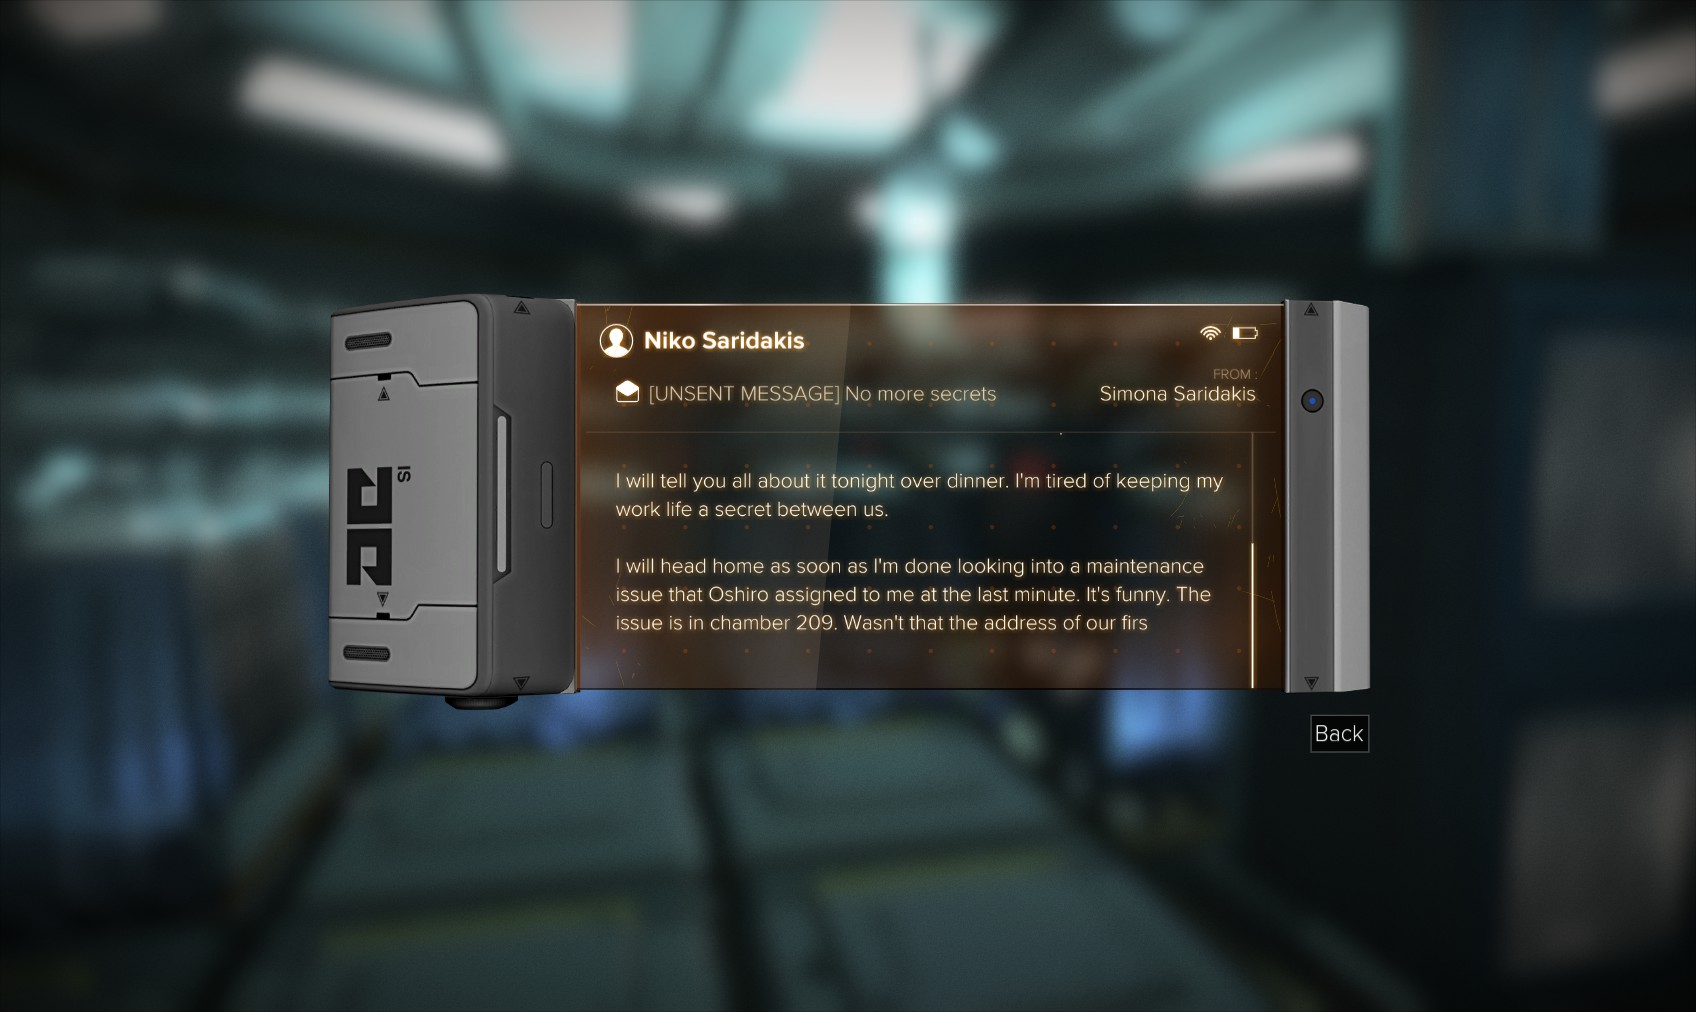
99. It’s clue number 3. The evidence mounts. On to chamber 204 in block D.
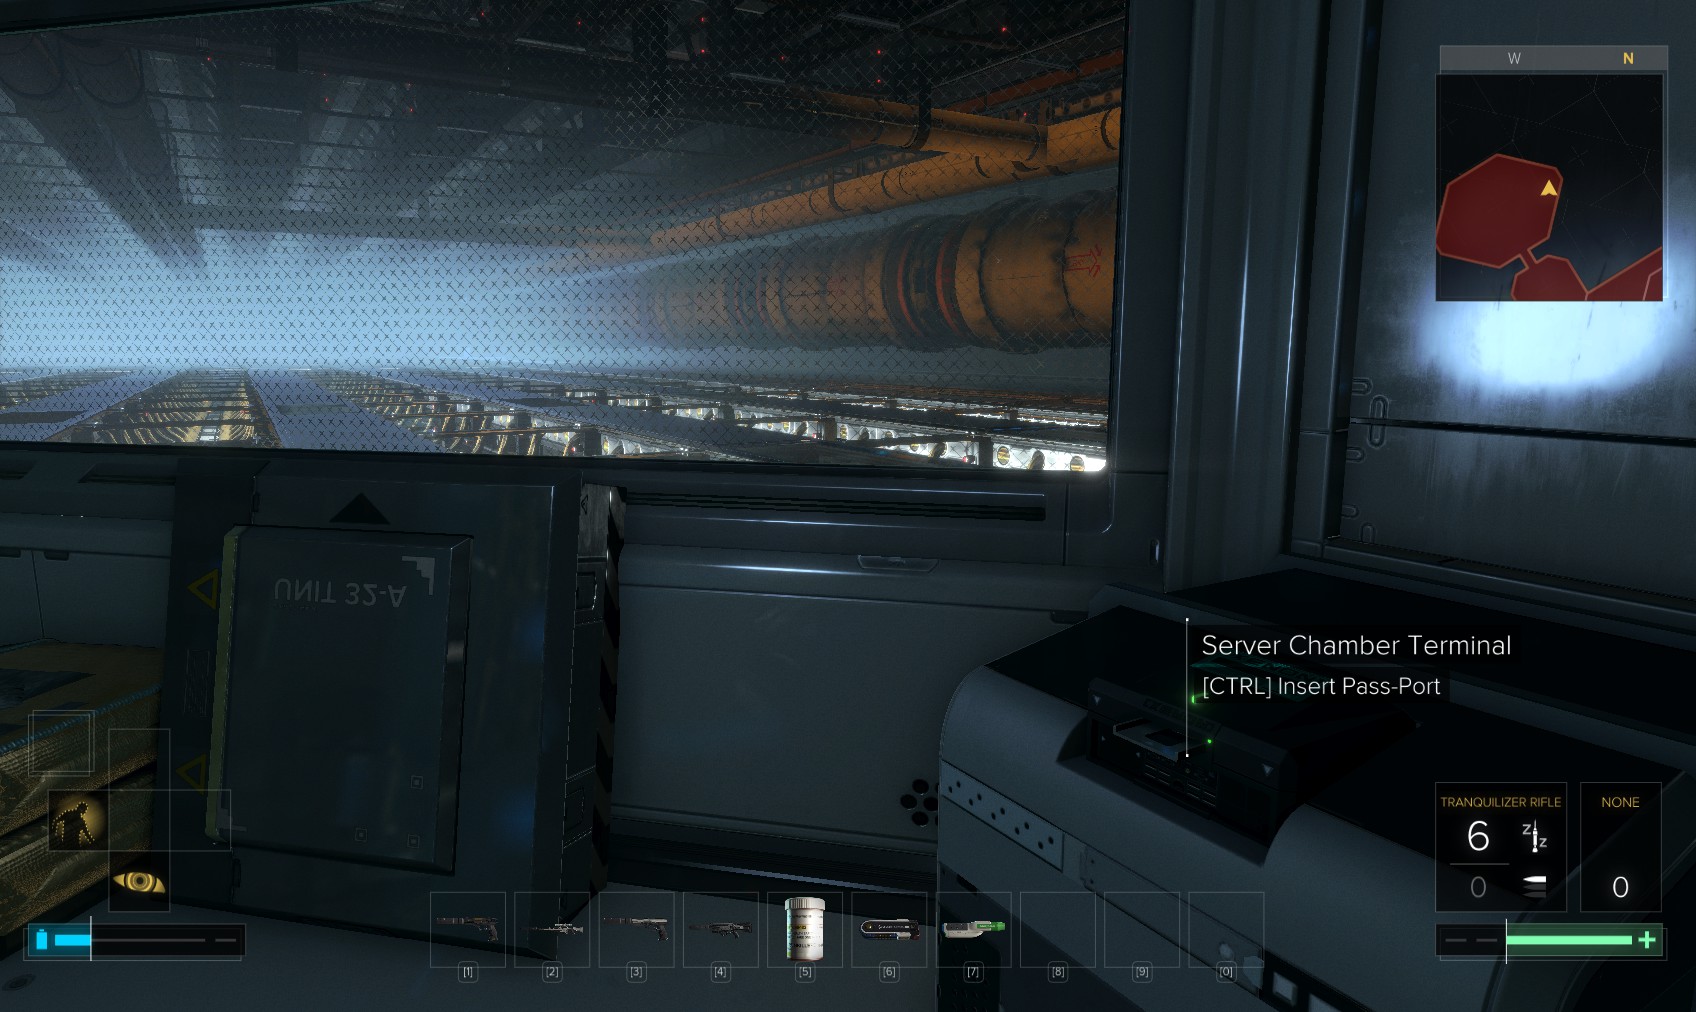
100. In here I just need to insert the pass-port into the terminal at the far side of the room whilst avoiding the lasers.
101. After the cutscene, collect the pass-port and head back downstairs.

102. The CTO’s office is pretty much at the foot of the stairs. Head inside with your upgraded pass-port.
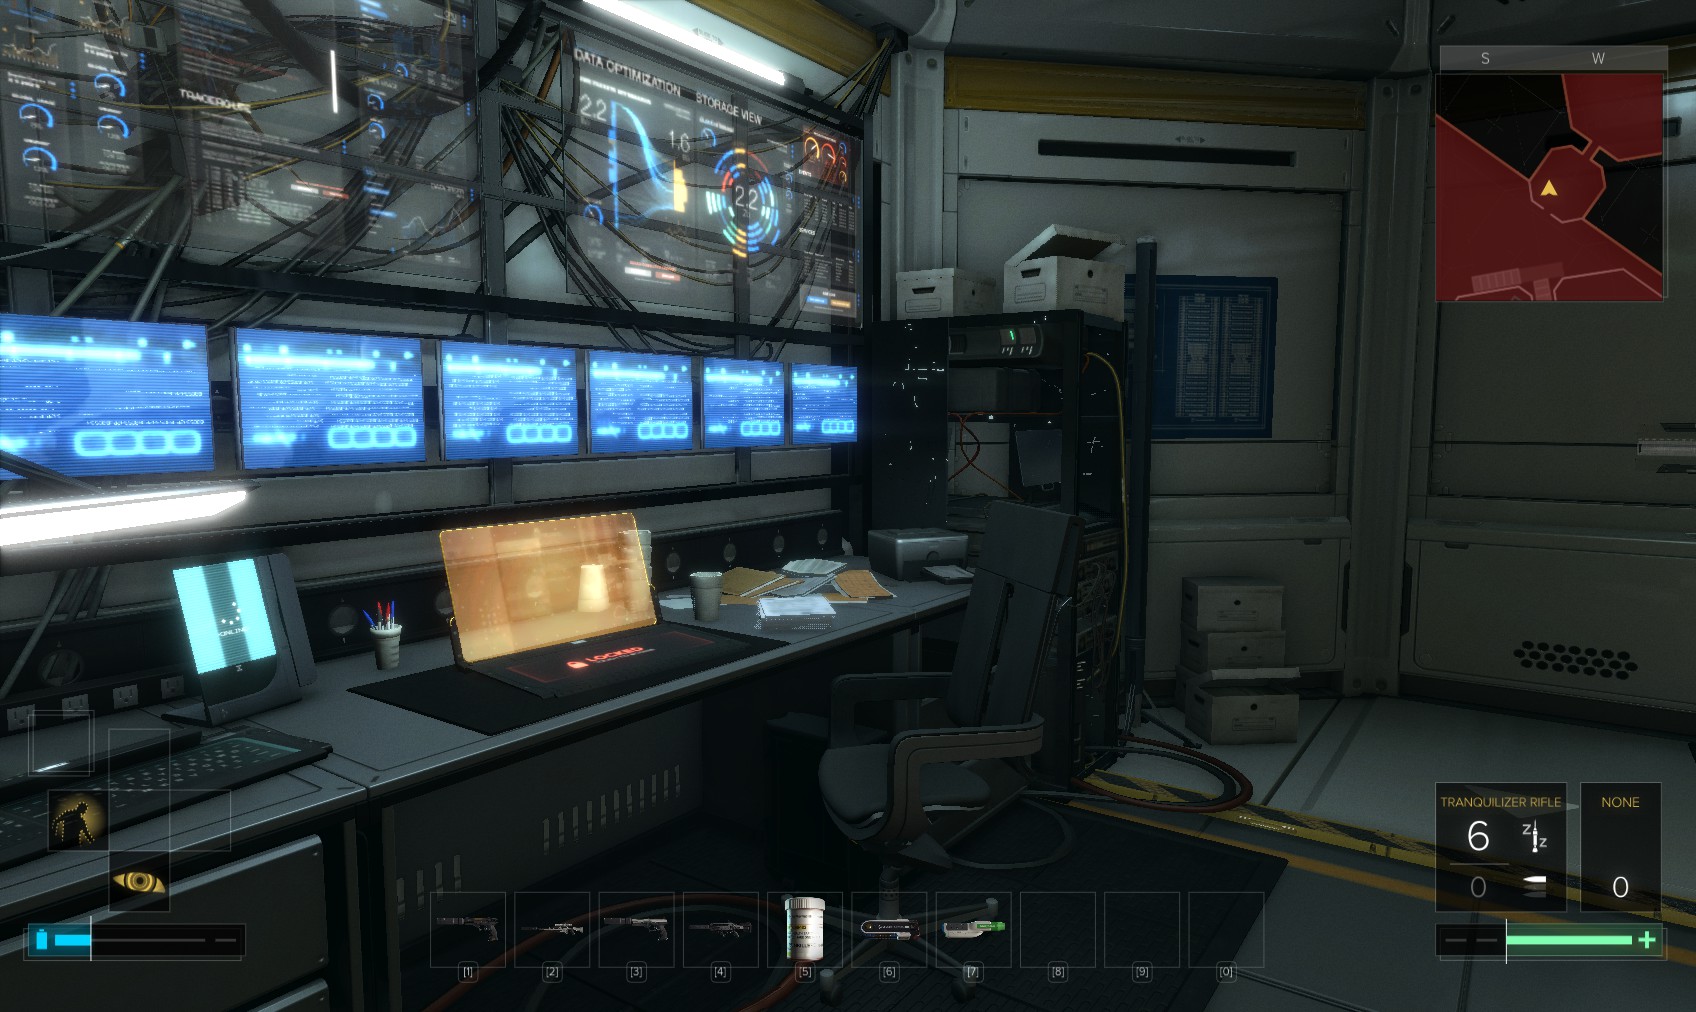
103. The laptop is level 1 for 200XP, with some background emails. On the wall is a voice-recognition panel (no penalty for just trying it out…). What you really need is a sample of Masaaki Oshiro’s voice.
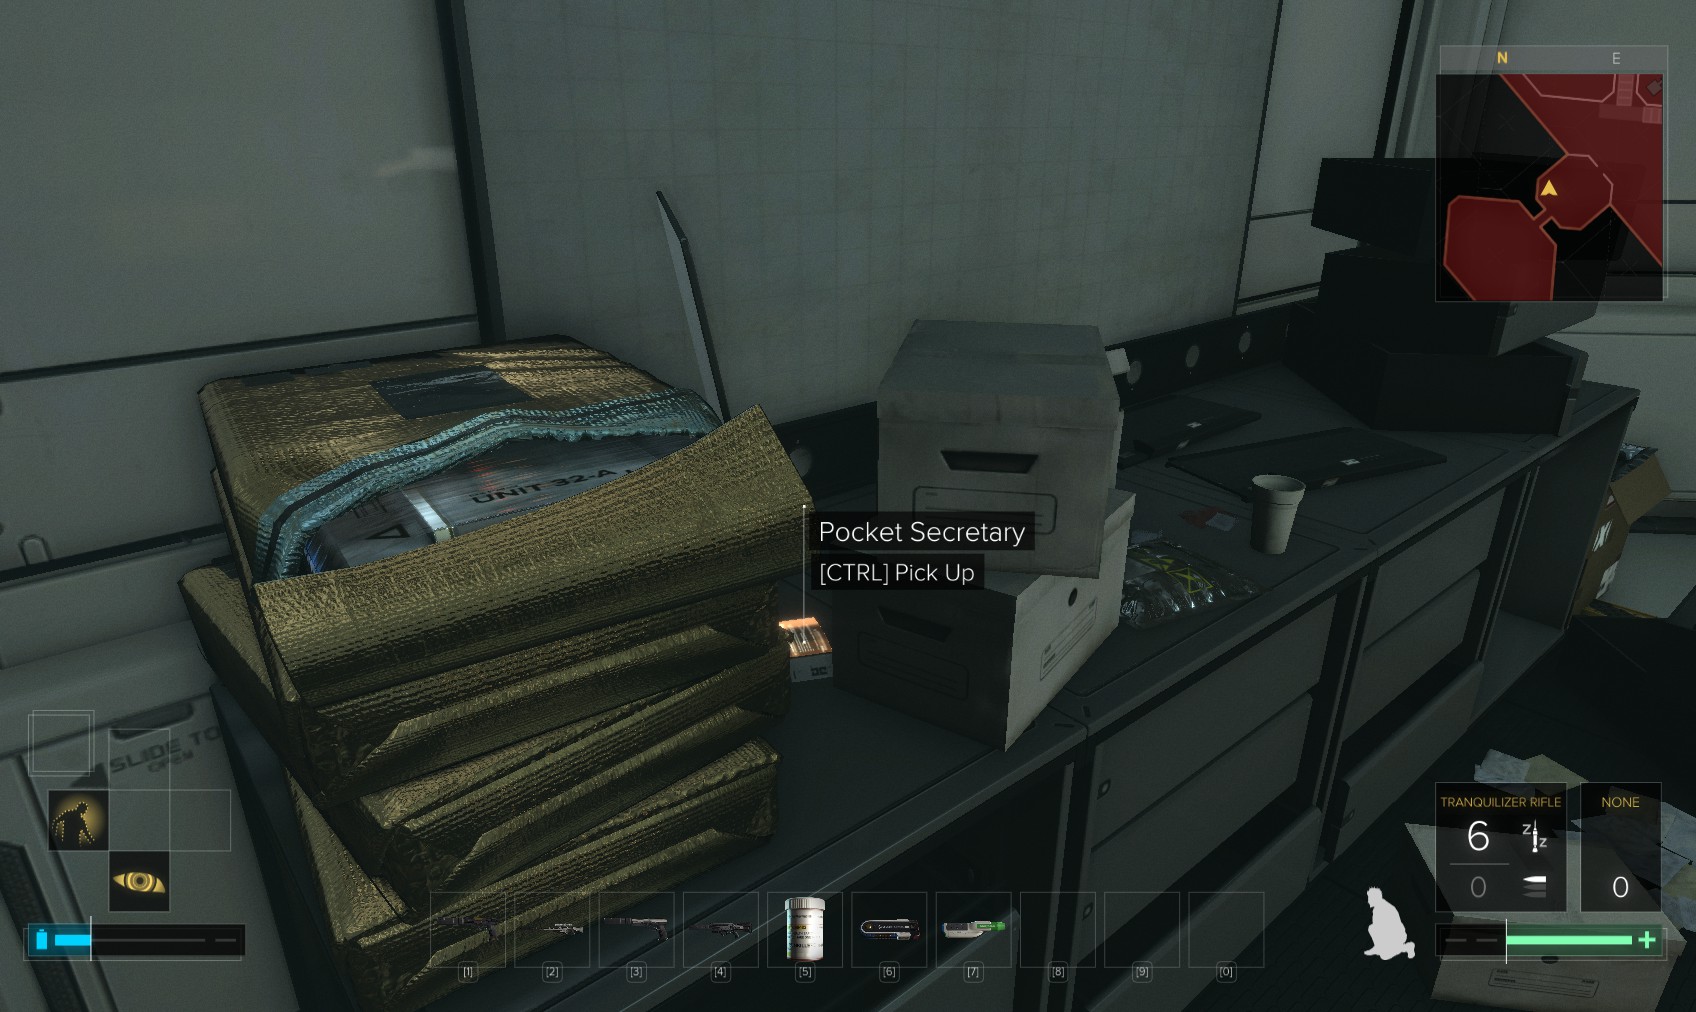
104. Almost hidden on a nearby desk is this pocket secretary. Indeed it has a sample of Oshiro speaking his name, as well as being the final piece of evidence in the investigation of Simona Saridakis' death.
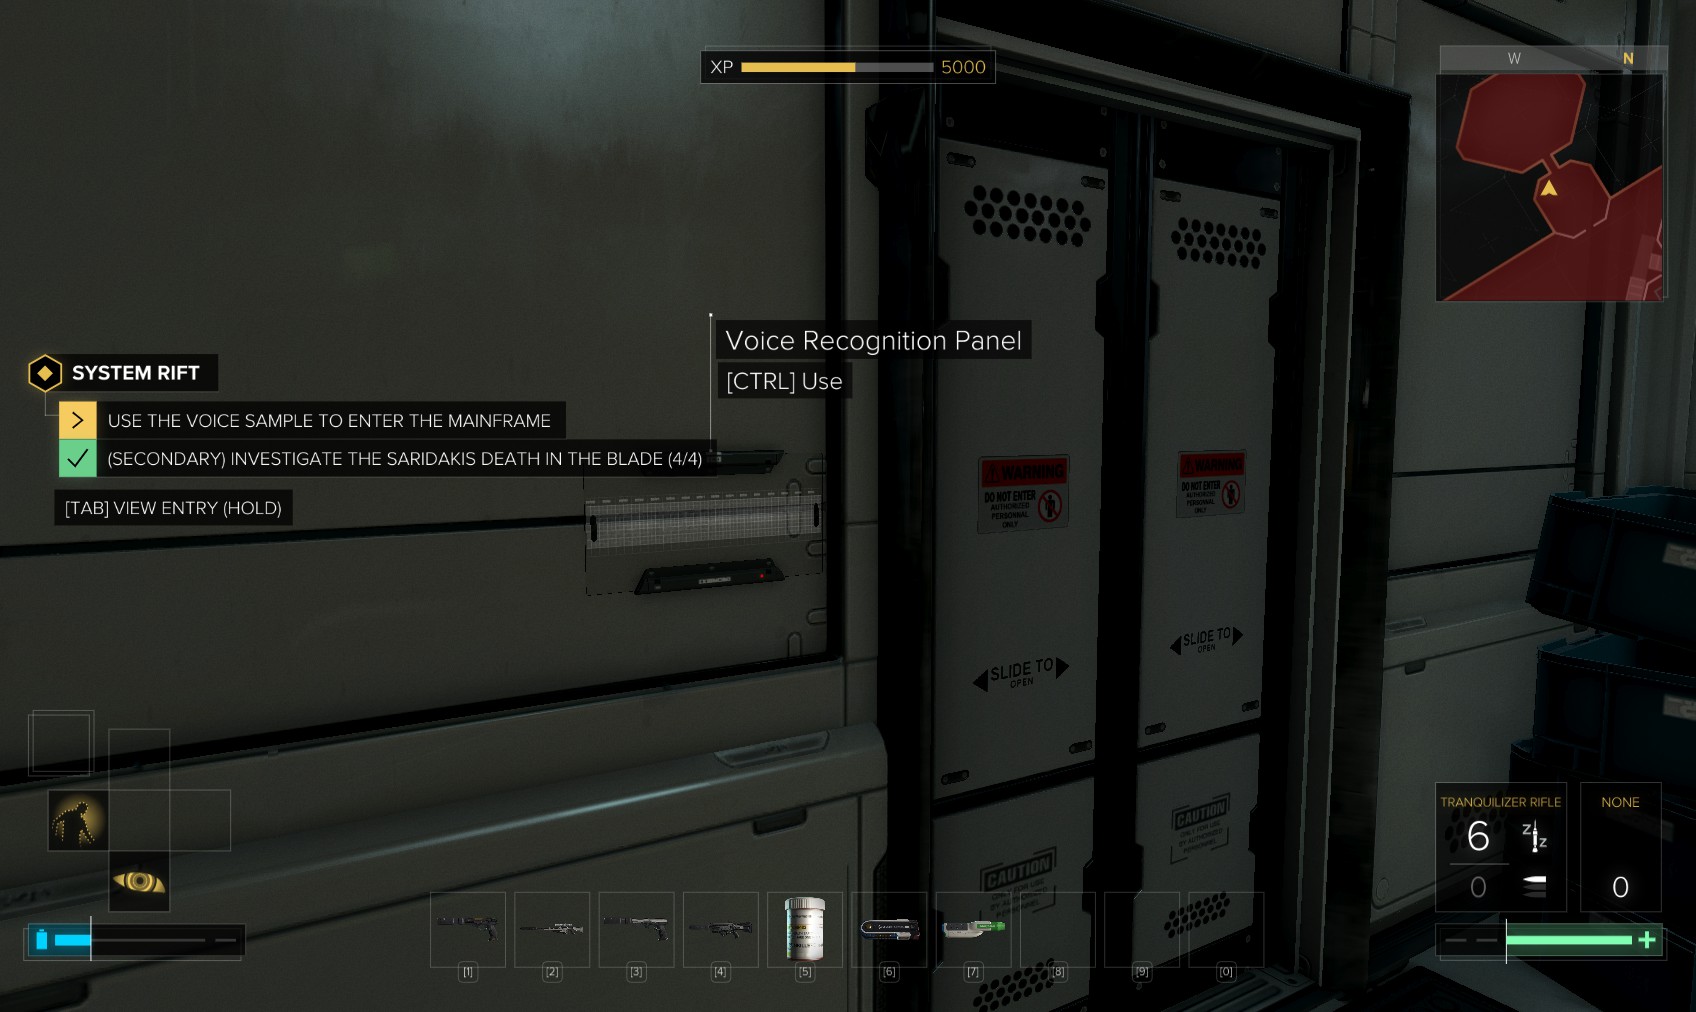
105. Use the voice recognition panel for a cutscene. Use the recording when prompted to open the door. Enter the room beyond for another 200XP.
106. Place the pass-port into the terminal…and witness Francis getting trapped in Cyberspace…or whatever it is.
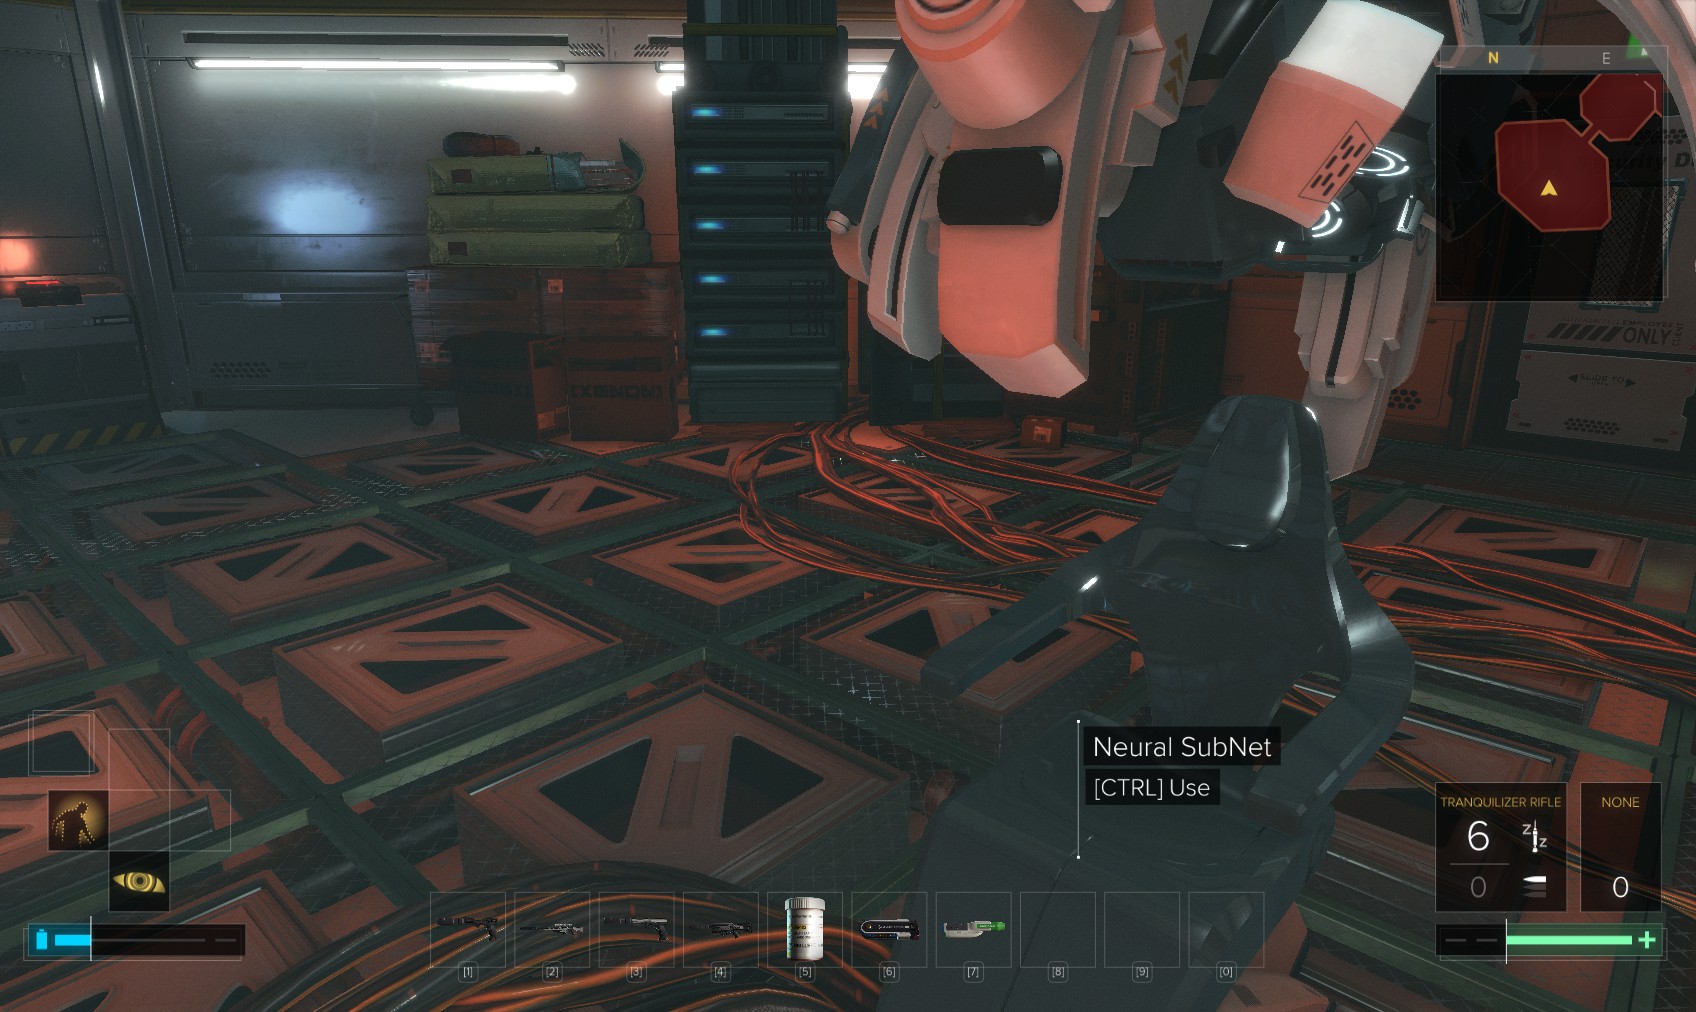
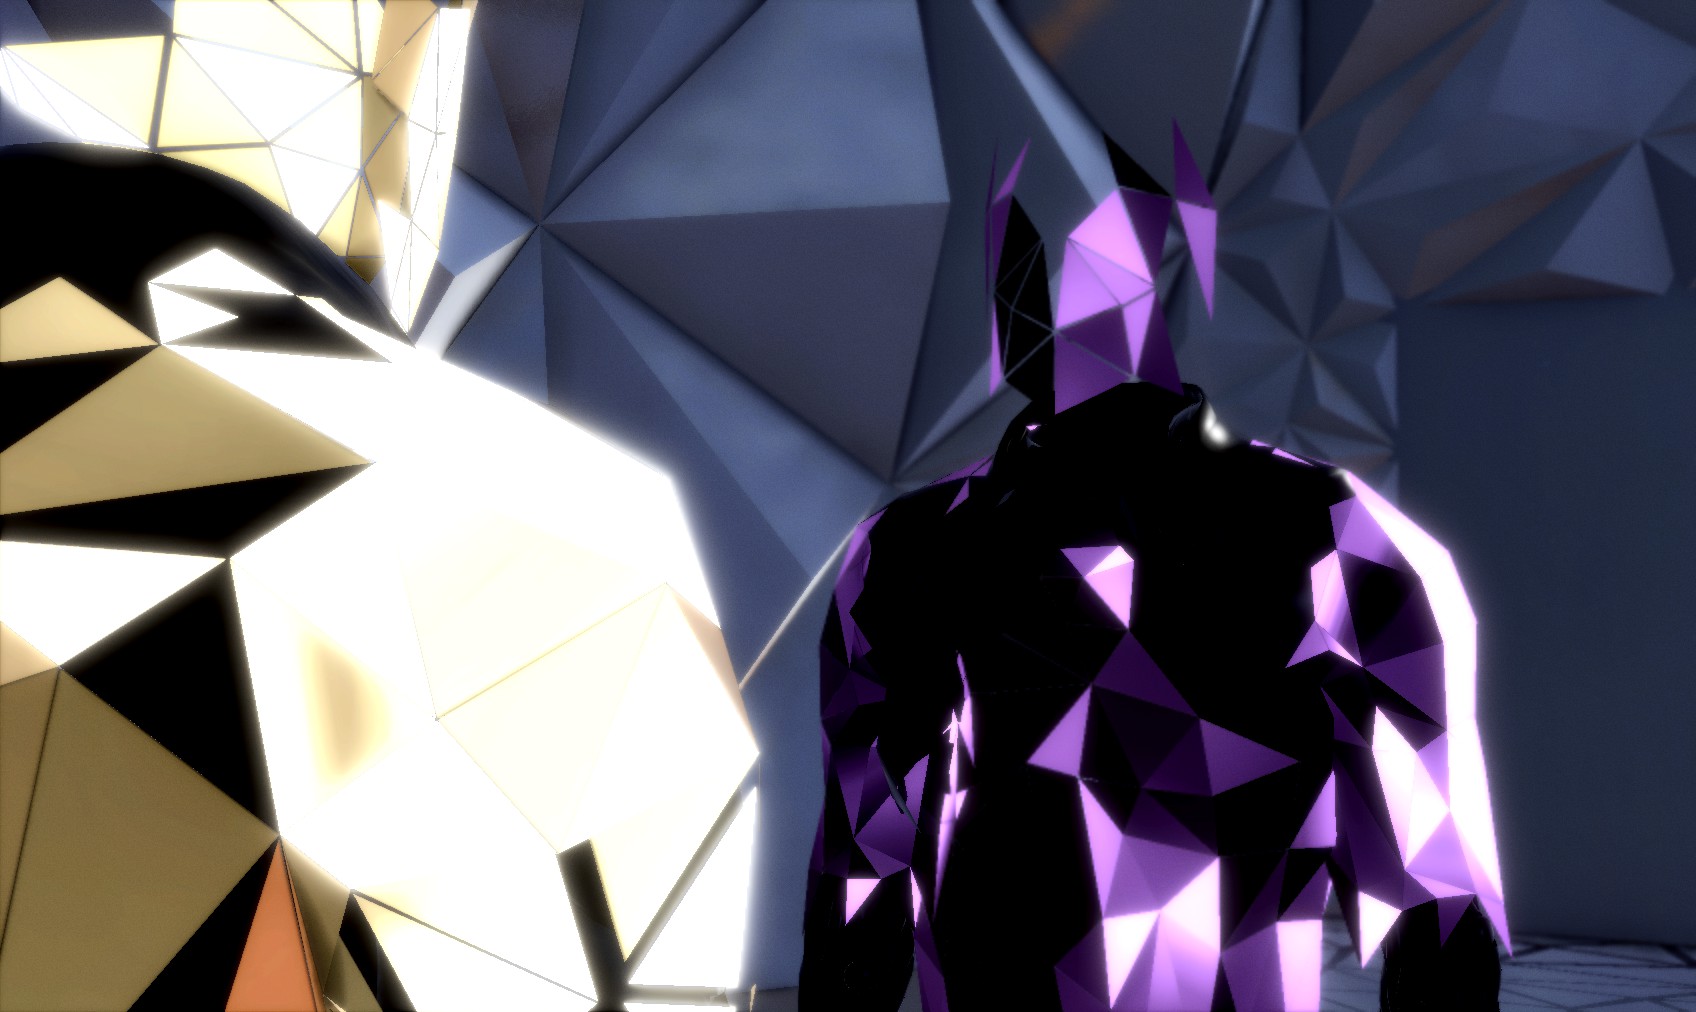
107. When you’re ready for the William Gibson Experience (or is that Neil Stephenson?), use the NSN chair.
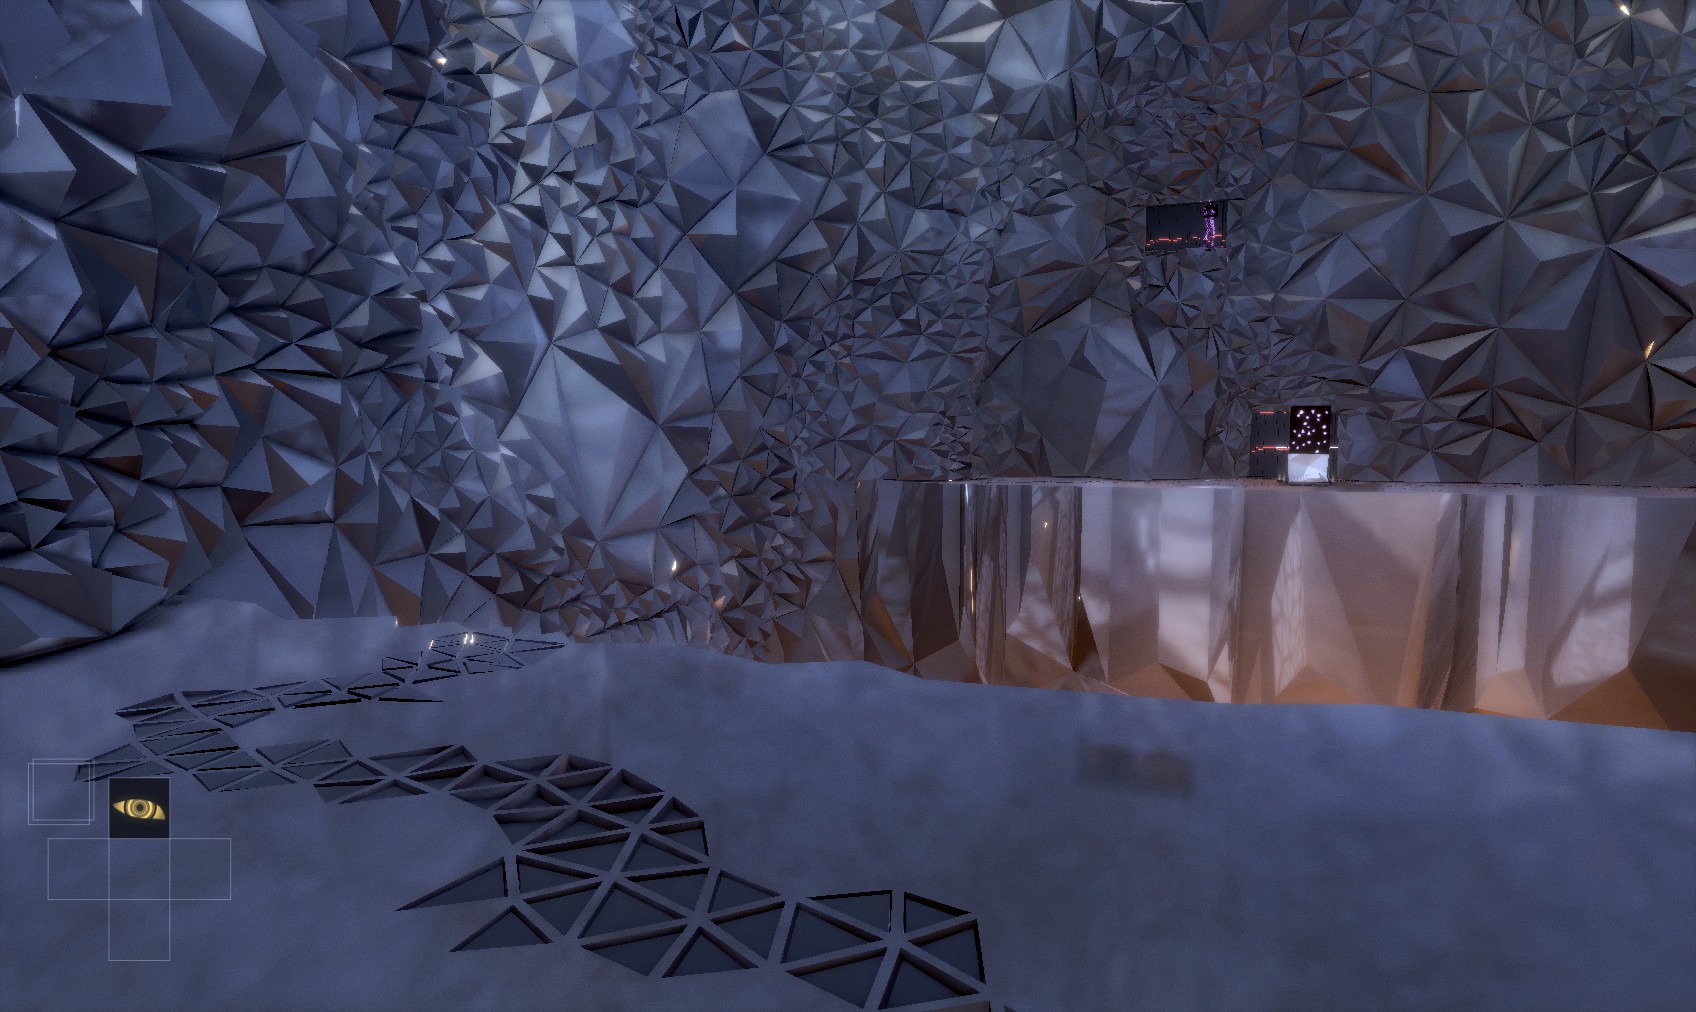
108. Pritchard’s avatar is on the far side of this chasm (top right). I need somehow to get to the download point below him.
109. Smart vision to the rescue - and it doesn’t consume biocell energy, because it’s not, er, real. Um. Anyway.

110. I use the data tower to download its contents which unlocks the door beyond.
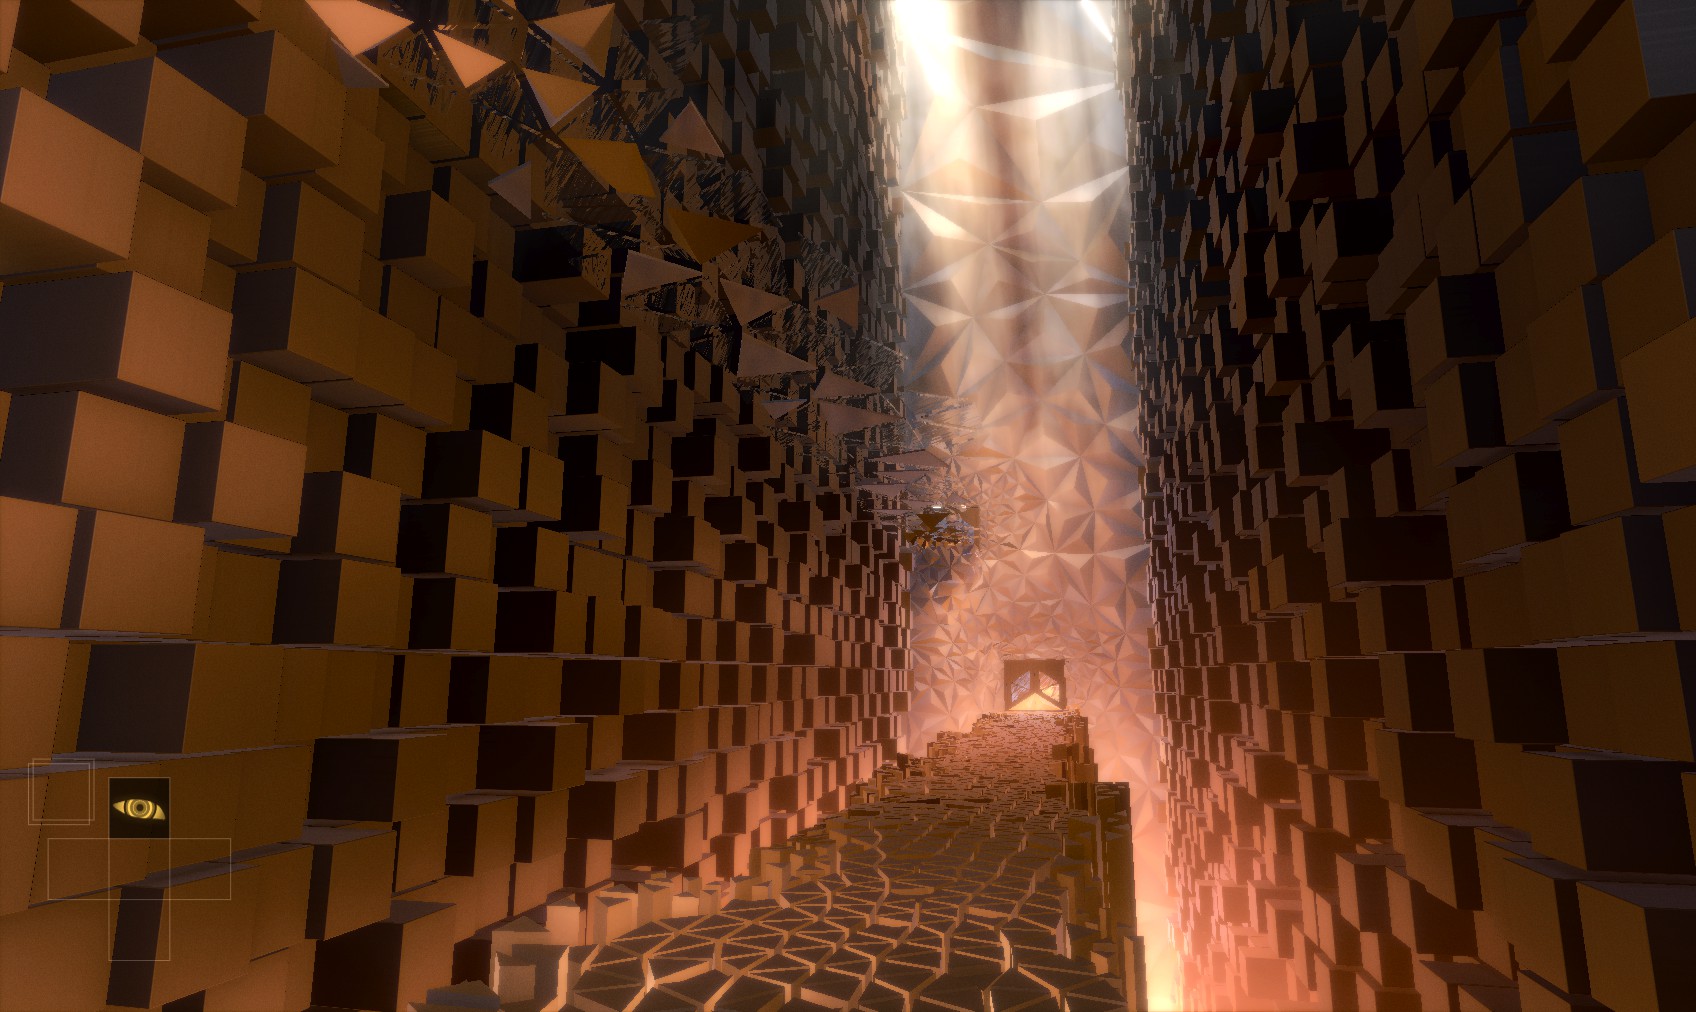
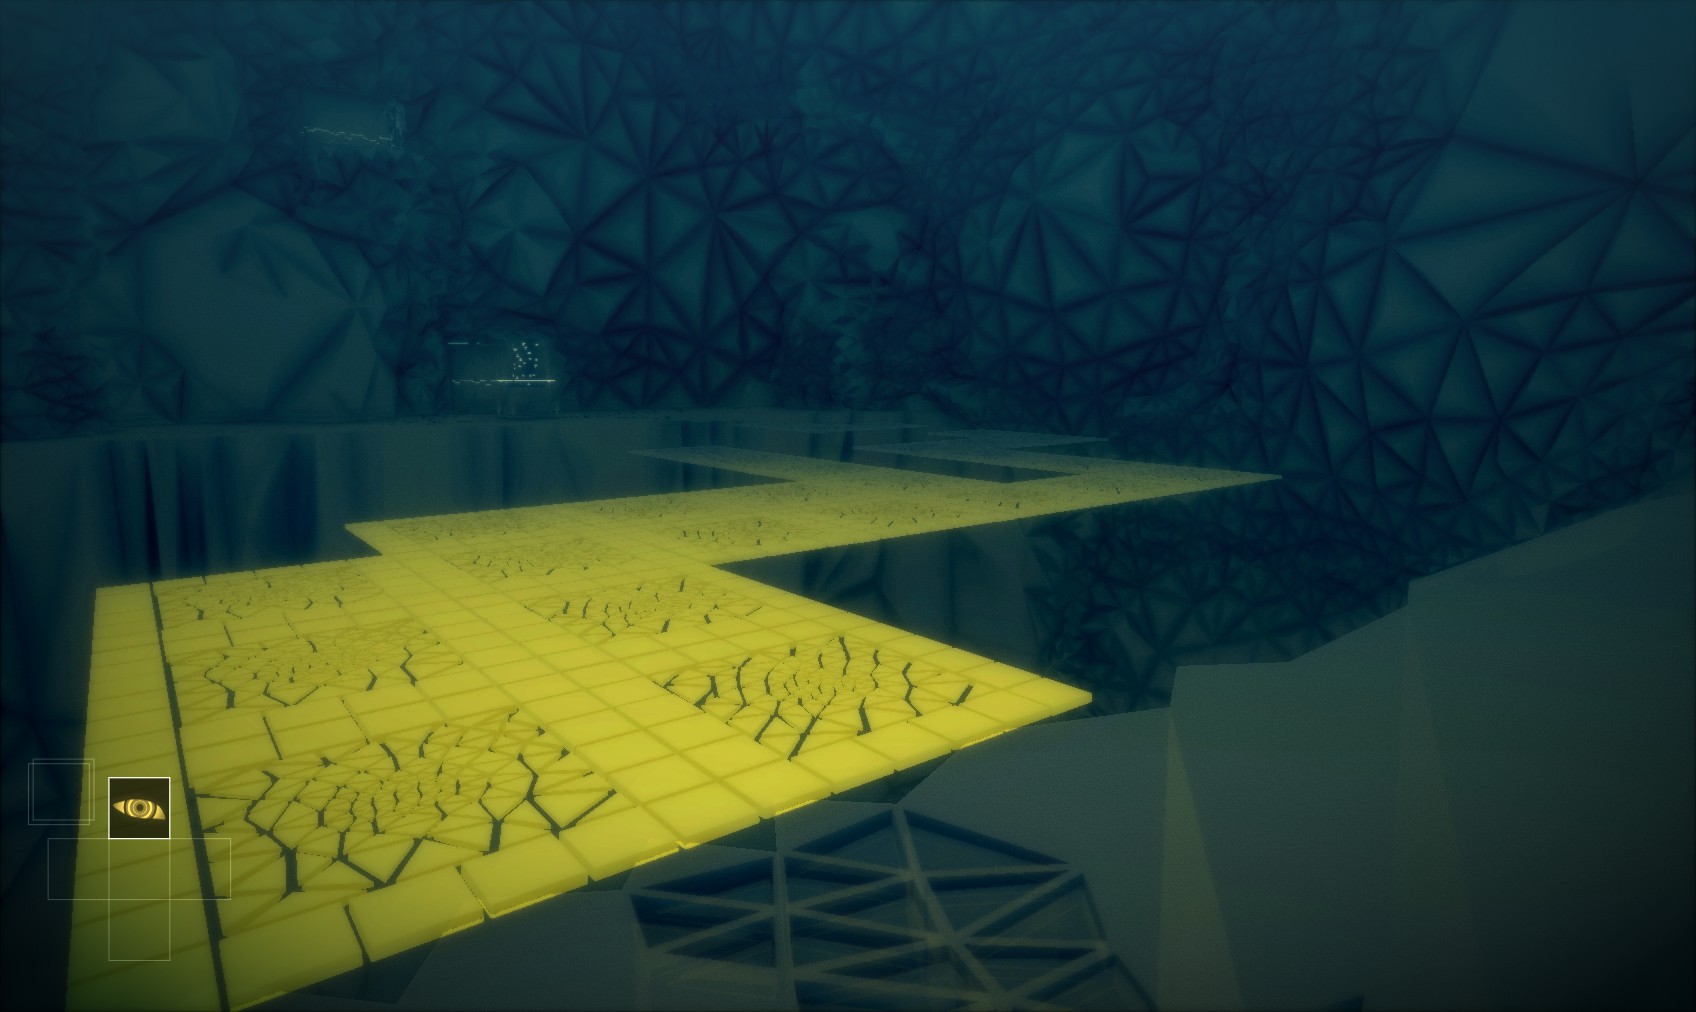
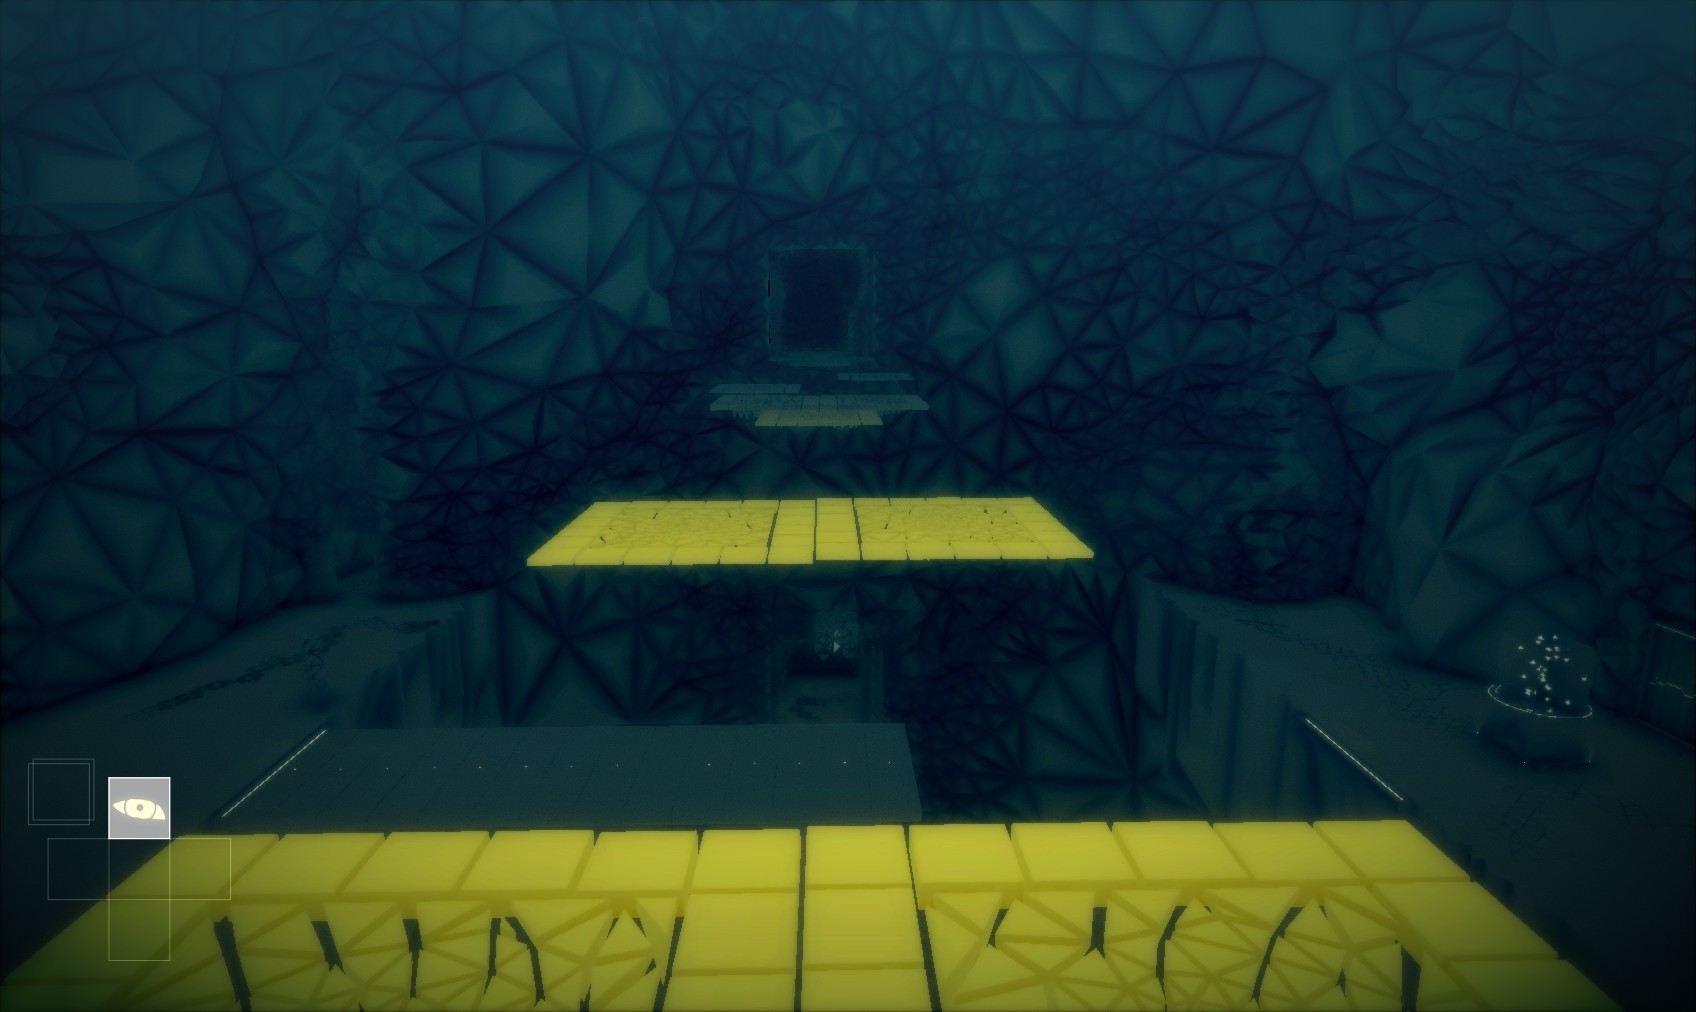
111. A wonderful sort of yellow brick road is beyond…
112. The next puzzle is a little trickier. After pressing the button to extend the walkway, I have to remote-hack a cube to start it moving.
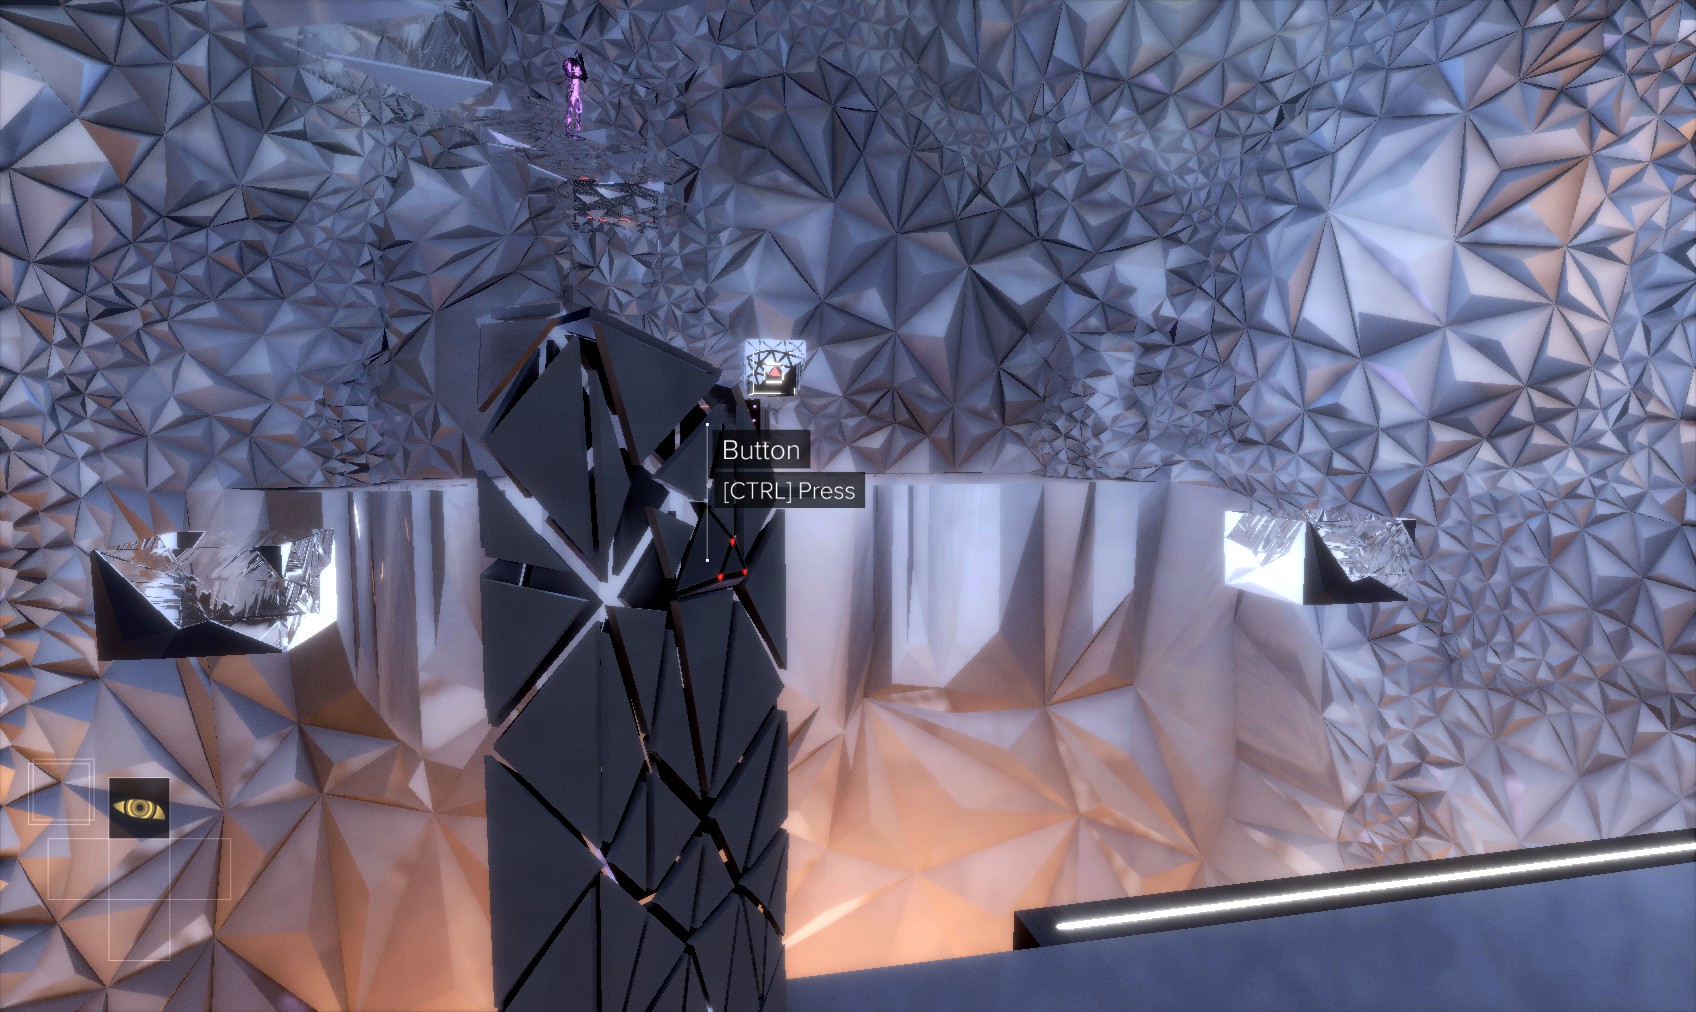
113. And then remote-hack it again to drop it into one of the two receptacles. Doing it from the end of the walkway makes it a little easier.
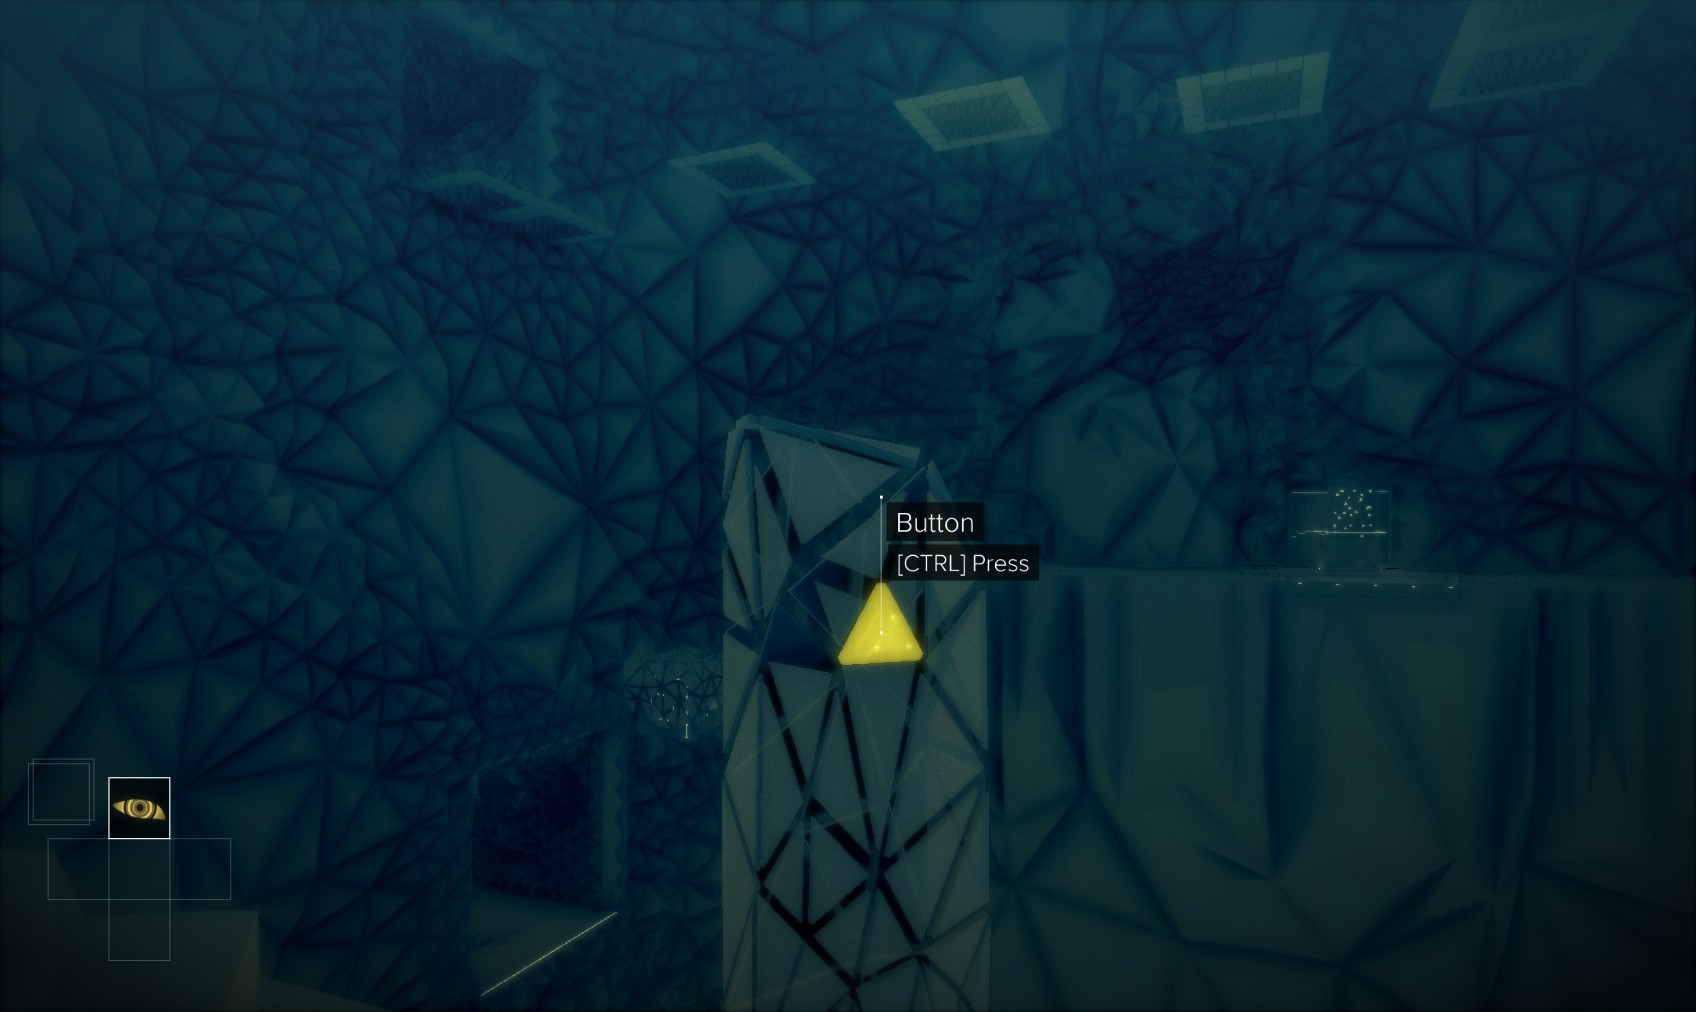
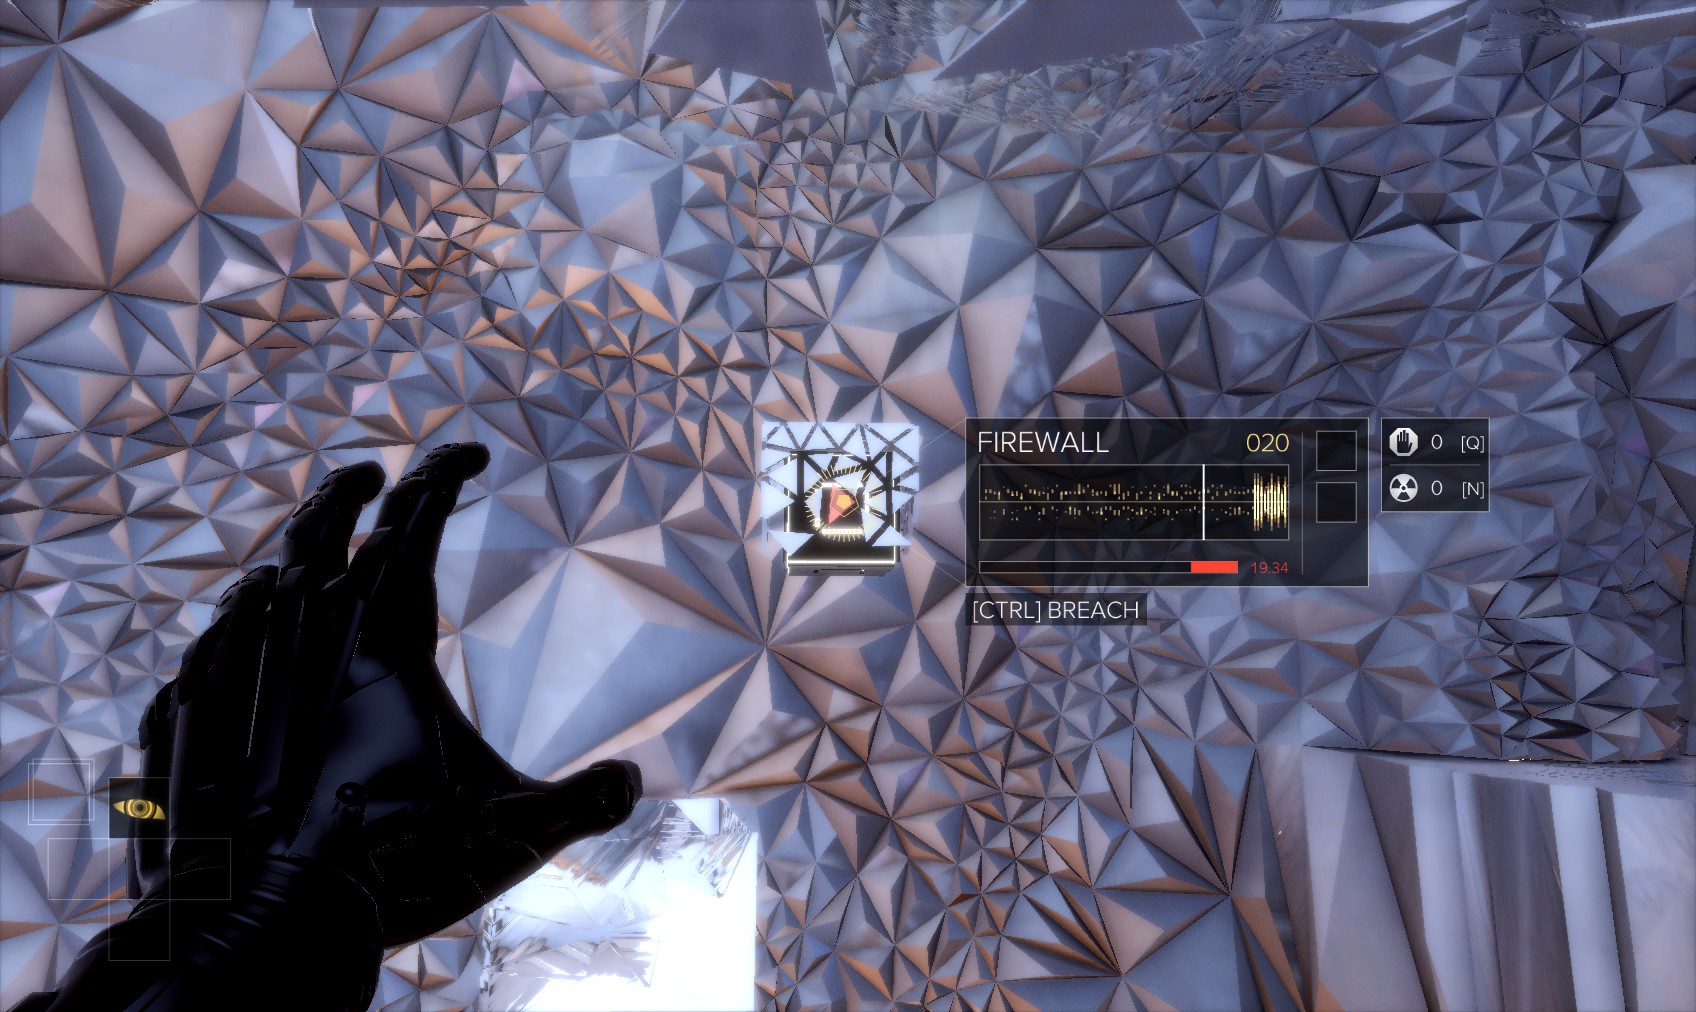
114. This is the last puzzle. The button is only visible (and enabled) with Smart Vision. Again you’ll need to remote hack a cube to extend a lower walkway and drop to it.
115. Use Smart Vision again to jump across the moving plates to another button which extends the lower platform to the data tower.
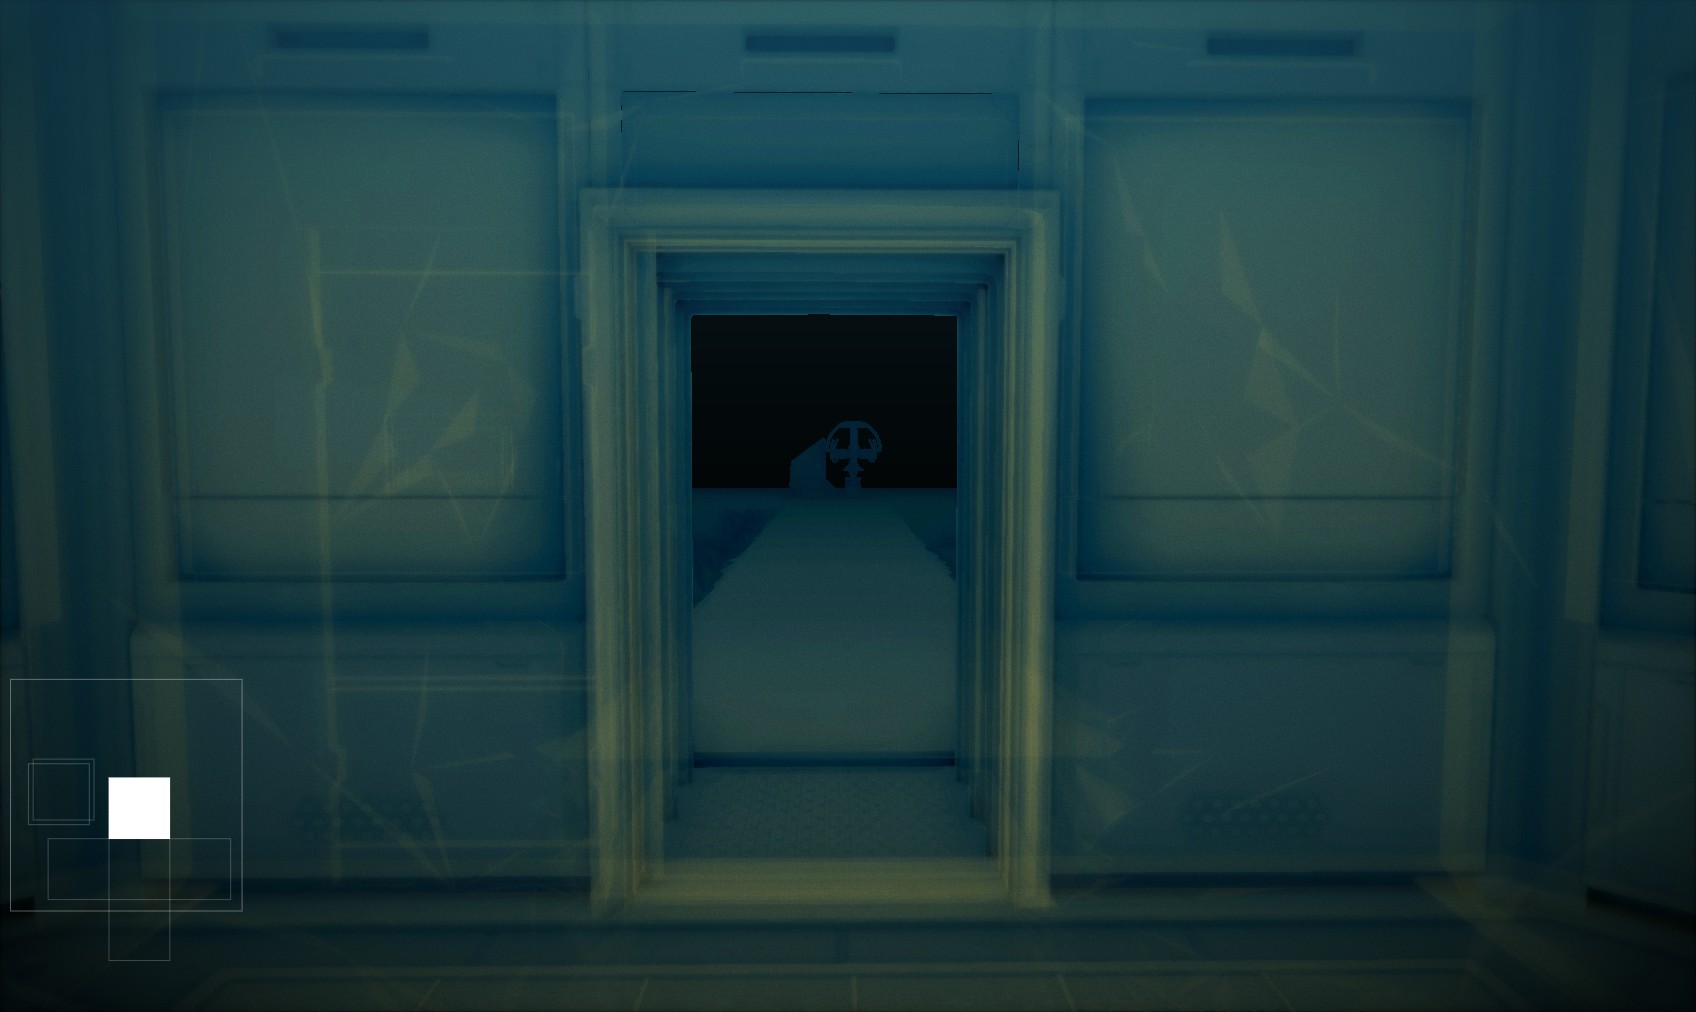
116. Downloading that tower triggers the cutscene with Francis' avatar.

117. You return to the NSN room, but it seems comms are out. And, oddly, normal augmentations are still unavailable.
118. Oshiro’s PC is re-locked and can’t be hacked. The only door leads back to … the same room! The only answer is that you’re stuck in the virtual world.
119. Once again, Smart Vision to the rescue. Use the "other" NSN chair to escape the NSN system.
120. Once the door is unlocked you can return to the server chamber room. New bots have been deployed. If you set the turrets and drones to friendly fire earlier, the bots will be swiftly dealt with. Otherwise you’ll have to sneak past, but it’s not difficult.

121. The swift exit is located in the ante-room, up the stairs. The hatch is in the middle of the room.
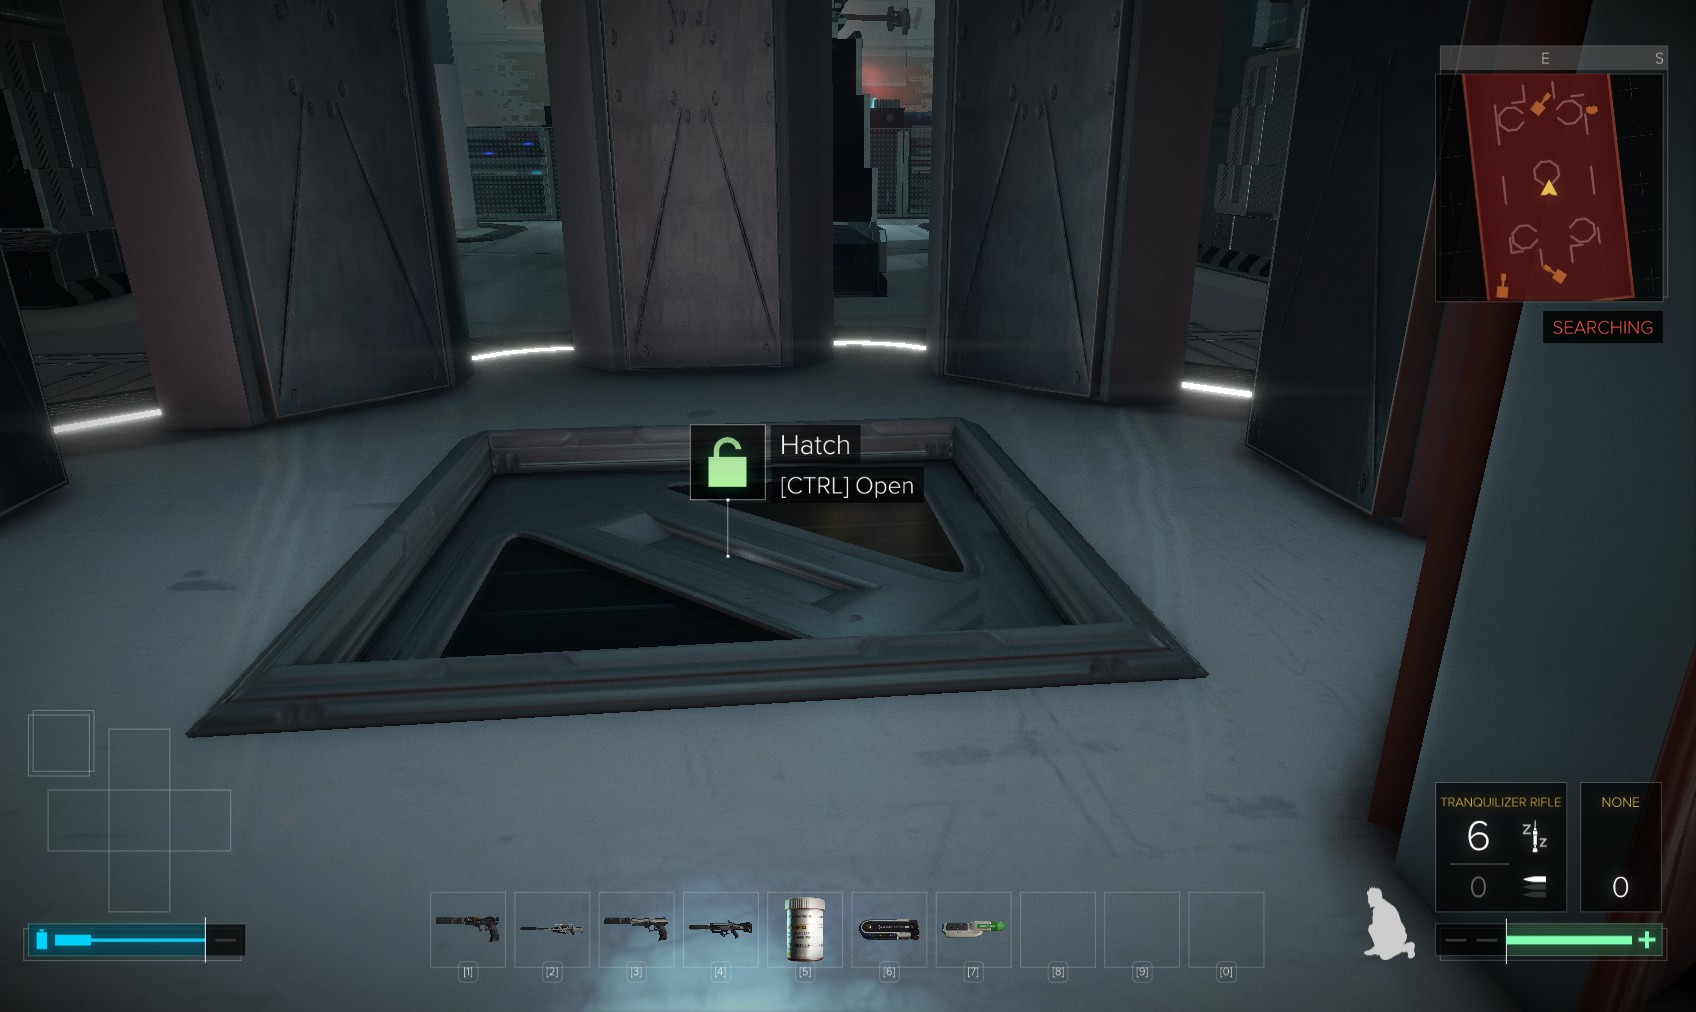
122. First time it took me a while to find it. Open and drop through to finish the level.
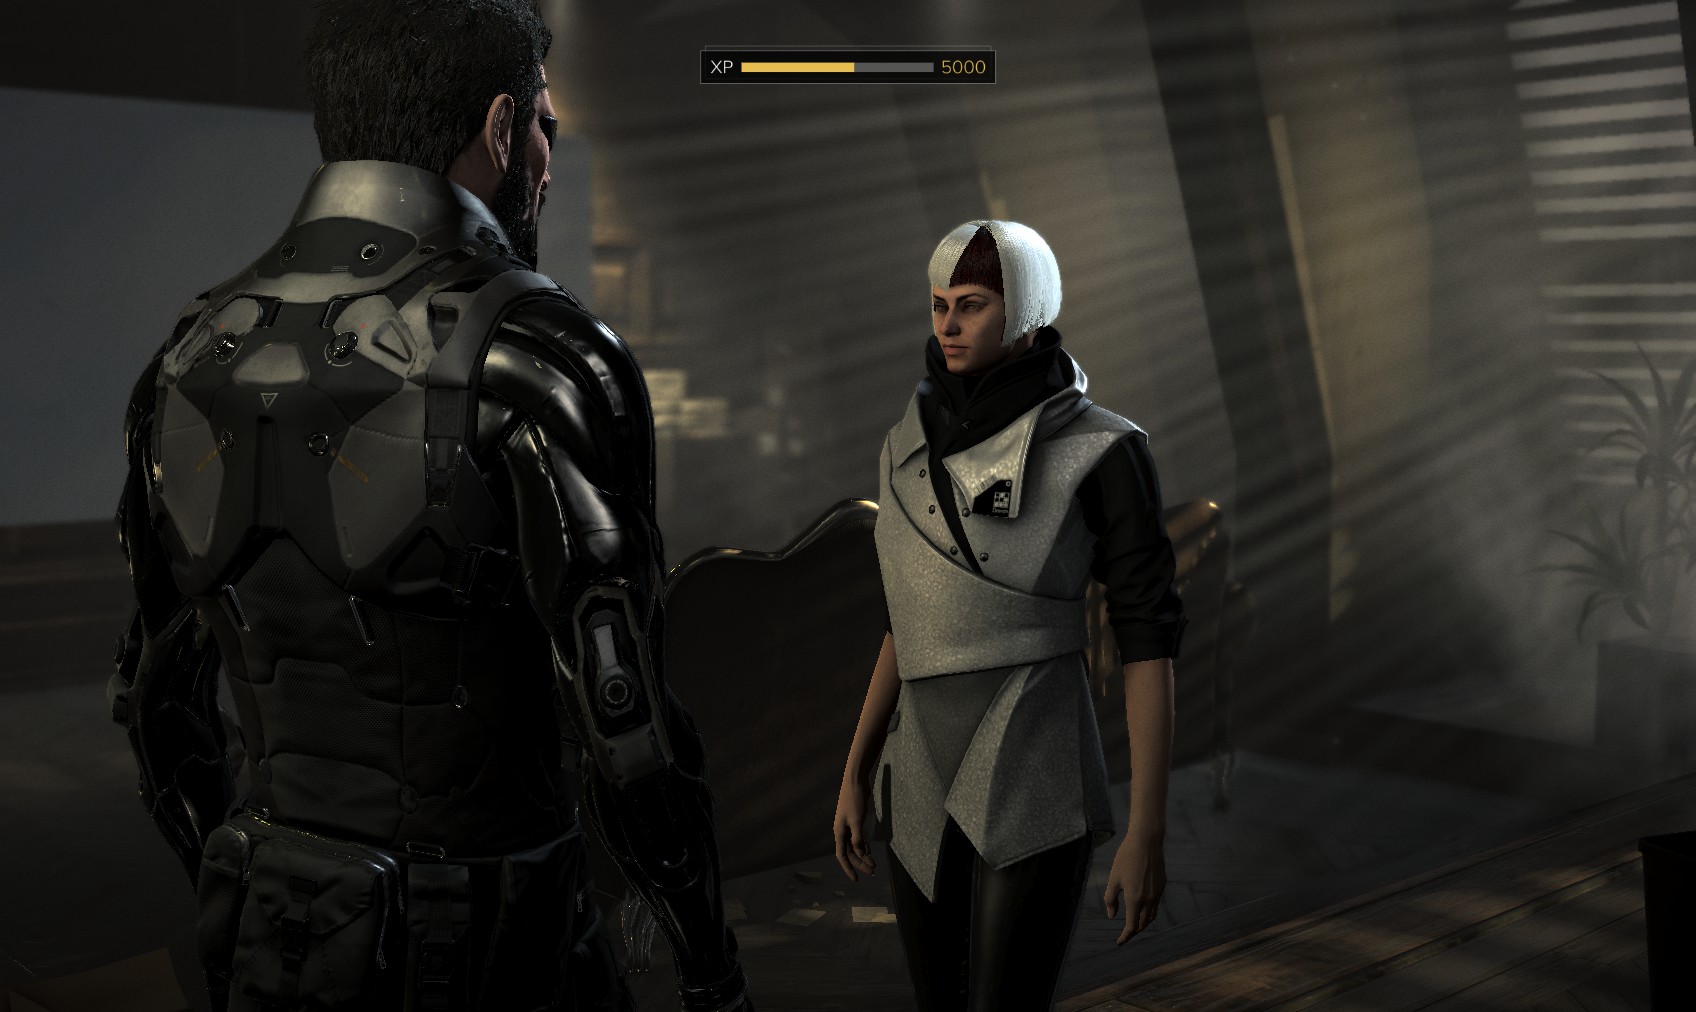
123. A short cutscene with Shadowchild is an introduction to The Breach.
124. Pritchard informs you that while Shadowchild is on the run, you and he got away with it.
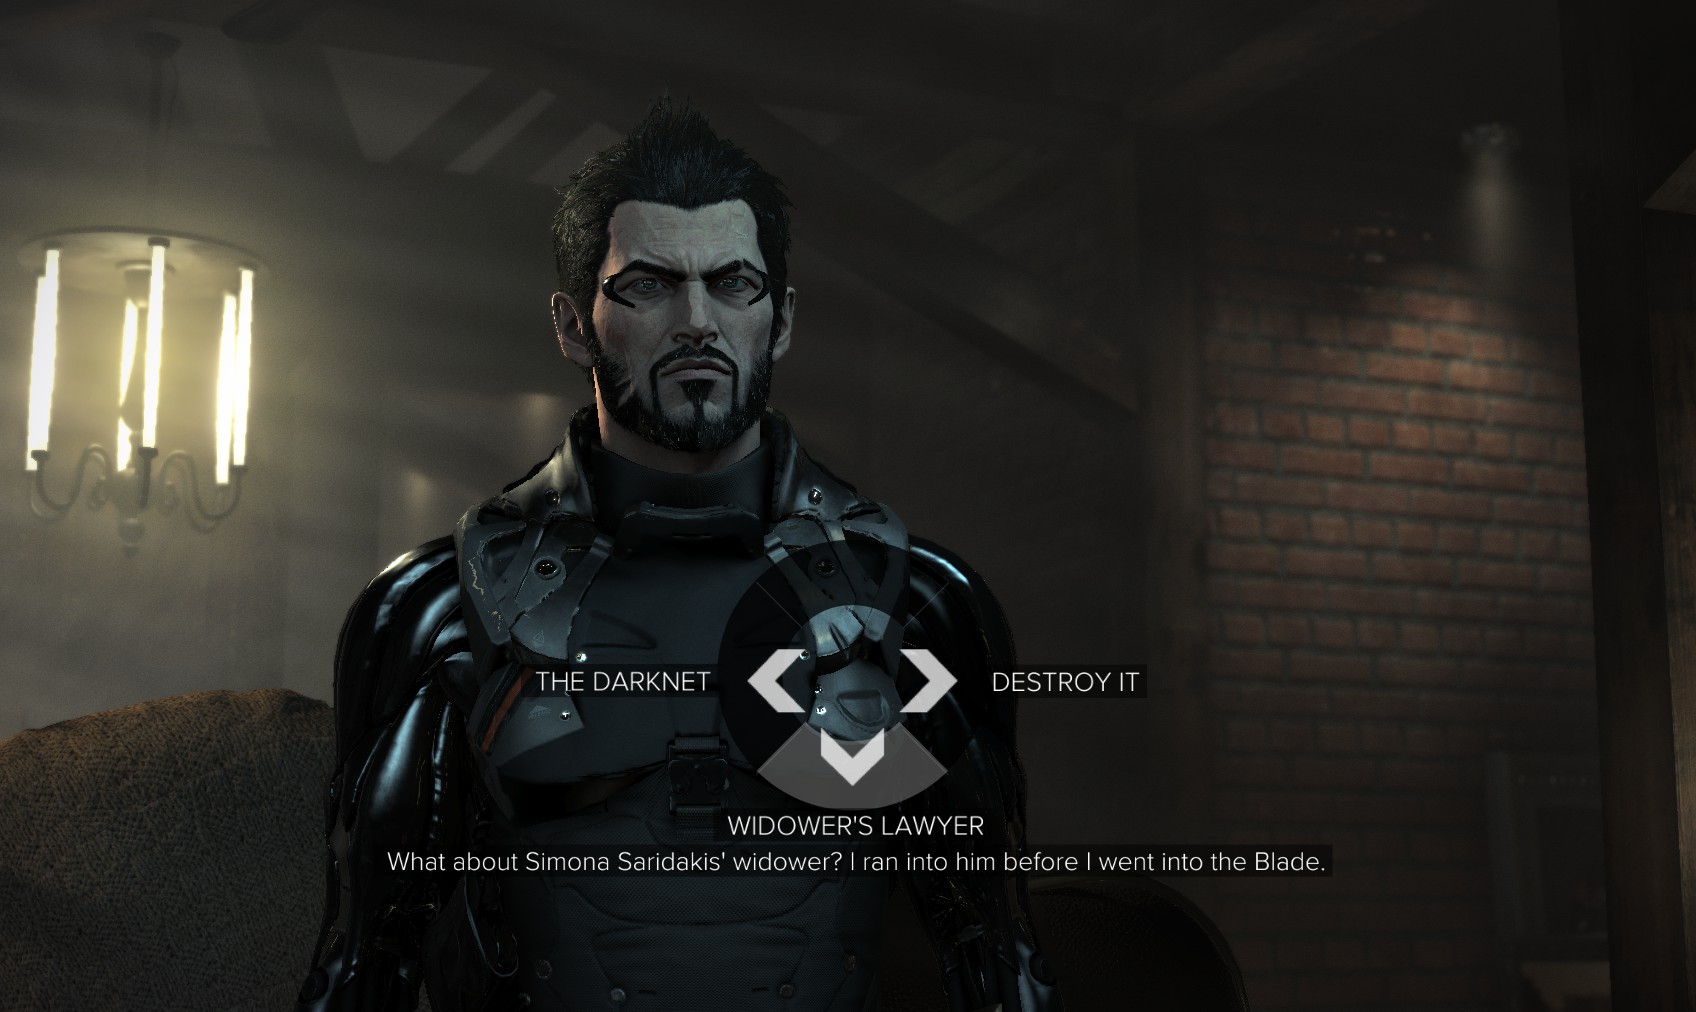
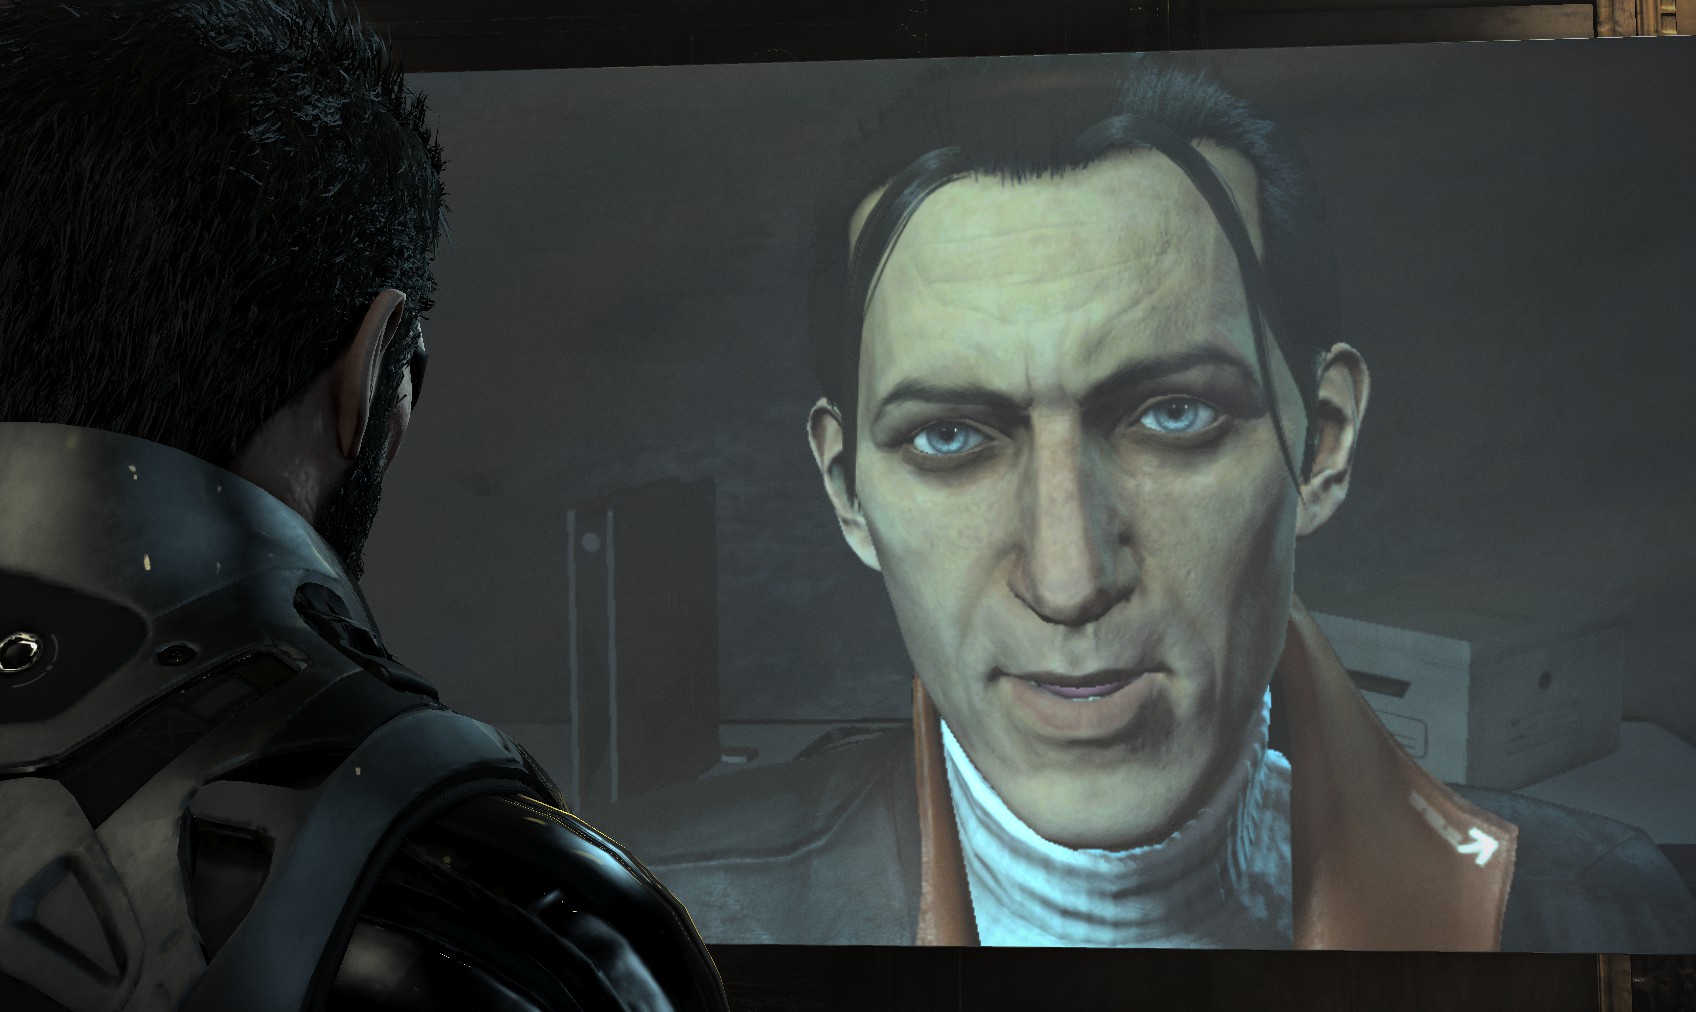
125. On the issue of what to do with the information you’ve gathered, having completed the side-mission to investigate the death of Simona Saridakis, you get the option to give it all to a lawyer. Seems fitting.
126. Take care of yourself.