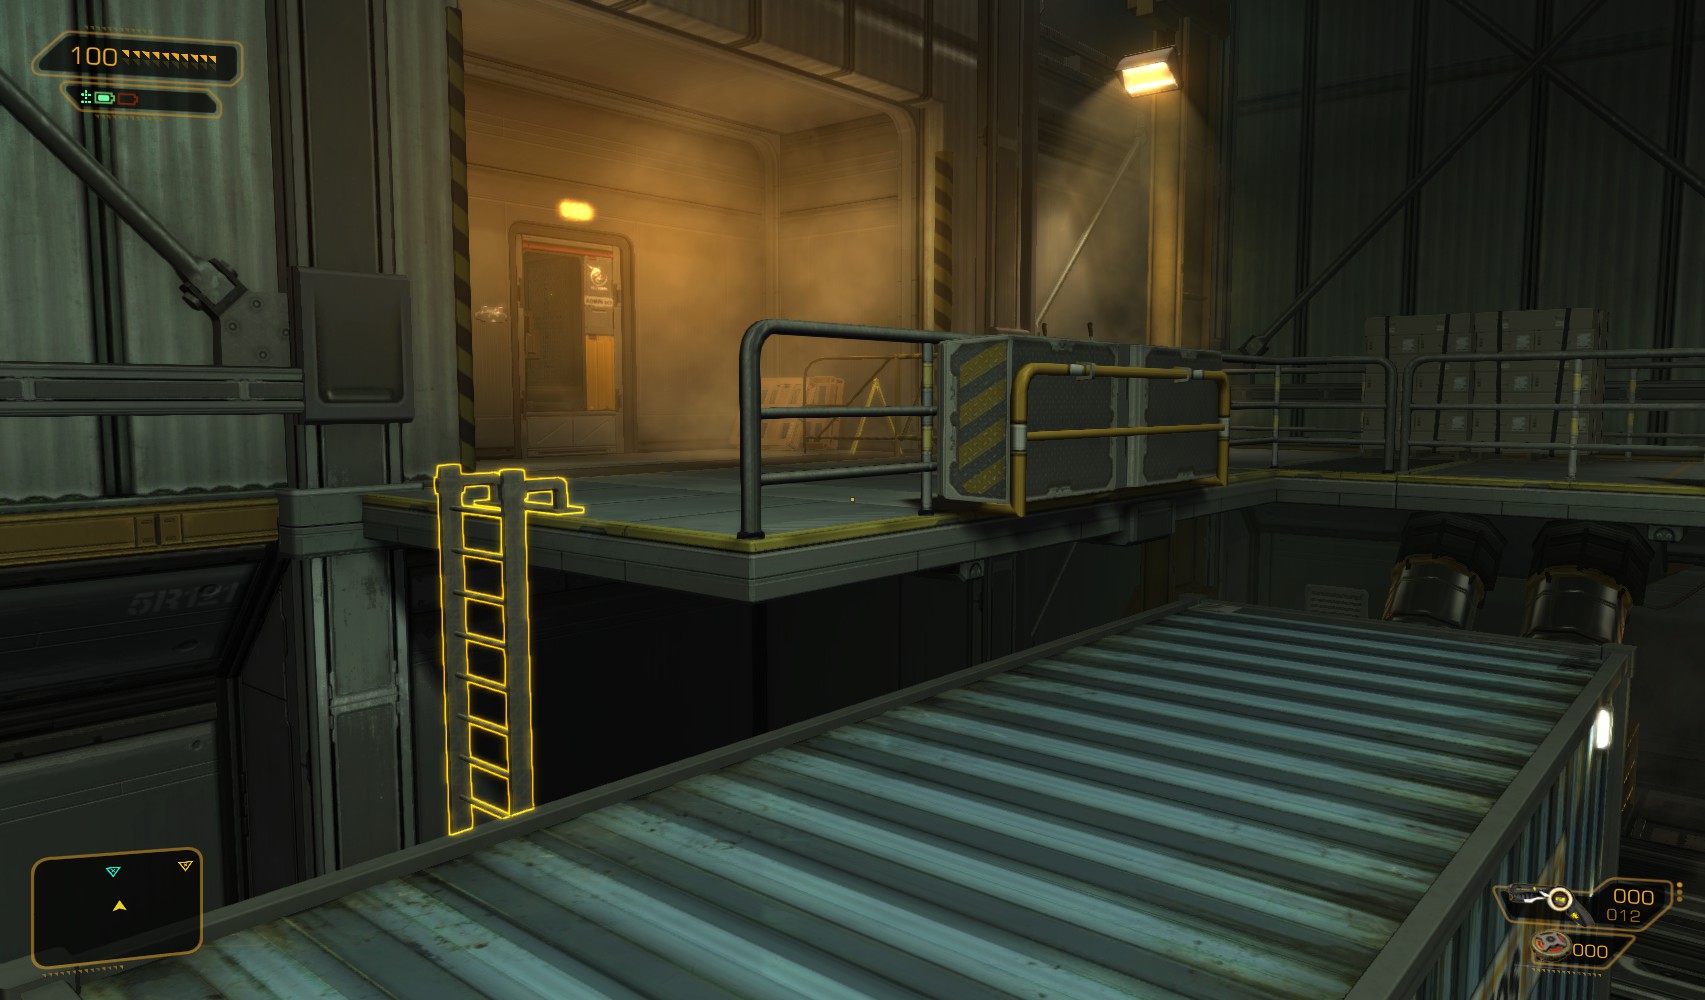
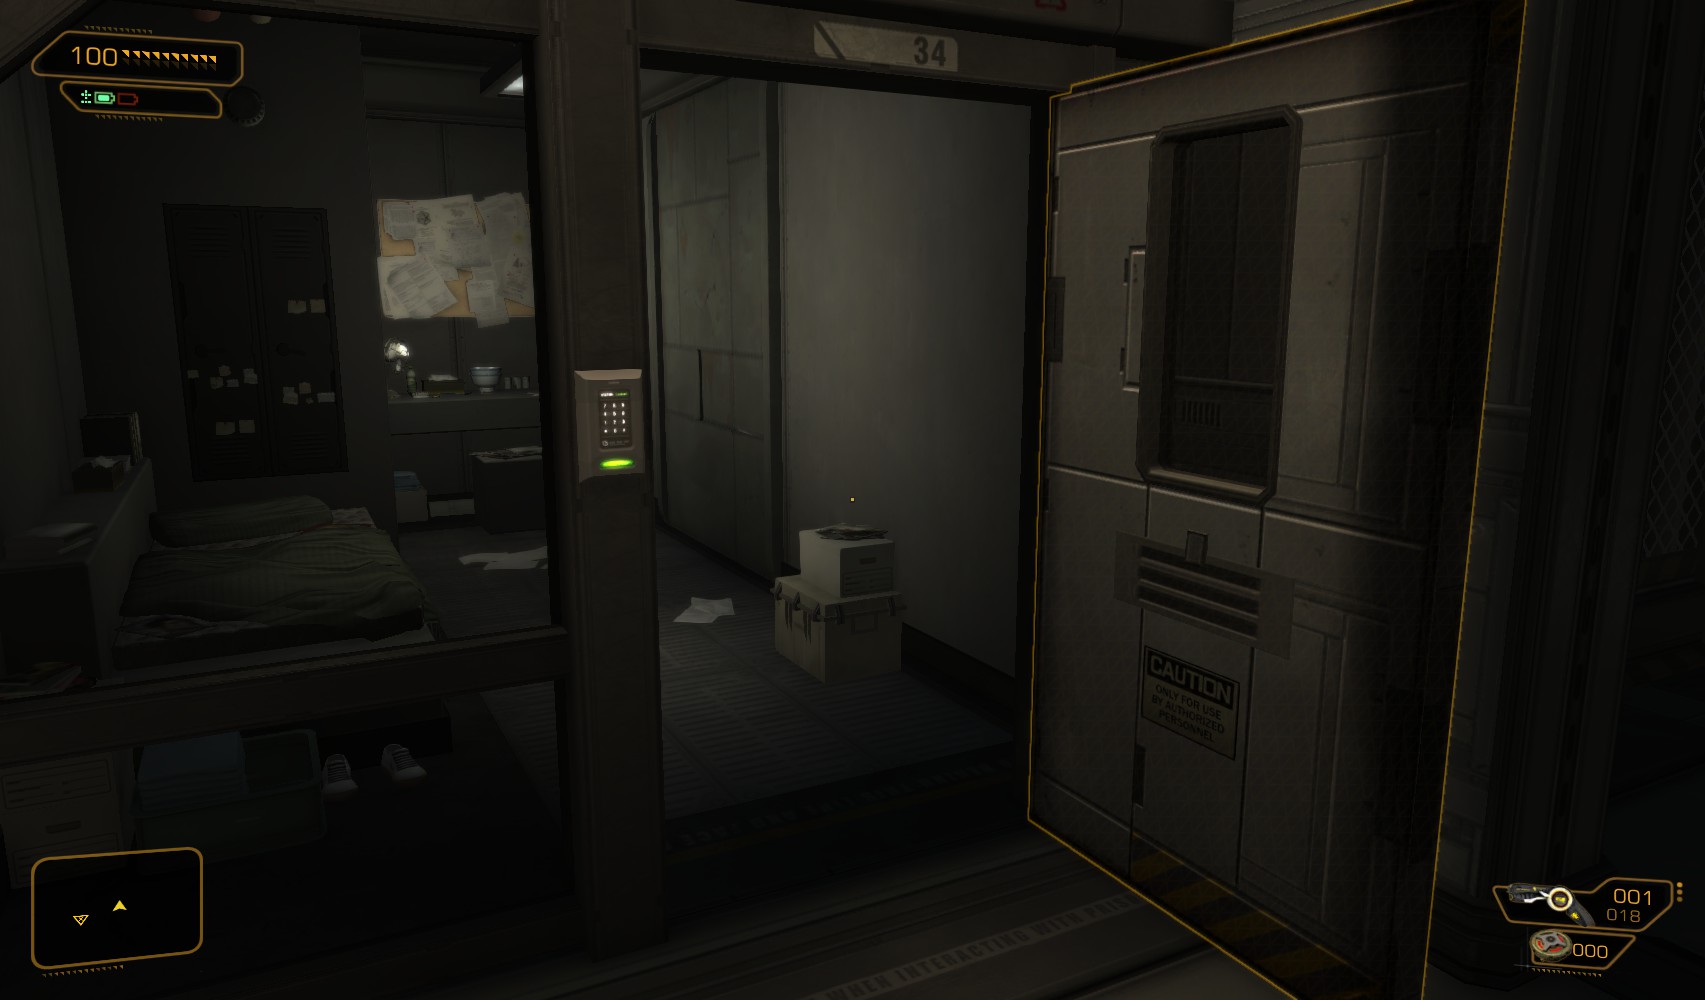
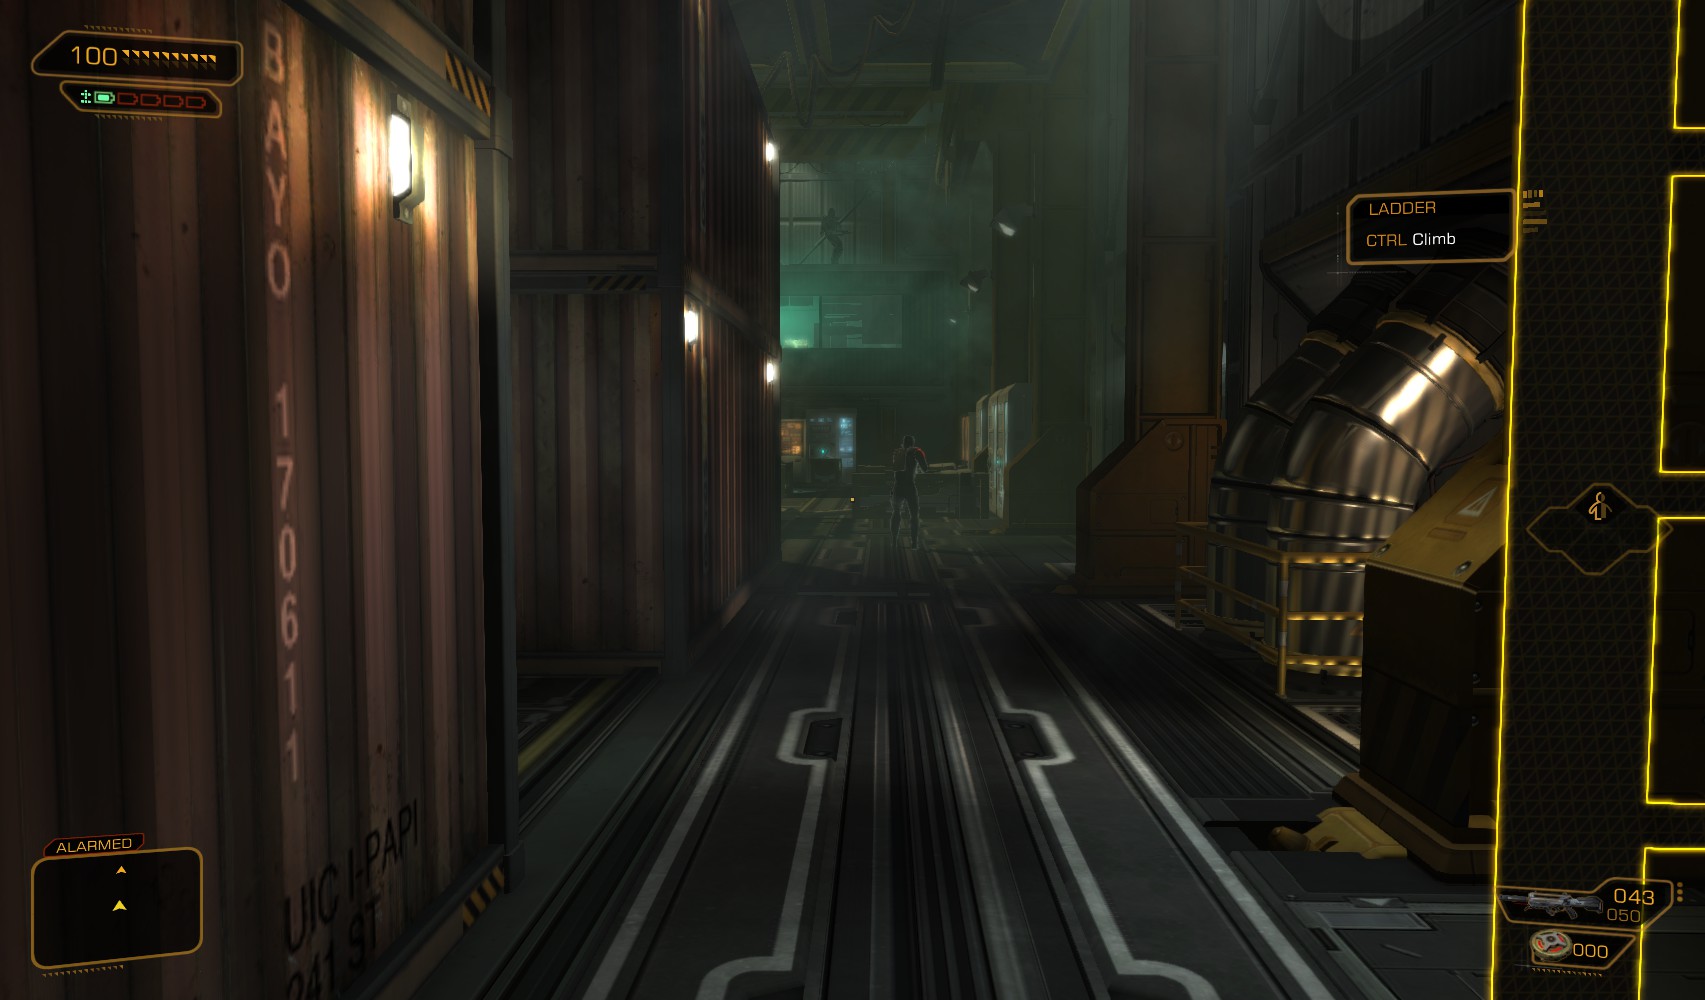
1. Back outside, go up the ladder and hack this level 1 door for 50XP (or use the code 7736).

2. Near the bottom of the stairs, it looks like there are goodies under the stairs, so note to self - find a way to get them. One way is through a vent in the gents toilet, or you can just jump over the banniser rail at the foot of the stairs. Either way gets you a 200XP explorer bonus, an energy bar, typhoon ammo and background pocket secretary. Leave via the vent.

3. Hack a level 3 alarm panel for 50c, then turn left at the end of the corridor and take the elevator.

4. Speak to Garvin Quinn to complete that side quest. You earn a discount on his items for fixing the statis pod on the Hei Zhen Zhu. He offers you a special offer - if you have the social enhancer, do not use it just yet. Find out about this special offer, and learn he wants you to collect some stuff for him. You’ve already collected two of those items, so hand them over, then ask to look at what he has to sell.

5. The most valuable thing he has is this Praxis Kit. Talk to him again, and this time use the social enhancer. If you appease him, he’ll open his special stock, which includes a further 2 discounted Praxis Kits. Talk with him one more time to pick up more information about the him, the base and Keitner before you go.

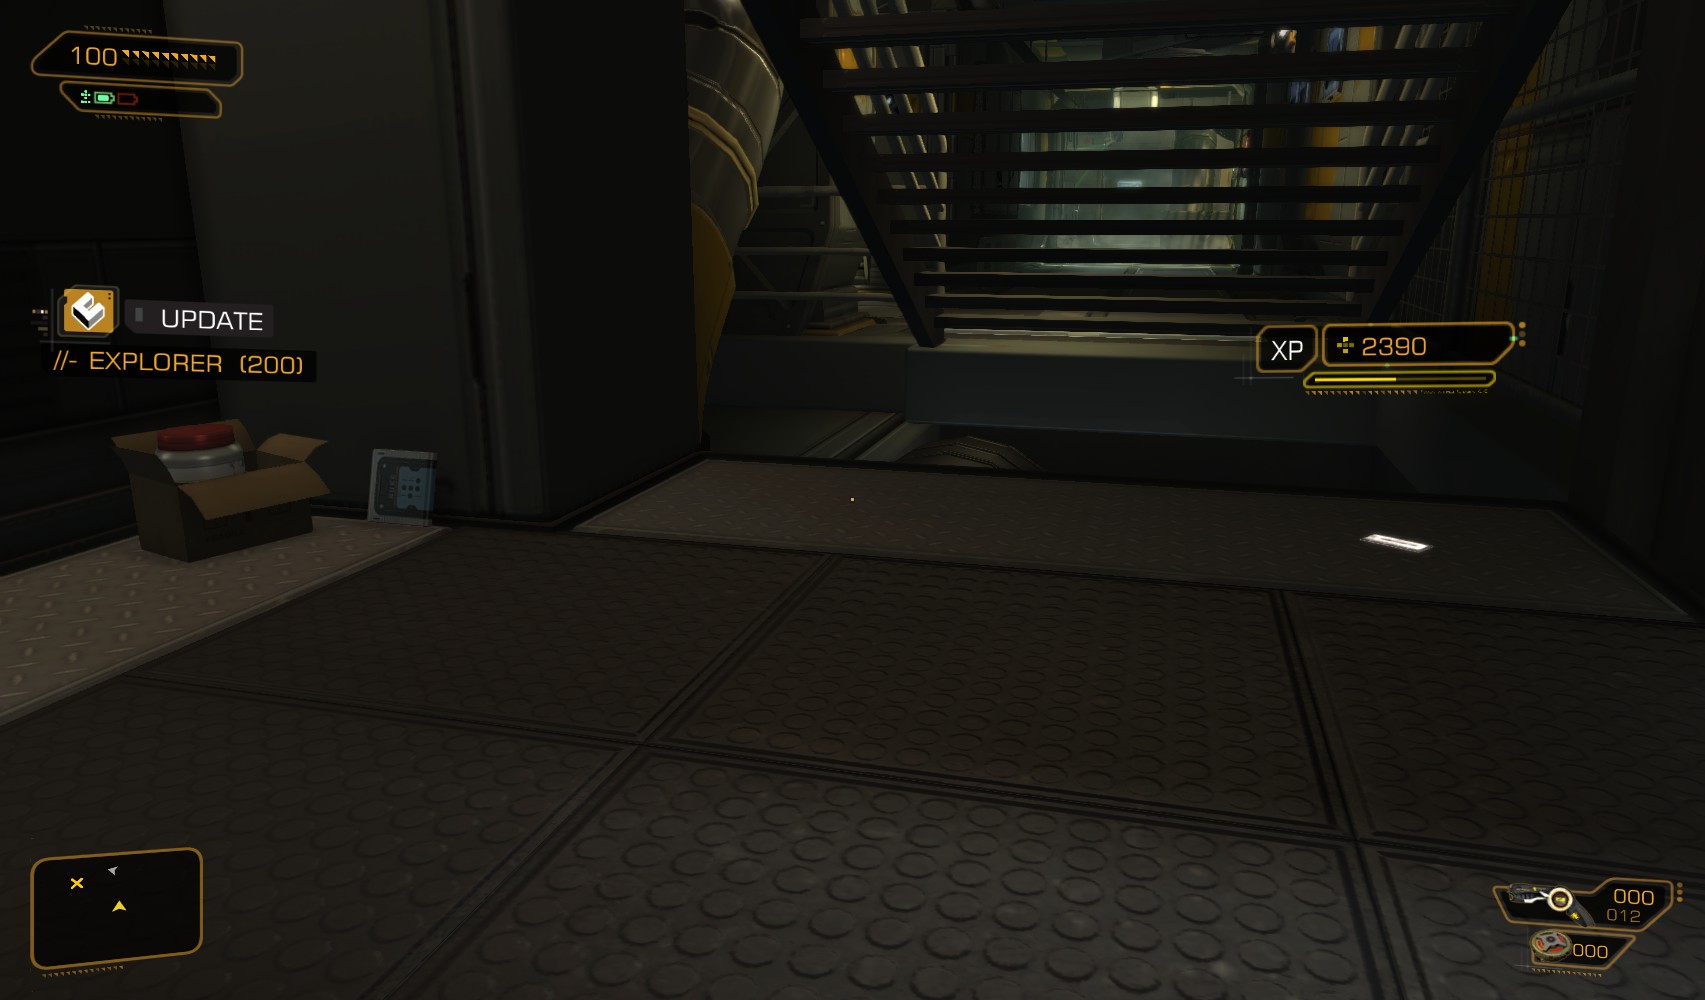
6. Head further up the corridor to find this vent almost hidden behind a crate. Go through for a 100XP traveller bonus. Up a ladder you’ll find a damage upgrade. Up a second ladder is a credit chip and another vent.

7. It comes out here. Worth remembering this hidden way to the lower level.

8. Head West (left out of the vent) to find a camera covering a couple of doors. On the left is a level 2 door. Hack it for 50c and slip inside for a 200XP explorer bonus.

9. Inside, a pocket secretary has the code 1550 to Communications Security. The level 2 PC (100c and 100XP) has some background emails.
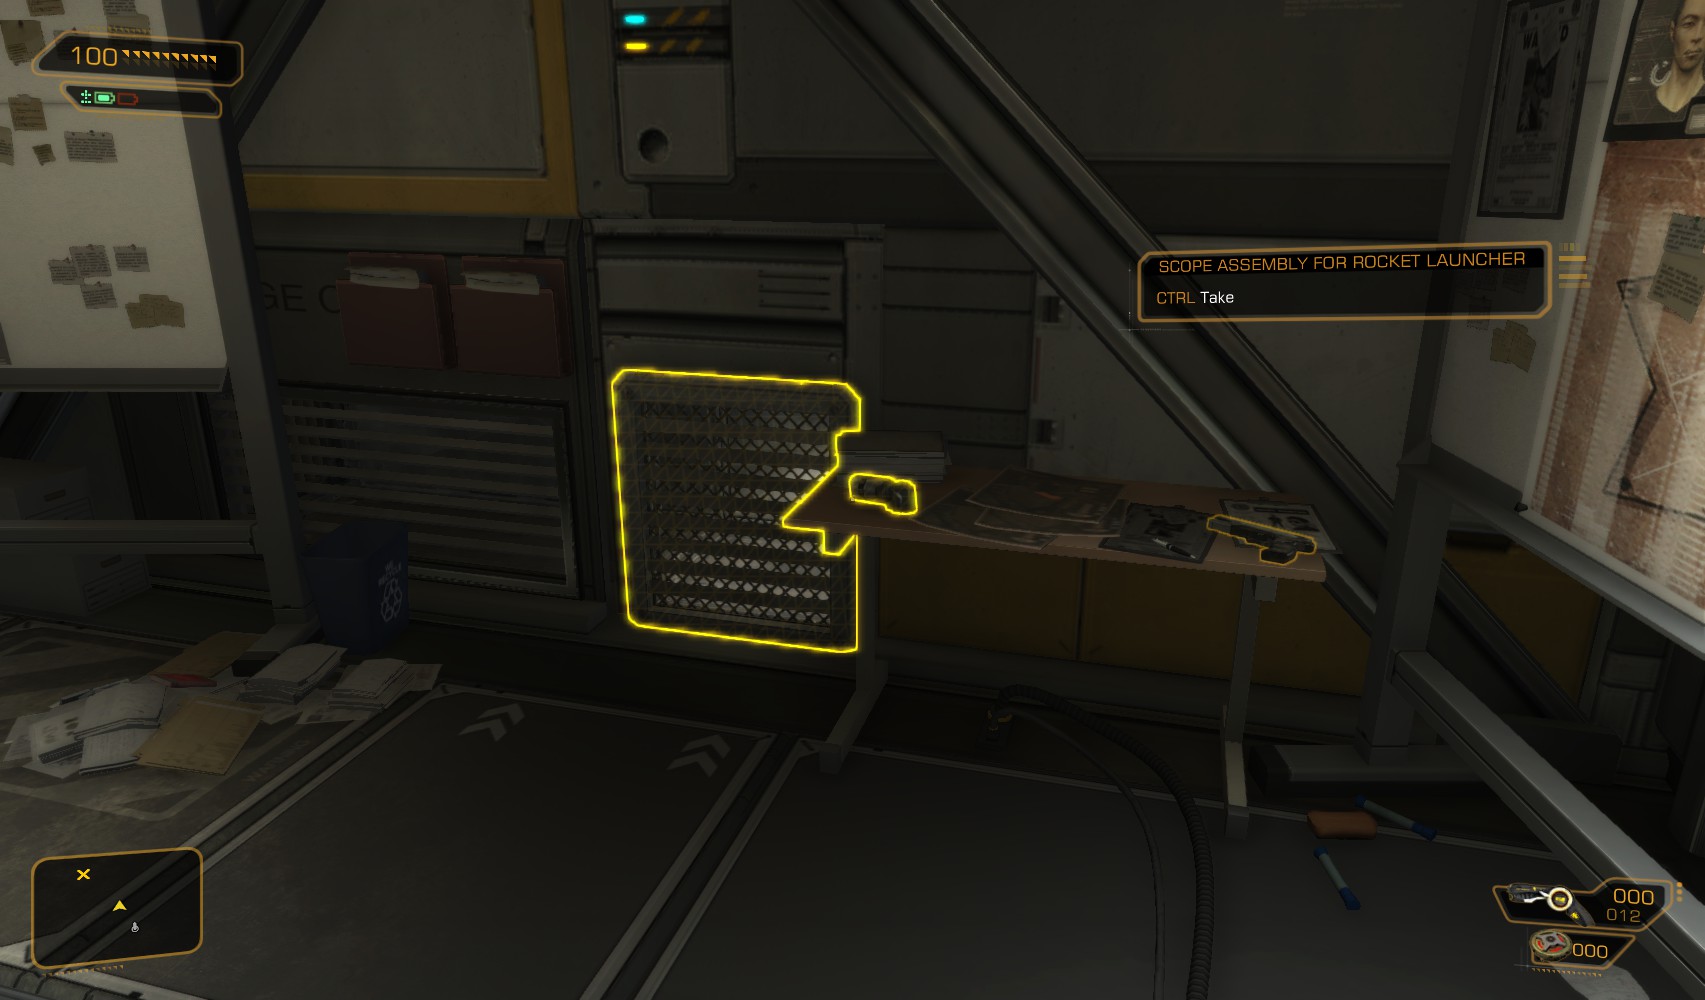
10. Swipe the final part of the Rocket Launcher for Quinn, and head into the vent.

11. It comes out here (the unlocked office on the other side of the corridor). Hack the level 2 PC for 100c and a nuke, and read Major Coverley’s emails. Leave via the door, and head away from the camera, back past the vent.

12. At the end of the corridor is another camera - easily slipped past to hack the level 3 alarm panel for 50c. Next to it are 2 doors, 1 locked, one unlocked. Take the unlocked one first
13. It has an occupant, this place isn’t deserted after all!. Take down the guard.

14. Swipe the pocket secretary on top of the cabinet for the code 1355. The PC is unlocked with some story emails, and a drawer nearby contains an energy bar. Slip into the vent.
15. Along with a 200XP explorer bonus are an energy jar, hacking tools and credits. Go back through the vent, back outside to the locked door next door.

16. It’s a level 1 hack for a nuke.

17. A pocket secretary with the code 5768 is hidden behind a box on the shelves near the eBook. Hack the level 2 PC for 100c before going through the vent.

18. You come out here. Knock out the guard and swipe the data storage device on the desk nearby. The unlocked PC has background emails. Use the unlocked security hub to disable 2 cameras. The level 3 alarm panel is a hard hack for only 100c (I end up not bothering with it). I’m not ready to head to the detention centre just yet, so I go back out through the vent.
19. Turn right out of the door and then left here to head back the way you came past the vent.

20. With the cameras disabled, moving around is much easier. Another level 3 alarm panel by the other camera can be hacked but has no downloads. Turn left to reach here. The panel has the code 5768, or is a level 3 hack for 50c and a nuke, to open the cable duct next to it. Slip down the chute.
21. You come out here with a 200XP explorer bonus. The keypad on the wall is a level 2 hack for 150XP (or use the code 1355) to disable the lasers. The security hub is unlocked. Disable 2 more cameras. Before heading into the vent, read the XP eBook. "The Threat of Cybernetic Discognition Disorder [Volume 20]"

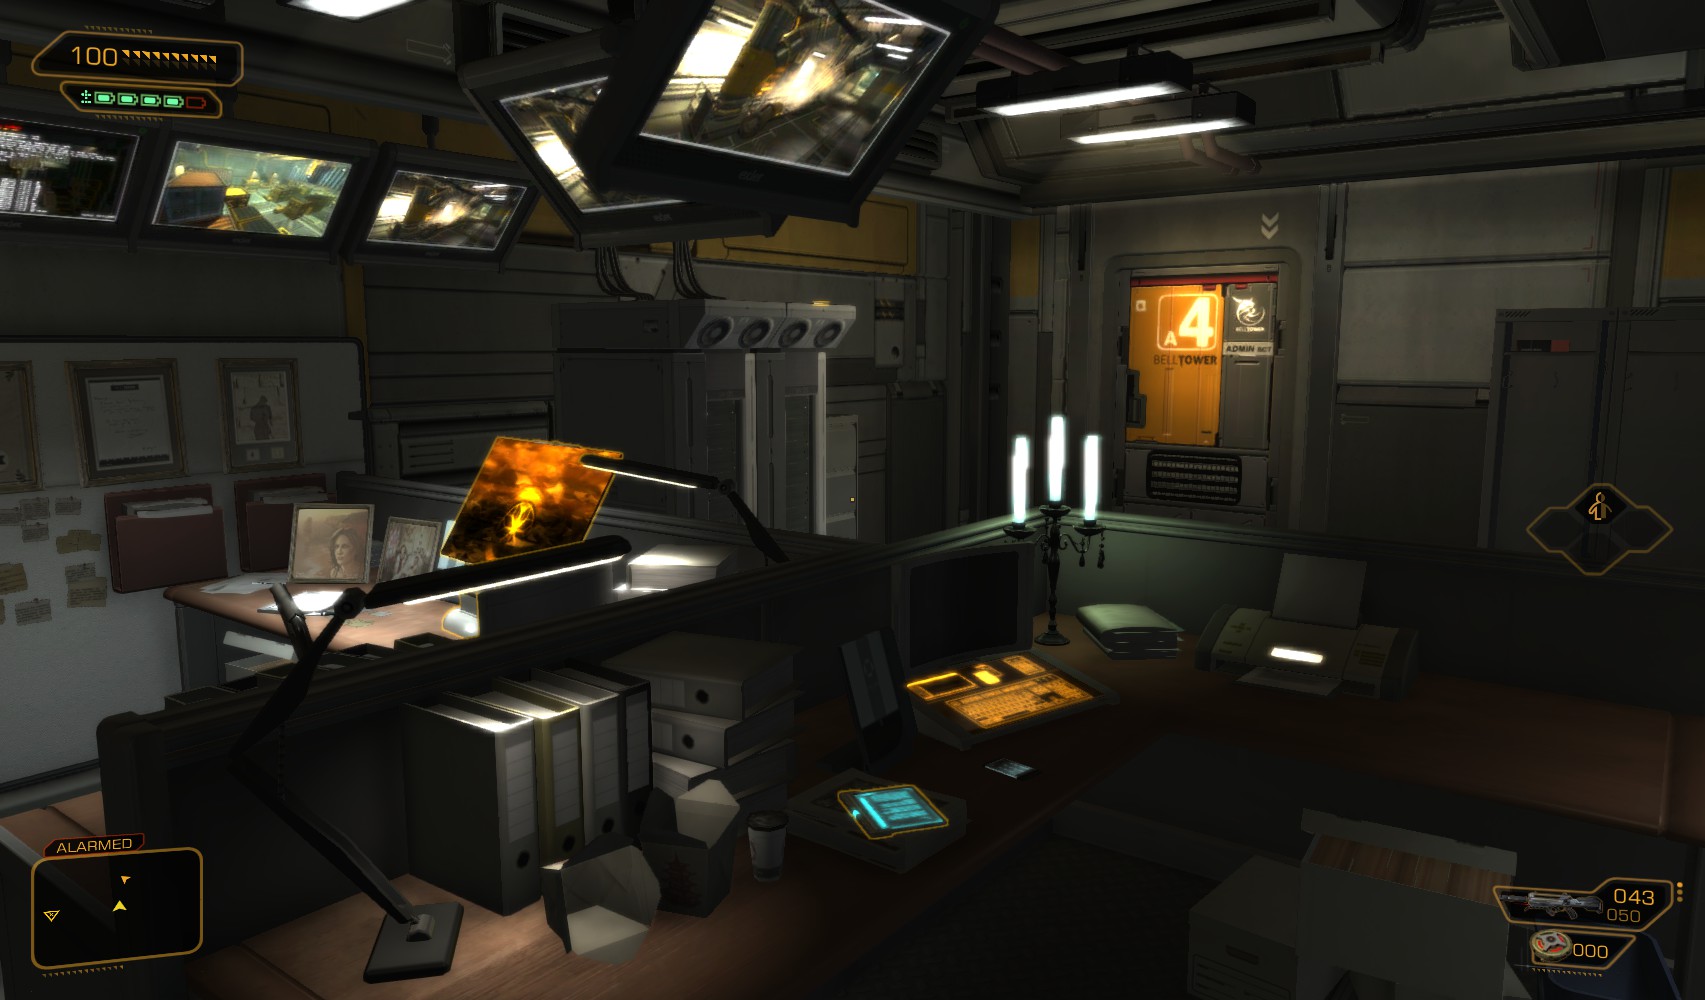
22. Take the first exit upstairs and find yourself in Burke’s office. The level 3 PC gets you 100c and 100XP (password is theogony313). Swipe his spare prosthesis from the desk. A button under the desk opens a secret stash in the wall opposite which has a golden revolver. Also search round for credits and hacking tools before going back into the vent and going left.

23. Another vent brings you here, which turns out to be Keitner’s office. The level 3 PC gets you 200XP. Hunt around for credits and ammo, and a damage upgrade beneath the desk.
24. I decide I’d like to hack the doors from the outside to both these offices, so leave via the vent, back to the cable duct access downstairs. With the lasers down, these 2 are no trouble. When the patrolling guard is at the far end, make a little noise to lure the other one round the corner and take him out.

25. Beware the patrols on the floor above when you take down the other guard before hacking this level 2 door for 50c and 50XP (the code is 1550).

26. Hunt round for credits. The refrigerator doesn’t hide anything. The PC is level 4, requiring an upgrade. I decide it’s time to spend a Praxis point (for what it’s worth, I have 9 at this point) to hack it. I get a nuke and a stop worm, and an incomprehensible crypto puzzle for my efforts. Hunt round for credits, then head up the stairs at the end of the corridor.
27. 1 guard patrols, the other stands still up here. I found the easiest way to clear the area was to go back downstairs and make some noise to bring just the stationary guard down to look, then return to take out the patrol.

28. Burke’s office is a level 1 hack for 50XP (the code is 6325). Further along the corridor, Keitner’s office door is level 3 and warranted investing in hacking stealth for its 100XP.

29. Further along the corridor, this open office has a level 1 PC for 50c. Hunt around for credits and ammo. Even further around the corridor is a level 5 door back to the loading bays. Leave it for now, and return downstairs.

30. First job is to return to Quinn with the last of the rocket launcher assembly components. I have to drop a load of stuff to just pick it up, but Quinn buys it back off me for 2000c.

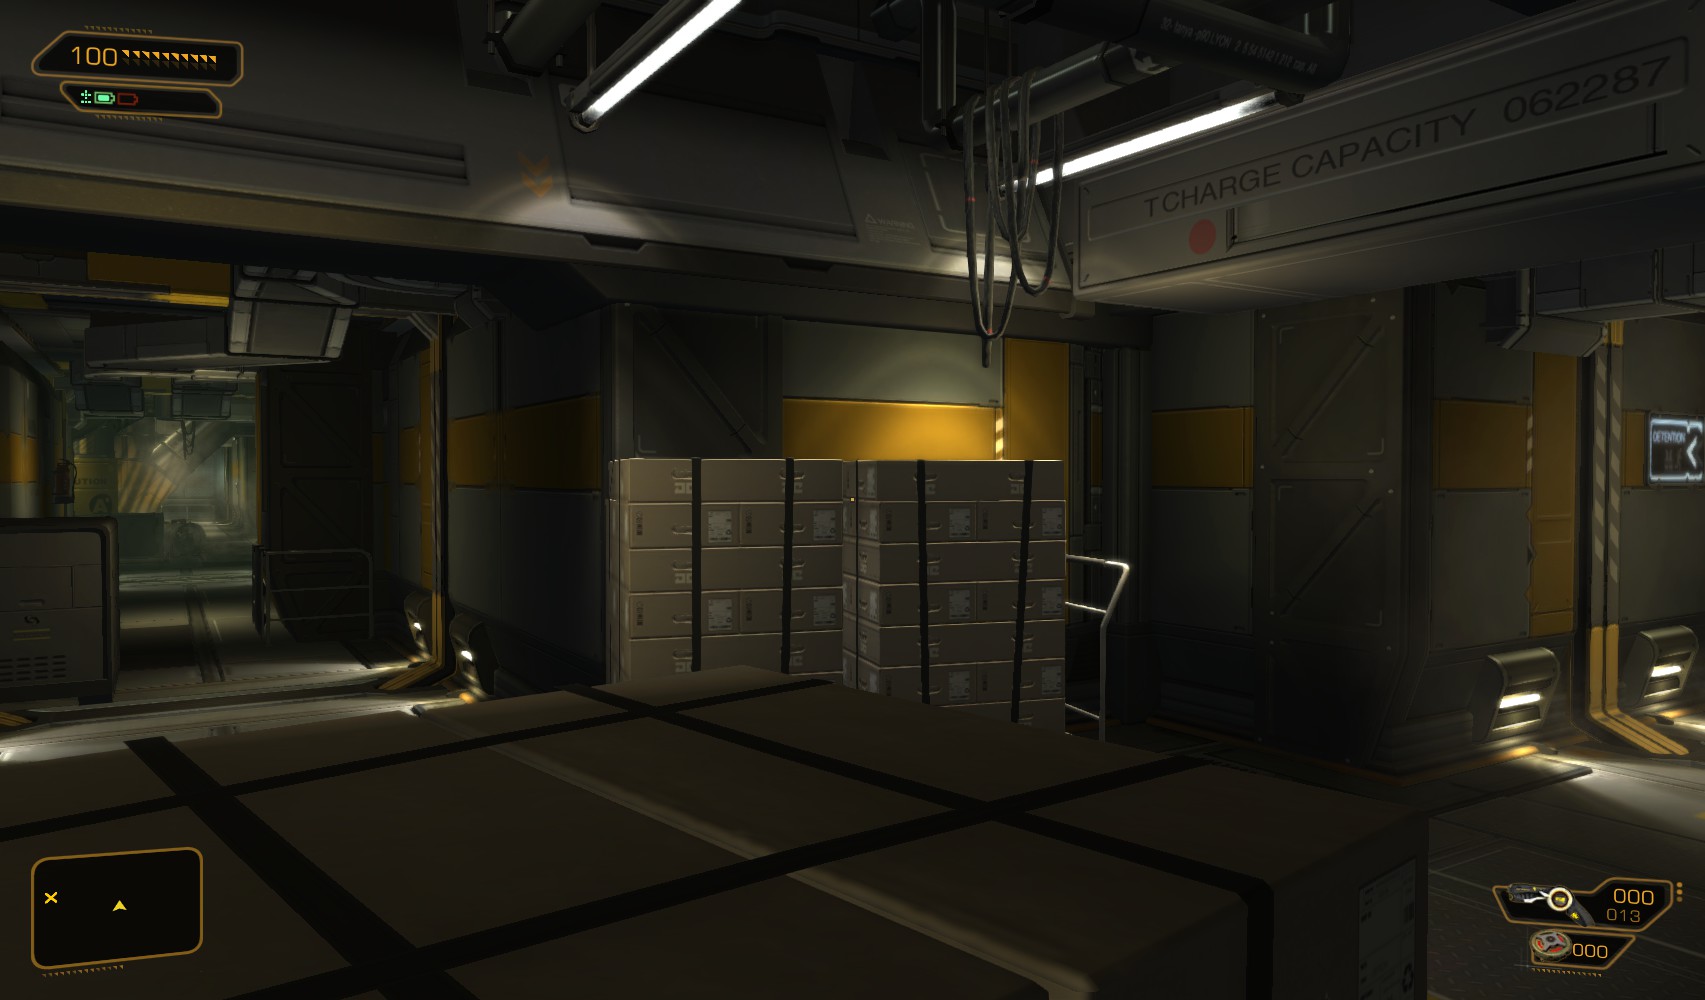
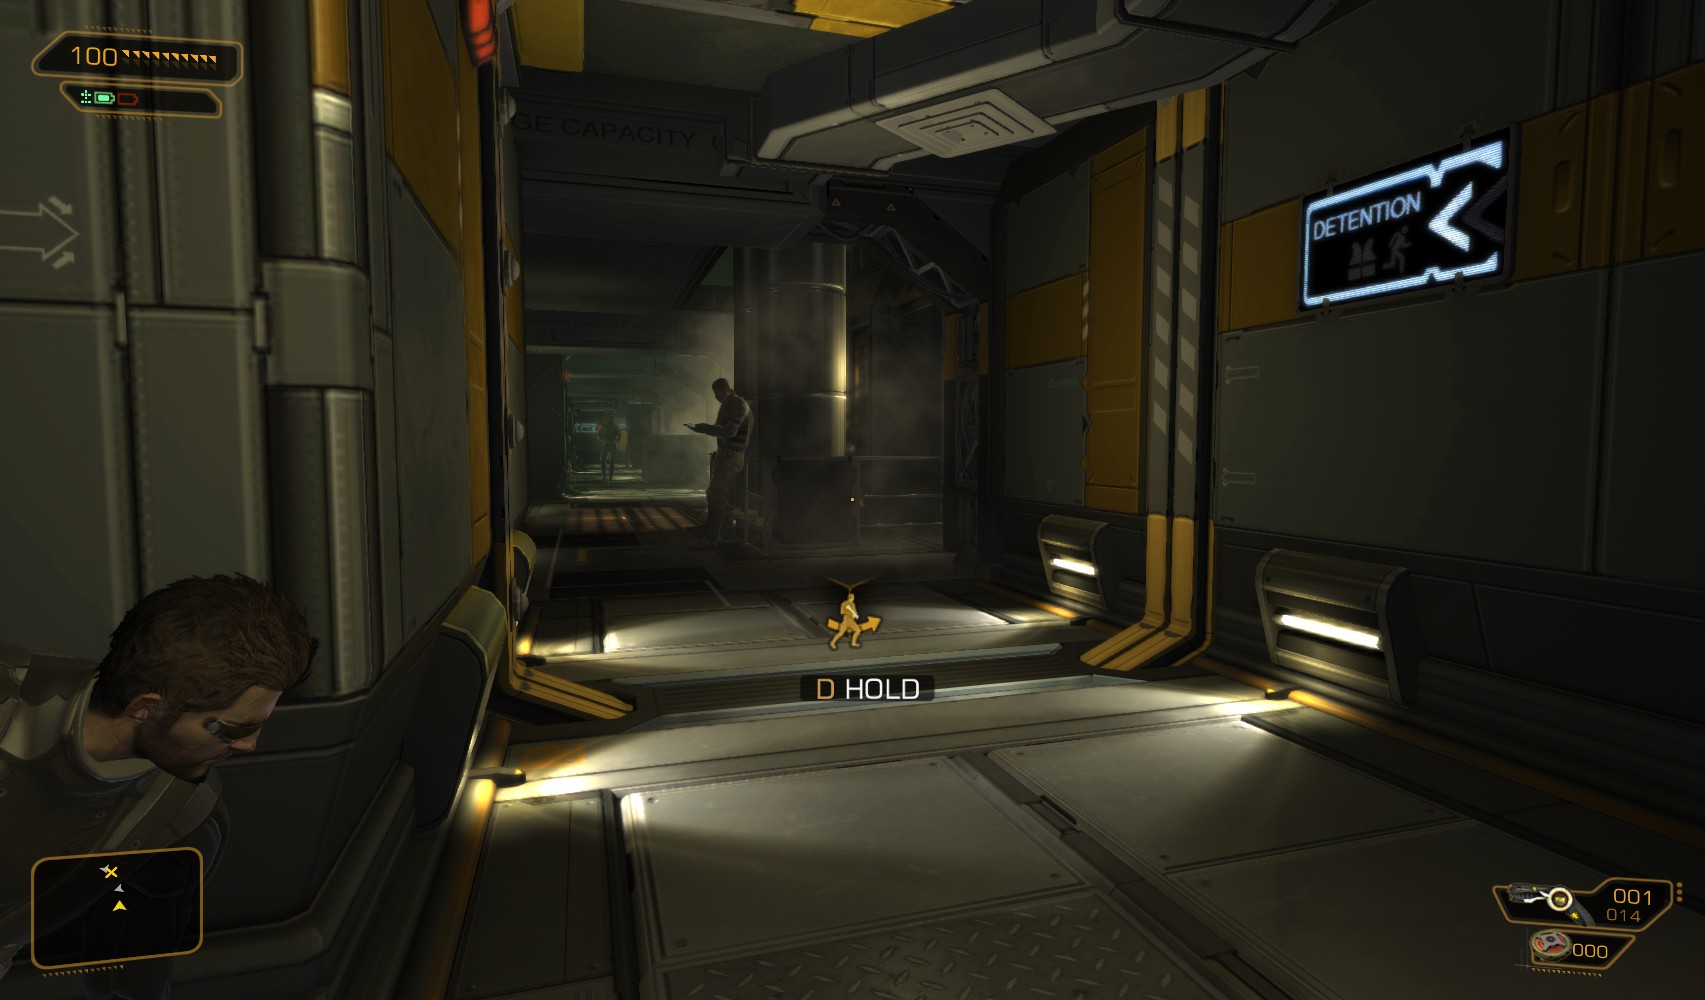
31. Now it’s time to head into the detention centre, below the stairs at the South side of the office area.

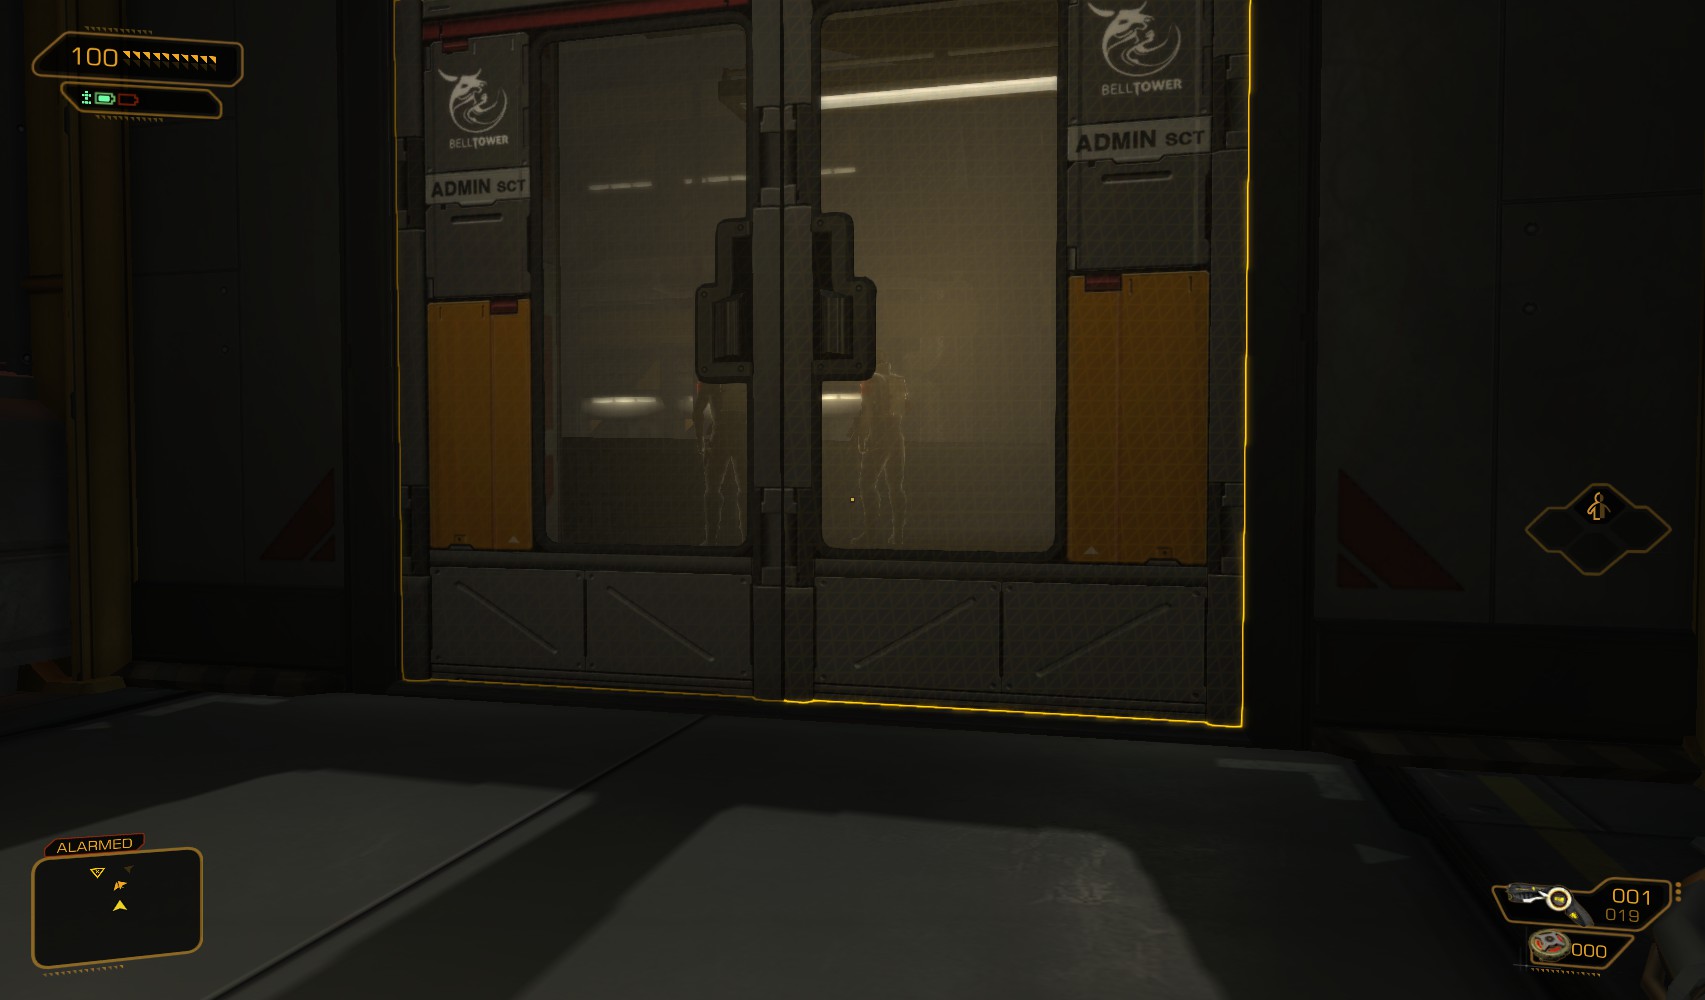
32. Another biometric scan to pass, and you’re inside.

33. Just inside the door, this guard is harrassing one of the inmates. Take him down.

34. I decide it’s time to get the reflex booster and have double-takedown fun with these two on the opposite side, before they start their patrols. One of them carries a pocket secretary with the login SiloBControl/8efehlist.

35. There are a few vents that give sneaky access to the control tower, but they’re not necessary now - I just go up the stairs.

36. Just the one guard up here. Search him for a pocket secretary with the login DetSiloB/blindeye, which works on the level 3 PC on the right. I hack it for a nuke. The level 4 security hub next to it has the password 8efehlist, and it’s a tough hack for 100XP and a nuke (it cost me a nuke to hack it!). I decide to upgrade my hacking skills and disable the robots on the floor above.

37. Your objective is the security port in the middle. Hack a nearby level 3 alarm panel for 100c when you’re done, and go back down the stairs.

38. Another level 3 alarm panel here, but no downloads. Another alarm panel on the other side is also level 3 and gets you 50c. Head up the stairs.

39. Laser fields bar your way. There are 2 of them, both level 3. This one gets you 100c, the other 50c. Head up the stairs again.

40. This level is protected by 2 Typhoon turrets. I only have one EMP grenade, but since we’ve disabled all the nearby guards, a pistol or combat rifle works, too. Then, jump onto the roof of the control tower for a 100XP traveller bonus, and a Praxis Kit. It’s worth the climb back up the stairs.

41. Through the door on the far side is another security scan.

42. Once again you’re through, and you reach these four offices. Search them for an energy bar and hypostim.

43. The one on the far right has an audio log. Listen to Dr Gary Savage and Tiffany Kavanagh talking before carrying on down the stairs at the end.

44. More cells down on this level. A cutscene conversation with one of the prisoners ensues as you approach. You can question her for more info.

45. Search the rooms on the right hand side. The first one has another audio log. A pocket secretary on the shelves has the login BTWKS025/nomotears.

46. The last room is the archives. Hack the level 2 PC for 50c (or use the password nomotears) and read some disturbing emails. Swipe another data storage device from the other desk while you’re here.

47. Go through the door at the end for a cutscene culminating in Burke using his eye to open a door. Something to do with this?

48. Indeed it is, and Quinn can help you. Read an XP eBook on the nearby desk before heading back to Quinn’s office. "The Intelligence Circuit [Volume 26]"
|
|
|
The way back being clear, I investigate some open cells. A suspicious rear wall in this one - to the right of the stairs - reveals itself as weak when I upgrade my arms for breaking weakened walls. While I’m at it, I also upgrade for heavy lifting, and drop down the gap for a 200XP explorer bonus and some painkillers. I punch my way out at the bottom. |
||


49. One level down, going left out of the cell, another open one with a weakened wall gets me another 200XP explorer bonus. Once on the ground level, I had back through the biometric check. It seems that back in the office area, on the level above at least, some of the guards I knocked out have woken up. Take them out again.

50. Another one prowls the corridors, and these two are hanging around near the elevator down to Quinn’s domain. It’s simple enough to attract the attention of one of them to split them up.

51. Return to Quinn and be impressed by his engineering skills. When you’re done, return back through the biometric check (sigh!) to the detention centre.

52. On the first floor (where the robots were originally patrolling), another open cell with a weakened wall gets you another 200XP explorer bonus. Swipe an energy bar from the cell itself, then climb up and bust through the wall at the top too.

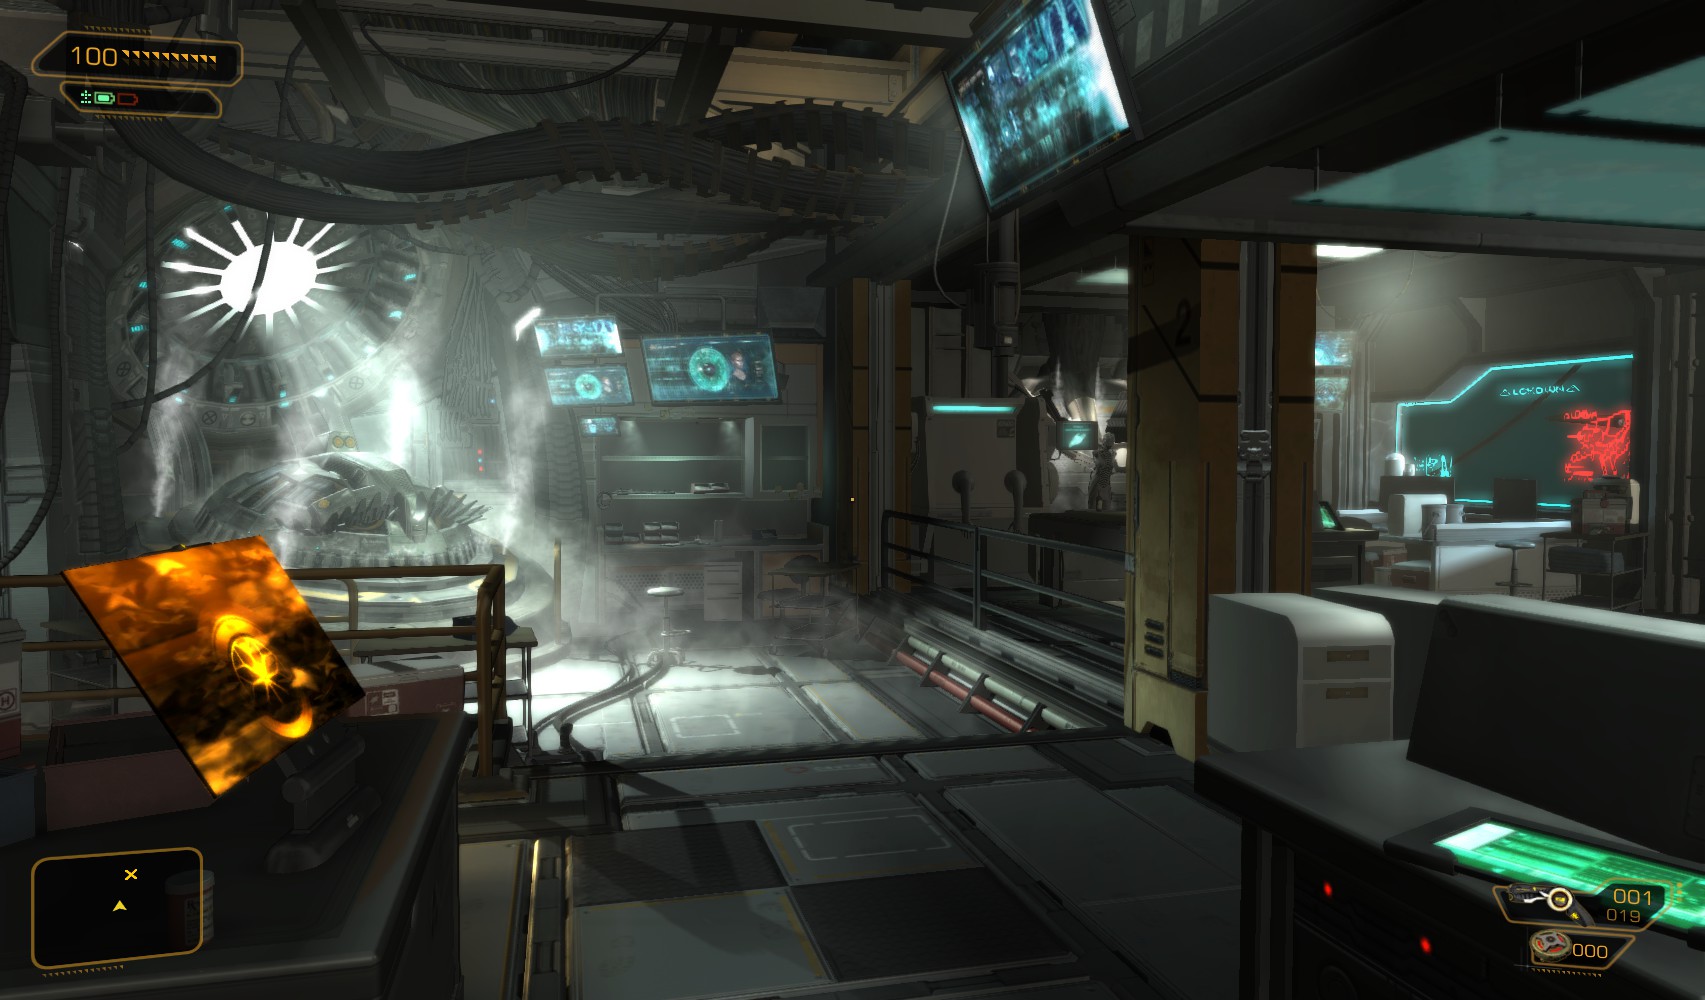
53. Return to the morgue. Climb on the shelves to the left to find Typhoon ammo, before using your newly modified prosthetic eye to fool the retinal scanner.

54. It’s a pretty long ride down.

55. At the bottom, the "patient" on the left is murmuring that she wants to die. Next to her are two holographic display tables. Interact with them for a 100XP explorer bonus each (having collected the two data storage devices).
56. Tiffany Kavanagh’s level 5 PC requires a hacking upgrade (or a pocket secretary nearby has the login tkavanagh/sgsulpkt), but gets you 200XP and some background emails.

57. The last holographic table needs a third data storage device which is nearby, and gets you another 100XP explorer bonus. This trauma kit can be used to put the girl out of her misery (this doesn’t affect Pacifist achievements).

58. Speak with Dr Kavanagh to learn more about the lab and the O.C.M. project. Plug her for more info, but that’s everything you need to satisfy Interpol

59. A drawer next to Tiffany has a Praxis kit, and don’t miss the XP eBook on the top before you go. "Nano-Augmentation: Pipedream, or Theory for The Future? [Volume 29]"

60. Choose whether or not to administer painkillers to the patient/subject/drone on the bed before you return to the elevator.

61. The ride back to the base isn’t quite as smooth. Use the button next to the door to lower a ladder in the ceiling, and climb out.

62. Climb ladders and pipes as far as you can up the lift shaft. At the top of the last ladder is a vent, but before you go through, move one of the heavy crates to allow you to jump up to the next ledge.

63. Your reward - a 300XP pathfinder bonus and a Praxis kit. Drop back down and through the vent.
64. You drop down onto a suspended ceiling. Find an EMP and a gas grenade by the other vent in the corner which drops you into the morgue.

65. These three are guarding the elevator. I decide to leave them be, but raid the weapons case on the floor behind them before I go.

66. As you leave the biometric scanner you find Keitner. She’s in pretty poor shape, and expains that Burke has taken control of the facility. As part of a scorched-earth protocol, he’s filling the cells and the lab with gas. You need to get to the control centre in the detention area quickly to try and divert the gas to one or the other - save the whistleblower, Kavanagh, or save the prisoners.
67. As you enter the detention area, these two are good for a double-takedown.

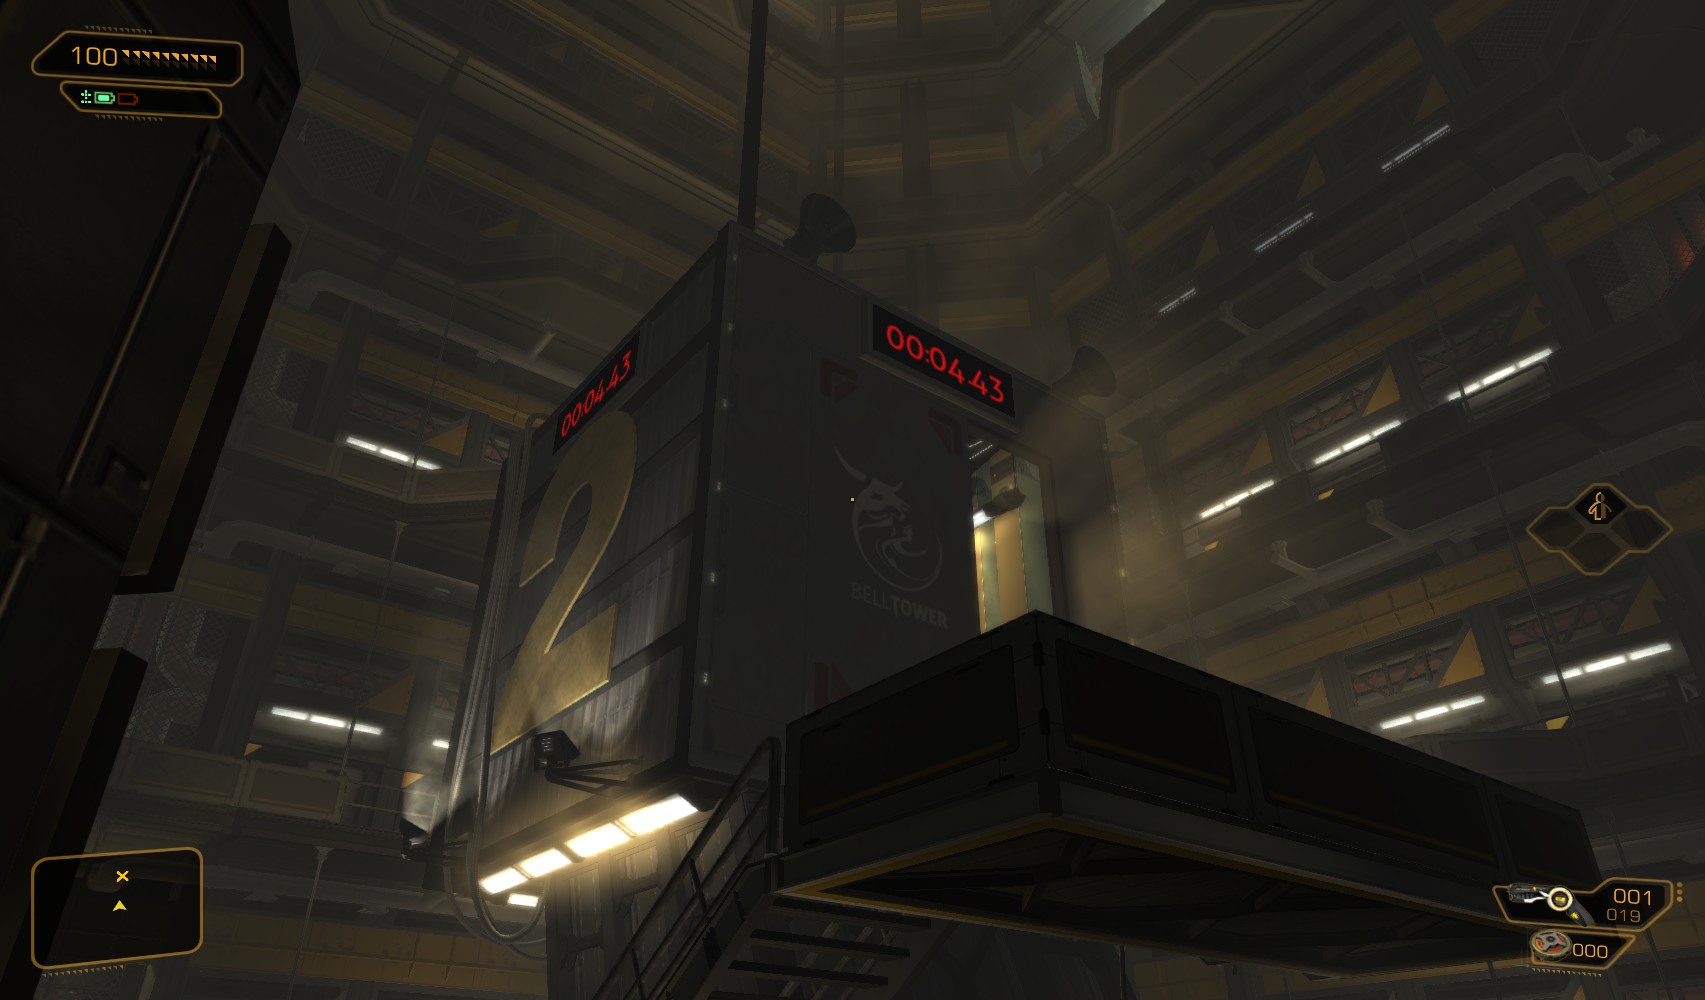
68. Another sniper is on alert on this level further round. Take him out too. From here you can see the countdown showing how much time you have. Having knocked the walls through, you have choices on how to get down to the bottom. Don’t take too much time. 2 more snipers are on the middle level, and 2 more at ground level.
|
|
|
One solution here is to get to the control tower, either through the various vents, or down the ladder in the control room itself. From here you get to choose to save the prisoners, or save Kavanagh. |
||


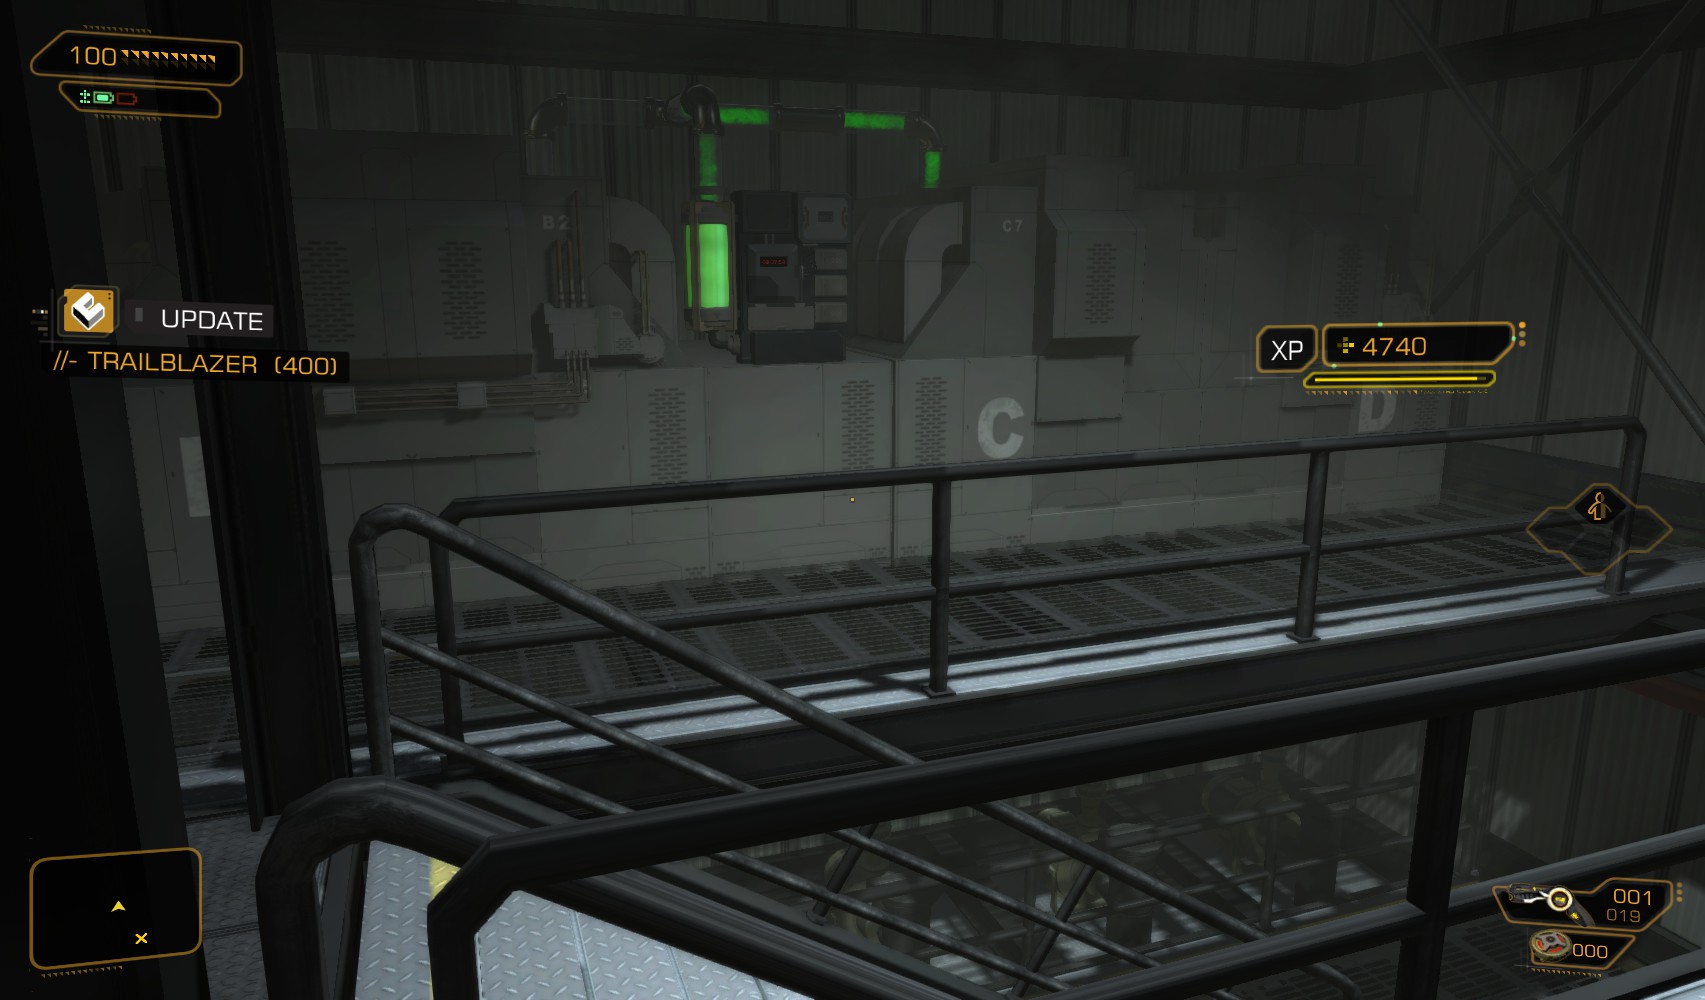
69. This being Deus Ex, a third hidden option exists. Move this heavy crate to expose a vent. Head in for a 200XP explorer bonus.

70. Inside is an ammo capacity upgrade. Climb onto the ledge above and through another vent.
71. You emerge here with a 400XP trailblazer bonus. Shoot the gas to save everyone. Find a target-leading system and 1000 credits at the foot of the stairs.
72. Of course there’s a 4th option - you run out of time and save no-one.

73. In any case, return to the control room, drop down the ladder for a credit chip, then return here and "use" the console to release the lockdown.

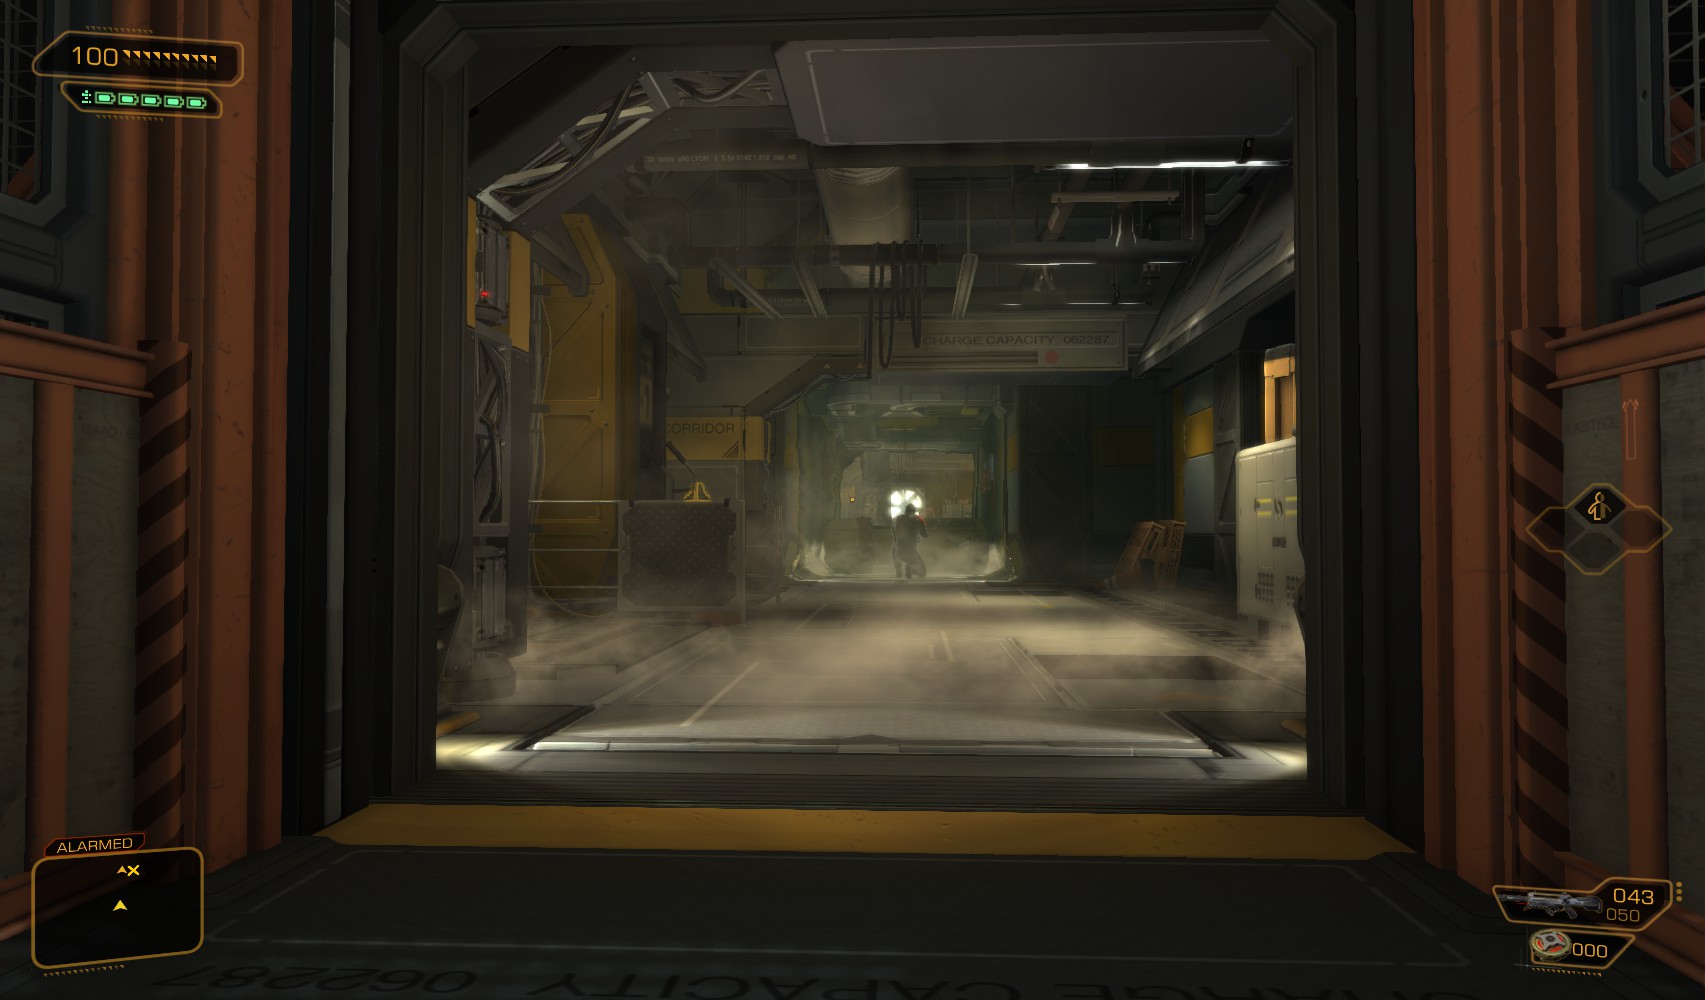
74. Time to return to the loading bays, to find Burke. This time, the biometric scan is interrupted by Burke, who’s finally caught on.
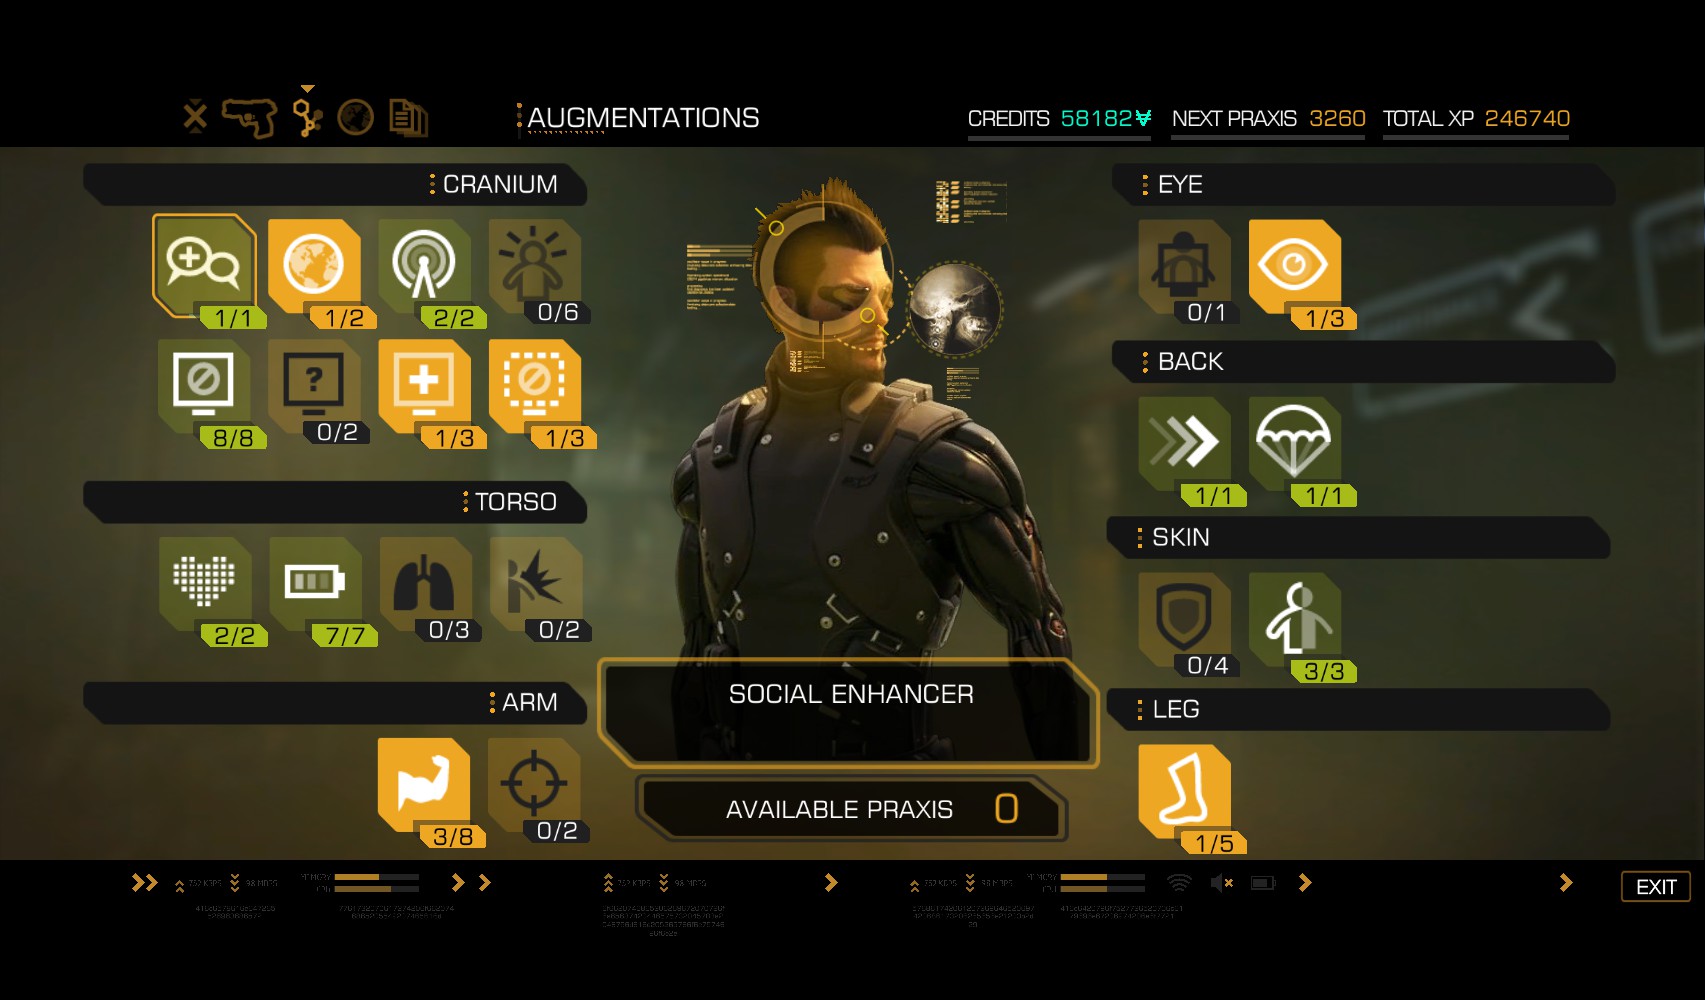
75. It’s a good time to spend some of thos Praxis points. Cloak is a good choice now (fully upgraded). I also invest in the energy converter for extra slots and faster re-charge.

76. Quinn contacts you and suggests you visit his "shop". Careful exiting the scanner, as all the guards are now awakened and on alert. One of them periodically looks down on the door to the detention area.

77. Head left. To the right are these two goons guarding the corridor.

78. Disable the mines protecting the maintenance access to the offices on the upper floor, but leave that for now and keep on going.

79. Round the corner, a lone patrol is for it. There’s every chance that access to the elevator down to Quinn’s store is guarded, so keep right along here.

80. Whilst we’re here, we might as well take down the two guards overlooking the staircase!. Then head into the vent down to Quinn’s shop.

81. The door is open.

82. Inside, the two safes are unlocked because I chose to put the drone out of her misery in the lab. A Praxis kit is always welcome!

83. In the rear, Quinn’s PC is unlocked. Move some crates next to it to reveal a switch that opens the secret stash and gets you a 100XP traveller bonus. Inside there is a level 5 PC to hack for 200XP and a nuke. Read some more background on our Mr Quinn before heading upstairs. This time use the elevator.
84. You come out behind another guard. A second is in position beyond him, too, but I leave him alone as it means walking past the main door to the loading bays, guarded on the other side.

85. Instead I make my way back to here, and head into the maintenance shaft.
86. Upstairs, go all the way to Keitner’s office. Outside, one guard is stood outside, another patrols. I leave them both alone, and head right.

87. This level 5 door gets me a stop worm. Through the door, head left while the guards below are planning their move.

88. No time for niceties here. A nearby security hub would allow me to disable that turret, but it’s quicker to cloak and head through a door that’s right behind it.

89. Opening the door at the end of that corridor triggers a cutscene.

90. As soon as the cutscene ends, crouch, cloak, and make a dash for the red containers one the left.

91. From this position, you start to see what you’re up against. There’s the boxguard, a sniper on the gantry opposite, and a guard patrolling below. There’s also a sniper on the gantry above you in this shot too.

92. An open container nearby contains ammo. Climb the containers to reach the gantry at the top. It takes a little luck and careful timing to do it unnoticed.

93. Take down the first sniper here. His body will be hidden behind the fencing on the gantry.

94. Then sneak through the office and deal with the other sniper.

95. From up here you can see the remainder of the opposition. One gaurd patrols below with a turret, a heavy-rifle guy is on the roof of the far office, which is where Burke is watching. Time to take out the boxguard.

96. The nearby office has a level 2 security hub. There are no downloads, but you can disable the turret and the bot.

97. Return to where you took out the second sniper. Watch out for the guard below and descend the ladder.
98. Take him out at your leisure.

99. Sneak ahead to somewhere here. Note that Burke (in the office) is watching and will get alarmed as well as the heavy guard on the roof and the guard patrolling the floor. Sneak round to the left.

100. Wait for the guard to move away, and watching for the heavy guard on the roof, take him out, then climb the ladder.

101. Burke is behind this door, but there’s time for hacking later. Climb the ladder and take down the heavy rifle dude. He carries a pocket secretary with the code 5359.

102. At the far end of the roof is this hole in the ceiling. Stock up on energy, then cloak and drop through.
103. Take Burke down to complete the mission. The mysterious caller contacts you again and tells you to make your way back to the loading bay, now cleared of guards. Burke’s PC is unlocked. Hunt around for stuff, then leave. You can hack the door to his office from the other side - it’s level 5, has the code 5359, and gets you 400c and a stop worm for hacking it.

104. Back in the loading bay, you can hack the level 5 security hub for 200XP and a nuke. The turret is already turned off. Head outside.

105. Have the long conversation with Quinn, or whoever he is. If you attempt to use your Social enhancer, you get an amusing response. Question him to learn about Janus.

106. When the conversation is over, read the pocket secretary for a message, then use the equipment case to regain the remainder of your lost kit, as well as the Praxis points lost (there’s a maximum cap on this). Any items you don’t have room for are dropped - you can reinstate your Augs to carry it.

107. When you’re loaded out, swipe some credits near the wooden crate, hack a level 3 alarm panel nearby for 50c, then "use" the stasis pod.

108. Listen to a conversation between "Quinn" and another mystery voice as you’re taken to a new ship.