
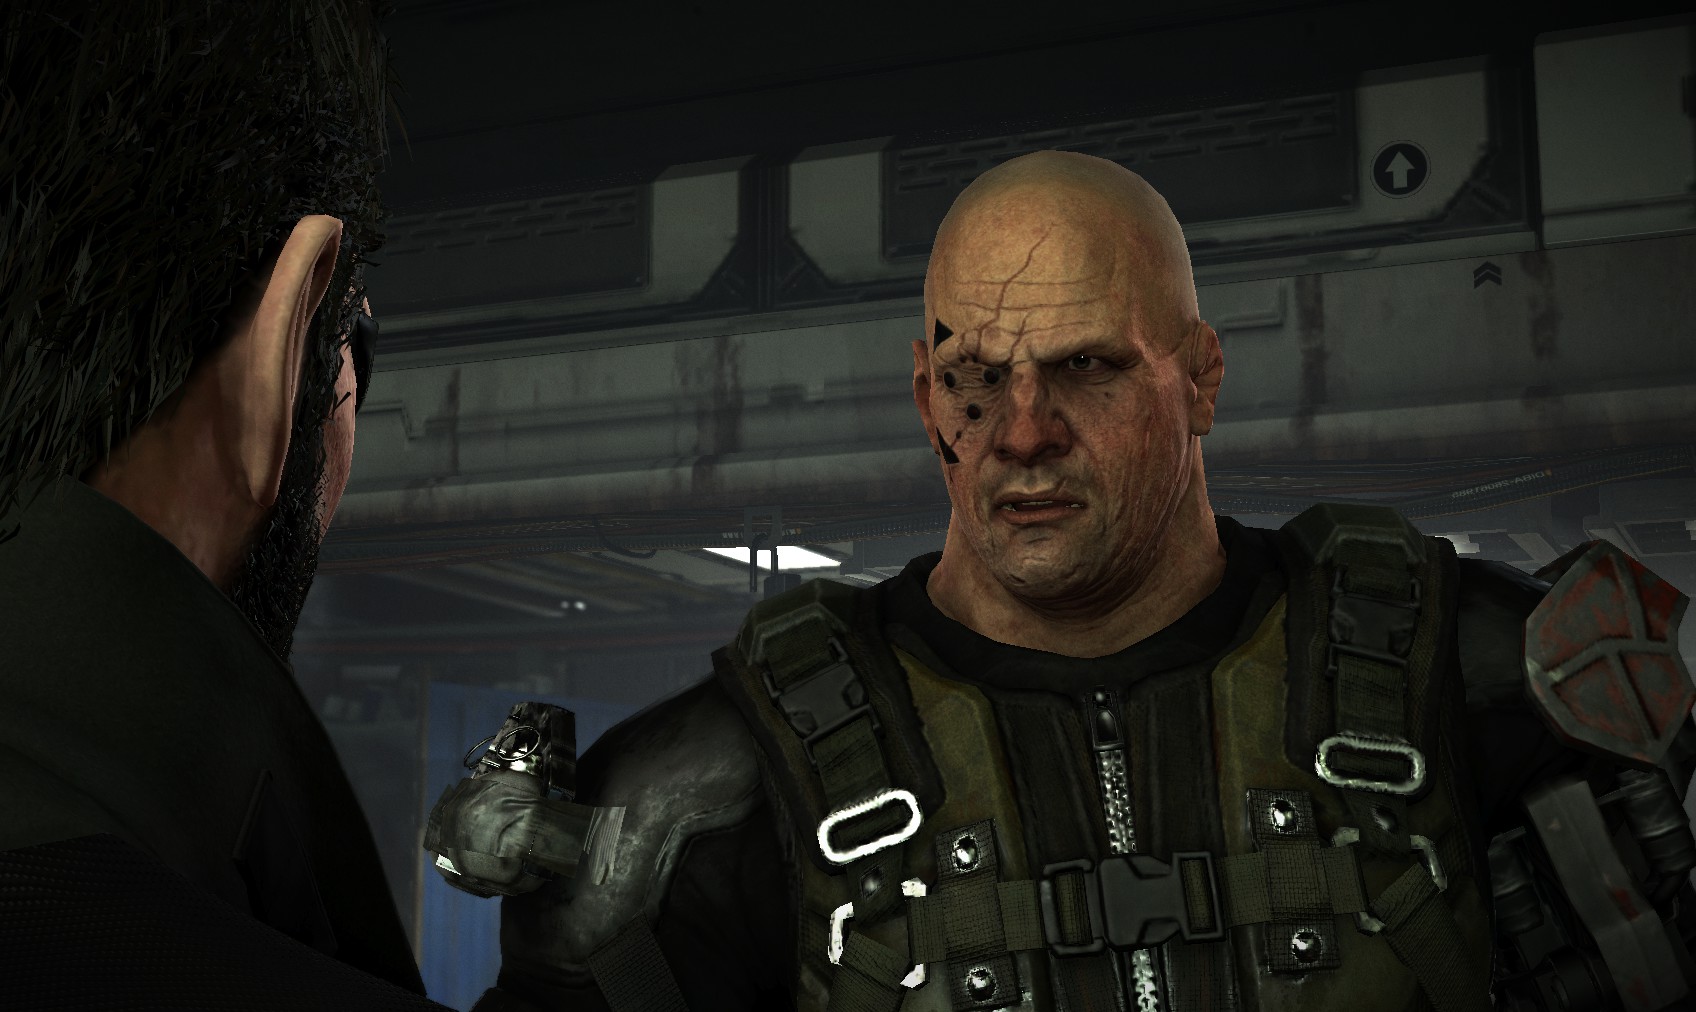
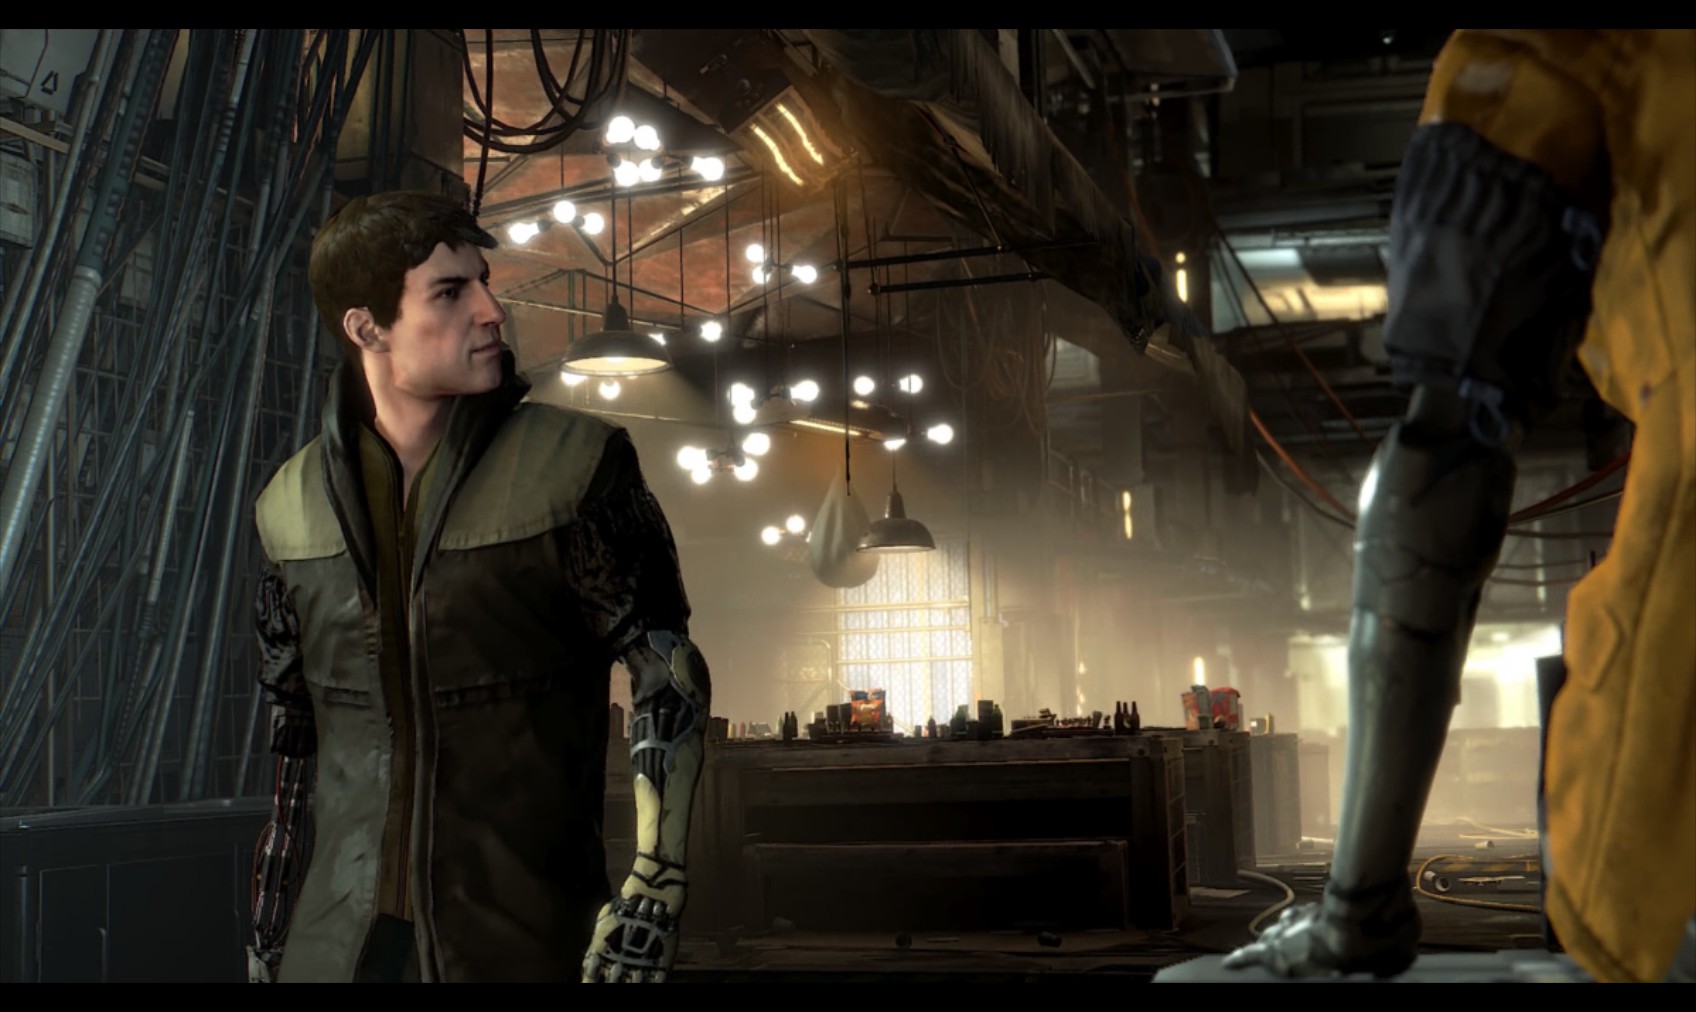
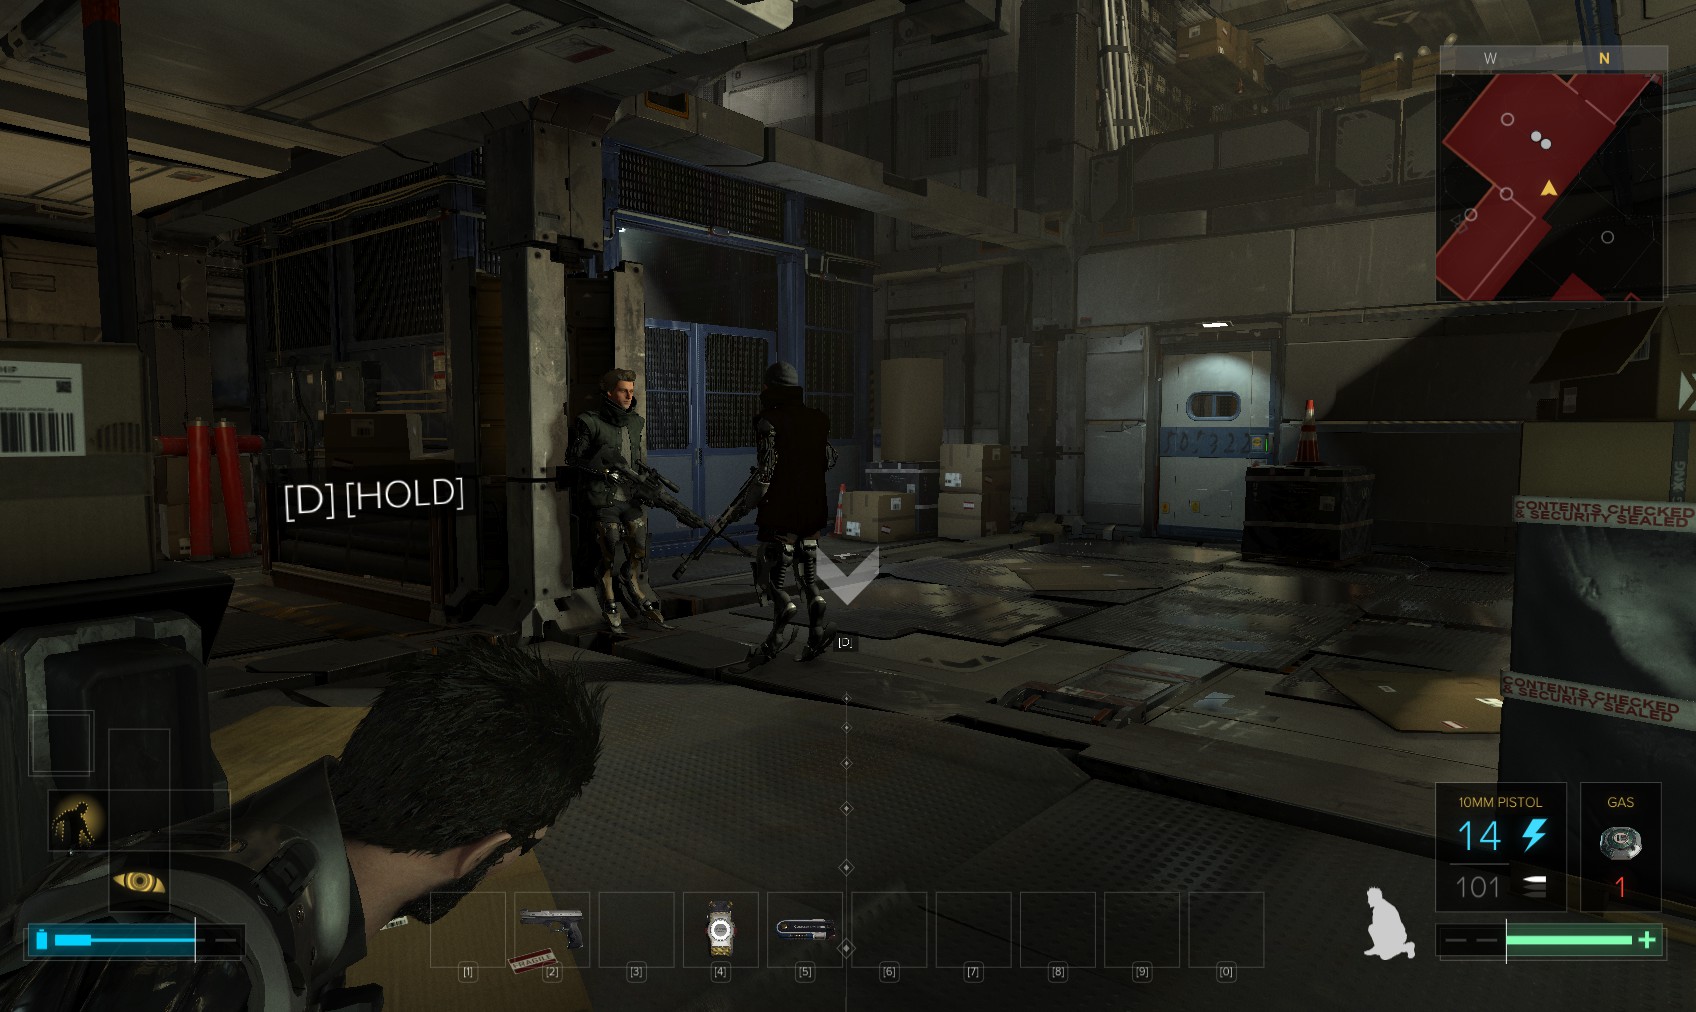
1. As you go through the door, a cutscene plays, and the huge guy introduces himself as Marchenko.

2. When he’s finished, head back out the door to collect your Penguin Prince and bring him along.
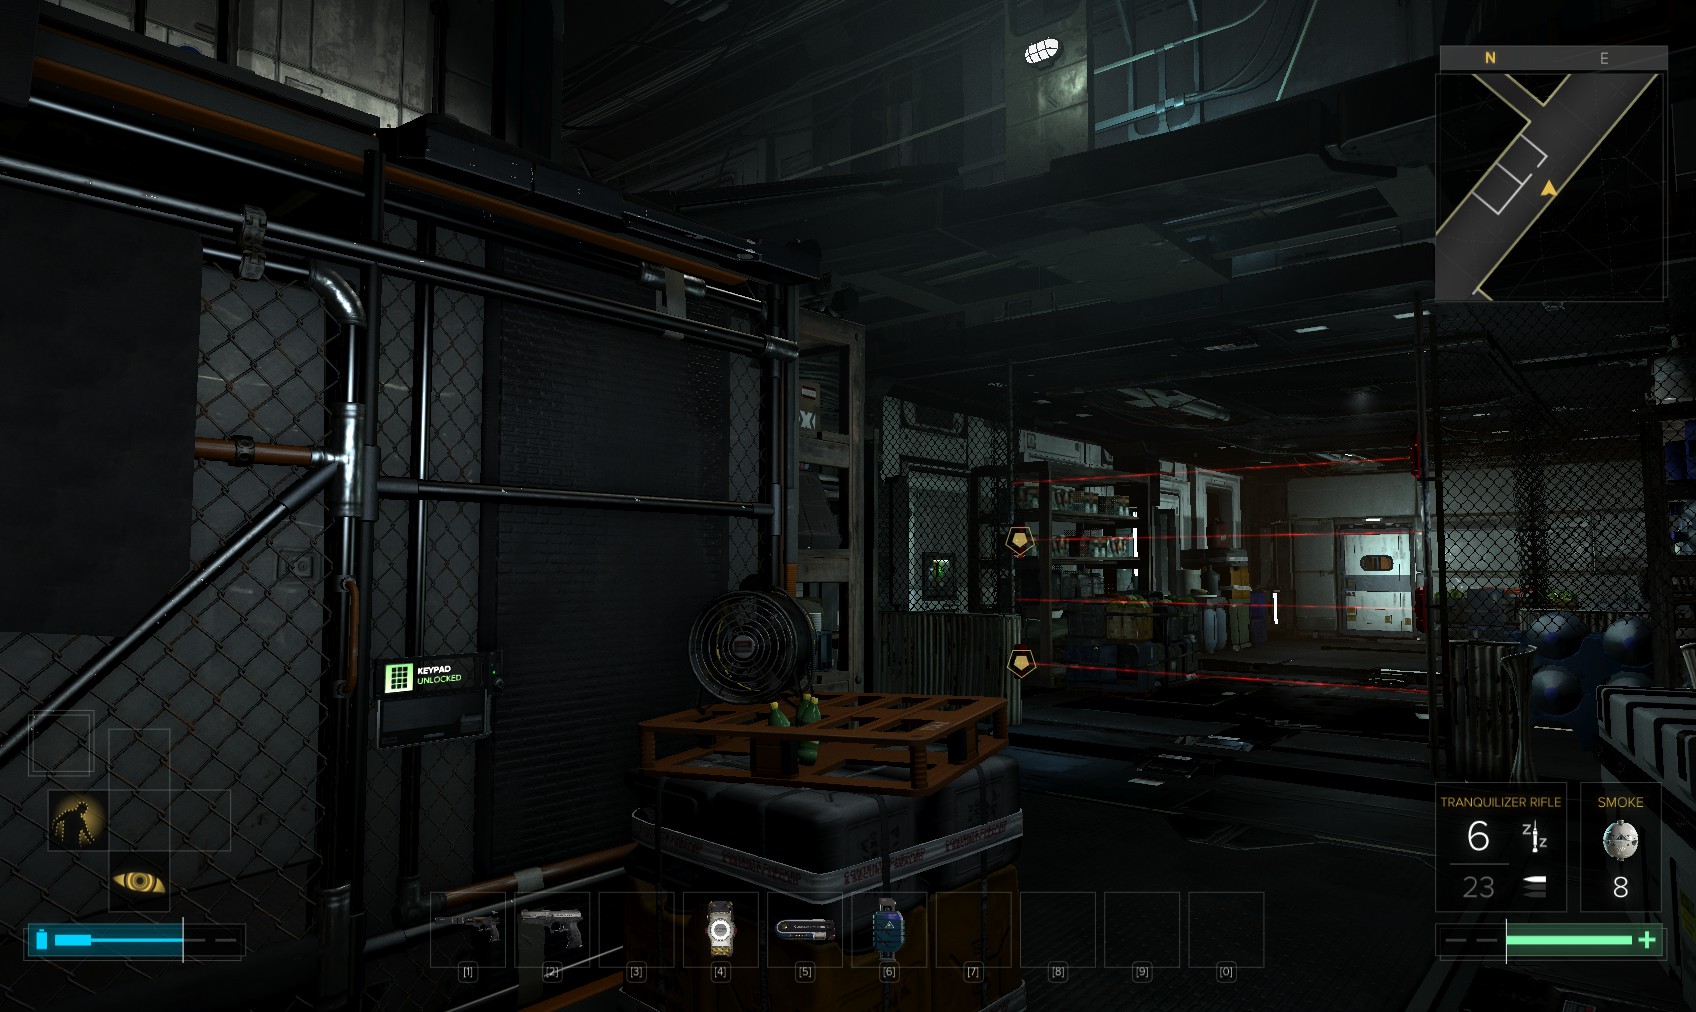
3. Hunt around for goodies, including this hackable container with a weapons cabinet and hacking software inside, and a weapons case nearby.
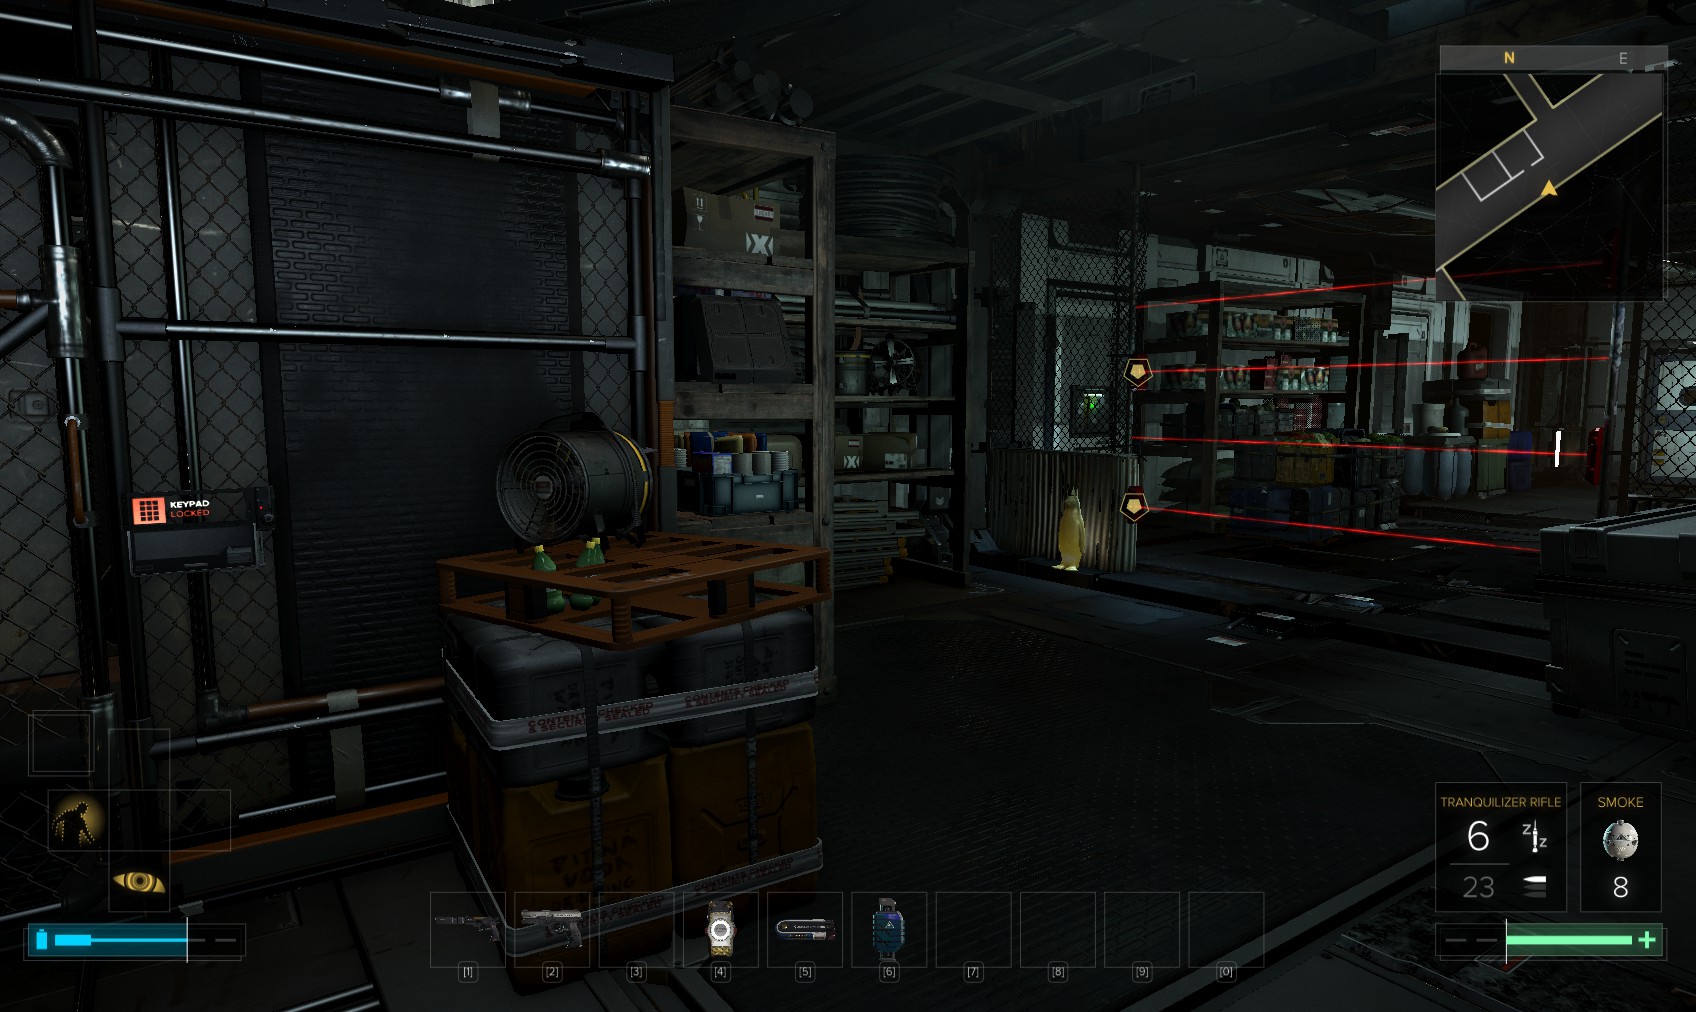
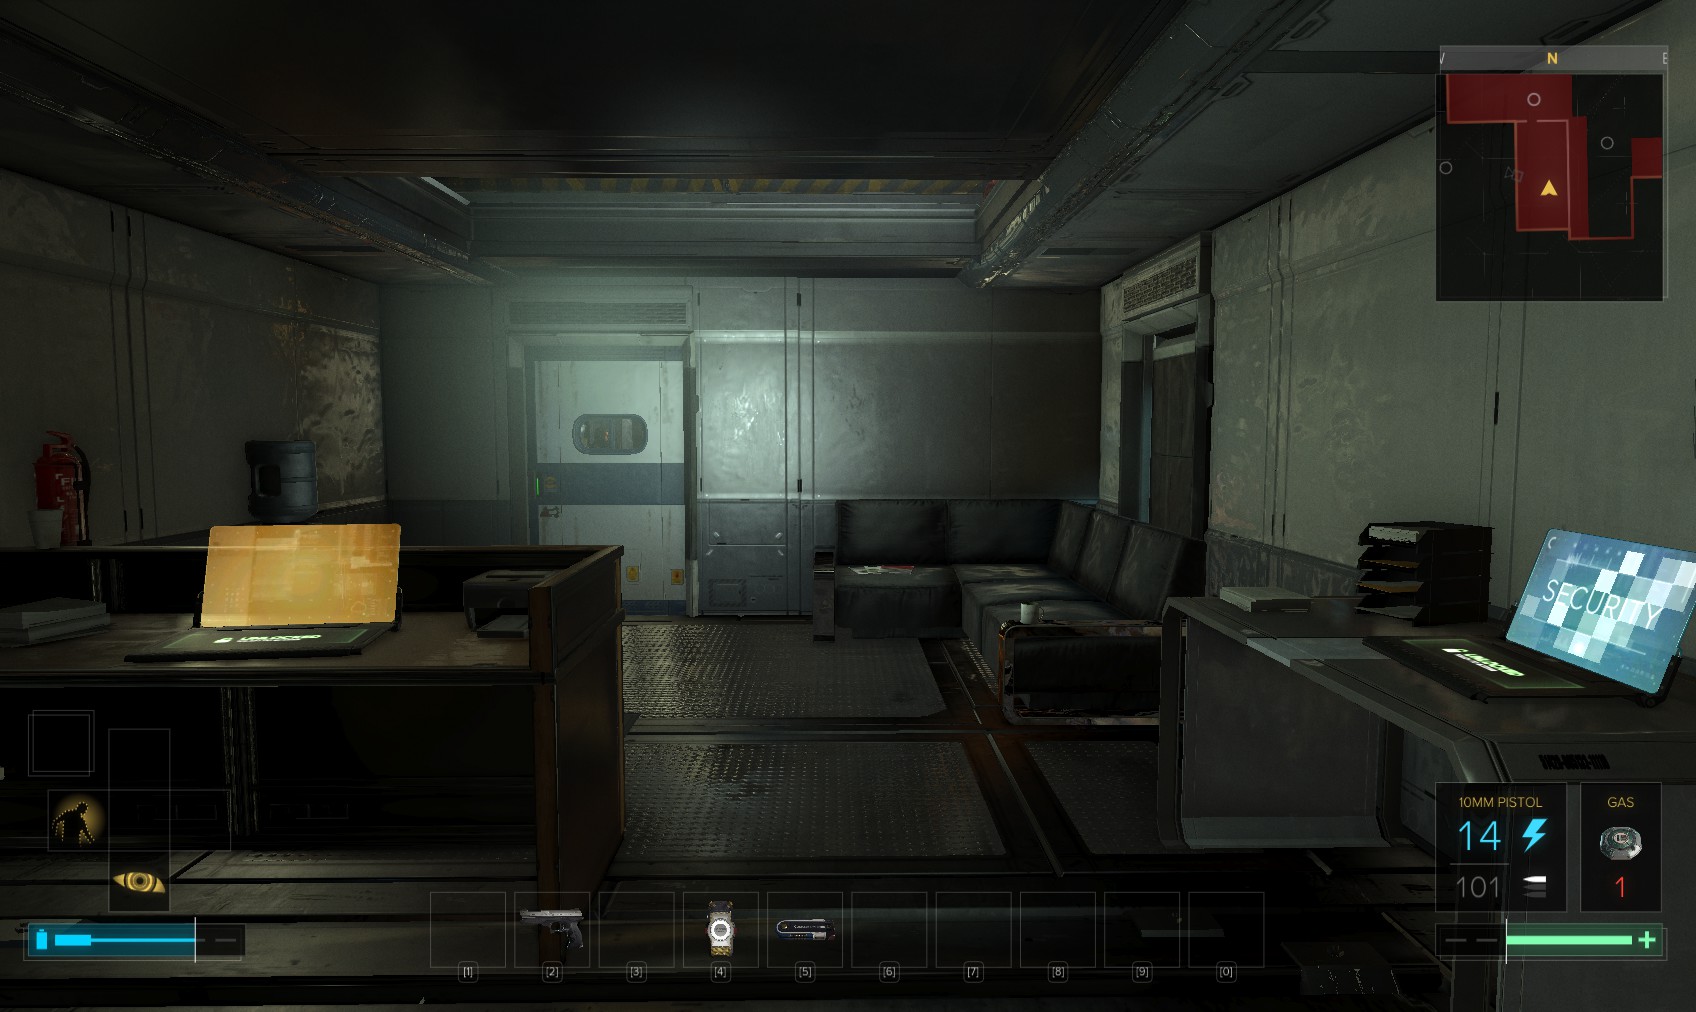
4. Head to the rear to these cabinets and lasers. The level 1 door has nuke software.
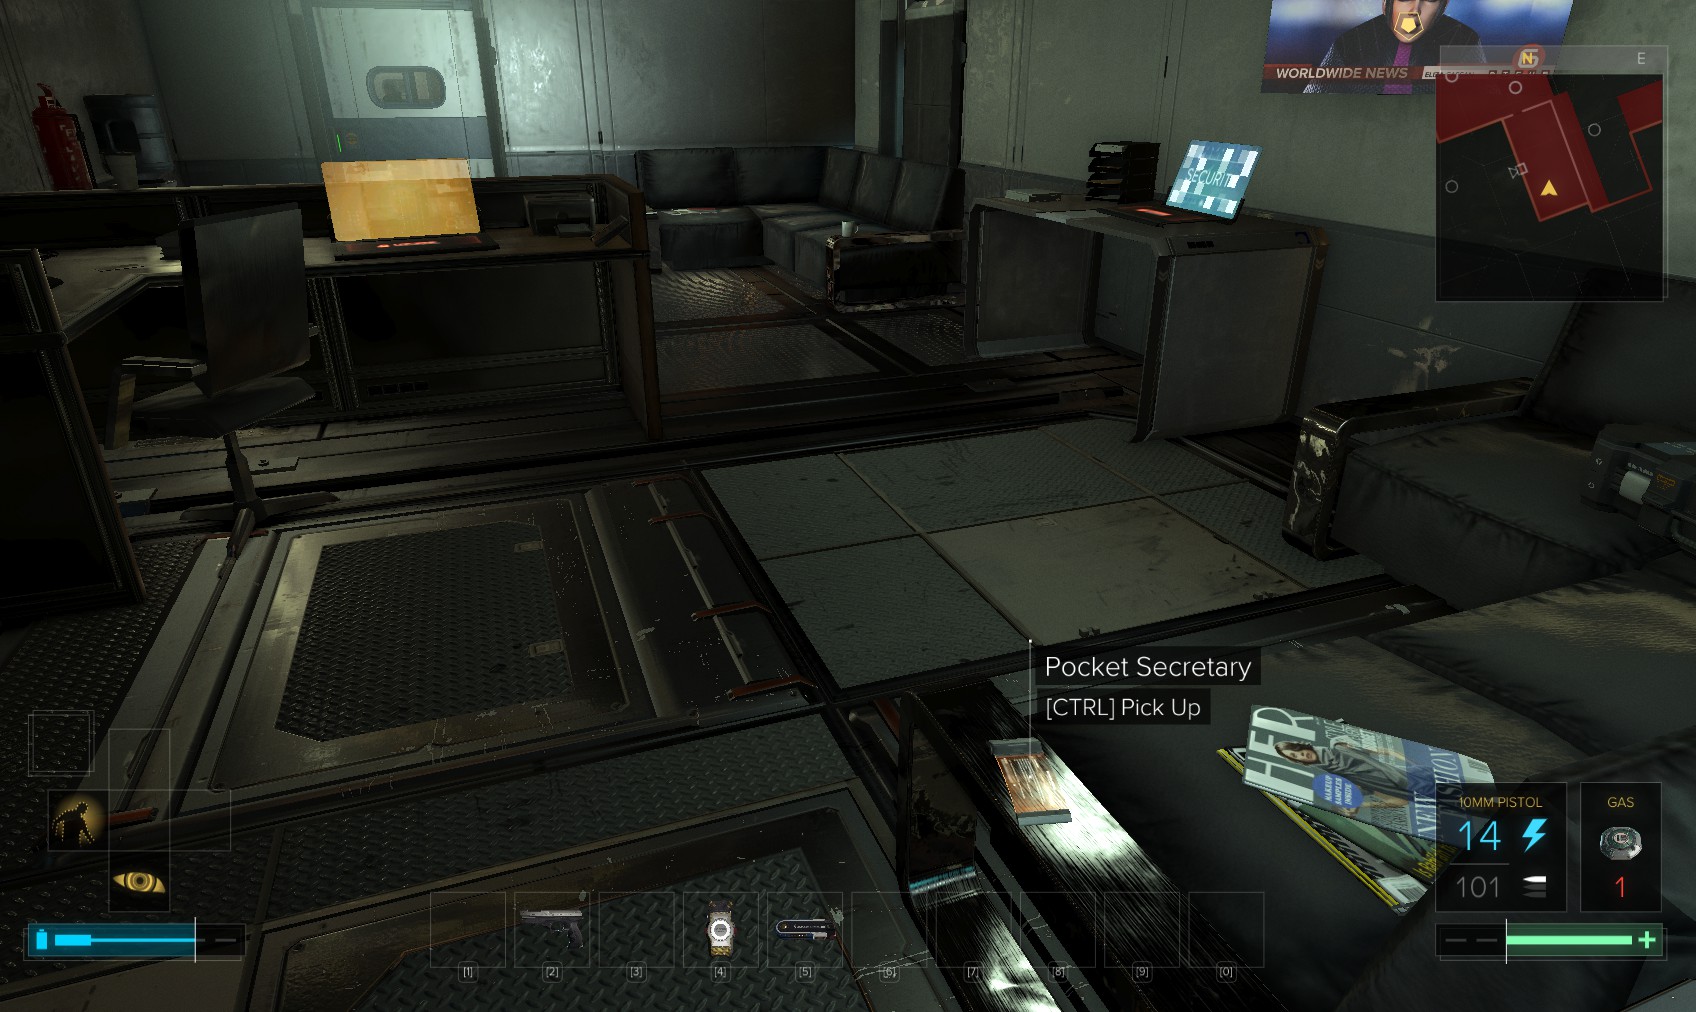
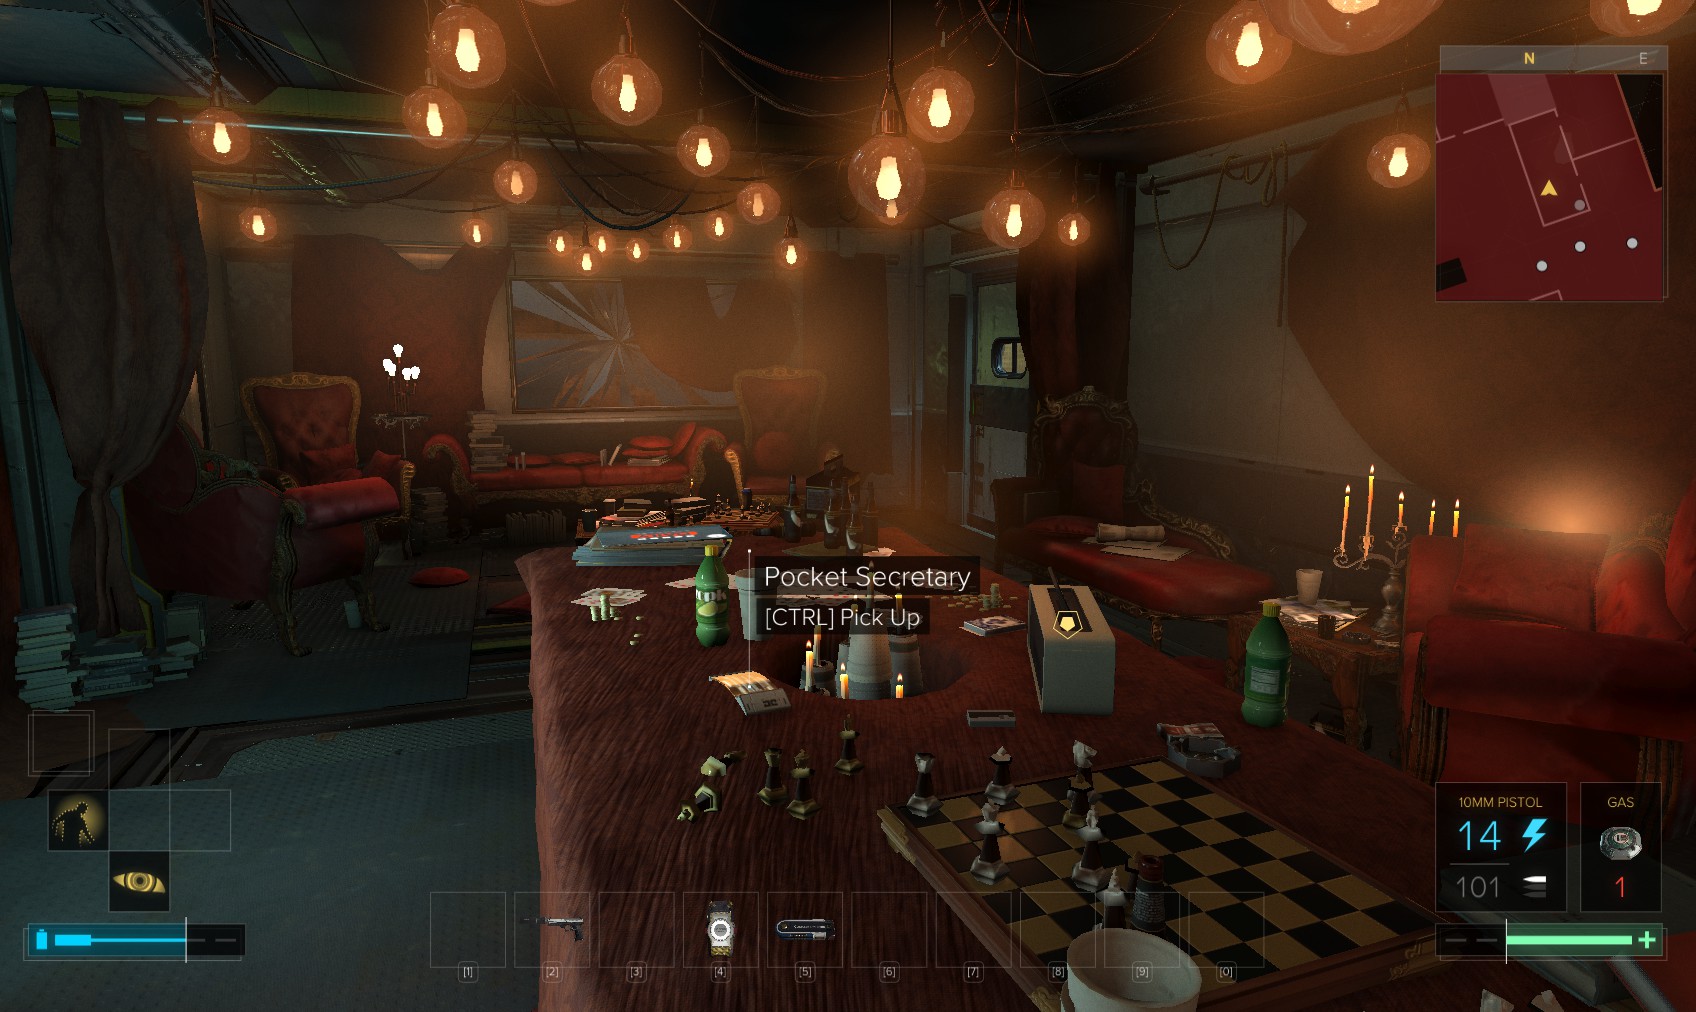
5. Inside is a pocket secretary from Max with the code 3354. Move the large crates for access to another weapons cabinet with ammo and an EMP grenade.
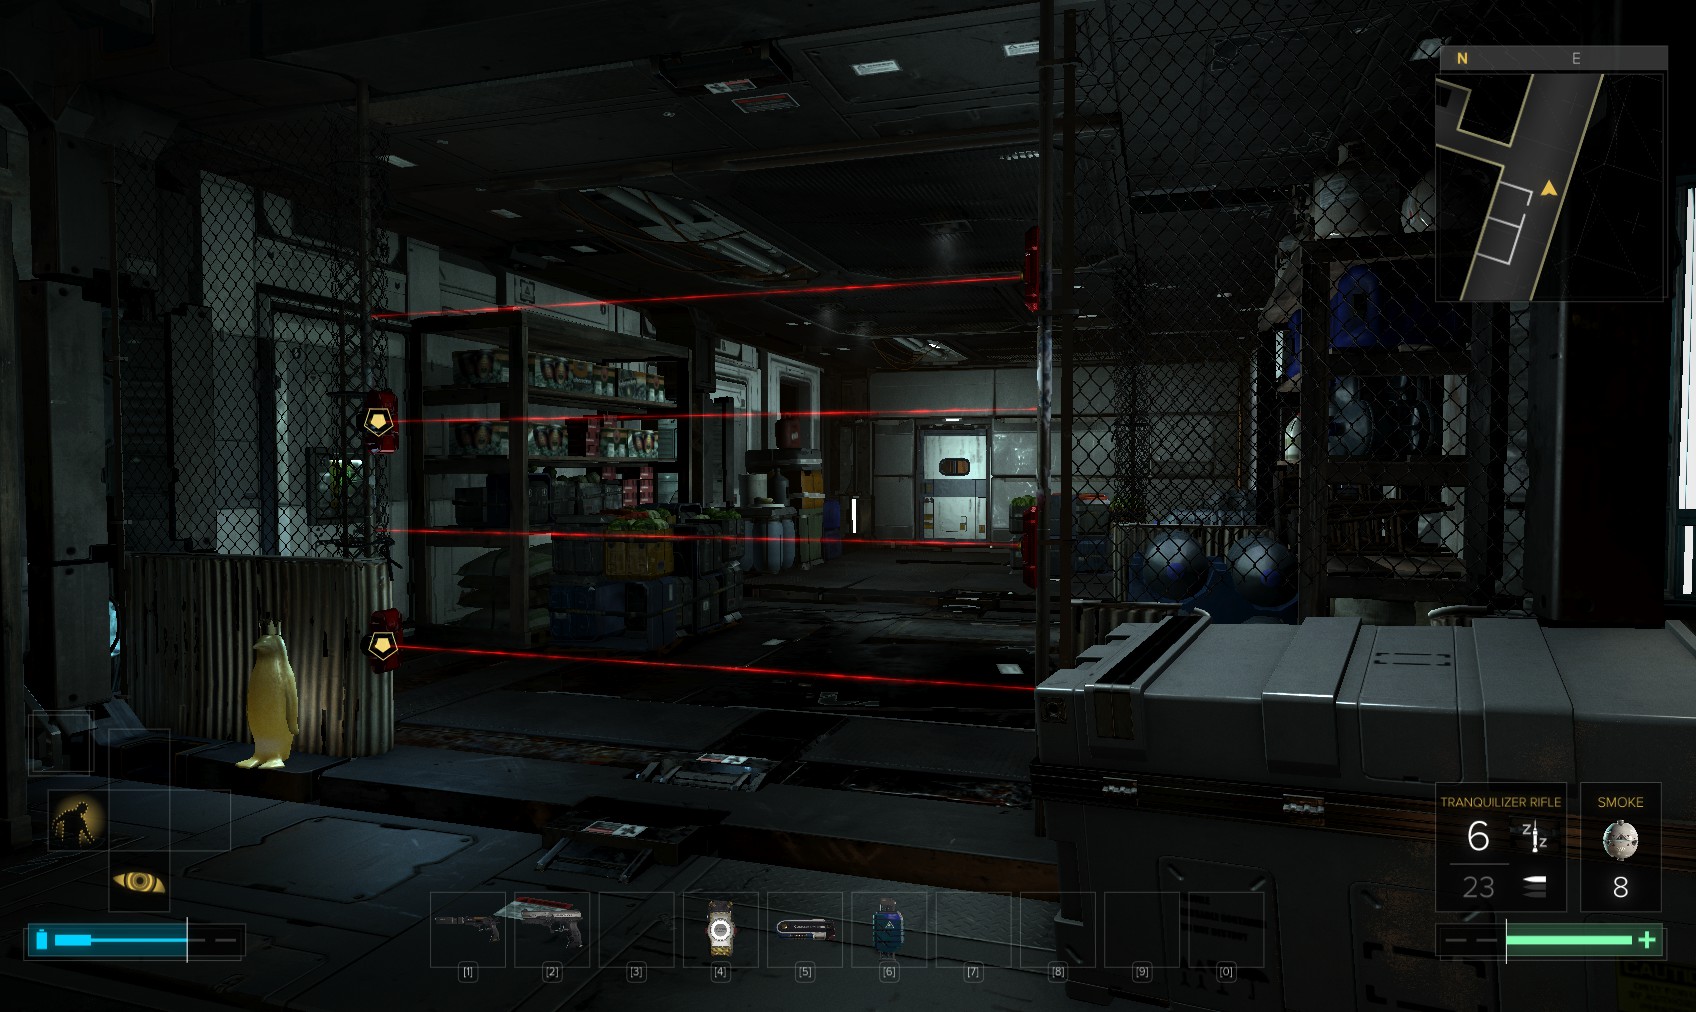
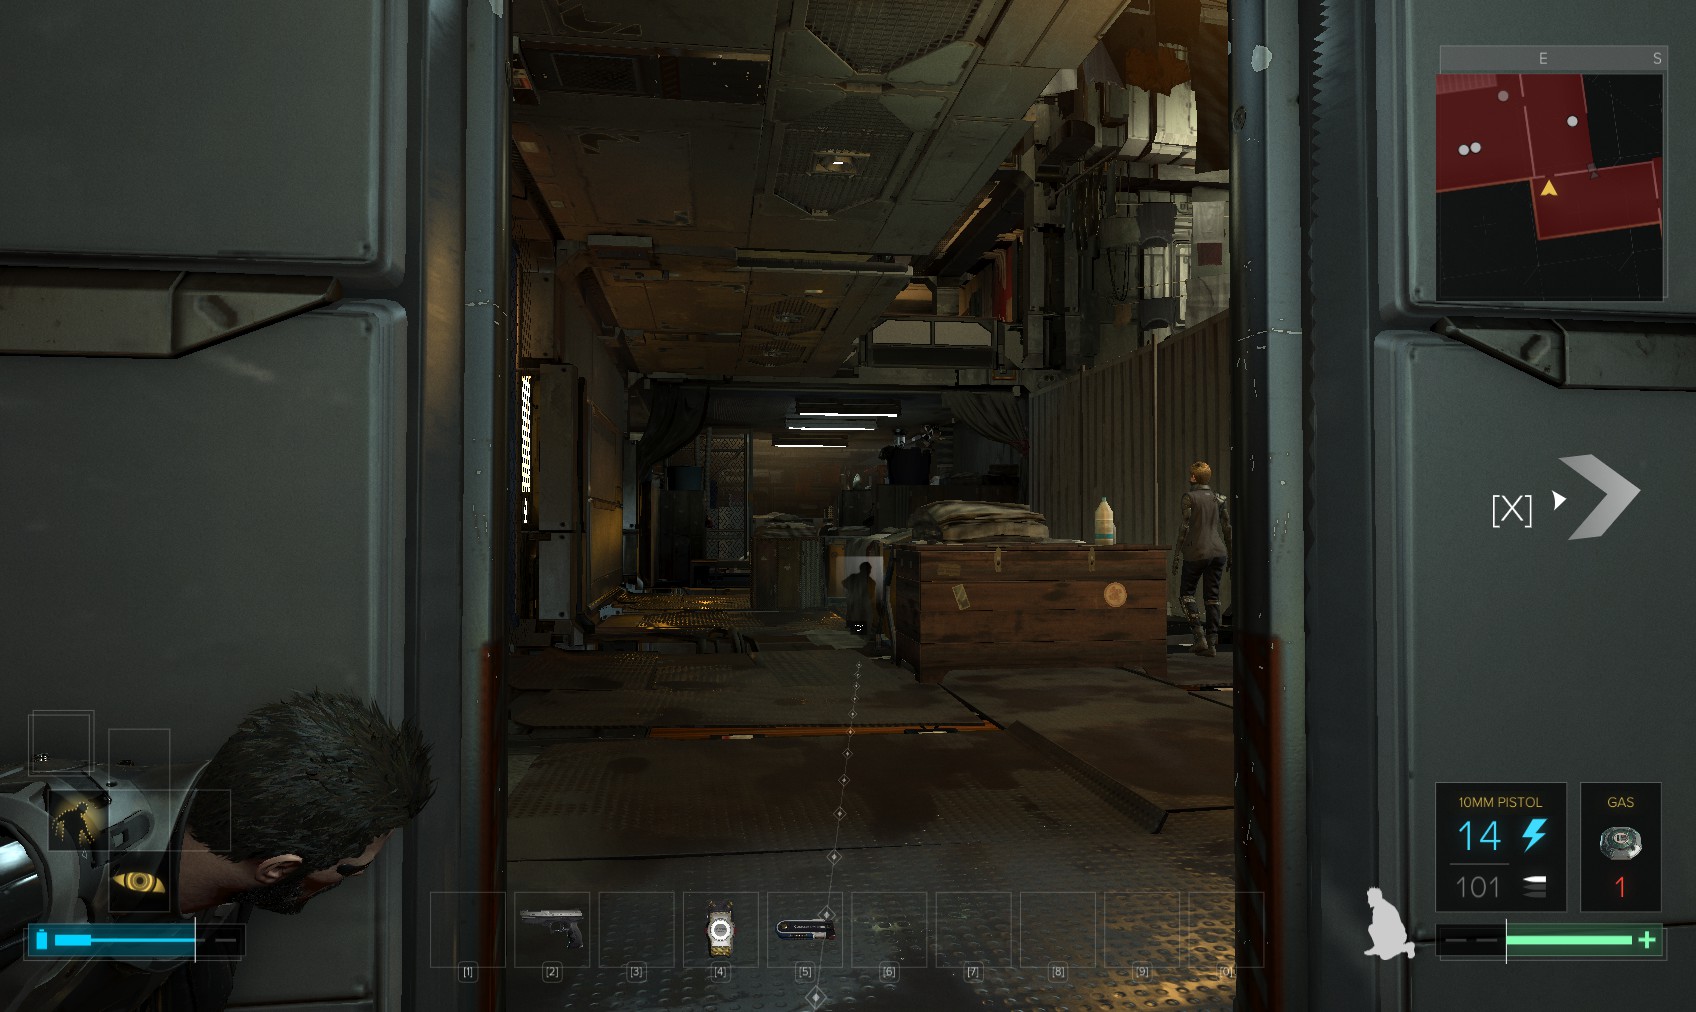
6. There are a couple of ways up to the ARC area - a quick way and a longer way with more goodies. I’m going to take Penguin up the easy way, and come back to explore more. Hack the lasers or move the large crate out of the way (the breaker on the other side disables the lasers).
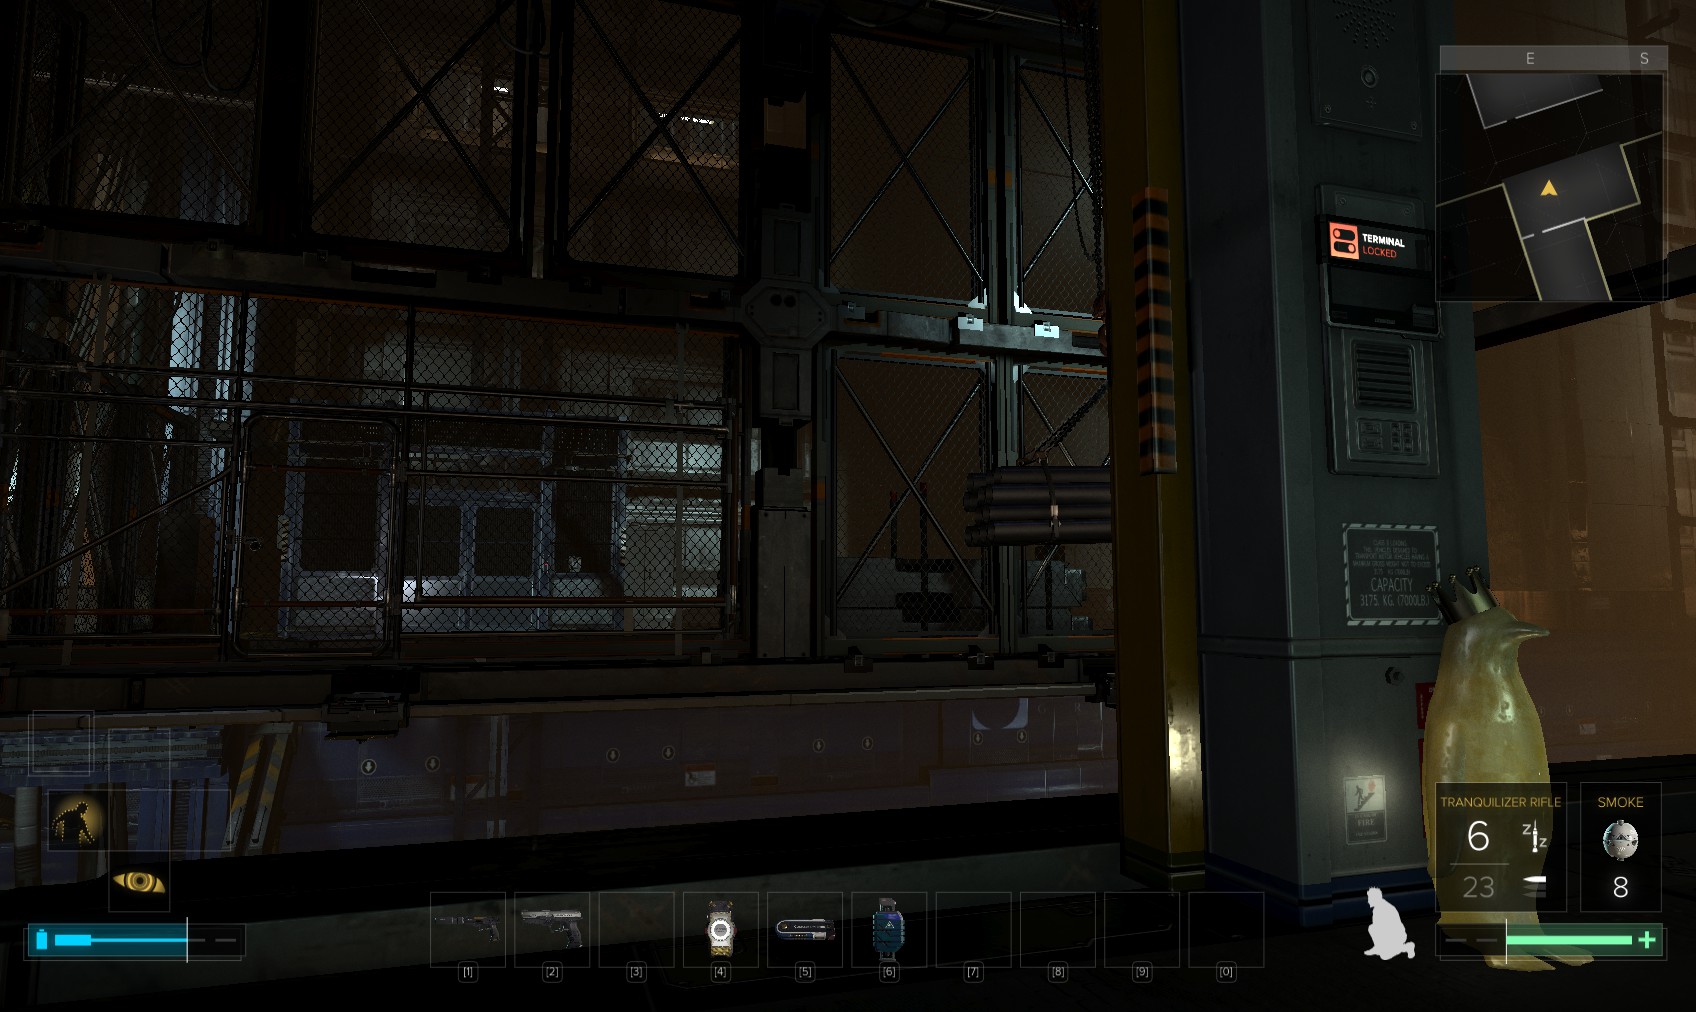
7. Through the door at the far end is this panel to deploy the bridge. Hack it (level 5) for overclock software or use the code 3354 for 275XP. Cross the bridge and bash open the gate on the left.
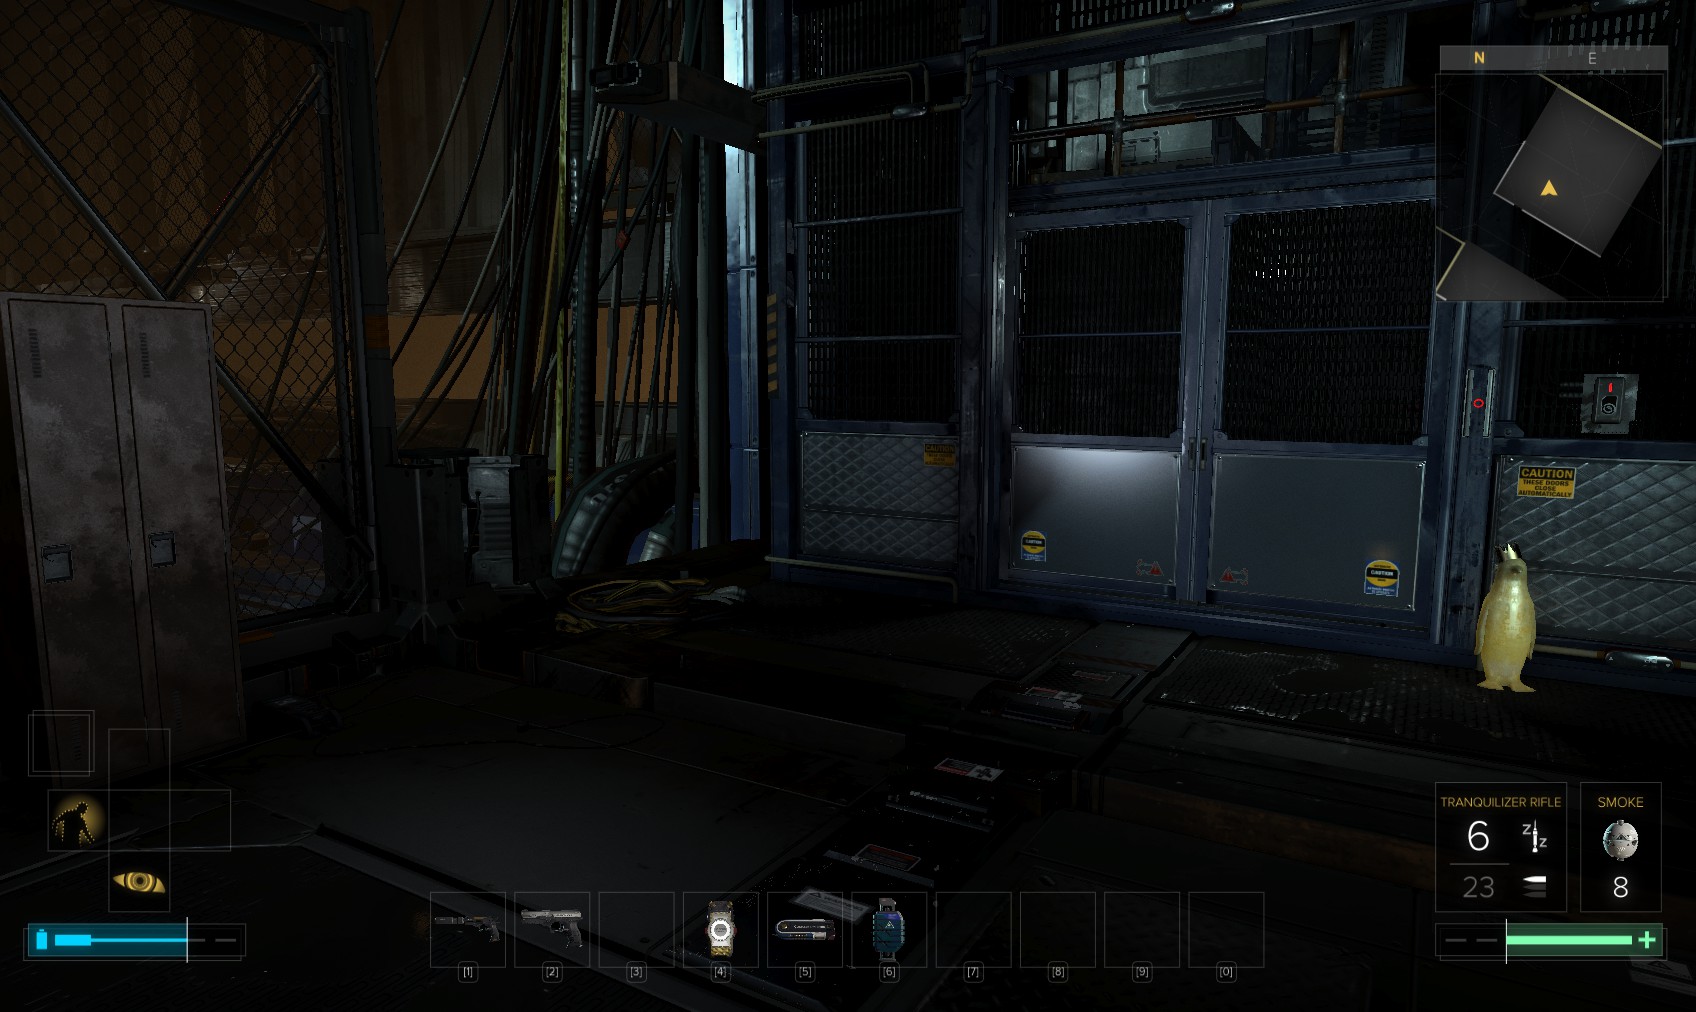
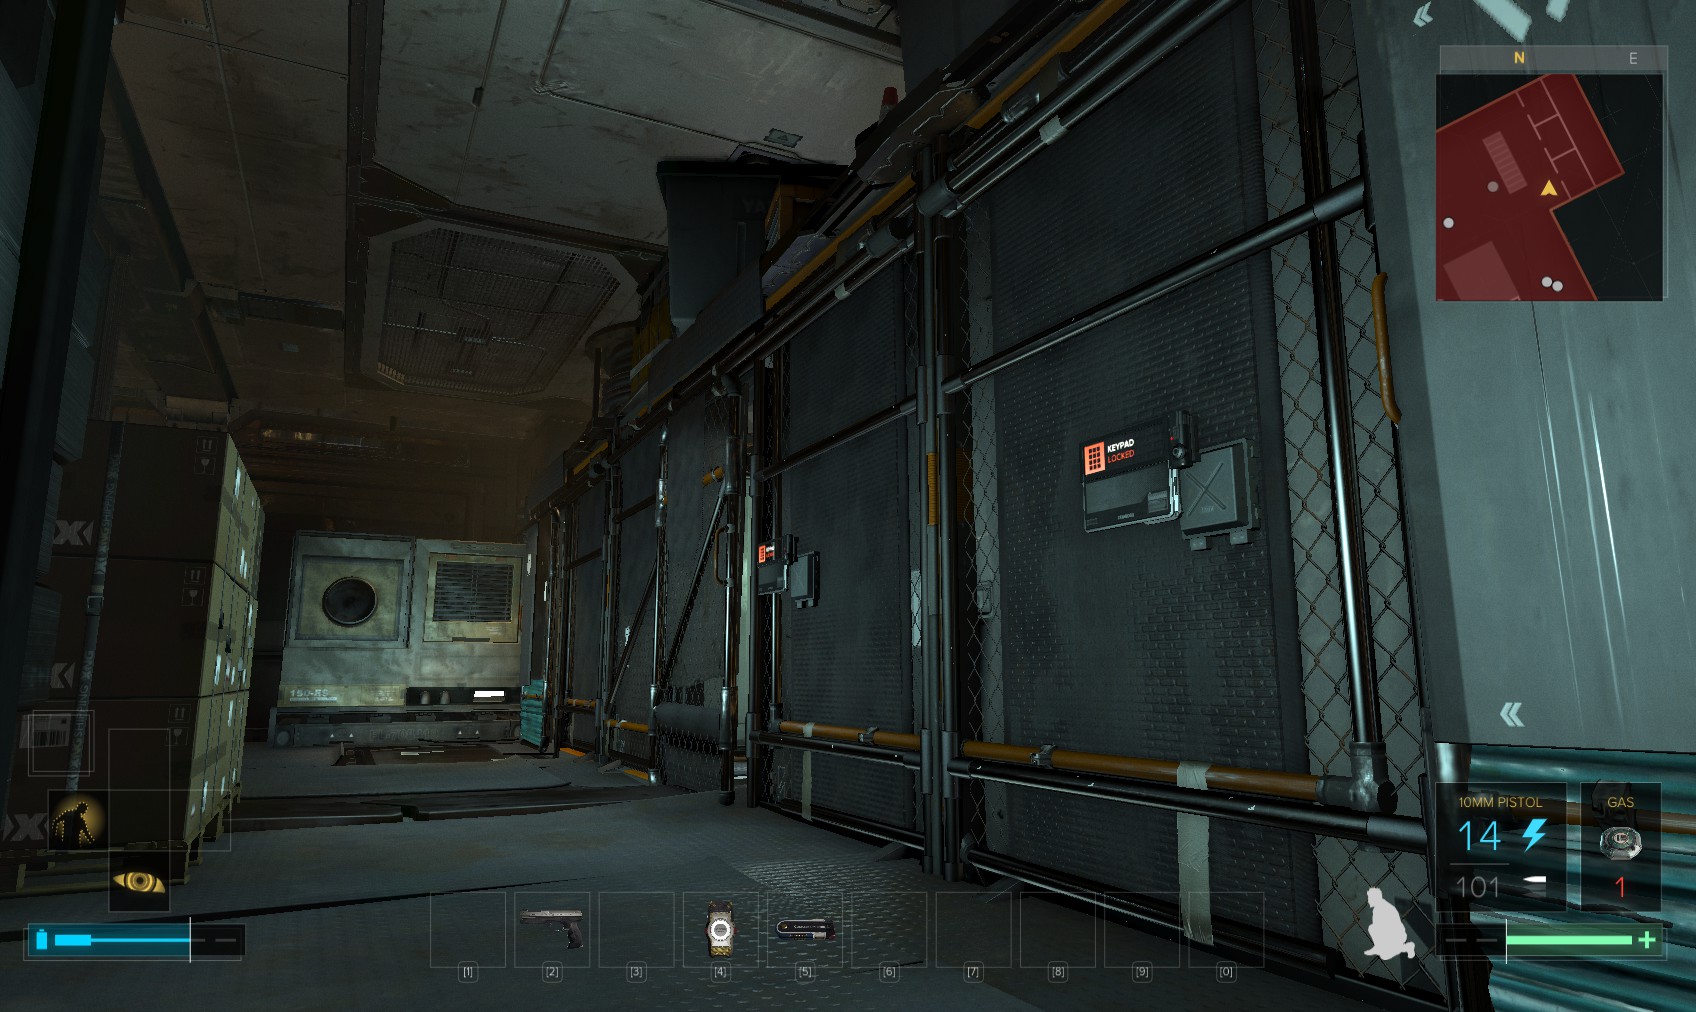
8. Use your ARC access card and call the lift. The lockers on the left have a biocell and battle rifle.
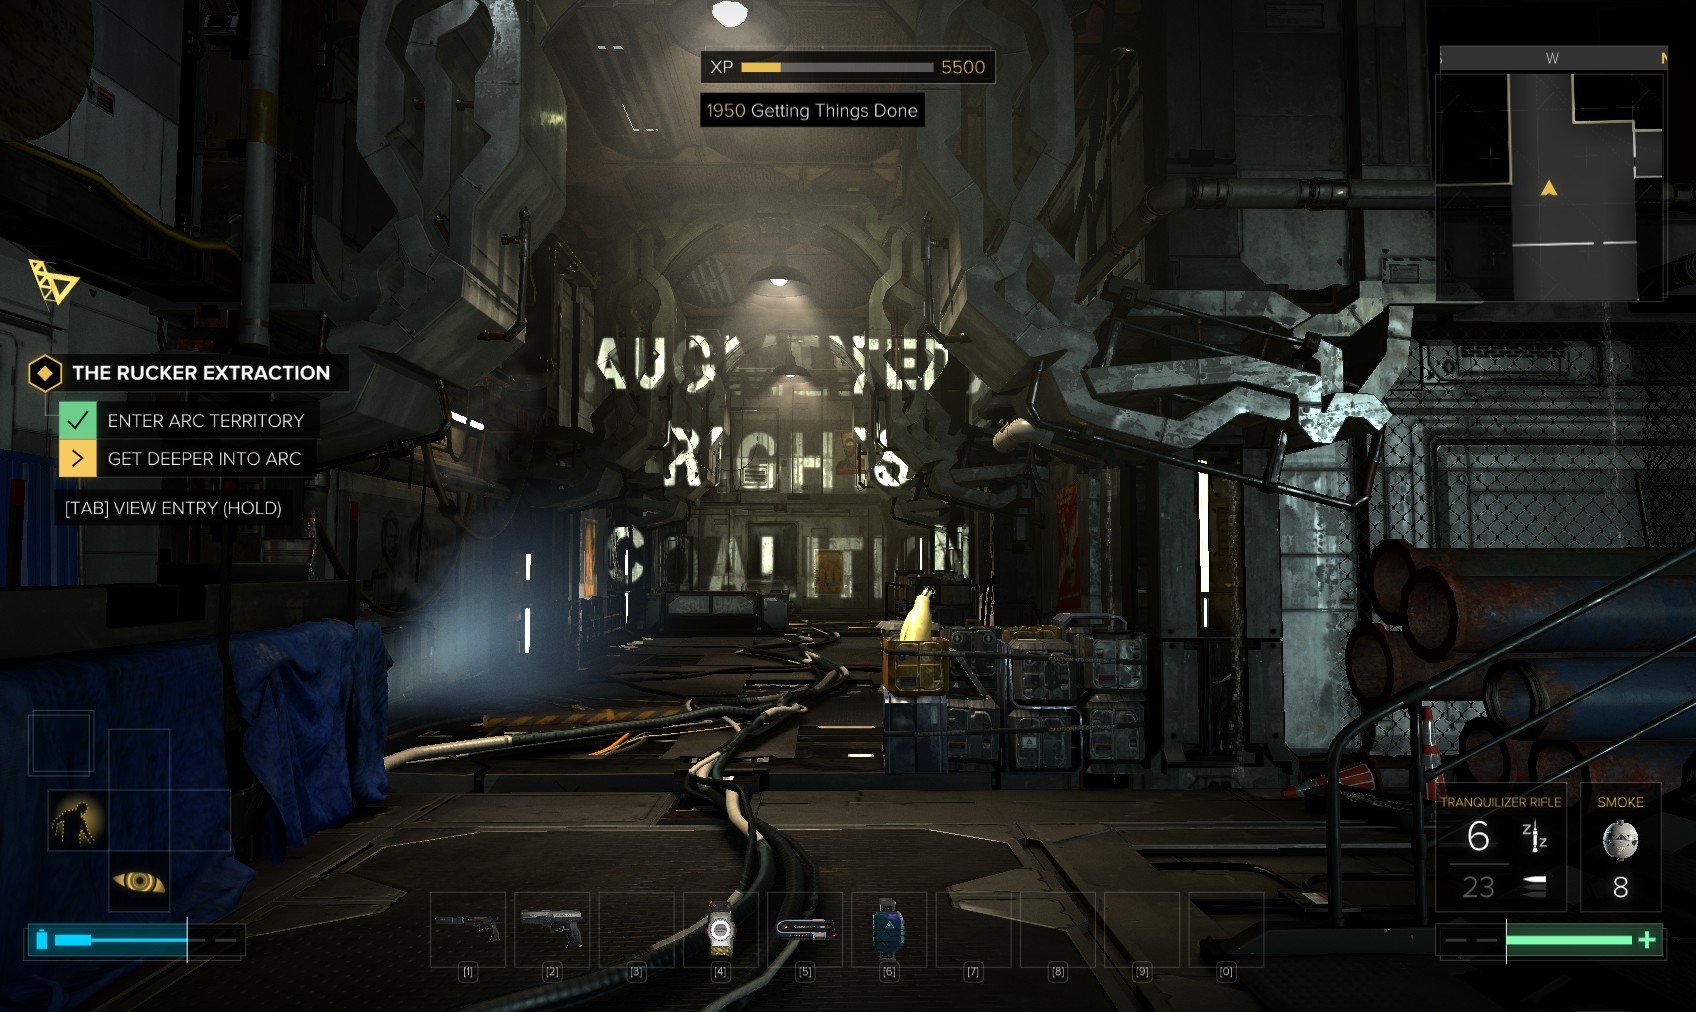
9. Bash your way through another gate to here.
10. Now for the long way round. Back starting from this point, climb on the roof of the storage cabinet you hacked earlier.

11. Follow the gantry round to here, then drop down.
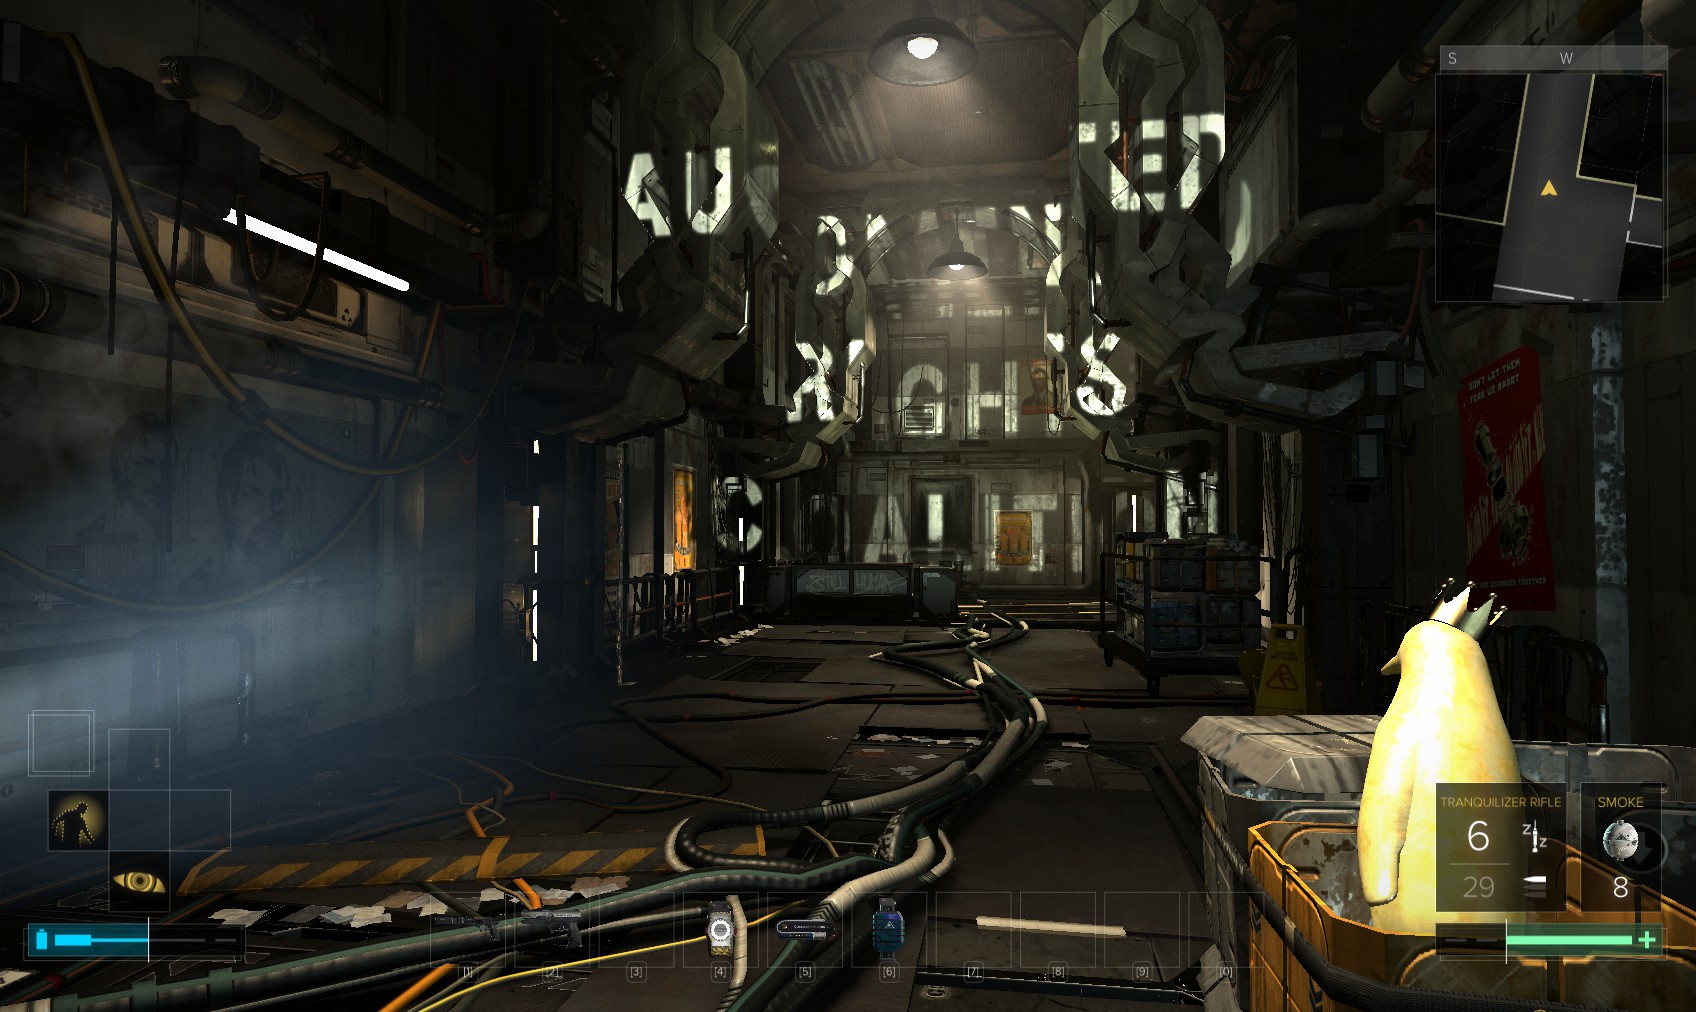
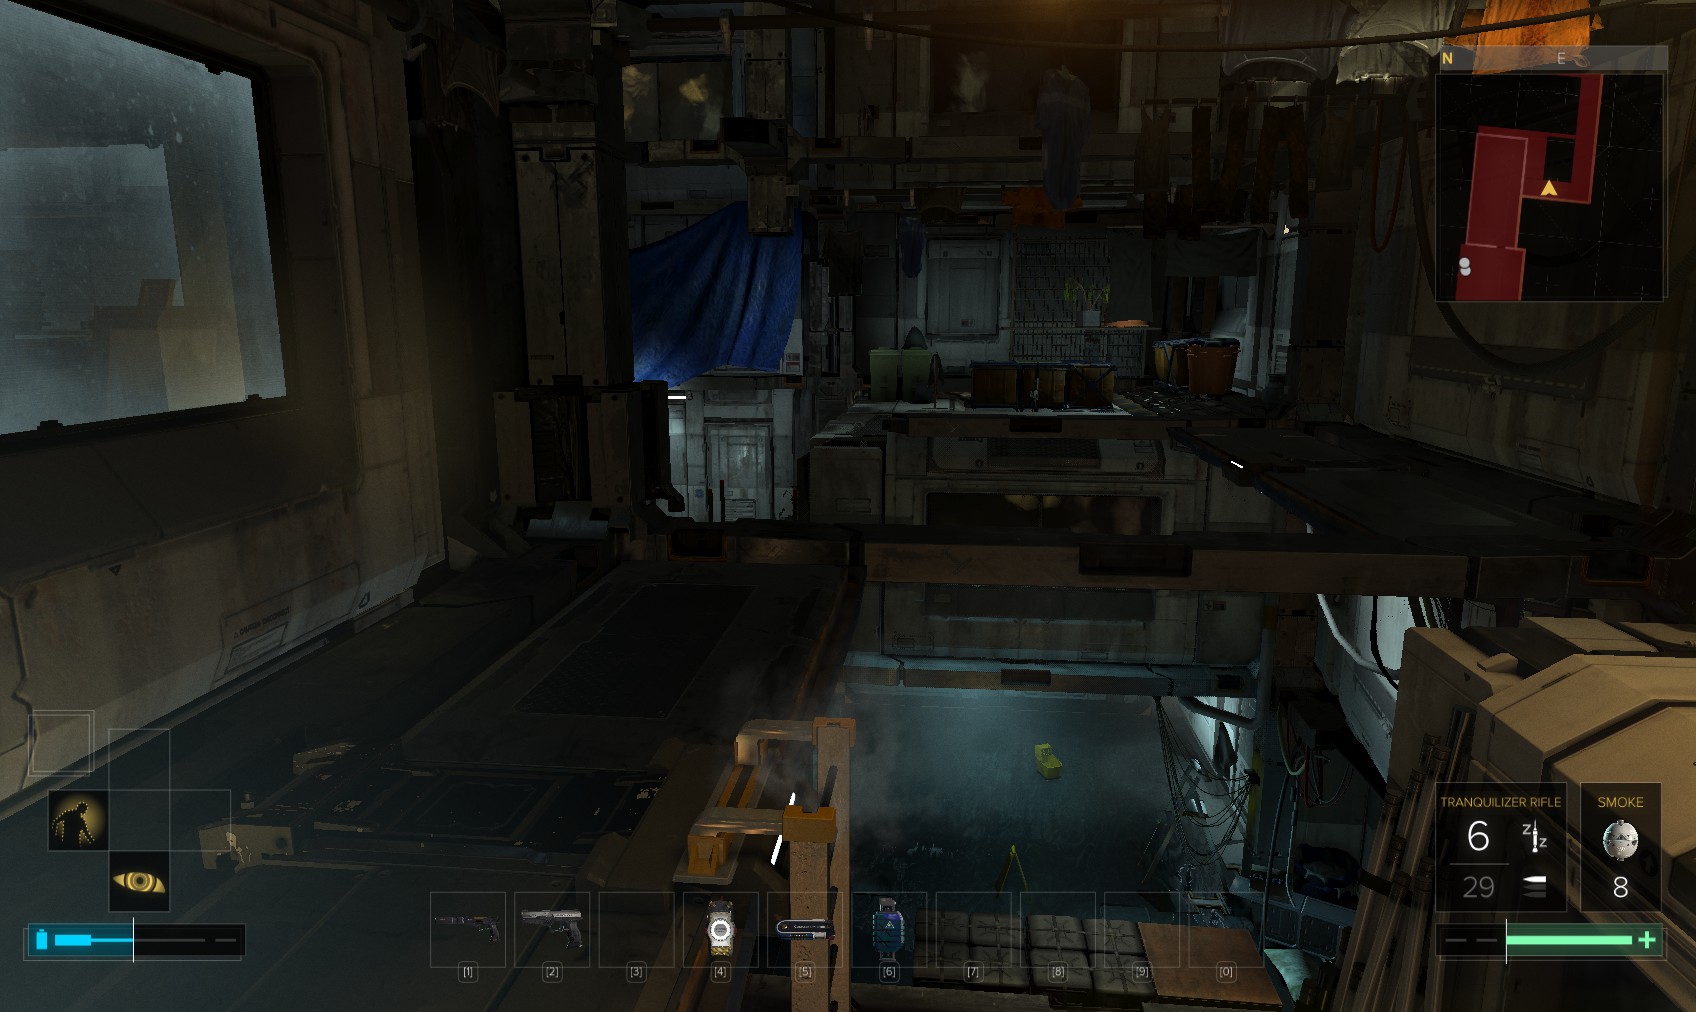
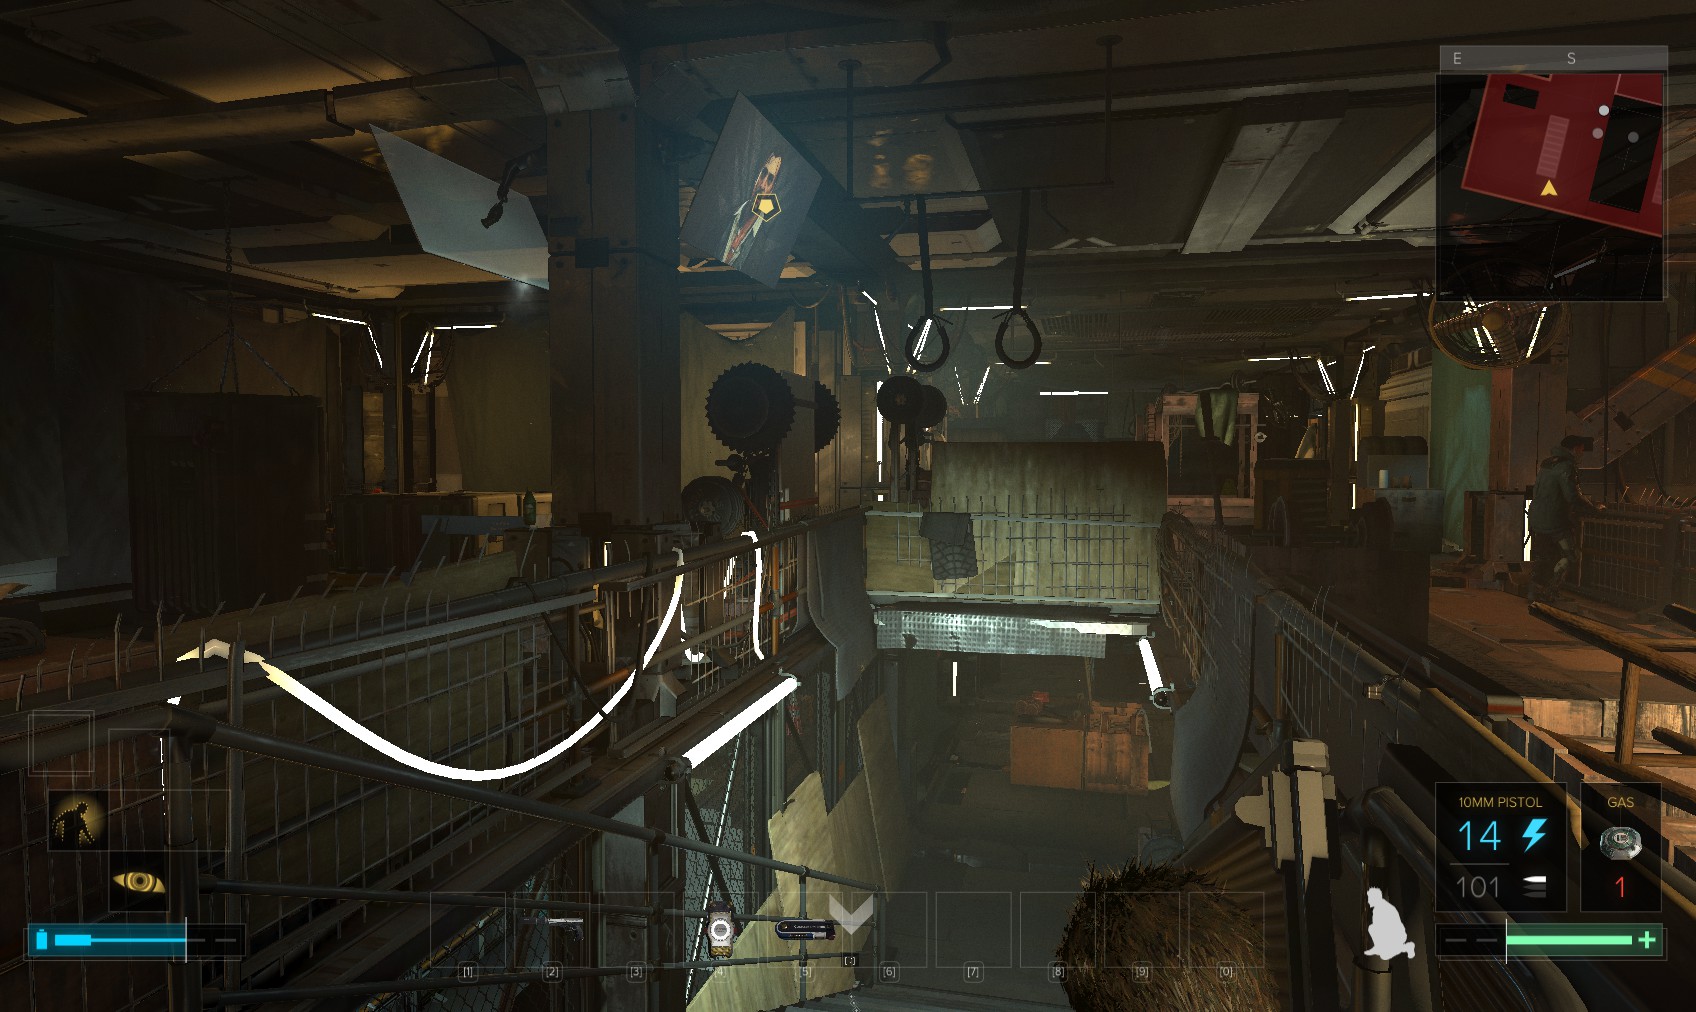
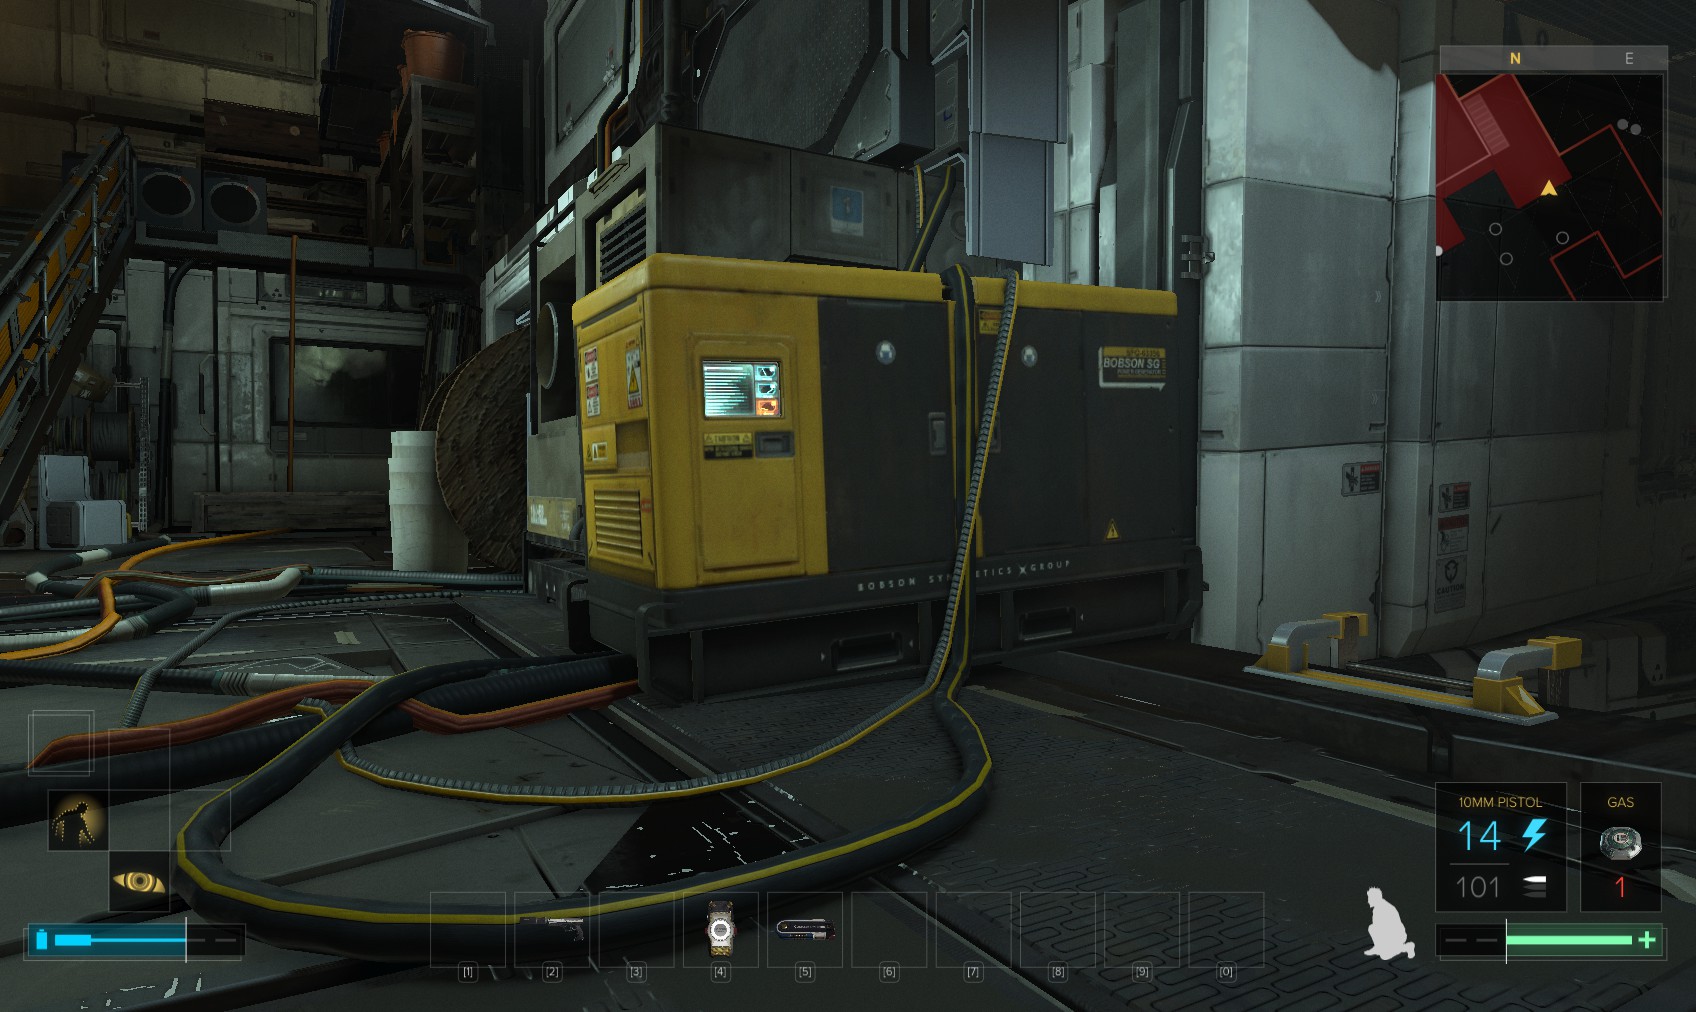
12. Take a moment to admire your surroundings. See what you miss taking the short-cuts?
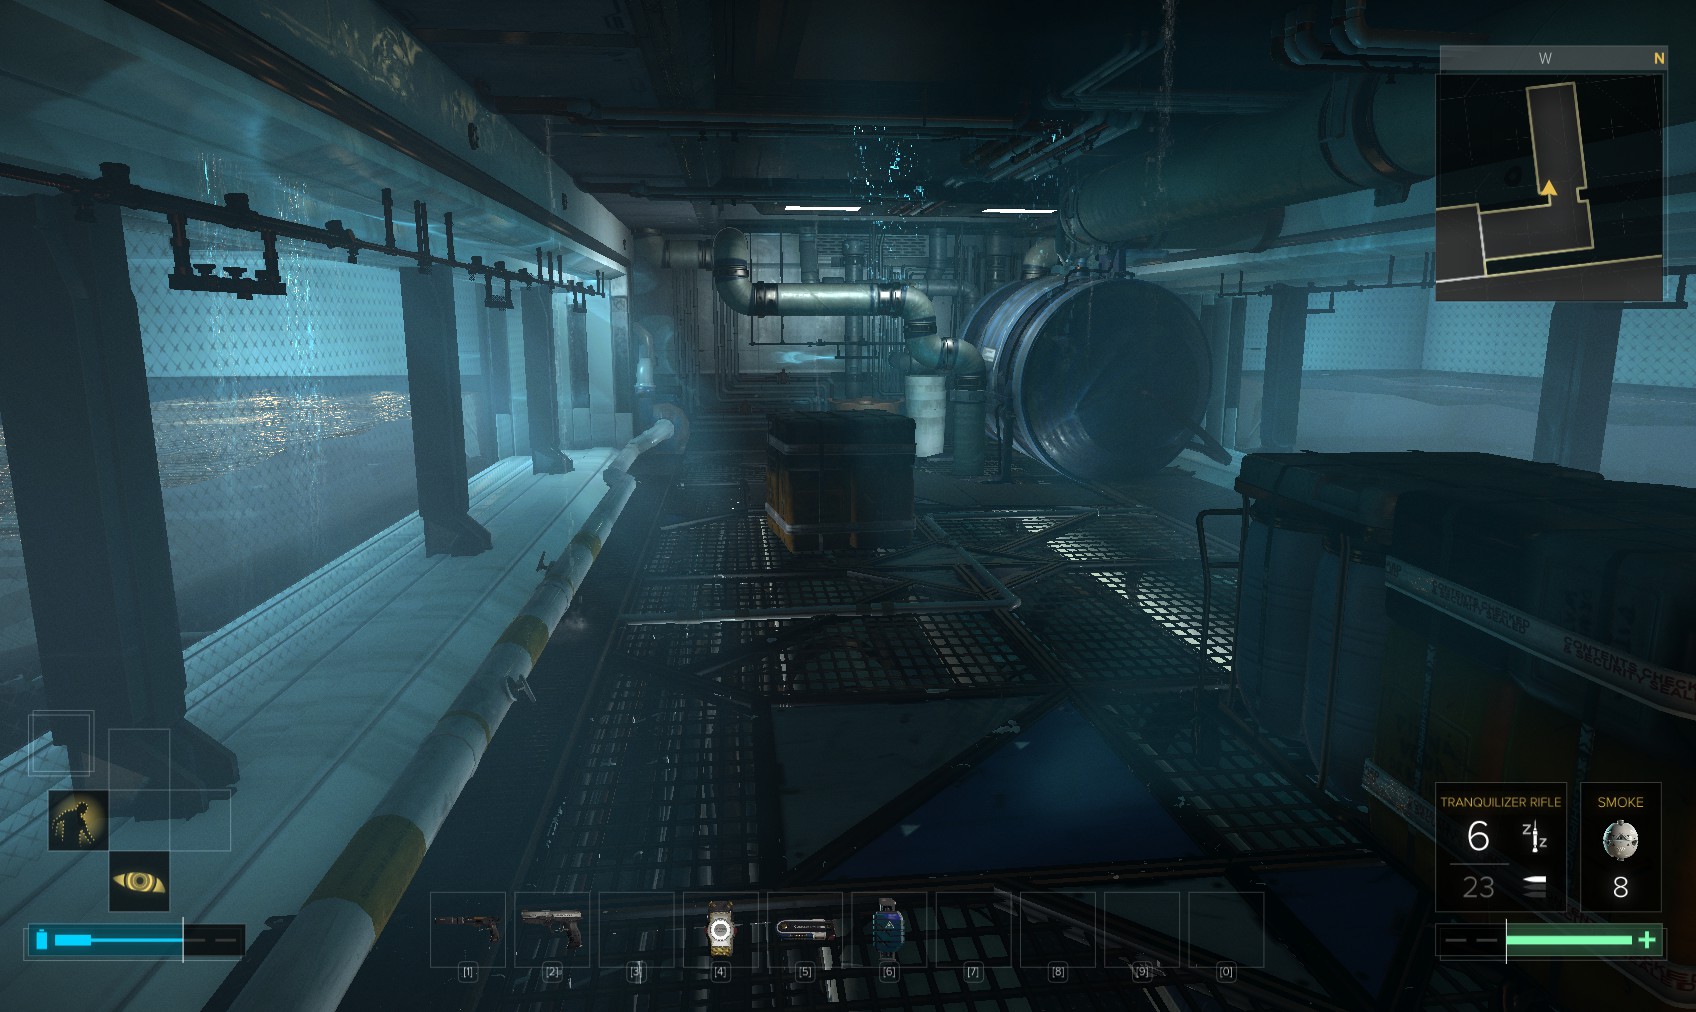
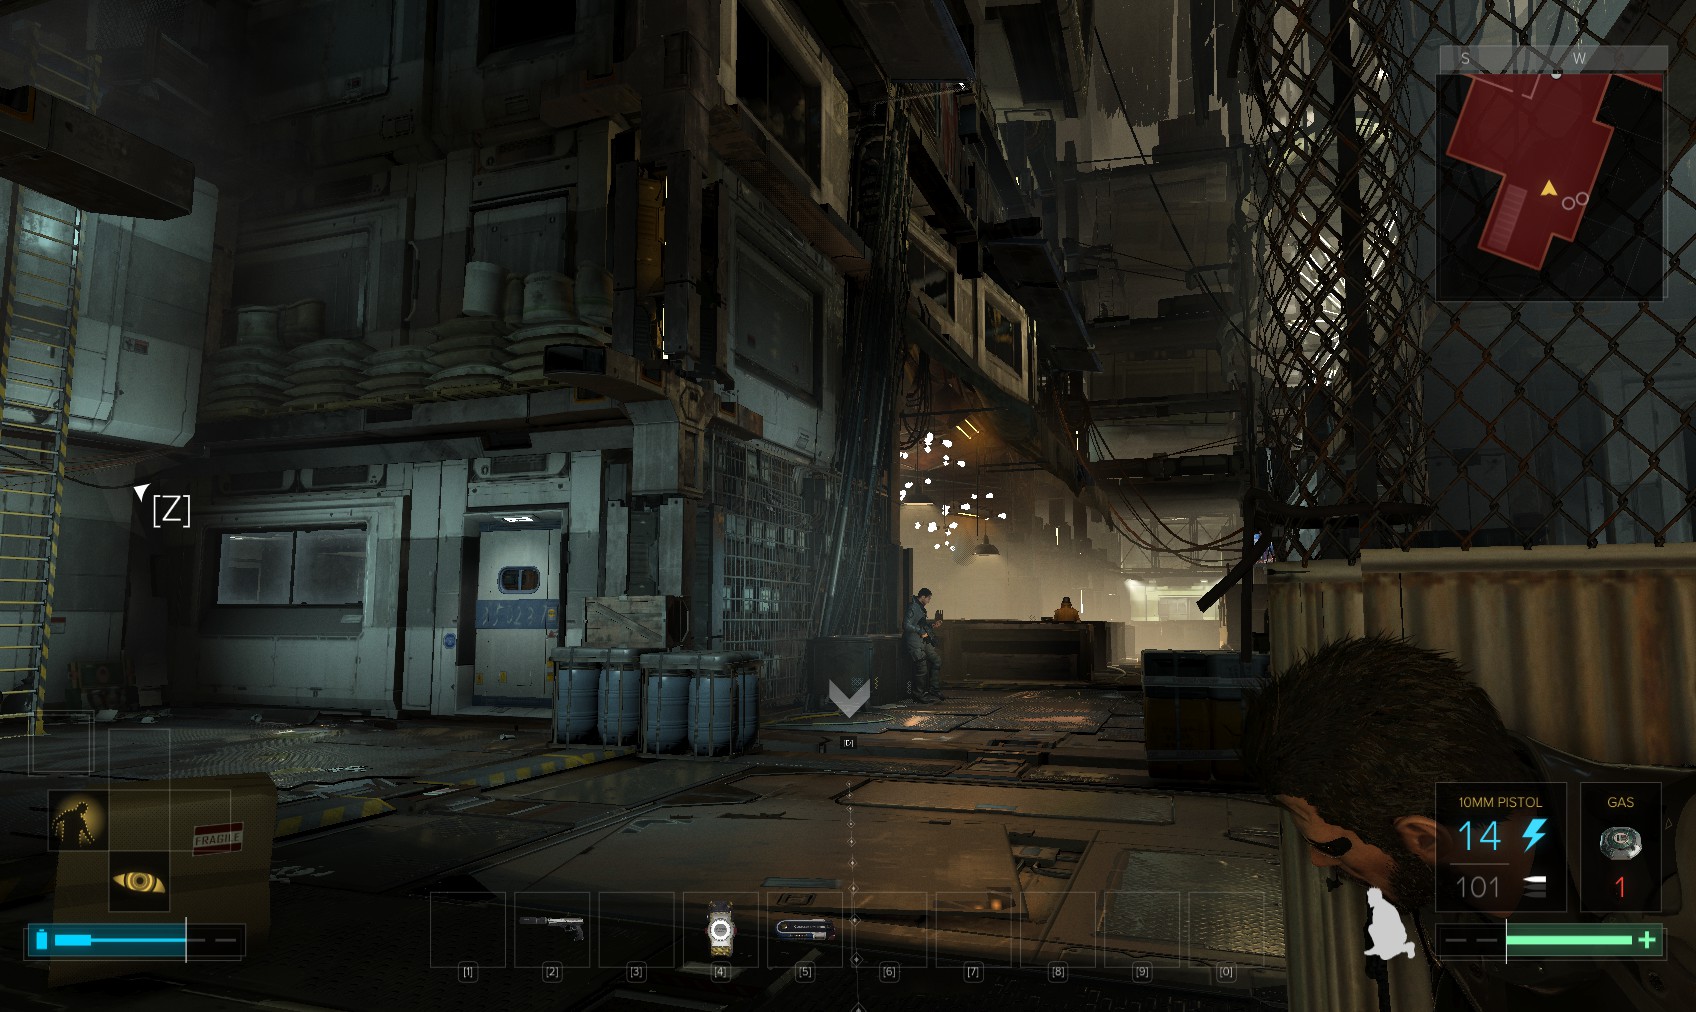
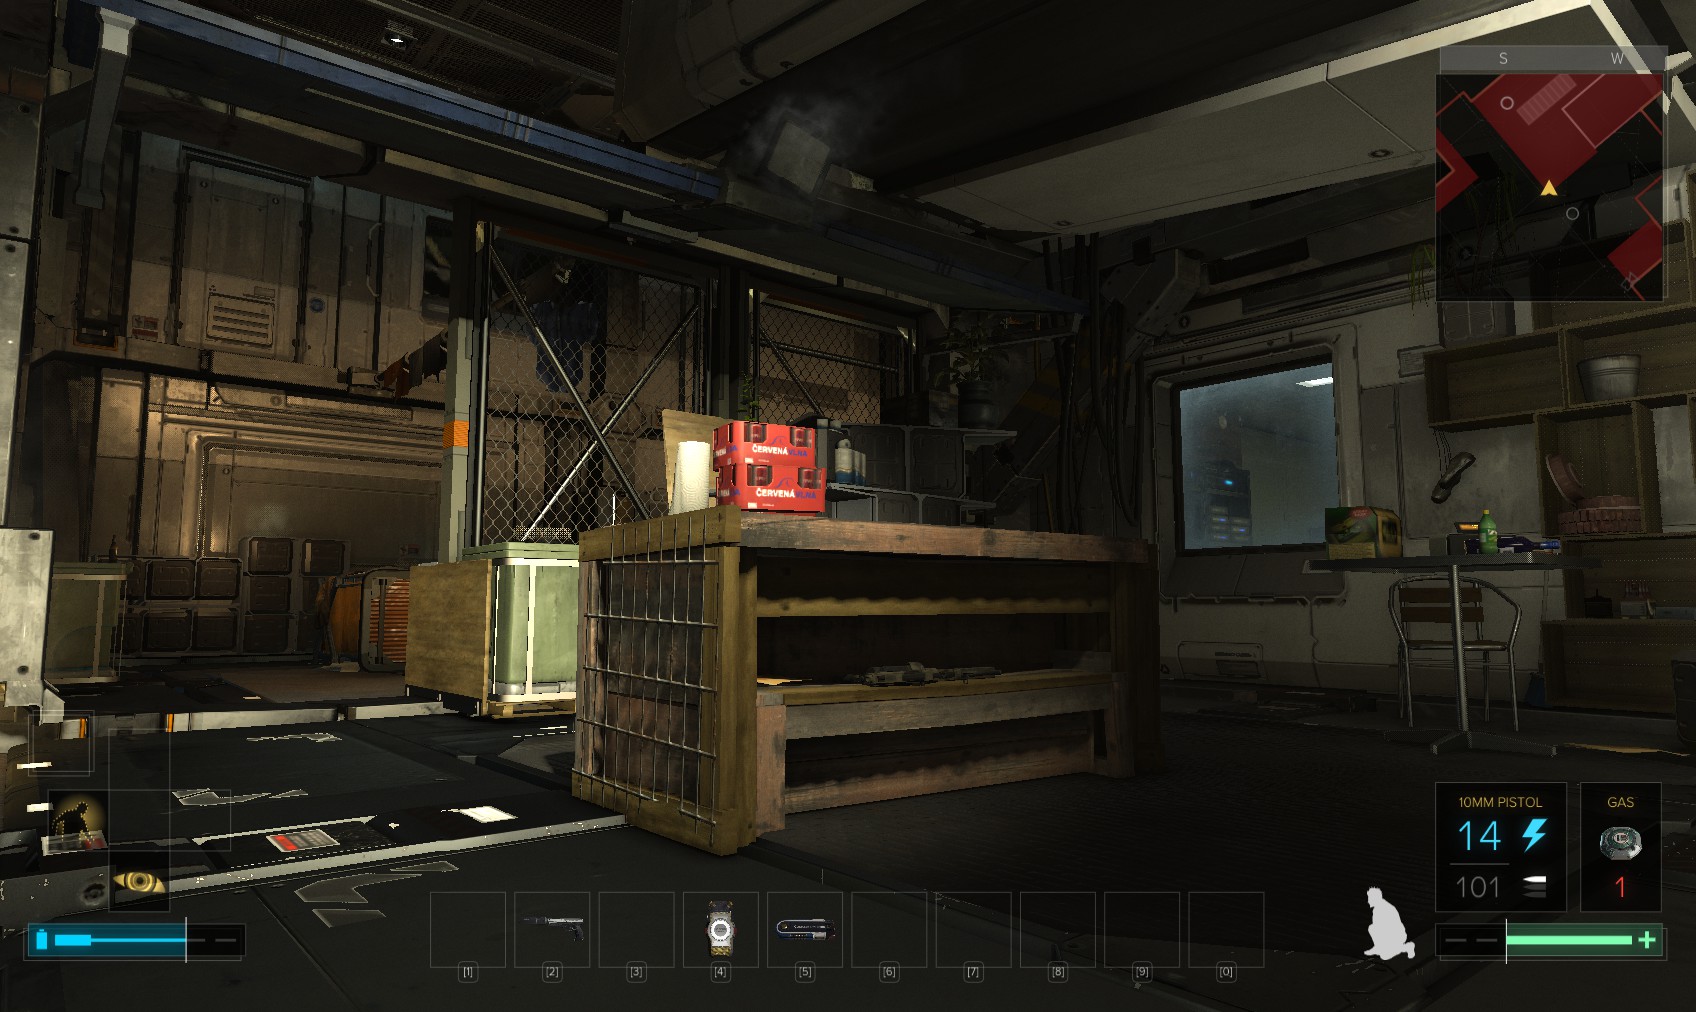
13. Exit here, beneath the platform with the deployable bridge. Swipe credits from the table and goodies from the cabinets, then drop down and head North.
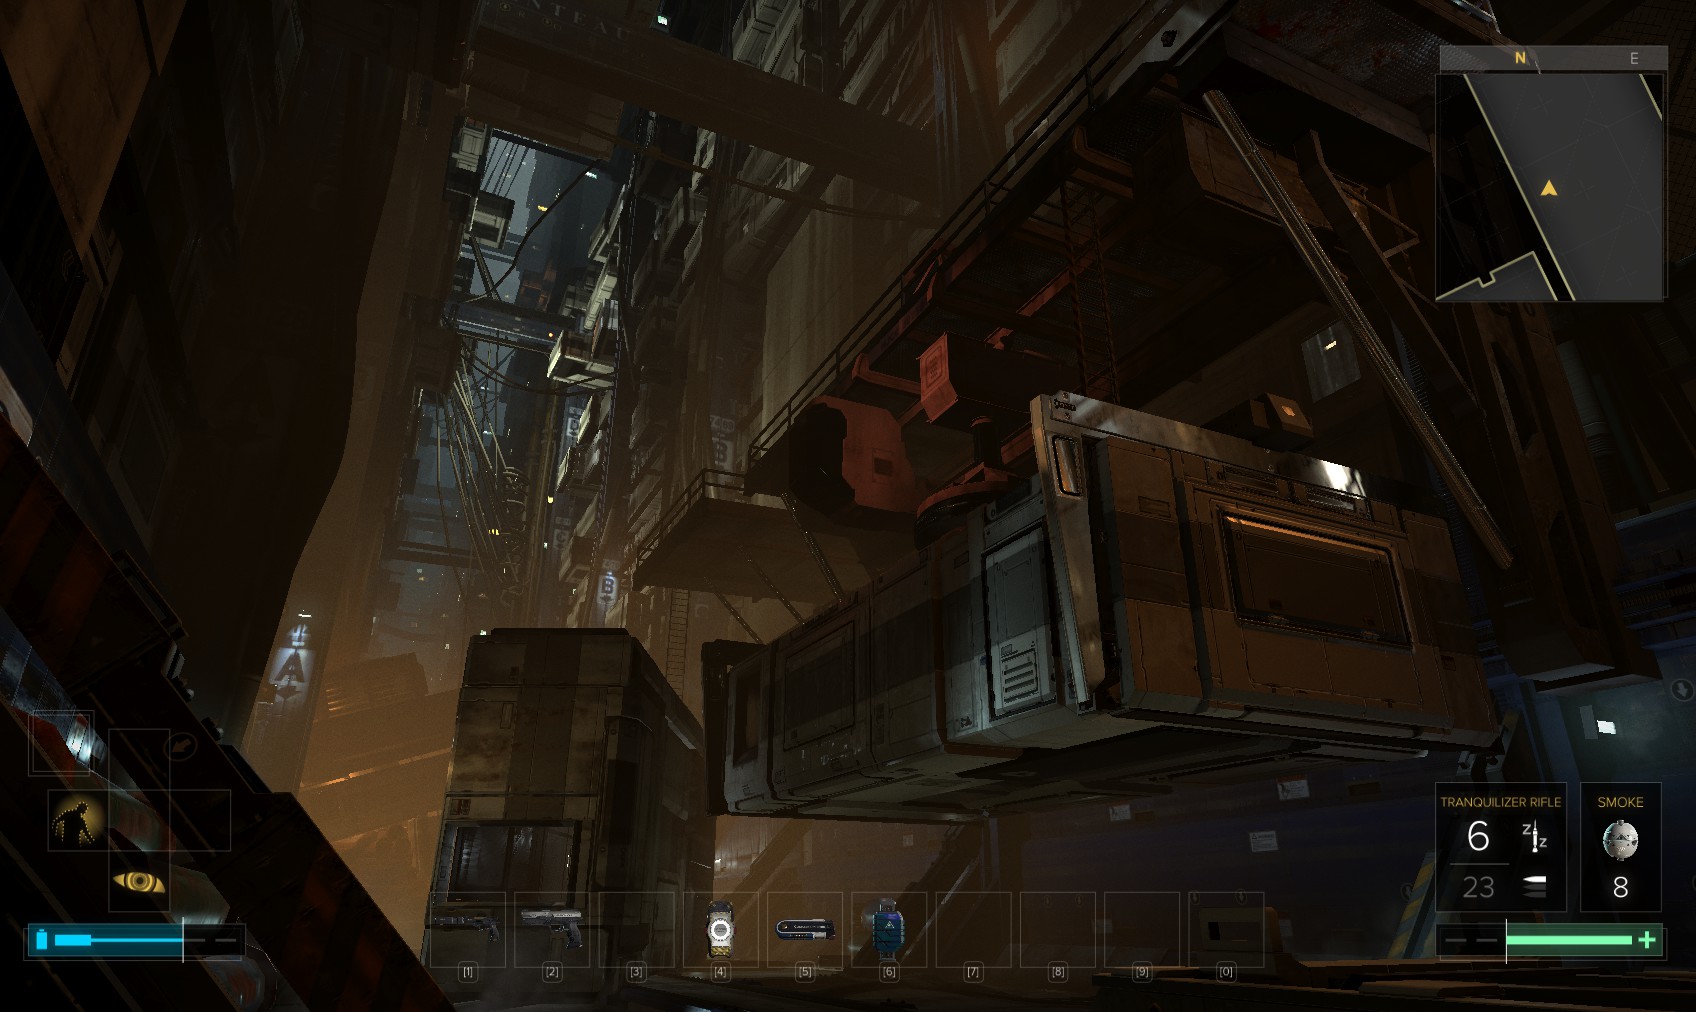
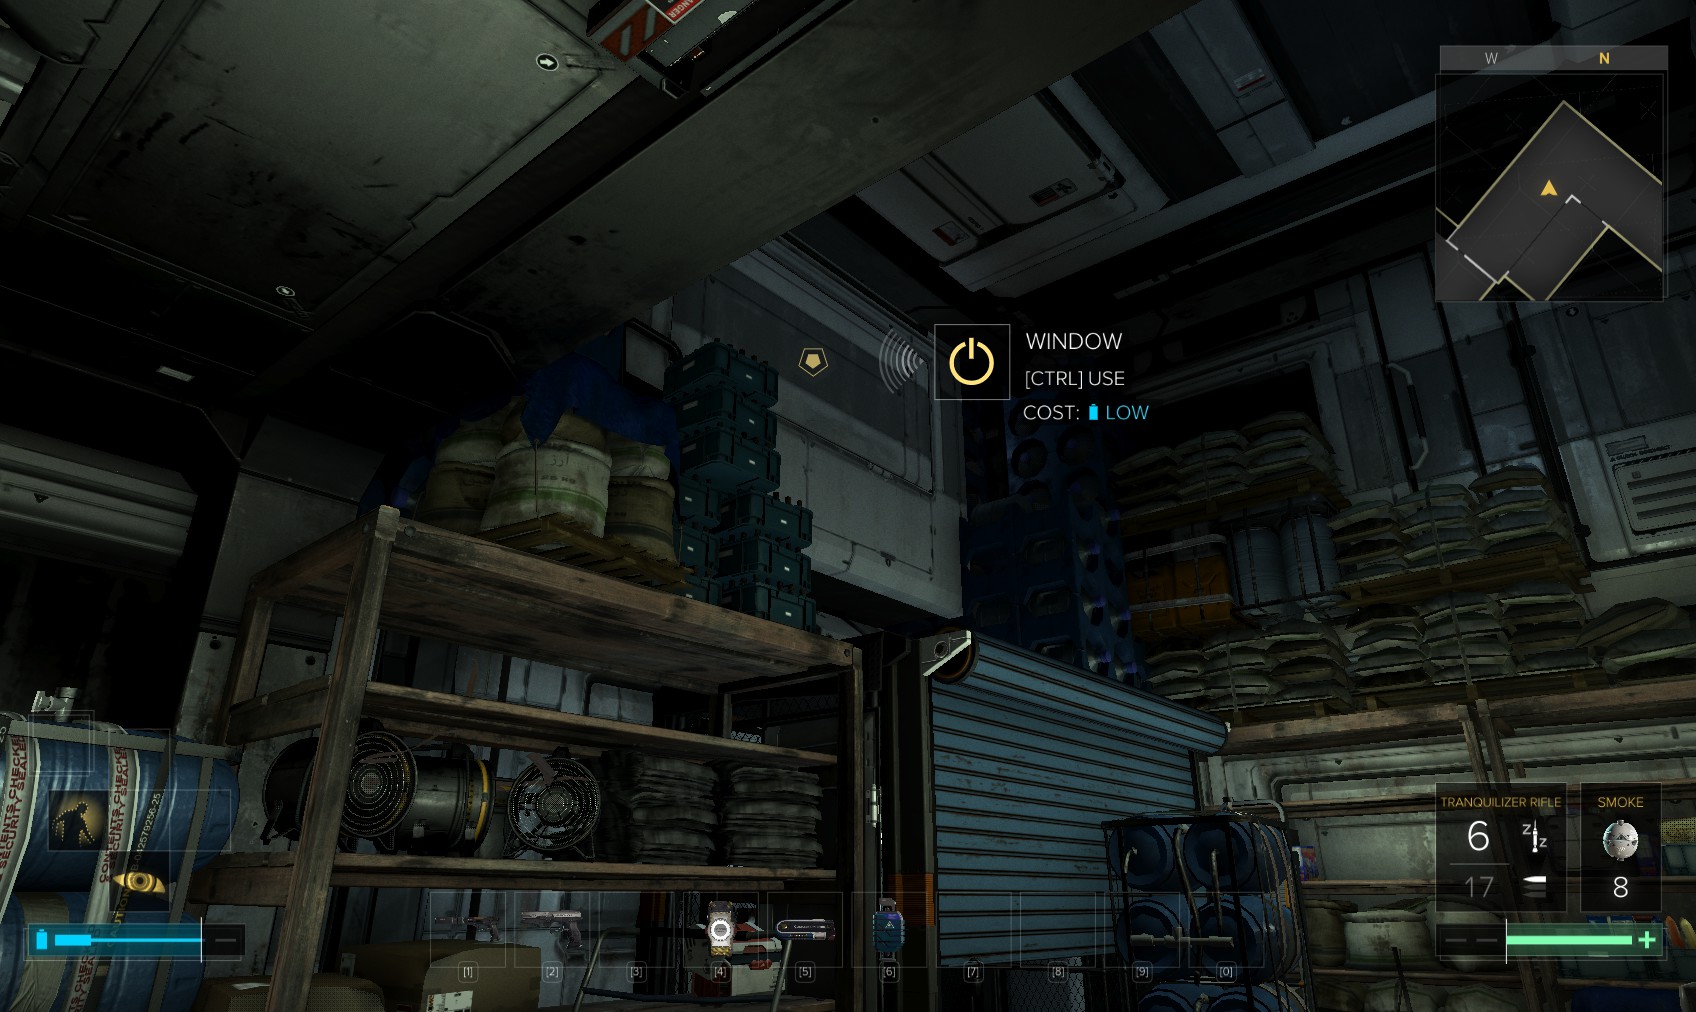
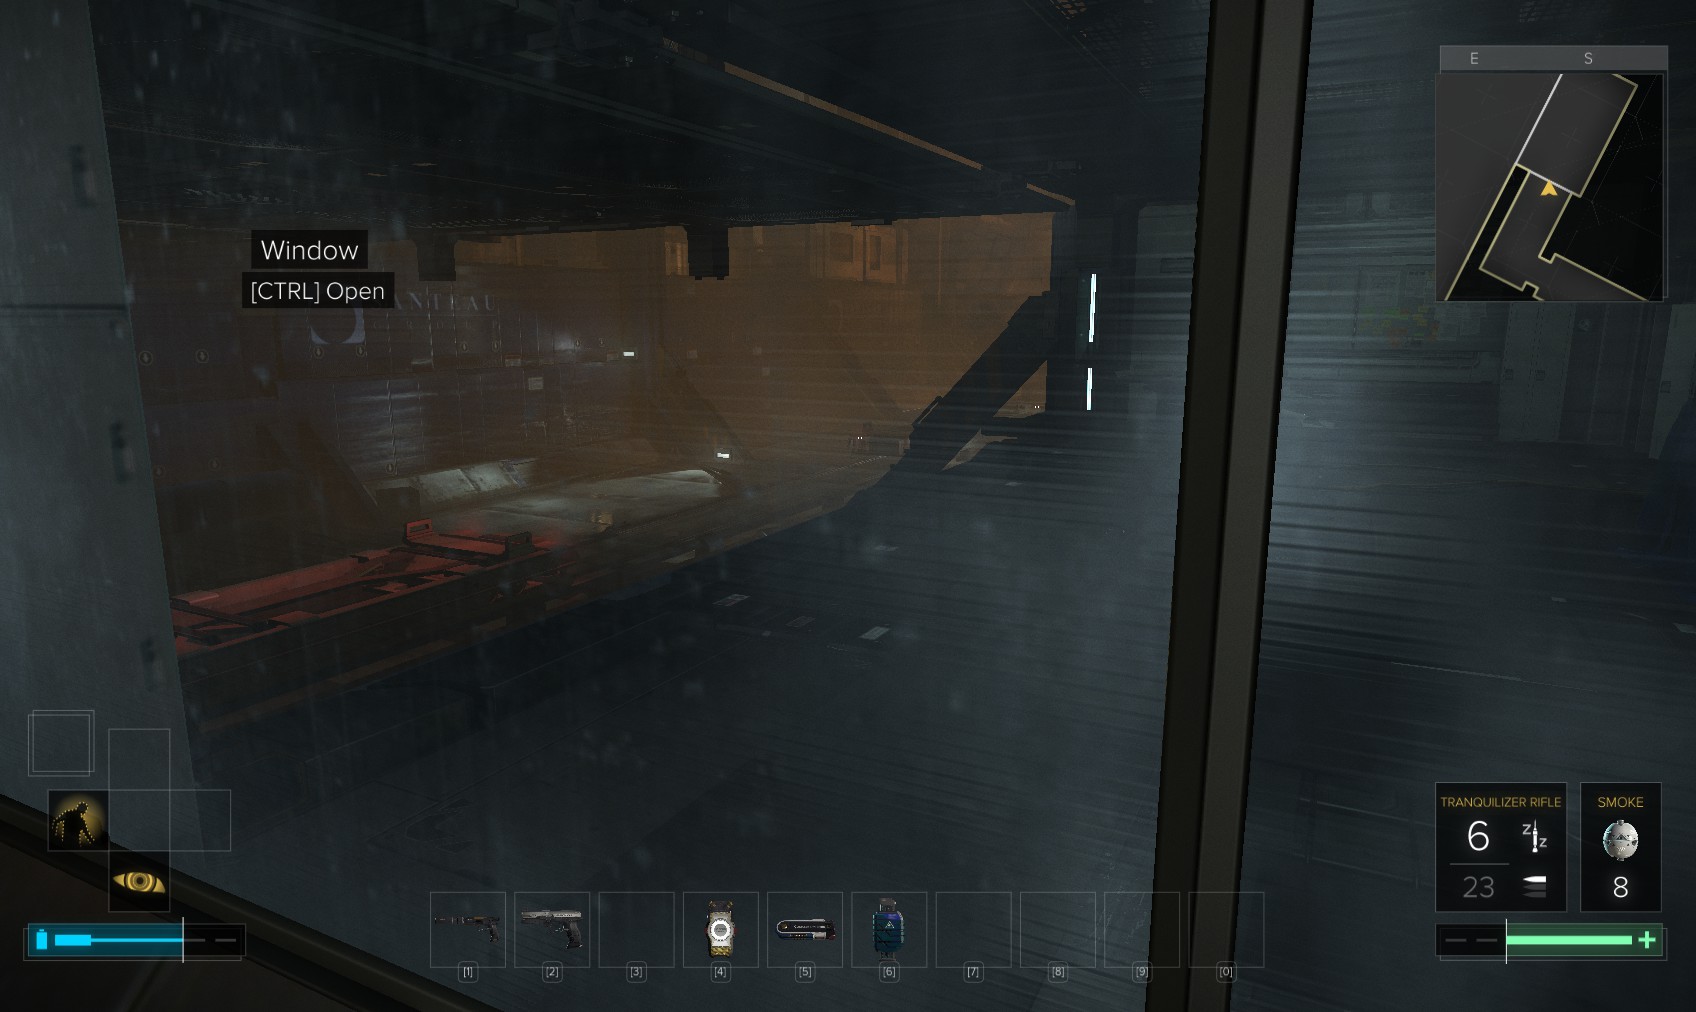
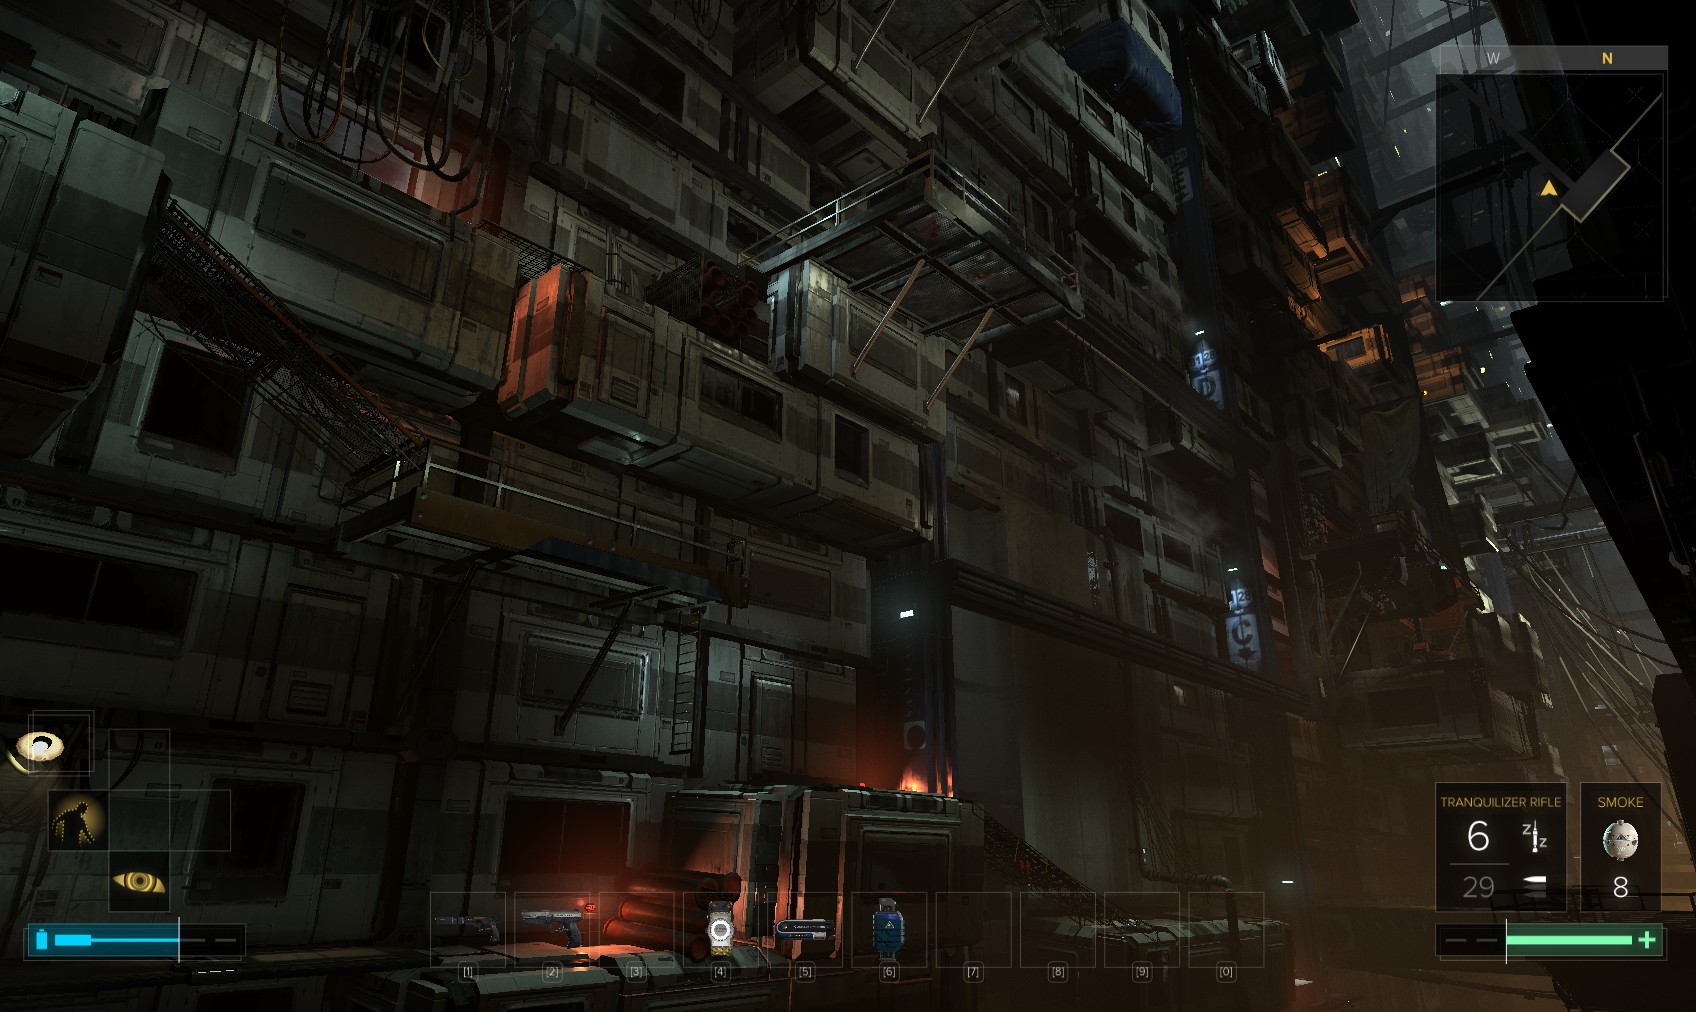
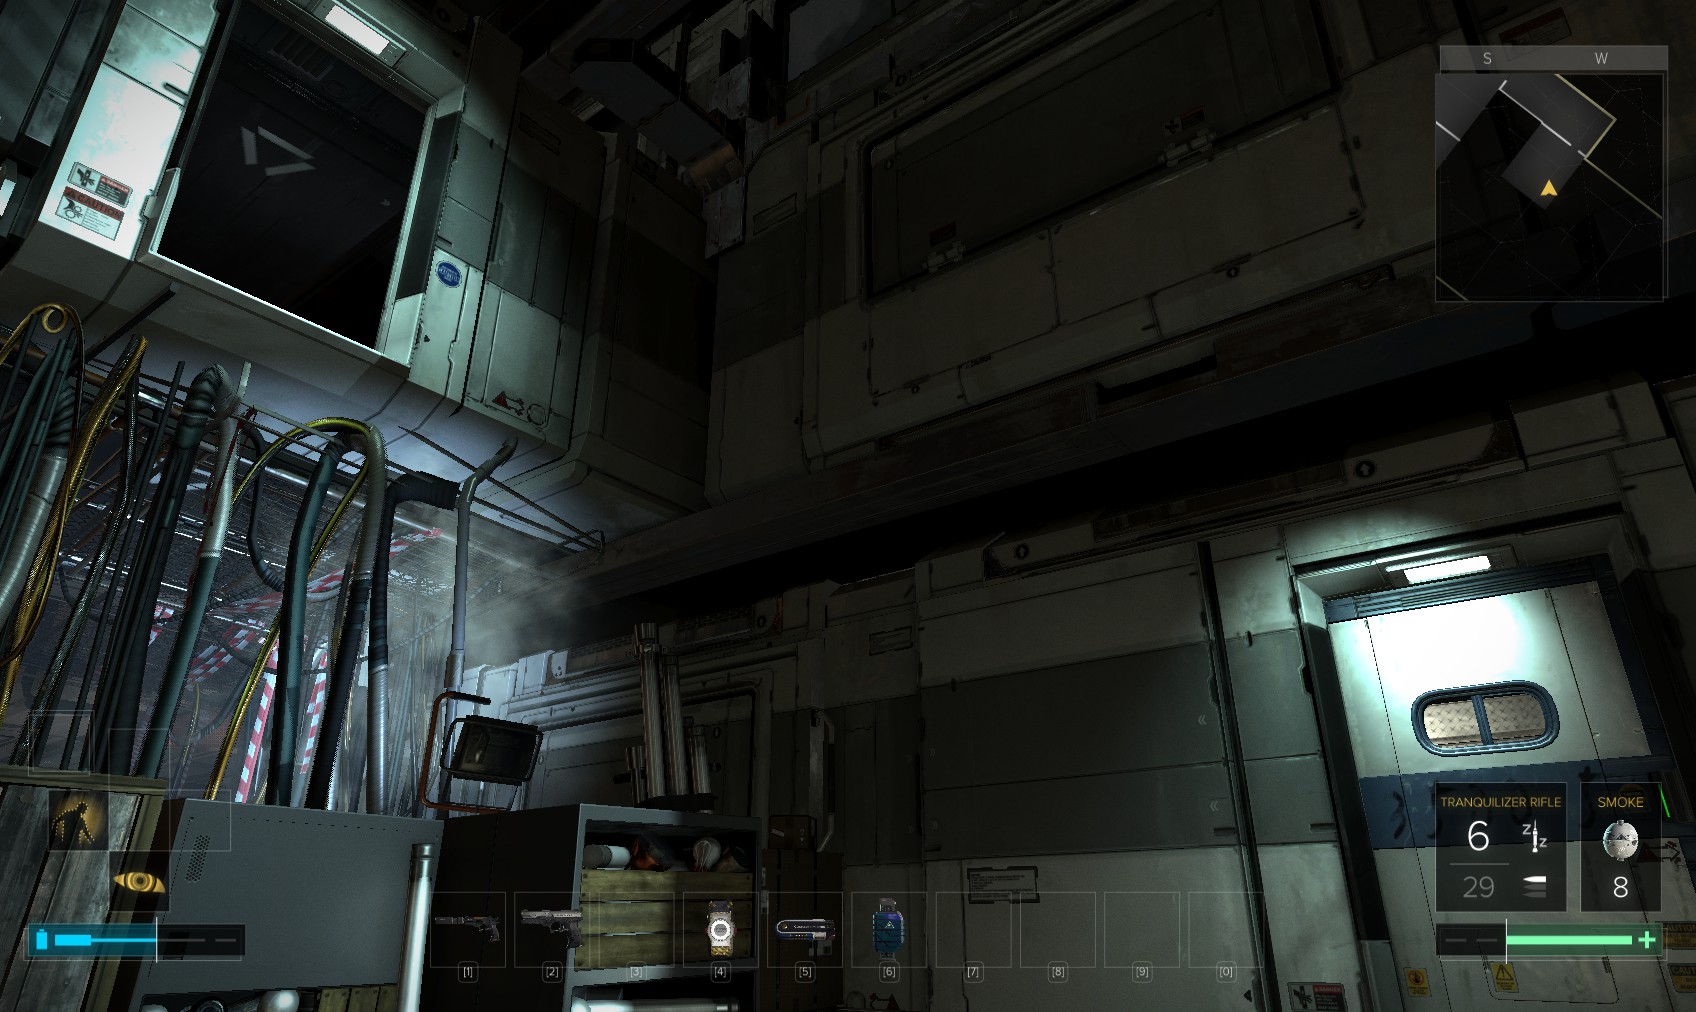
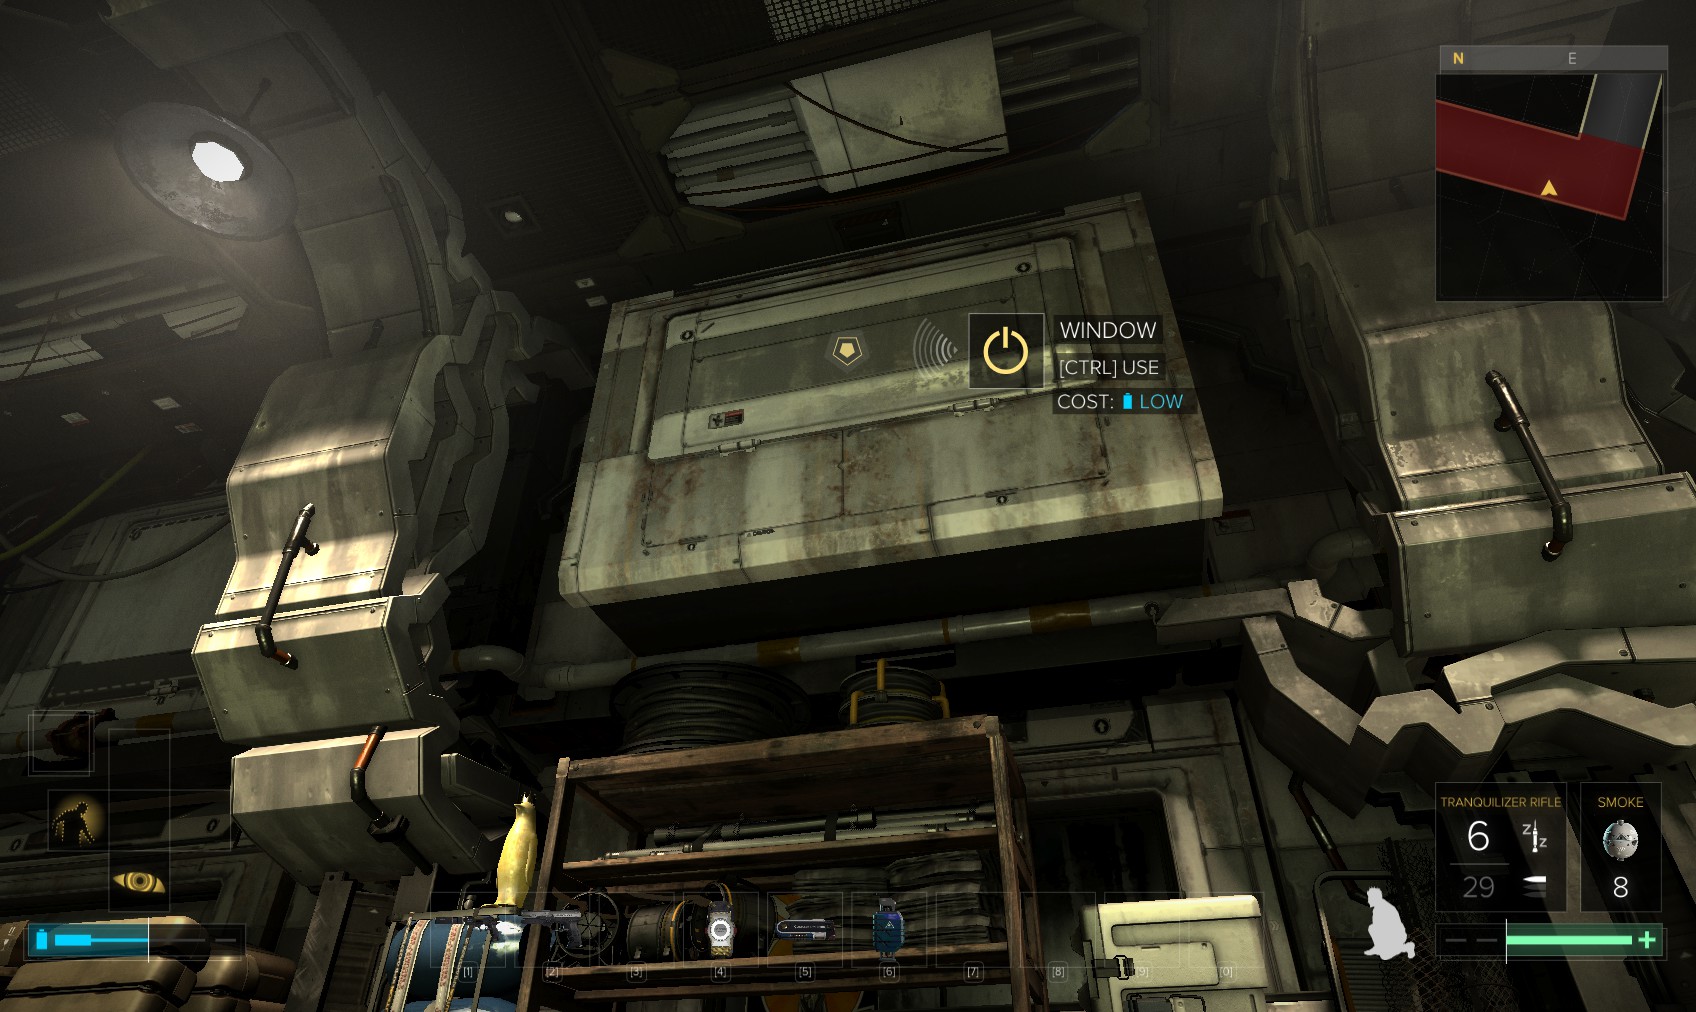
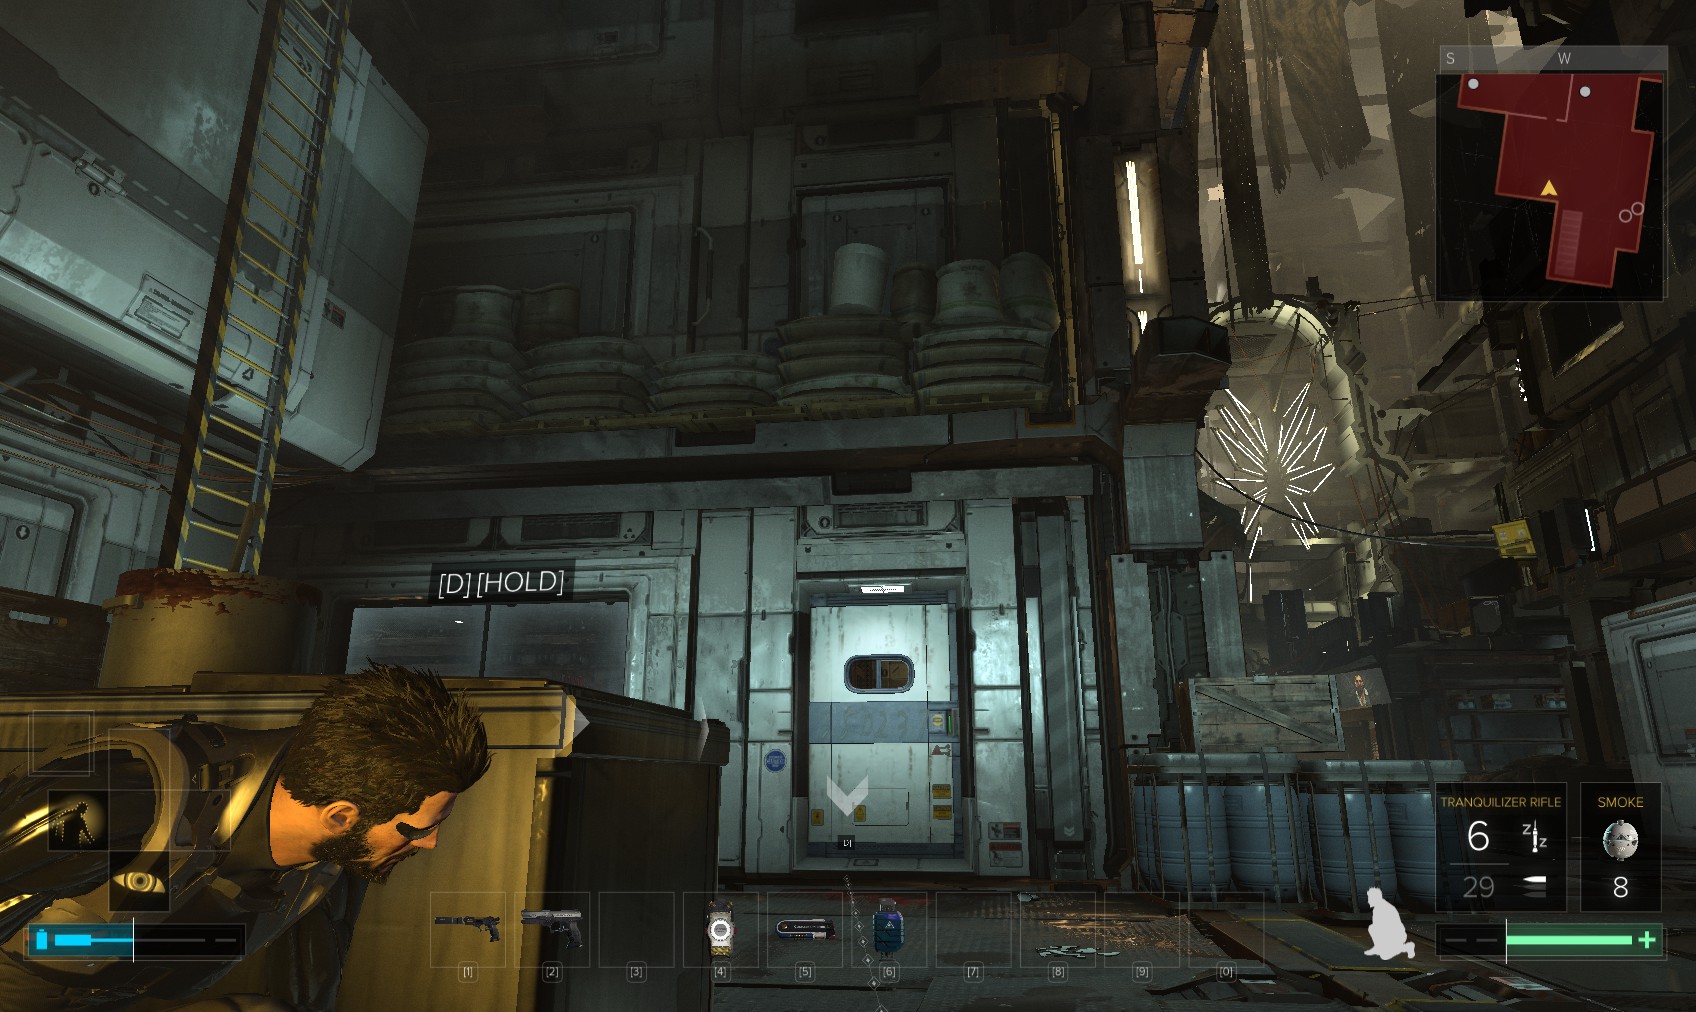
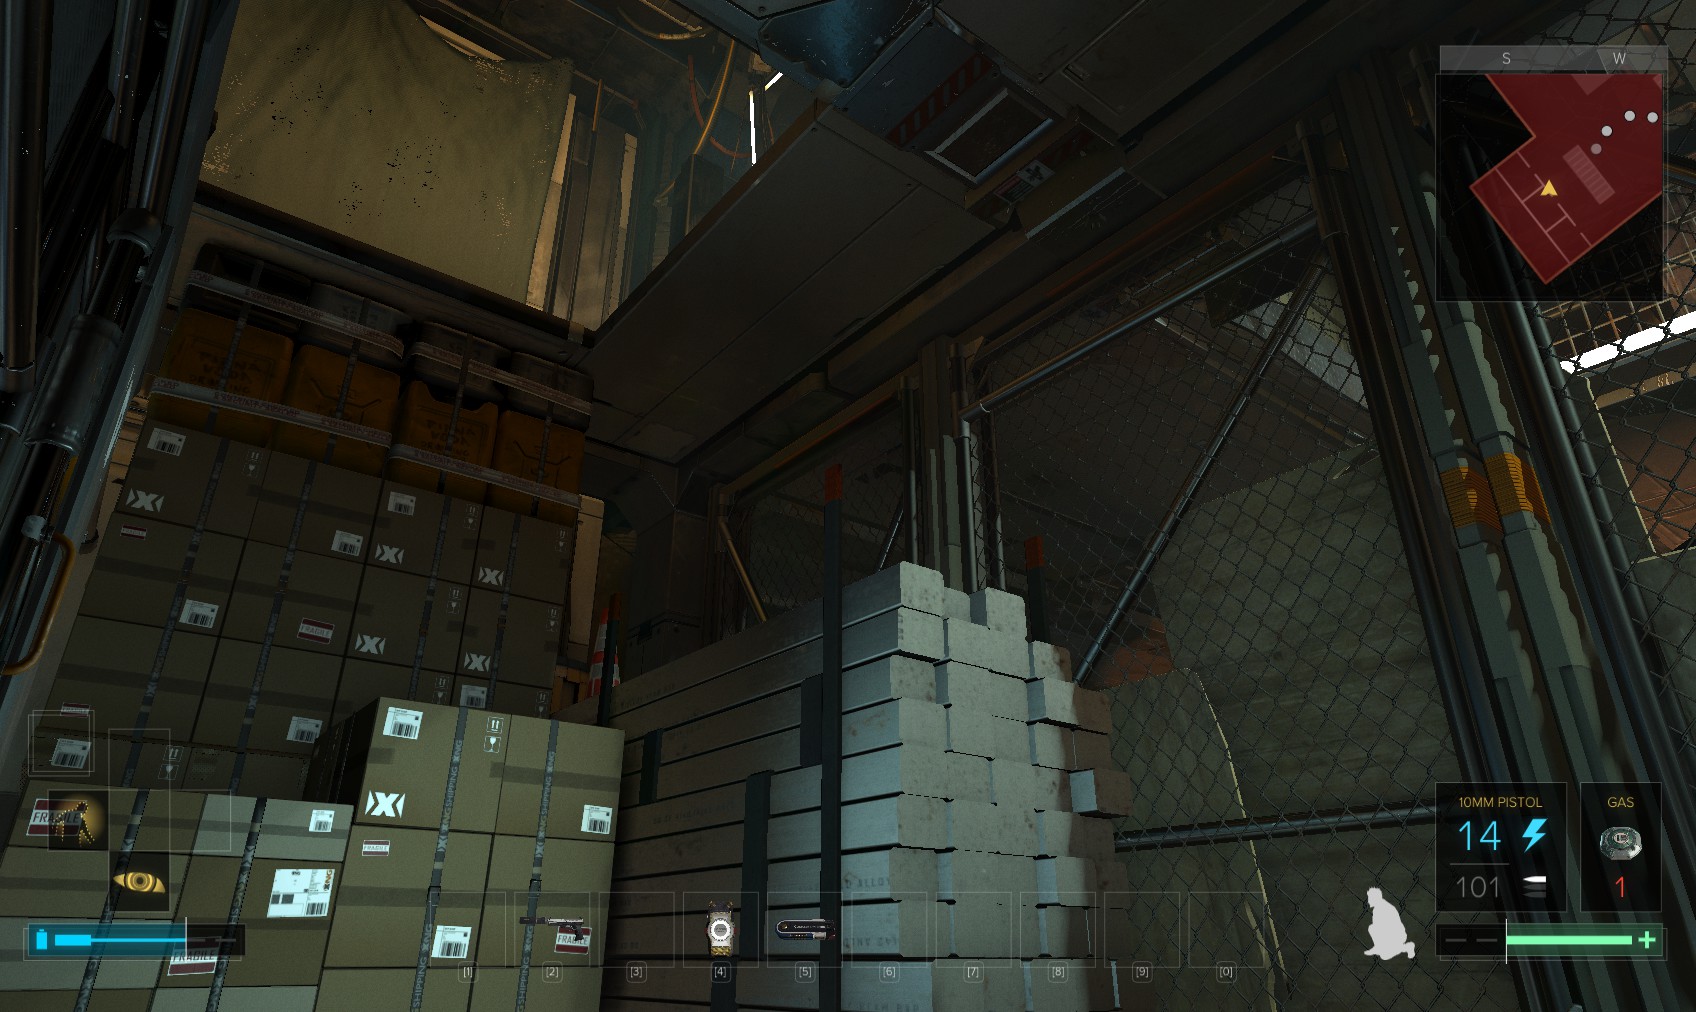
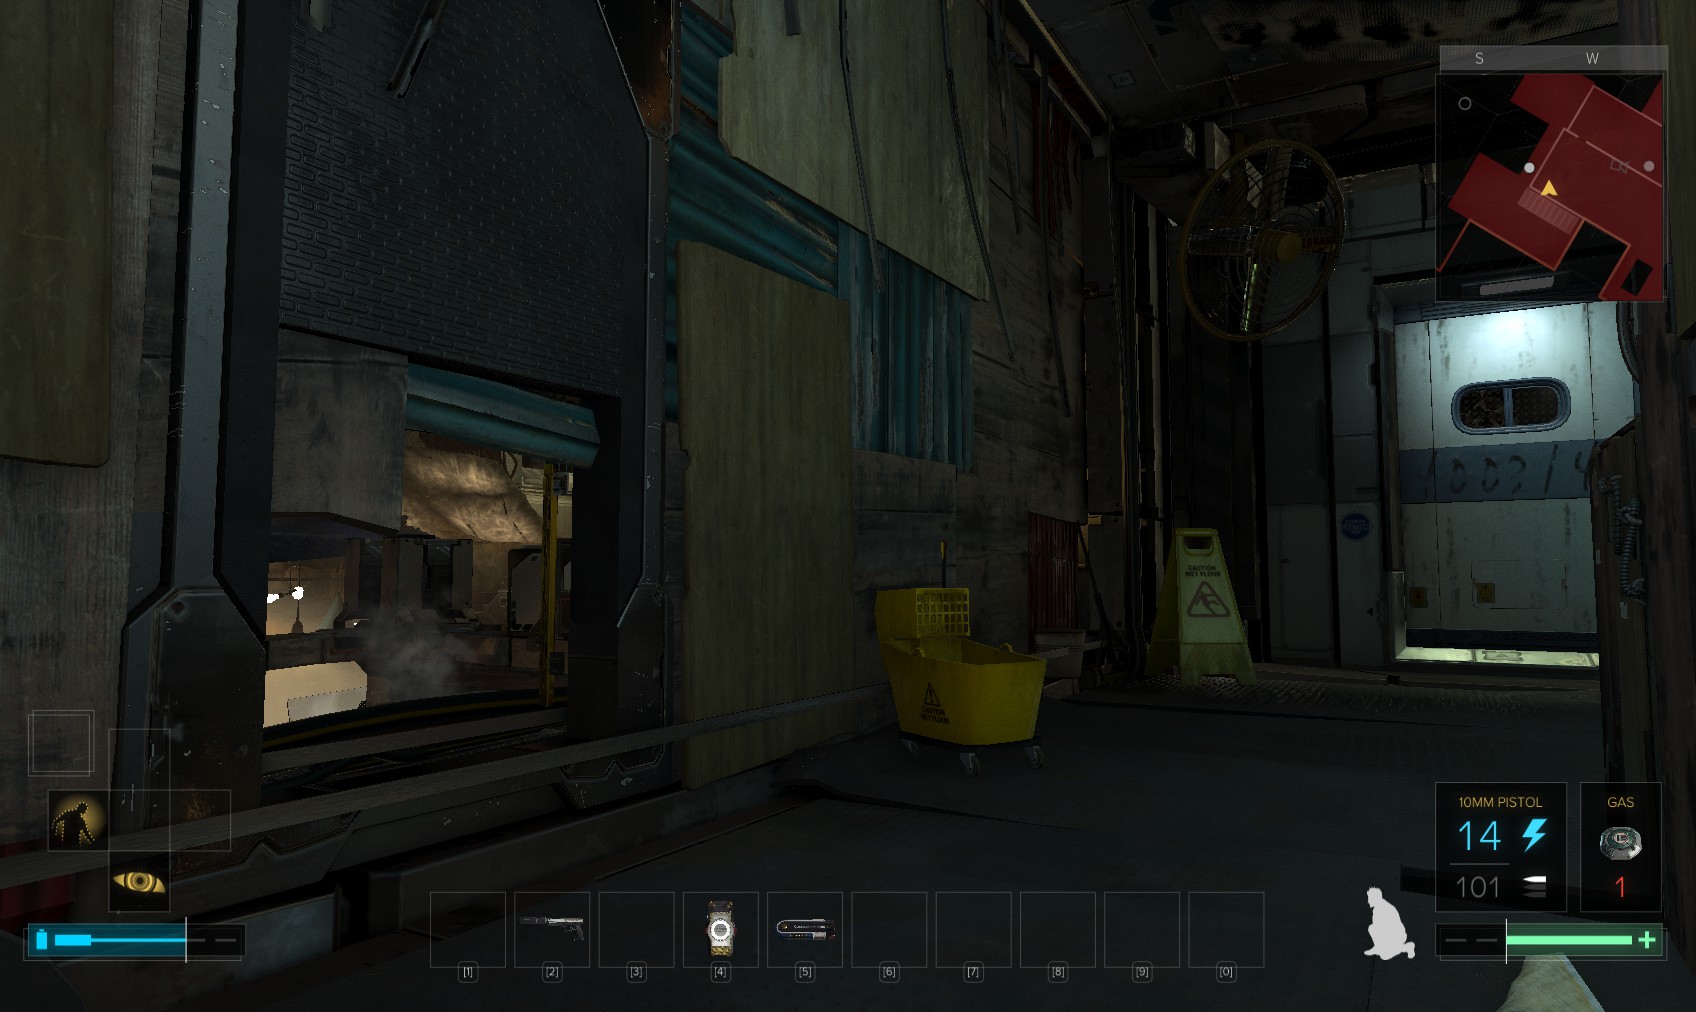
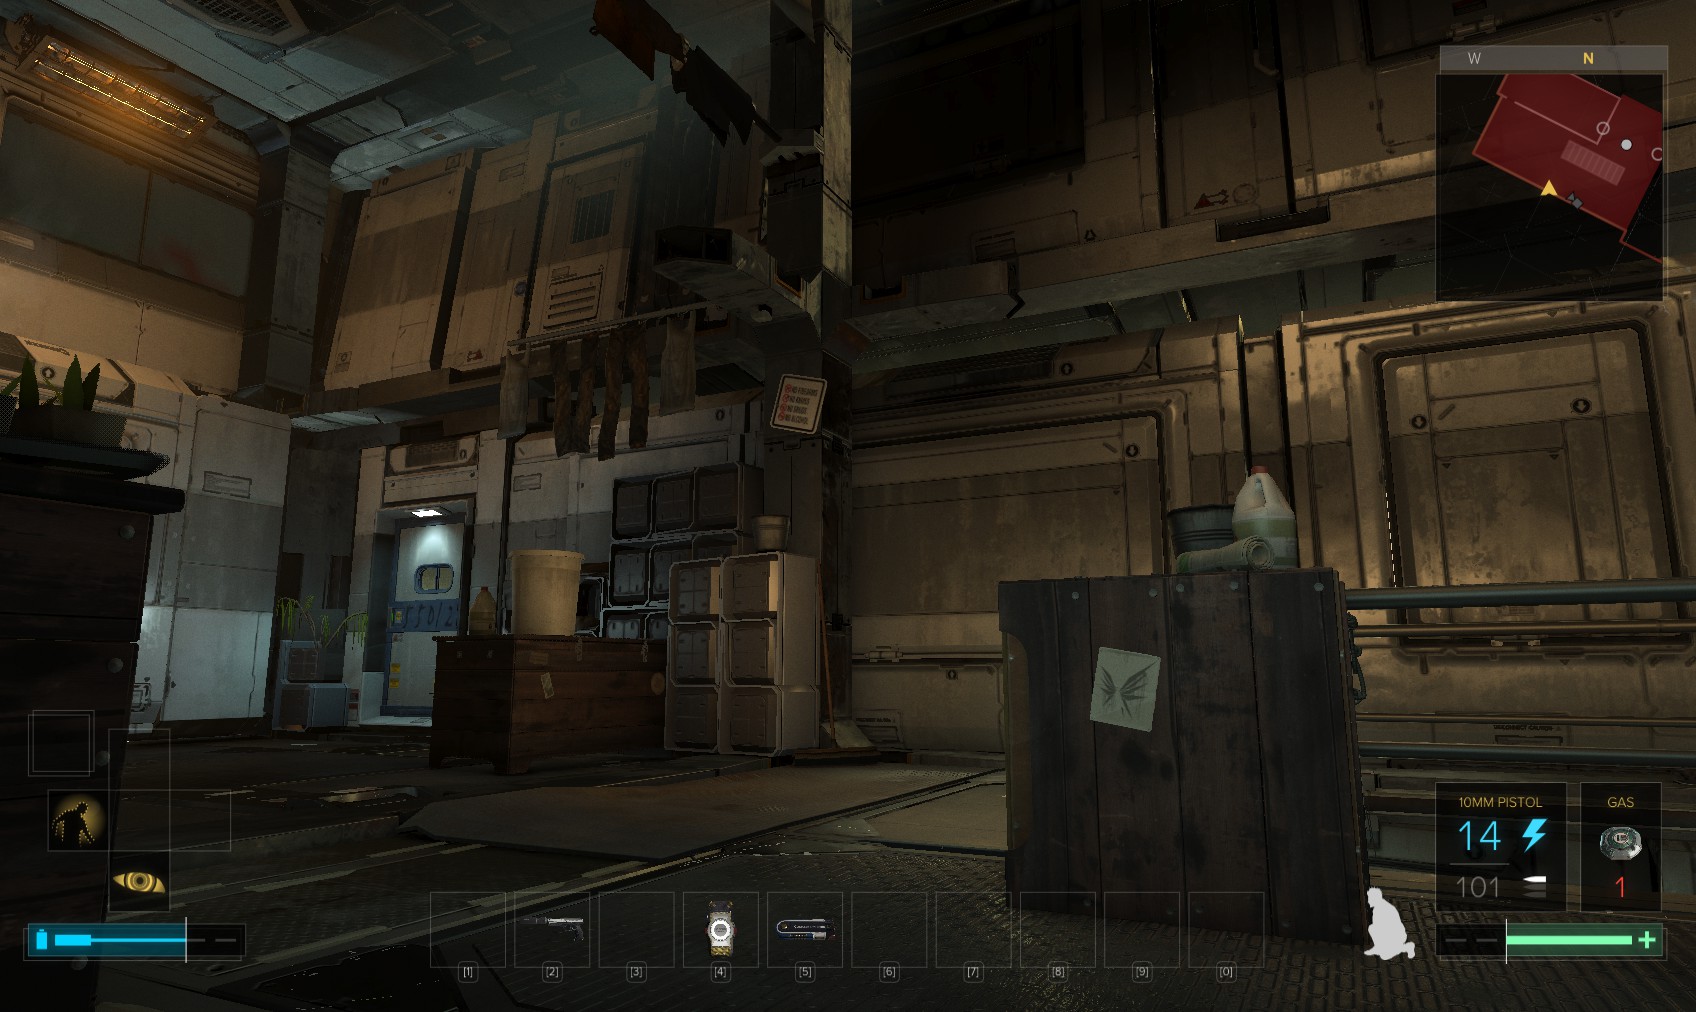
14. Take another moment to admire your surroundings. Very Blade Runner. Shown on the left is some kind of container with an open window.
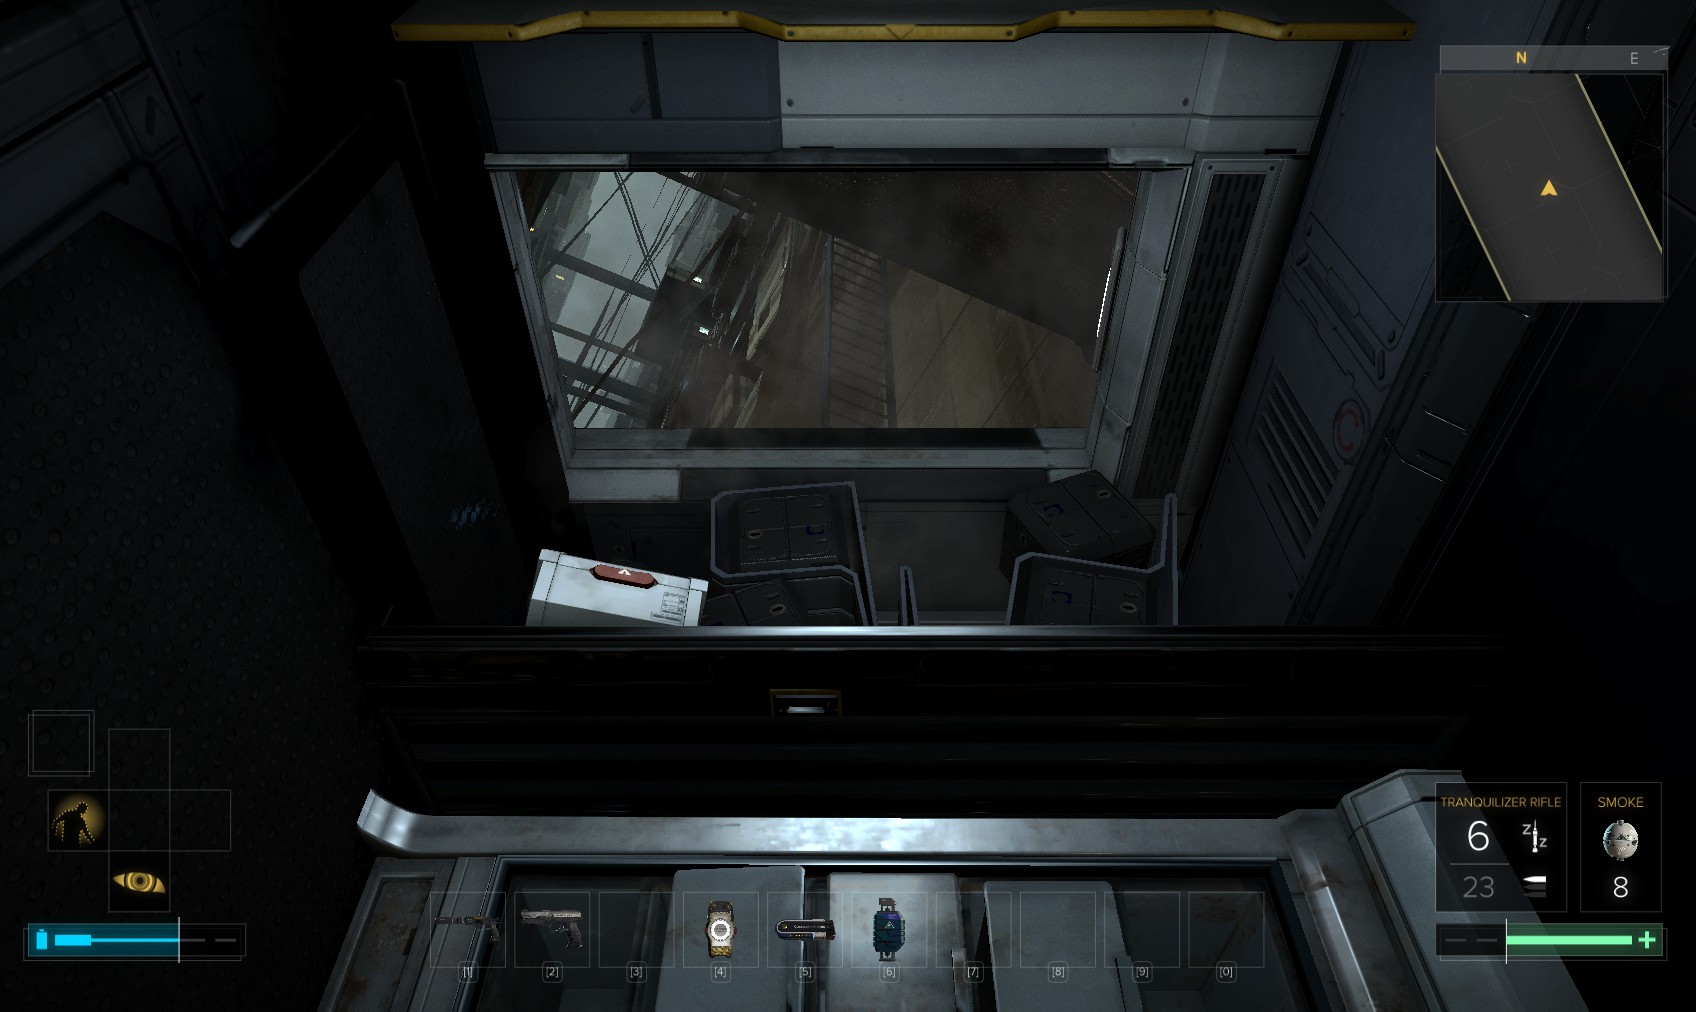
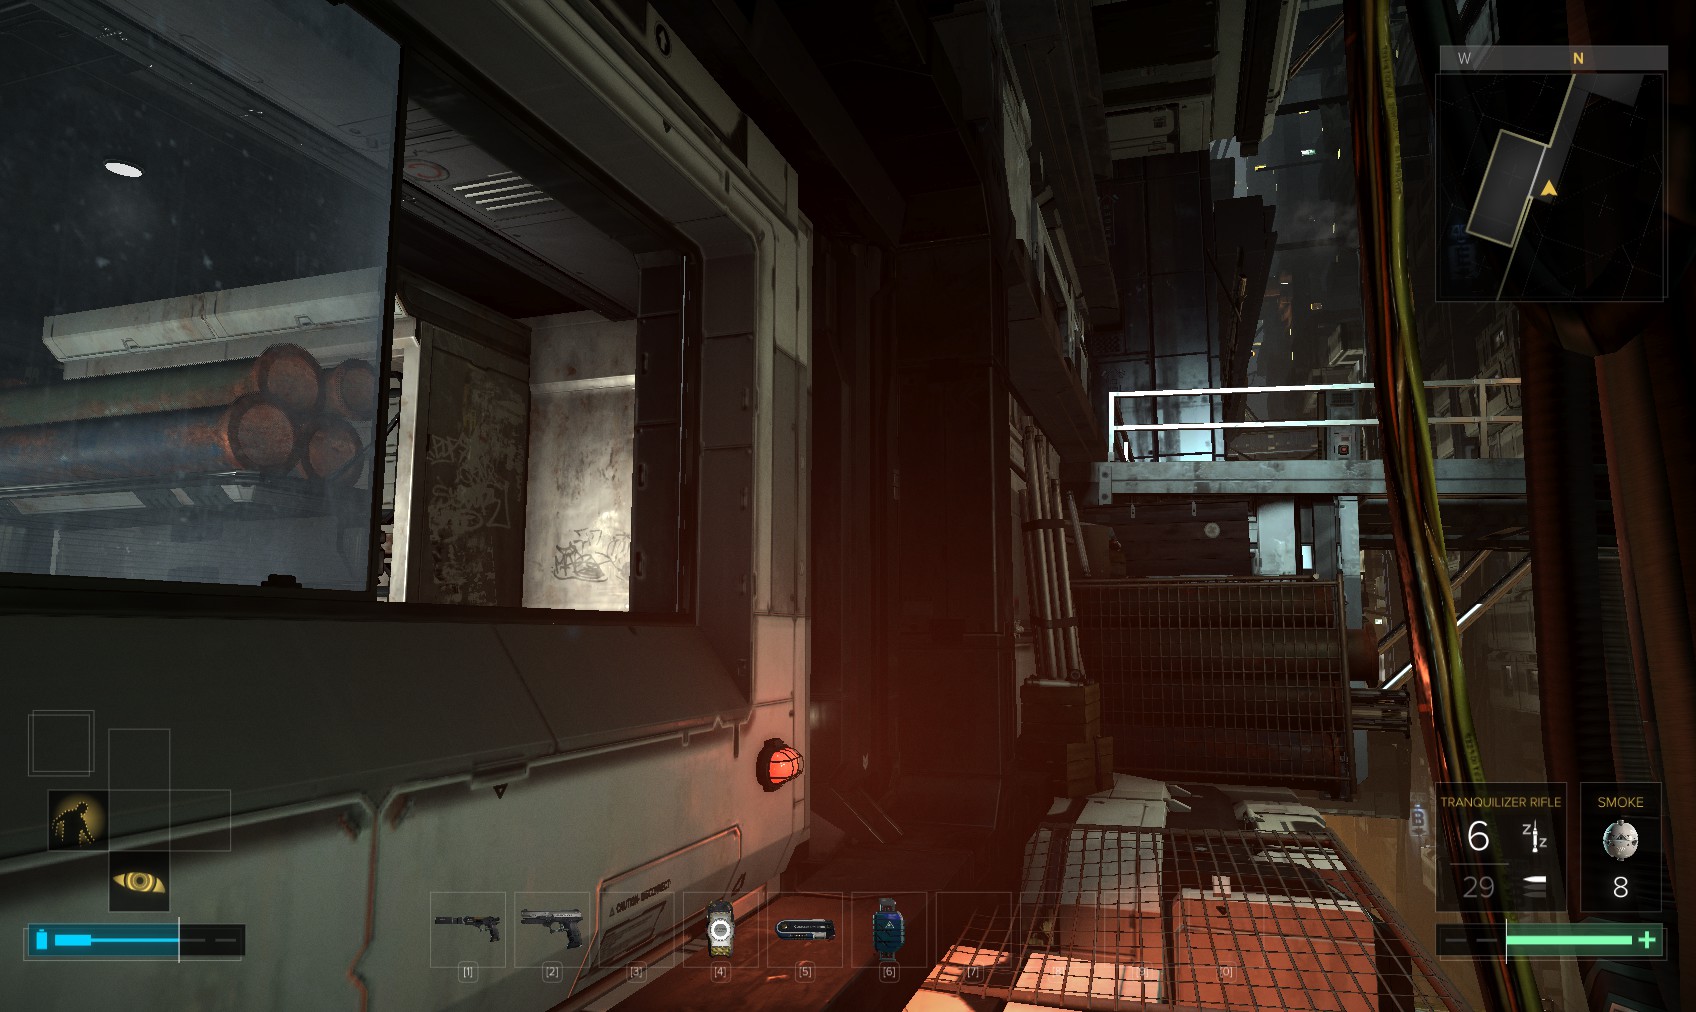
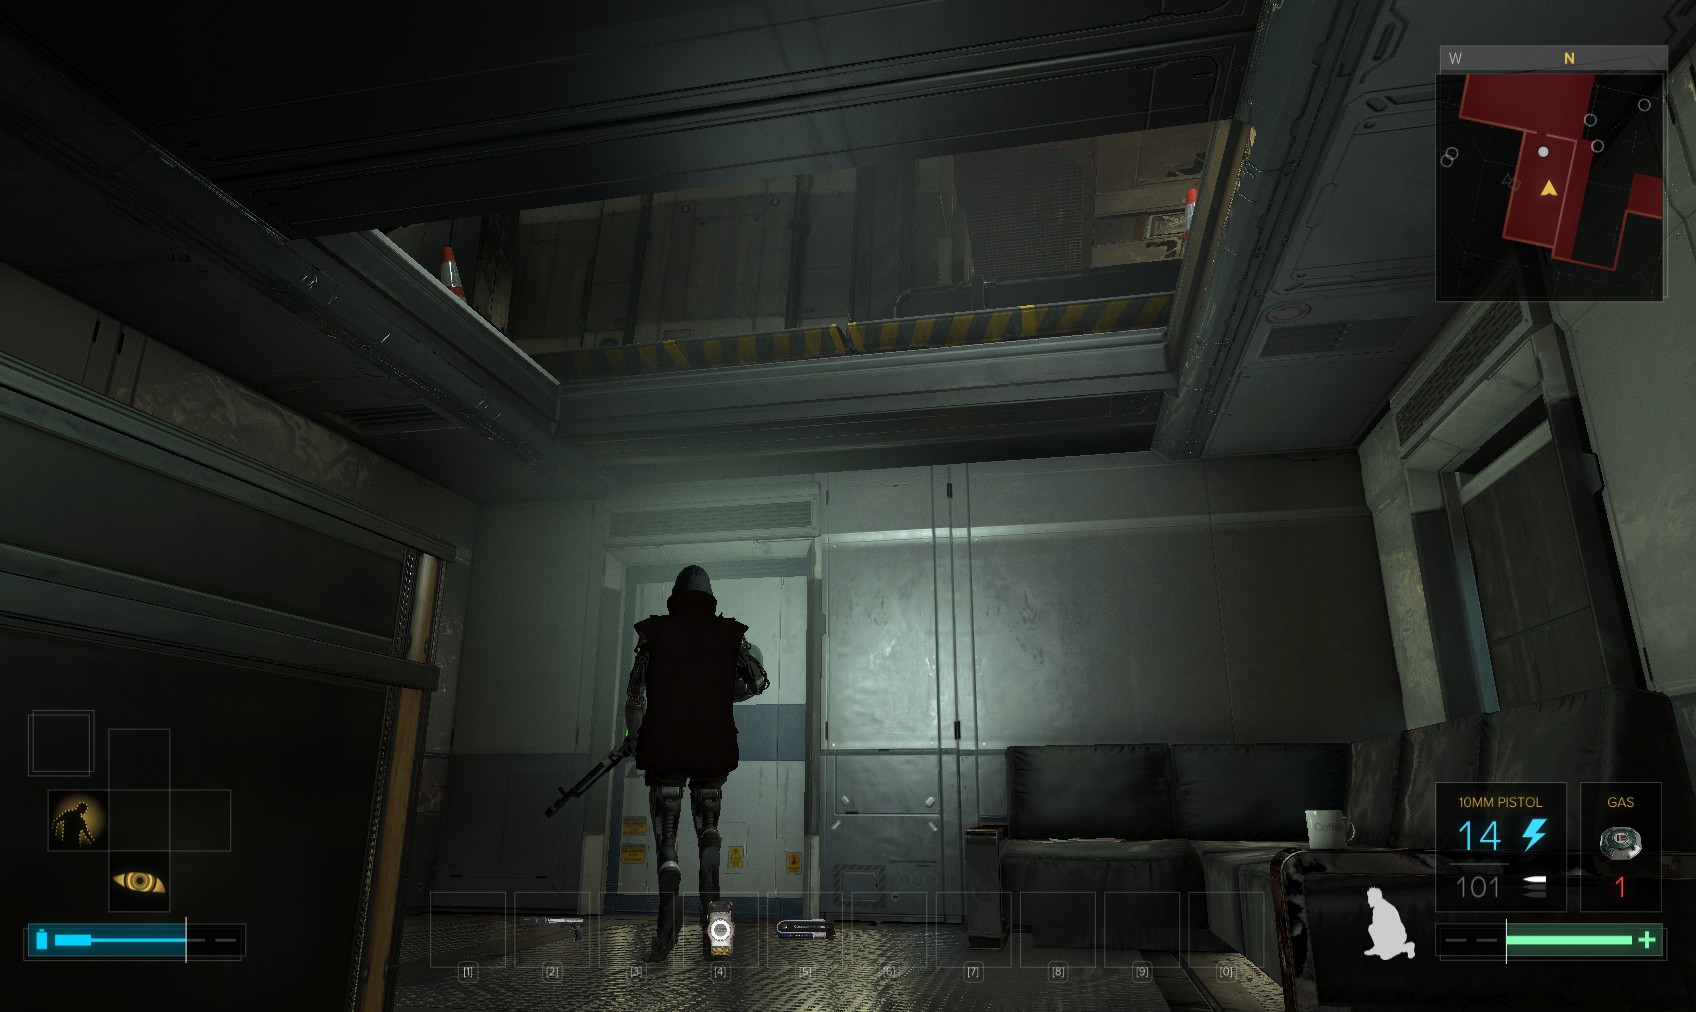
15. Go through the window and search the containers, then exit at the far end through the roof. Raid the medical box, and go up the ladder nearby.
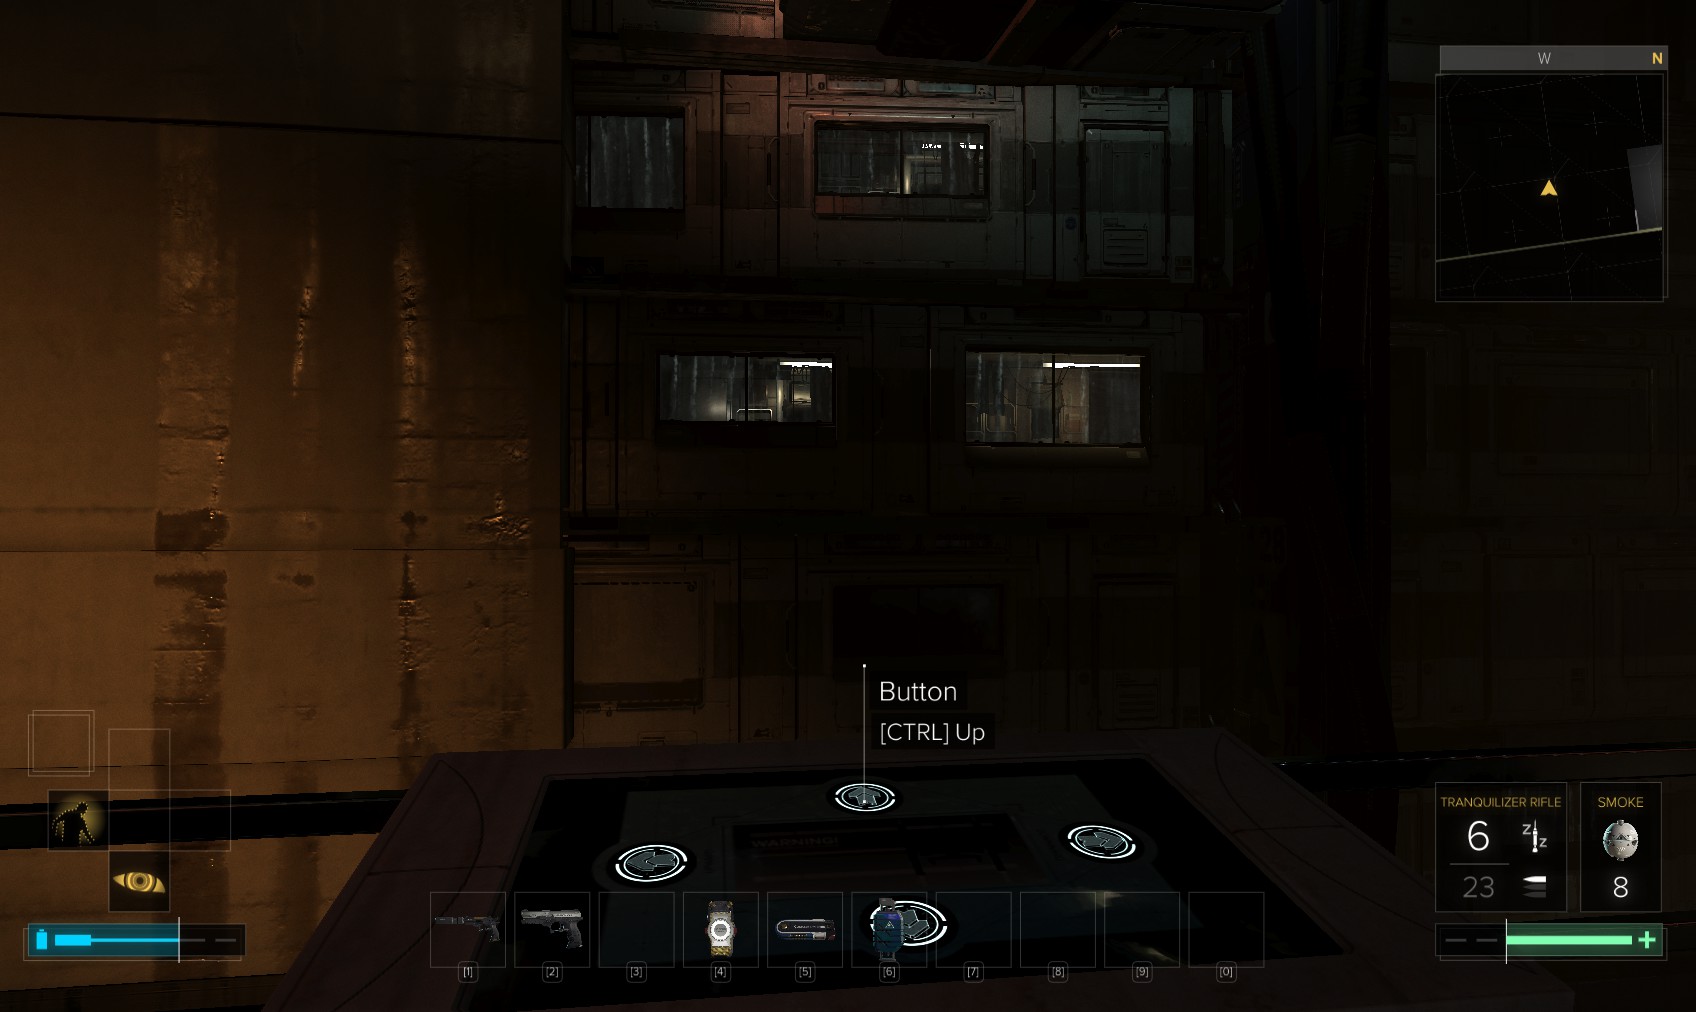
16. This control panel allows you only to go up and down.
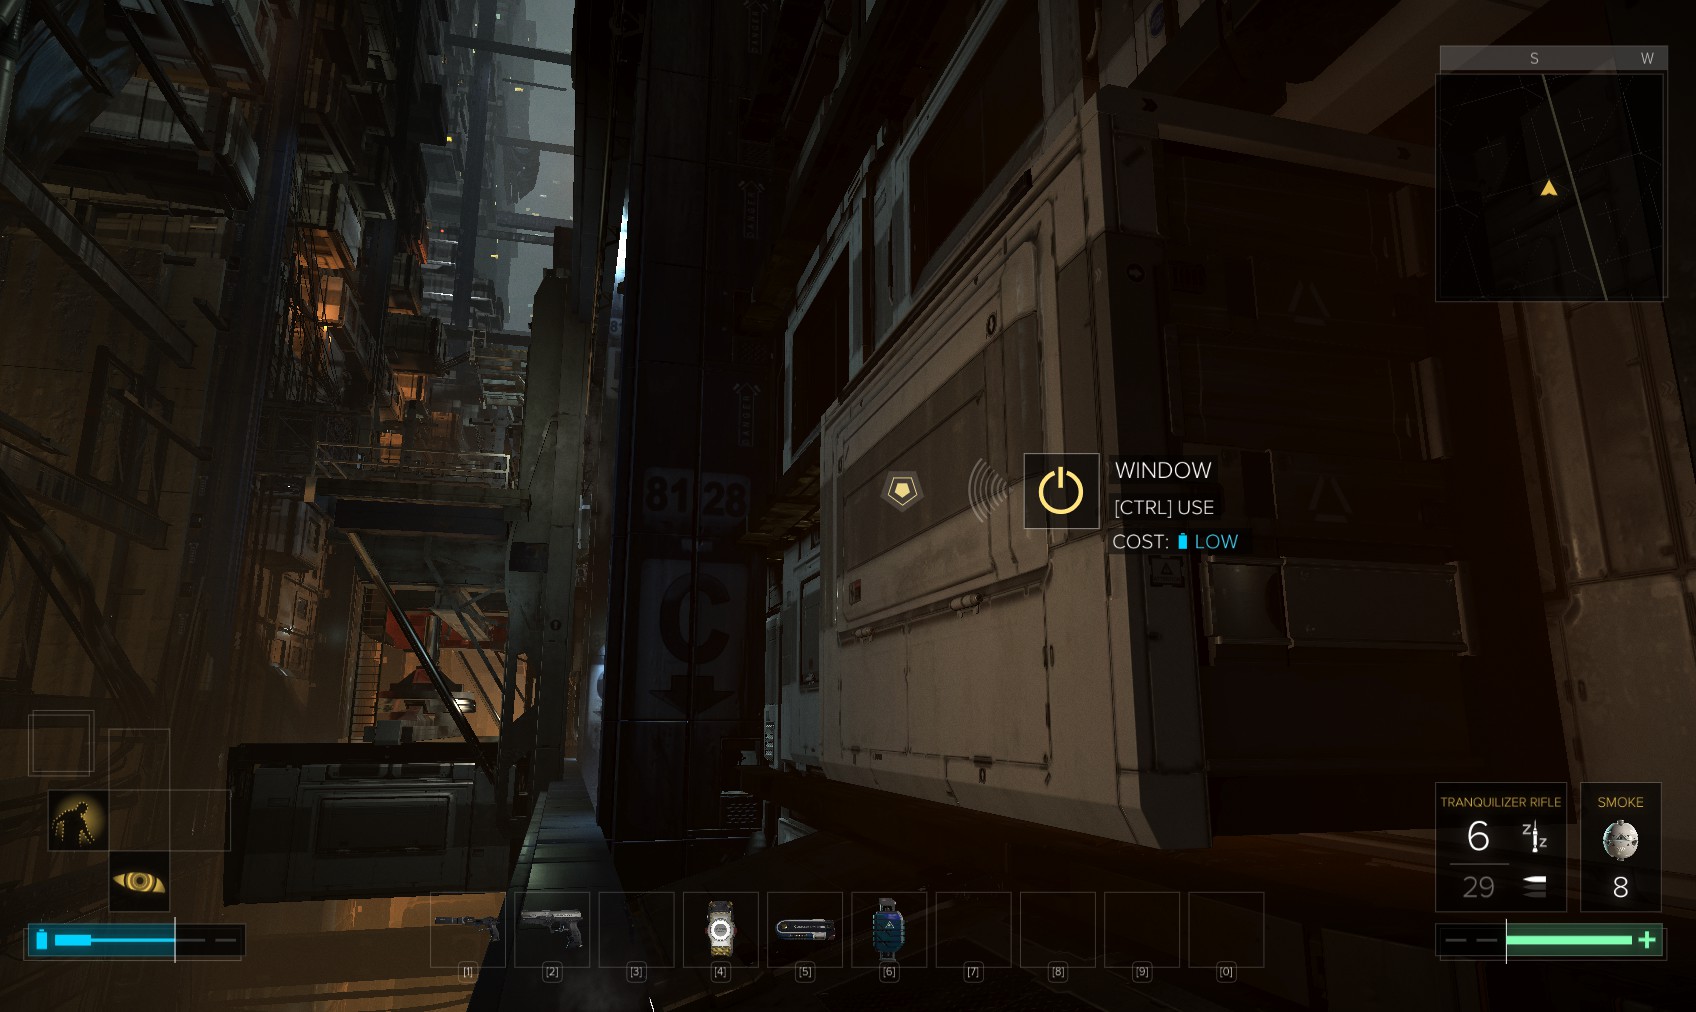
17. Go up, and then cross the beam to the apartment opposite. Go through the window and search through containers, then exit again and climb the broken pipes shown on the left here.
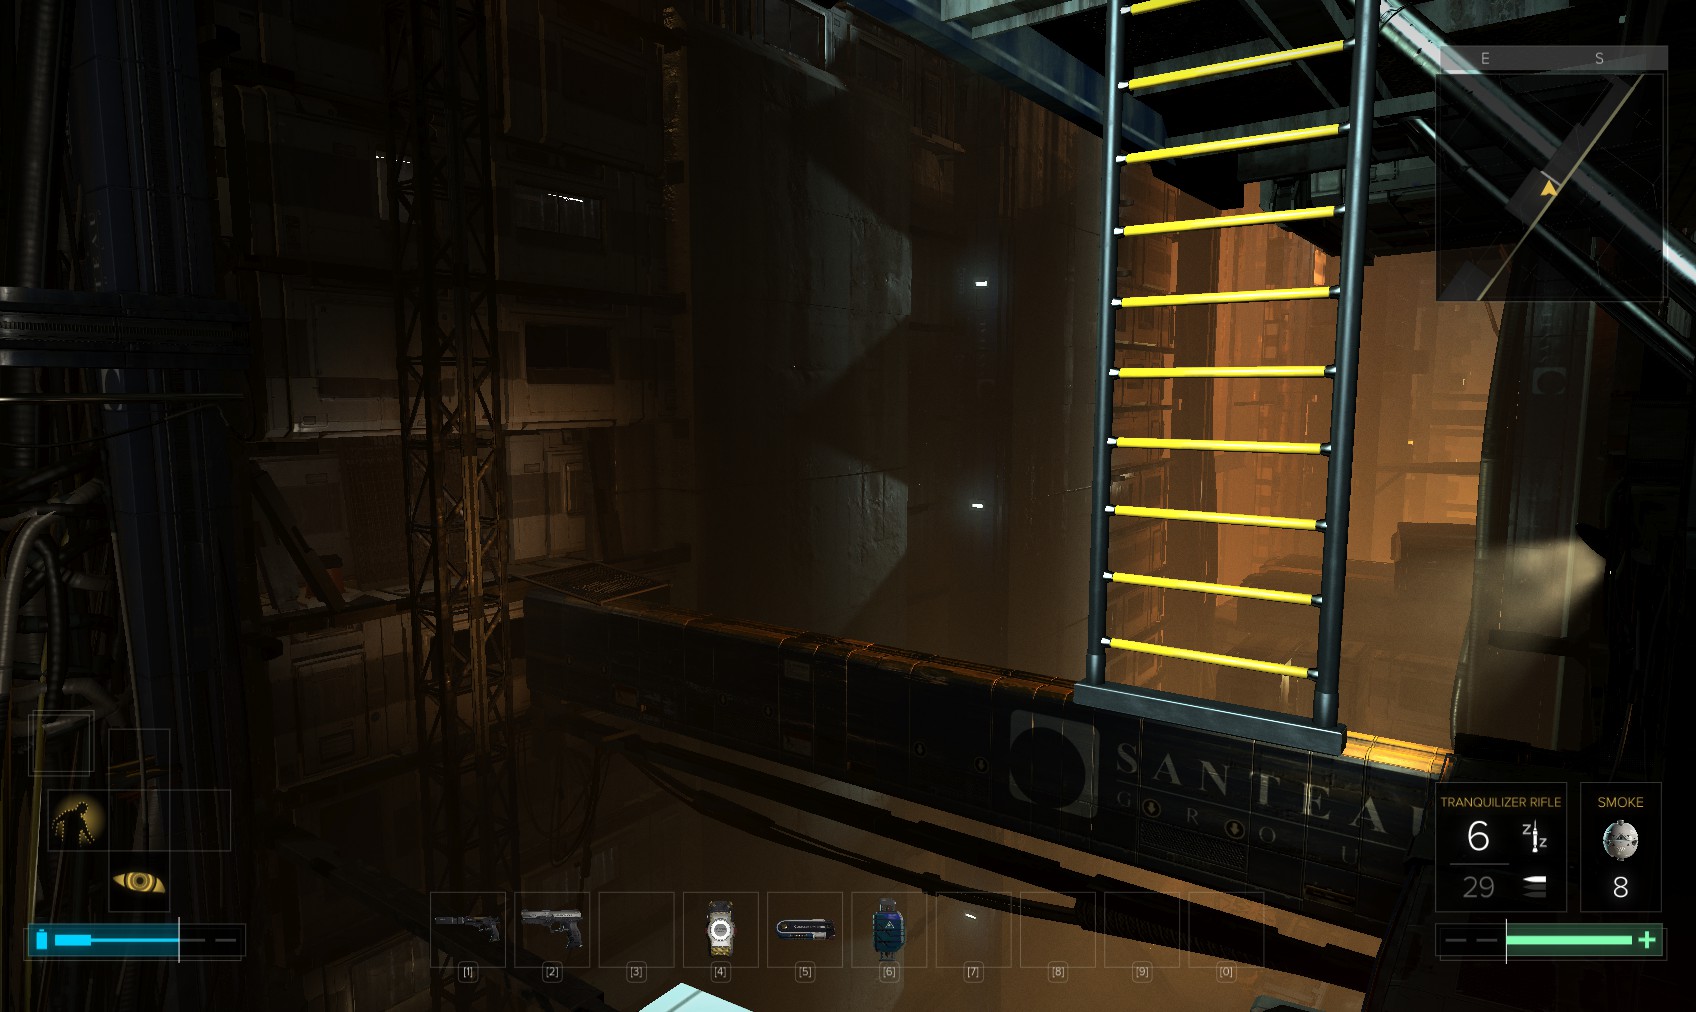
18. Follow your nose on upward until you get to this ladder. Instead of climbing it, drop down and across the beam to the other side to find a weapons case.
19. This shot is looking back from the weapons case. Come back and ascend the ladder. Keep going up.
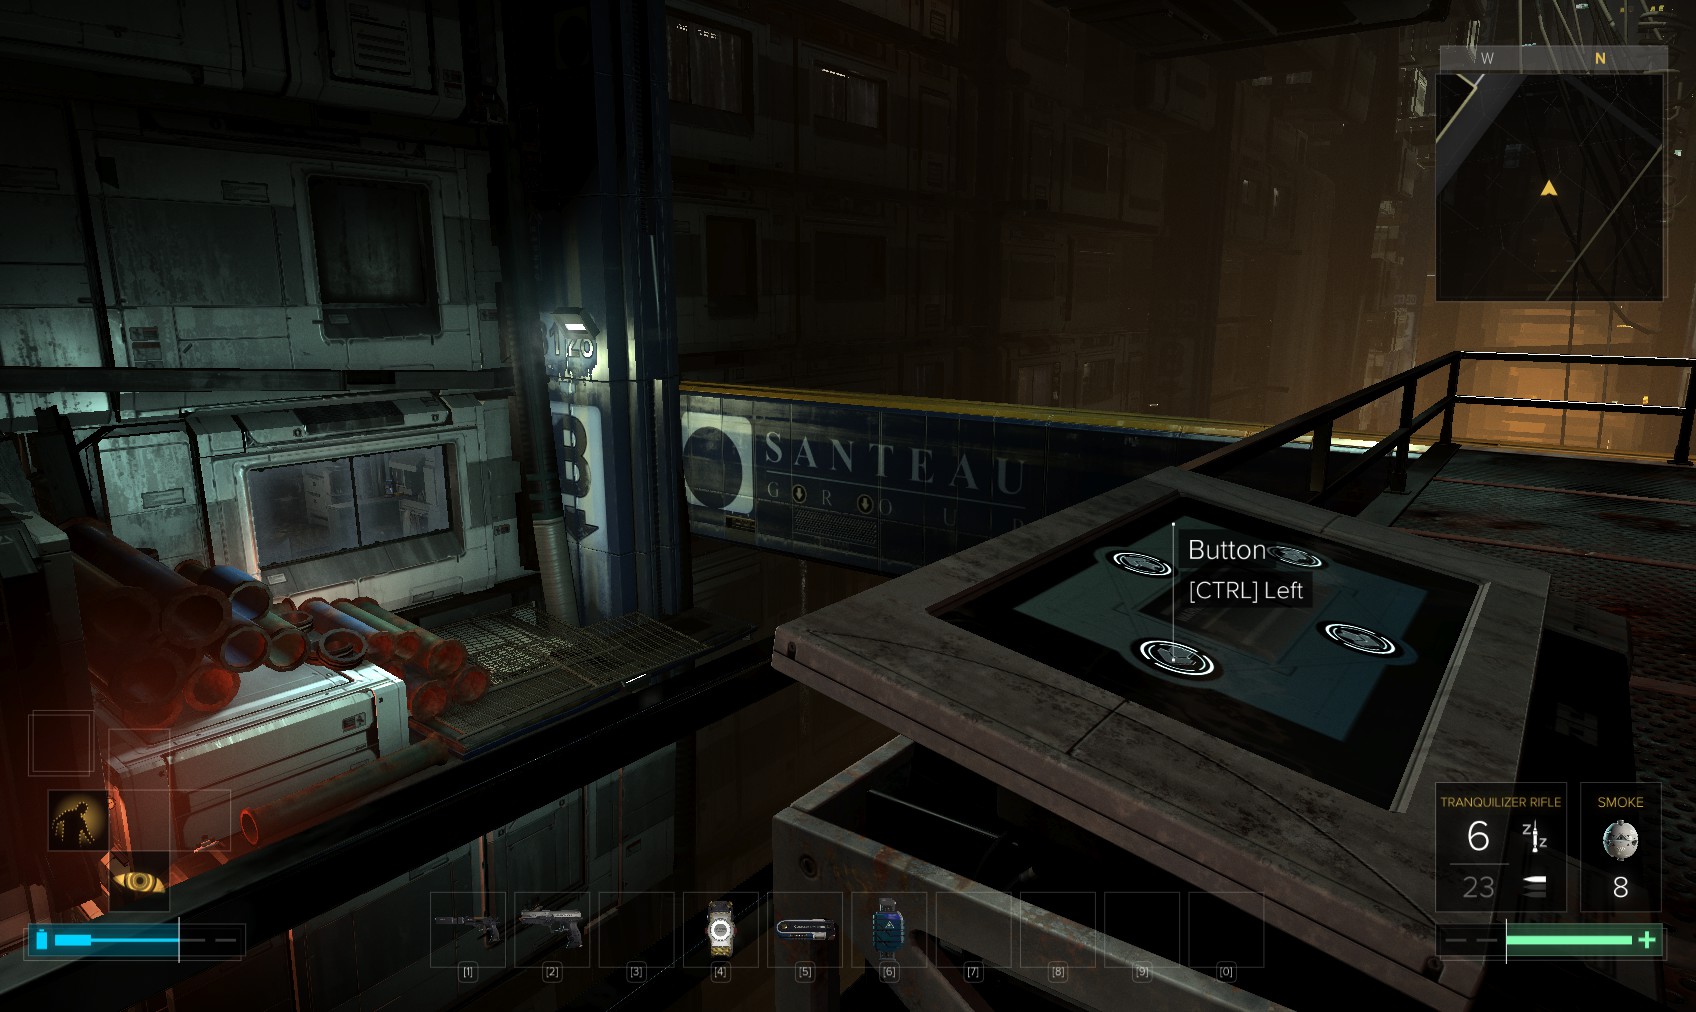
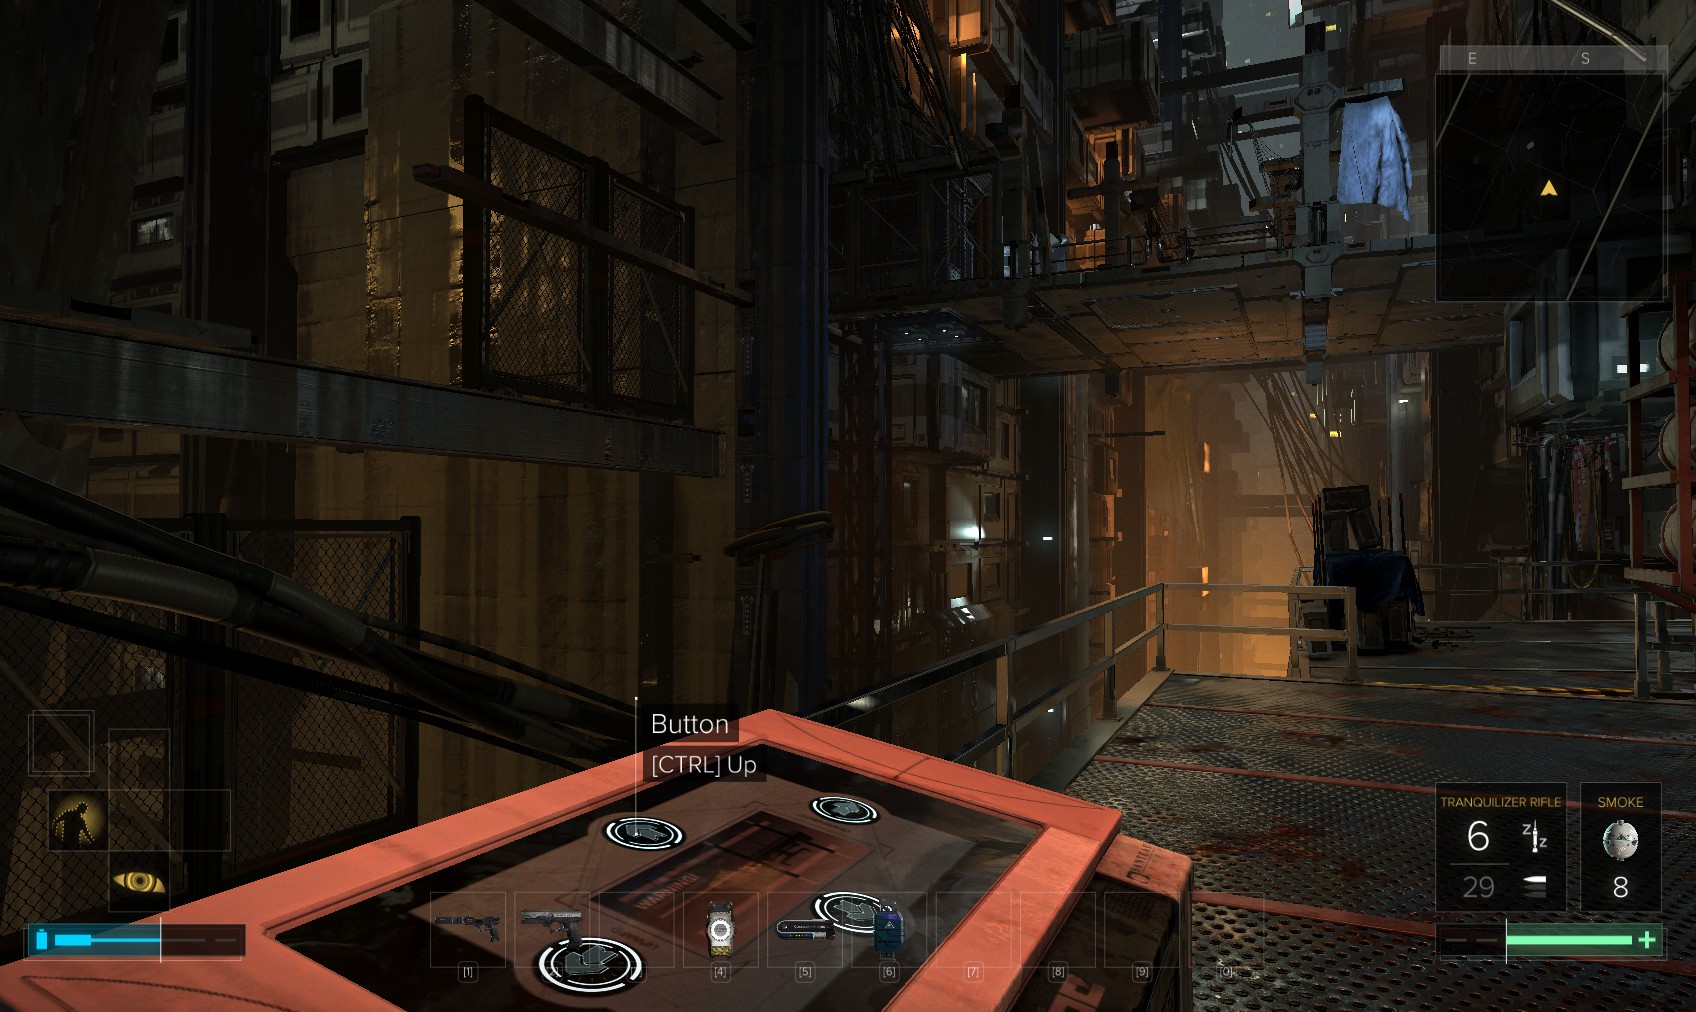
20. You eventually reach another apartment to search for stuff, then climb up ahead. You will see a button which calls another moving platform. Obviously, press it.
21. Don’t ride it anywhere yet. If you have remote hacking skills, go down the ladder at the far end of the moving platform, and make you way to here along the ledge.
22. Return to the platform and ride it up.
23. Jump up to the left to find another weapons case before entering the door on the right.
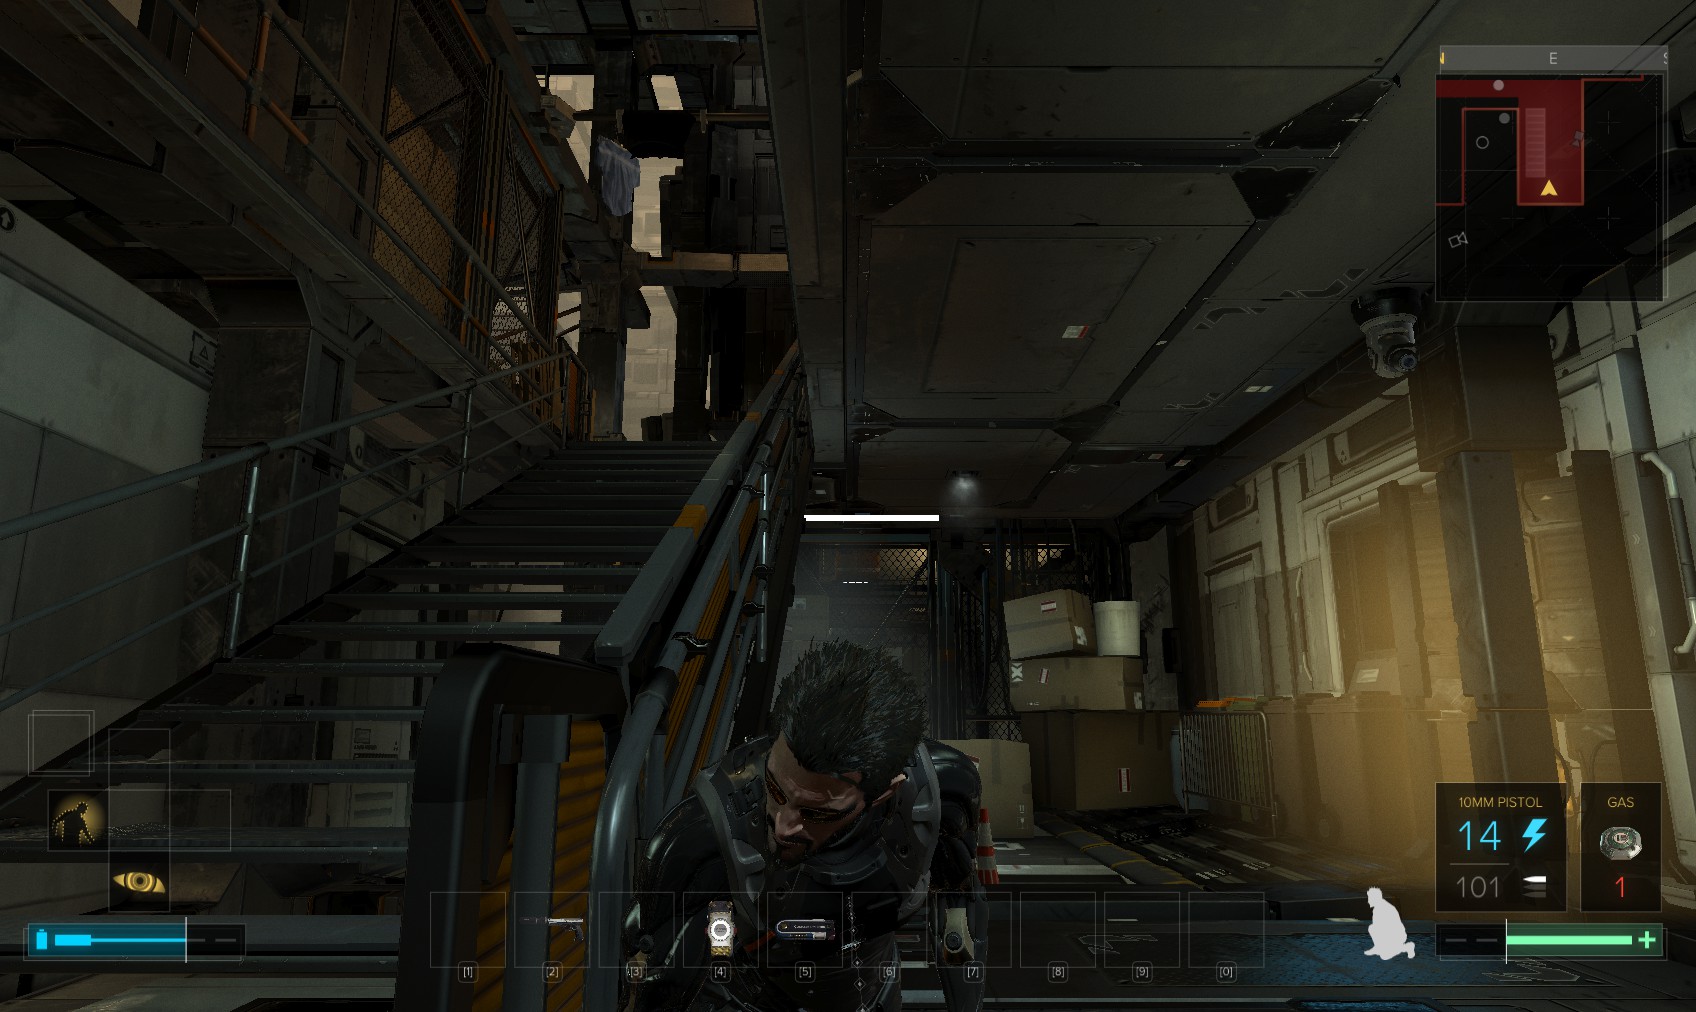
24. Raid the lockers for a holosight and other goodies before leaving through the door at the far end. Down some steps and here we are, where I left The Prince after the short version.
25. Another remote hackable container just around the corner with a biocell and other goodies. There are crates you can move/stack nearby to reach it.
26. Just ahead go up some steps to provoke a cutscene showing Tibor Sokol arguing. How’d he get ahead of you? Must be that secret way in.
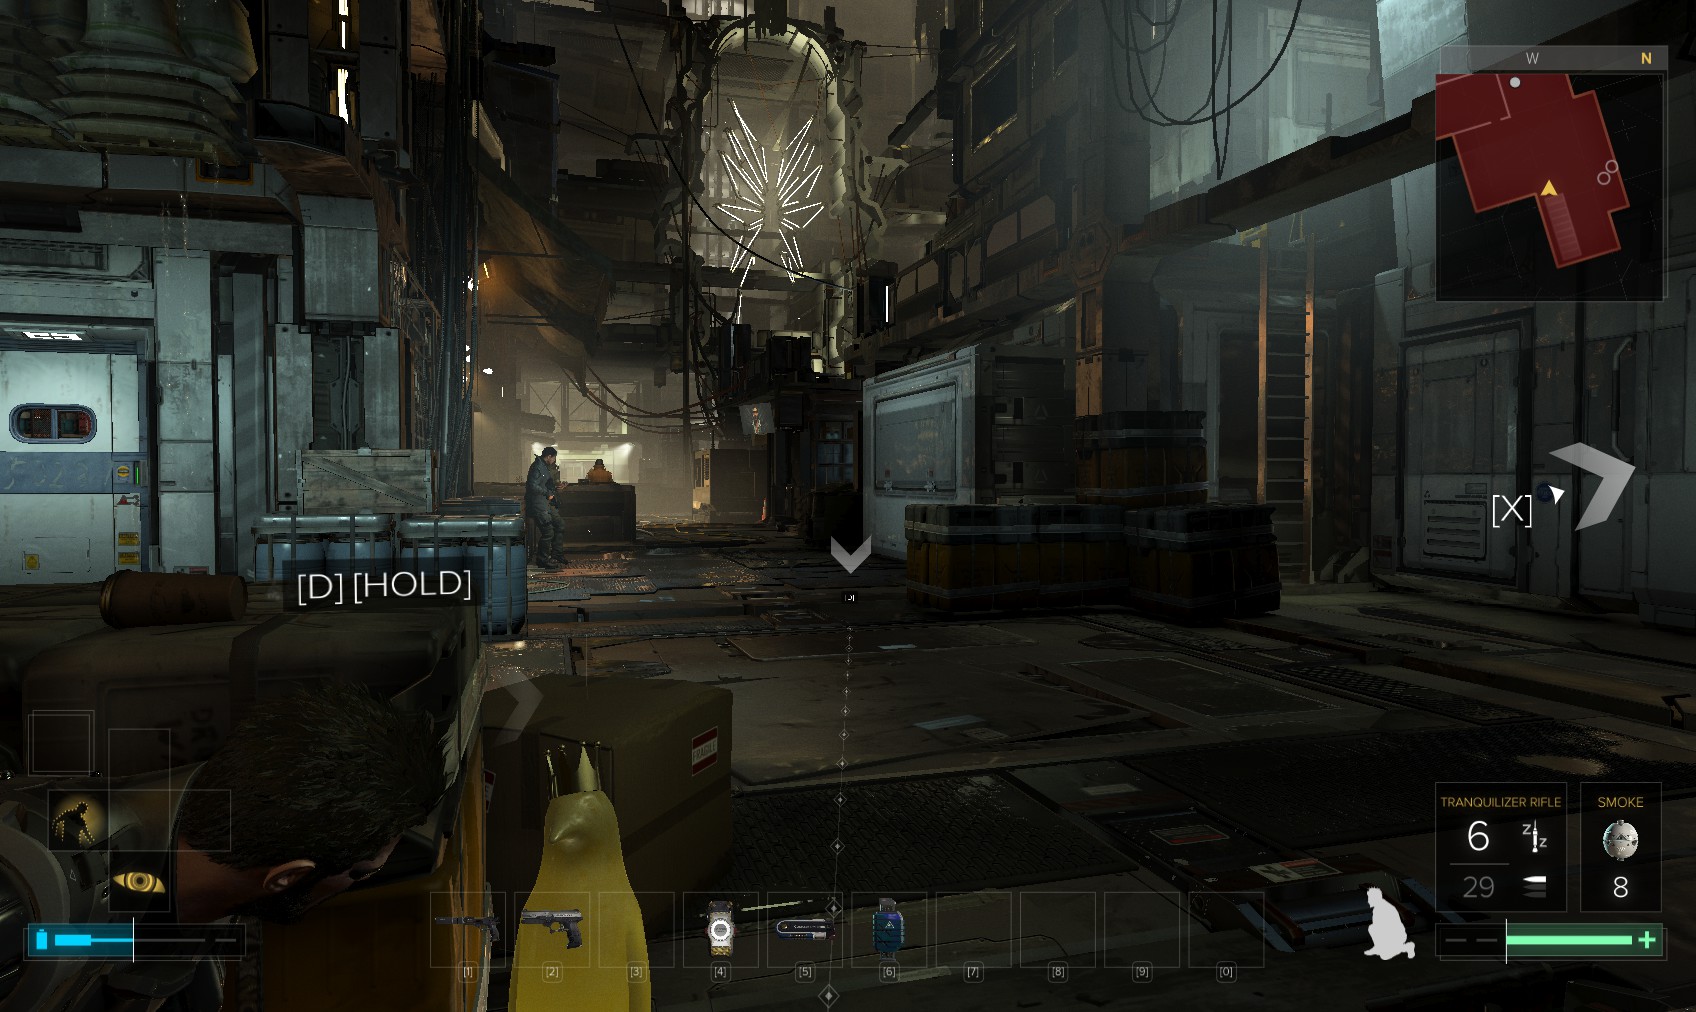
27. There are multiple routes through this section, and I’m going to leave the Penguin Prince here for now (we’ll fetch him again later).
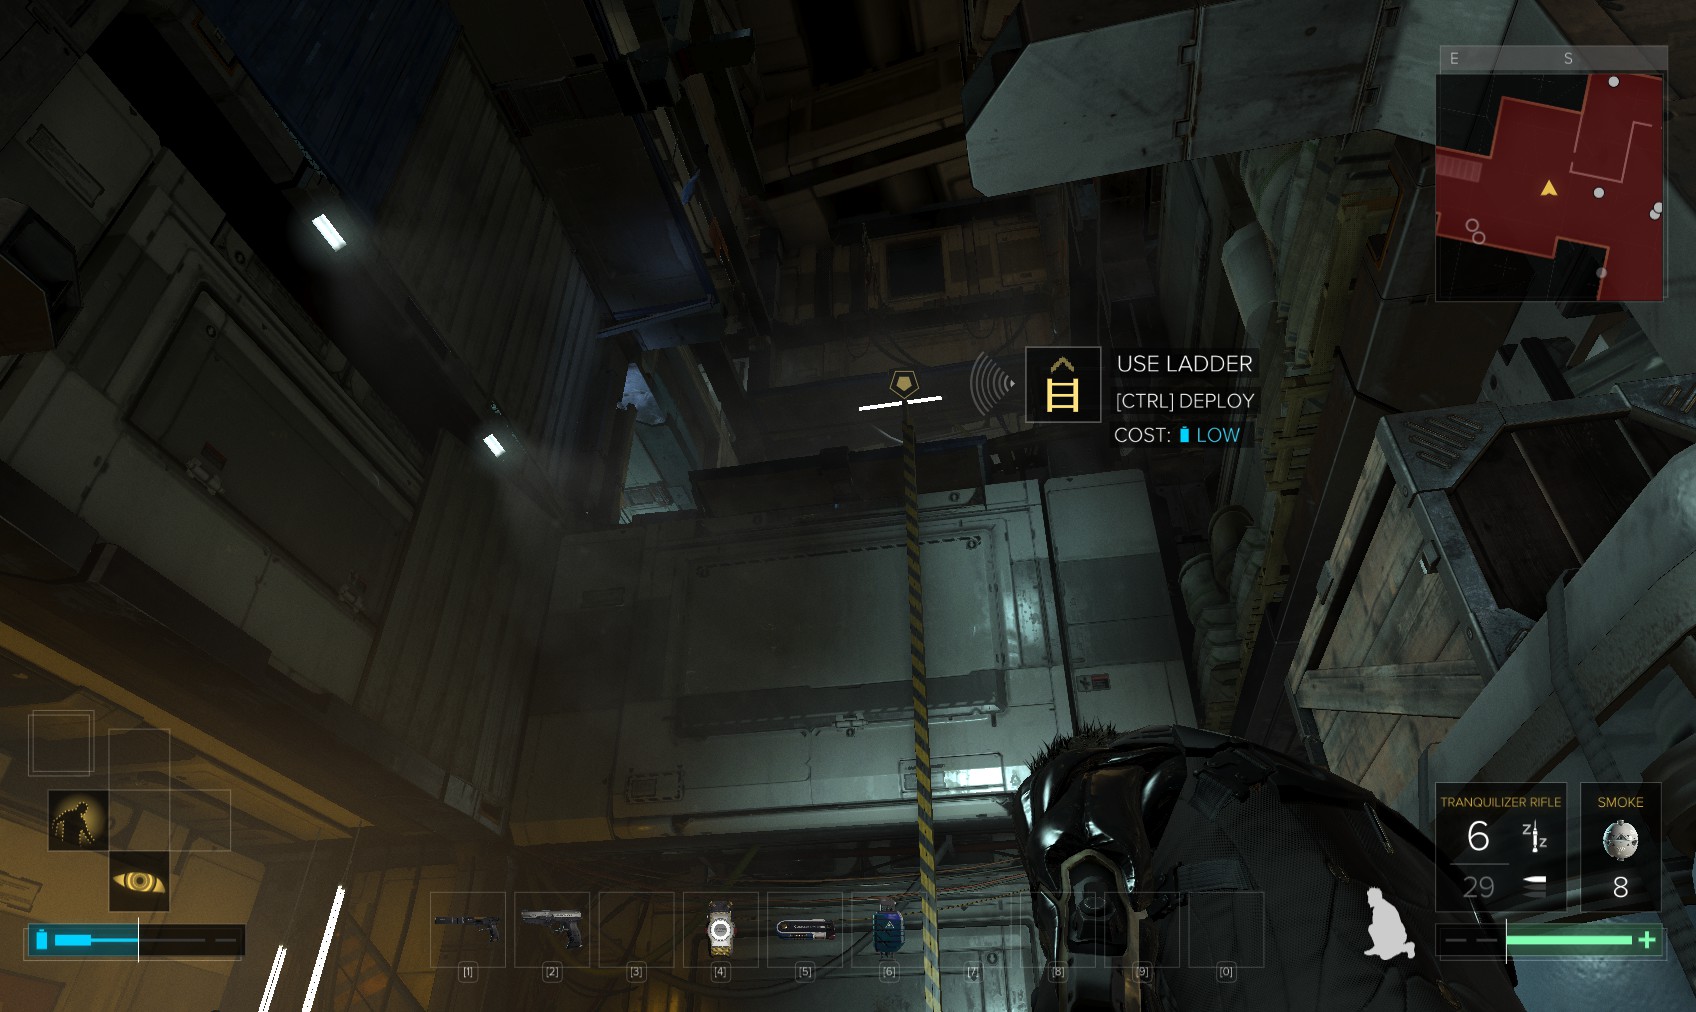
28. If you have remote hacking, deploy this ladder and go up it. Don’t forget to scout round for useful stuff as you go!
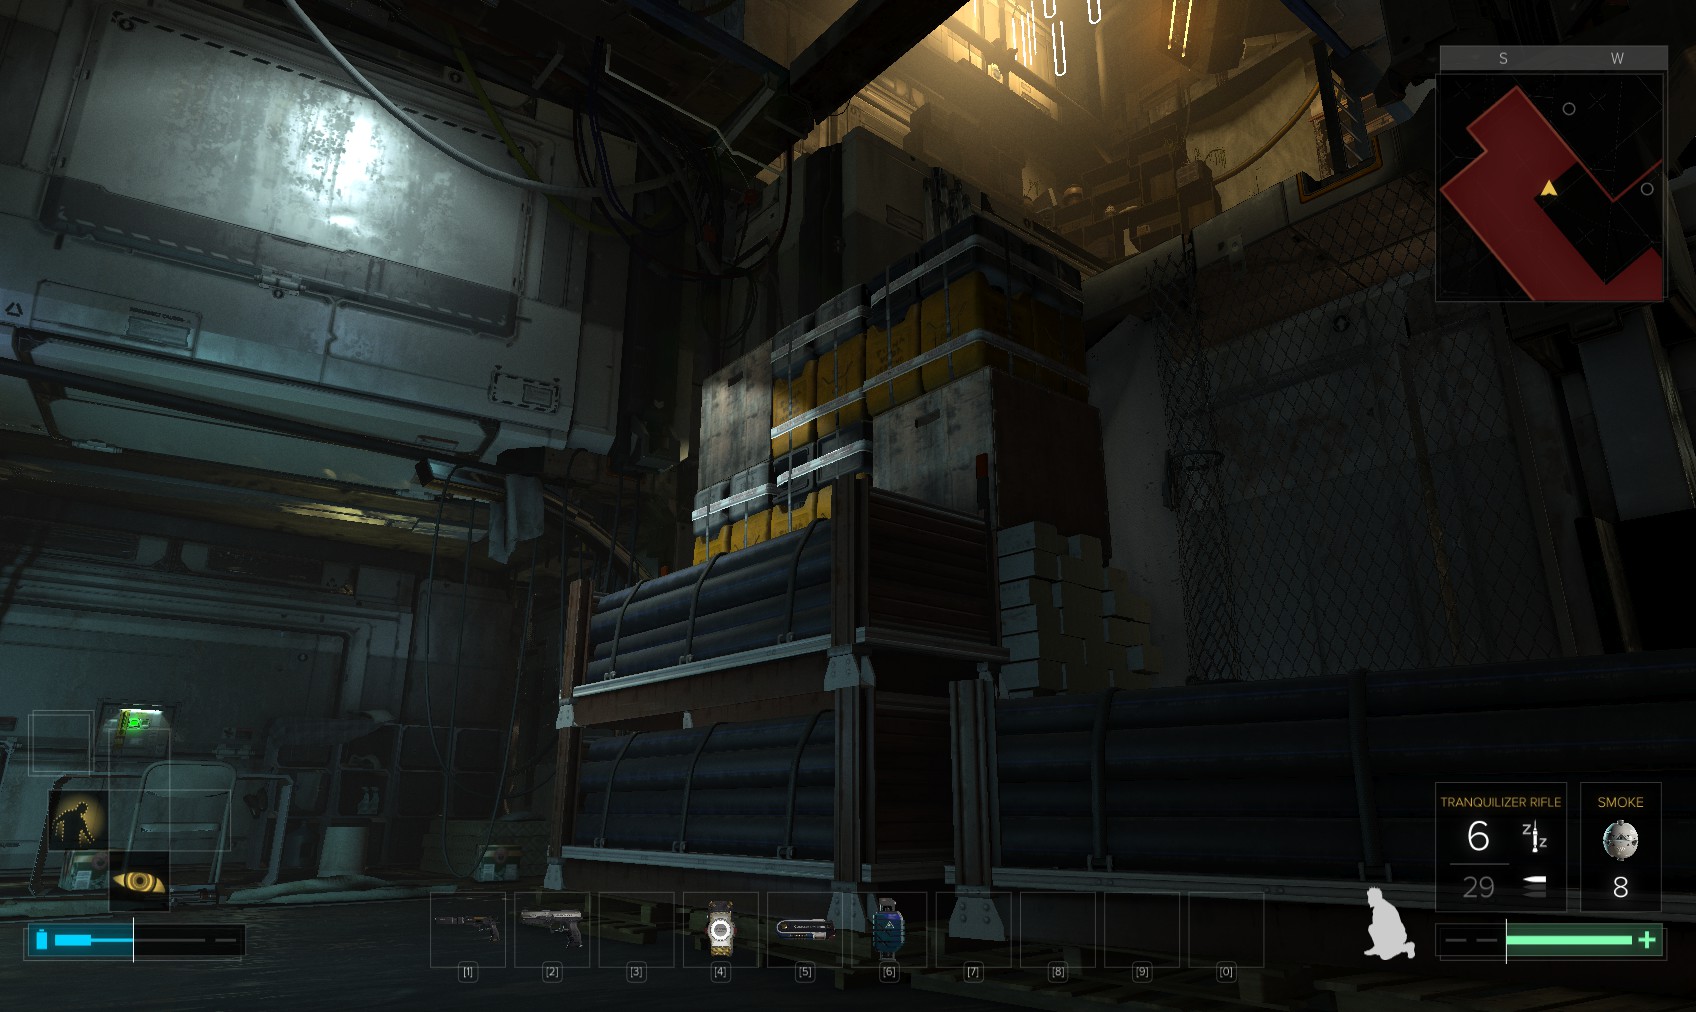
29. The floor is covered in water, and electrified, so disable the electrics at the breaker and then climb up the boxes to the room shown at the top here, then up the ladder to another level.
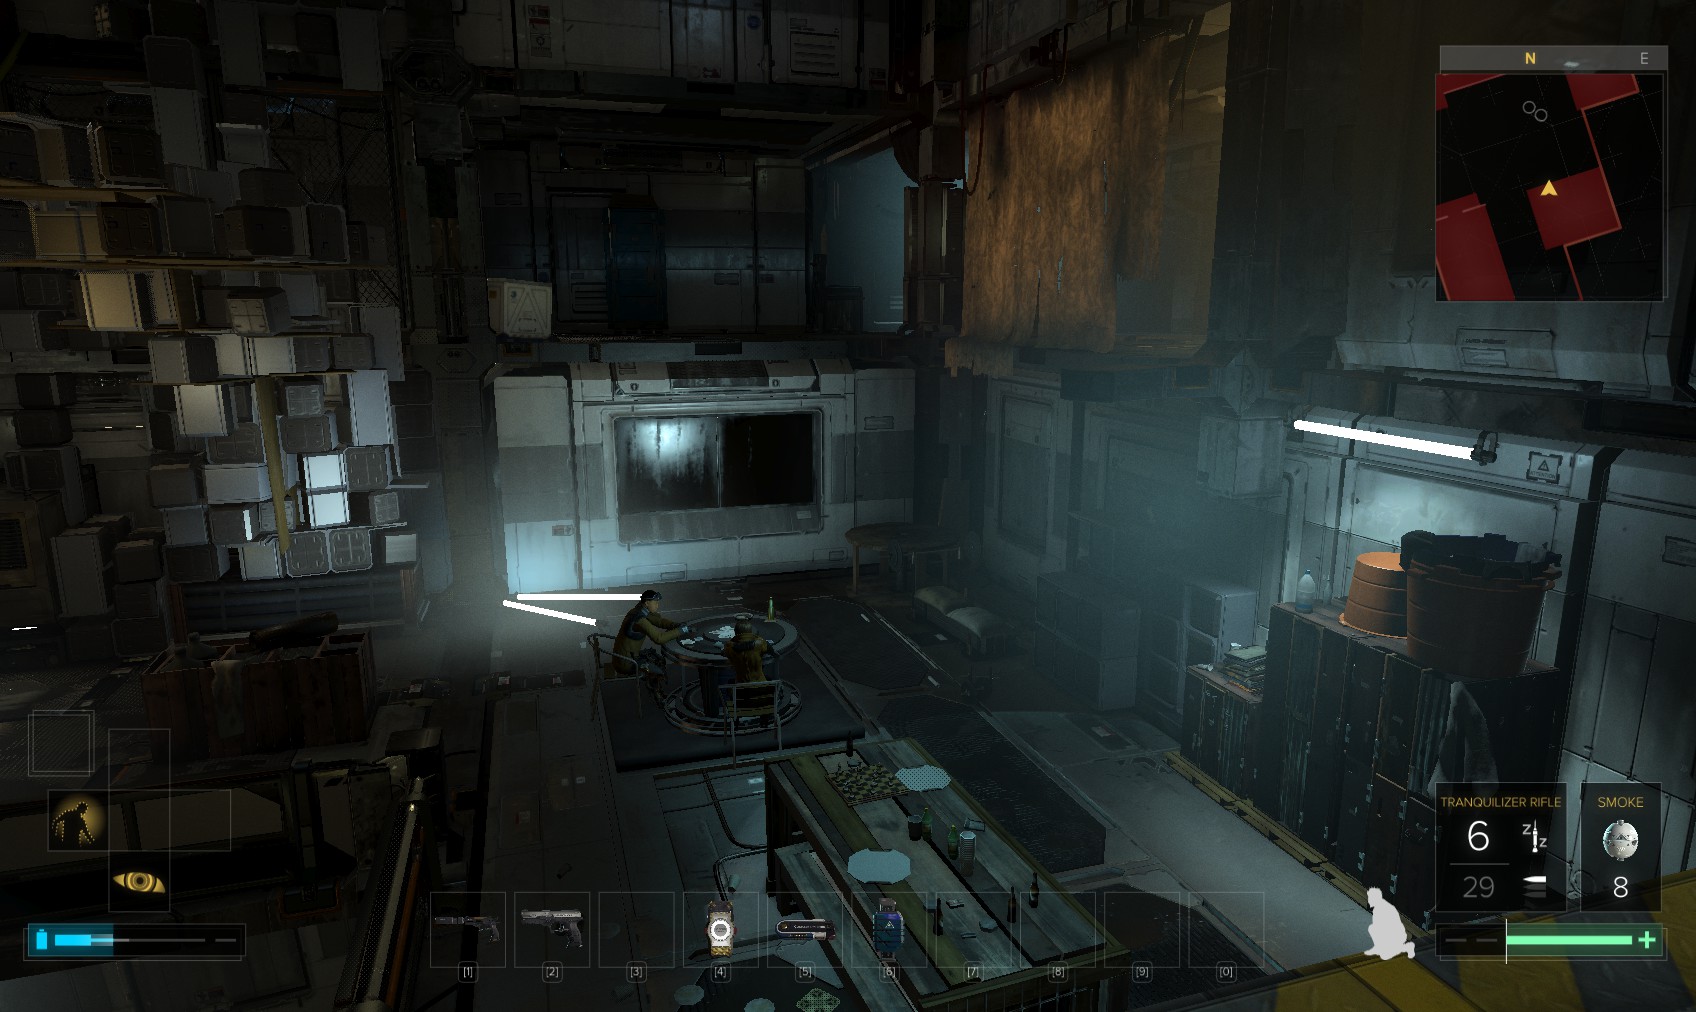
30. You can listen to these two talking about Rucker’s drinking.
31. You emerge here. Head round to the right here for a battle rifle. Then enter the apartment. Search round for stuff including weapons and hacking software. Annika Smuda’s level 2 PC can be hacked for the code 1433 to a safe. Emails from both Marchenko and Rucker with very different tone. You can try to sneak out through the door, but this place is crawling with hostiles. I prefer the quiet approach, and return all the way down to where we started.
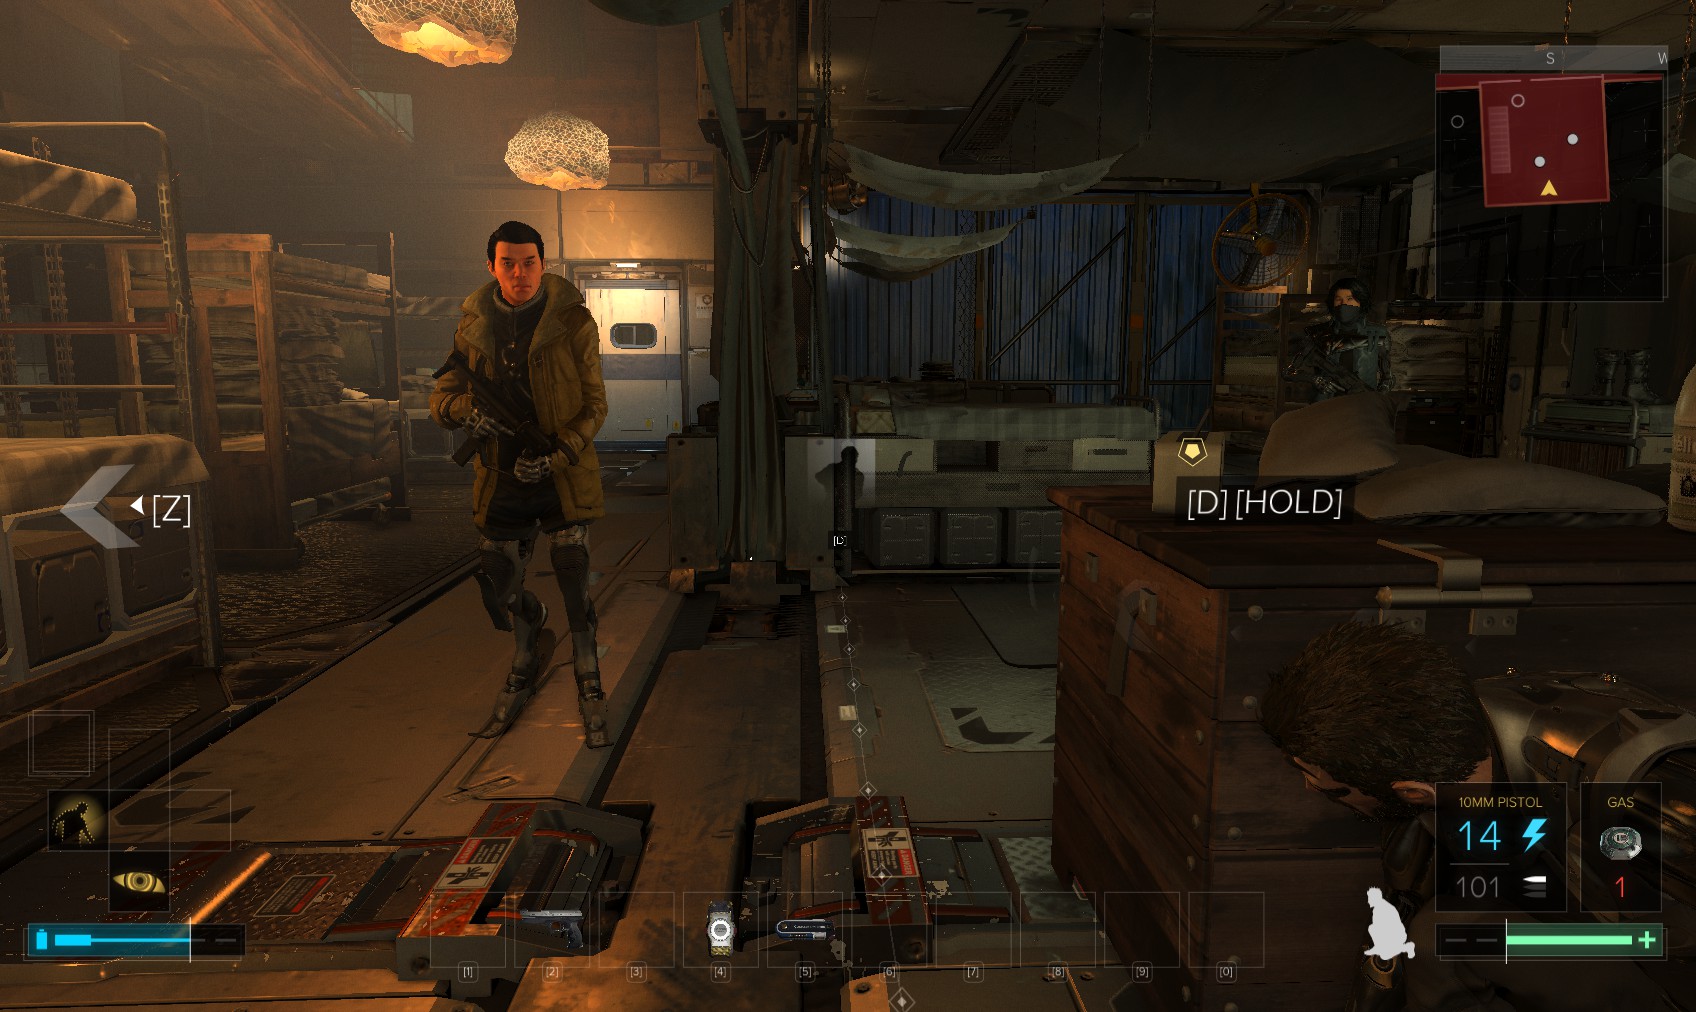
32. Collect the penguin now. Through this door is Tibor Sokol. You can avoid confronting him, but if you do approach him you’ll need to take care that he doesn’t alert his compatriots.
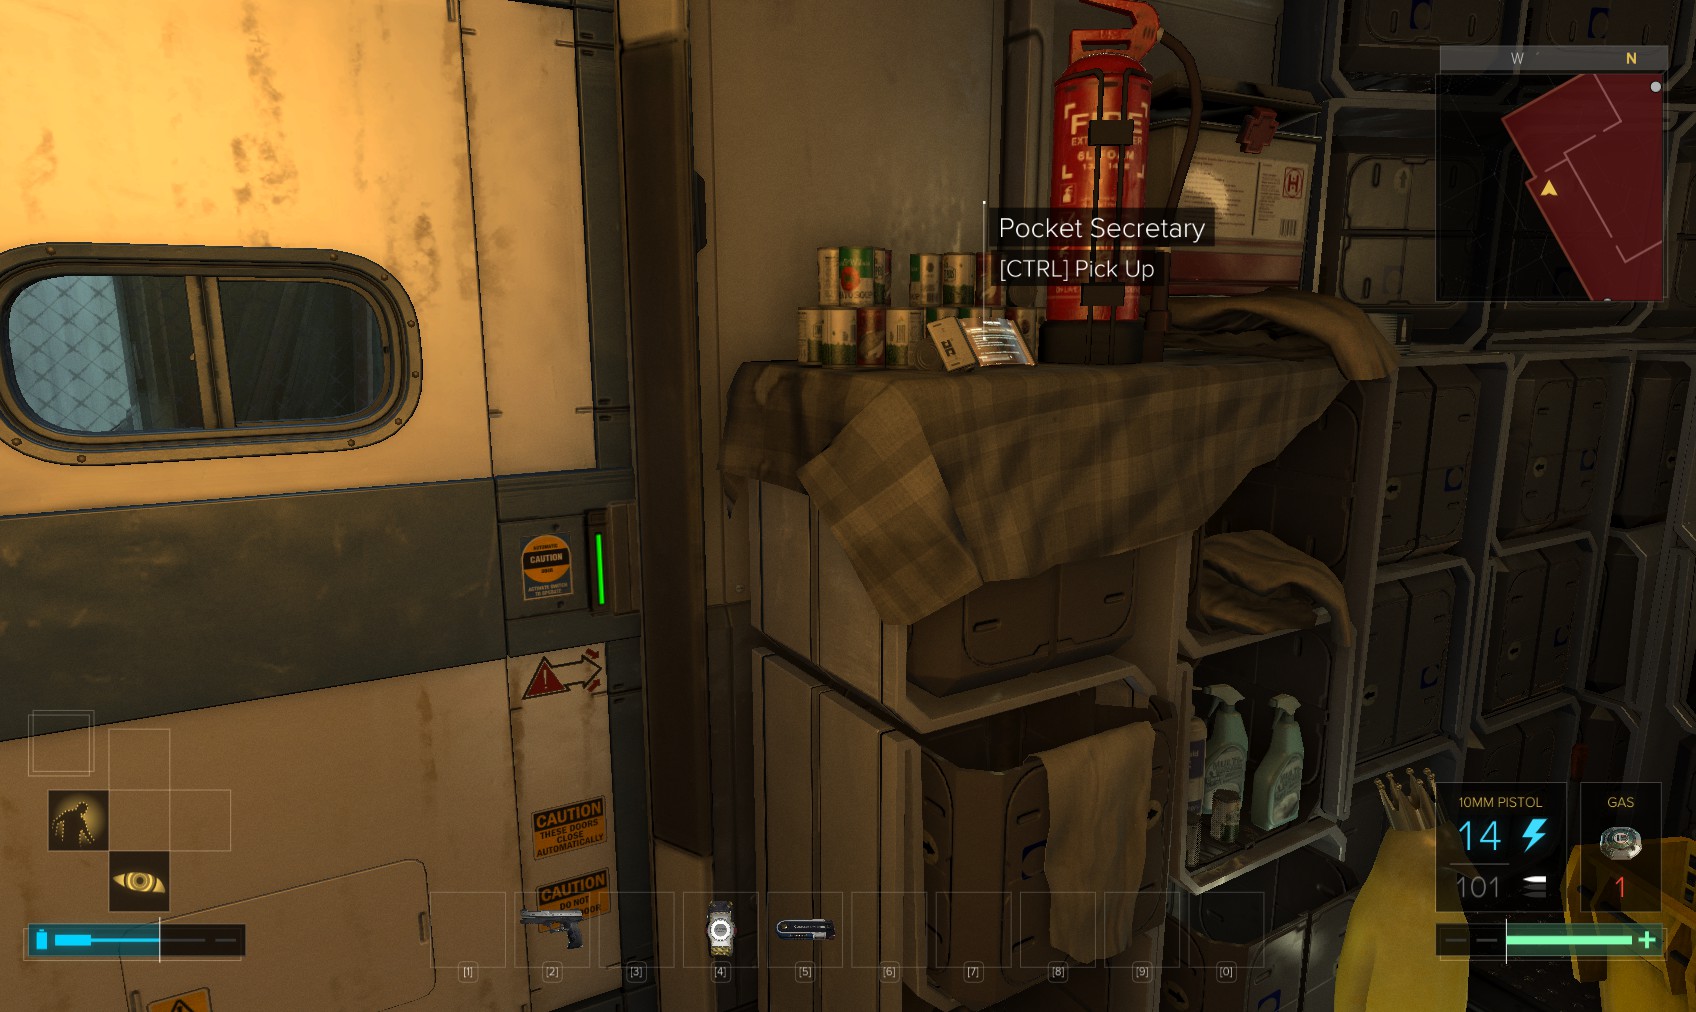
33. Carry on through the room to the far end. Don’t miss this pocket secretary with the code 2104.
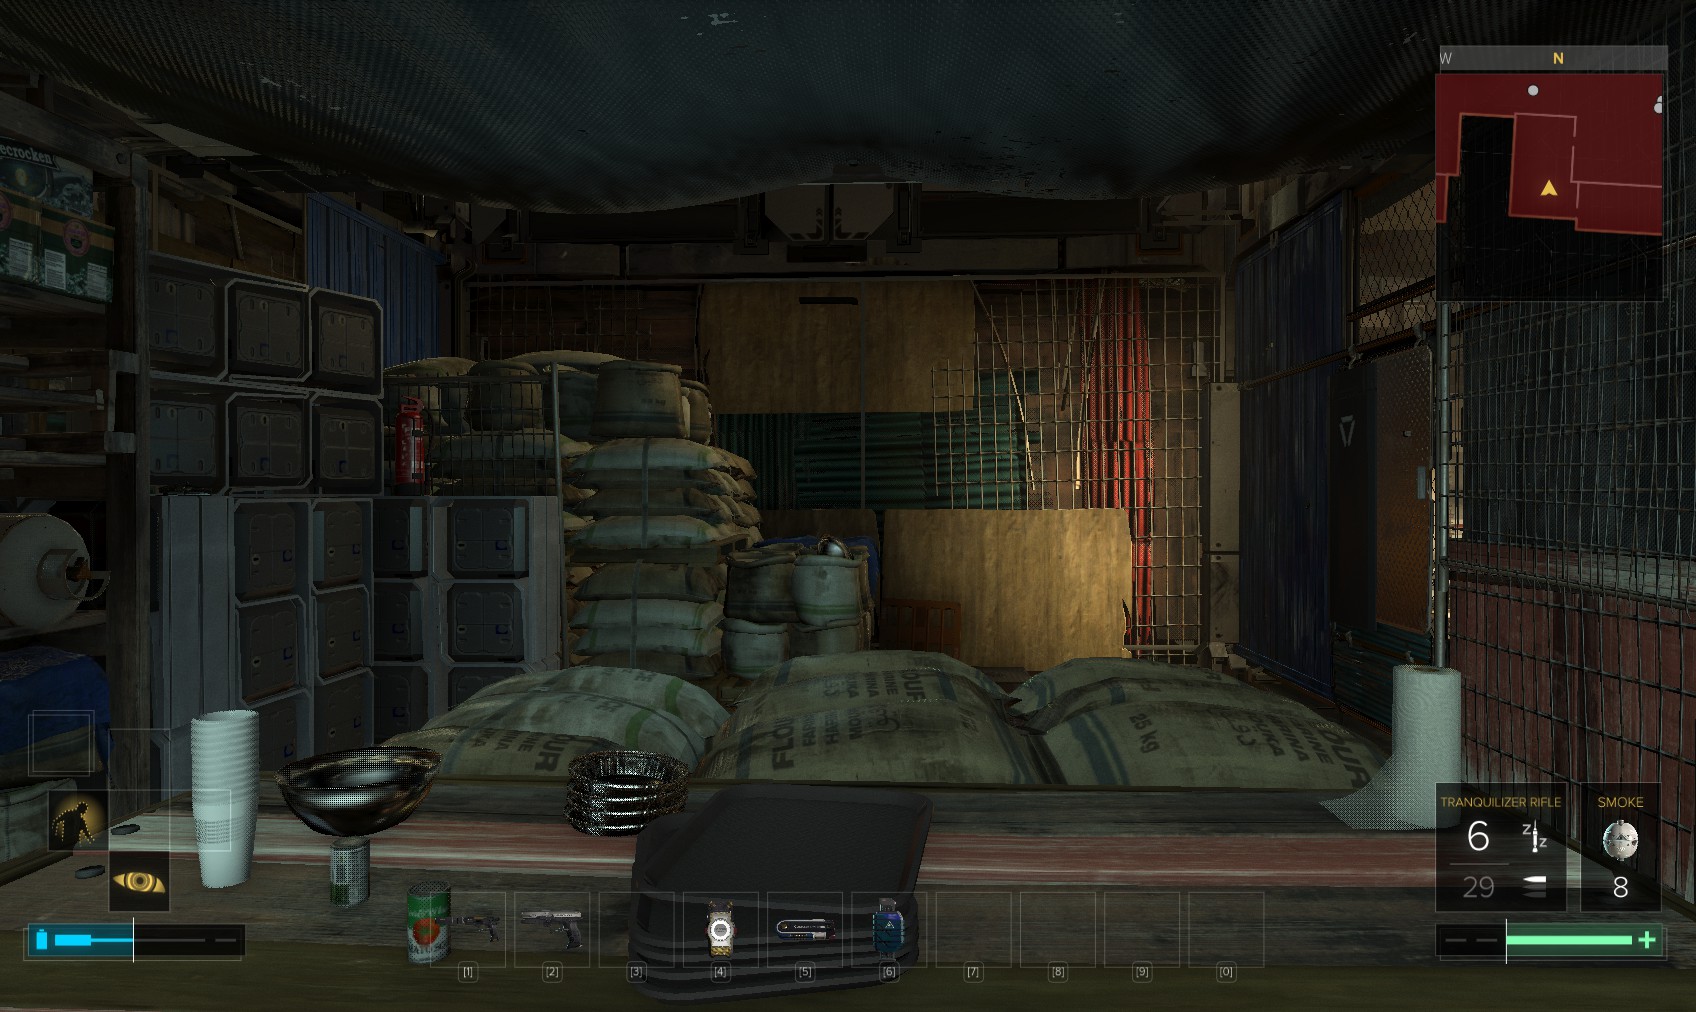
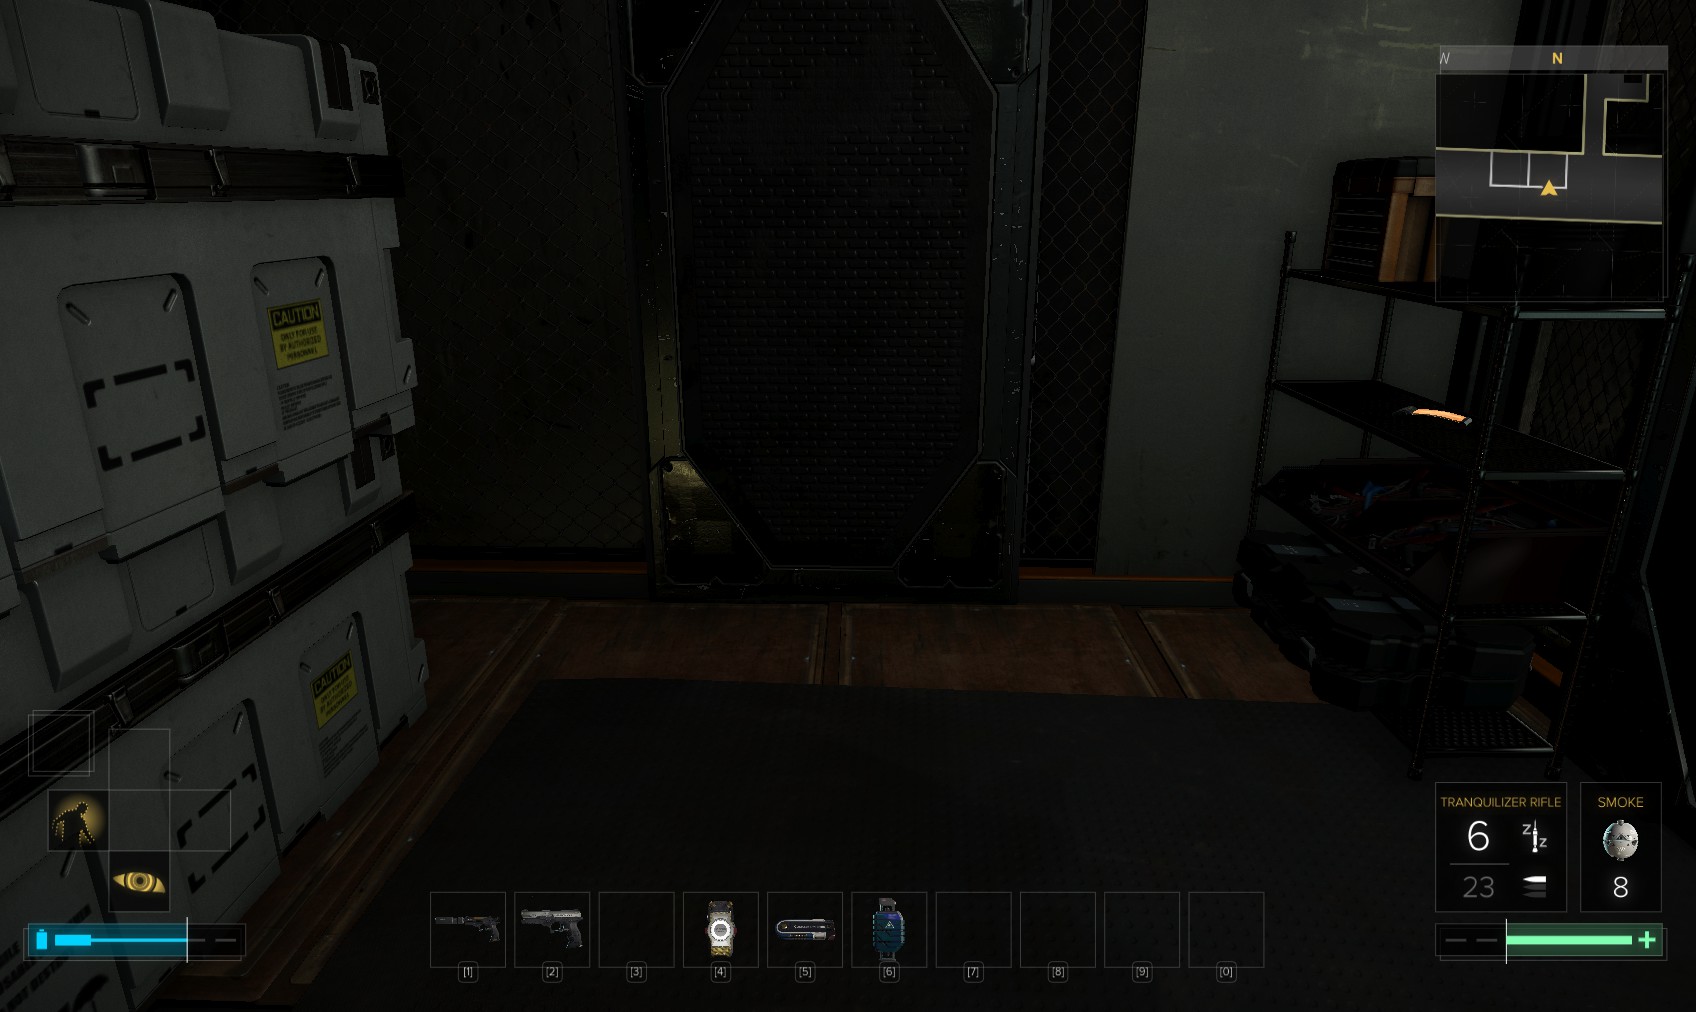
34. Go through the door. A door on the right leads back out to the main Commissary. Instead jump carefully over the bales on the left.

35. Watch out for this guard. Before climbing up. If you’ve brought the penguin with you, now is the time to deal with it. Otherwise carry on.

36. Round to the left, climb up to the window. Below the ledge is a hole in the floor, leading to a room where, with cloaking, you can hack a level 3 PC for 180XP and the code 3468, and use an unlocked security hub to disable a camera.
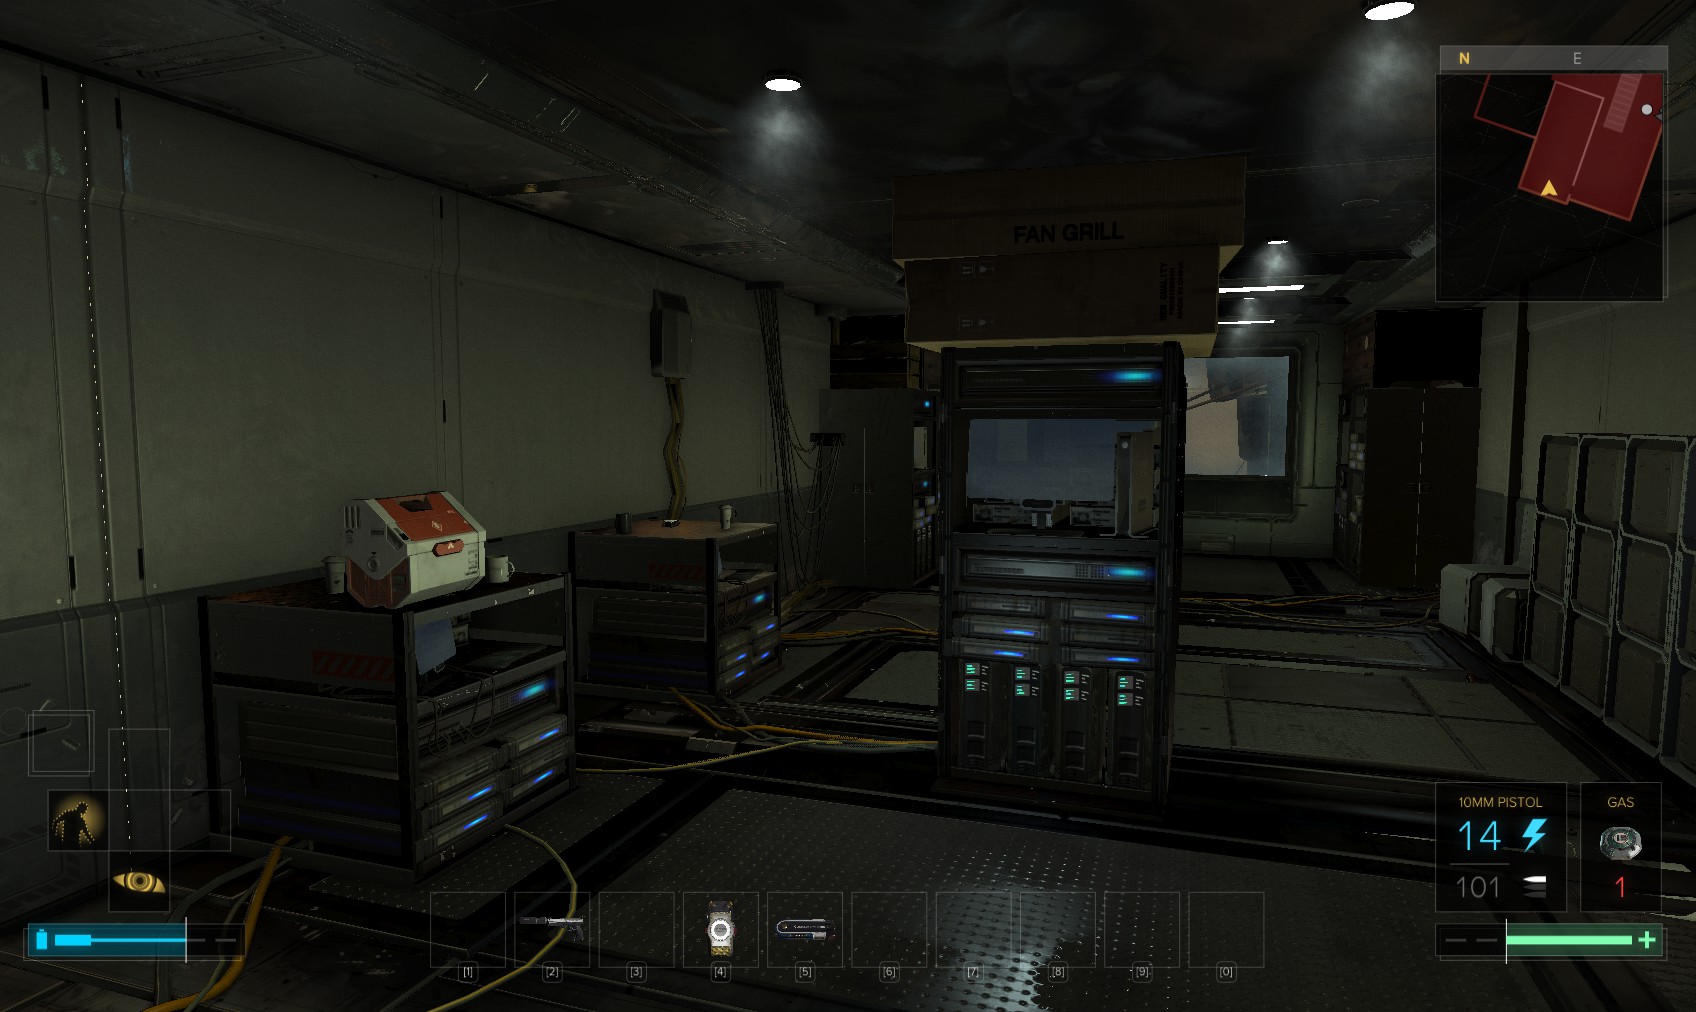
37. Inside the room find this pocket secretary with the code 2451 for a control room PC. If you’re lucky, you’ve arrived before the patrolling starts and you can hack the computers in here at your leisure. If the guard has started his patrols, you’ll need to take him out - he doesn’t stay out of the room long enough to hack them. Karen Riha’s level 3 PC (150c) has more emails about Rucker’s drinking.
38. Disable three cameras on the level 3 (220XP) security PC, then hunt around for hacking software. When you’re done, head through the door ahead.
39. Wait for these two to start their patrols (one of them goes past this position into the room we’ve just left), then go through the door straight ahead.
40. Through another door at the end of that room you come to here. Watch out for this patrol.
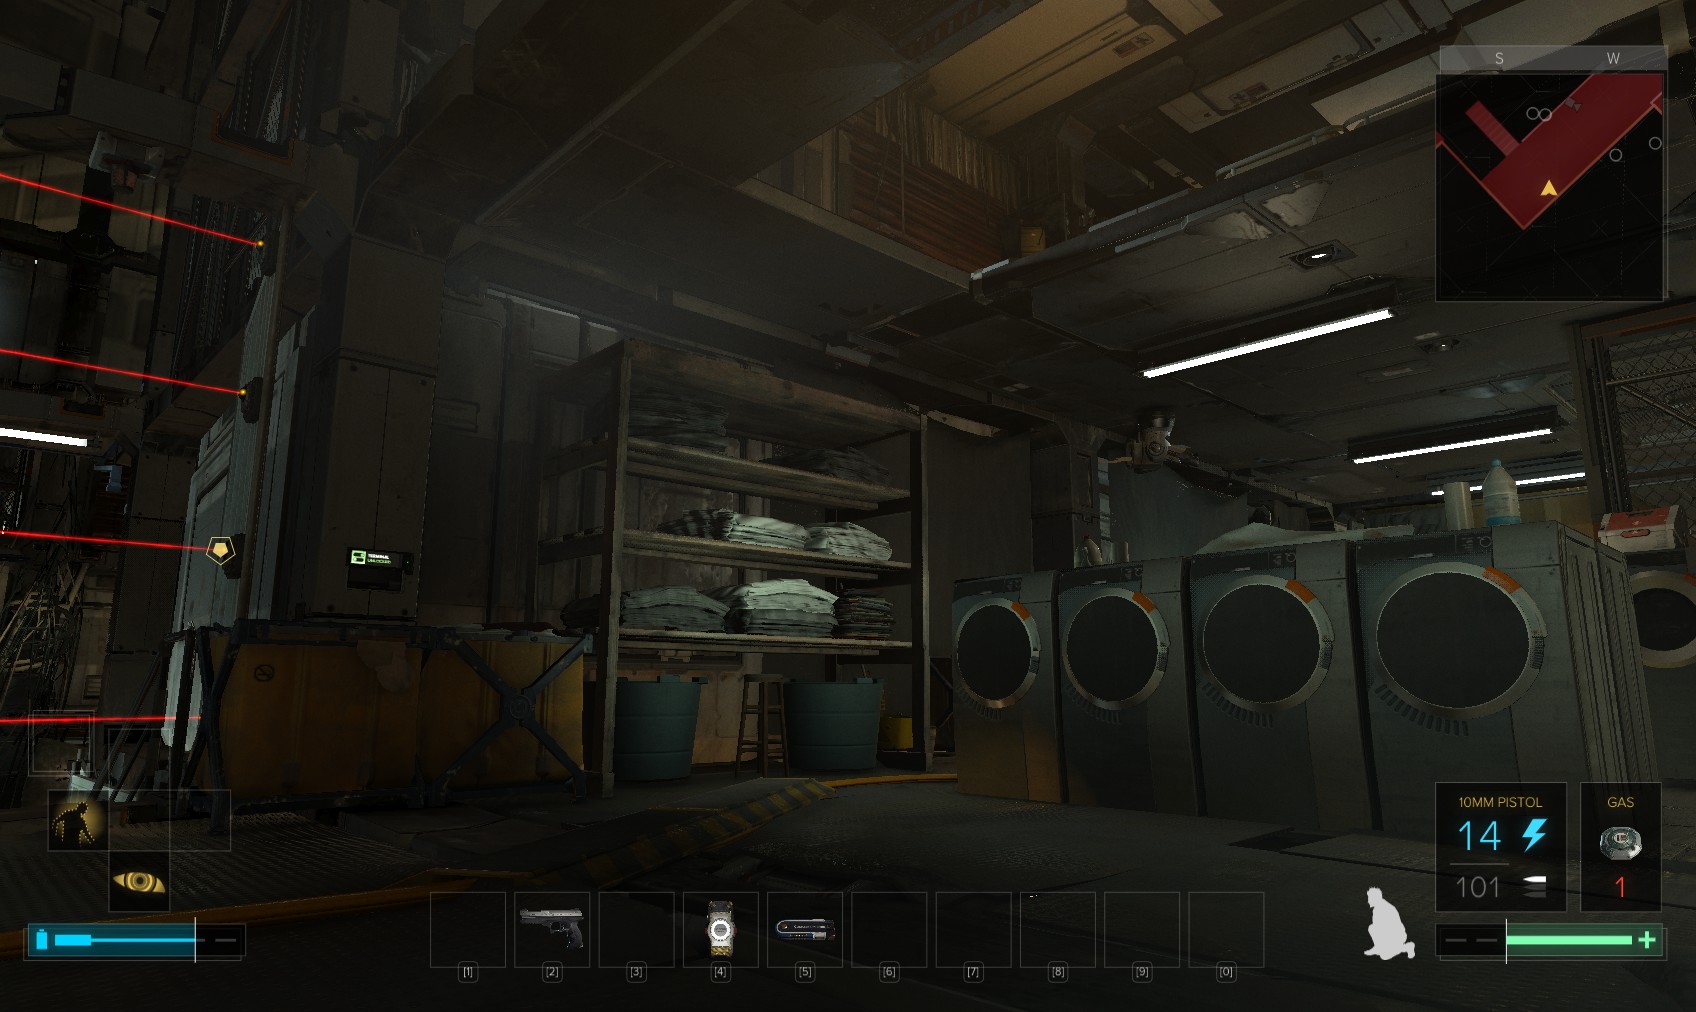
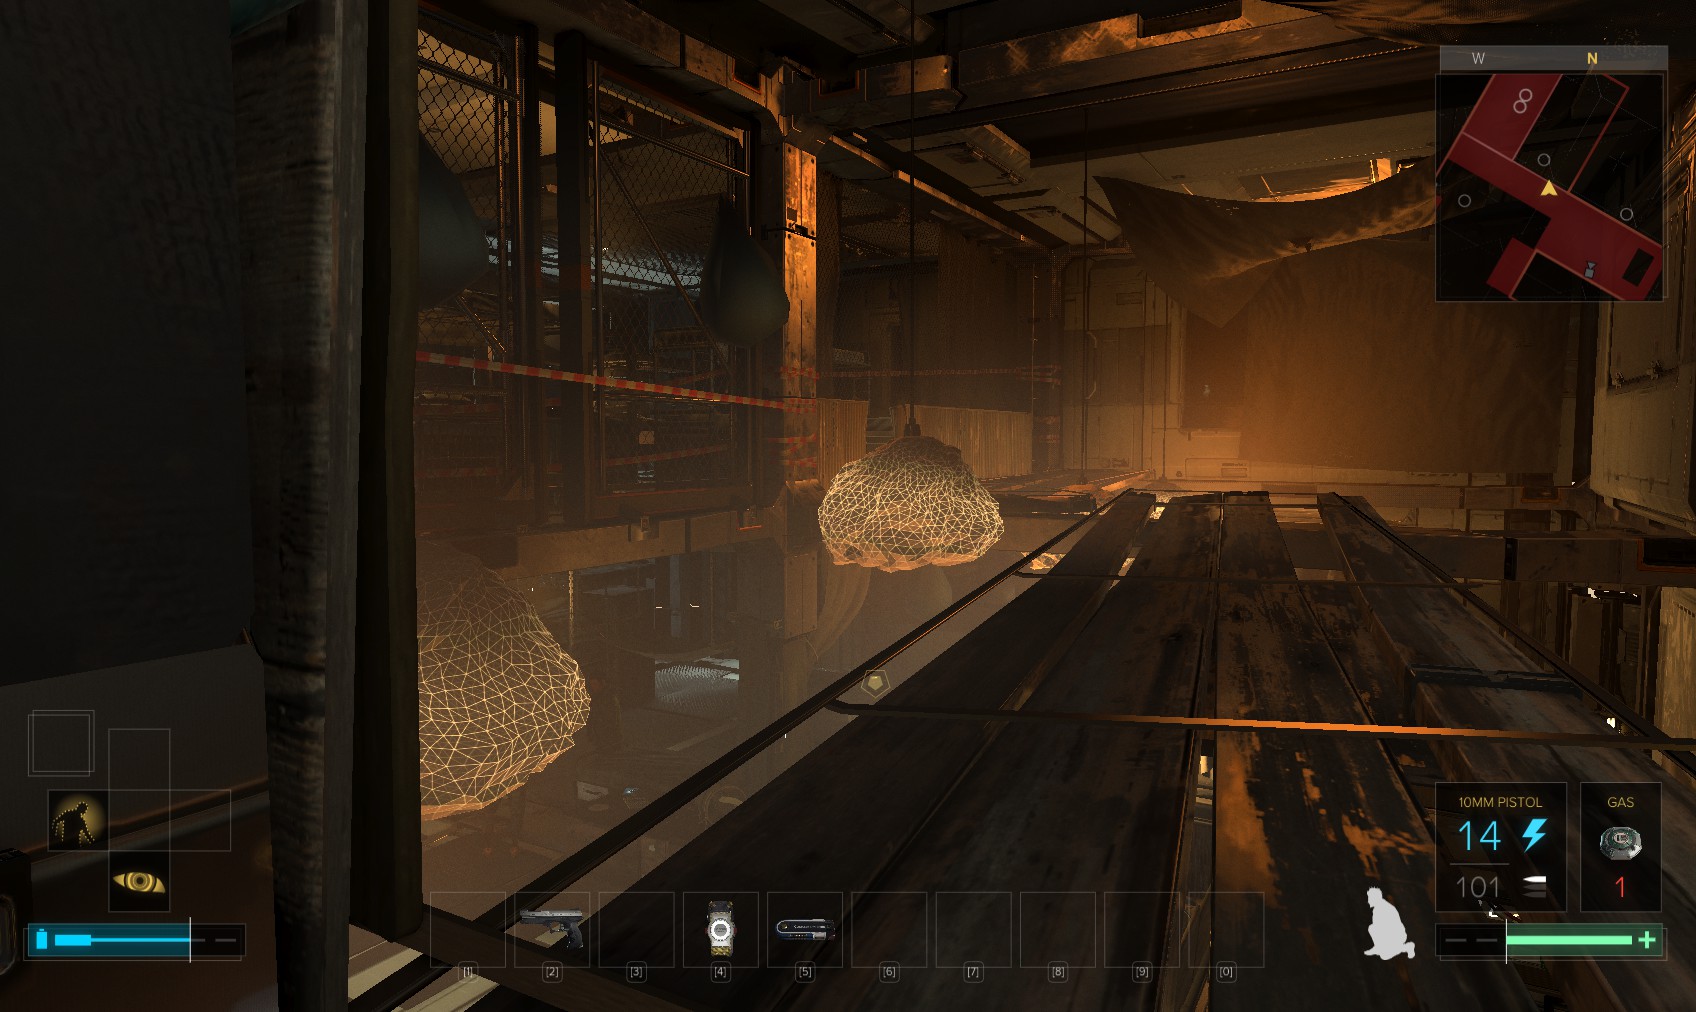
41. Go to the far end of this room to the laundry. Jump up to the ceiling above the lasers.
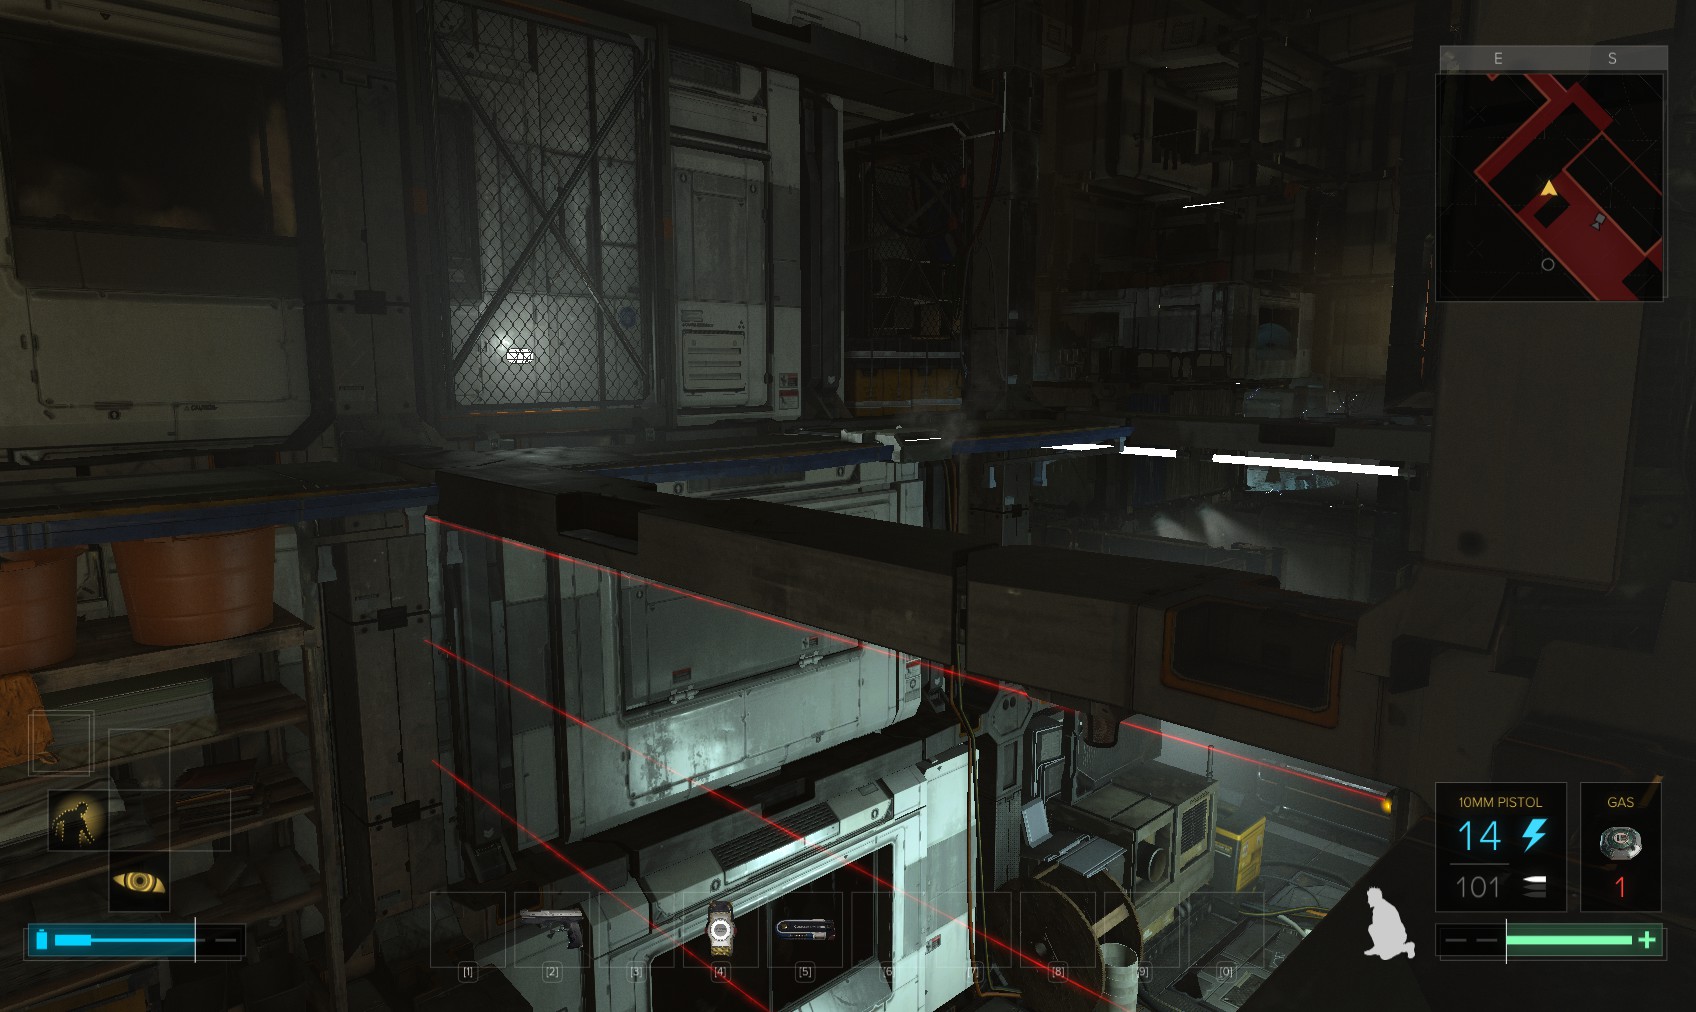
42. Make your way across the beams to two yellow-ish boxes and climb over them. Careful here because it’s overlooked from several points.
43. Move some crates out of the way to this area. Below on the right are two people we heard earlier. There’s a weapons case with a lancer rifle, which is worth getting if only to sell later! Retrace your steps back to the lasers.
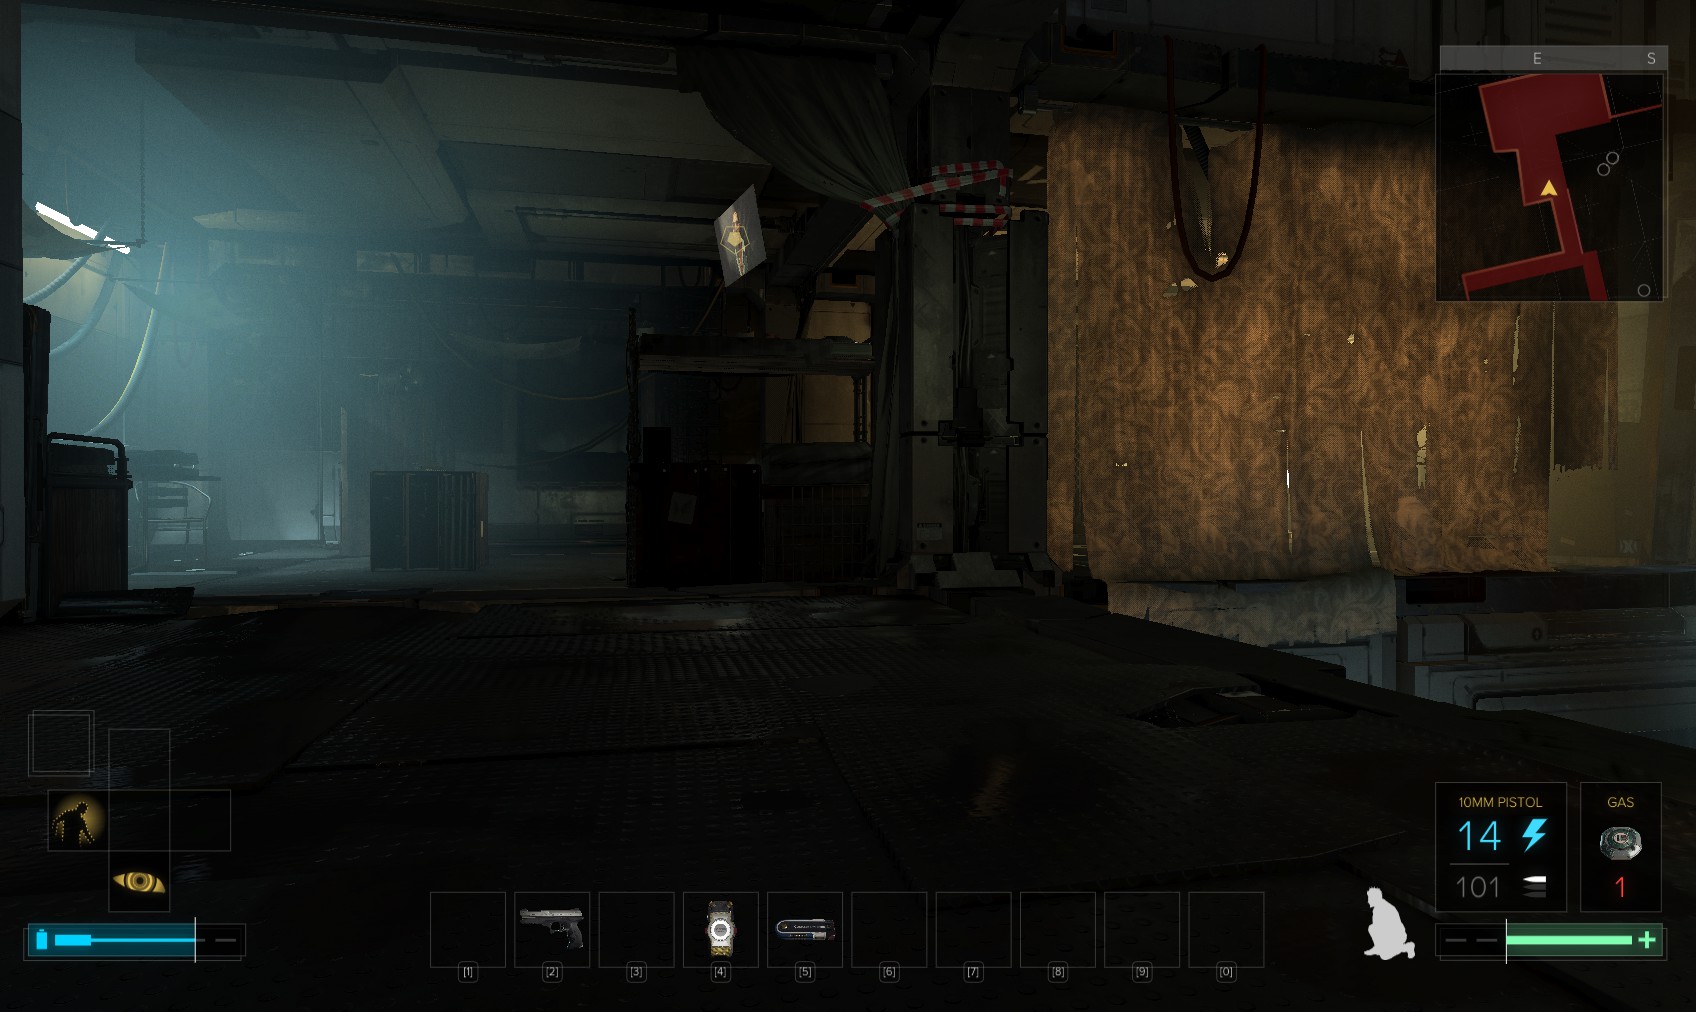
44. Staying at ceiling level, make your way over to this vent and head in.
45. Two guards are below you chatting. Make your way over the boards to a gap in the wall of the dormitory to find a weapons cabinet containing a sniper rifle.
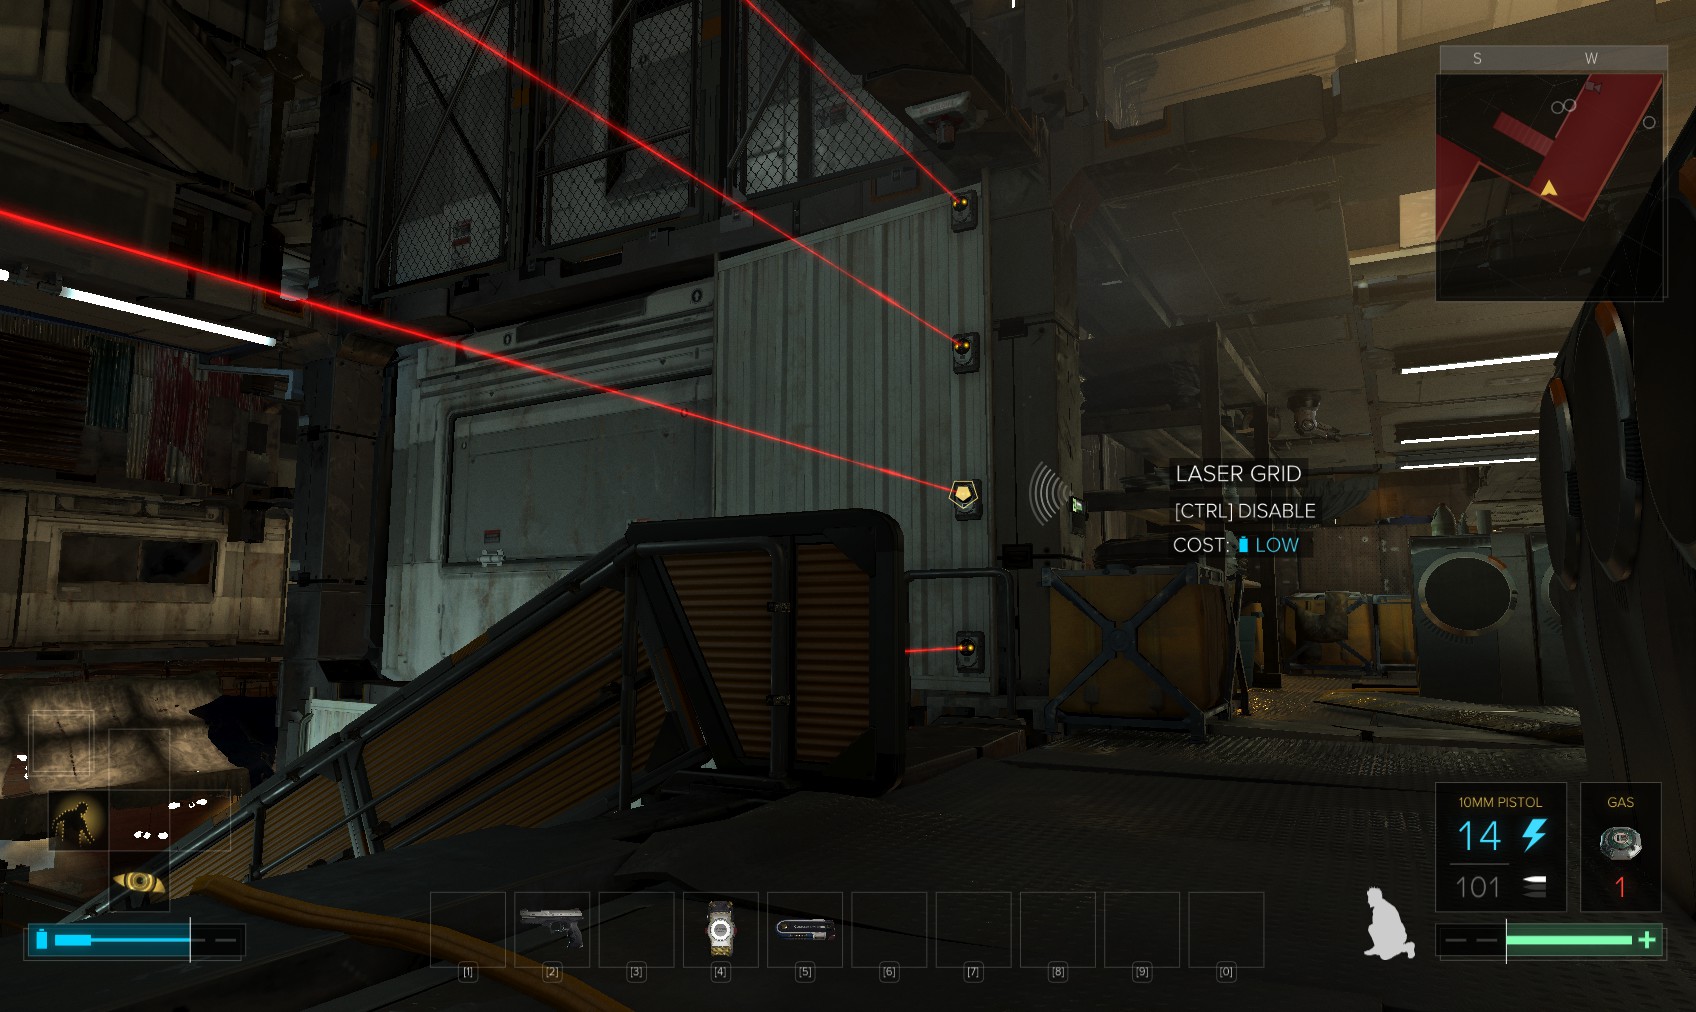
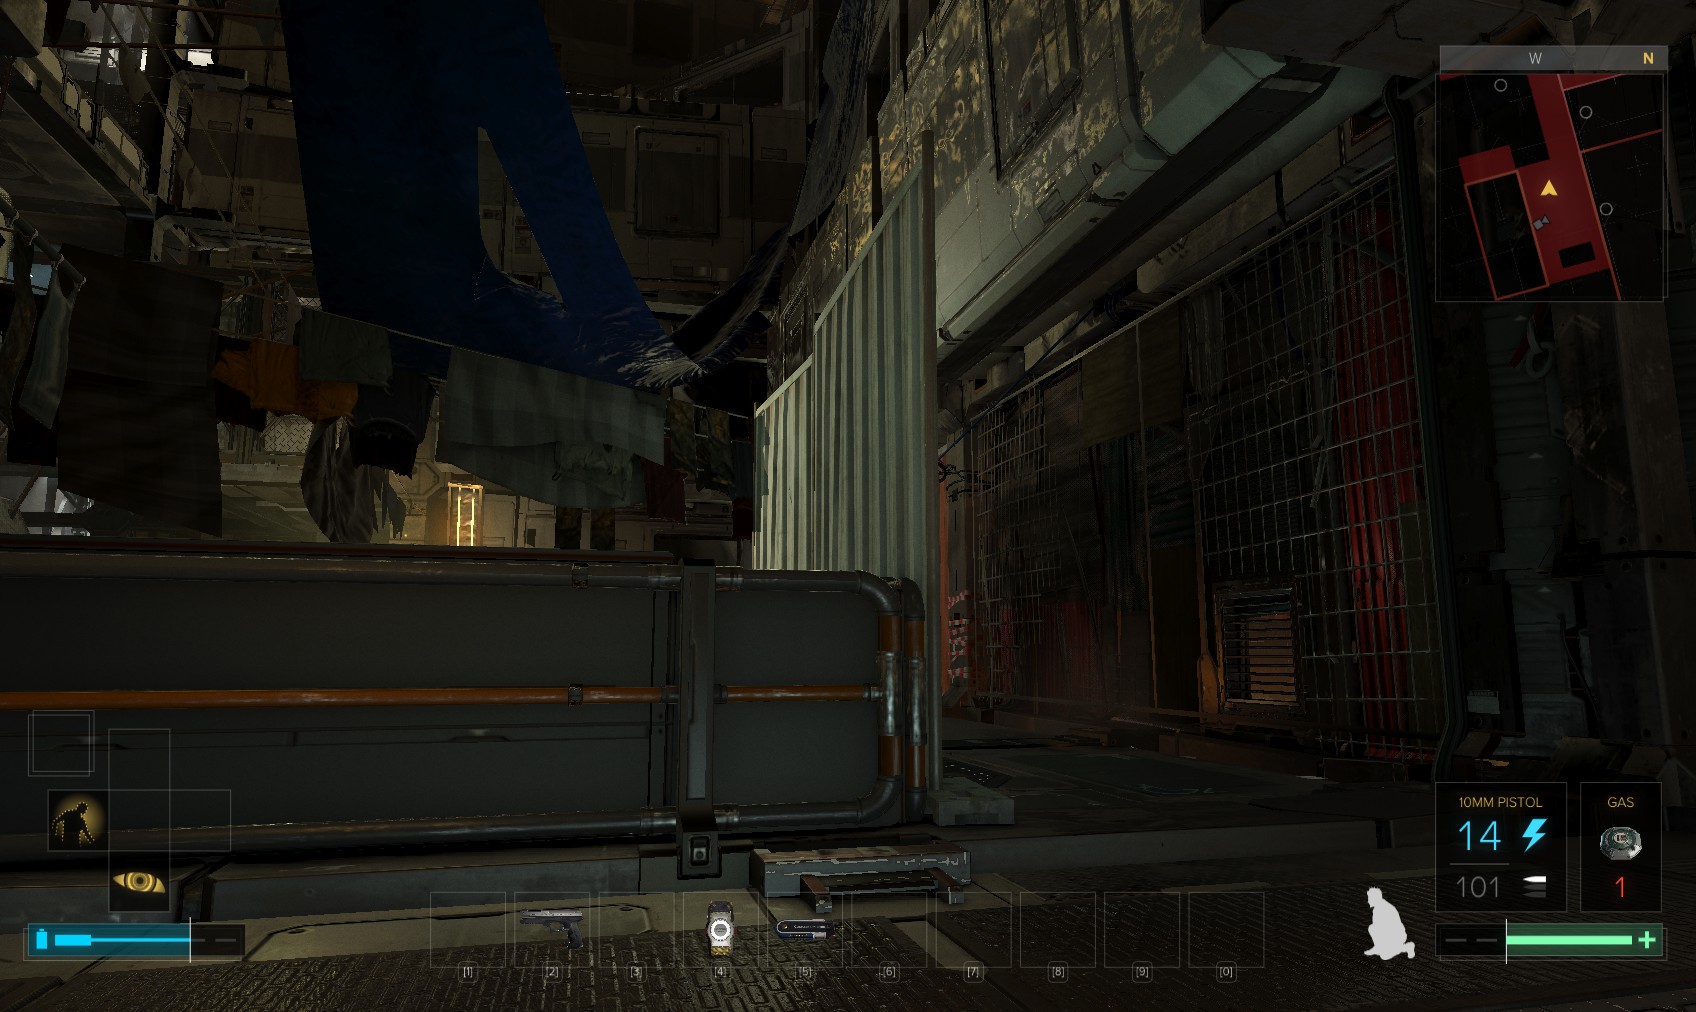
46. Head back to the vent, and drop down by the lasers. Disable them or drop down to the left through the gap, but beware a patrol on the level below.
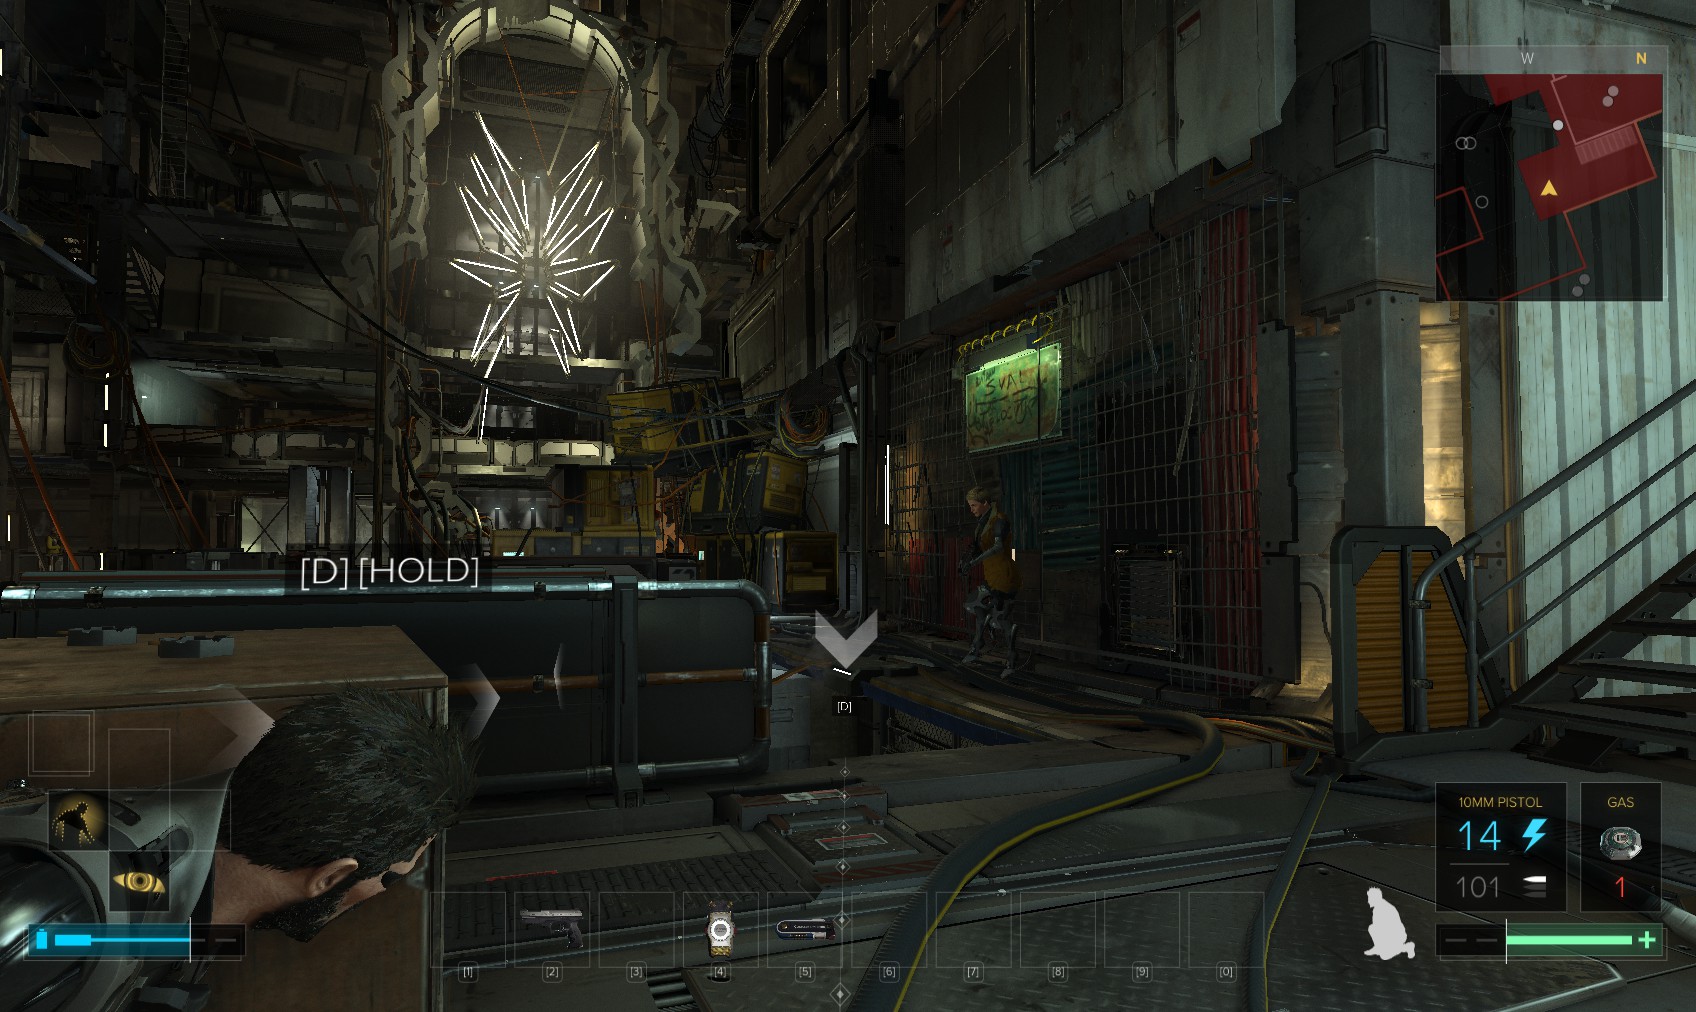
47. Wait for the patrol to pass it, then head into this vent (just behind where she is in this shot).
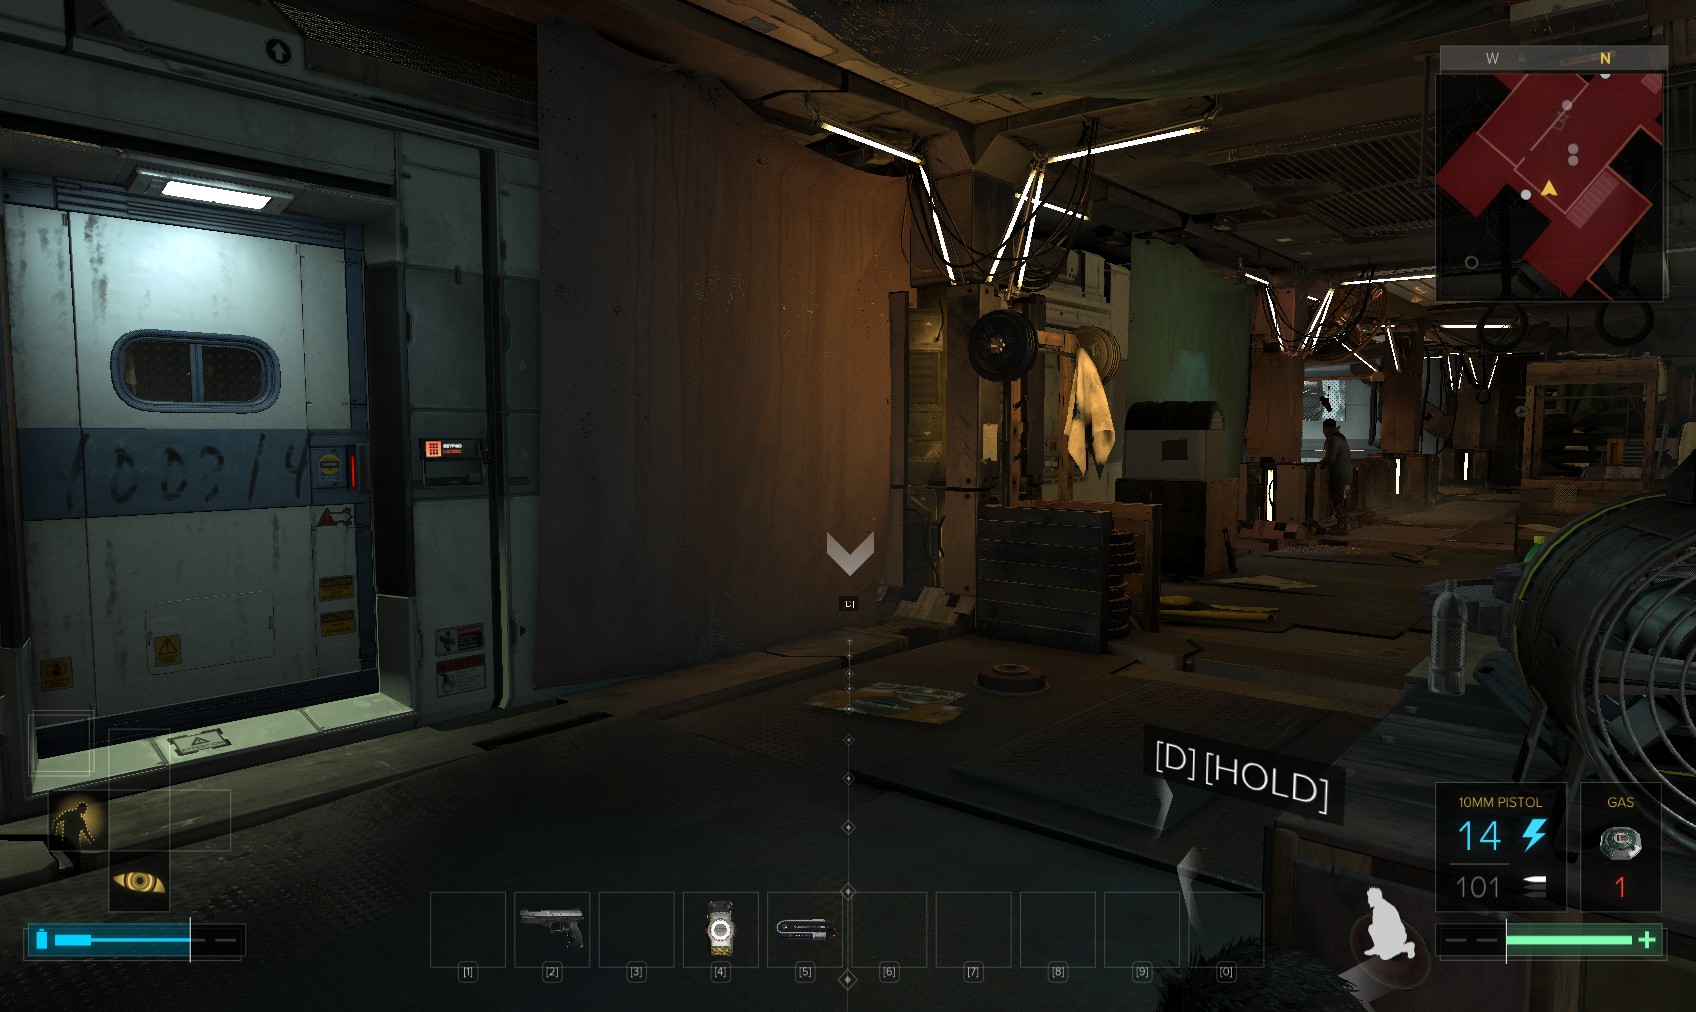
48. Hack the level 1 door (reveal software) to the showers for reveal software. Inside some cabinets contain a stun gun and some ammo.

49. Go to the far end, and sneak out of the window to here. Then head carefully up the stairs.
50. It leads to the lower dormitory beneath the floorboards you used earlier, and two guards patrol it.
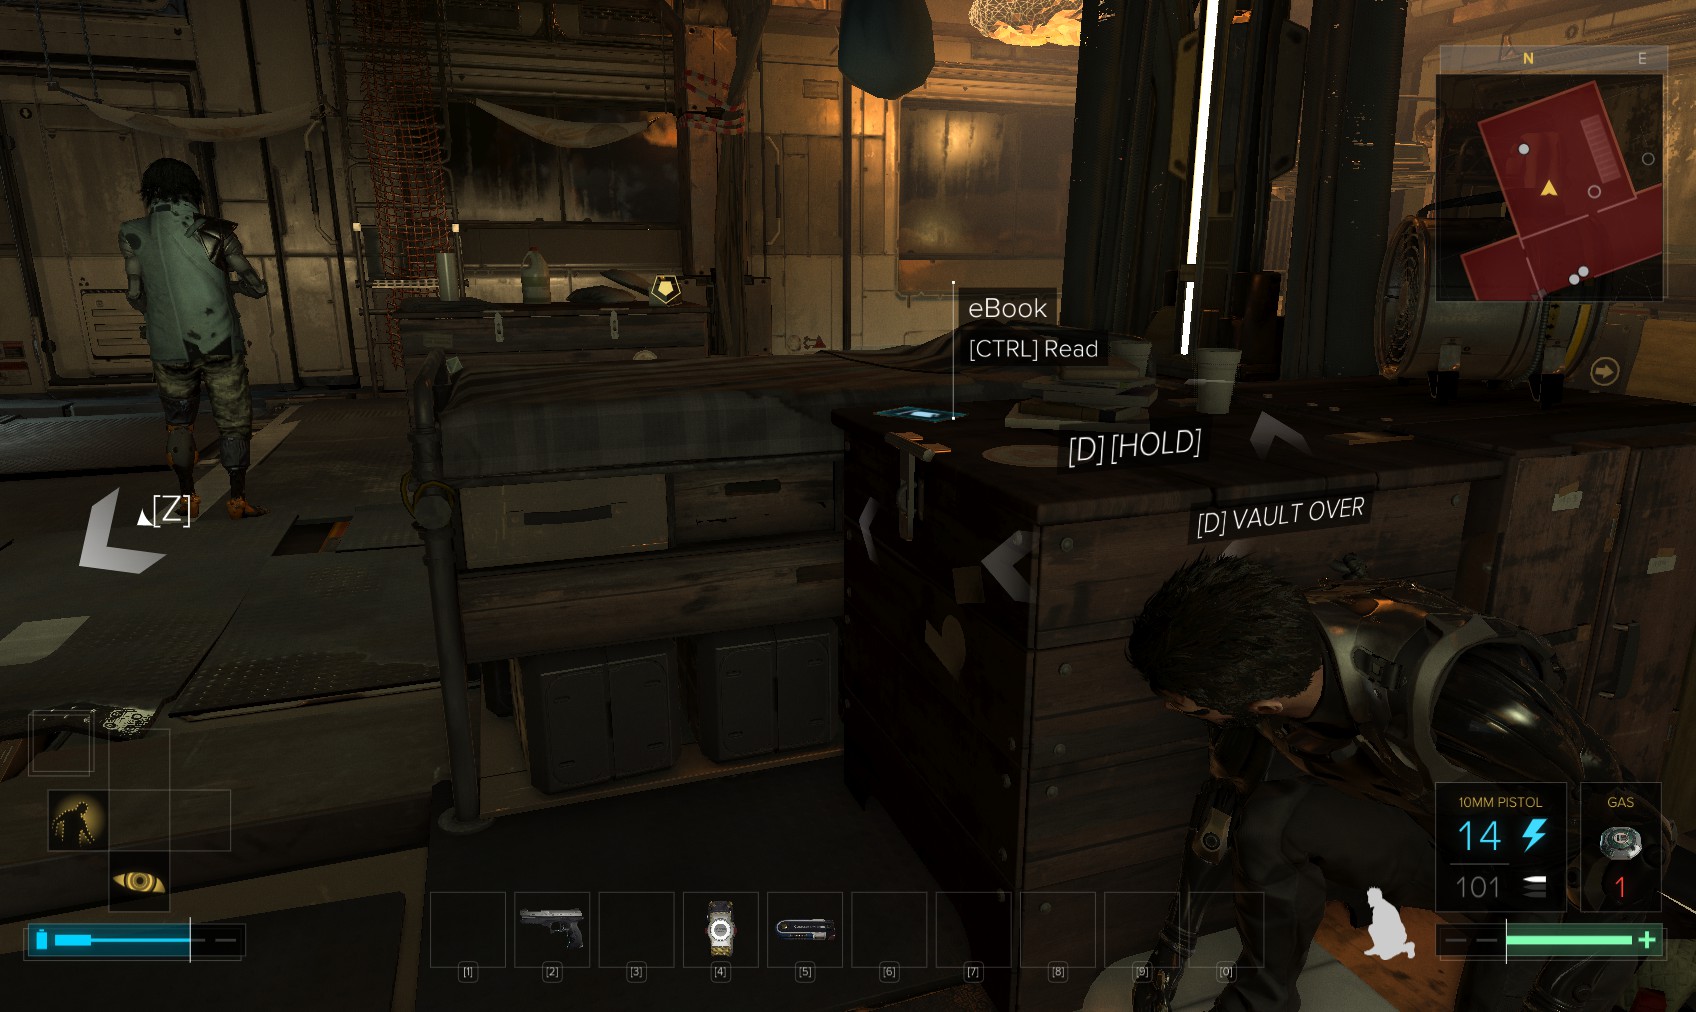
51. This eBook detailing some conspiracy theories is here. There’s also a bunch of EMP ammo if you’ve the patience to find it. When you’re done, go back down the stairs.
52. Go back through the window, through the showers.

53. Out of the door to the showers, head left behind the guard, and then right to these stairs.
54. Down the stairs is the gym, where two guards patrol and one guy is working out. Sneak to the door shown ahead, and enter the room. Under these stairs is a pocket secretary with the code 0274 for the level 2 storage room B.

55. Inside, all is plush! Hunt around for credits.
56. This pocket secretary gives the (updated!) code 1896 to a storage room. The other door leads to the heavily guarded commissary. Instead head back the way you came.
57. Sneak back up the stairs, and then into the South-Eastern corner of the upper room to a hole in the floor. Drop down it.
58. One of the patrols will see you at these doors if you’re careless - you’re almost underneath the stairs. The nearest is a level 2 door (120c) and has a weapons case with ammo. The second is level 4 and contains a level 4 safe with the code 1433. 445 XP + 300 credits for hacking, 300XP for using the code. The safe has a multitool and a silencer. A third unlocked door contains a weapons case and ammo, with a vent behind some crates giving door-free access to the other two.
59. Doors on the other side of the gym lead straight out into the Commissary, which I might have mentioned is swarming with patrols. Instead, jump back up through the ceiling.
60. Return to here, the vent by the showers.
61. When you see the patrol outside go past going right, slip out and go left to this ladder just visible on the right. Go down it.
62. You’re pretty much where you started, but richer for the experience. Go through the door on the left again.
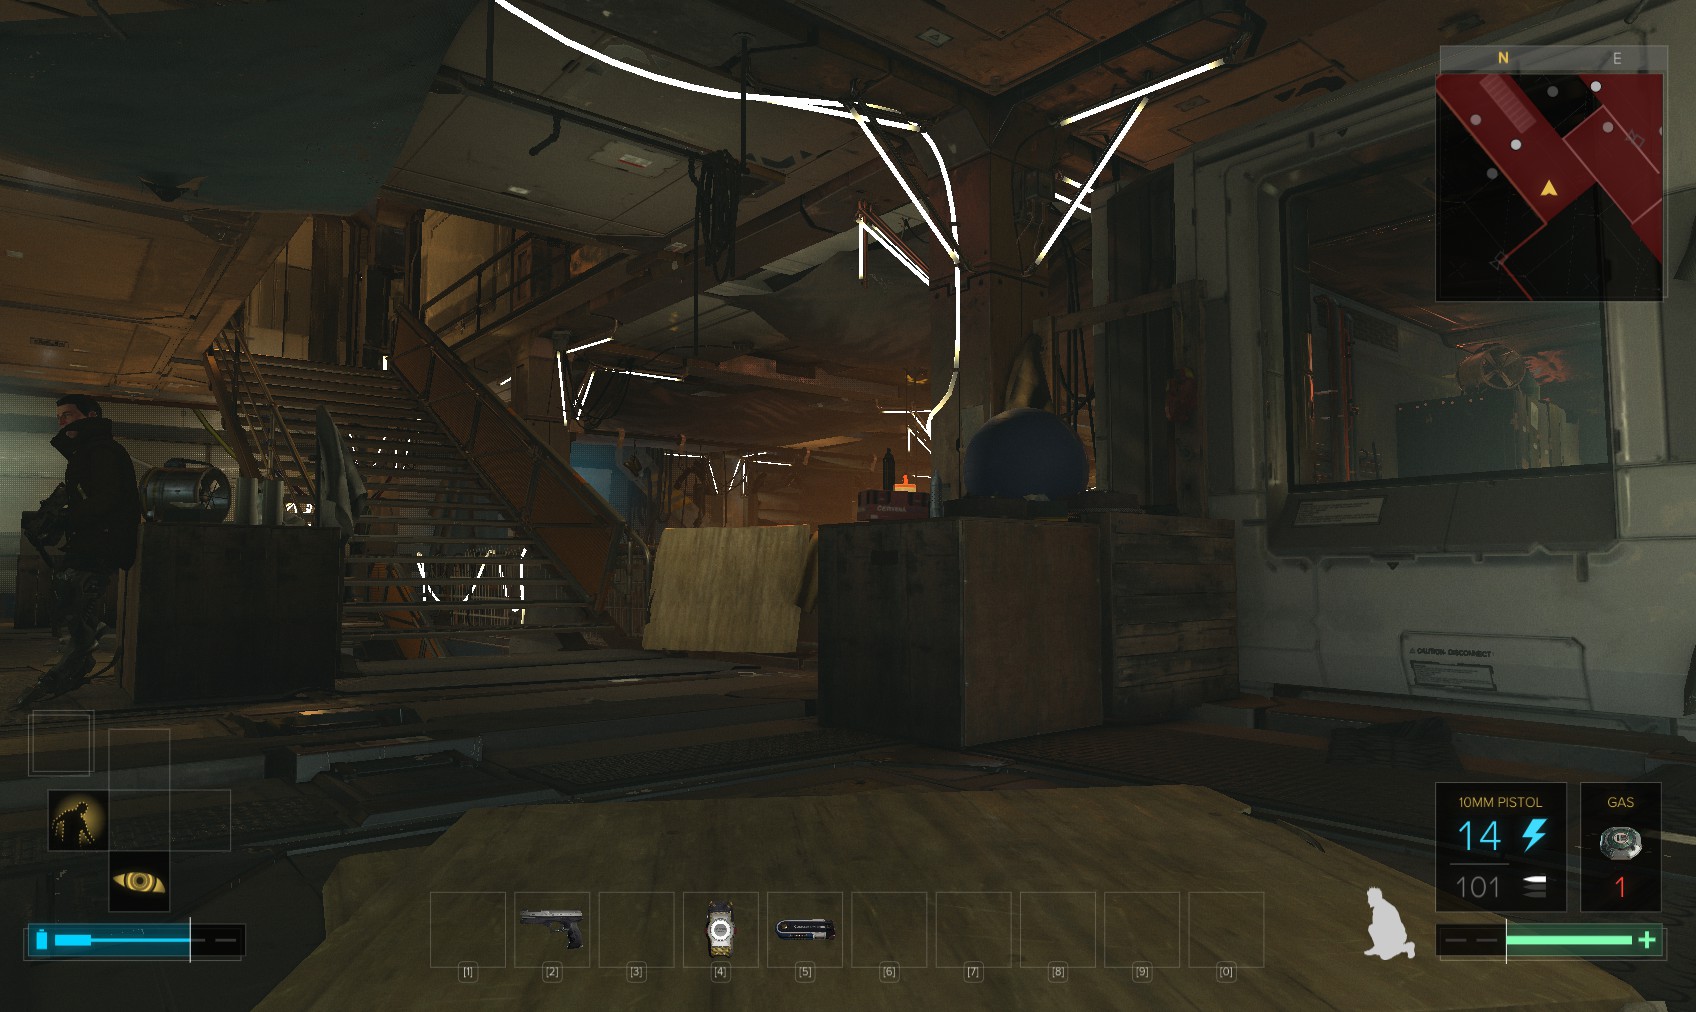
63. Follow it up to the security room (here), which is definitely now patrolled. You can avoid the guard, and jump up this hole in the ceiling.
64. On the right is one of the cameras you disabled in your previous visit. Carefully ascend the stairs watching for the lone patrolling guard. Wait for him to pass, and then go the opposite way at the top of the stairs.
65. If you go left, you’ll see this window. Slip inside.
66. If you went right, you’ll come to this door. Again, slip inside - it’s the same room.
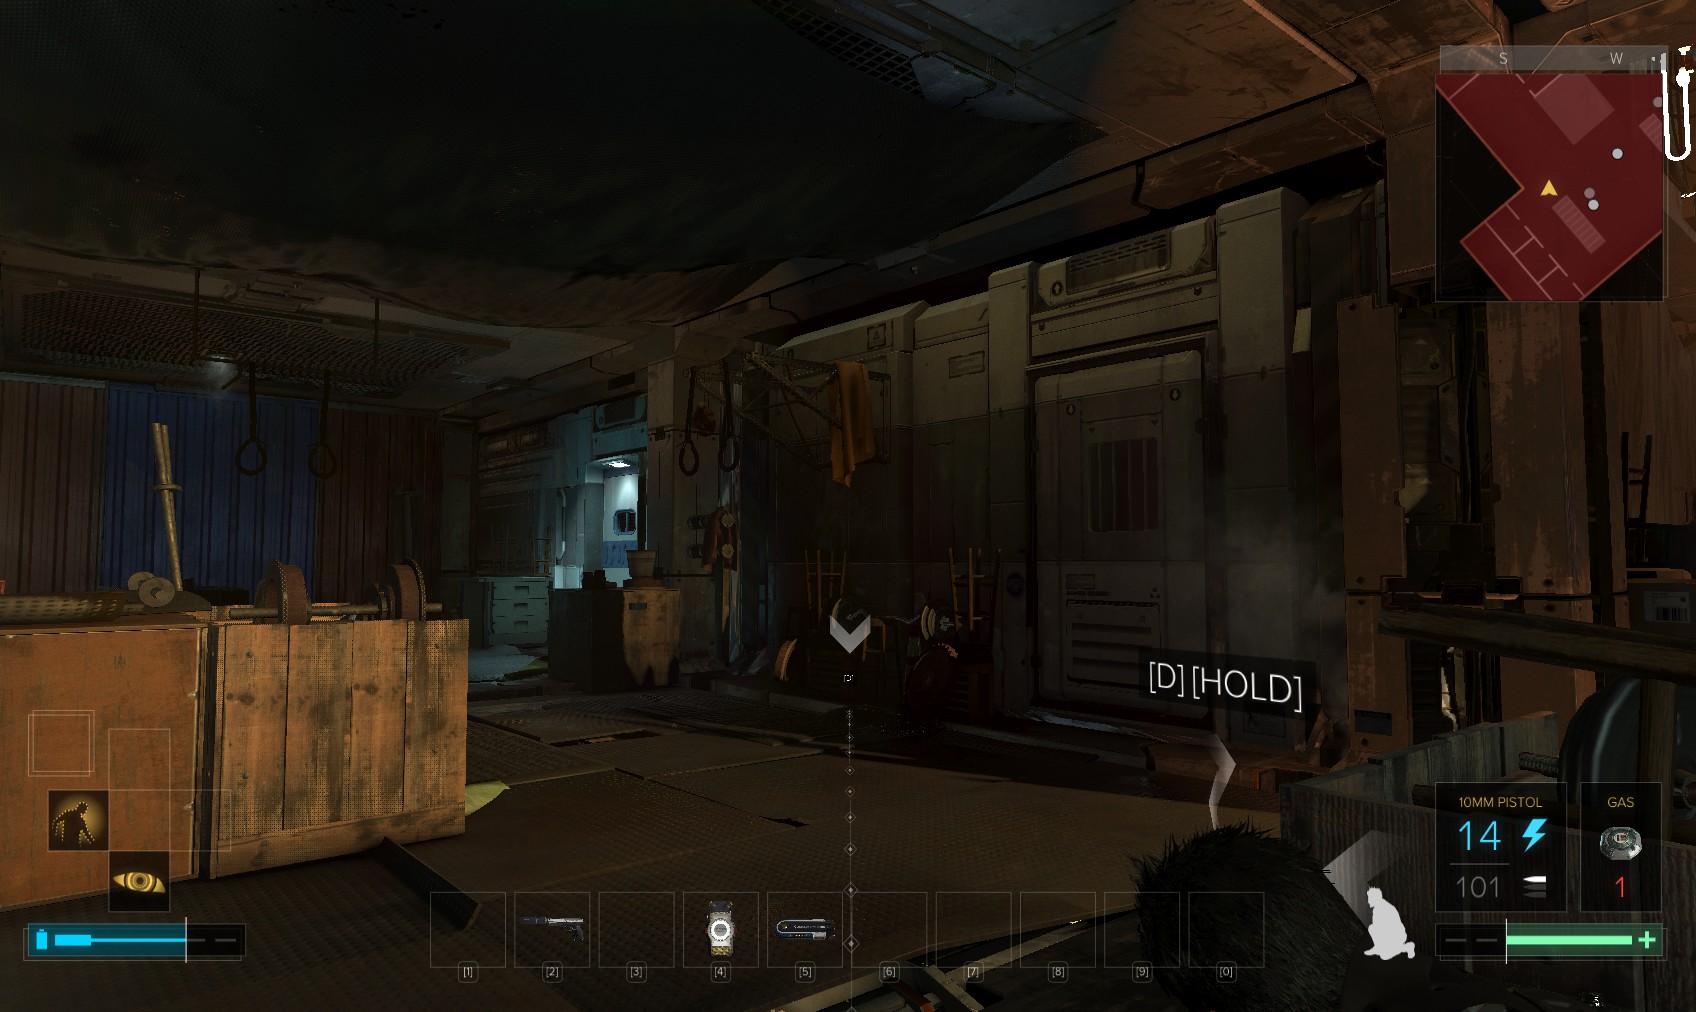
67. Inside hunt around for hacking tools, including Breach Software, and a multitool. Whichever way you came in, slip carefully out of this window.
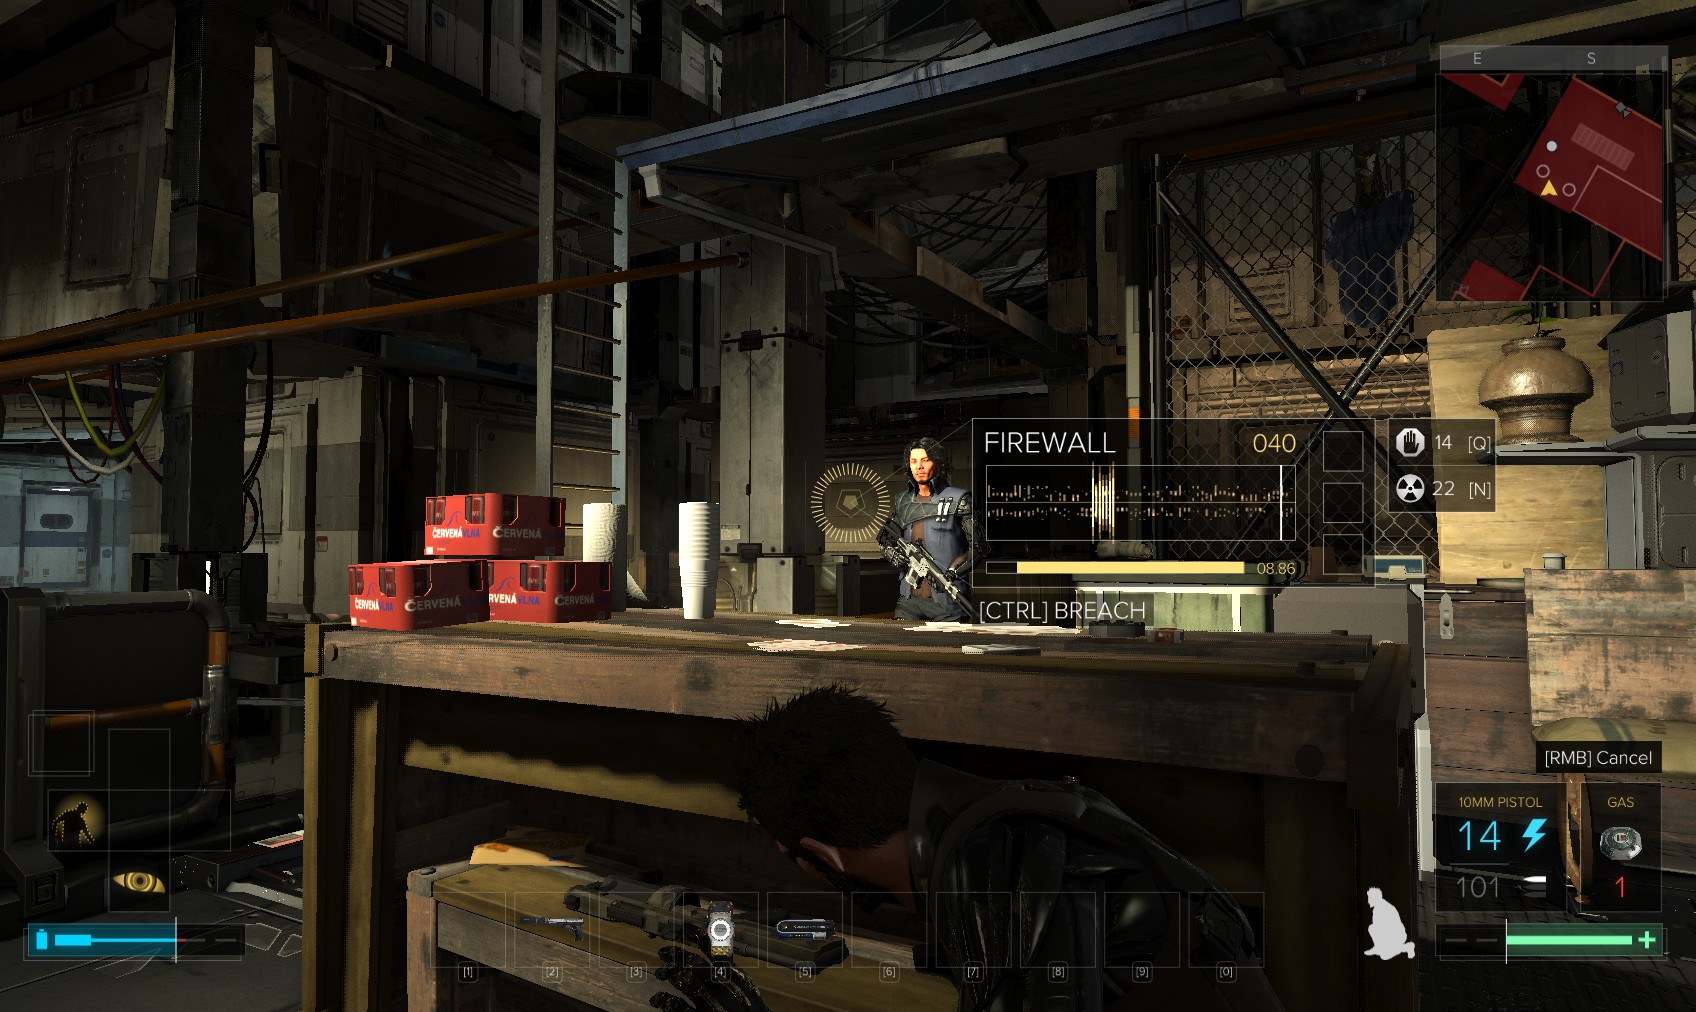
68. You can hack the container from behind this bench without being noticed (although another guard occasionally patrols here). Take note of that ladder. When the guard’s back is turned, you can slip into that container to collect a variety of ammo.

69. From inside the container, you can see the same ladder. Go up it.
70. You come out here, next to two storage units. The left hand one is level 3 (150XP and 150c) with the code 1896 (for 275XP) and leads to a weapons cabinet. The right hand is also level 3 (140XP) and contains a tranquilizer rifle and weapons case.
71. When you’ve raided what you want, the lift shown on the right goes down to the Commissary, so head to the left of it to Ridit Station.