
1. You return to a Detroit in riot mode

2. Faridah drops you on the roof of your apartment building. Find a credit chip before entering the door. Follow the corridor round and take the elevator at the end down to your apartment.

3. Go into your apartment for a cutscene with your boss, David Sarif. He gives you some more background to Eliza’s story, and you end up needing to meet Bill Taggart at the convention centre.

4. You’ll notice your augs are glitching occasionally…Take the other elevator (left out of your apartment) down to the ground. As you get out, none other that Wayne Haas is there, and he’s still annoyed with you. If you forgive him, he’ll go away peacefully.

5. There’s no time to waste - get to the convention centre. It’s near the Sarif Industries building, past the L.I.M.B. clinic. Don’t stop on the way for anything, there’s time for exploring later. As you pass the clinic, Pritchard informs you that Sandoval isn’t with Taggart at the convention centre, and that you should look up Brent Radford. There’s a name we’ve heard before.

6. Go up the steps to the convention centre, and in through the door.

7. Inside, keep to the right following signs for the main hall.

8. Swipe an energy bar from the counter of the cafe in the hall before heading up the stairs beyond it.

9. Follow the signs for the meeting hall. At this stage you have options - confront Taggart directly and convince him to tell you Sandoval’s location, or sneak to his dressing room to search for the info you need. It’s more rewarding to sneak (and more XP overall) so I follow the signs to the bathroom. Obviously.

10. Go into the Gents' loos. At the rear are a pair of vents. Go through and head upward, then keep right.

11. If you’ve gone the right way, you end up crawling above Taggart’s backstage lounge. Follow the vent ahead and drop into his dressing room for a 100XP traveller bonus.

12. Hack the level 1 PC for a nuke virus and read the emails which give Sandoval’s apartment address. David Sarif suggests you frame Taggart by planting evidence on the PC. Agree to do it. You can also hack the level 4 security console for 100c and a nuke, and disable 2 cameras.

13. Head out of the door quietly. An XP eBook is to the left of the TV. Cloak to read it. "Vagus Nerve Stimulators - Repurposing the Technology [Volume 10]". Hack the level 2 alarm panel for a nuke, then sneak out the door.

14. When this bodyguard isn’t looking, sneak to the right beneath the camera, and immediately right again into a store cupboard to find a weapons case with ammo. A weakened wall in there leads back to Taggart’s dressing room.

15. Head for the exit and down the stairs. Part way down, wait for these 2 bodyguards to finish their conversation, then cloak past and into the vent.

16. You emerge here. Head all the way to the left, wait for the bodyguard to turn his back then drop down and out of the door.

17. Through another door, you come out back at the entrance area. Approach the plain-clothes cop on the left for a new mission - find a bomber. If you use the C.A.S.I.E. on him in a charming way he’ll give you 4 places to look. It’ll have to wait, Sandoval is first. Head outside.

18. Head directly through the alley behind the gas station, and through the crawl-space behind the basketball court.

19. Sandoval’s apartment is up the fire escapes just left of the exit in front of the Chiron Building (you used these ladders to get to DRB territory earlier).

20. Inside, a previously locked gate leads to the apartment. Carefully go down the stairs.

21. Down one floor, these two thugs are ripe for a double-takedown if you’re quick and quiet. Search them for credits and ammo, then head round the corner on this floor.

22. Ignore the Praxis Kit and the body on the floor for now. Hide next to the far door and open it.

23. Inside, Zeke Sanders becomes suspicious when you open the door. Take him out when he comes to investigate. He carries a pocket secretary with the code 5463 to a safe.

24. Return to the body in the room, and move it away to reveal the trap - 2 EMP mines. Take the mines before taking the Praxis Kit, you might have to make inventory room to do it.

25. Back in the bedroom, the picture hides a level 4 safe. Hack it for 400c and a stop worm (or use the code 5463). Find mines, ammo and credits inside. Then move the boxes blocking the bathroom door.

26. You have options here. 1: move more boxes to find a breaker switch that opens a secret door in the bedroom wall leading to a staircase, or 2: break the weakened wall and drop down for an extra 200XP explorer bonus.

27. Whichever way you take, another double-takedown opportunity presents itself below. You might have to cloak to do it. Search the bodies and lockers for credits and ammo. There are 2 weapons cabinets round near the staircase for more weapons.

28. Inside the red storage container is a ladder leading to the sewers. Go on down.

29. At the bottom, be wary of a patrolling guard before moving the green barrel away from a crawlspace and going in.

30. Pass through one room for a 100XP explorer bonus to emerge here where a lone guard patrols. Take him out for a pocket secretary containing the code 8212 to disable the lasers. Or hack it - level 4 for 250c.

31. You will have already heard the beeping mines. Only this one to the right is a threat. Drop into the water right here then approach it slowly to disarm it.

32. Keep going right and then through the door for a showdown with Sandoval.

33. If you’ve done everything right, he’ll be watching Taggart on the TV, and it’s now your job to talk him out of killing himself. If you haven’t, he’s loading a pistol and turns immediately hostile, forcing you to take him out. Talking him down means using some tough love, but you can persuade him with the social enhancer quickly by taking advantage of his Omega type personality.

34. Whether he’s hostile or you talk him down, you learn that the scientists are alive, and that their GPLs are not deactivated, merely operating on a different frequency. Take Sandoval’s revolver, and search the room for ammo and this XP eBook. "Dermal Modification Processes [Volume 24]".

35. Leave via the closed door next to him (i.e. a different door to the one you came in by) and find this weakened wall. Break in for a 200XP explorer bonus, a load of credits and an ammo capacity upgrade.

36. Carry on round and down a ladder to find this level 1 door. Hack it for a nuke and go through to the right.

37. Keep going right, and up a ladder into DRB territory near where you snuck in when you were here before. It’s peaceful now the gangs have been rounded up. Turn to the East down a road not yet explored. By a large red container containing rubble, find this level 3 storage unit. Hack it for 150c and credits, ammo and weapons inside. One weapons cabinet is almost hidden by a large heavy crate. Head out of Derelict Row.

38. It’s time to investigate the bomber for officer Nicholas. Head towards the Police Station. There are 4 locations to investigate. The first is the Detroit City Bank. Just climb over the barriers for the 100XP completion bonus.

39. Next head to the left here and go up the steps and into the metro tunnel for another 100XP completion bonus. No need to go all the way through - you need to double back to the Police Station.

40. The next spot is the alley behind the station. You can climb the gate, but we haven’t investigated further left along the road yet.

41. Almost at the end of the street is this door. Beyond is an electrical hazard, so I upgrade my dermal armour for protection and head in for a 300XP pathfinder bonus. Part way along is an energy bar by a breaker to turn the hazard off, but I don’t need to any more!

42. You come out in the alley behind the police station. Head to the end for a 100XP completion bonus, then down into the sewer.

43. Another weakened wall, another 200XP explorer bonus for a shotgun, ammo and 2 pocket secretaries with codes for doors and logins in the police station - all useless to us now, since it’s closed. Ah well.

44. Beeping will have already alerted you to the presence of mines. Approach all 6 and disable them. Setting any of them off will put White into an alerted state, which makes it much harder to take him out.

45. Before long you encounter a turret. Double back and through the crawlspace on the right here.

46. Move another crate and either use the other crawlspace or just go round to the right.

47. Just visible in the background is your antagonist. Wait for him to move back to the left, then hack the level 4 security console for 250c and disable the turrets. Then approach where he’s patrolling for the final 100XP completion bonus.

48. Sneak up on him and take him out before hacking the level 4 keypad (250c) to disarm the bomb. The ladder nearby leads to a now-barred door into the police station. Go the way you came, keep right to find the exit, unless you want more mines to deal with.

49. You need to go back and inform Nicholas at the convention centre that the threat’s been dealt with. On the way, pay that visit to Brent Radford. Head for the basketball court. Hacking the level 5 storage unit by the basketball court is worth 500c, but usually spooks the crowd gathered there. I decide I don’t need the credits and use the code 1904.

50. I can hack the level 4 keypad inside for 250XP, although the code 6542 would also work. I disable the lasers and search inside for a sniper rifle, combat rifles and ammo. A valve hidden behind a large crate sets off a gas trap, but my rebreather saves me.

51. Radford’s apartment is up the fire escapes nearby.

52. It’s on the upper floor right by Double-T's place. It looks like it’s been turned over, so I go in quietly.

53. Sure enough, the guy with his back to me looks unfriendly so I take him out, then talk to Radford. He asks for the trauma kit, which is in the closet on the right in this shot. Give him enough morphine and he gives you the location of a storage unit near the Police Station, and the code 4062 to a safe inside. Before you leave you can convince him to live, although letting him die doesn’t count against the pacifist achievement. I talk him into living anyway.

54. Time to leave. Go back through the crawlspace behind the basketball court and take the fork on the right. Move a large garbage container away to get through the fence to here.
|
|
|
One suit comes this way to relieve himself, so relieve him of his consciousness when he does. |
These two stood outside the storage unit are ripe for a double-takedown. |
Finally the last guy still trying the safe inside the unit. |


55. Hack the level 3 PC for 350c to learn about Michelle Walthers and other background about Adam Jensen. The code 4062 works on the safe which is level 5. I hack it for the 500XP. Read an eBook, swipe some credits and some photos. Time to look up this Michelle Walthers.

56. First up, however, head down to the sewers nearby.

57. Another weakened wall awaits you for another 200XP explorer bonus and a weapons cache. Further round is the other way to find White the Bomb Maker. Return the way you came and through the crawl space behind the lock-up.

58. Back past the basketball court, the apartment you need is on the left, nearly opposite Tindall's apartment. Go up the fire escape to the top, then inside and down 1 floor.

59. Keep left to find this open apartment. Speak with Ms Walthers, who mistakes you for a delivery boy, and tells you "your" story. Give her the photos you found in Radford’s safe and she’ll tell more. You can persuade her further with the C.A.S.I.E., and as is so often the case, charm gets you everywhere. Time to leave.

60. While we’re here, there’s an apartment in the same block as Tindall's that we haven’t visited. Go in and up two floors.

61. This apartment was locked with a level 5 door which got me 250XP (I could have used the code 2356). The level 2 door inside is worth another 150XP.

62. The PC is a level 1 hack for 200c and the code 3663 which works on the level 5 cage on the left. Raid the drawers for Read the XP eBook. "Arms (and Legs) for Man: The Structure of Cybernetic Limbs [Volume 5]"

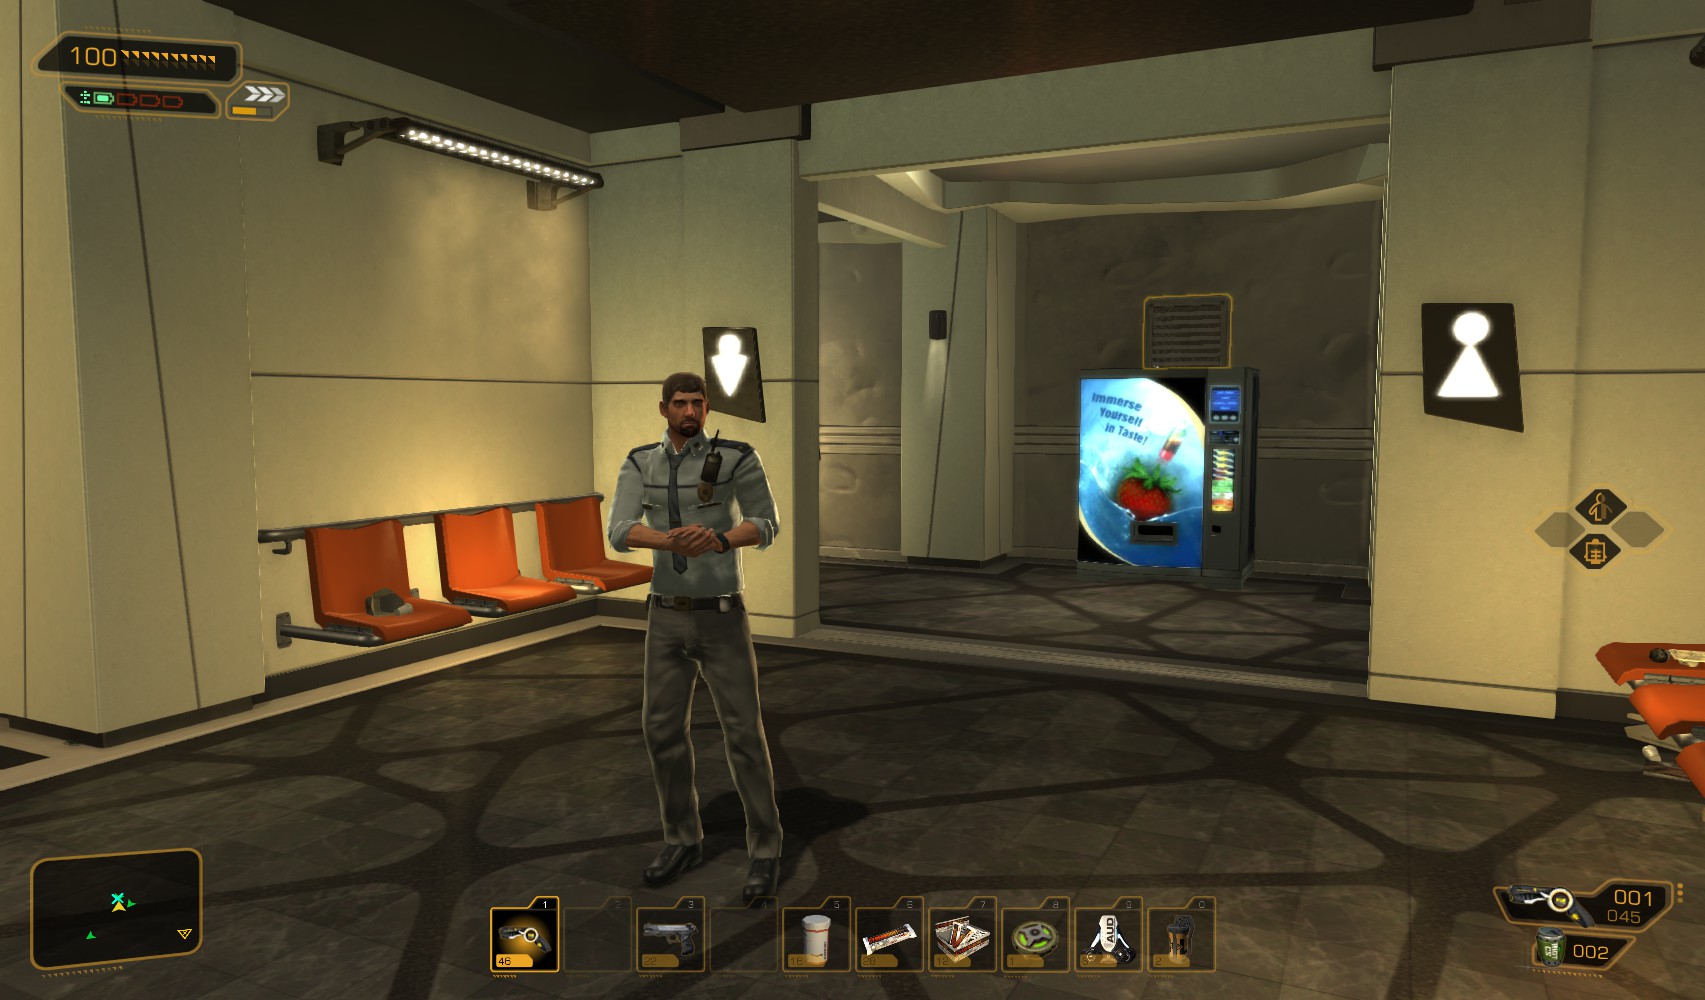
63. I hack the cage for 250XP to get this Praxis Kit. The weapons cabinet contains pistols, and there’s an energy bar nearby too.

64. On the floor below, O’Malley's level 1 PC can be re-hacked for 25XP, before heading outside. I need to revisit Officer Nicholas at the convention centre. On the way I stop off at the gas station to unload some unwanted stuff.

65. Next I stop off at the L.I.M.B. clinic.

66. They have another 2 Praxis Kits to sell.

67. Right opposite the entrance to the convention centre is this level 2 storage unit with the code 4626. I wait for a patrolling cop to move away and then hack it for 50c. Go in for a 100XP traveller bonus and some beer, then head into the convention centre.
68. Nicholas is where you left him. Talk to him to complete the quest and get 1000c and a silencer in return. Head into the vent above the vending machine behind him for a machine pistol and another 100XP traveller bonus.

69. All that remains is to return to my apartment…except as I pass the L.I.M.B. clinic I spot this ladder and go up to find a level 4 door which I hack for 250XP. I follow the corridor round and drop onto the roof of the gas station.

70. Return to the Chiron building.

71. You can hack the PC at reception for 50XP and news of your replacement mirror. Head up the elevator, and stop off in your apartment for supplies before heading up the other elevator to the roof.

72. In the North-West corner is this weakened wall. Break in for a 100XP traveller bonus while Malik sorts the VTOL out.

73. Inside, the cabinets have an energy bar. Go through the vent and down a ladder for another 100XP traveller bonus and a 615c chip.

74. Go back out and let Faridah shuttle you to Sarif HQ.

75. When you arrive you learn that Pritchard isn’t there and you should check in with Sarif. First head back to the helipad storage area to find more ammo, including Typhoon ammo.

76. You can re-hack Pritchard’s level 5 PC for a nuke

77. You can also re-hack your own level 3 PC for 500XP, and Ted Brugger’s in room 32 (level 2 50c) before heading up the elevator by your office to see David Sarif.

78. You arrive to find that David isn’t there, instead Hugh Darrow meets you. Sarif eventually shows himself, and instructs you to go back to Hengsha to track down Sevchanko's GPL responder.

79. Back outside hack Athene’s level 3 PC for 500c and a stop worm before heading down the elevator once again.

80. Return to the helipad and talk to Malik to go back to Hengsha.