1. At the foot of the ladder, go through the small crawl-space.

|

|
At the end, if you upgraded your arm aug for breaking down walls, you’ll see a highlighted area. Break through for a 100XP traveller bonus, and find a mine template and weapons case with ammo in it. The ladder at the far end leads back near to the hotel entrance. Go back through the crawl space. |

|

|
Follow signs to the Hive to find another weakened wall. This time your reward is another 100XP traveller bonus and a Praxis Kit. |

|

|

|

|
Go down the nearby ladder and follow signs again to Kuaigan District. Back up another ladder, to find a gas-filled area and another weakened wall. Behind it is the valve to turn off the gas. Another 100XP traveller bonus and a bunch of hacking tools are also yours. |
|

|

|
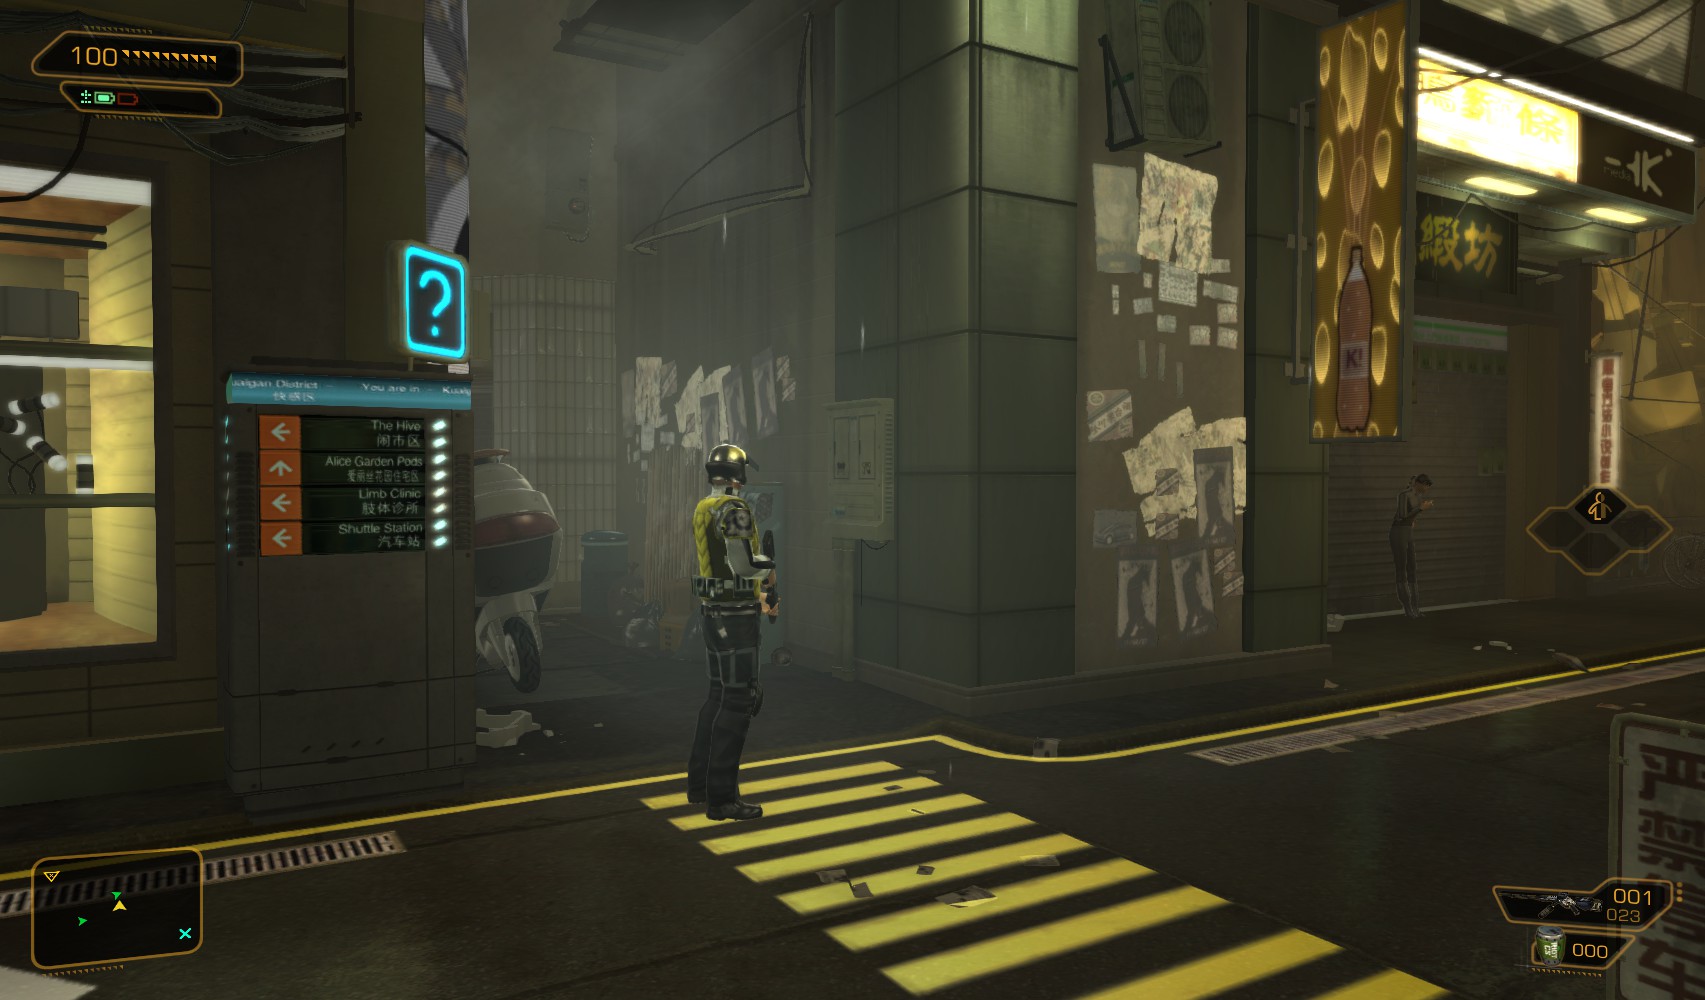
You can follow the corridor that was gas filled up to the Hive nightclub, but we have a membership card. Instead go the other way, following signs to Kuaigan District again. This pocket secretary has the code 7845 to one of the storage units you hacked earlier. Head up the ladder at the end to emerge in this alley. |
2. Go up the steps and turn left to find this vent behind some boxes that we also saw
earlier. Go through for a 100XP traveller bonus.
3. You come out in the toilets of the club. Perhaps we don’t need the membership card right now.
4. Head next door to the gents' loos, and search the cubicles for a pocket secretary with the code 0415 to the basement.
5. The code is for this door on the right just outside. If you hack it (level 4 for 250c) the customers will turn hostile. Head up the stairs instead and listen to the bouncers at the top complaining about having lost a pocket secretary.
6. At the top of the stairs, head left.
7. Speak with "the manager". It doesn’t really matter which conversation path you take, he invites you to meet the Boss - Tong Si Hung - in the basement below. Insisting every time provokes the most amusing responses from him.
8. If you have the C.A.S.I.E. (Social enhancer) augmentation, you can persuade him and shortcut some of the conversation. It’s almost worth it to see him squirm a little bit. He’s a little less sarcastic the next time you meet.
9. Go back downstairs to the door by the toilets, which is now open, and head on in.
10. Now is a good time to hack the level 5 door (1250c) ahead before the guard at the bottom of the stairs starts his patrol. The doors may have been opened for you, but the guards don’t take kindly to B&E. Don’t go in yet, head down the stairs.
11. Turn right at the bottom. This vent leads to an observation point over Tong’s office. Go through the door further along on the right and speak to Tong to learn that Windmill/van Bruggen is being hidden in the Alice Garden Pods in #301.
12. A credit chip is nearby, and this XP eBook. "The Use of Neuromuscular Facilitation System [Volume 25]"
13. Back outside the office, keep right past the bouncer.
14. Head through this vent.
15. Find some hacking software in the duct before coming out in this room. Nick the rate of fire upgrade on the trolley and search the body for a pocket secretary before leaving via the vent, leaving the door locked. Go up the corridor protected by that camera.
16. Ignore this door on the right (it leads back to the sewers) and head up the stairs.
17. A door round the corner ahead leads into the night club. Carefully enter this office on the right.
18. Remain crouched and quiet as you hack the level 1 PC (on the right) for 100c and a stop worm, and the level 2 security console for 100c and a nuke. Disable 2 cameras. The level 3 safe (100c) contains nearly 900c in chips. Read the XP eBook. "Optical Enhancement Functionality [Volume 23]"
19. With the camera disabled you can now hack the level 2 door for 250XP before heading back to the door you unlocked
earlier. Go through it and into the DJ’s booth on the right.
20. Swipe this pocket secretary with the code 8953 for the security room safe you just hacked, then go back up the stairs through another door to the upper floor of the club.
21. Go back downstairs and to the main bar. As you pass this guard stood outside the security office, he hints you should speak to Bobby behind the main bar.
22. Go and speak to Bobby Bao at the bar and ask about the "Operation" to get a new side mission to get money out of female broker called "Jaya". You need to find Jaya by hacking a sequence of relay antennae to allow Jaya’s phone and computer to be tracked. Sounds simple enough. Head outside.
23. The Alice Garden Pods are nearer, so turn left out of the club, follow the road round then left again at this alleyway.
24. Partway down is another open back door for 100XP traveller bonus and a weapons case containing tranquilizer darts. Carry on down the alley.
25. The Pods are opposite the 4 storage units you hacked
earlier.
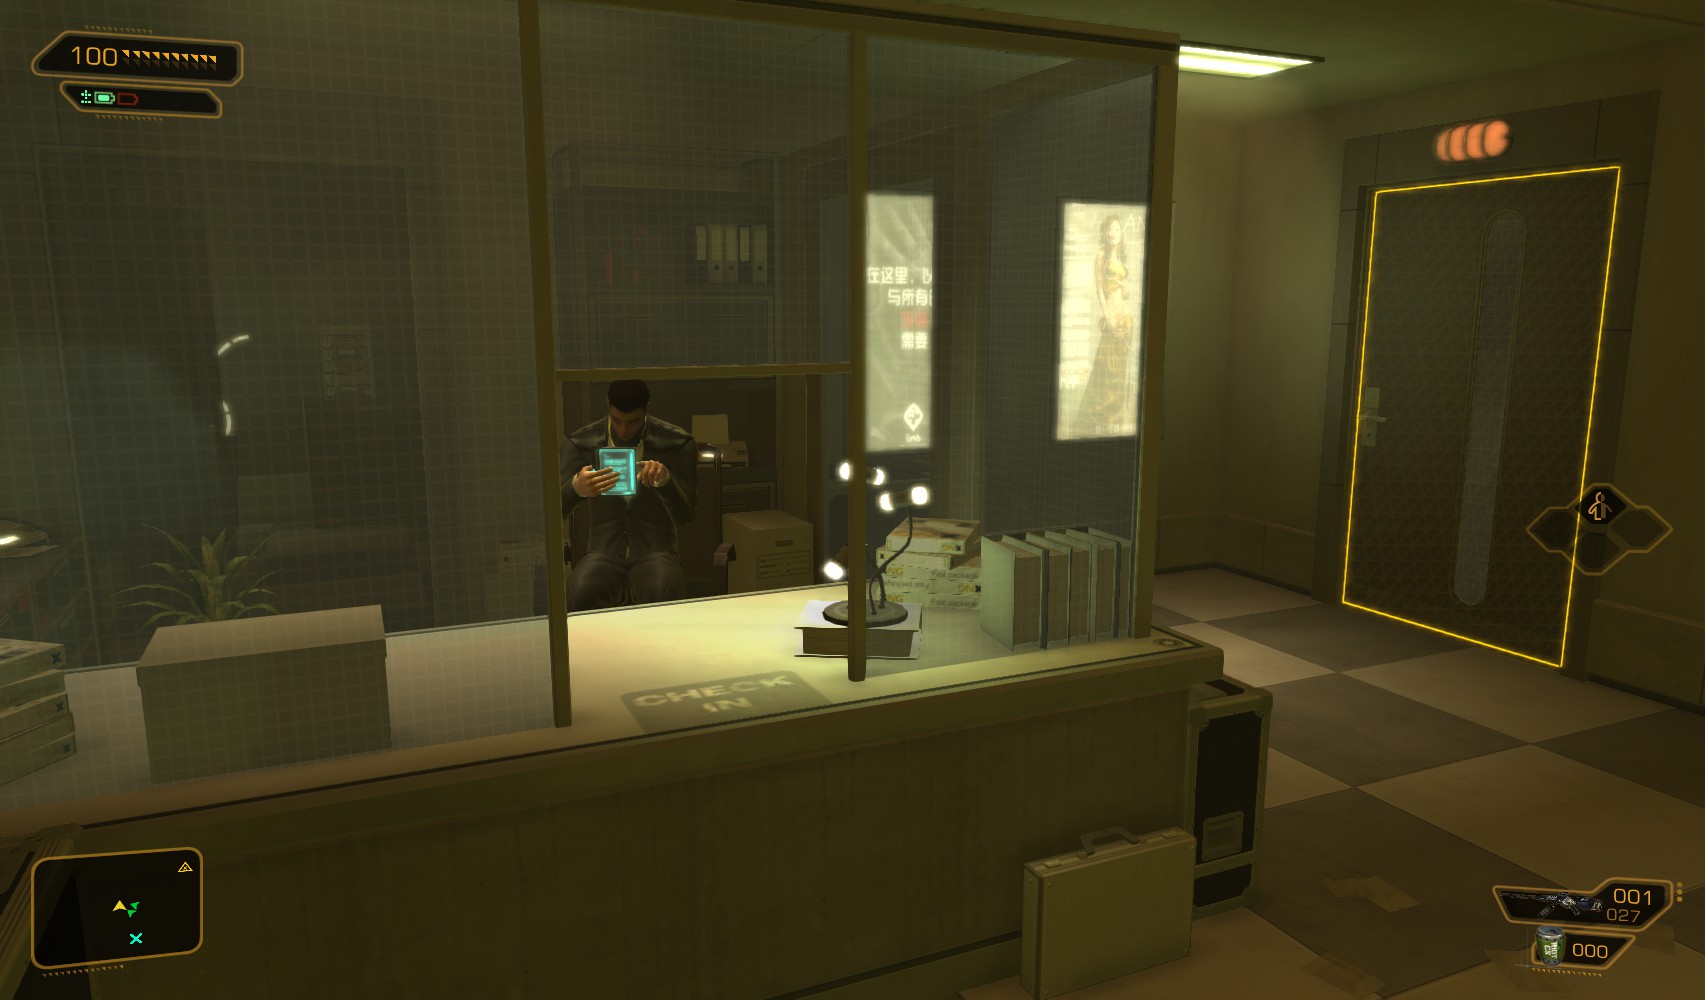
26. The guy in reception just waves you through. A level 3 door just inside this one can be hacked for a stop worm (or wait for the
code).
27. Inside hack the level 3 PC for 200c and a nuke (or find a pocket secretary almost hidden behind a box nearby for the login), and read some background emails. The level 2 safe (stop worm and nuke) contains a credit chip worth 1015c. You can get the code for this
later.
28. Go out and round to the left, up some stairs to find Faridah Malik. She has a personal favour to ask - investigate the death of her friend. She asks you to meet a L.I.M.B. employee in the local clinic. She also points you to pod 009 to check out the background info.
29. When Malik leaves, head left and through a door.
30. Inside is a merchant. Climb the scaffolding behind to find a rate-of-fire upgrade. A weakened wall leads to an upper floor, but causes some alarm if you break through it. Climb down and settle for selling stuff to the merchant, then return to the main room.
31. Swipe an energy bar from the counter in the centre of the room, then head left behind it to find some stairs.
32. Another energy bar is here (always useful!) and an armour-piercing upgrade kit is almost hidden beneath the stairs. Go up to the 1st floor.
33. Head left, and start with section 0.
34. Swipe this credit chit from the table and search the pods for credits and ammo, and an eBook about Mahjong in #025. #017 has tranquilizer darts.
35.
Pod 009 is in the far left corner. Read the pocket secretary and eBook for an update.
36. Section 1, next door to the left, has this eBook in pod 143. "Electrogravitic Technology Applications [Volume 19]".
37. Next to #143 is this vent, which we note for later exploration. #101 has revolver ammo and a pocket secretary. #119 has another pocket secretary. Find credits on a set of drawers near #133, and beer in #139.
38. Section 2 on the opposite side has this pocket secretary in #243 with the code 3824 to the office door.
39. Also in section 2, this pocket secretary has the code 3785 to the office safe. #205 has a pocket secretary. Find credits in #211, another pocket secretary on some drawers near #233, and wine in #241.
40. Use the fire escape at the back of section 2 to go upstairs.
41. You come out in section 5. Swipe this pistol from #543. #505 has a pocket secretary with some background on why you’re doing a job for
Bobby. #501 has credits, and there are more credits on a tray near #531.
42. Head left and over to the other side for section 4. #405 and #411 have credits, #441 has a pocket secretary, #425 has an eBook diary and #429 contains a machine pistol. The other side of the
weakened wall above the merchant is in this section.
43. Now head out and left to section 3. Our hacker is,
we’ve been told, in pod #301. Before opening it, find PEPS ammo and energy pack in #333. Before proceeding, ensure you’re carrying a lethal weapon like the pistol or machine pistol from the pods in sections 4 or 5.
44. Finally open #301 to find van Bruggen/Windmill. He gives you the name Zhao Yun Ru, the CEO of Tai Yung Medical (TYM). You get a new objective - find van Bruggen’s surveillance tape in the TYM building. You just need a correctly encoded
employee card, which fortunately you’ve already discovered.
45. After receiving the encoded card, the Alice Garden Pods are ambushed by troops. You get to choose which weapon with which to arm van Bruggen - or you can refuse, resulting in his presumed death. I hand over the machine pistol.
46. You still need to escape yourself of course. Each floor has a number of guards. You can take them out if you have the patience.
47. The immediate objective is to get to section 5 (go left out of section 3), and down the
fire escape to the lower floor.
48. Go down one level to come out in section 2. The next objective is the
vent in section 1.
49. This time head into the vent.
50. There are 3 troops on the ground floor here, including some very heavy weaponry carried by Narhari Kahn, Belltower commander. Taking them down quietly is out of the question, hence sneaking past in the vent. Take care here - you can be seen through this observation panel.
51. You drop down here. Head right and raid the cabinets for ammo before heading carefully into the locker room.

|

|
Keep to the right behind the lockers, and sneak to the far end watching out for the lone guard. When his back is turned, head all the way to the right beneath the camera |
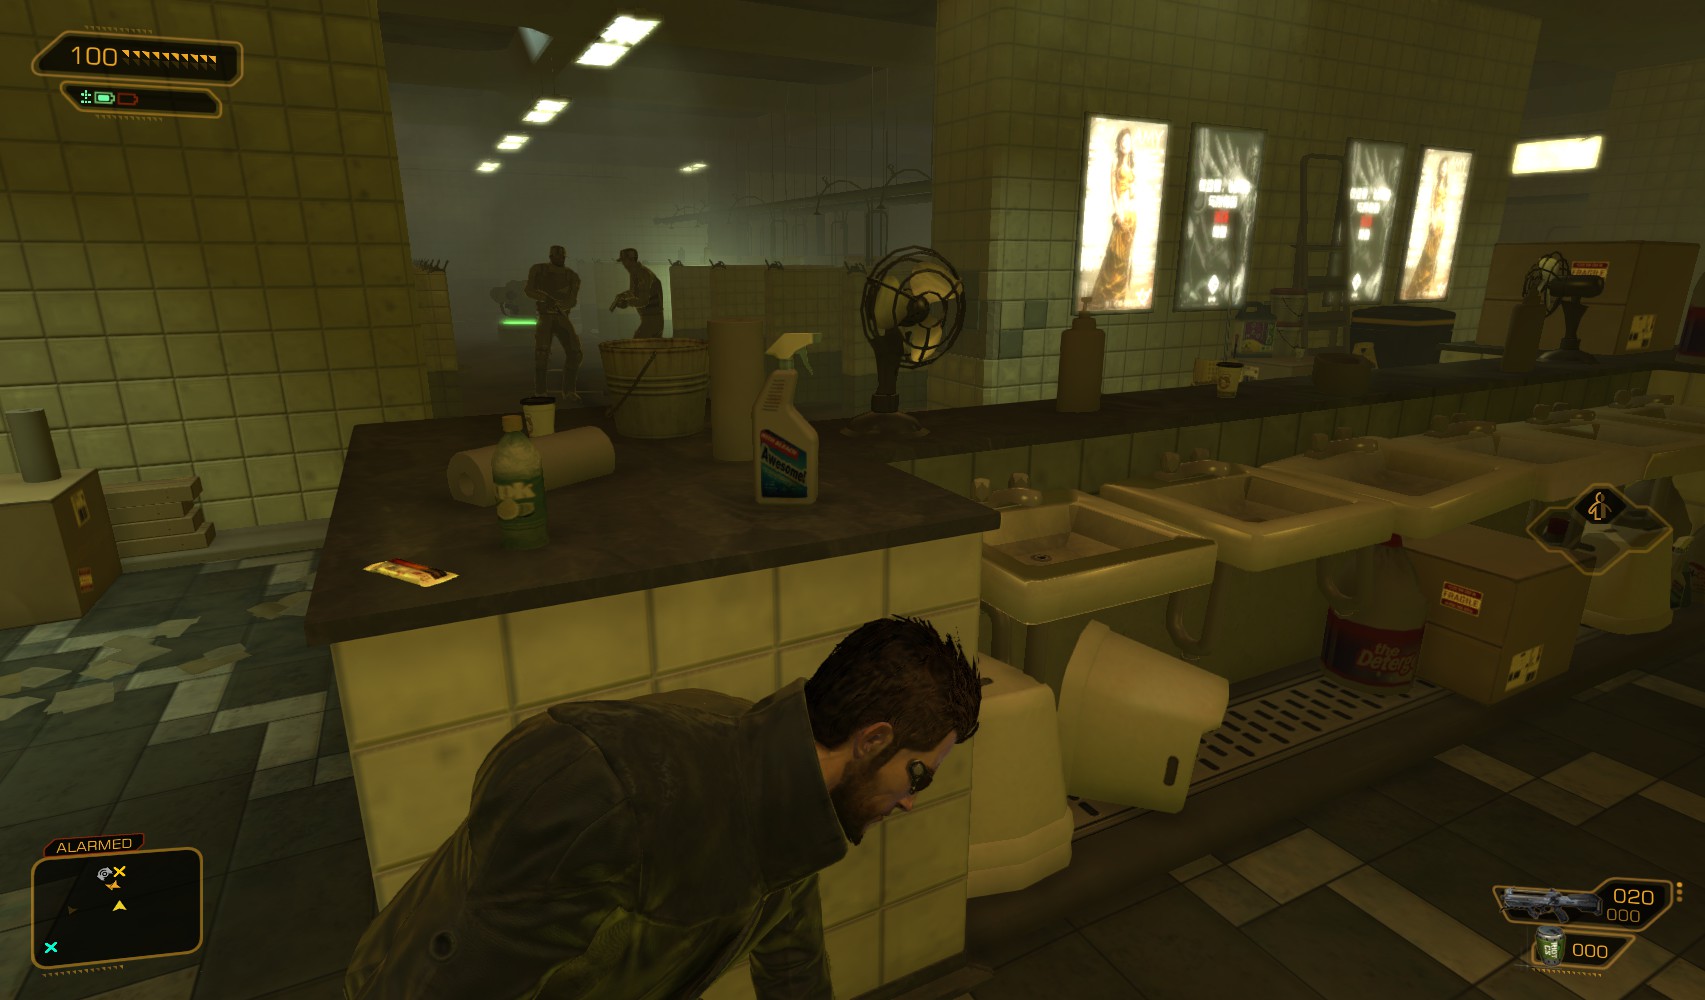
52. Nab this energy bar. Beyond these two guards is a turret. There are a couple of ways to proceed here. To the right you can sneak through a a shower section booby trapped with mines, or double back to the camera…
53. ...and through this door.
54. In the second toilet, swipe some painkillers, then move this crate and head into the vent behind it.
55. You come out behind the turret. You’ll be spotted if you attempt to hack the security console on the left here. Instead head left past it and through the saunas.
56. You come to another shower block, this time electrified.
57. To the right, more mines are beeping away. Disable them and head on out the back.

|

|
The weakened wall allows you to avoid these two troops patrolling in the laundry room, but they’re easily evaded or taken out anyway. |
58. Head out of the back of the laundry. I’ve played this several times, and never seen this guard here, stuck in the wall. I have to attract his attention to get him to move away from the corner so I can take him out.
59. Just round the corner are these two armed guards. On the right of the guy on the right is a gap under a booth door. Sneak in when both their backs are turned.
60. Crawl past the crates, and when their backs are turned again, make a dash to the far right and through the exit.
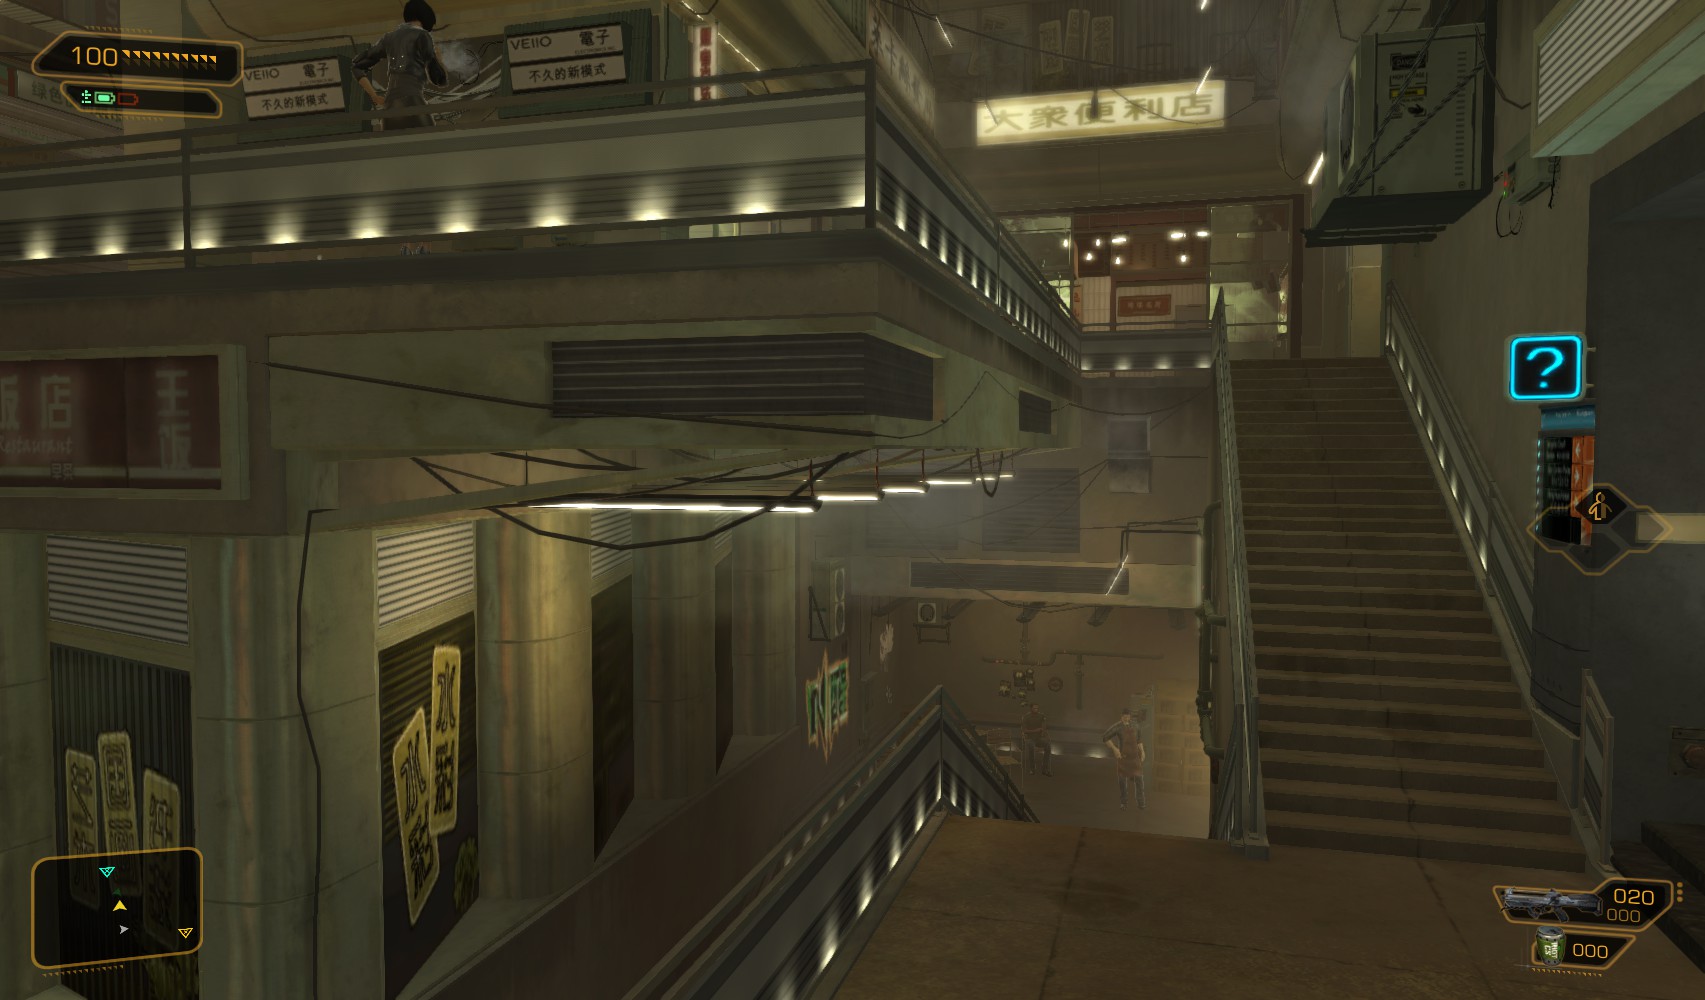
61. Security has certainly been stepped up since I entered the Pods, but these Belltower troops don’t seem to know who I am - yet. I need to get to the L.I.M.B. clinic to catch up with Malik’s
contact. I have to go up the steps on the left and down the other side.
62. Follow the street round to the right and then spot the signs for the clinic.
63. The contact - "Anonymous X" - is the guy on the right behind the counter. Talk with him (I choose to be impatient for the fun of it) and he instructs you to meet him outside.
64. Back down the steps, I find him in the corner looking totally inconspicuous. He hands over the autopsy report, and I choose not to pay him.
65. Read the report, and you contact Malik. She asks you to get to Lee Hong’s apartment. Head back towards the Alice Garden Pods.
66. Up this alley, you come out by the Hung Hua Hotel. Turn left then right at the end, to the end of the street.
67. Go up the steps, and at this point, follow the steps up to the left, signposted to Hengsha Court Garden. At the top of the first flight, find another open shop for a 100XP traveller bonus.
68. Follow the path round to here and hack the level 2 storage unit for a stop worm. Take the tranquilizer rifle inside, then go through the gate to the Youzhao District.
69. Lee’s apartments is just beyond the gate. Hack the level 3 door for 200c and a stop worm then head inside.
70. Go all the way through to the bathroom to trigger the objective - find evidence in the apartment.

|

|

|

|
In the bedroom, use the answering machine… |
...and the antique clock. |
Hack the level 2 PC for 100XP and a stop worm. Read the emails. |
Lastly, inspect the baseball bat by the front door |
71. Before heading to the Hive, you need to complete
Bobby's assignment. Head further round, and see this apartment. Hack the level 1 door for 50XP and 150c.
72. Go in and find a credit chip on the kitchen counter, and one by the bed. The level 1 safe (620x) contains sniper rifle ammo. An XP eBook is on the side. "Invasive Brain Machine Interfaces [Volume 13]"
73. Back outside, the first of Bobby’s security relay keypads is on the left near the dartboard. It’s a level 2 hack for 25c. Deactivate it.
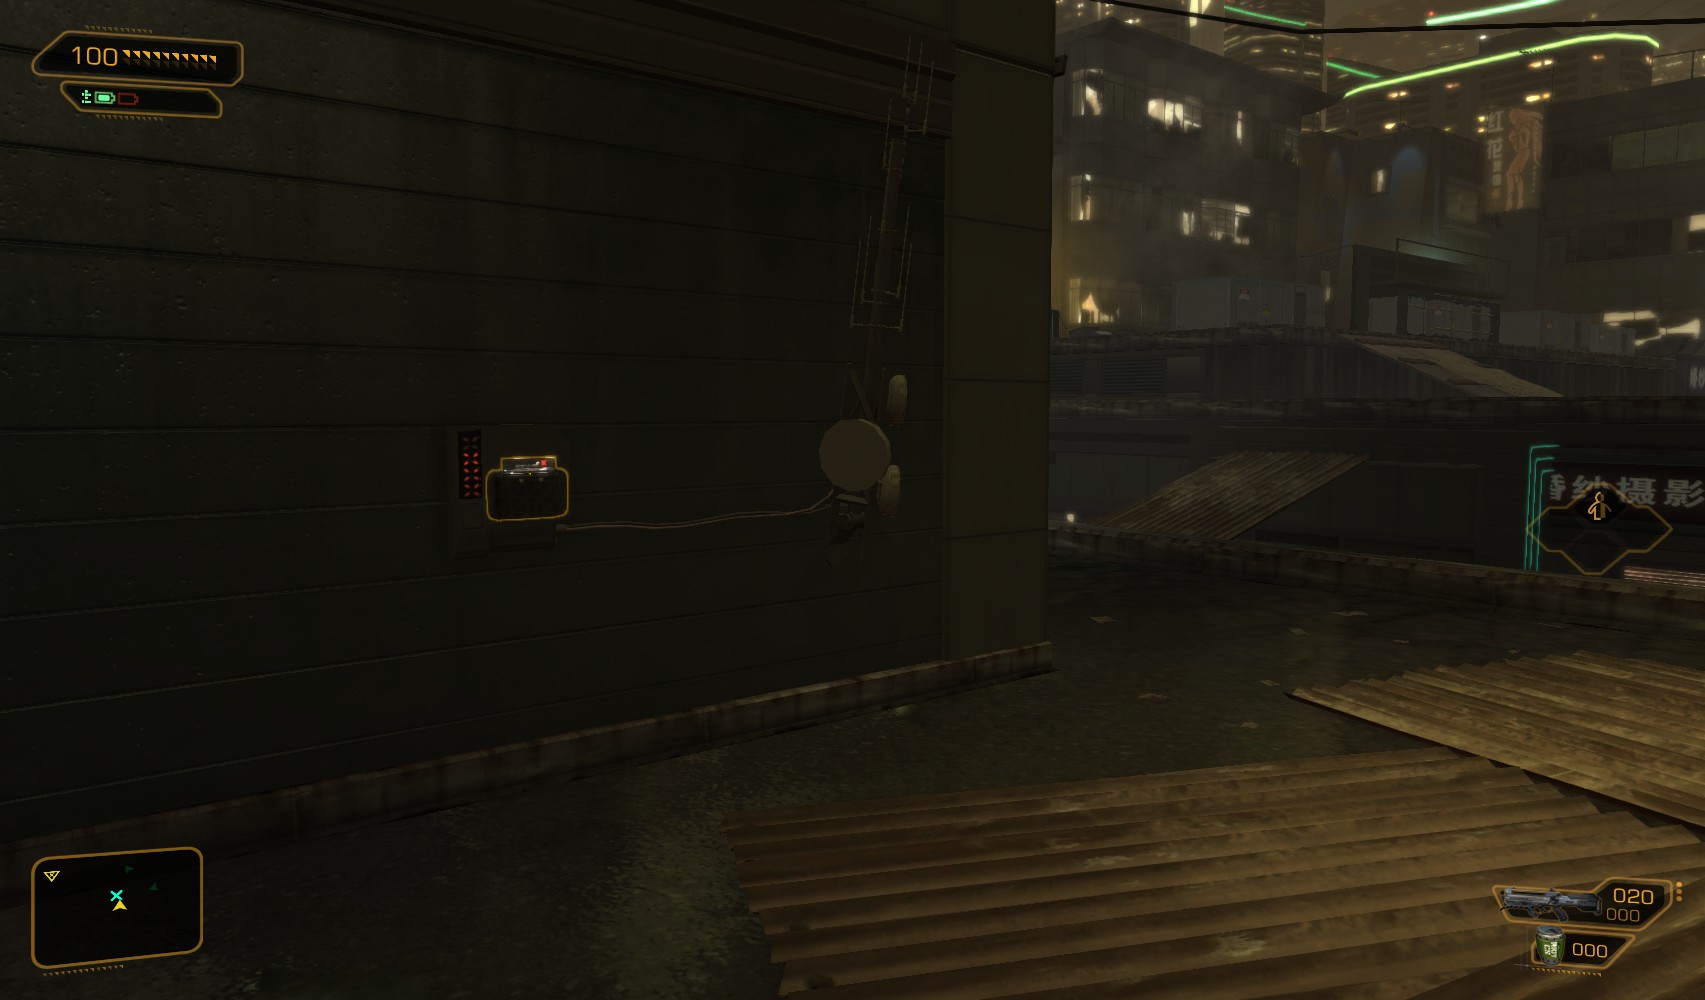
74. Go back to the roof and past 2 large sky-lights to find the second panel next to the sign. Another level 2 hack for 200c this time. Disable it, and climb the ladder on the left.
75. The third panel is near the roof of the
Hengsha Court Garden apartments. Go through the gap to the right of the door. If you didn’t take out two guards patrolling when you were here then, now is a good time.
76. It’s another level 2 hack for 200XP. When you disable it, Bobby contacts you with Jaya’s location - the apartments nearby.
77. Go through the door shown at the top of this pic. Go down the stairs, then take the elevator.
78. You come out near where you used a vent
earlier. Go right along the corridor to find an open apartment. Jaya is inside. Now would be a good time to invest in the Social Enhancement augmentation if you want to save a bunch of cash.
79. Jaya can be appeased, and you get to choose whether to ask for the cash or the biochip. If you take the biochip back to Bobby, he’ll become angry but the mission is completed. If you take the cash, he’ll be much happier.
80. Find pistol ammo in the kitchen area before you leave. Time to head back to the Hive. The quickest way there is to go through this vent next to the elevator, drop down four levels and out of the vent you used to get
in here earlier to the
roof area.
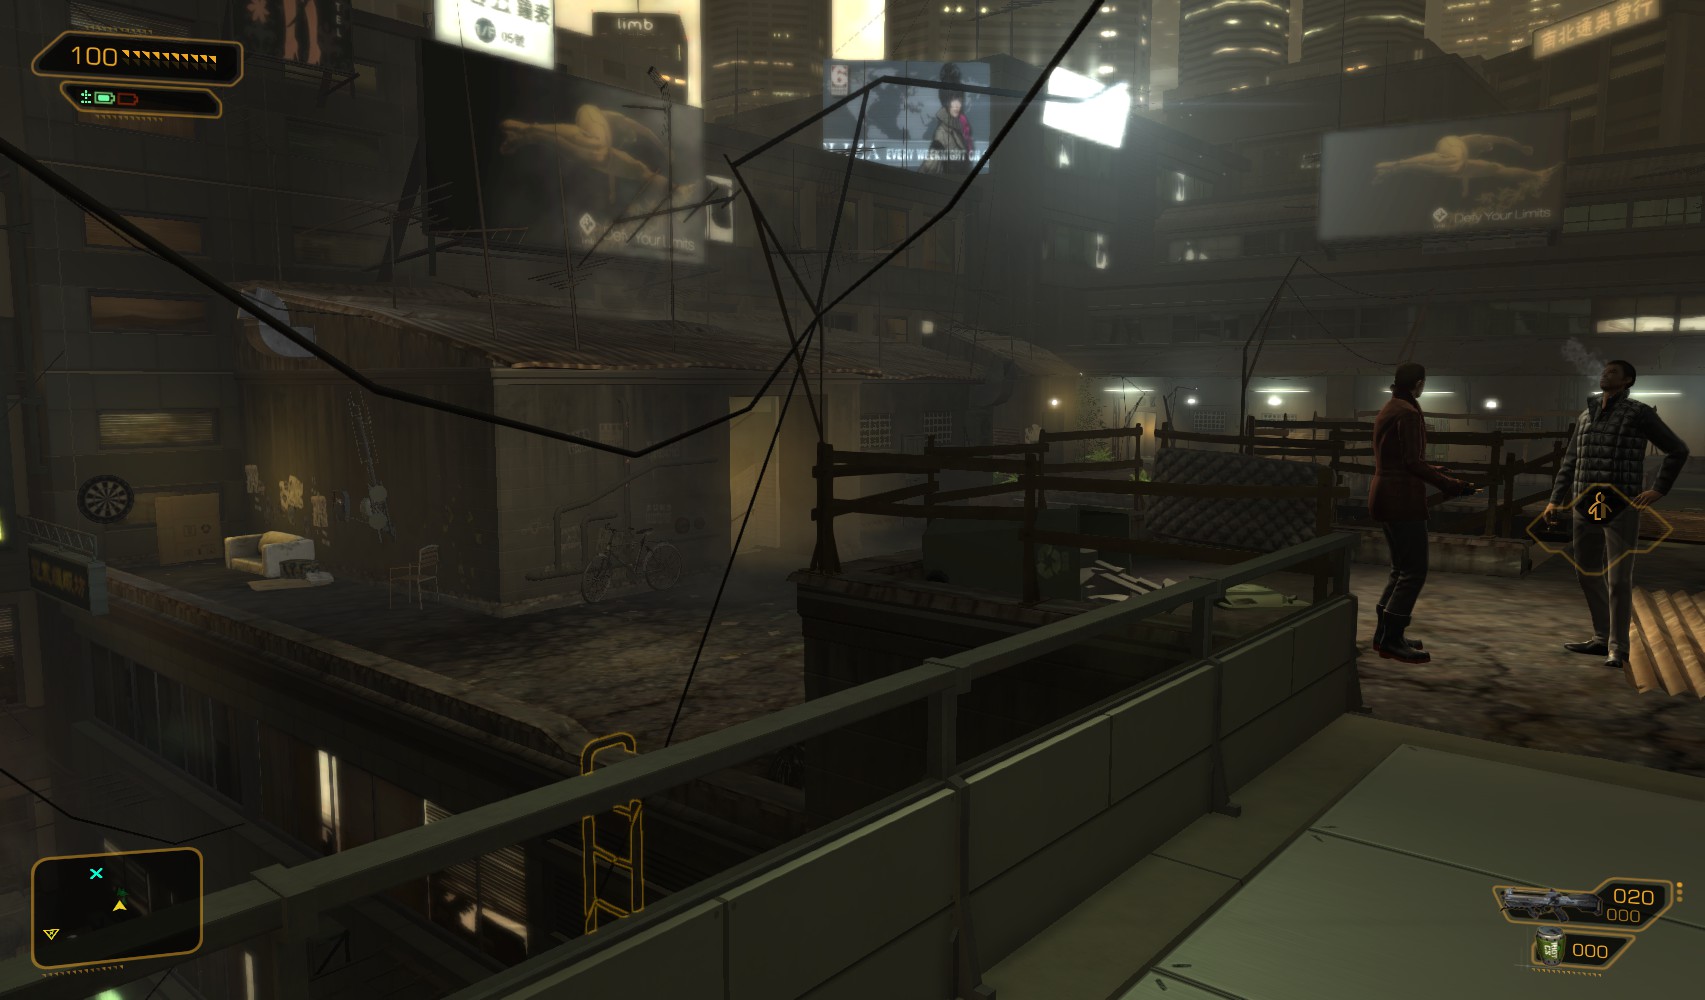
81. Turn right out of the door and down the ladders to ground level.
82. Right at the bottom, go up this alley (signposted to the Hive), and follow the signs to the Kuaigan District.
83. You come out into an alley. Follow it round to the street, and there’s the Hive straight ahead. Go in the front door.
84. You have 2 purposes for being here. As you enter, Malik explains how you should handle Lee Hong. First up, talk to Bobby behind the bar. You can try to deal, and Bobby will demand 5000c. Since you have Jaya’s money, you can hand it over to complete the task. In either scenario, he rewards you with a Praxis Kit. If you’d brought the biochip instead, he would not have handed it over.
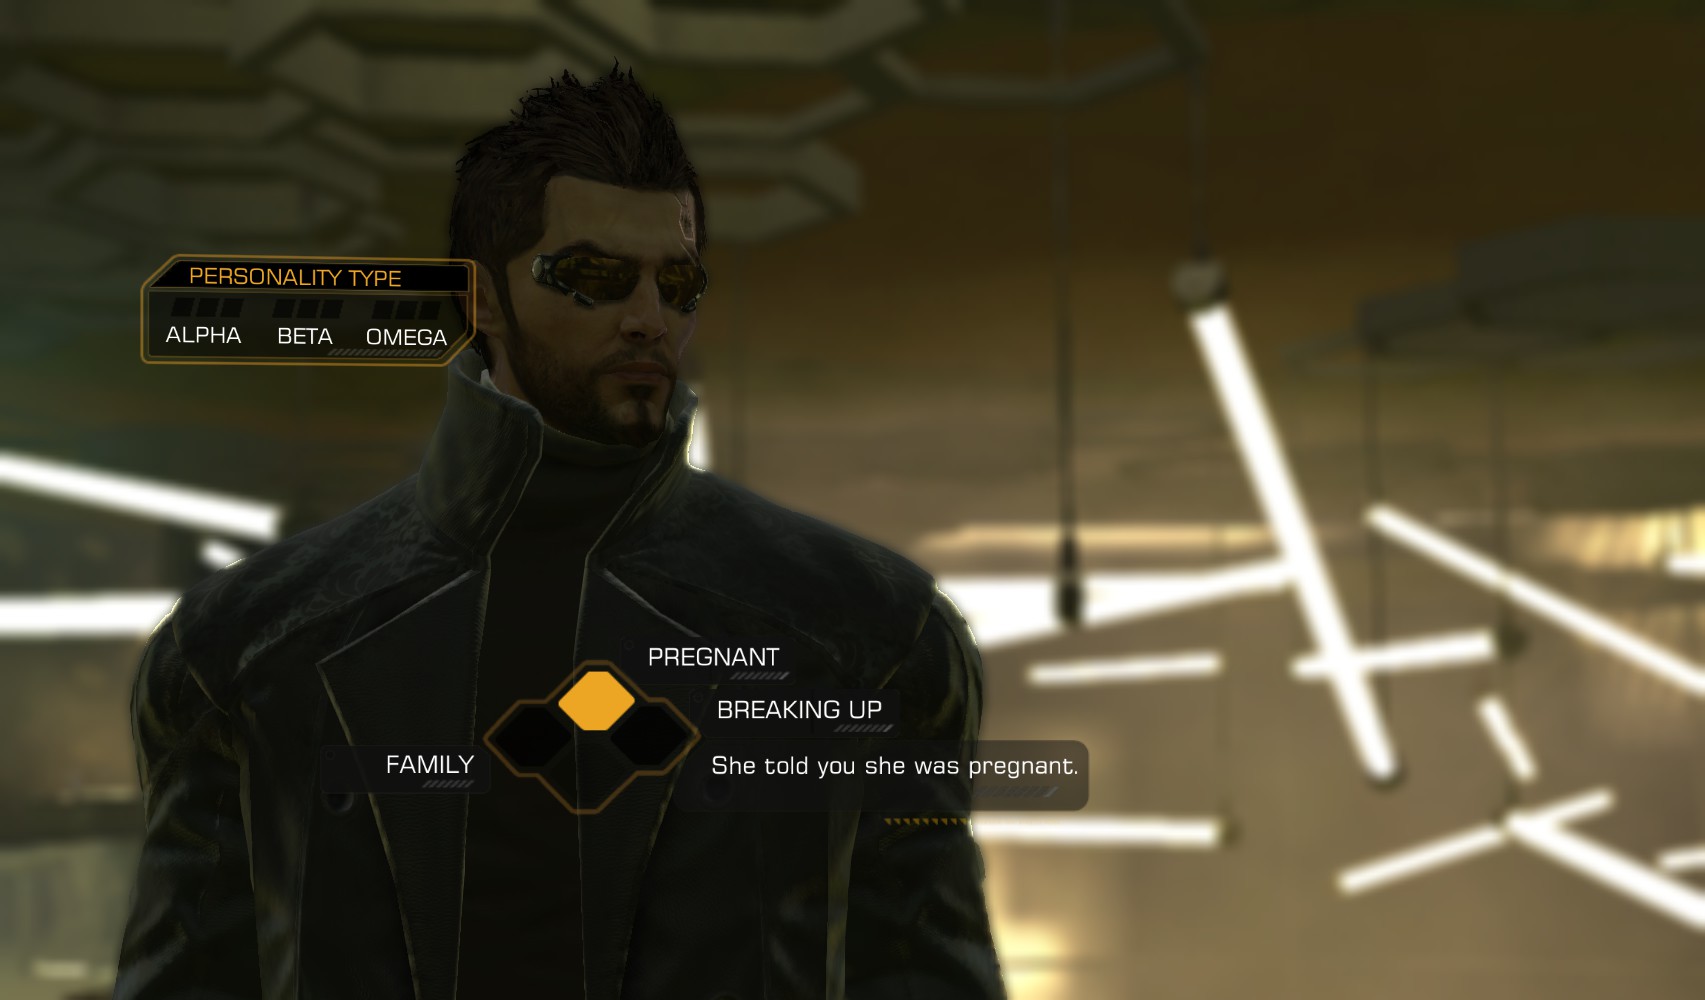
85. Next go upstairs to find Lee. In order to bluff him that you know all about his crime, you have to review 4 pieces of evidence.

|

|

|
The police report was inconclusive |
Lee claimed Evelyn was drunk, which the autopsy report contradicts |
The antique clock is the murder weapon |

|

|

|
Evelyn’s pregnancy was the motivation for murder |
The family is heavily invested in L.I.M.B. and Belltower. Either of these works to complete the quest. |
When you’ve succeeded, walk away |
86. Now Malik wants you to hack the club’s security systems. There’s a level 3 keypad behind the upstairs bar. Hack it for 300c and disable the system, then head outside.
87. Meet Malik near the front of the club (around about this point - check your map for the objective location). She rewards you with a Praxis Kit, and turns the front of the club into her own screening of Lee’s guilt.
88. All that now remains is to get to Tai Yong Medical. The entrance is near the L.I.M.B. clinic. Head back past the Hive and follow the signs. At the end of this alley on the right, crawl through the fence to the footbridge.
89. We’ve completed all the side missions for now, so head on in and catch the subway train.