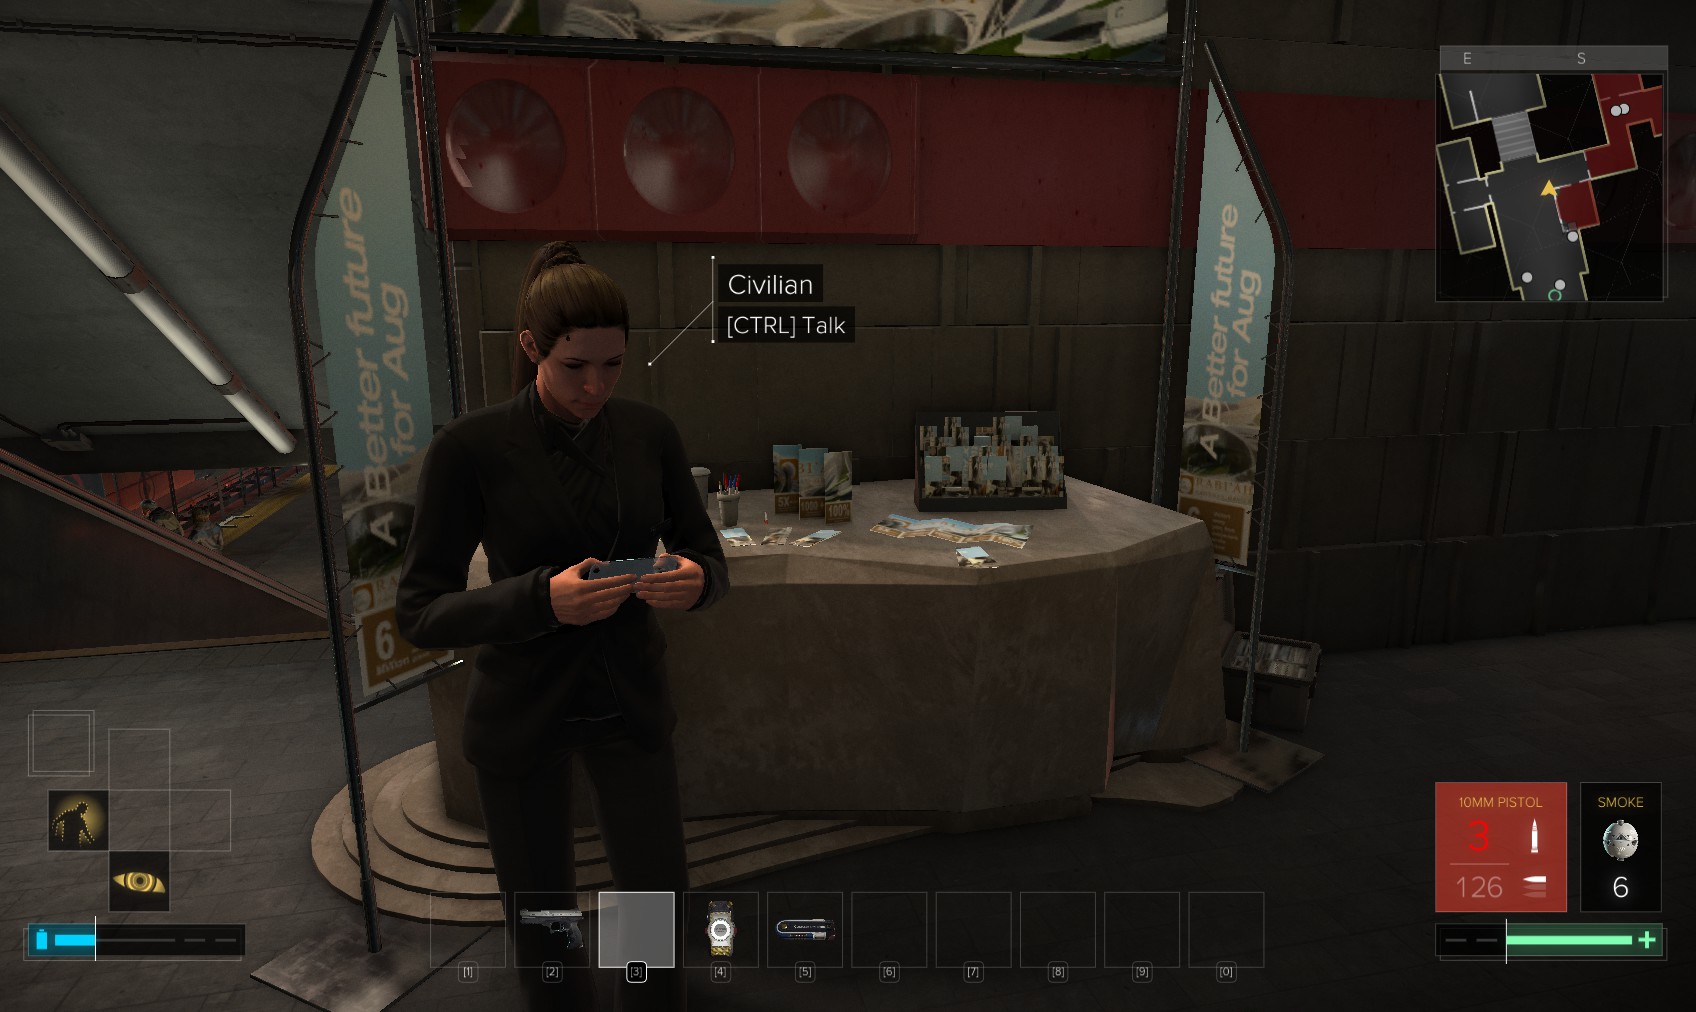
1. At the top of the stairs from the platform, the Rabi’ah rep attracts your attention. She introduces herself as Felice Ullmann and she’ll provide some background on Nathaniel Brown and Rabi-ah, as well as The Útulek Complex and the Santeau Group.

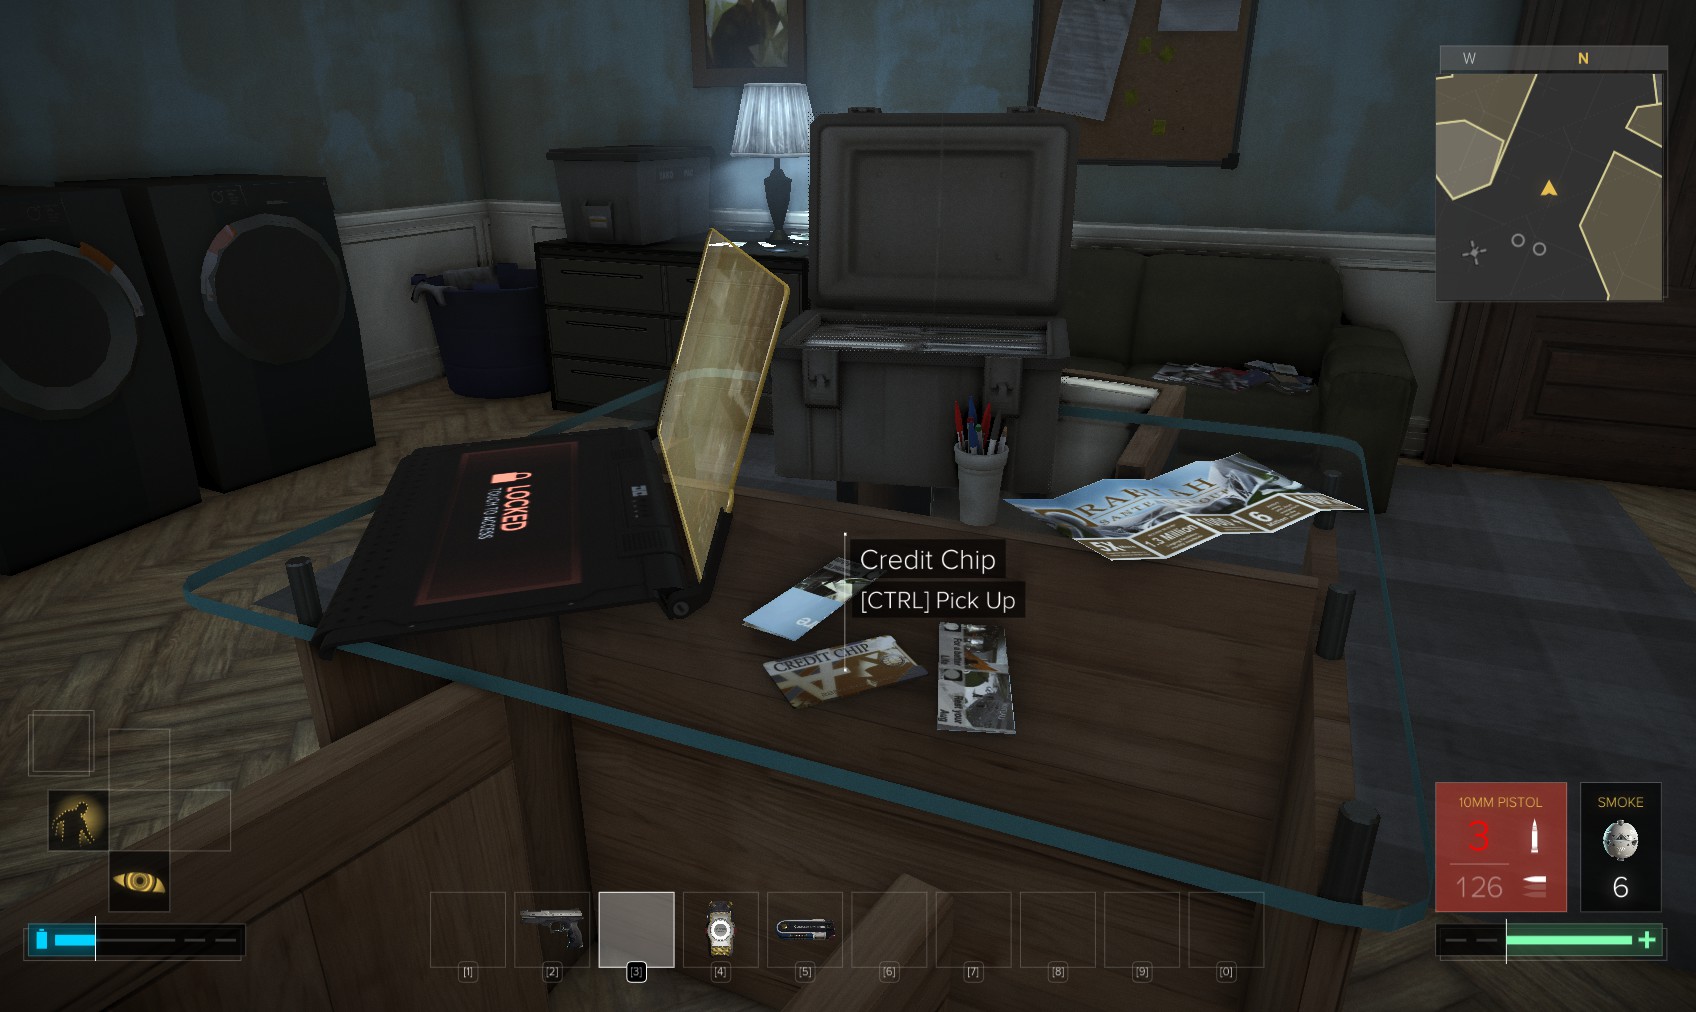
2. Heading out I spot yet another apartment to go and visit.
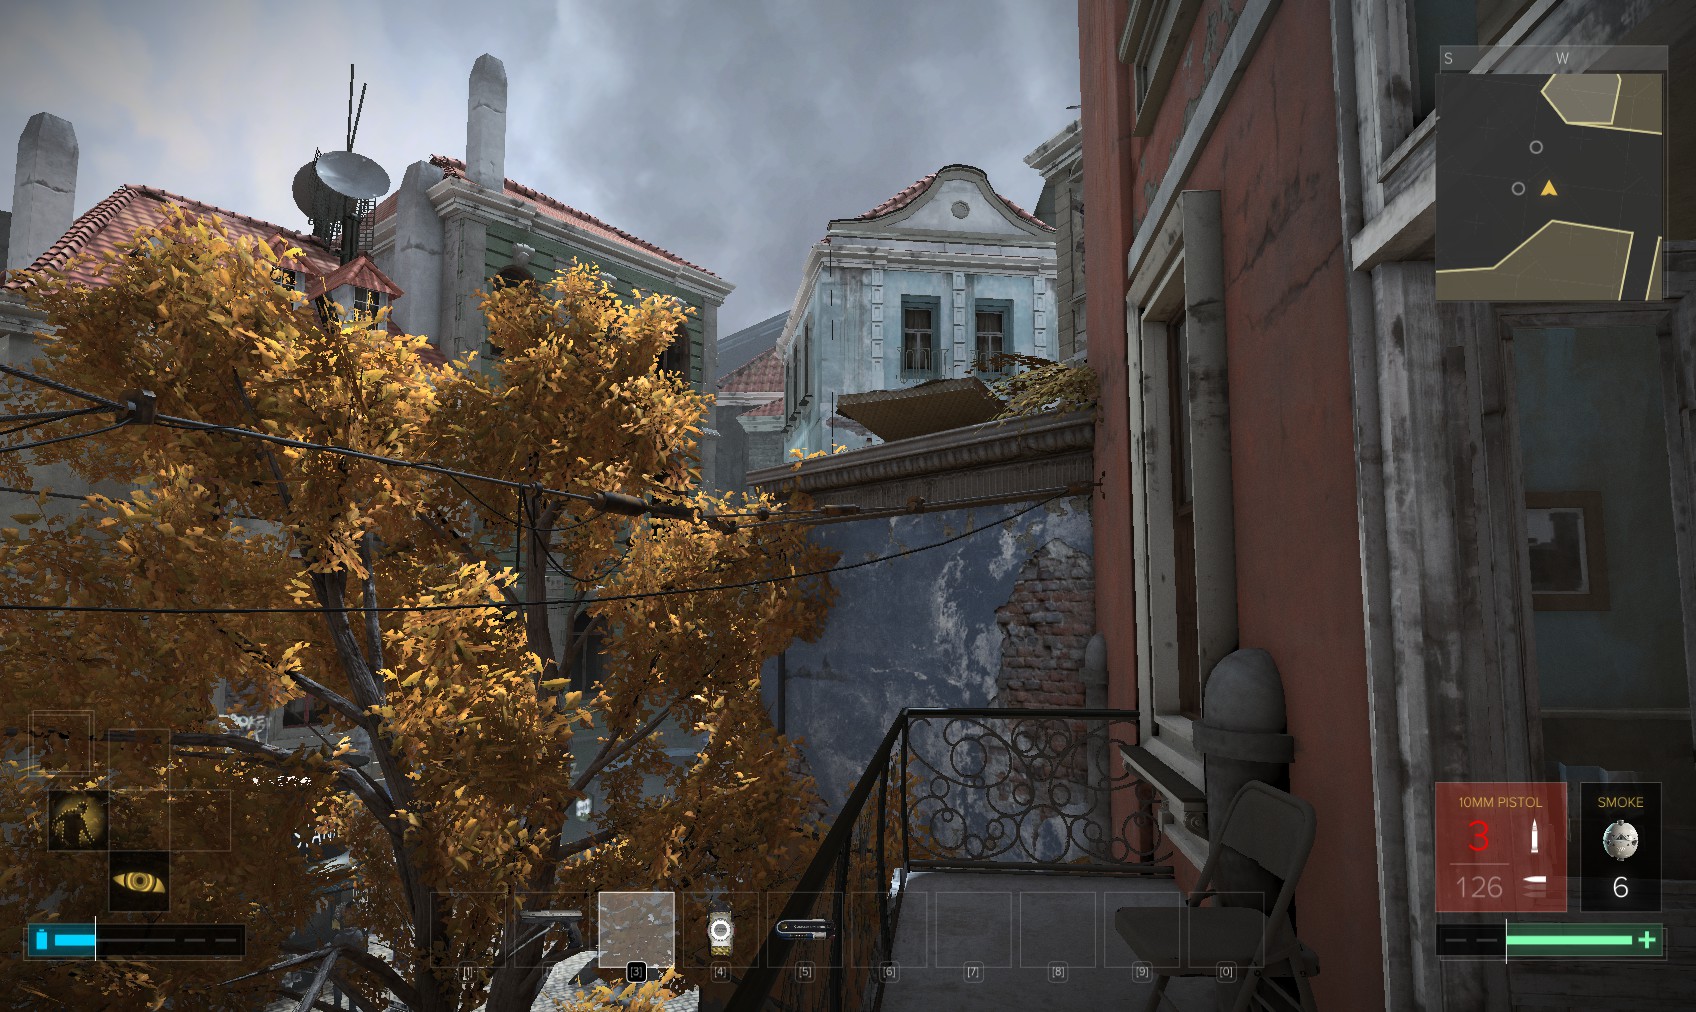
4. From her balcony you can jump up here.
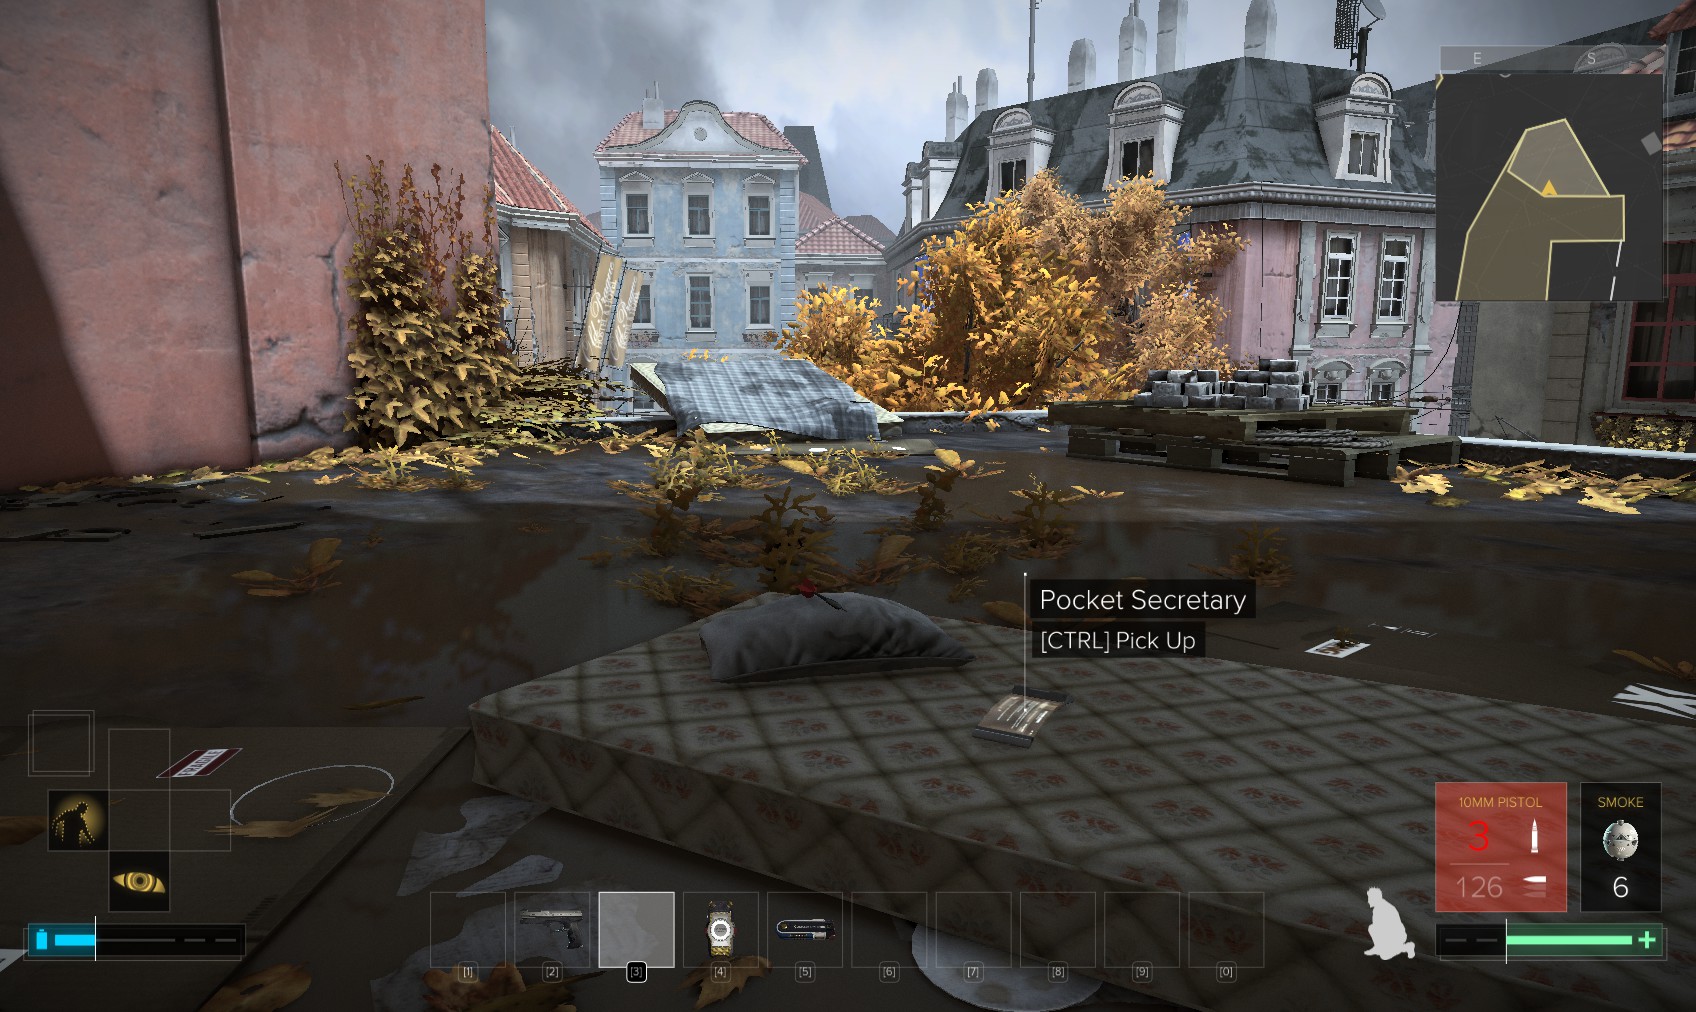
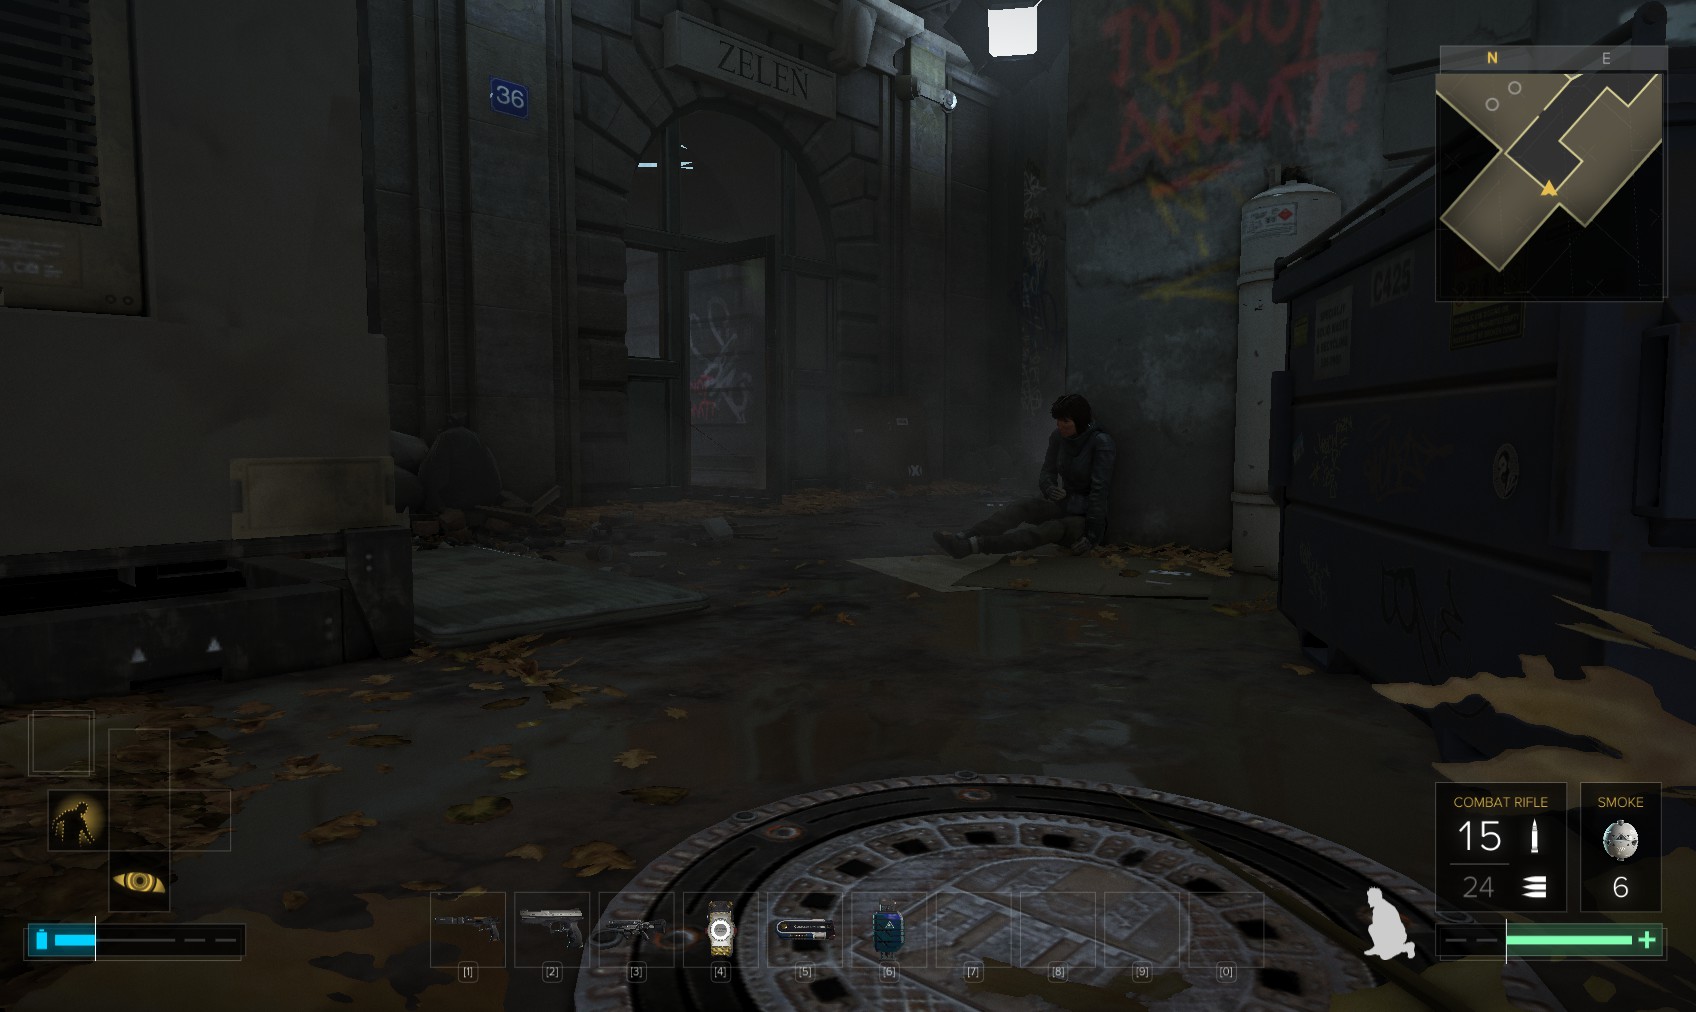
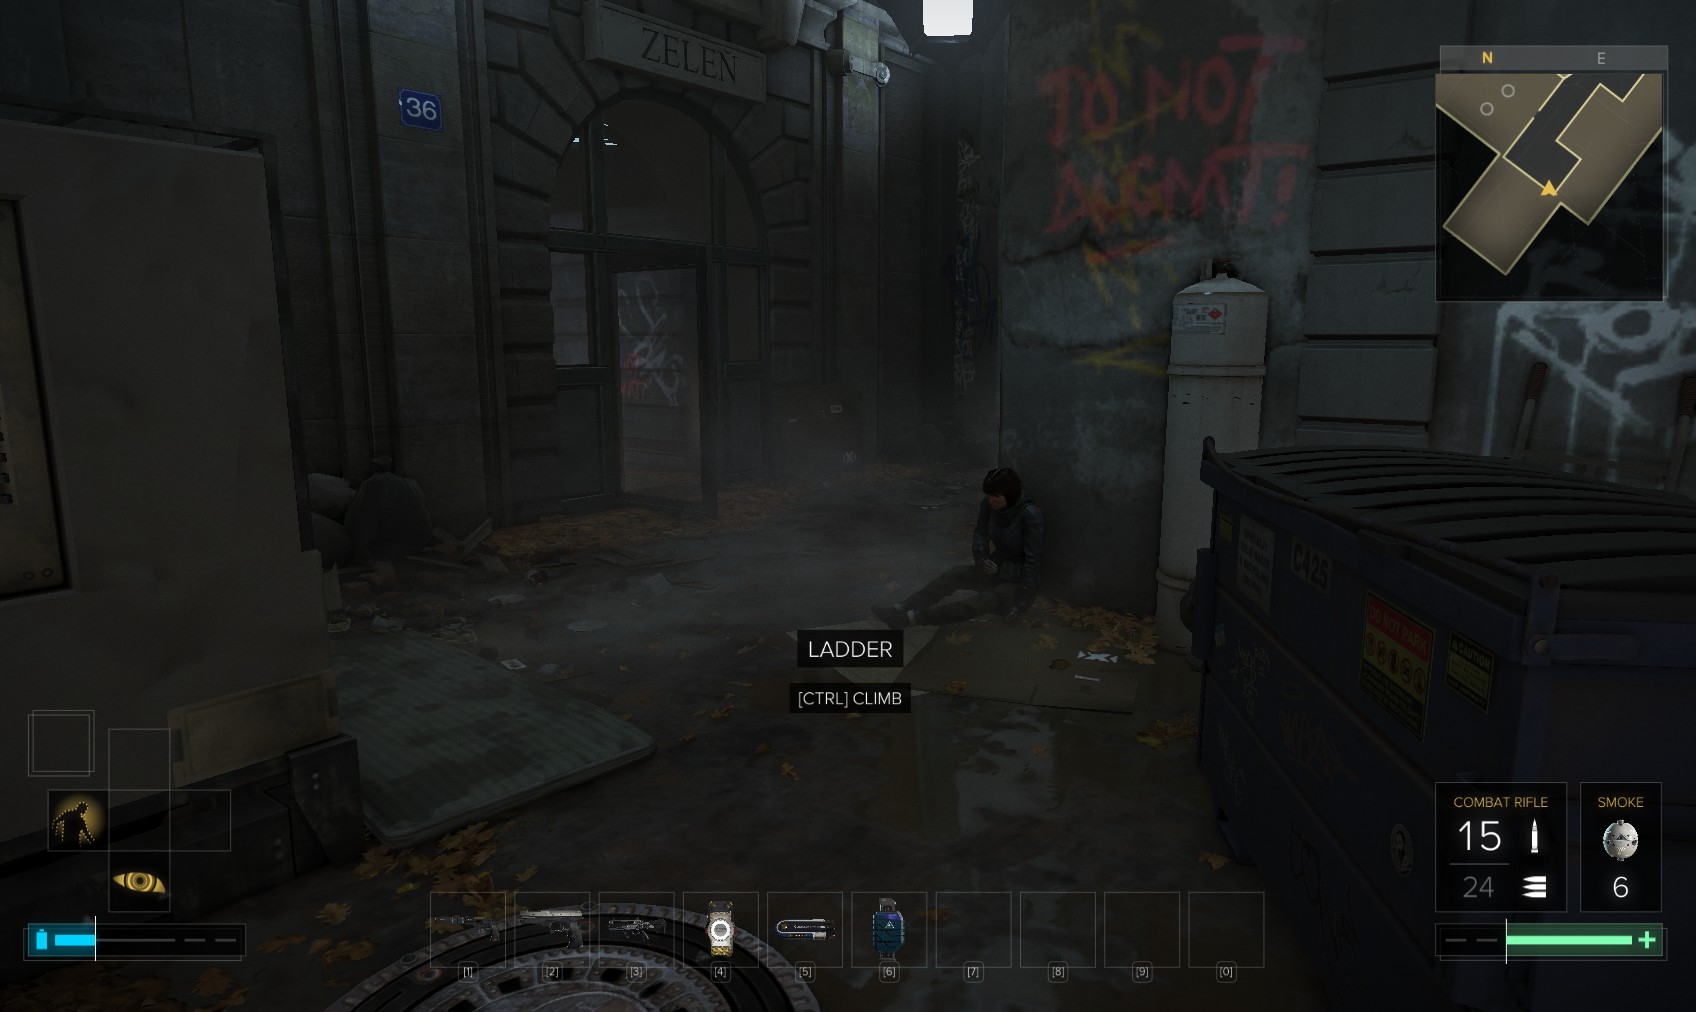
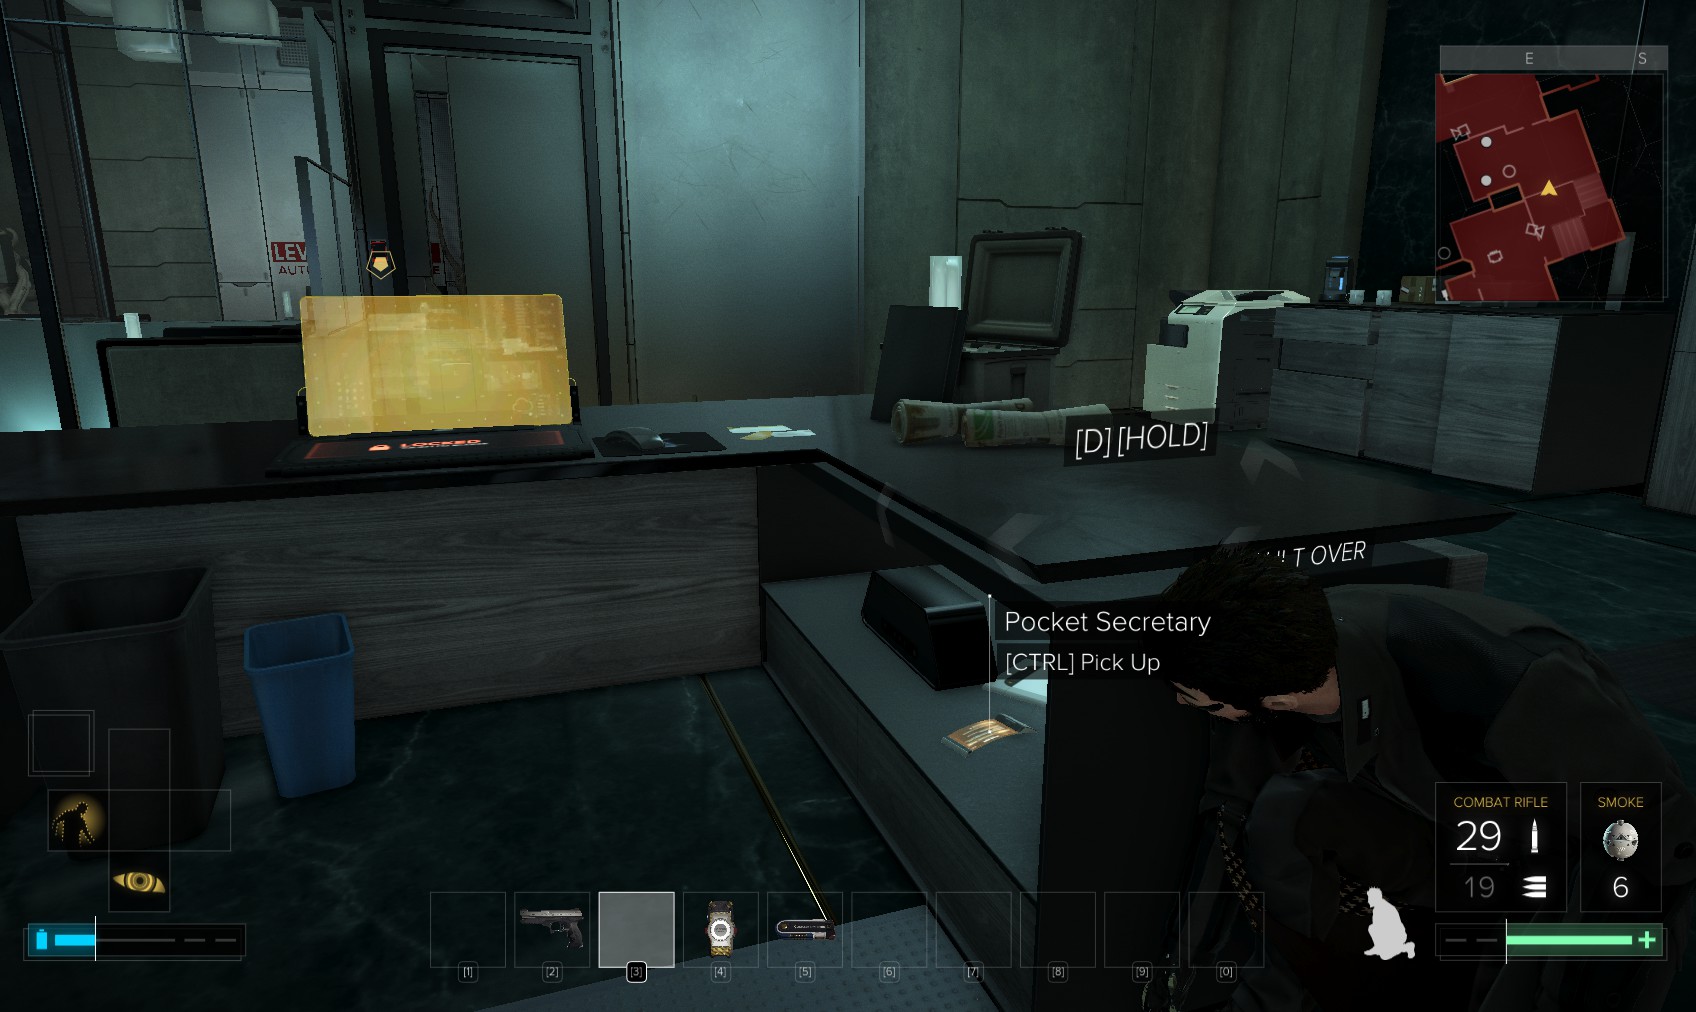
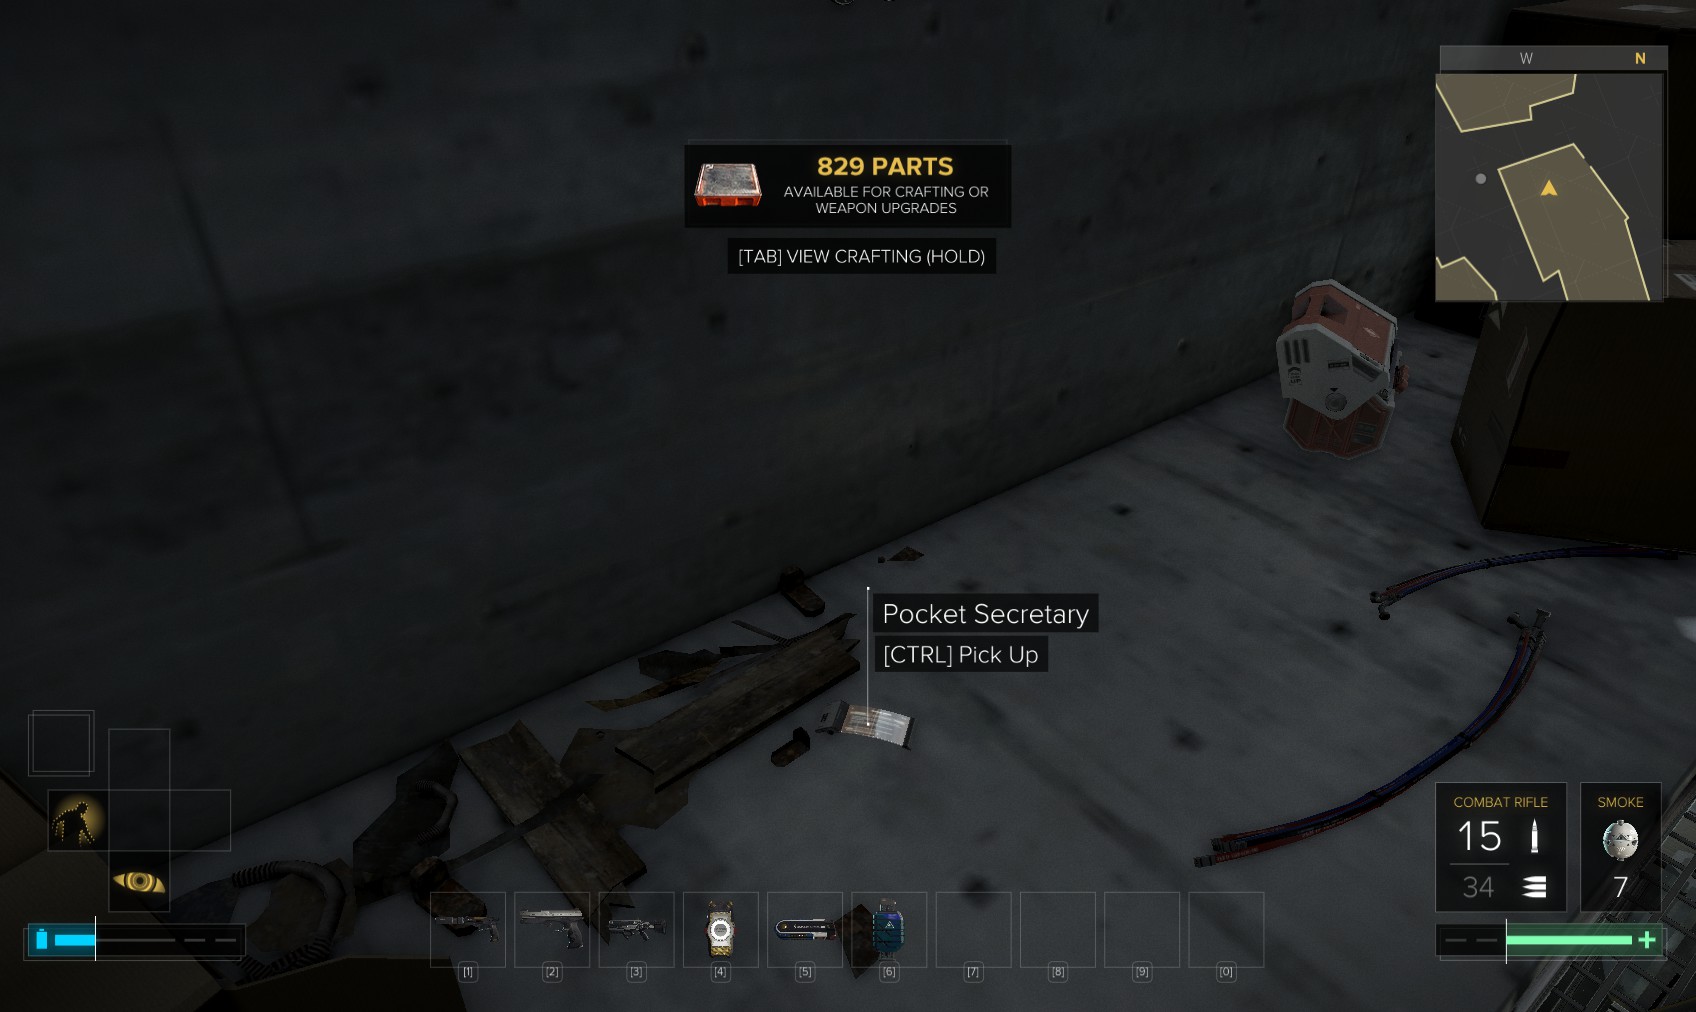
5. Read a pocket secretary from Garland Oakes to Eva Corne about a community centre near Zelen apartments. That must mean here.
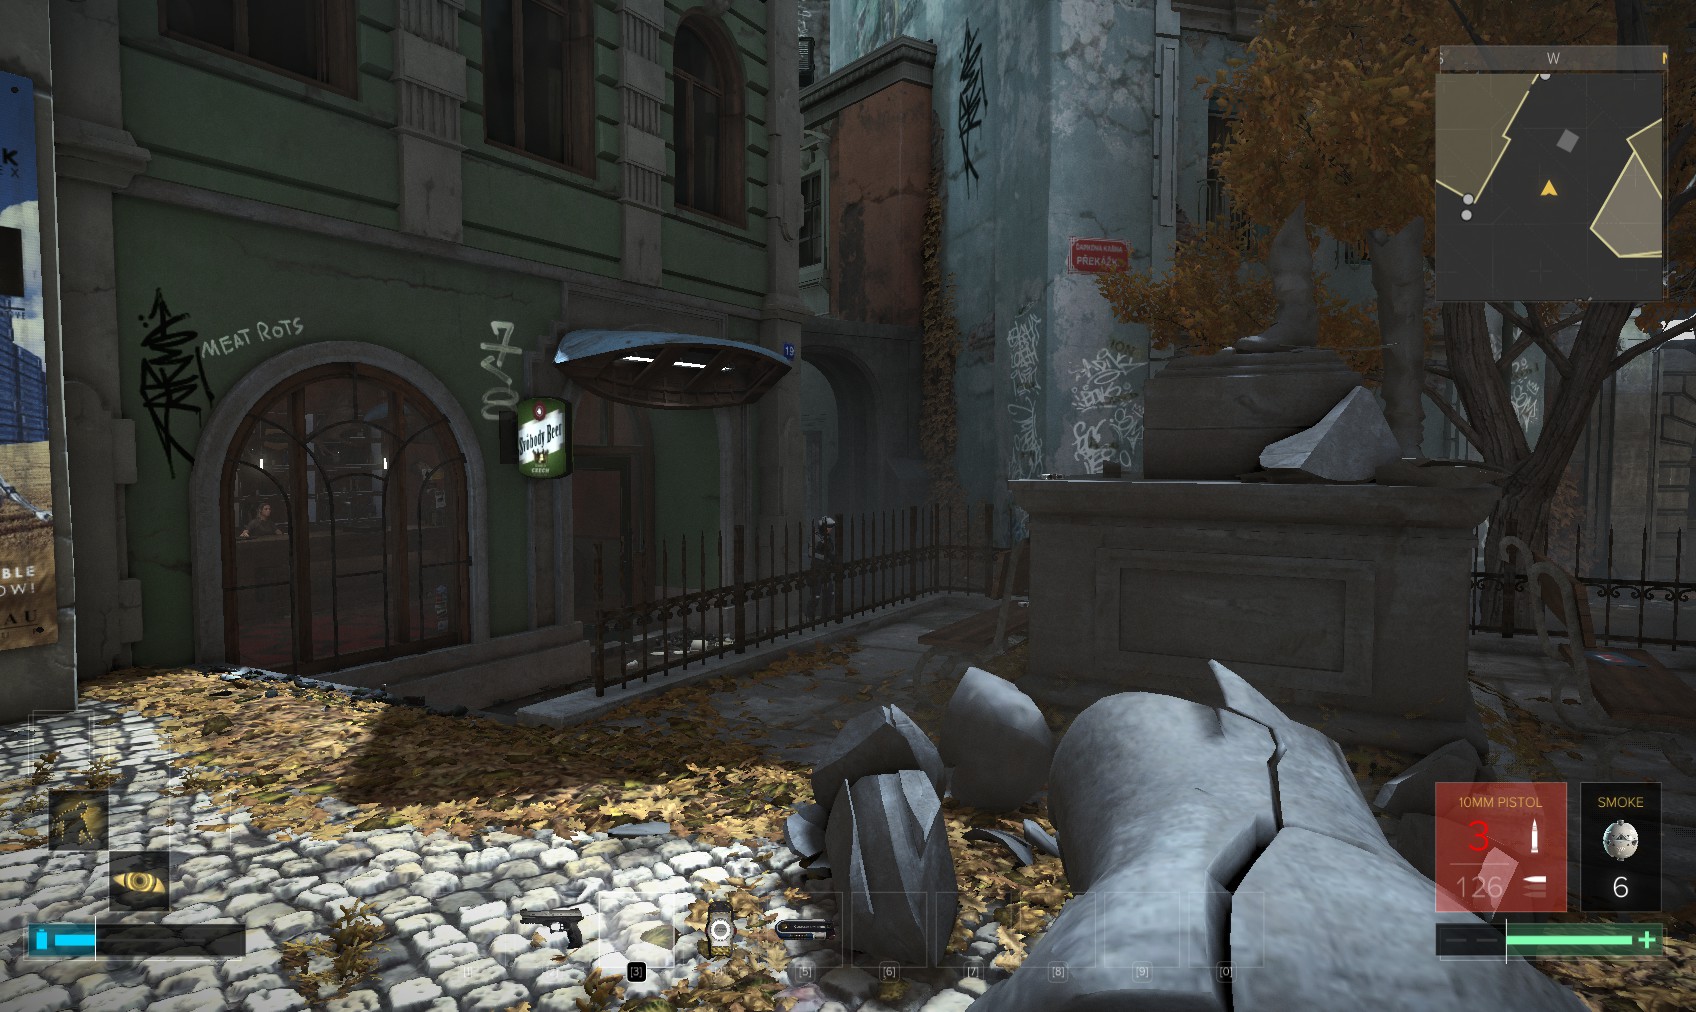
6. There are one or two jobs to do, but on your way out, visit Svobody beer, here.
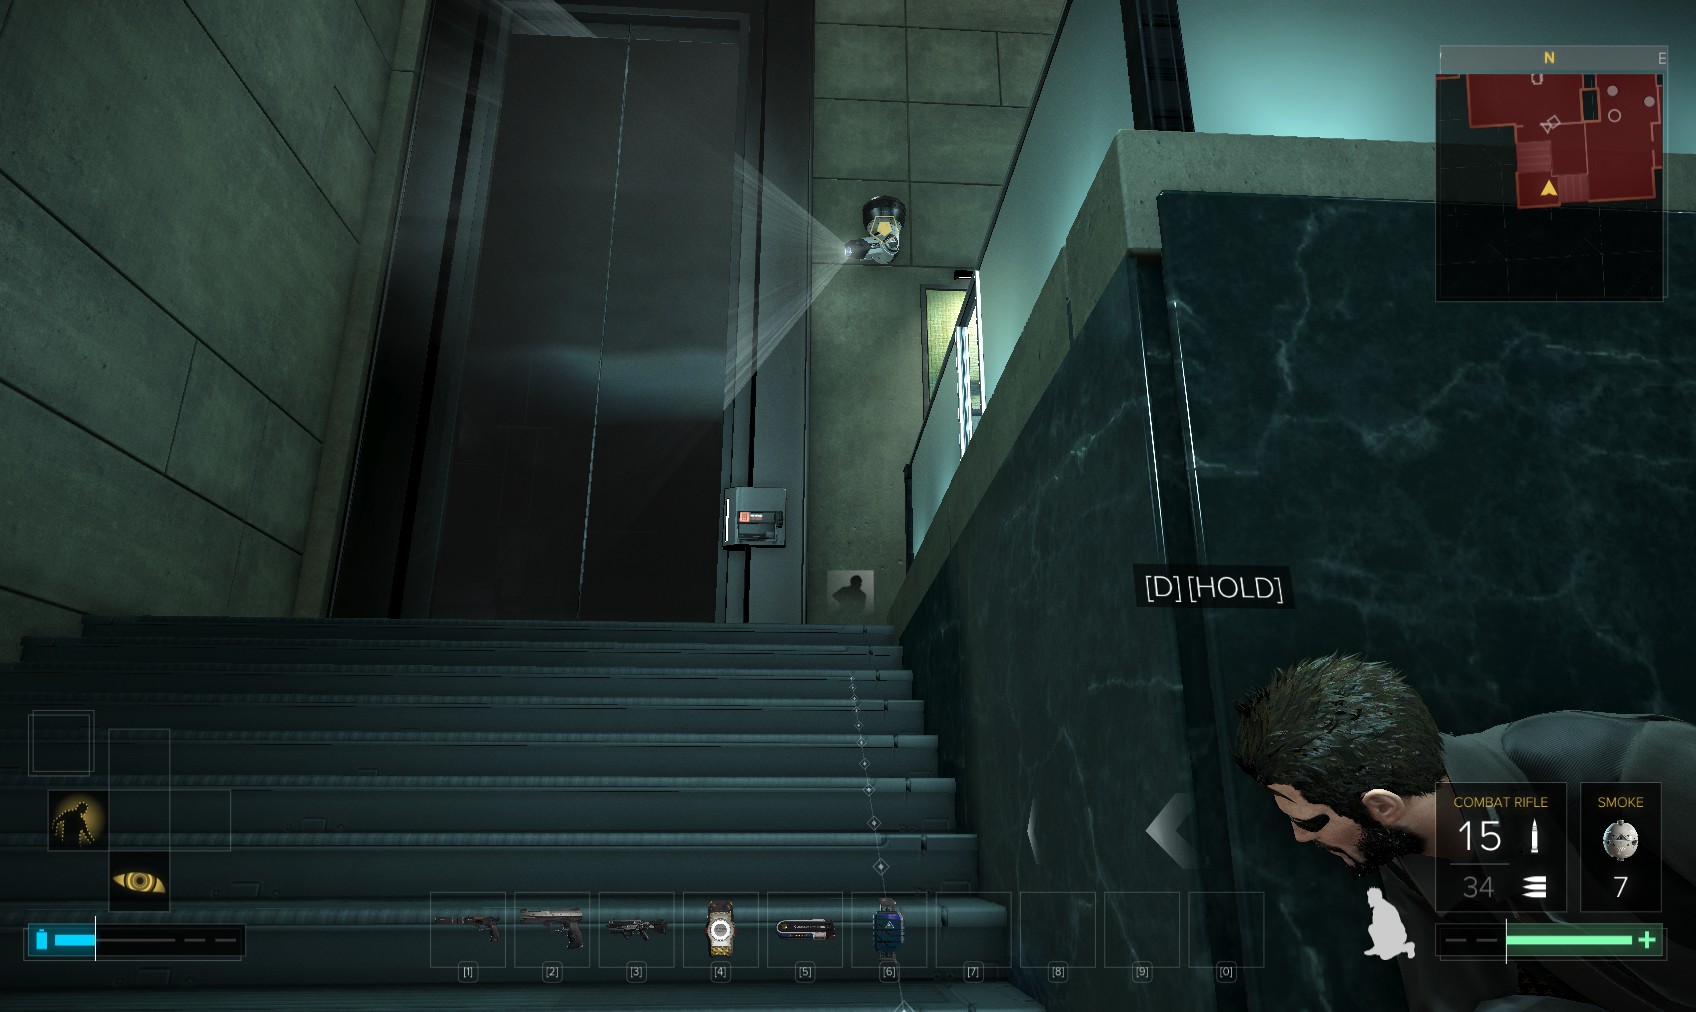
8. You can still hack the level 4 door for its XP but I got a huge XP bonus for using the code, and head downstairs. This door is also level 4, but the same code - 1015 - works here too. This time hacking has a better return at 150XP.
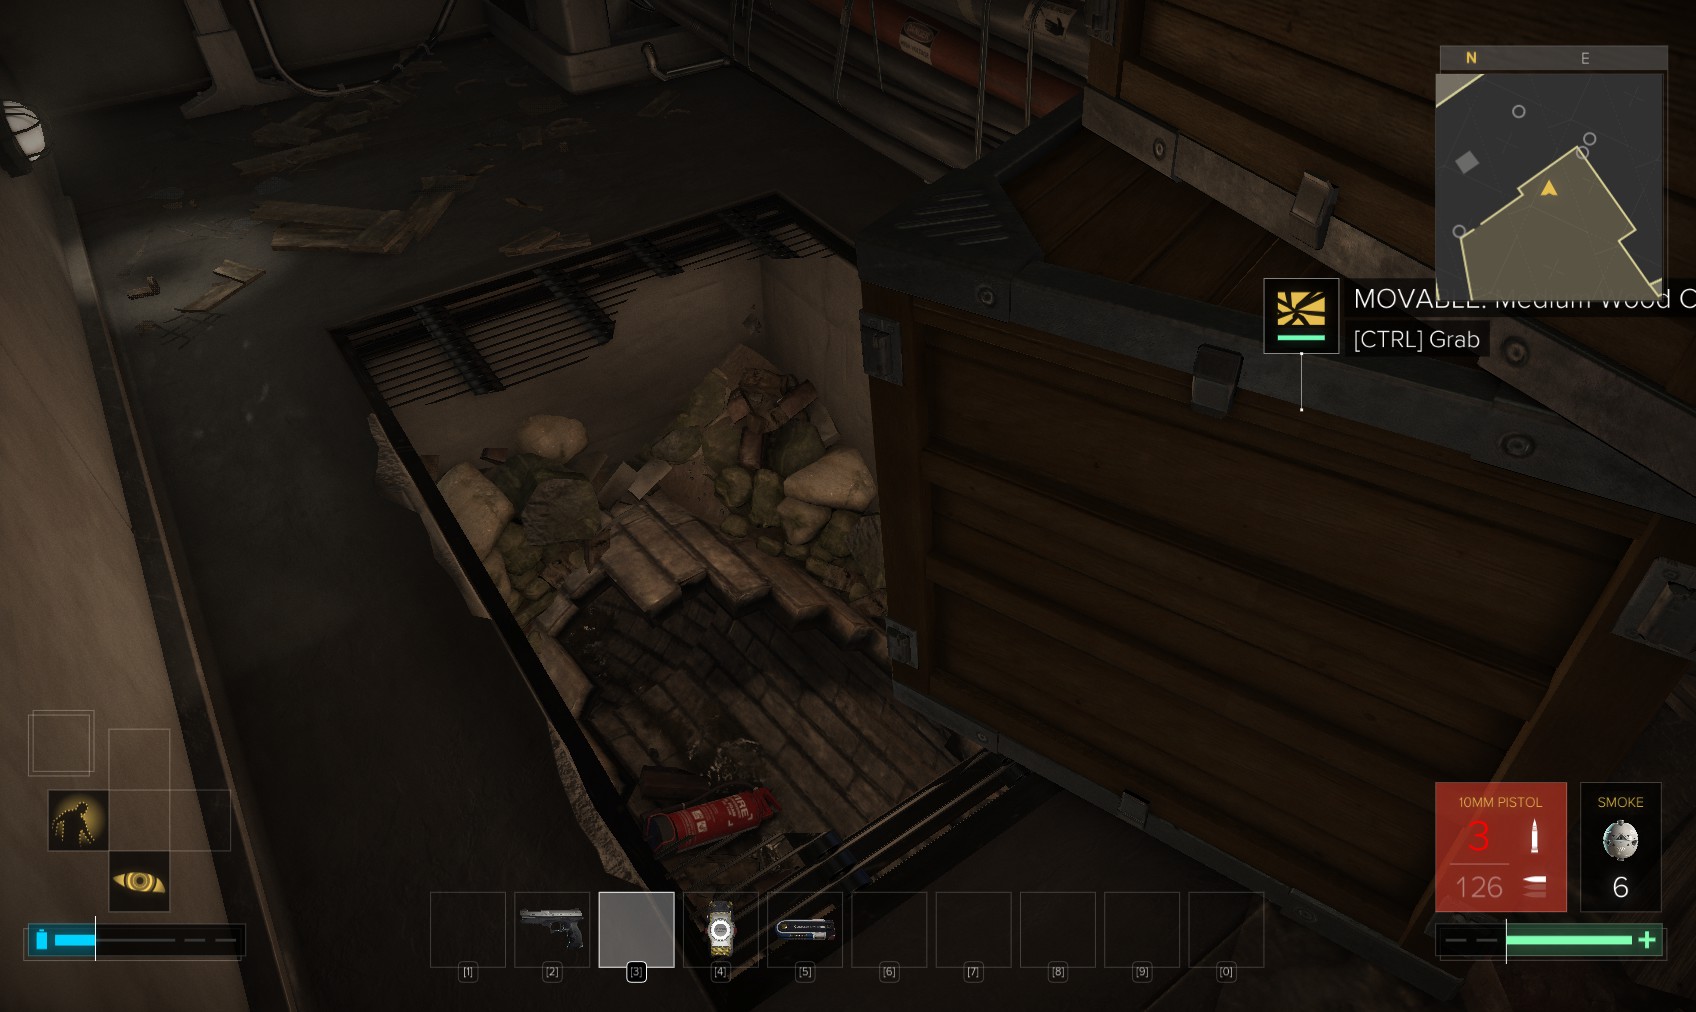
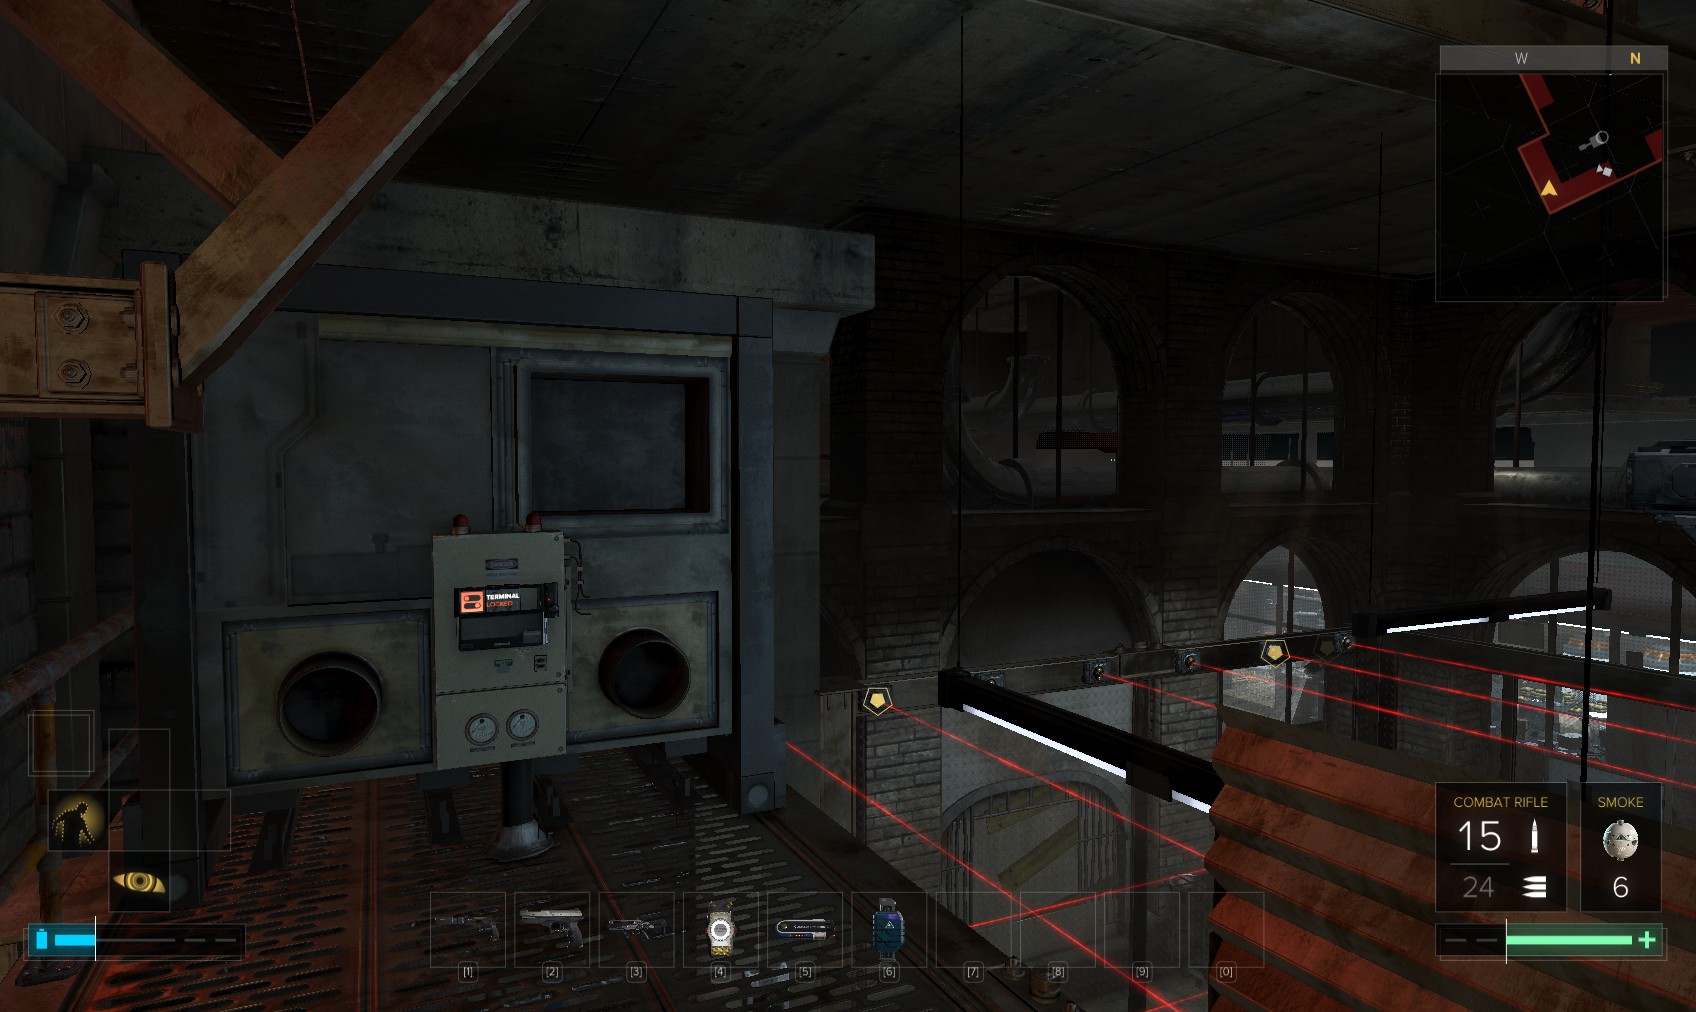
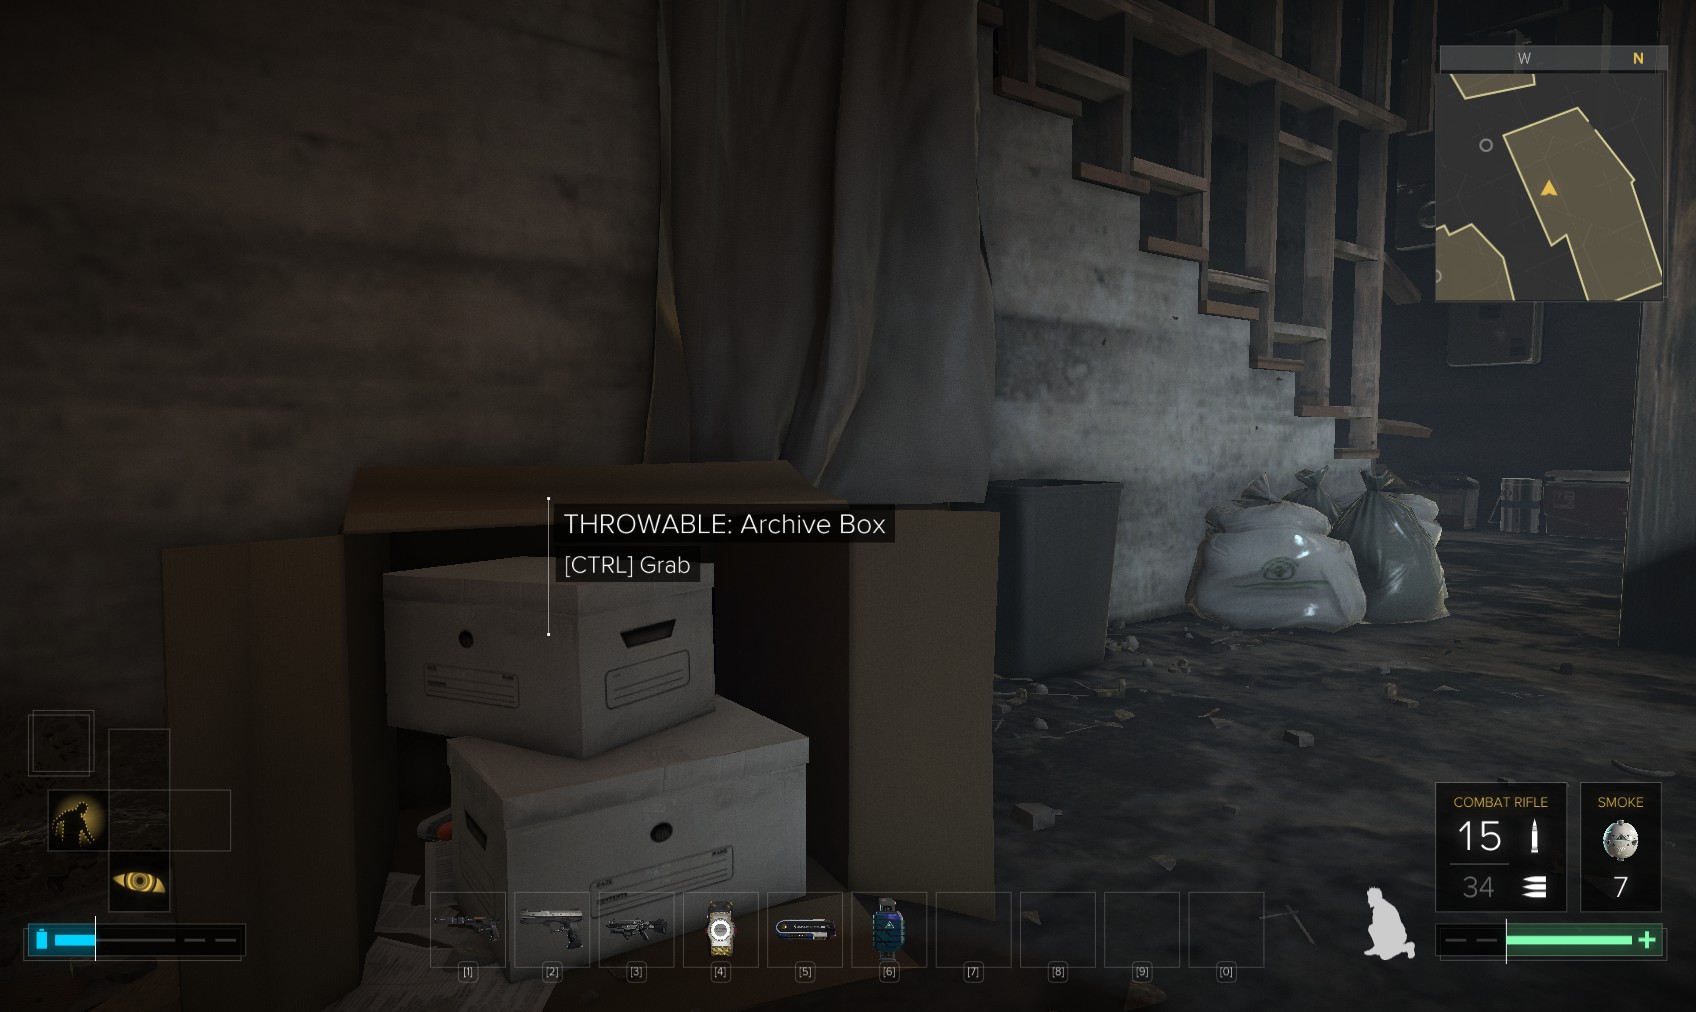
9. Inside is an eBook and a pocket secretary revealing the code 5622 for the basement at DaiTaga and this strange door. Those boxes hide a button. You’ll need to be able to lift heavy items to actually go through.
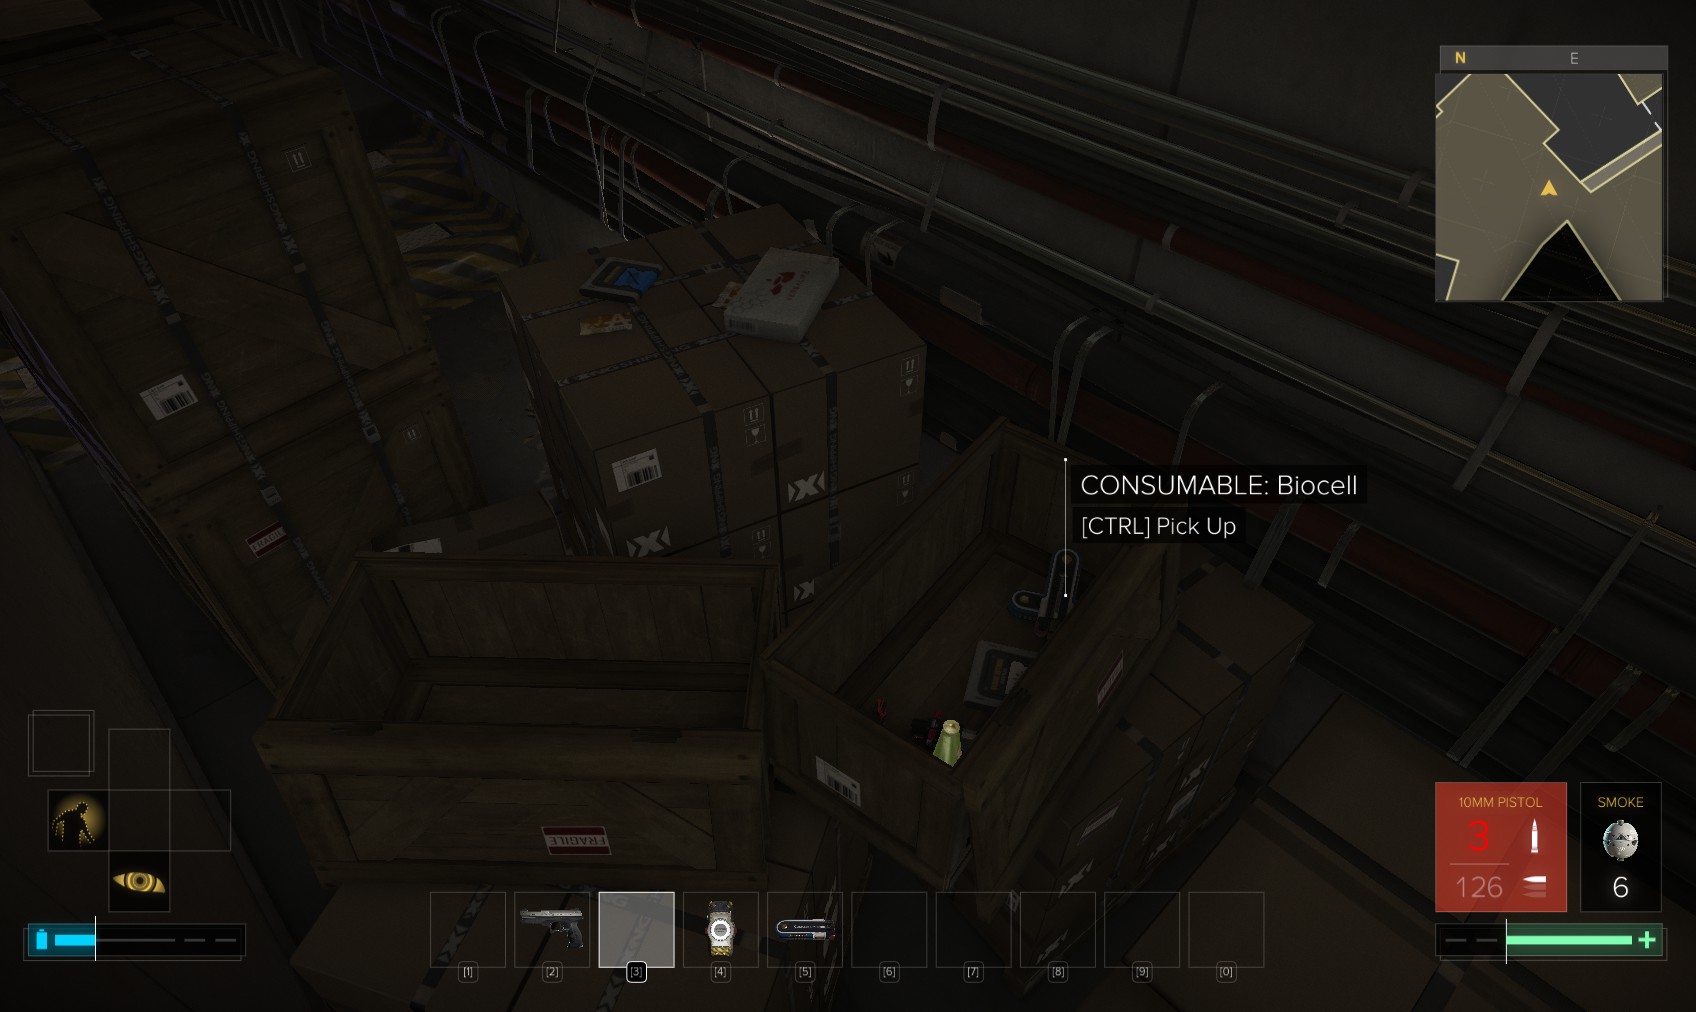
10. To the right is a stash of stuff, including biocells and hacking tools.
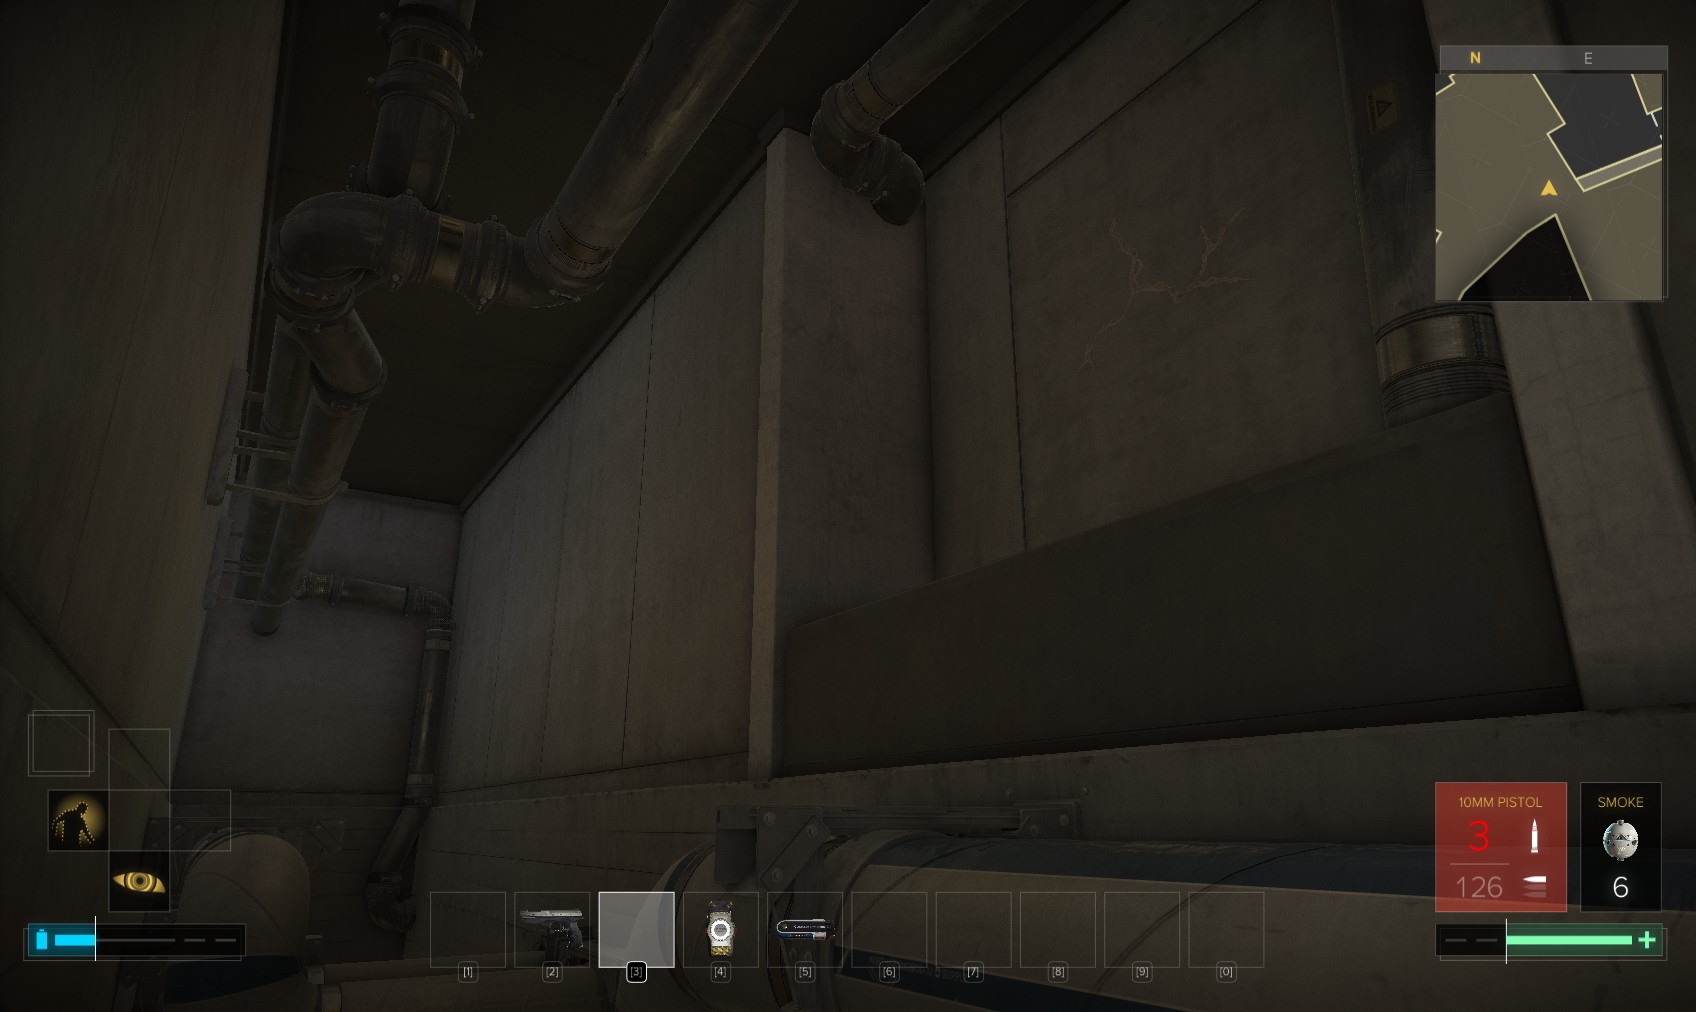
11. Above the pipes is this weakened wall. It leads outside.
12. Back past the door is a gaping hole. Follow the pipe down to a level 2 door which can be hacked for a stop worm.
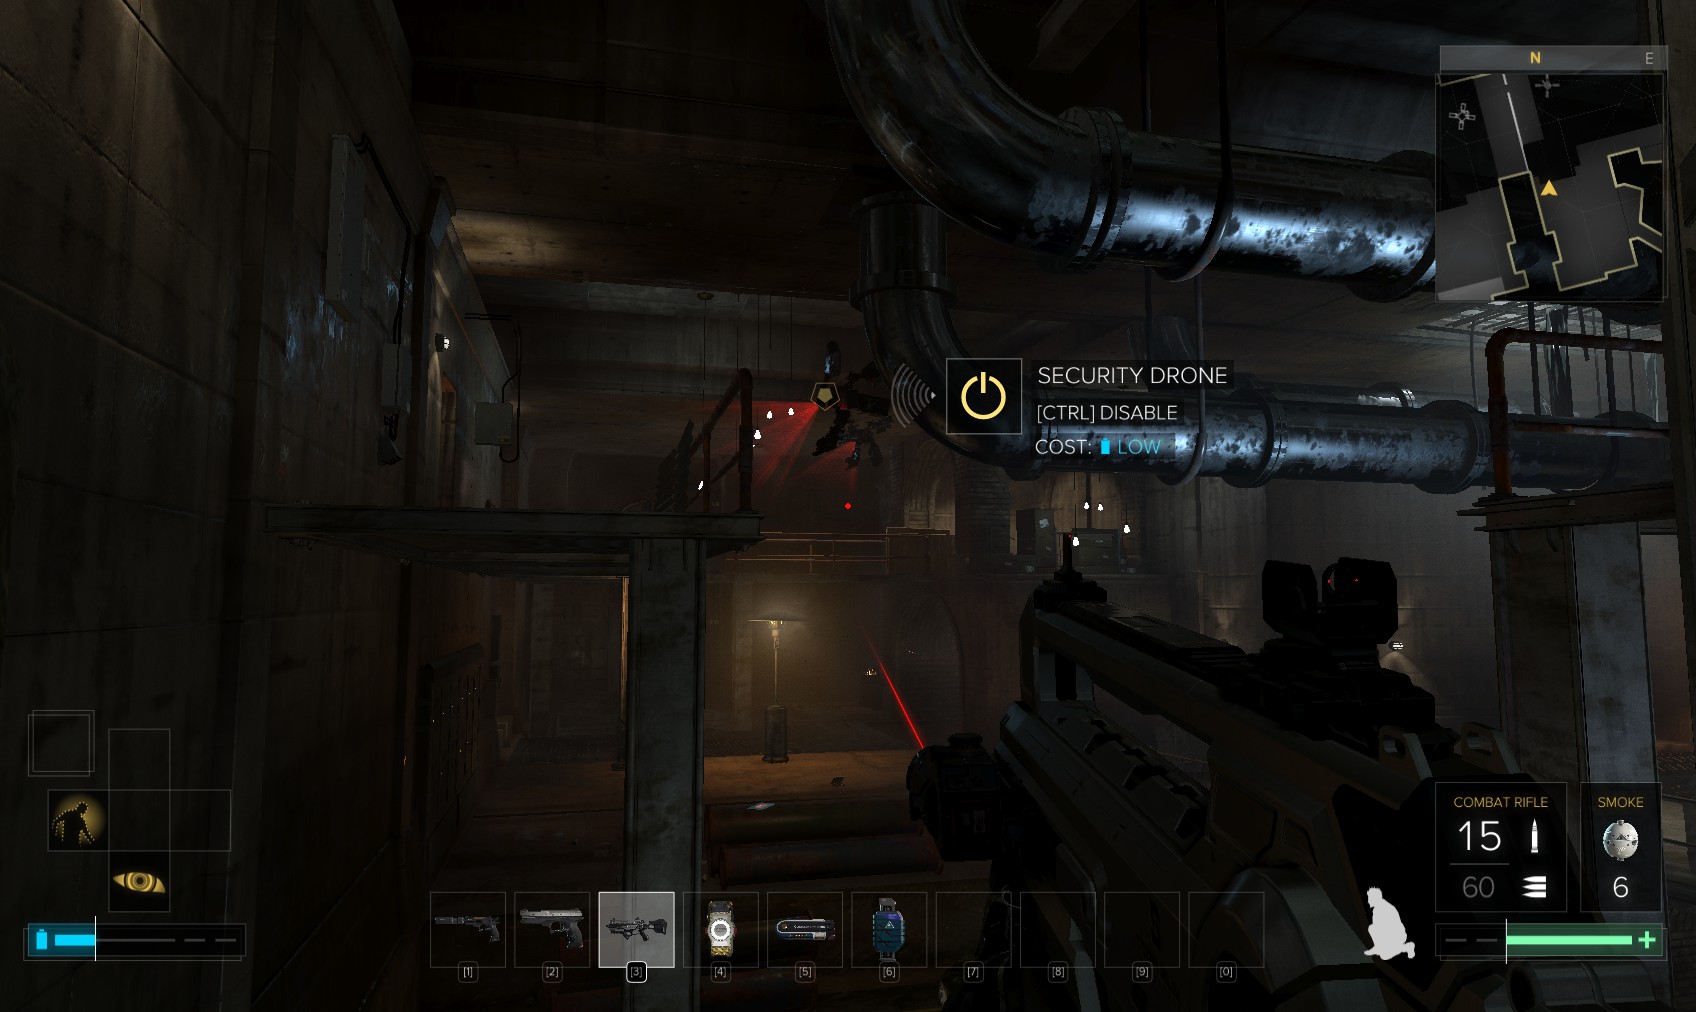
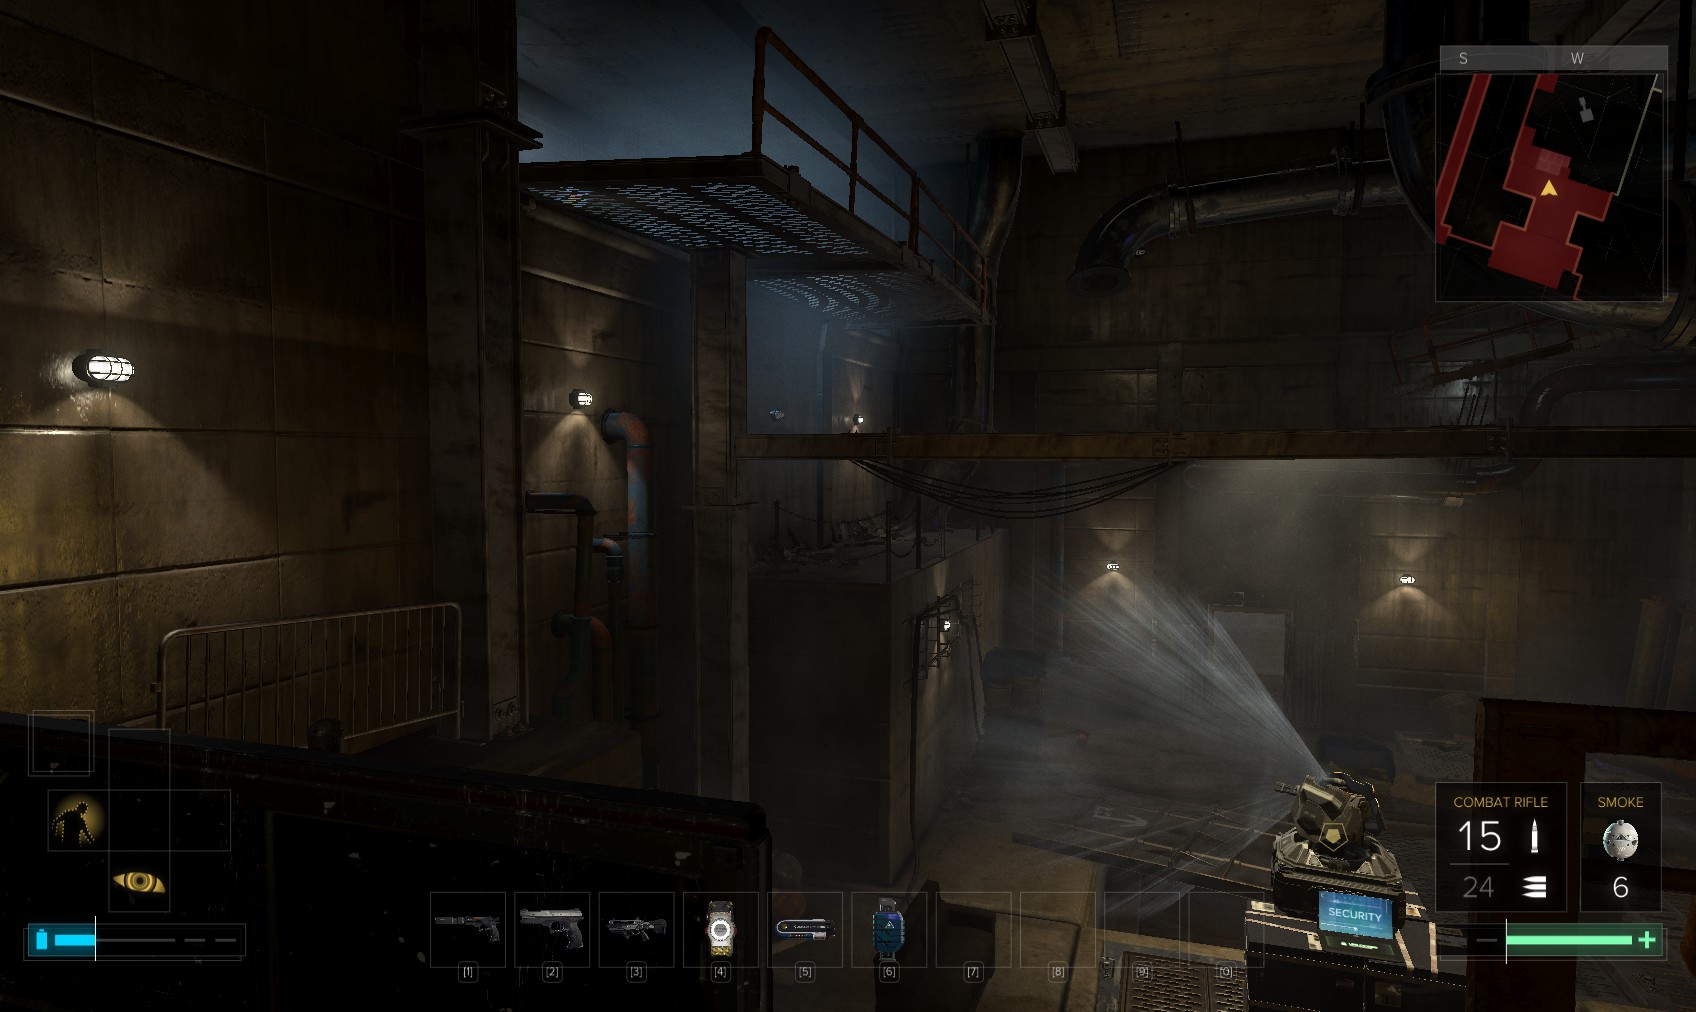
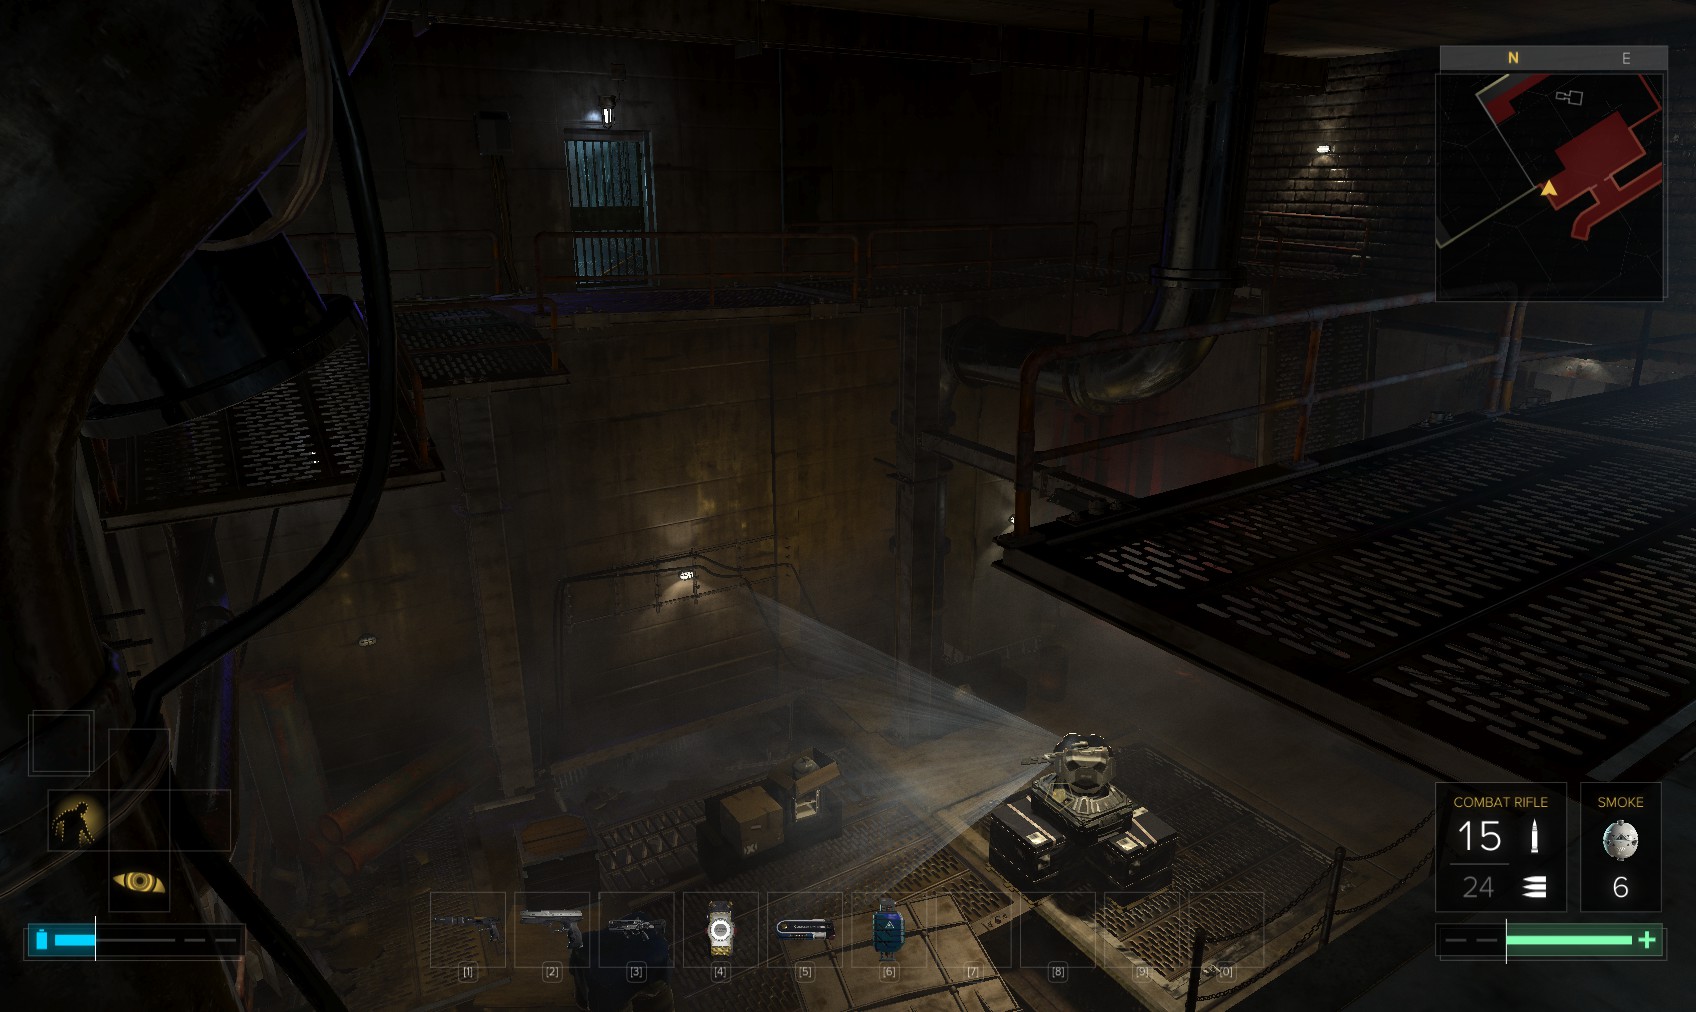
13. There are security drones here attacking people. I swiftly upgrade my remote hacking which will allow me to disable them (EMP rounds also work, but don’t last as long).
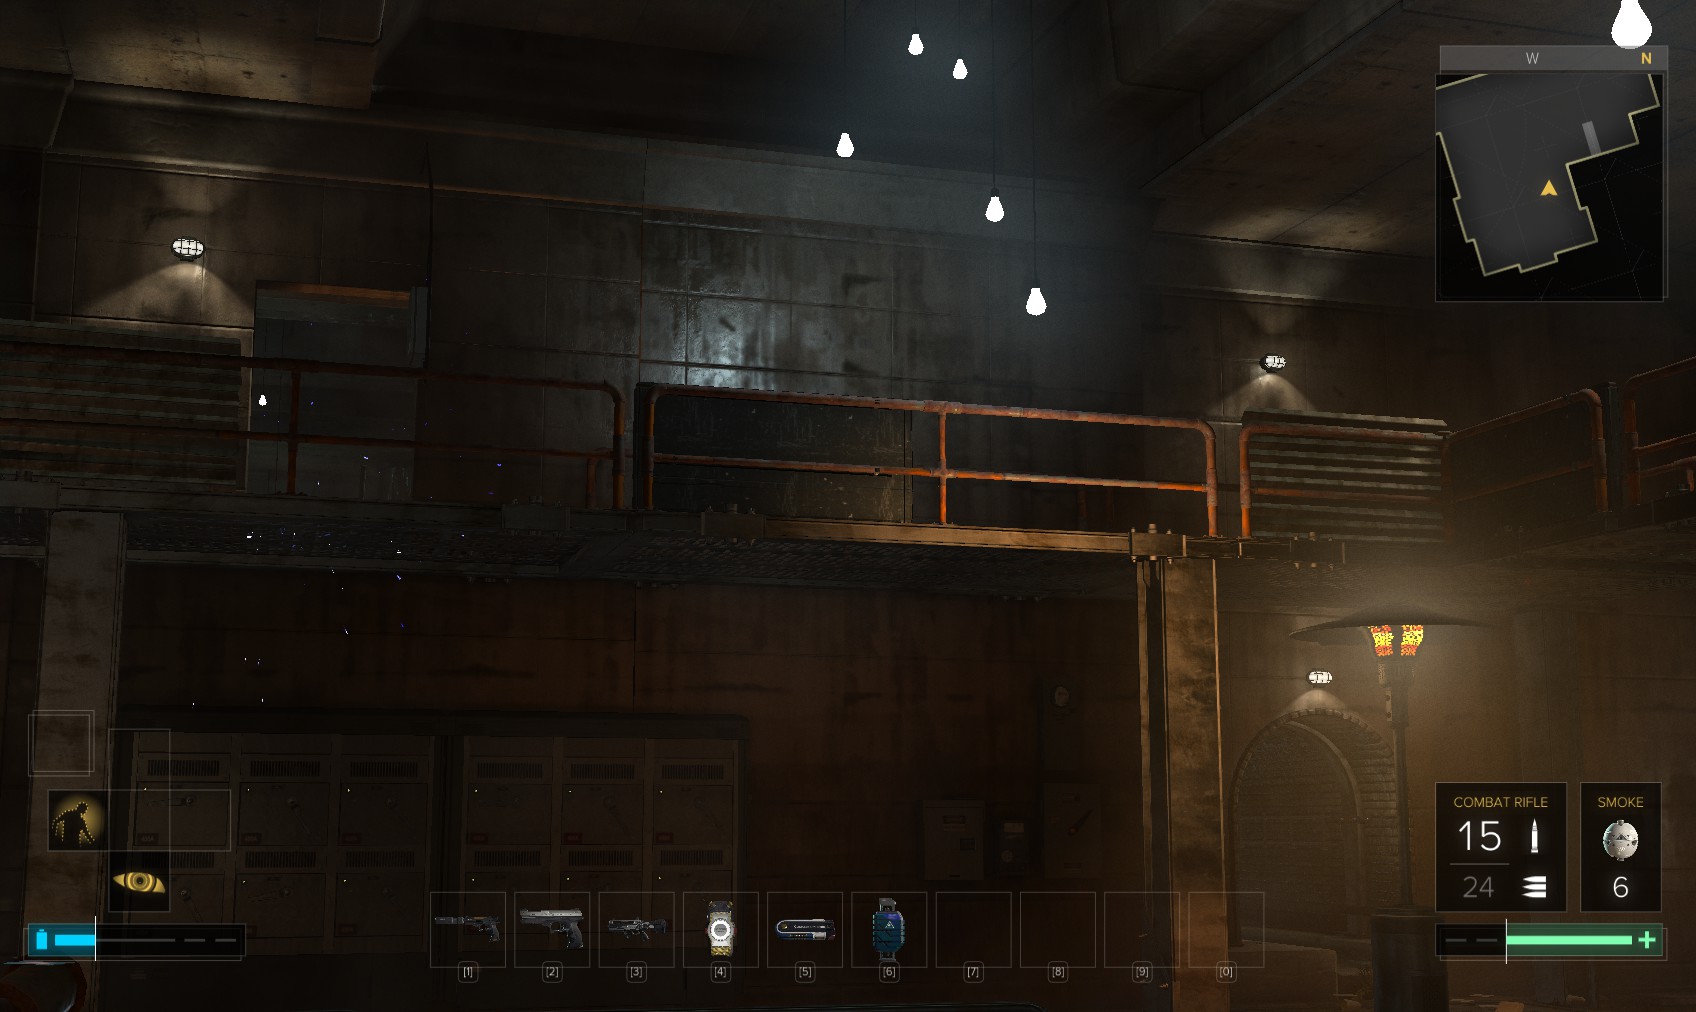
14. 2 drones are in the room you entered, a third in the other room by this electrical hazard. You’ll have to be quick or people will die! Disable the drones and then destroy them with normal rounds - I’ve got a combat rifle that works well for that. NB: they explode violently when they’re shot down.
16. You just have time to nip round and switch off the electrics here before taking too much damage.

18. The access to the other side is here on the South side of Zelen apartments. Whichever you do, it’s time to deal with Richard the Great. Head North.
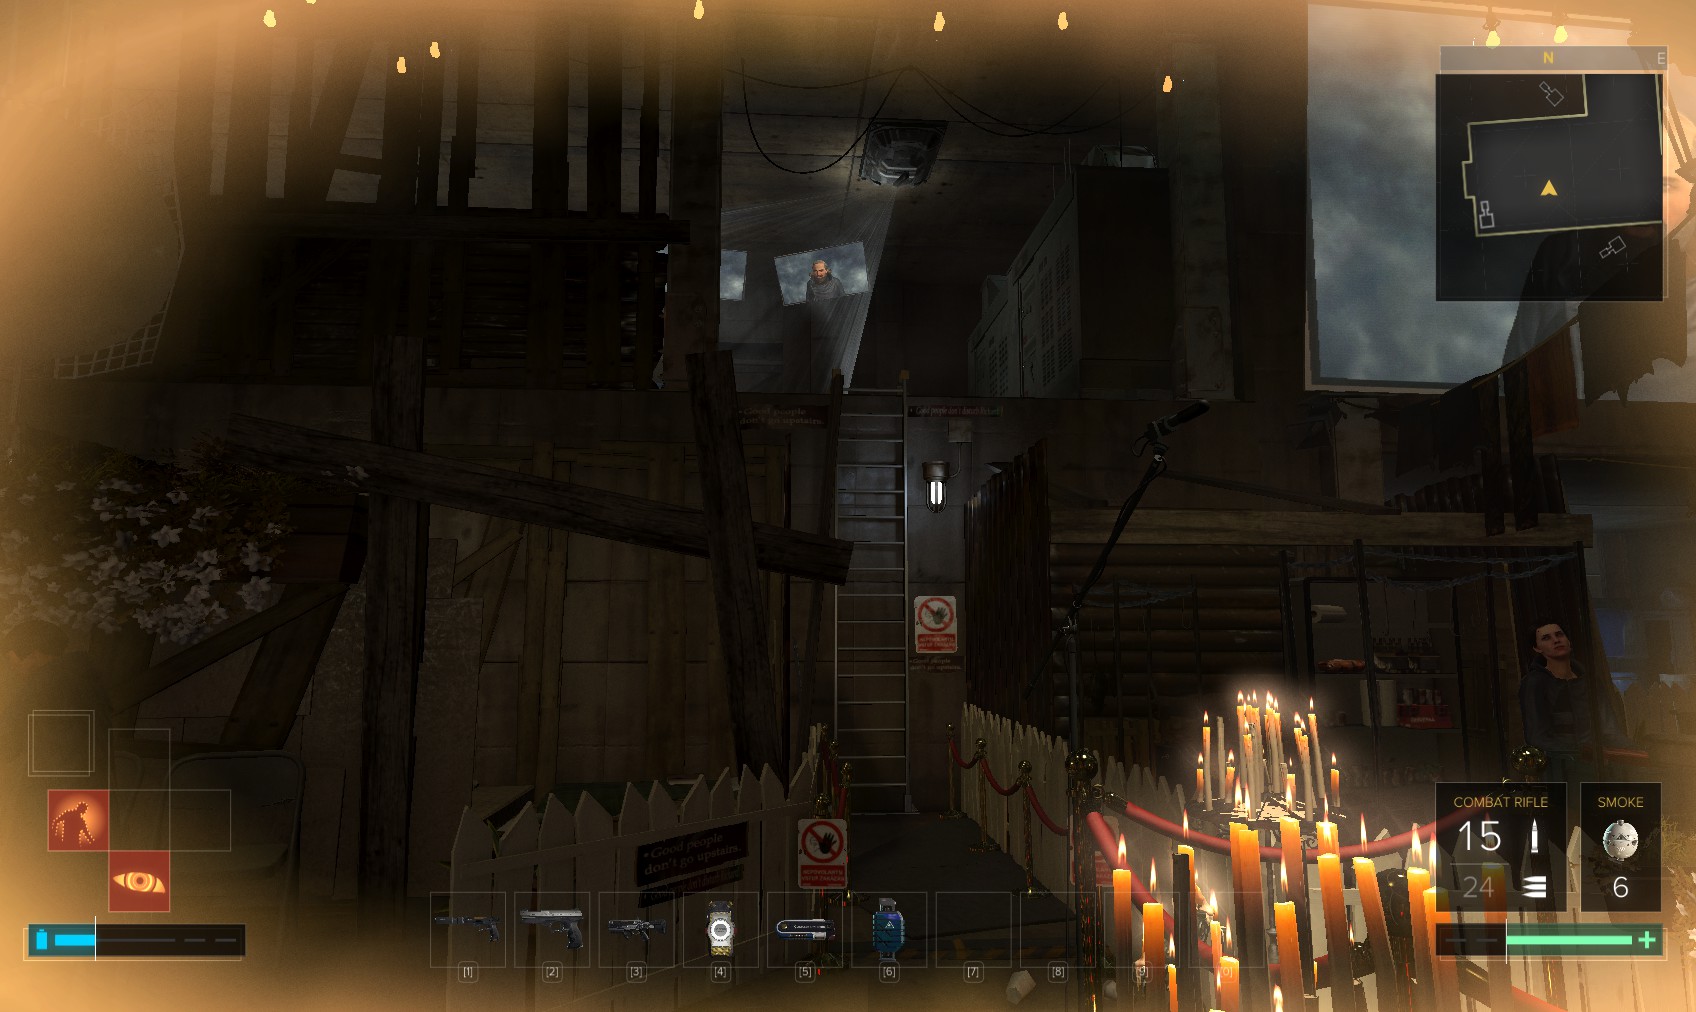
19. He is still messing with your head, but now you have a plan - the scramblers given you by Liborio. Head up this ladder, stay out of sight of the turret.
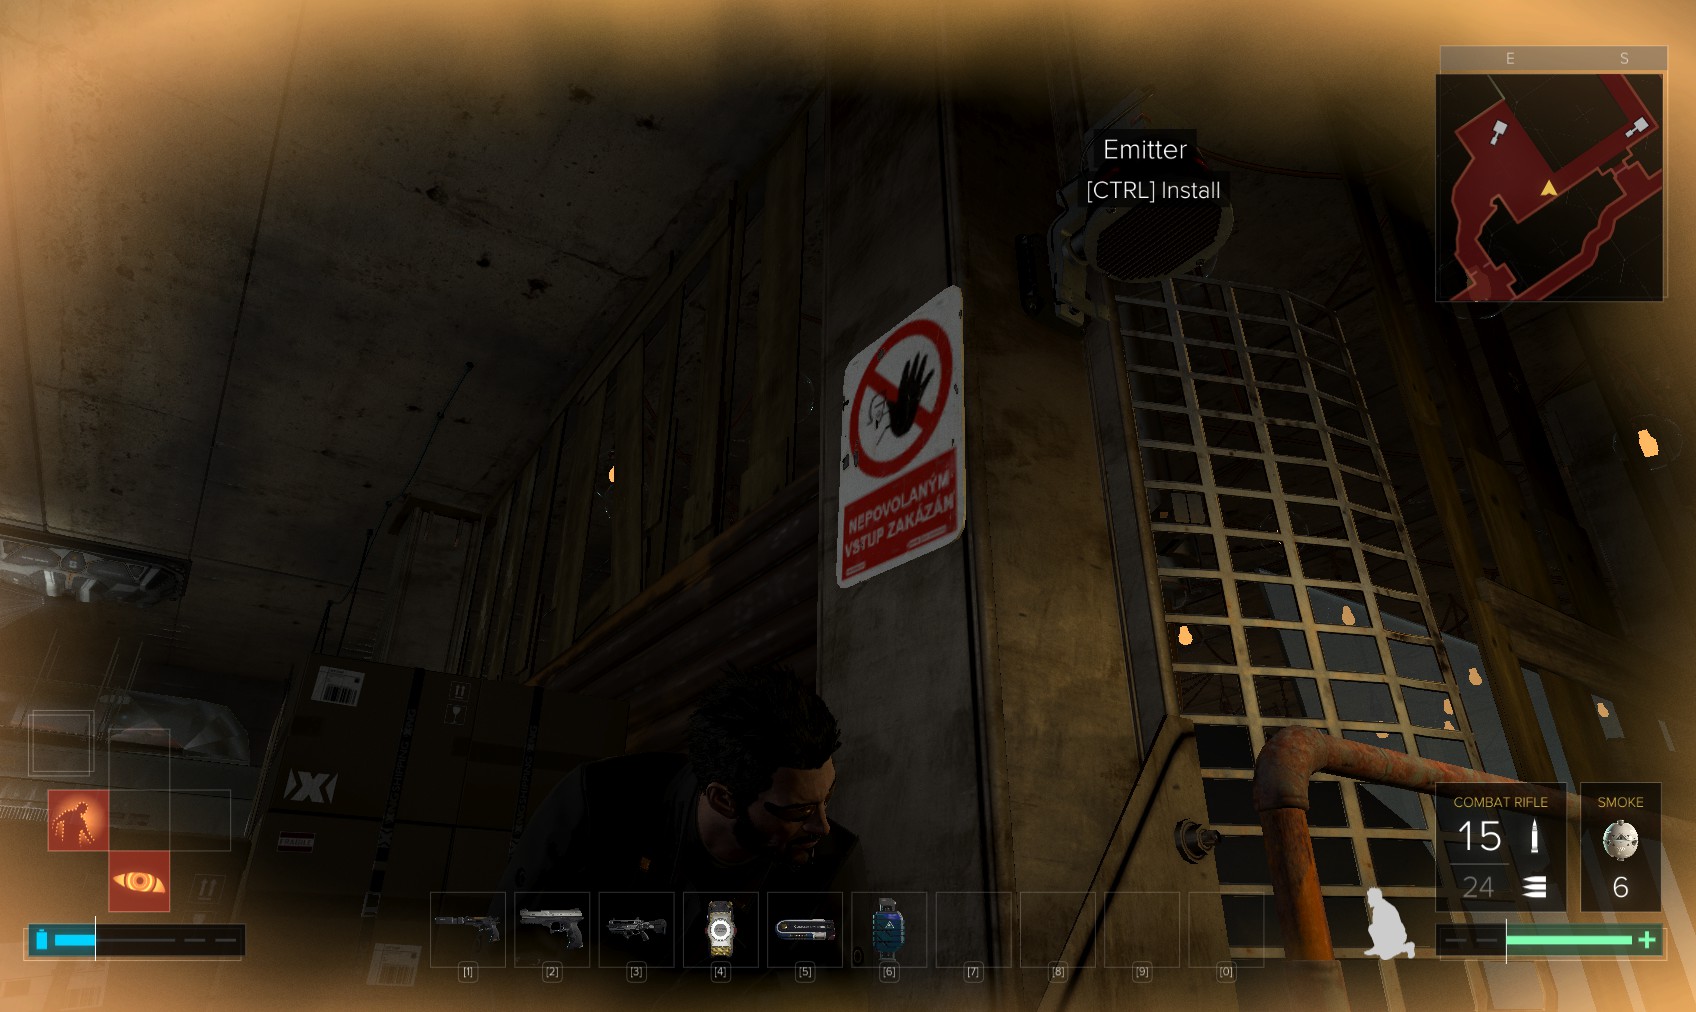
20. Without Smart vision, the emitters are hard to spot. Here’s the first, with the turret on the left for reference. Installing it provokes a response over the tanoy. 1 down, 2 to go.
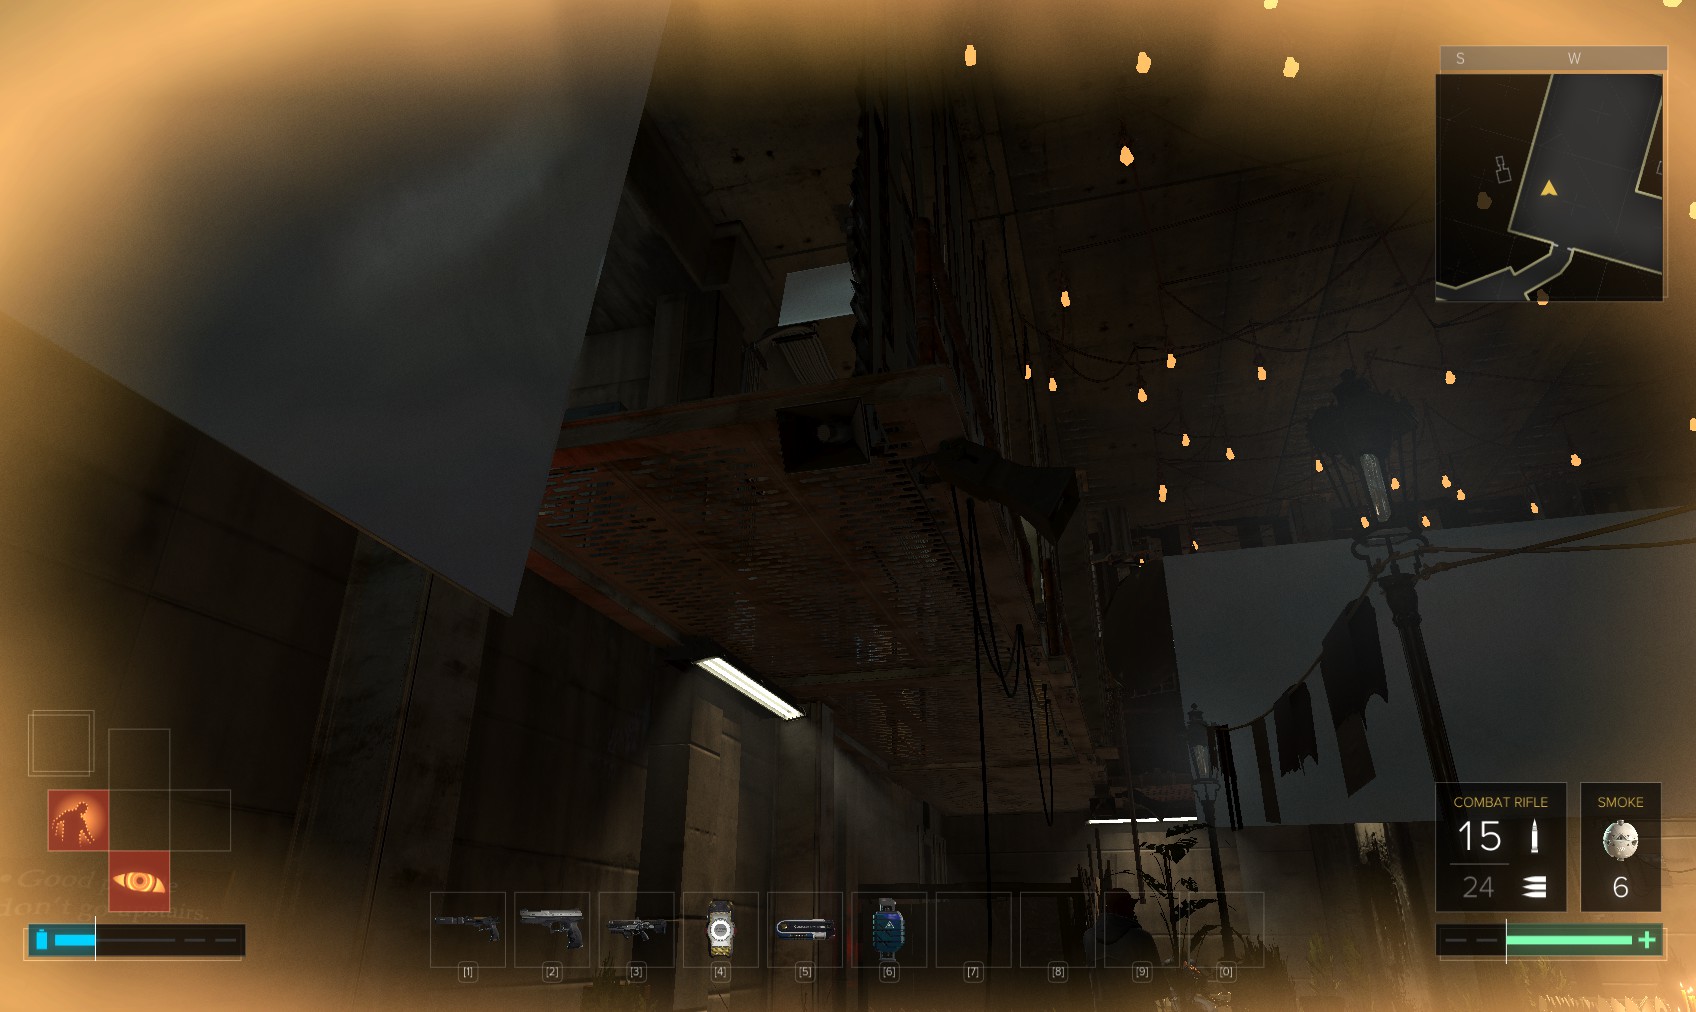
21. Another turret guards the gantry, and with your augs disabled, you can’t avoid or disable it. Go back down the ladder and across the ground floor to here.
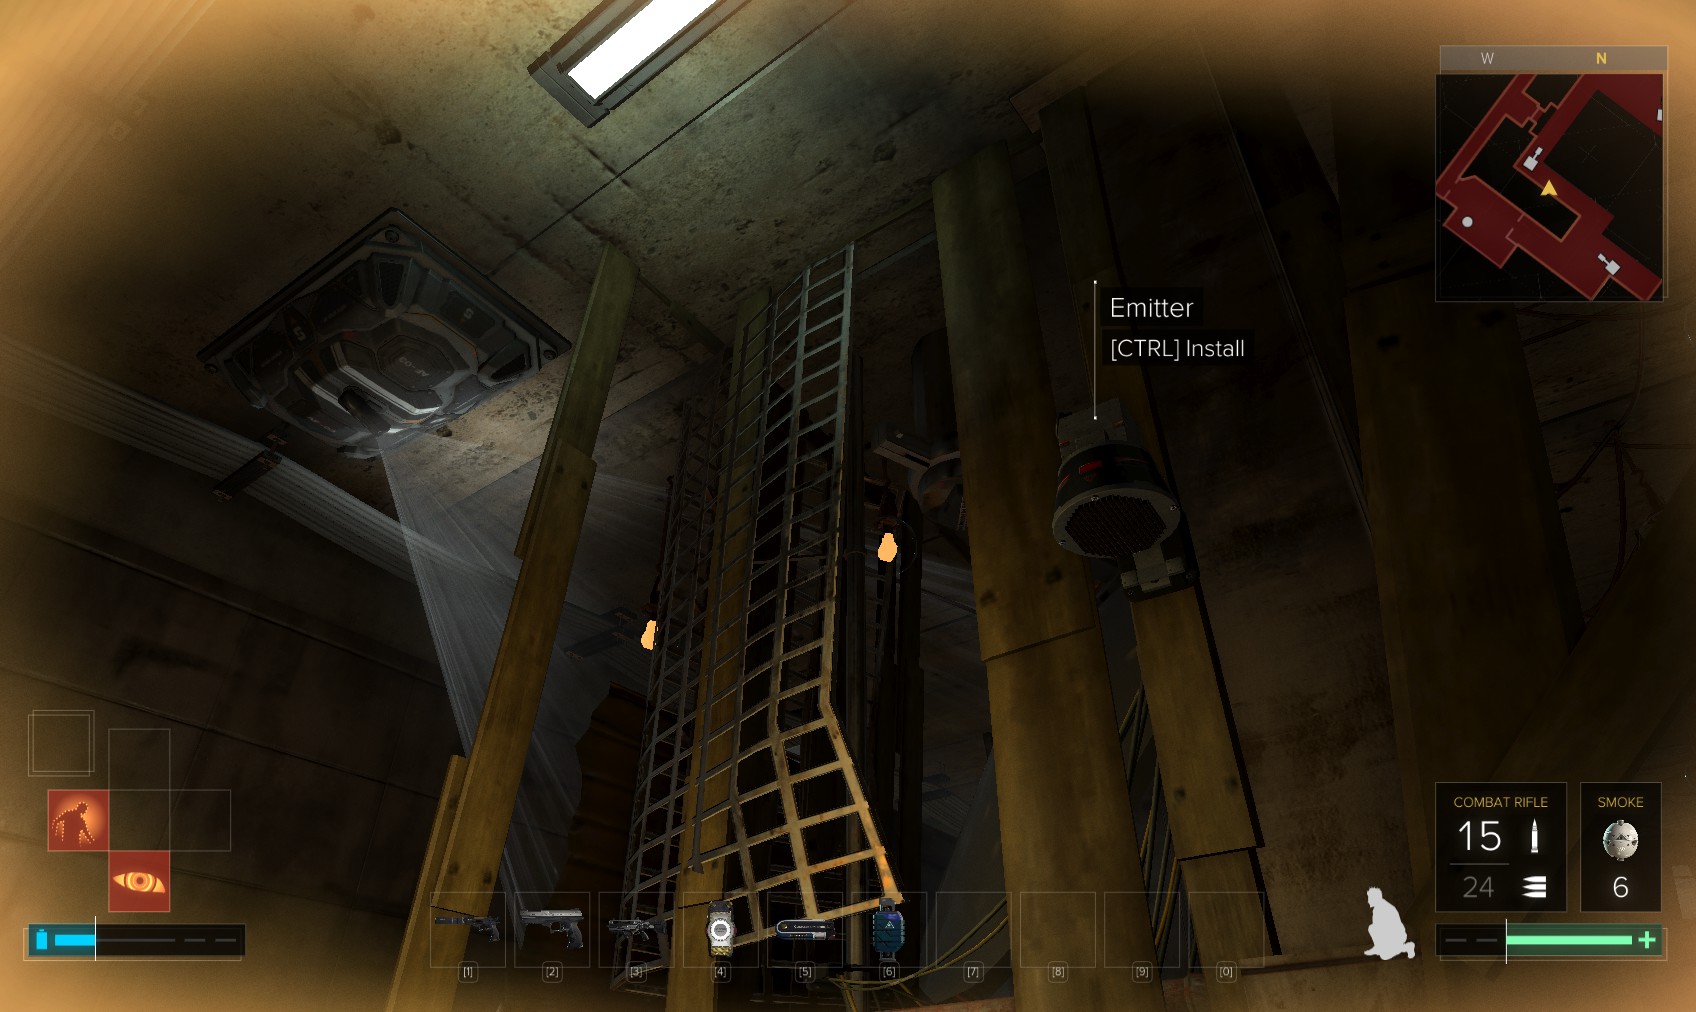
22. Jump up, being careful to avoid the turret on the left. The second emitter is here beside the turret you were unable to avoid just now.
23. The third is back here to the left, behind the turret.
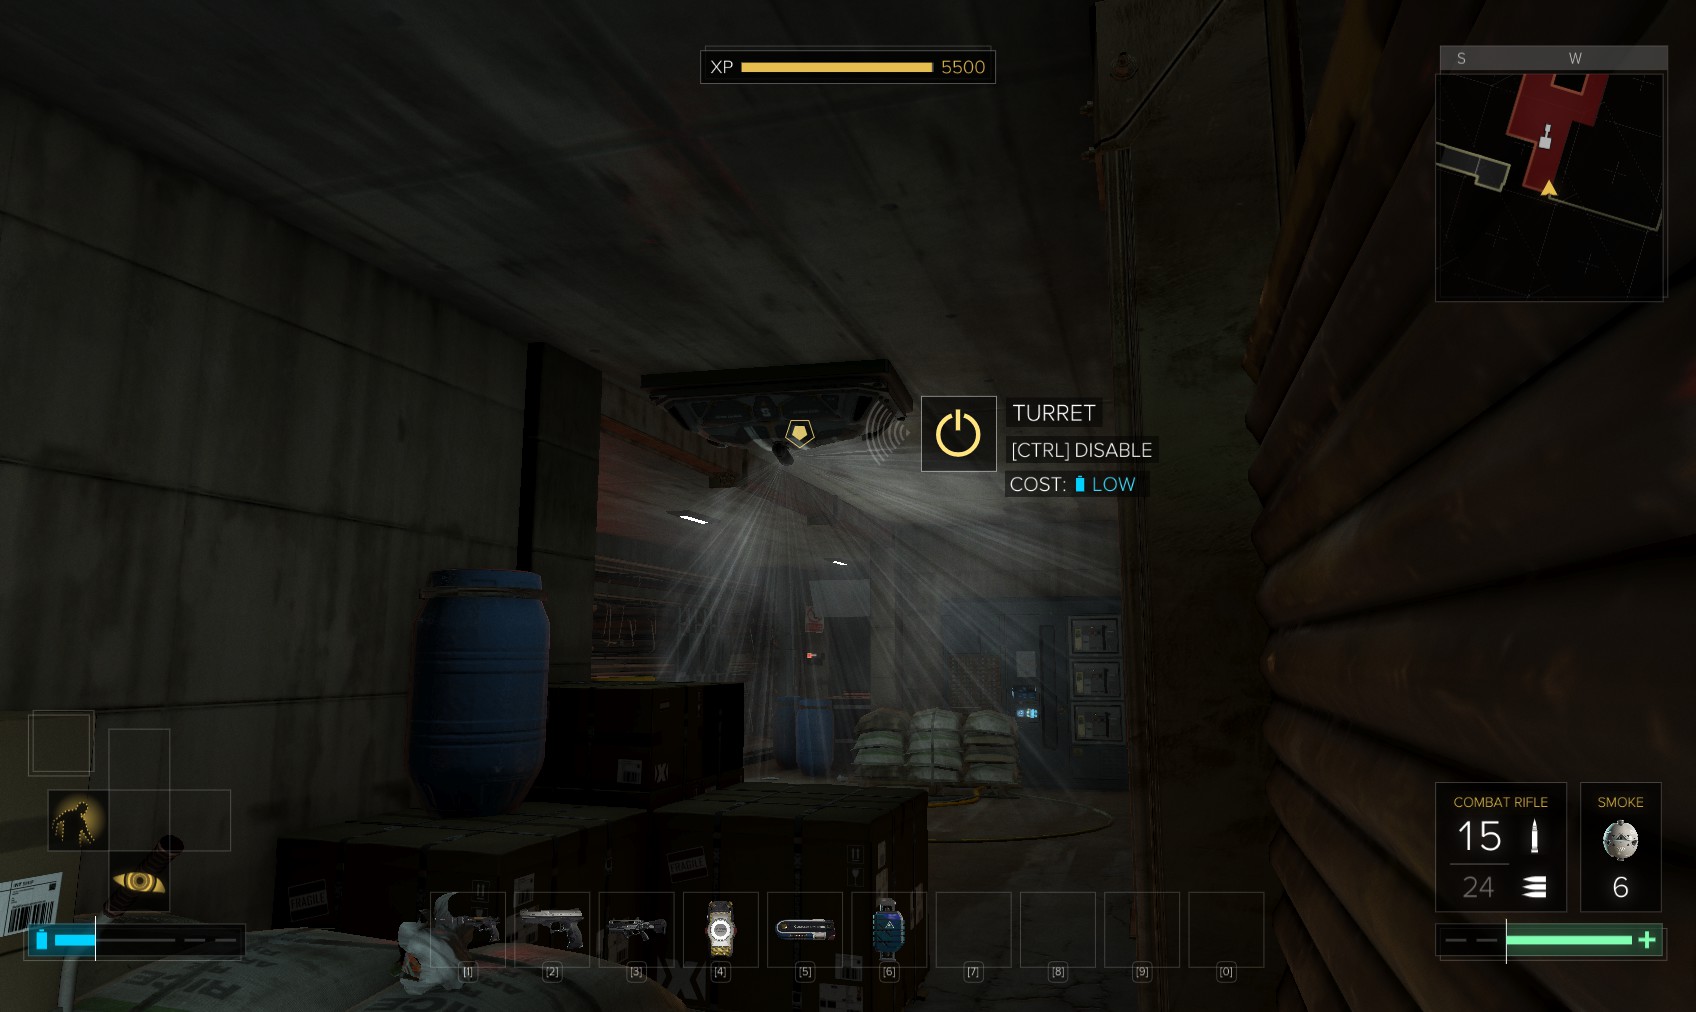
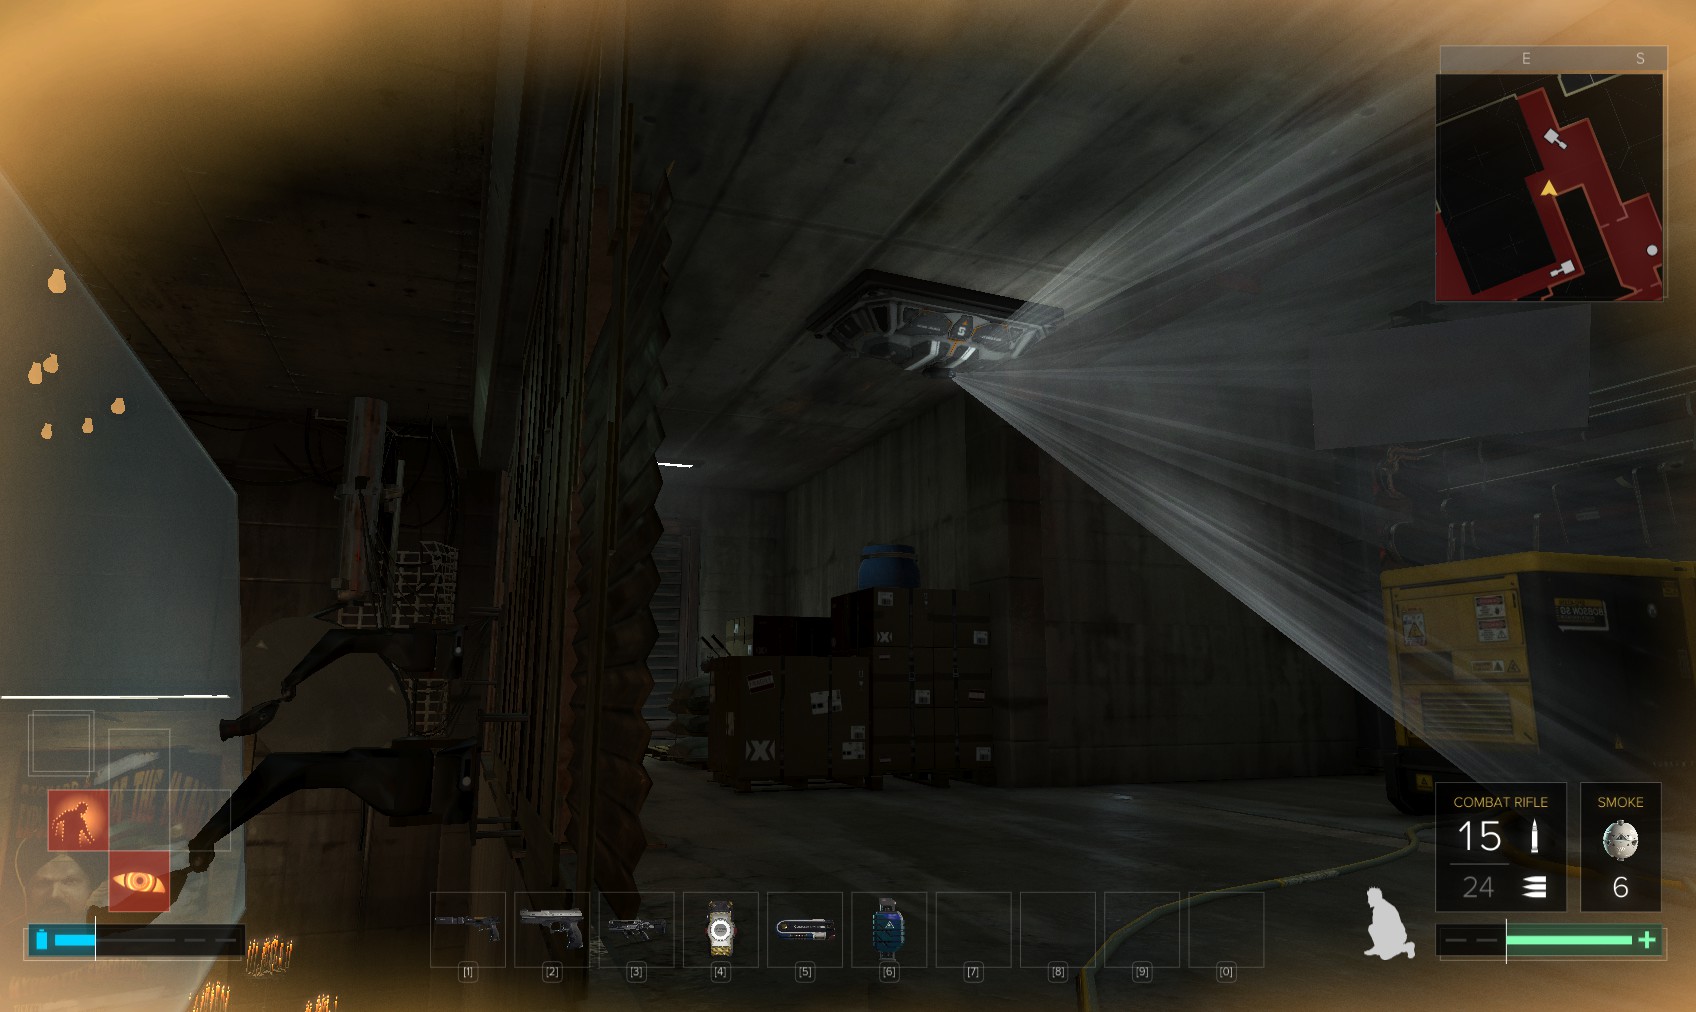
24. Installing the 3rd scrambler re-enables your augmentations.
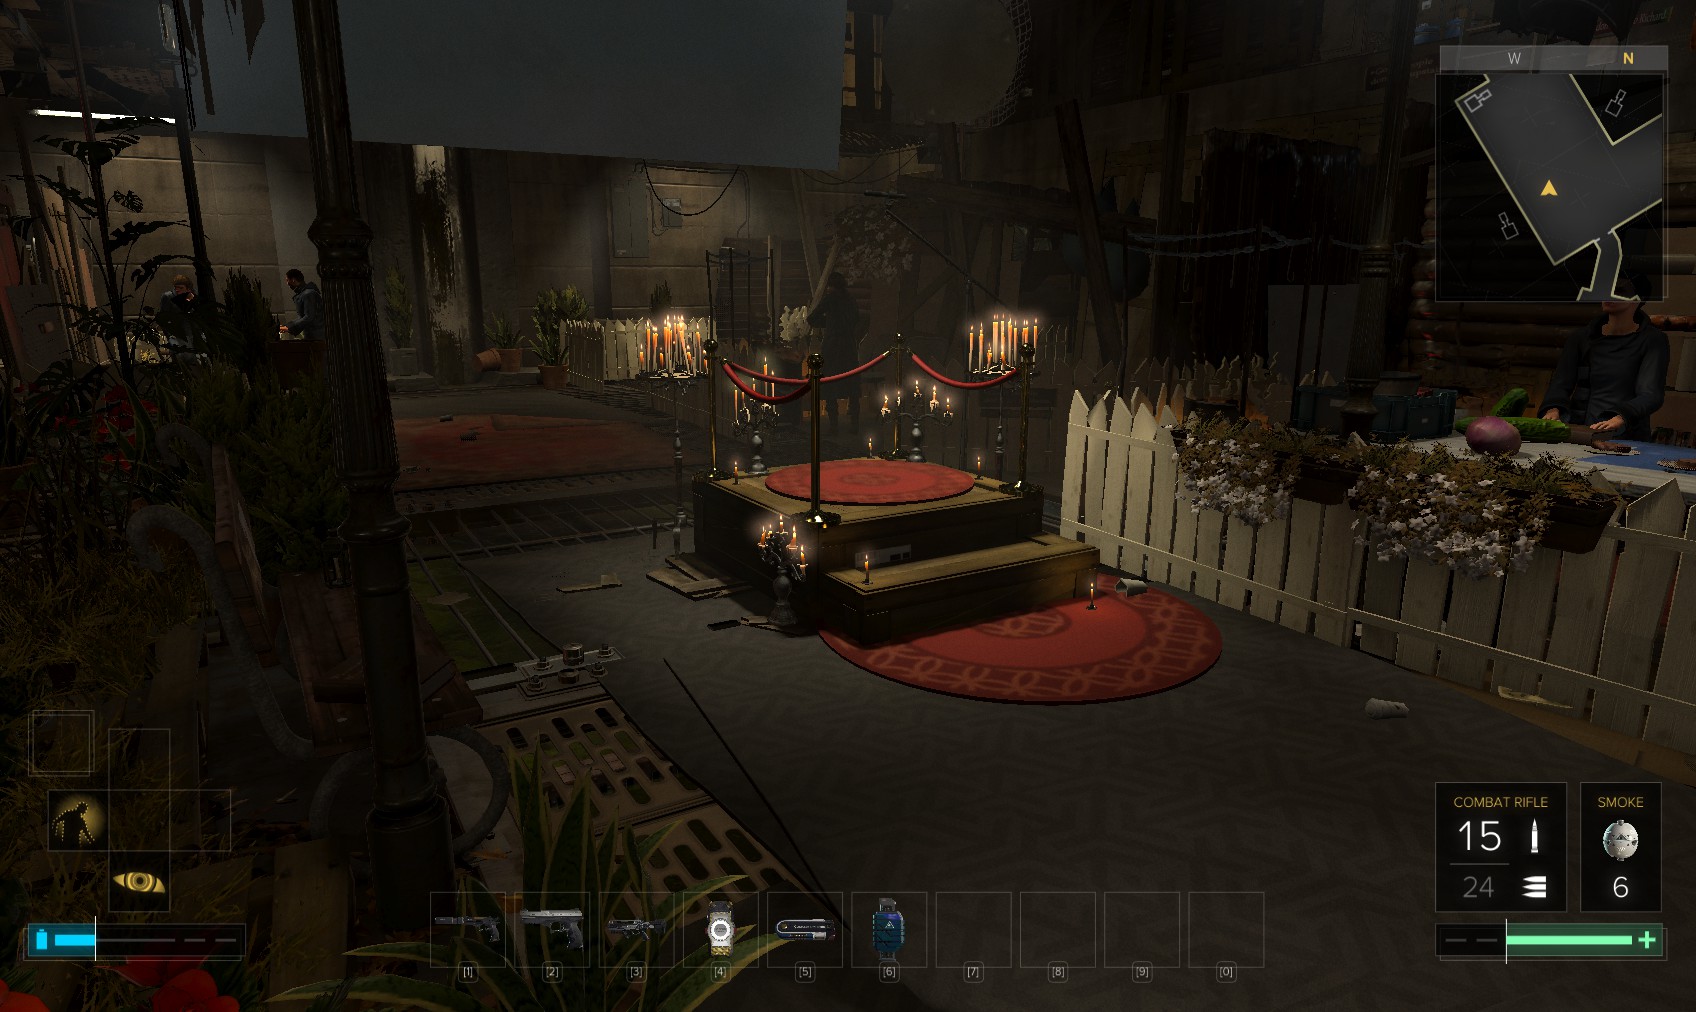
25. Richard (and the turrets!) are still hostile. If you just go barging in, one of you is likely to end up dead. Maybe you can talk him down. Head to the podium and use the microphone. He is obviously very insecure, as well as being well armed. If you deal too harshly with him, he might lose it and just shoot the place up, or kill himself. Some sensitivity needed here.
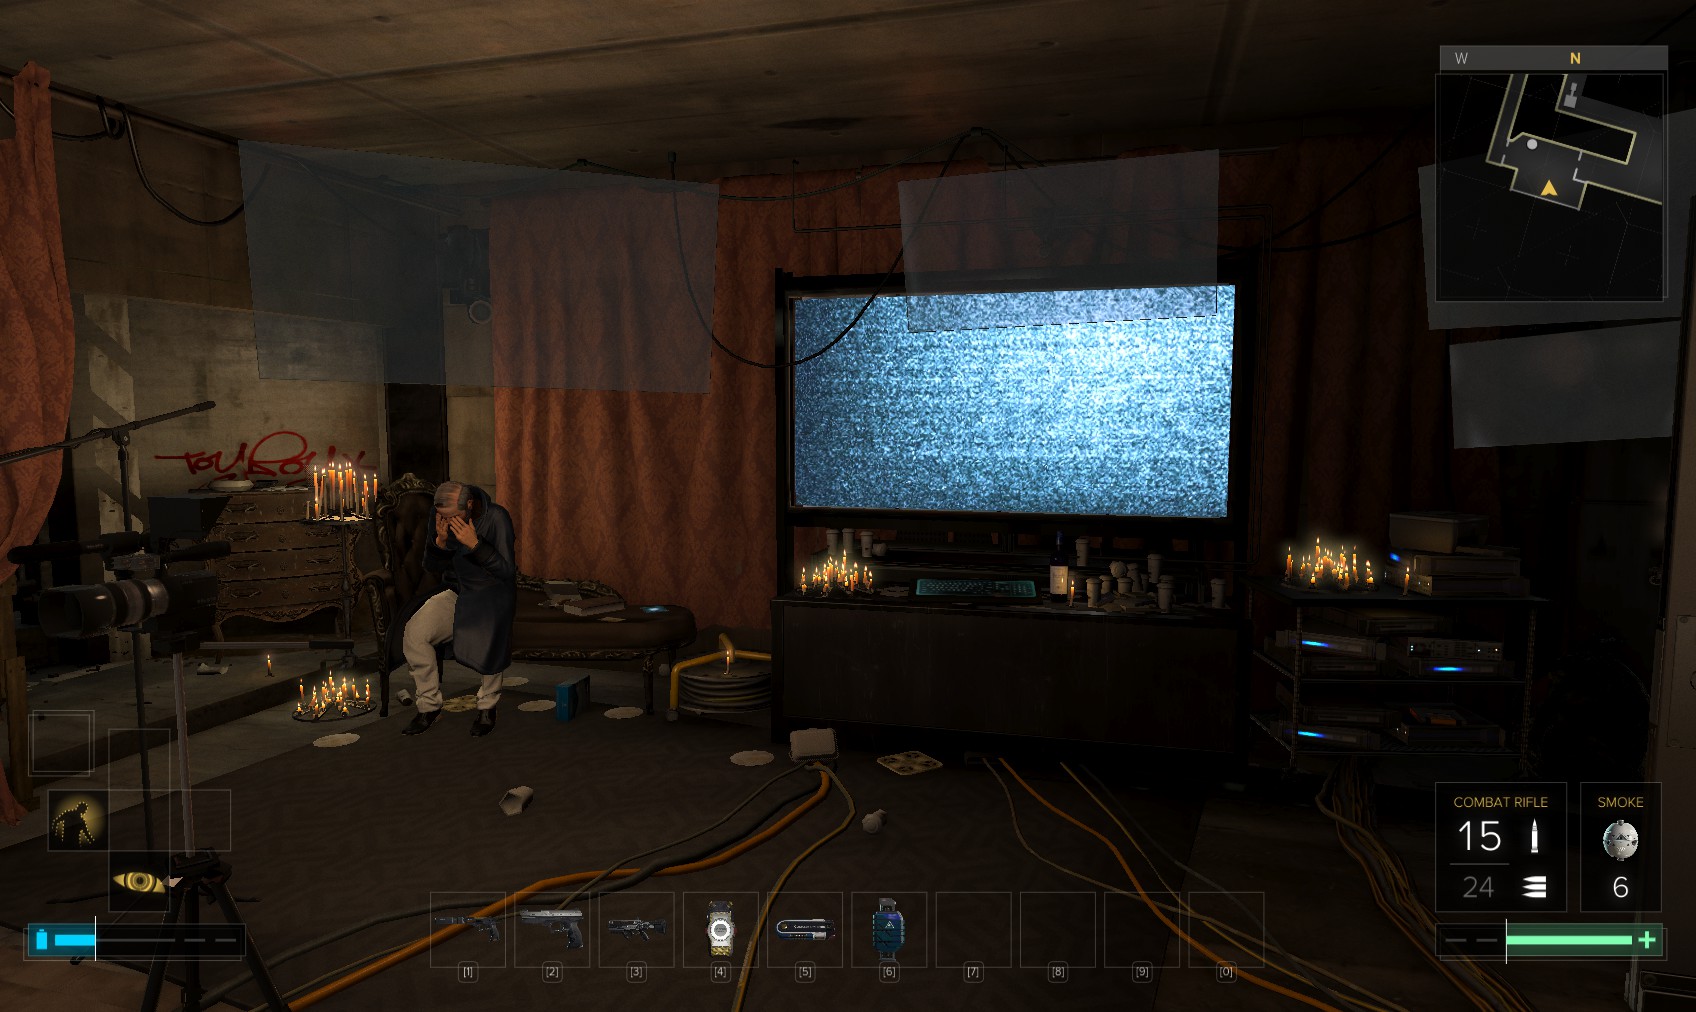
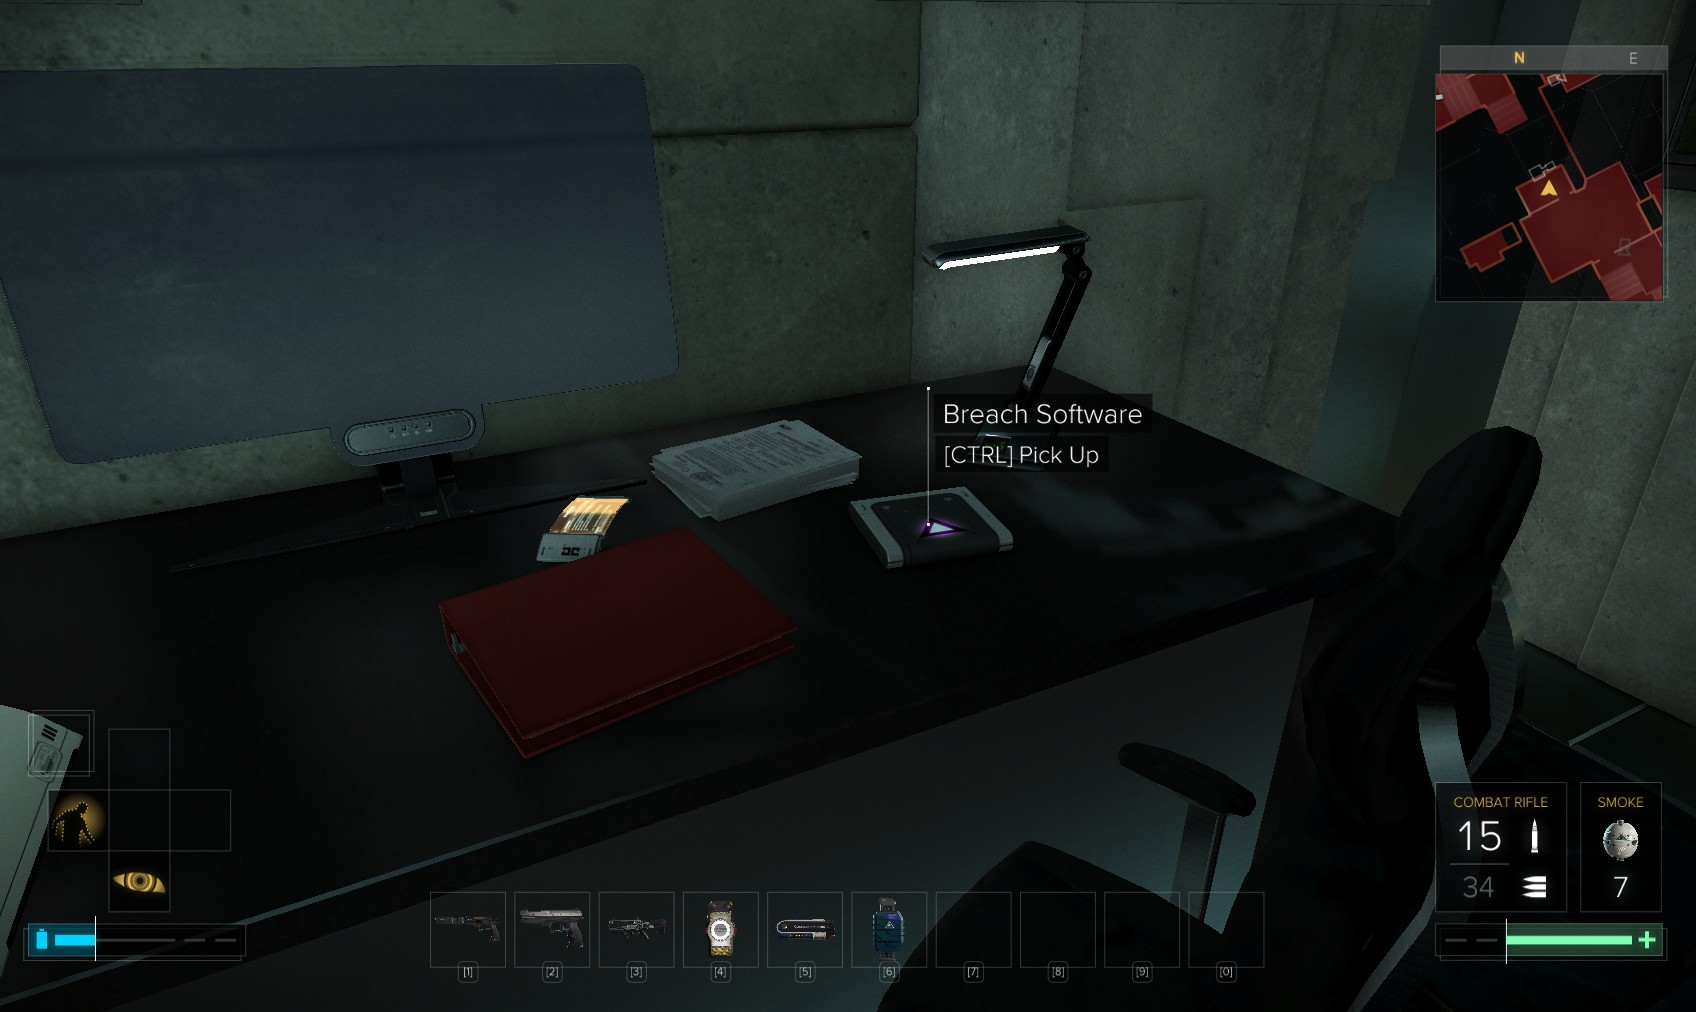
26. If you’re successful, the turrets are now non-hostile, and a door near where you installed the third scrambler is now open, with Richard alive but unhappy. Hunt around for goodies including Breach Software and an eBook.
27. Head through this door, or head to the far side to find a level 5 door hackable for datascan software. All done, time to head out.
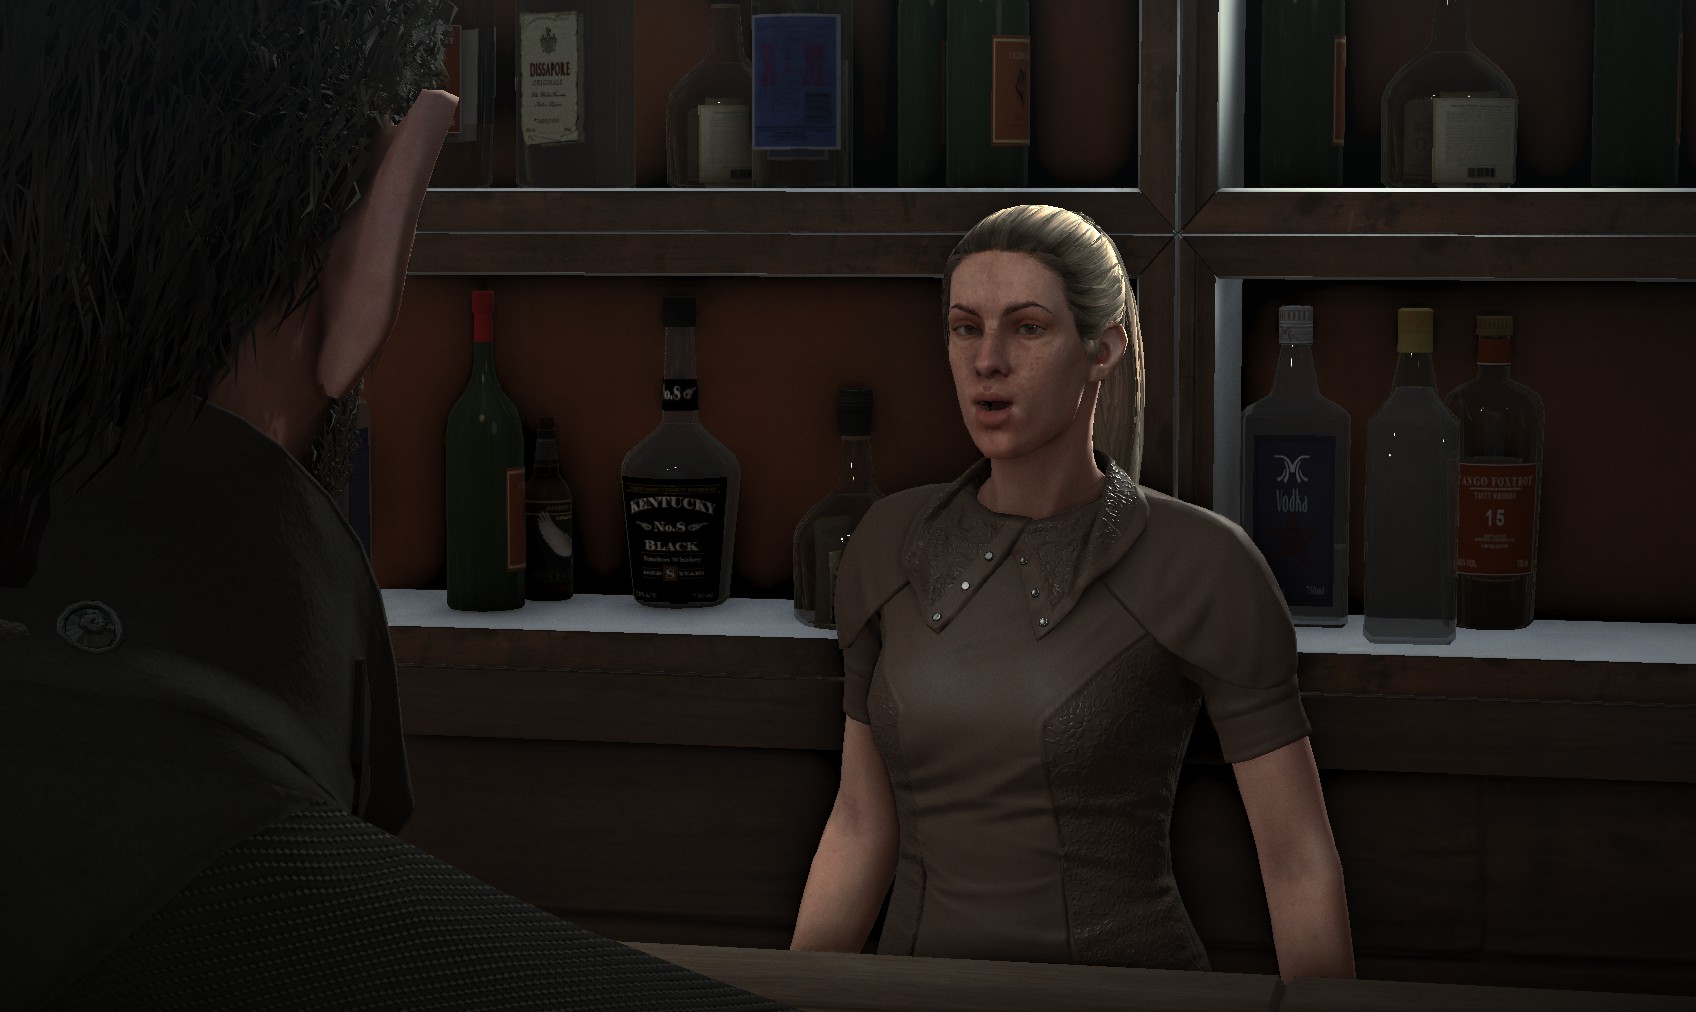
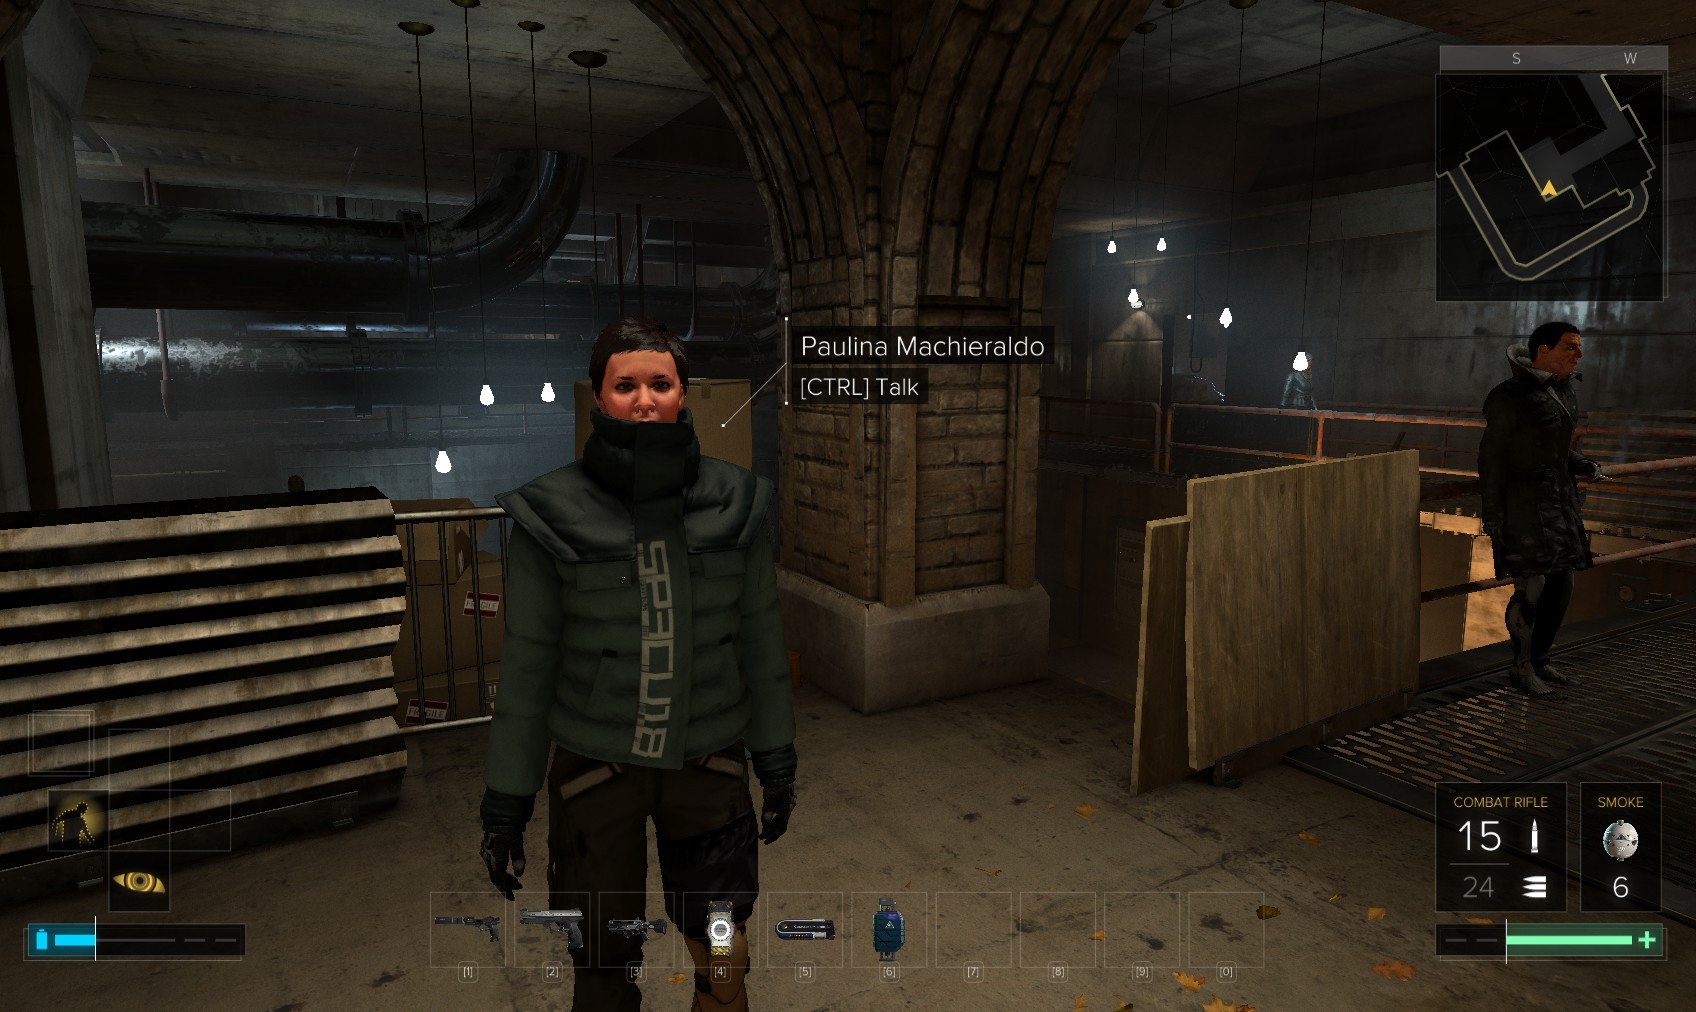
28. Talk to Viznik as you leave, then head South and East to here, where you first came and spoke with 2 women.
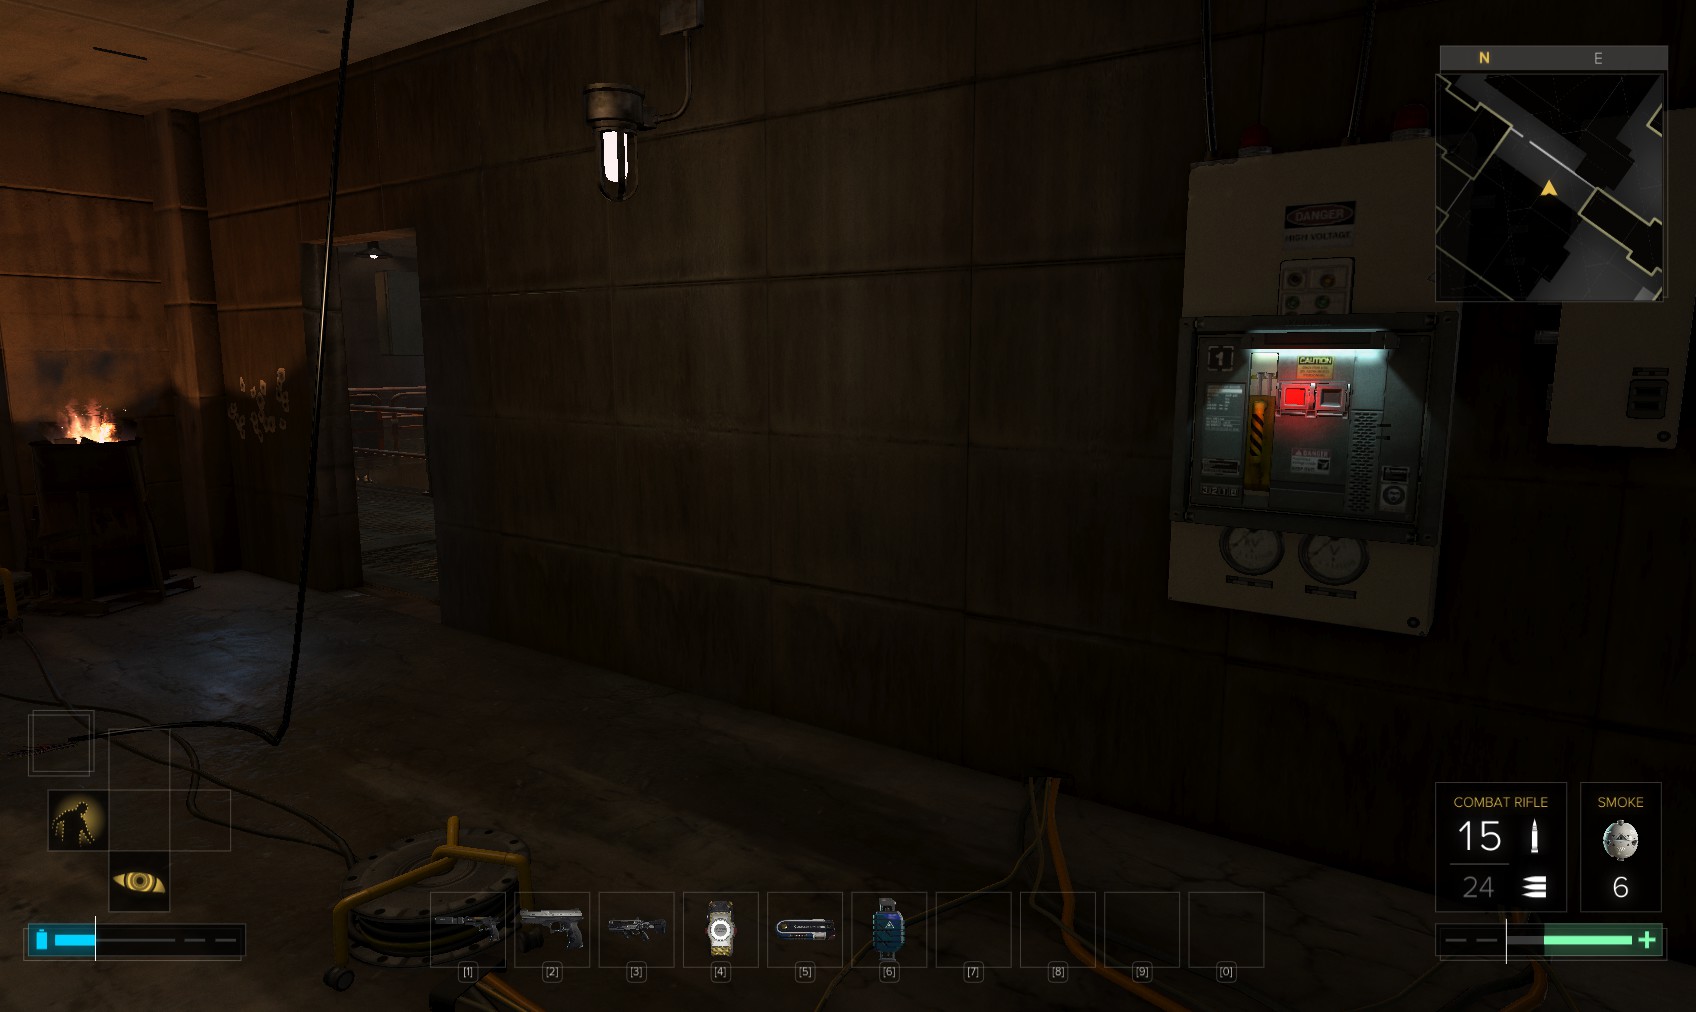
29. Continue East to this electrified room, and climb over pipes to reach the breaker.

30. On the lower level is this room, with a level 5 door. Hack it for 450c. The code is 0311 for 125XP which is less than hacking it. So, it’s time to deal with the Neon drug ring.
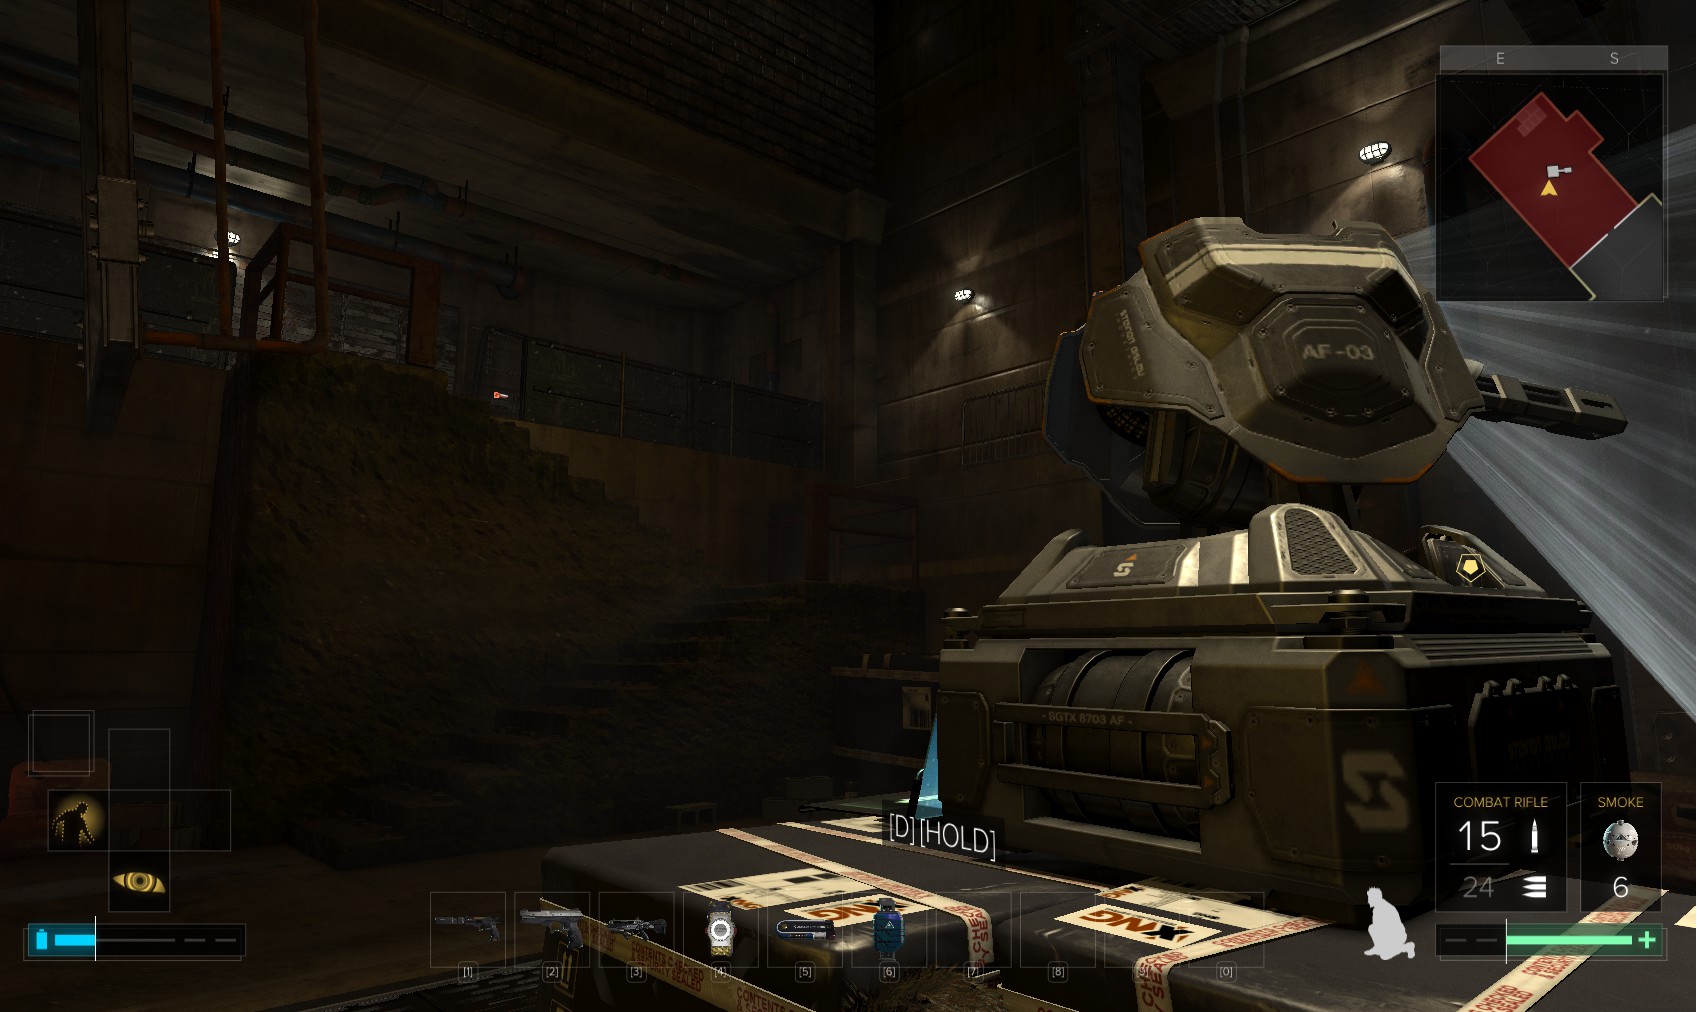
31. I need to upgrade my remote hacking augmentation to allow me to disable the turret long enough to get to this safe, which is unlocked.
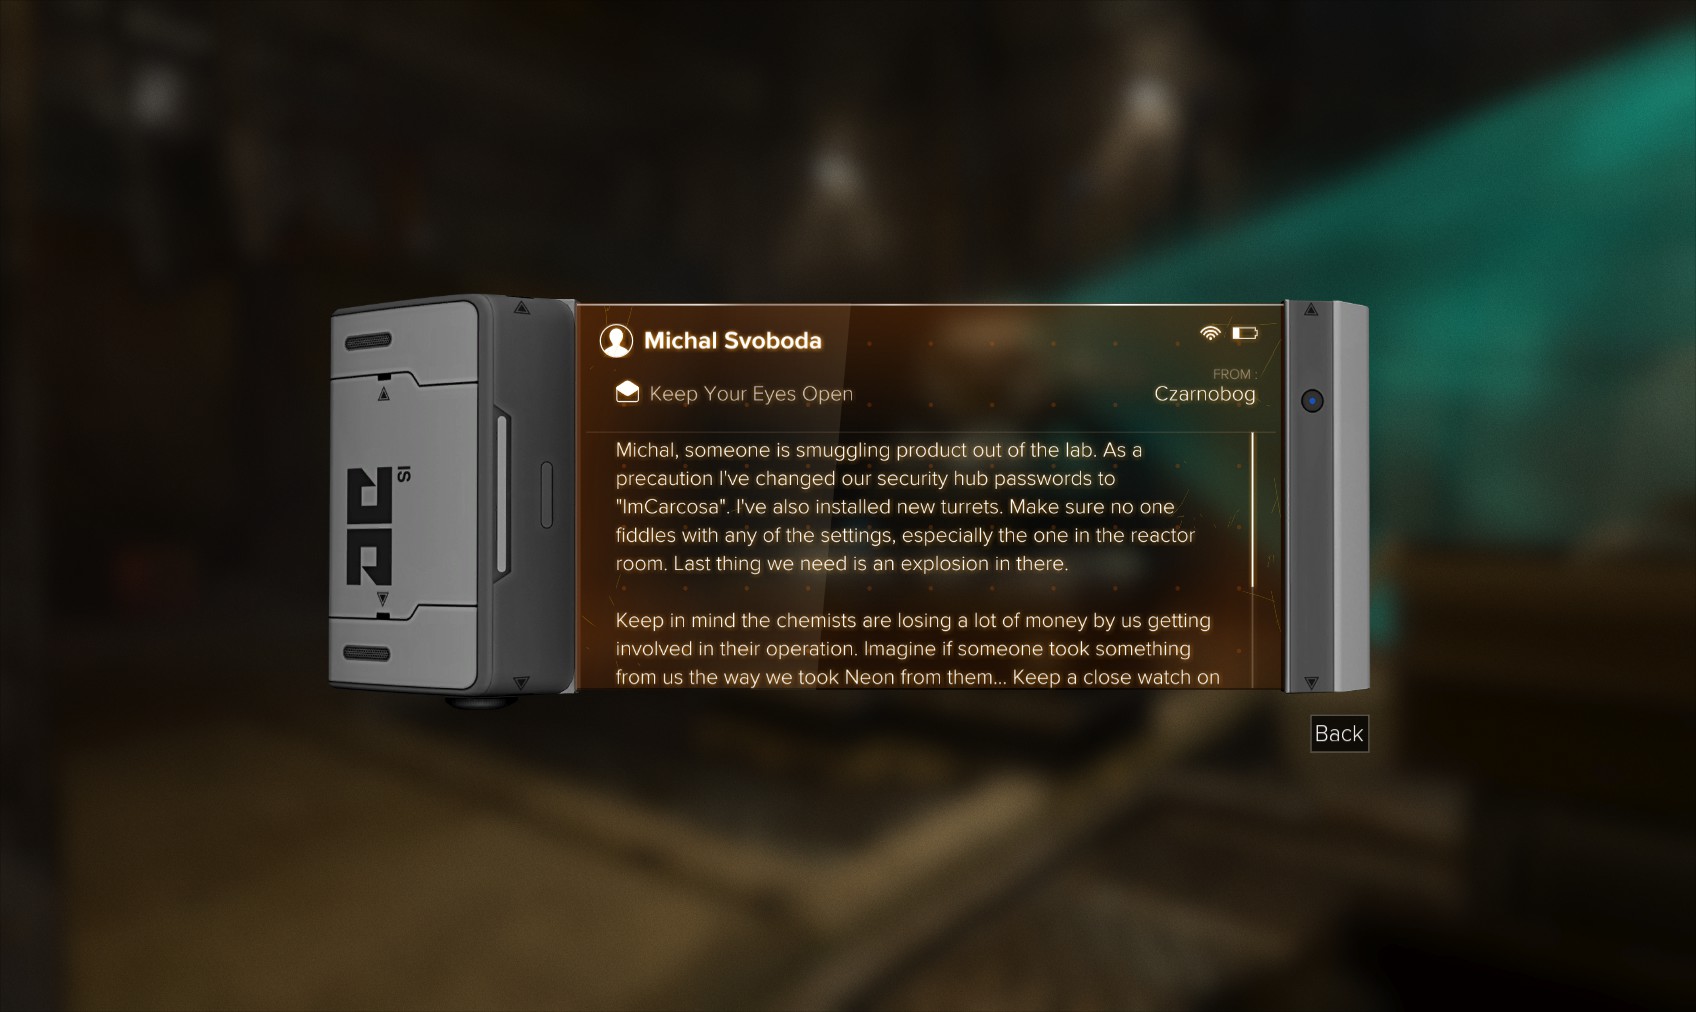
32. It contains pistol EMP ammo, and a pocket secretary with the code imCarcosa
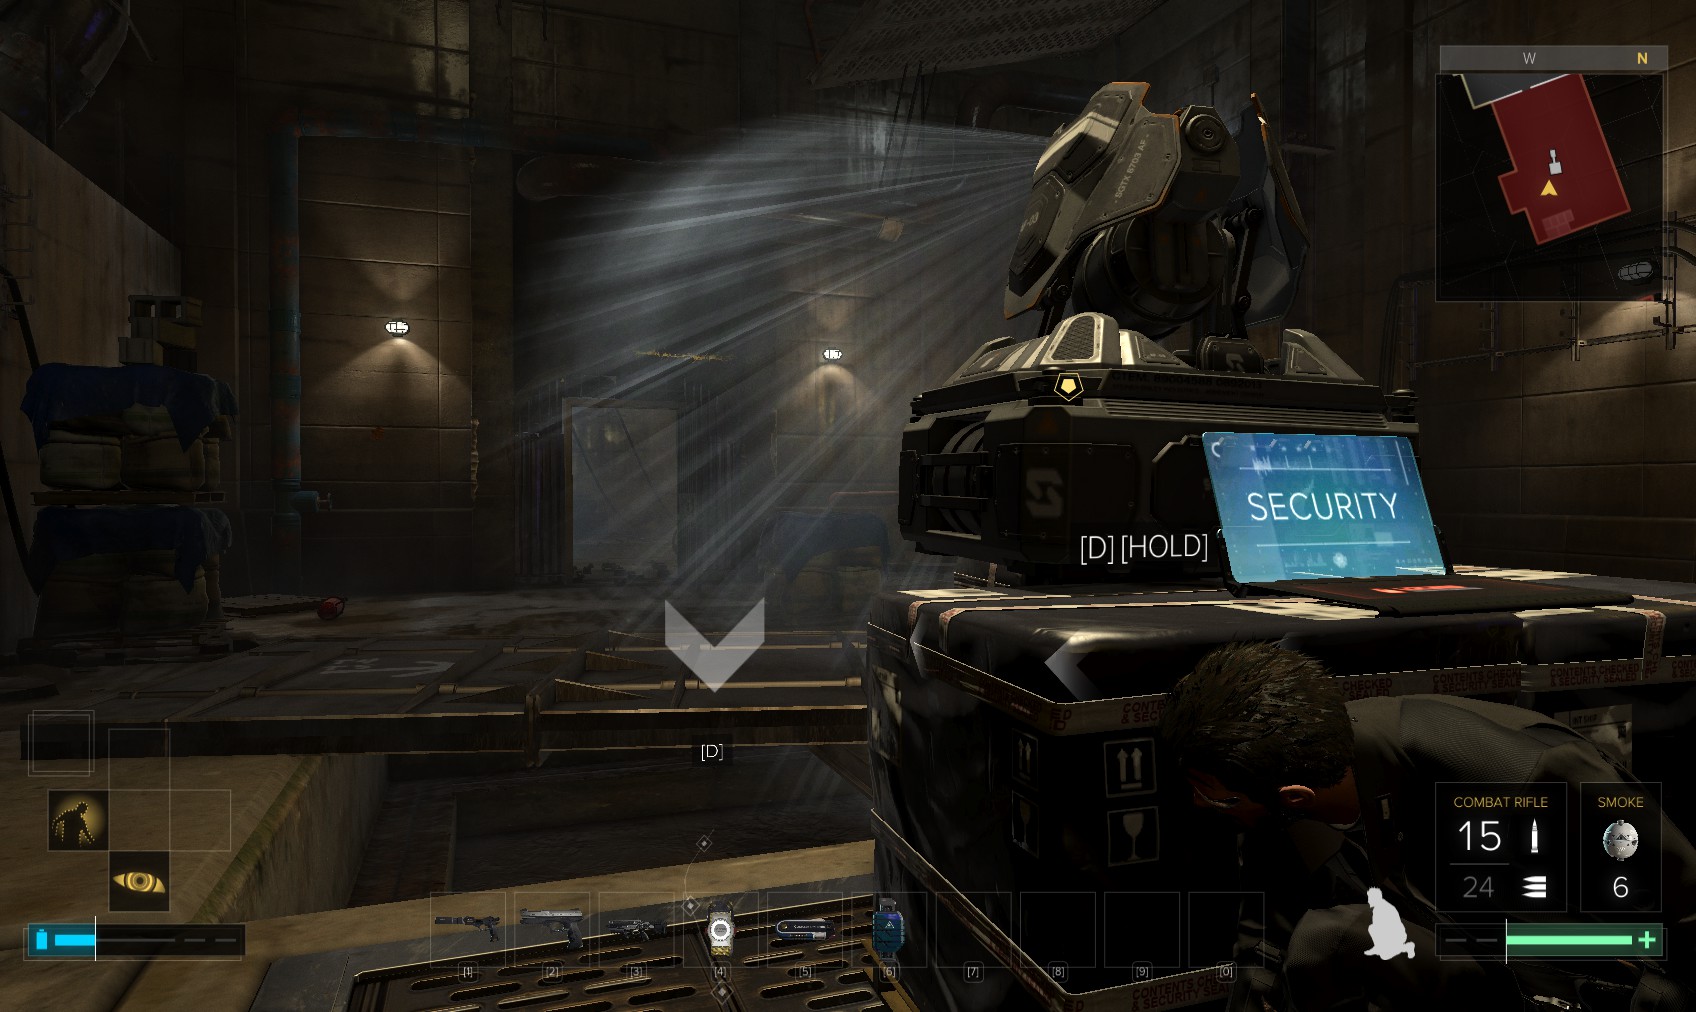
33. You will need turret domination to permanently disable it from the security console, password or not. Hacking it anyway gets you 145c. Using the password gets 150XP.
34. My destination is up those stairs. They’re out of sight of the turret. At the top is a level 5 door, again the code is 0311 which is worth 125XP. Hacking gets you another 450c as well as the 125XP.
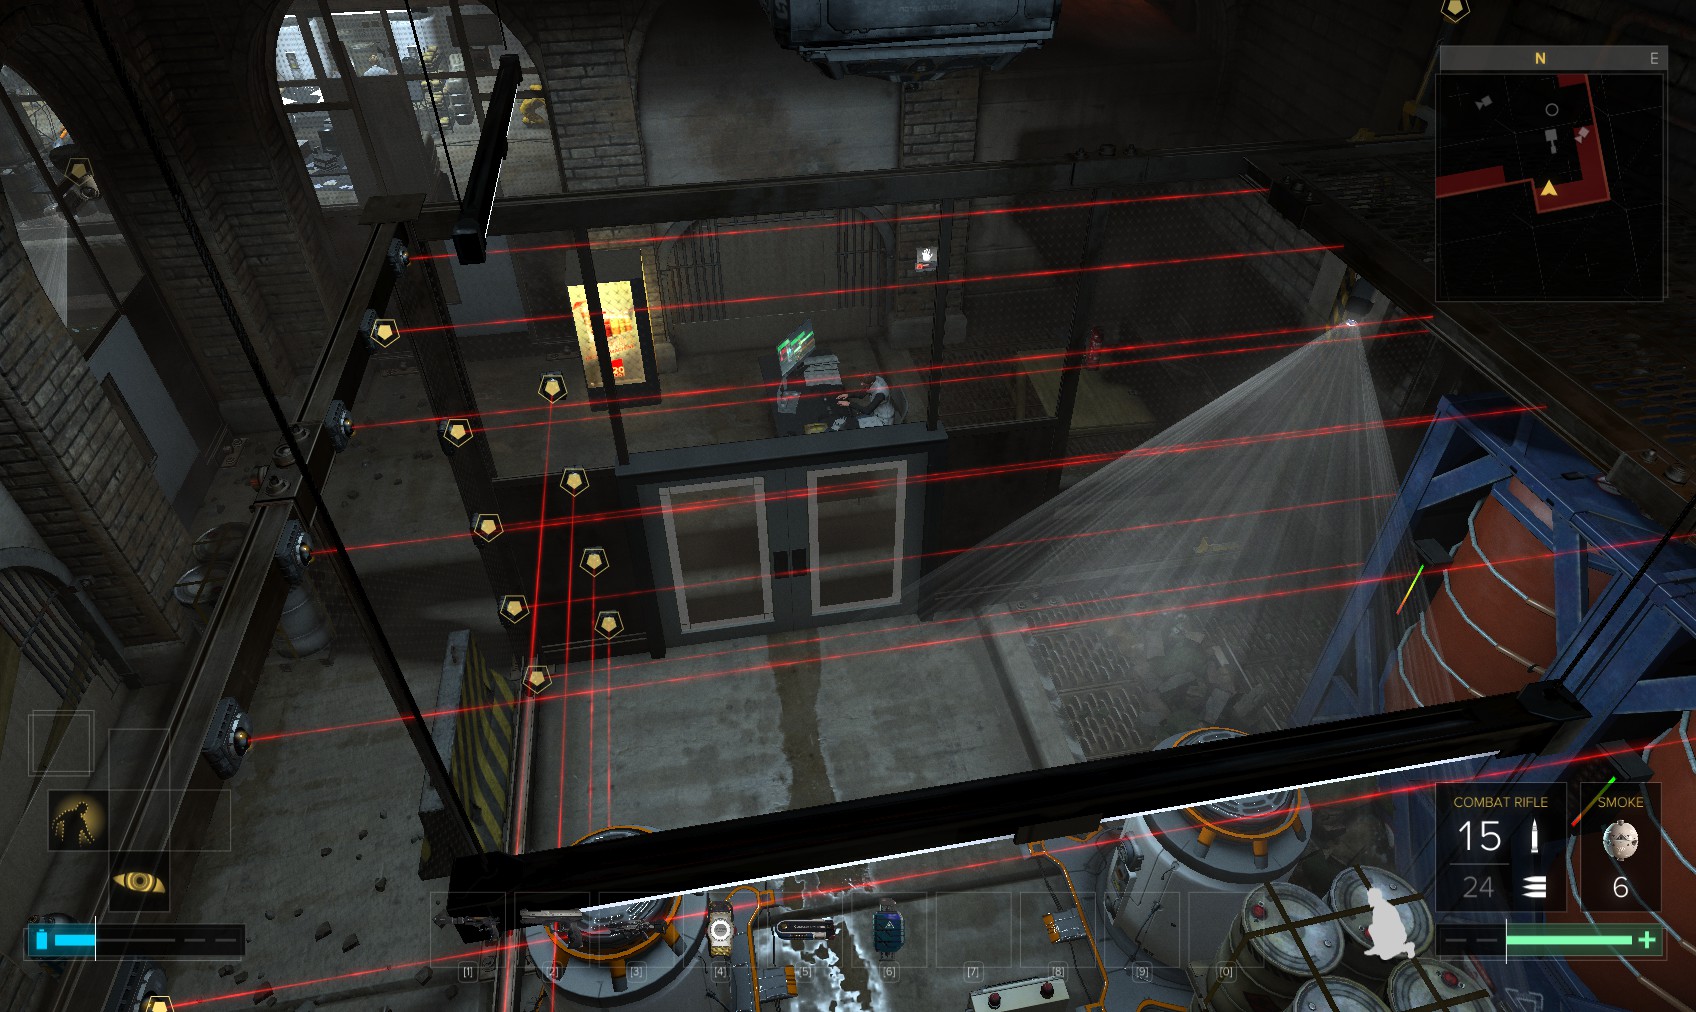
35. Through the door, you come out here. Over on the left you can take out a guard to access a level 3 security hub with the same password as the hub outside: imCarcosa and disable cameras, lasers, alarms. Or return to the turret behind you…
36. With heavy lifting ability, a door-free access is over there. It can be reached by jumping up to the right (out of shot) and carefully navigating the narrow girder above the turret.
37. It comes out in the arched tunnel on the left here.

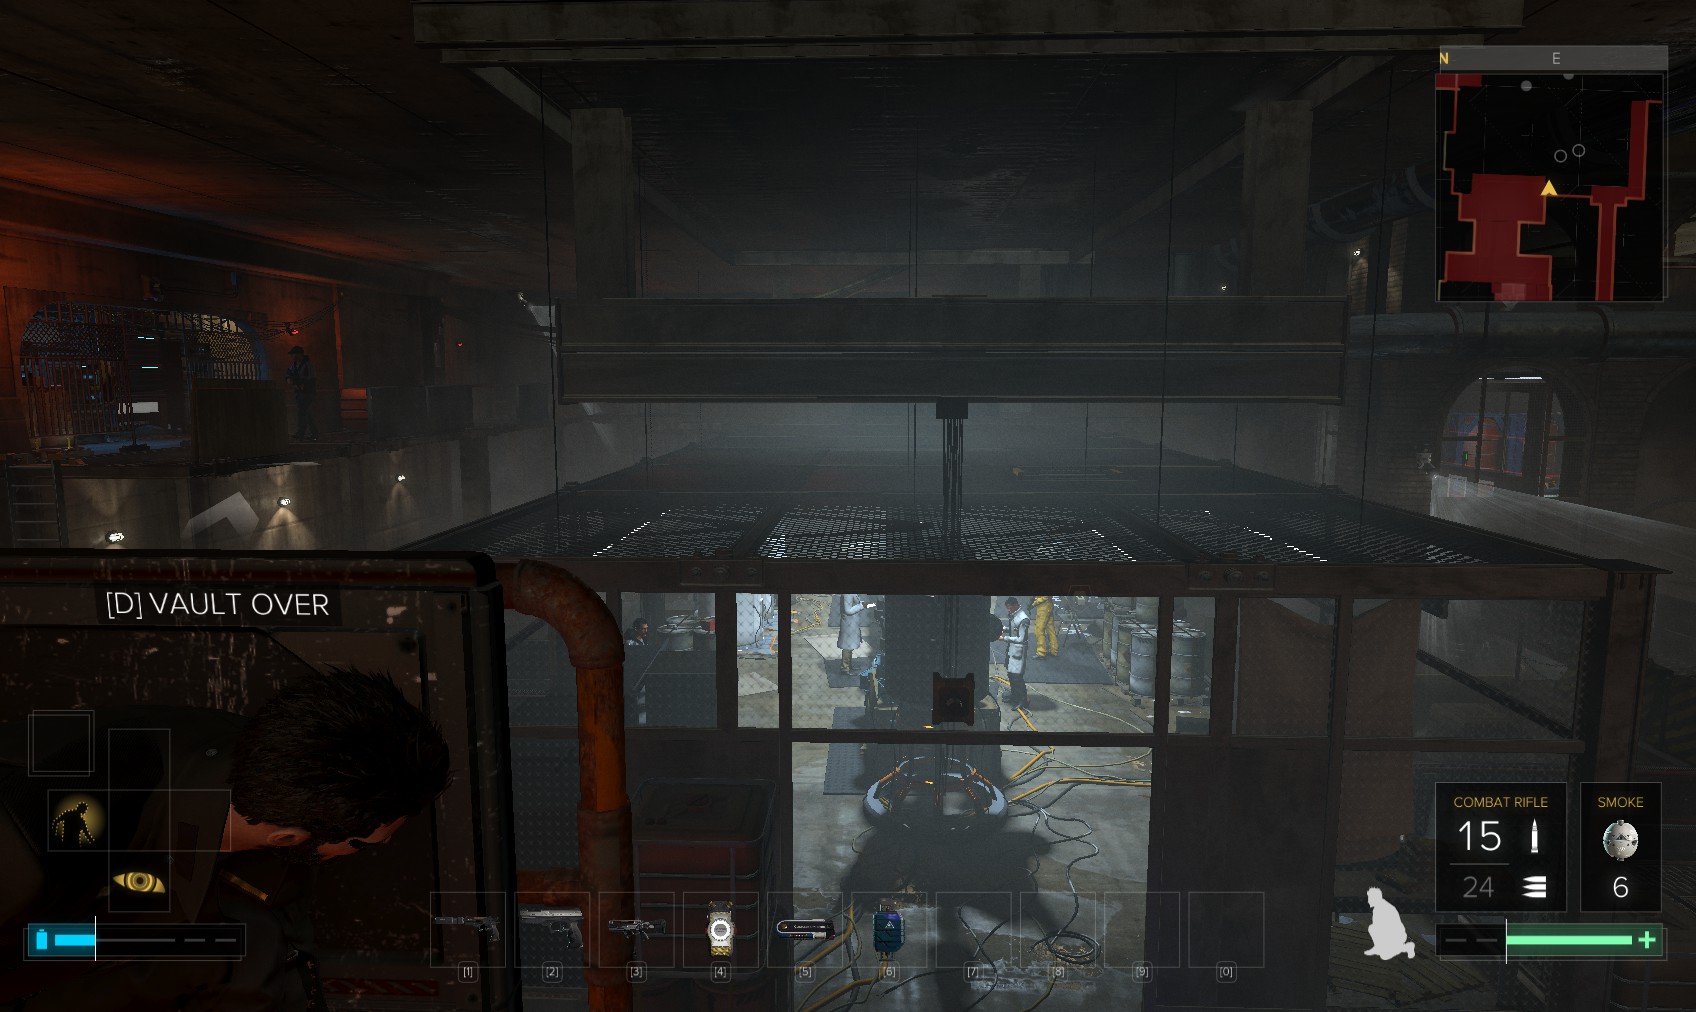
38. We are looking for a female chemist who is embezzling drugs out from under the Dvali’s nose. Who is that in the room behind that camera I wonder?
39. This area is especially well protected, which means it must be worth investigating. I head down behind her. A pocket secretary nearby reveals this is probably Harmony Knapkova who’s been smuggling drugs out. Likely she’ll therefore be open to…negotiation. I decide to invest in the Social Enhancer augmentation.
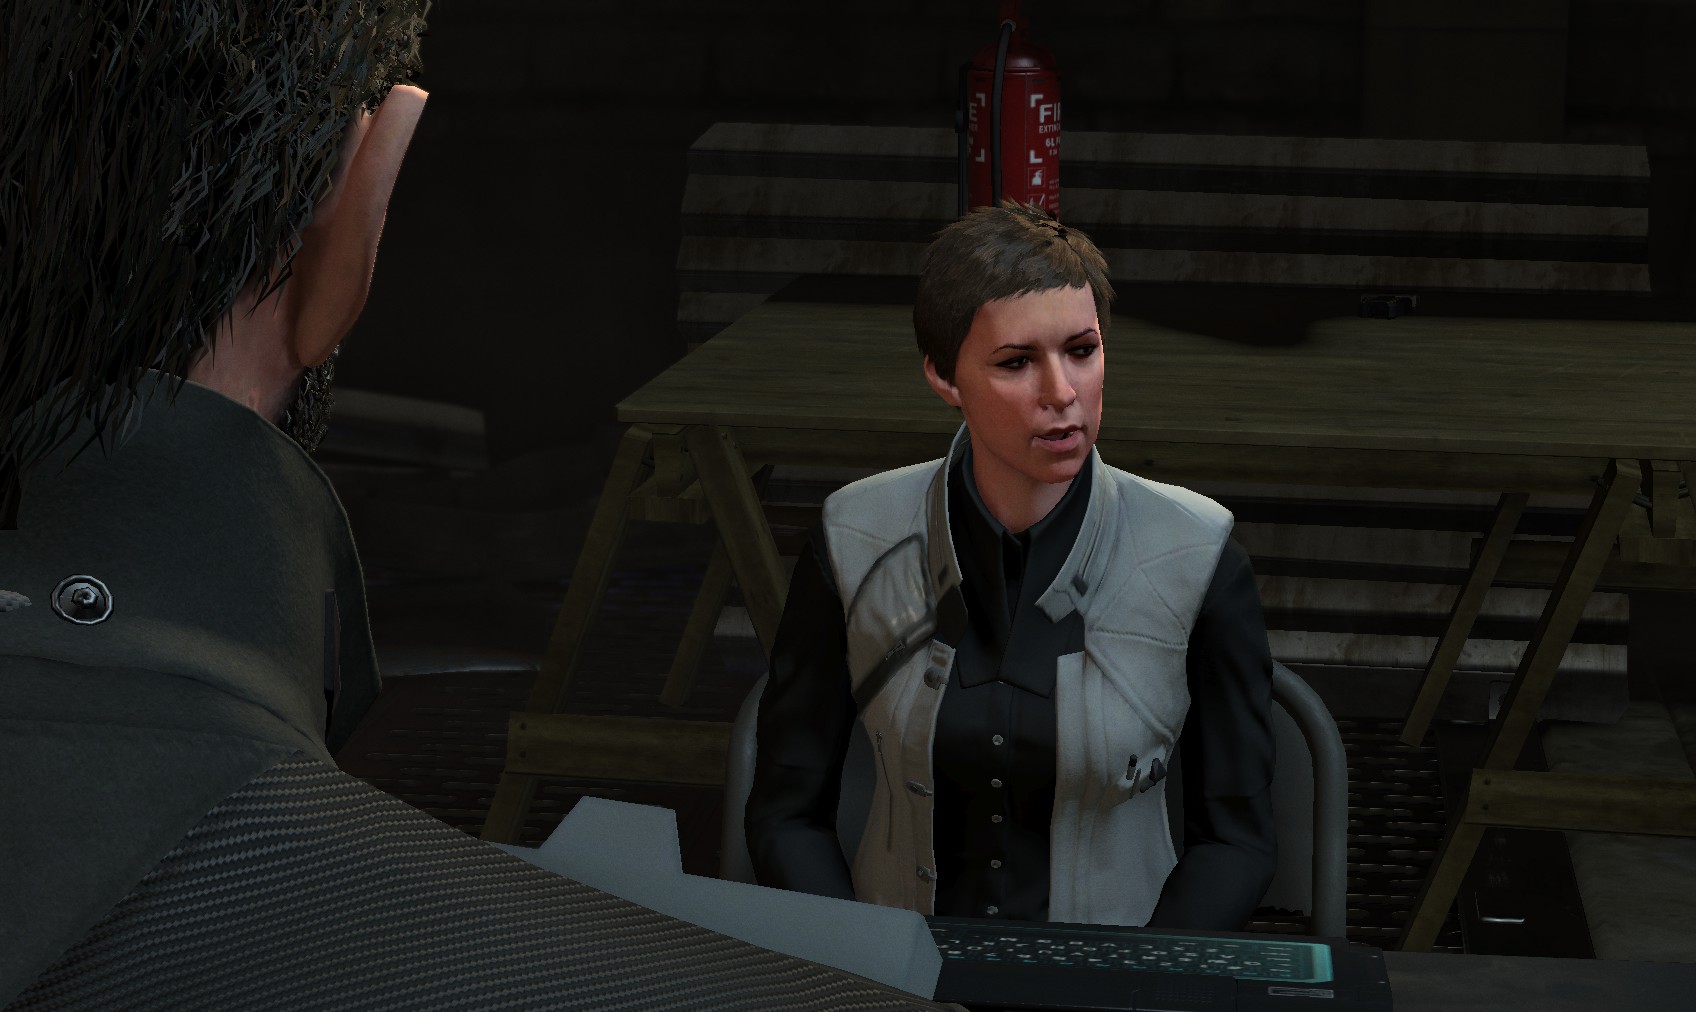
40. Approach her and a cutscene begins. You get to choose some of the paths of the conversation. If you’re successful, she’ll sabotage the lab herself. If not, she’ll likely sound the alarm. If you have the CASIE aug, you can dismantle the op, and then try to persuade her. In the end, remember - she’s the expert on how the lab operates. She is also keen for you not to mess with the reactors. Maybe the threat of that will bring her over. It’s worth an extra 500XP to succeed!
41. After it’s done (assuming no alarm was sounded), the people out in the lab are still hostile, so you’ll need to get out without being noticed. Back the way you came - up the ladder. You spot this level 1 terminal, which will disable the lasers. No need now, but I hack it anyway.
42. I decide I’m going to take out the security after all, just cos I can. I jump up on this ledge.

43. I wait for the guard to come out of the security room before hacking the camera, then follow him in.
44. He doesn’t spend enough time out of the room for hacking the computer, so I knock him out and hunt for goodies. Hacking the level 1 alarm panel yields Nuke software. The security terminal gets me 145 credits (the password is imCarcosa again for 75XP). I turn off all the cameras, then go back to Harmony’s room to head out the way I came in. The main area no doubt contains lots of useful stuff but I can’t see how to raid it stealthily.
45. The turret will still be active, but it’s easily avoided by using the door on the upper level directly ahead.
46. Head all the way out to here. One Point of Interest remains before we head back to Čistá Čtvrť - in Zelen apartments. (The pocket secretary message has the subject "bad plan!!!!" if you want to check back to it). We’ll stop of at #21 and see Tars first to offload some stuff.
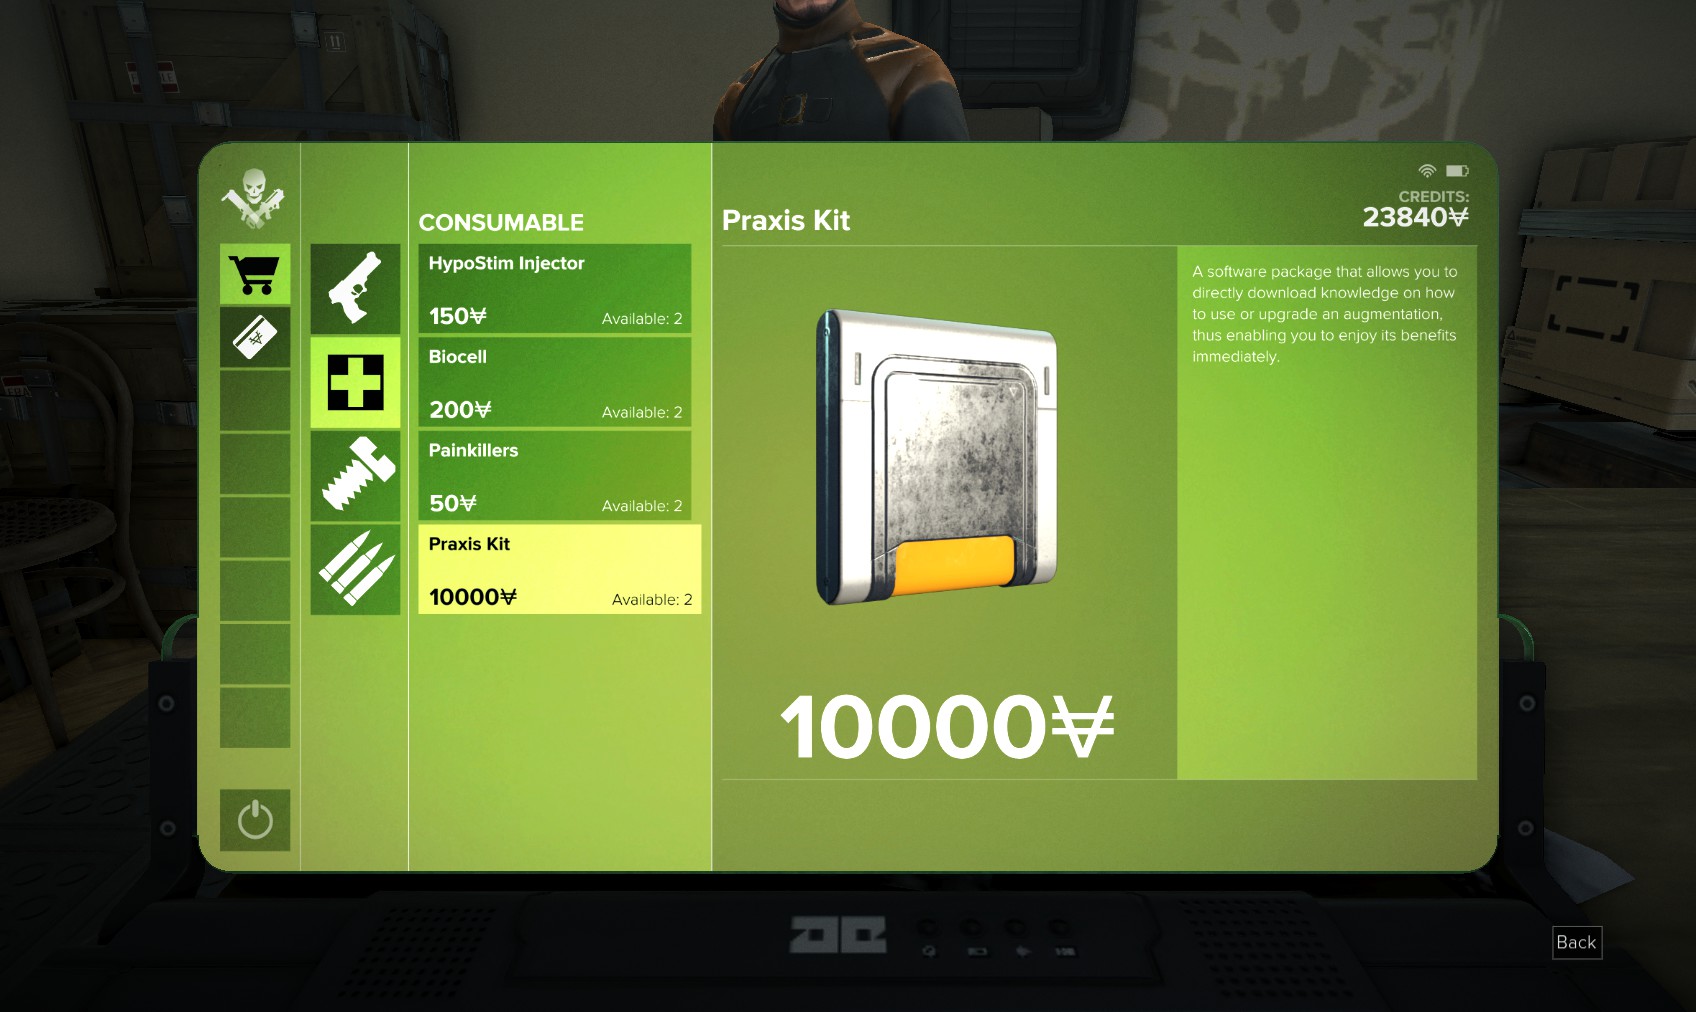
47. He has 2 Praxis Kits for sale, and I’ve enough credits to buy them. 2 locked doors in Tars' apartment also open with the code 9002 (hacking them will get you into trouble with Tars and his henchmen). The room near the door has some combat rifles, the one near Tars himself has a weapons cabinet with battle rifle and other goodies that I sell to Mikael.
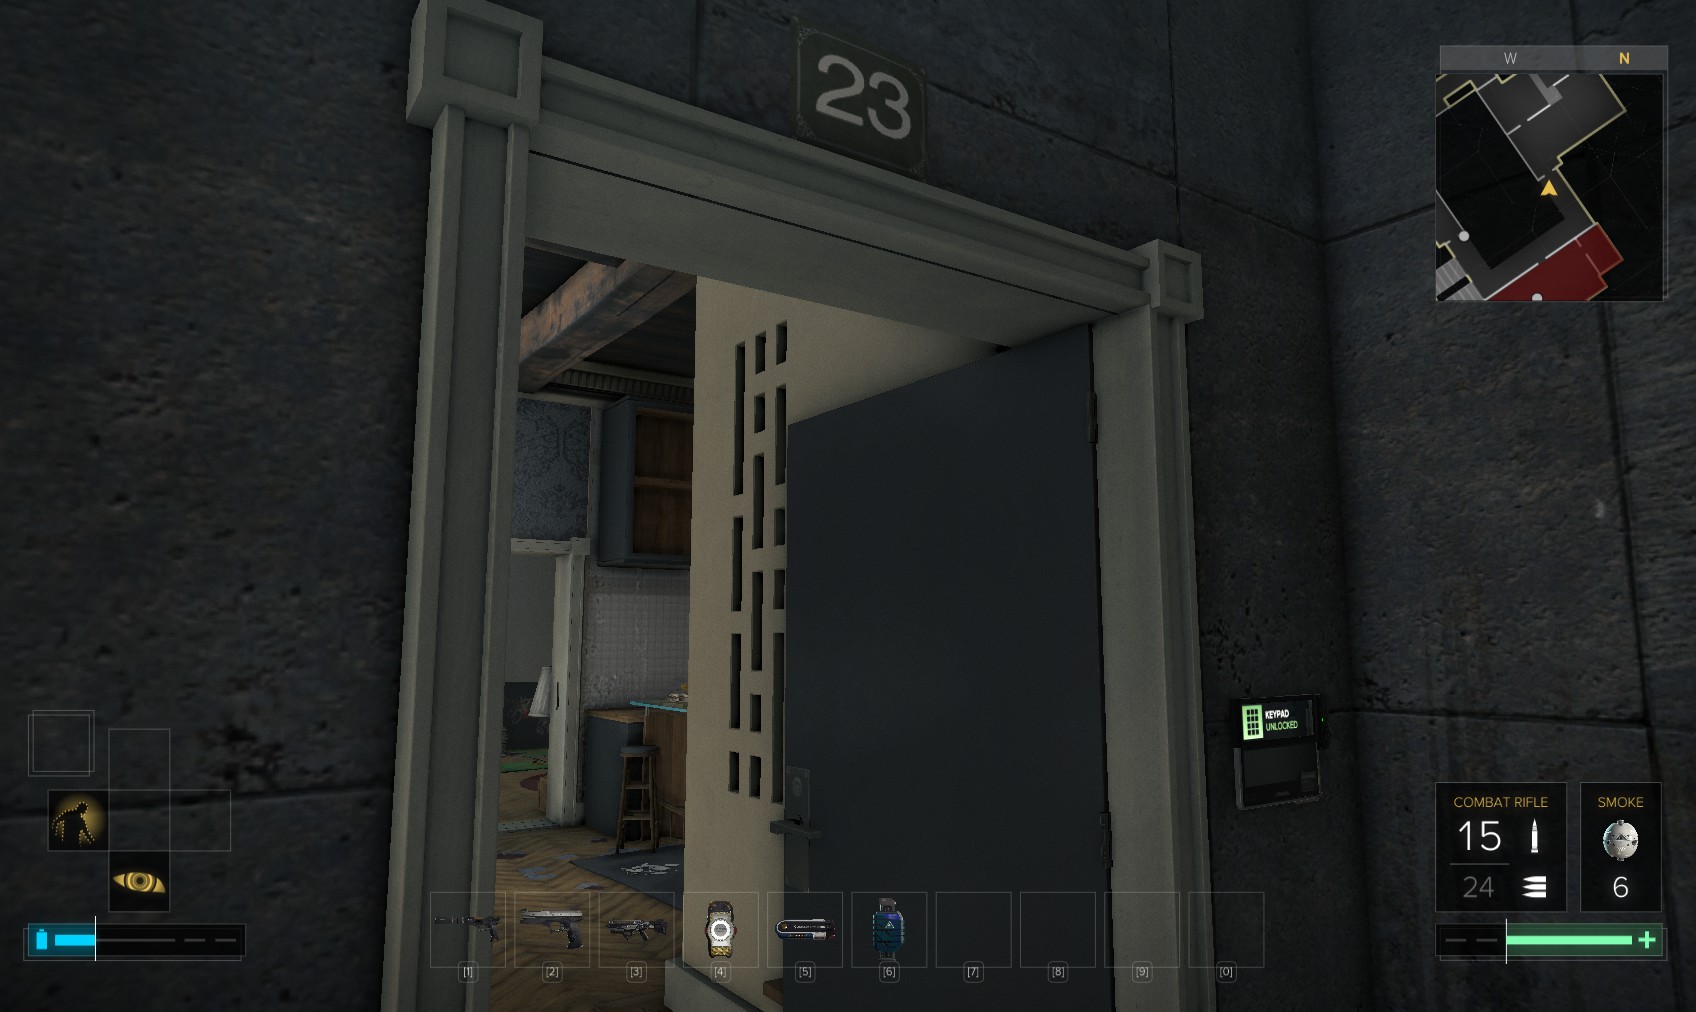
48. The "Zelen woman" clearly has an apartment here, but I’ve no idea which. Can’t be #22, so I try #23 and am rewarded. So, it’s Teresa Petrauskas. I might have guessed. Nothing new to see here time to go to work.
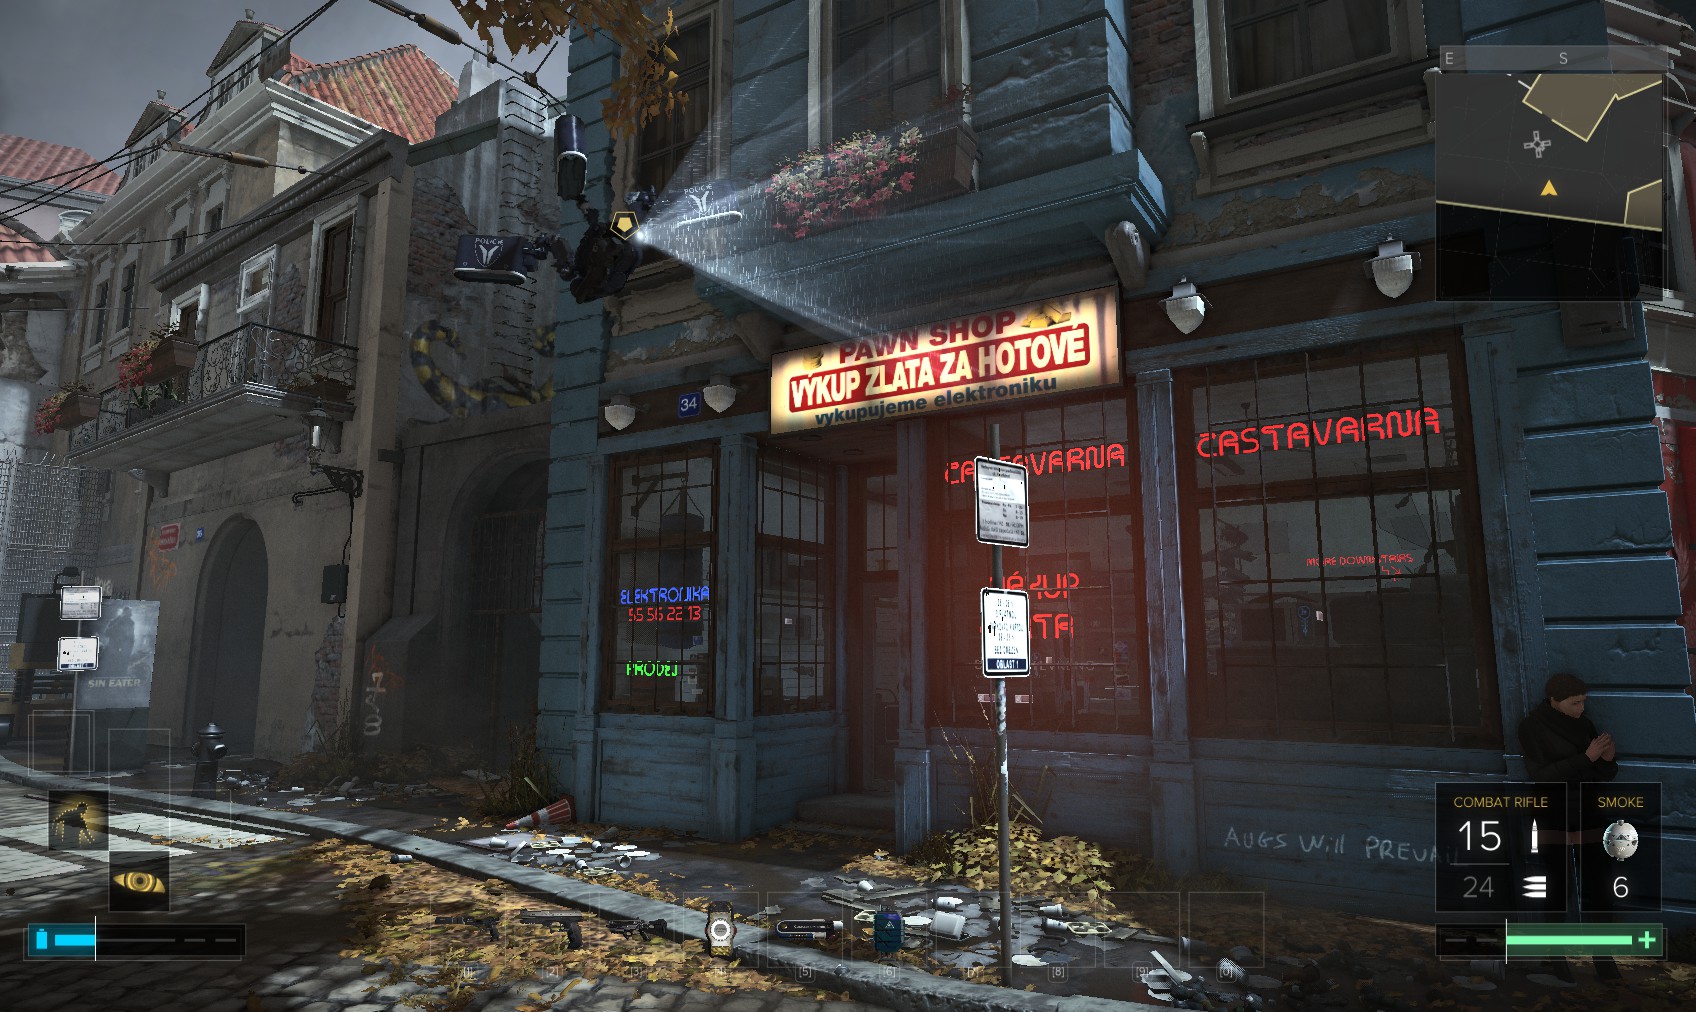
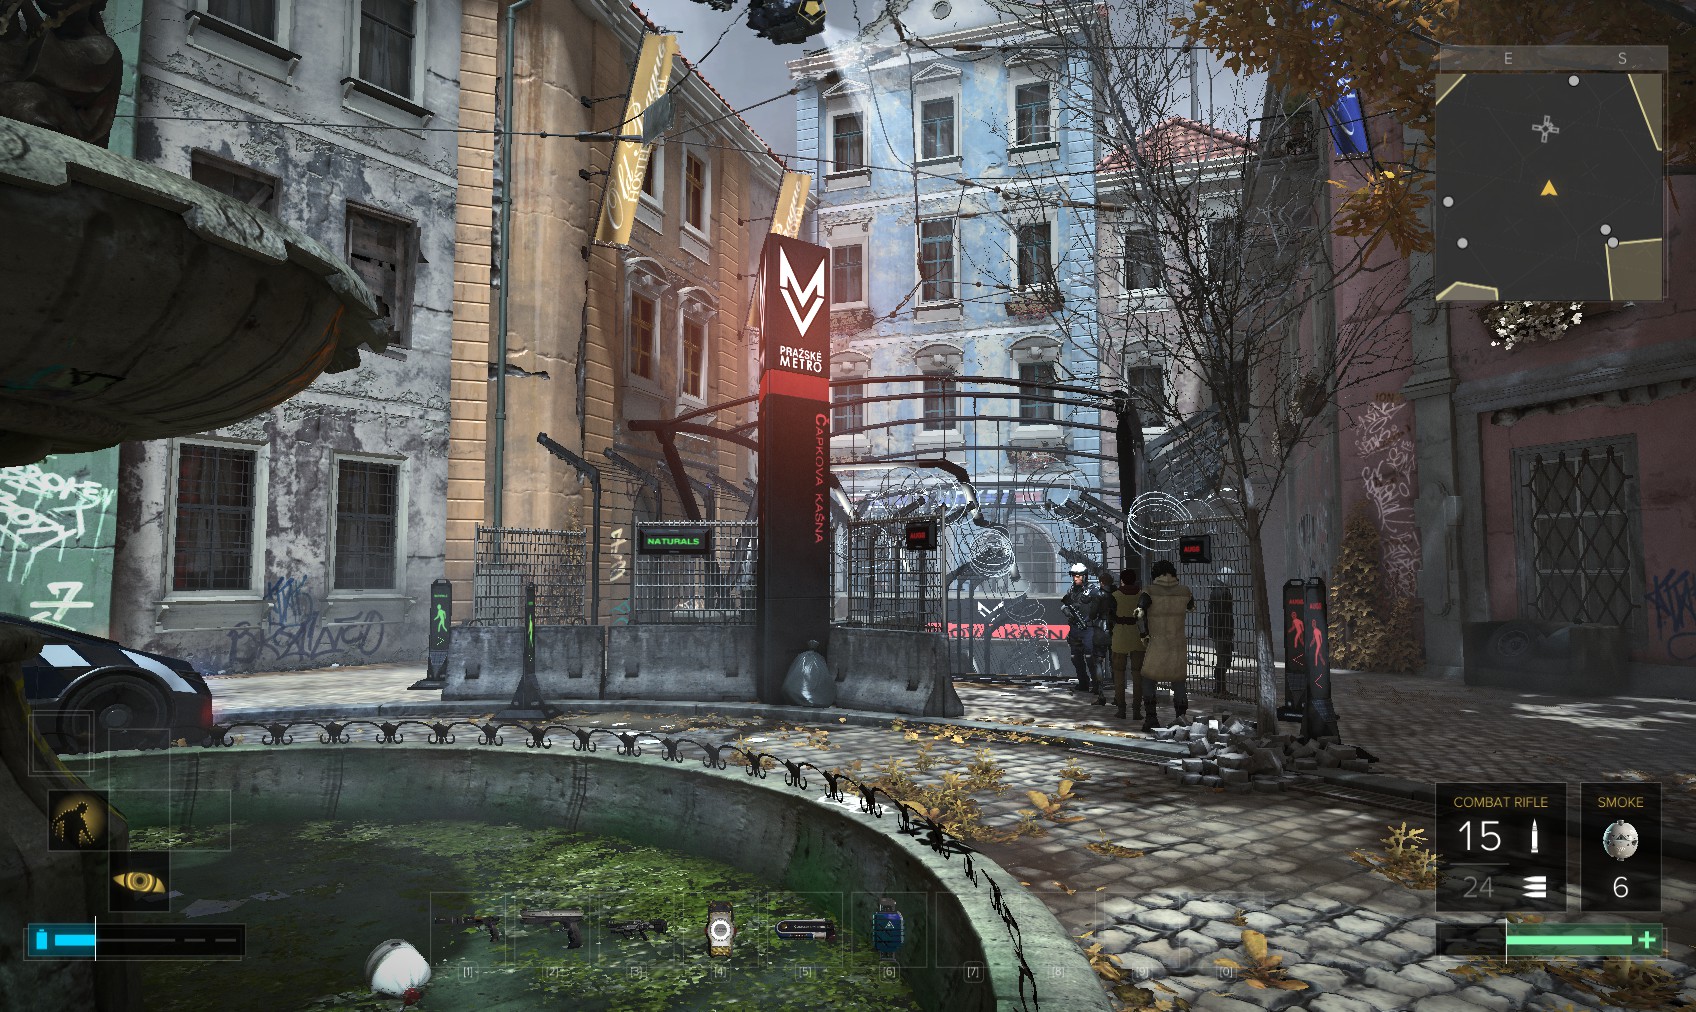
49. I head out of the Northern exit from Zelen, and round to the police checkpoint. Beyond it is this pawn shop. Wait for the security drone to move away before hacking the level 5 door for hacking software.
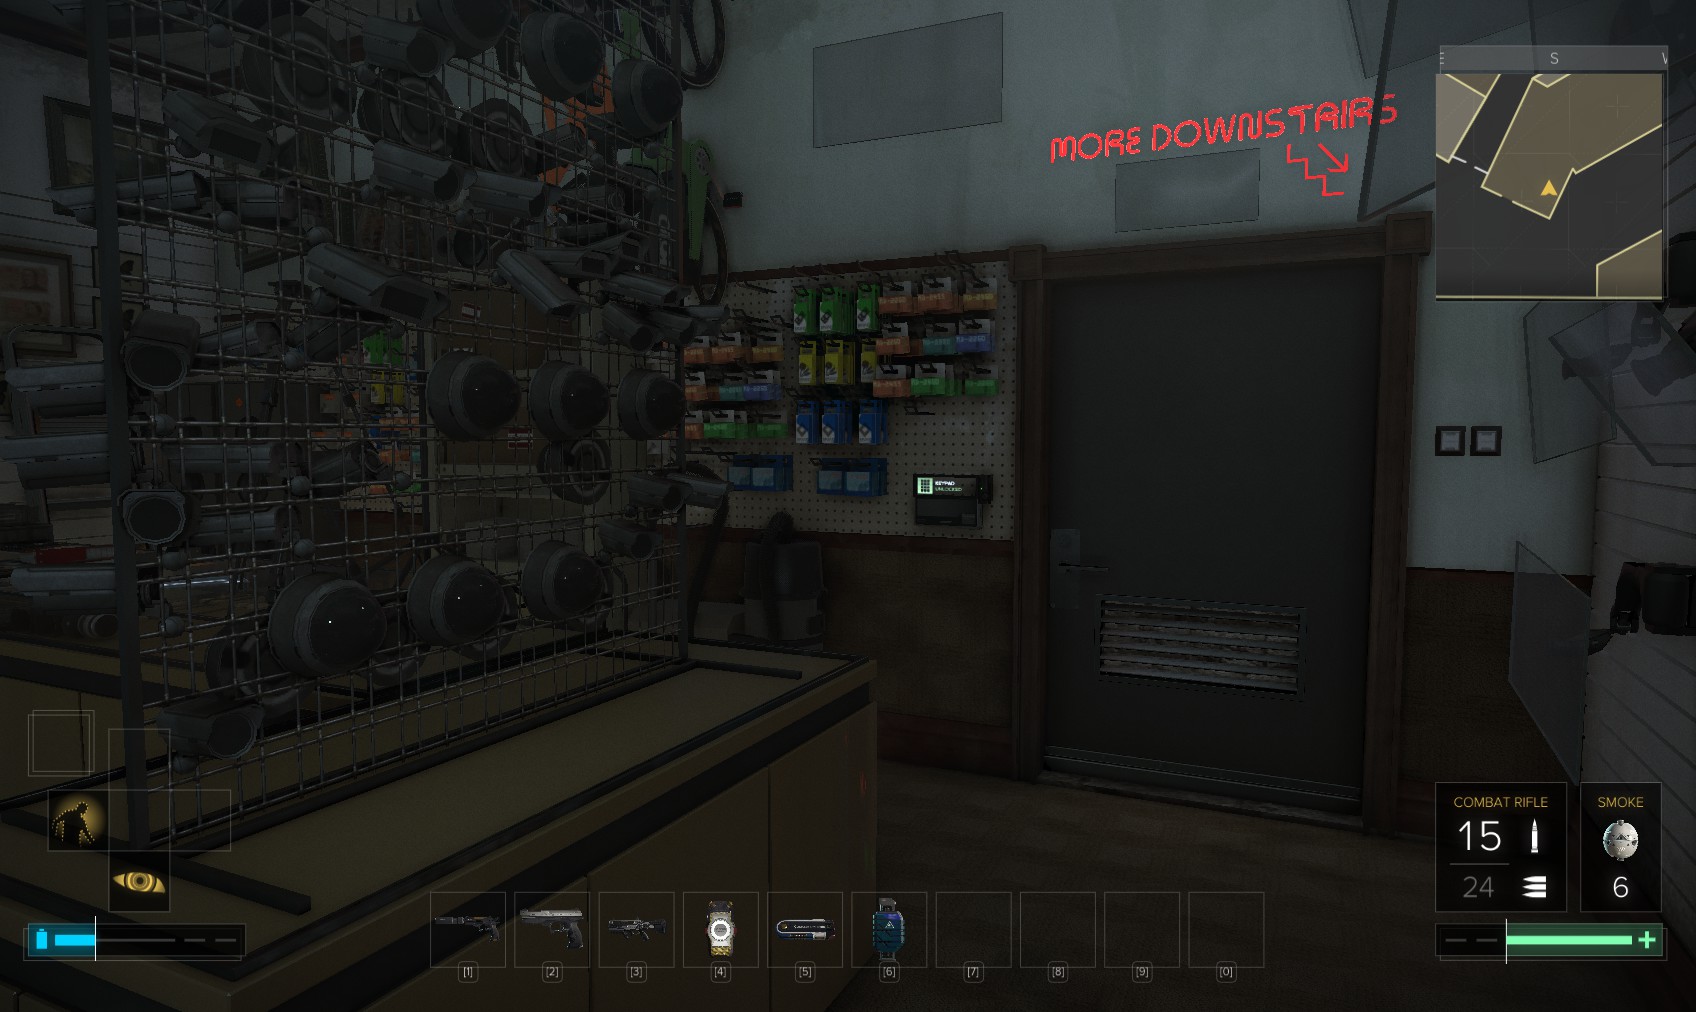
50. Another level 5 door inside with more software leads downstairs.
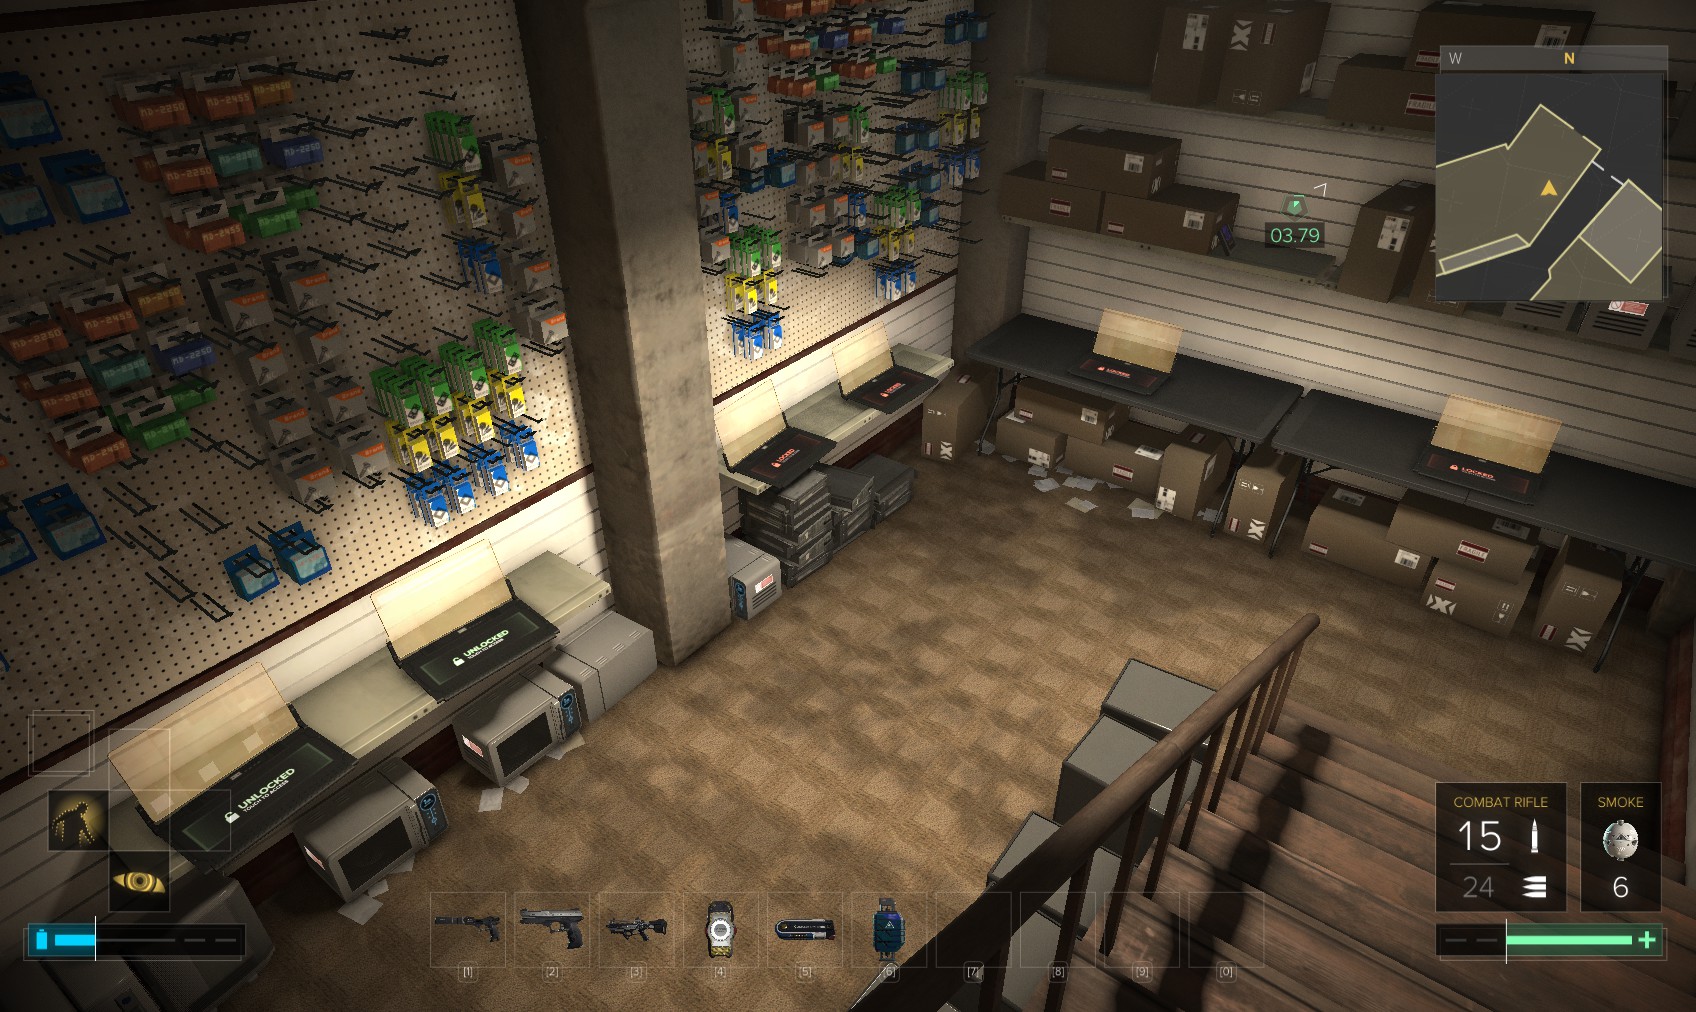
51. All these PCs are level 1, and have the same email message. You can do it just for the XP (80 each) though! Hunt around for hacking tools and credits too.
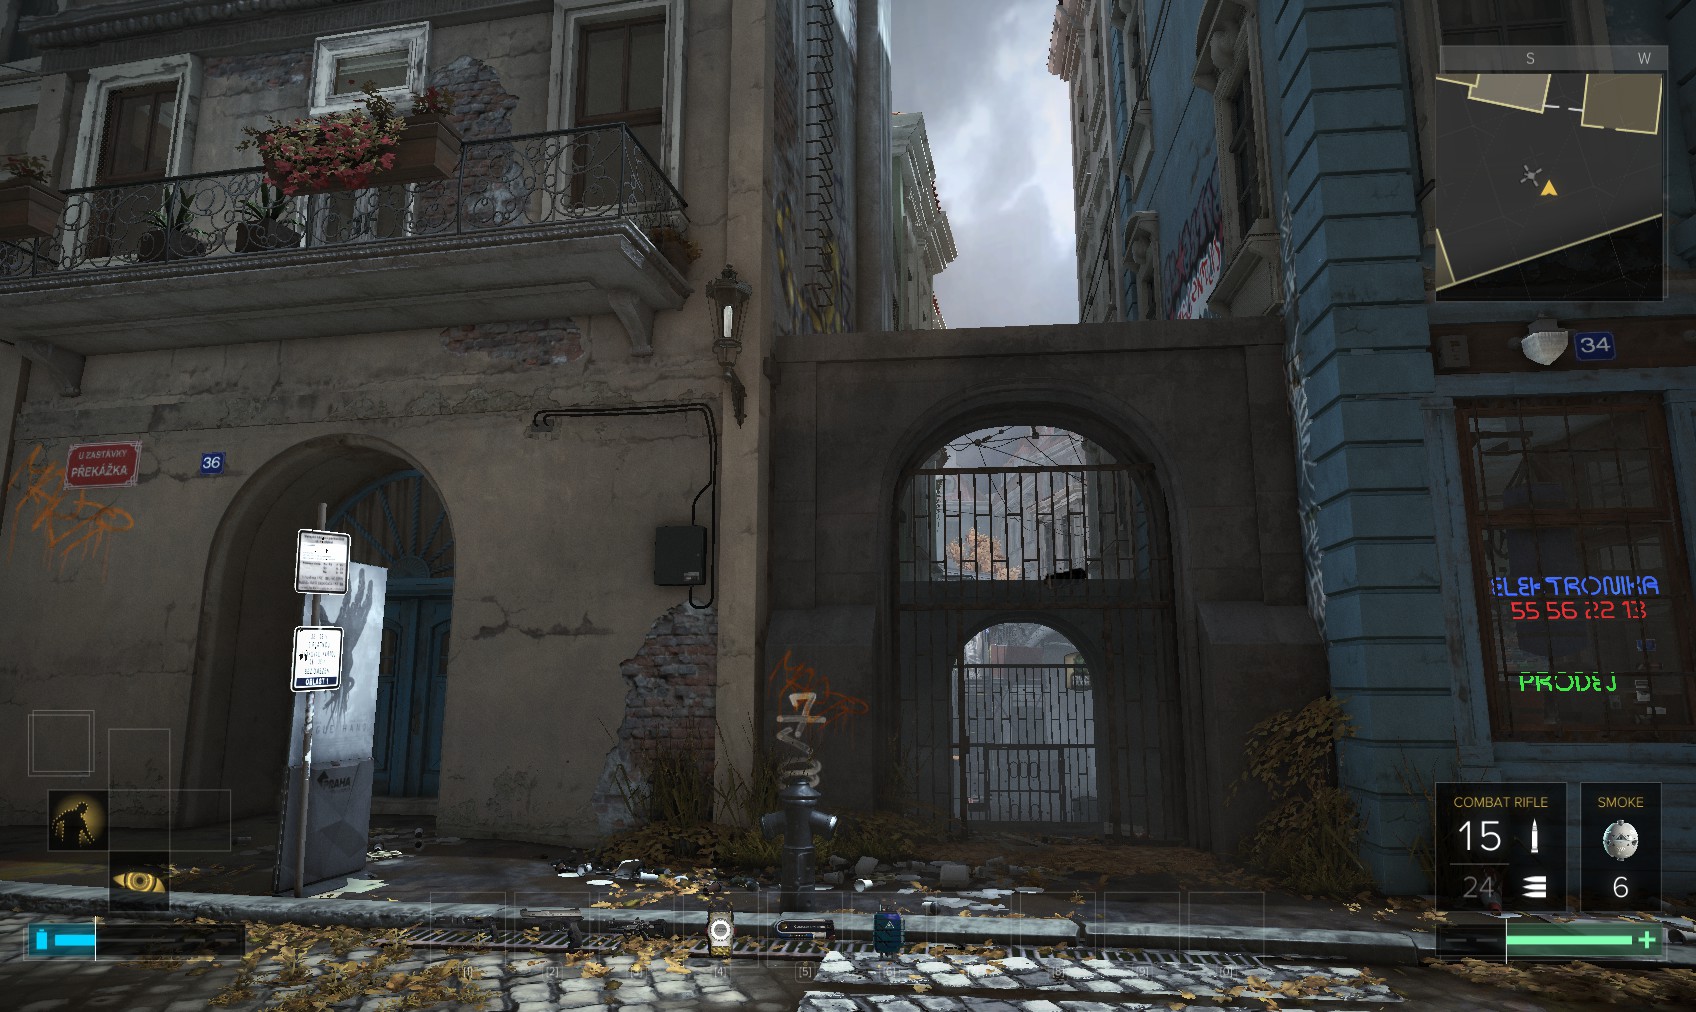
52. Back outside, the gate on the right is an alternate entrance to Koller’s Time Machine. The gate is an easy level 1 hack for 60XP by now (it has the same code as Koller’s delivery entrance: 1984 for 250XP). Climb up to the apartment on the left.
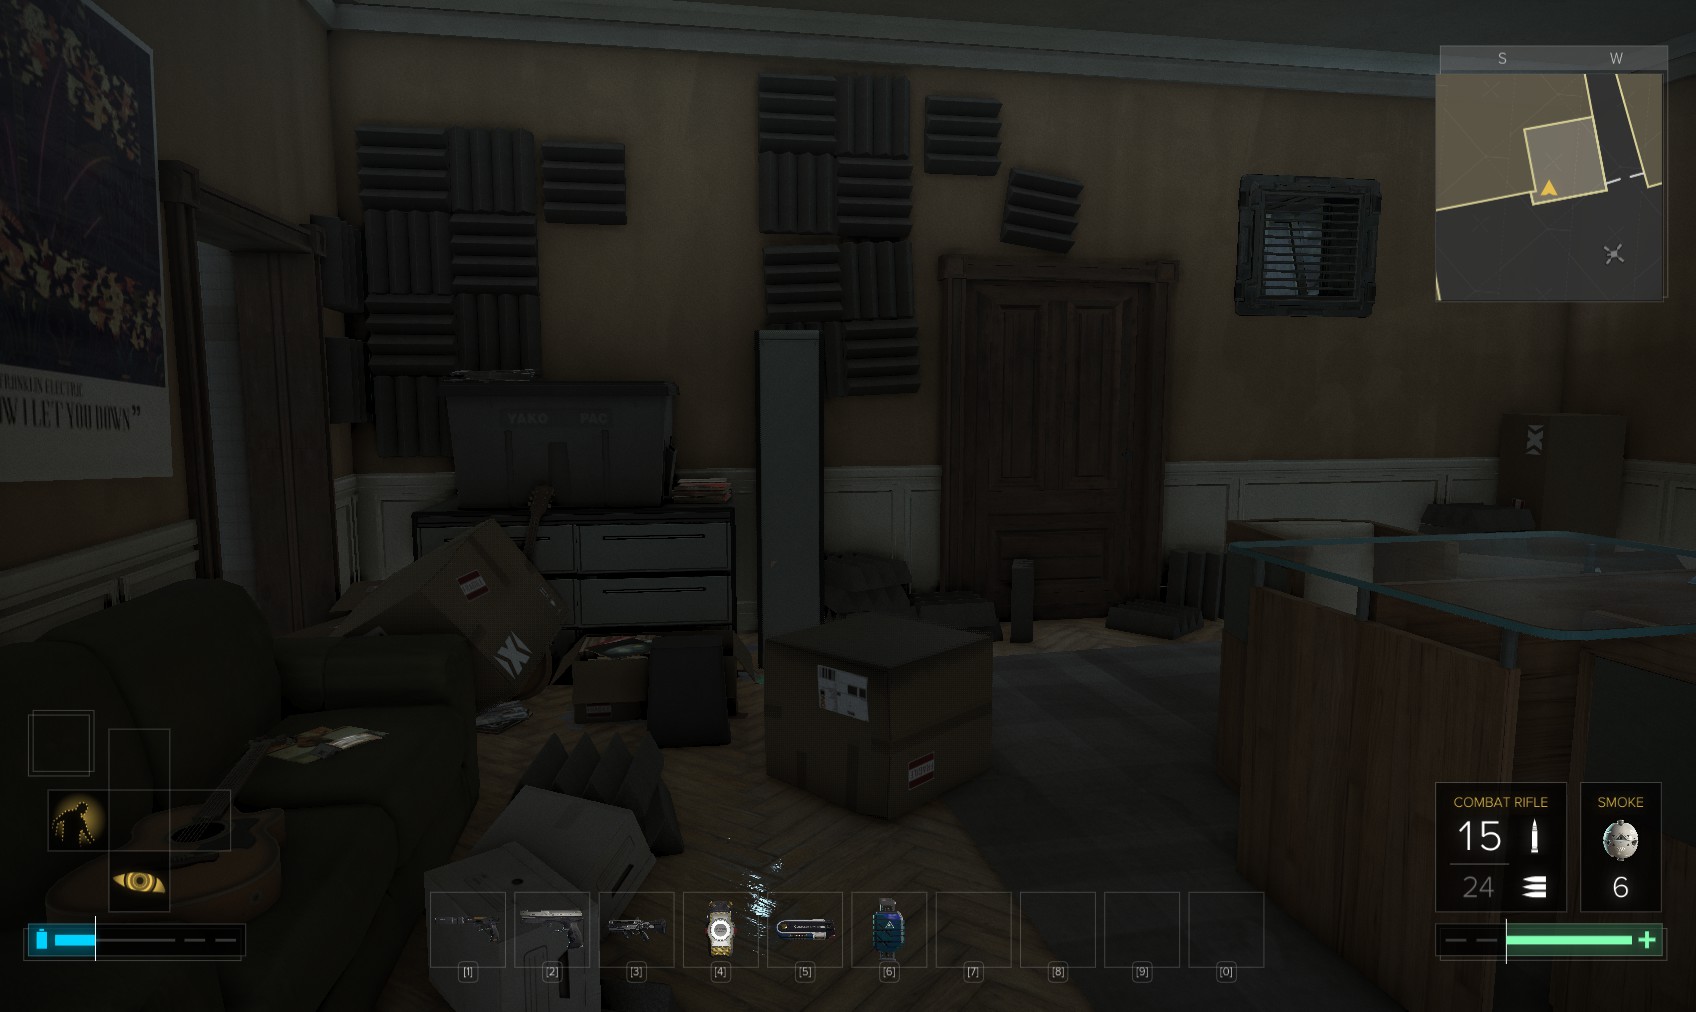
53. A pocket secretary suggest the owner of the Music Box used to live here. Another EBook about the Machine God is on the table. I head out of the vent, revealing another alternate entrance to Koller’s Time Machine.
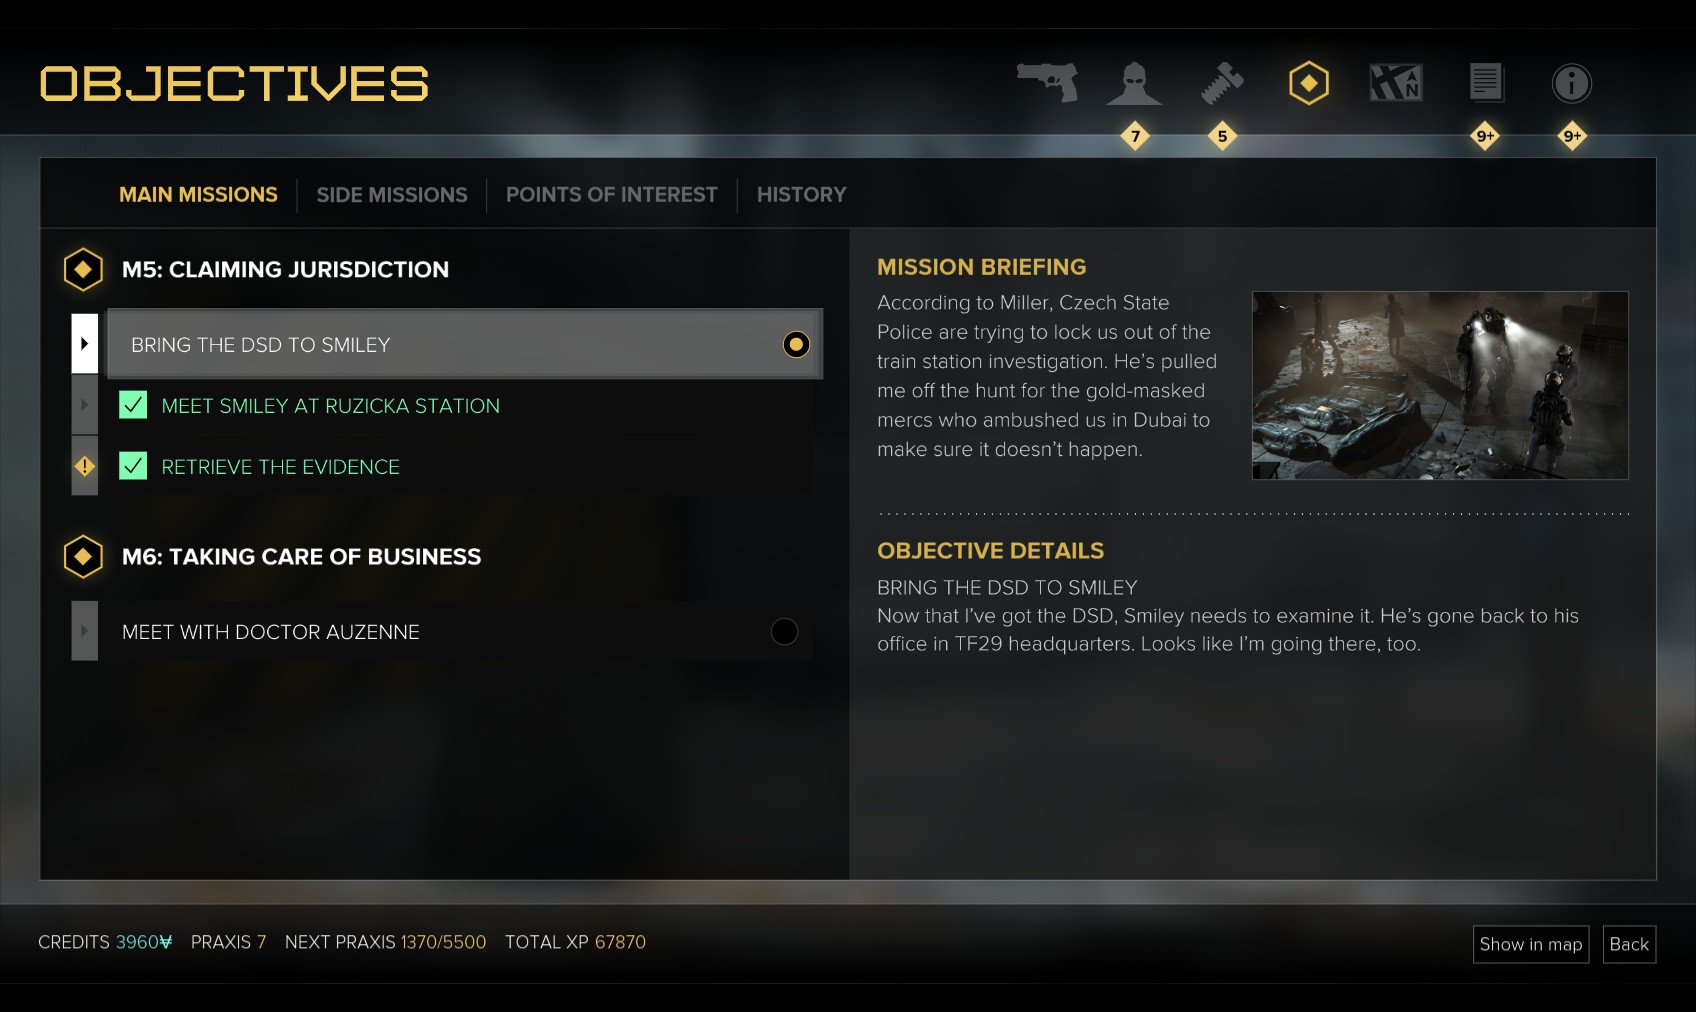
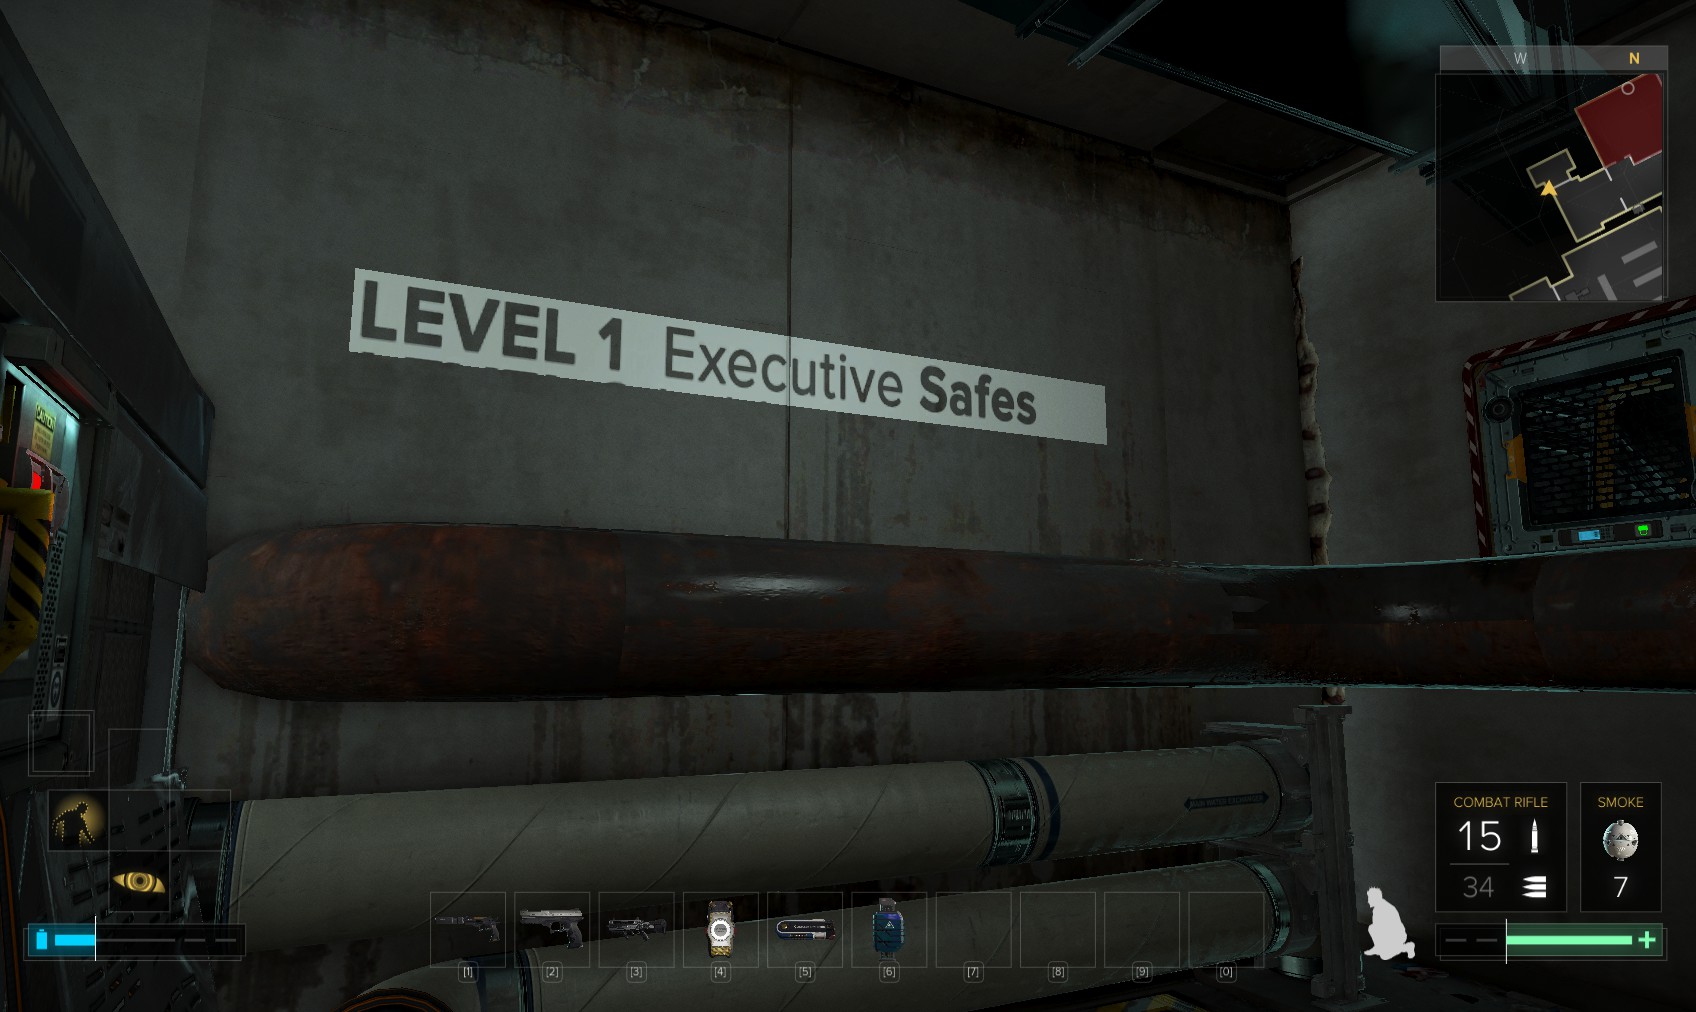
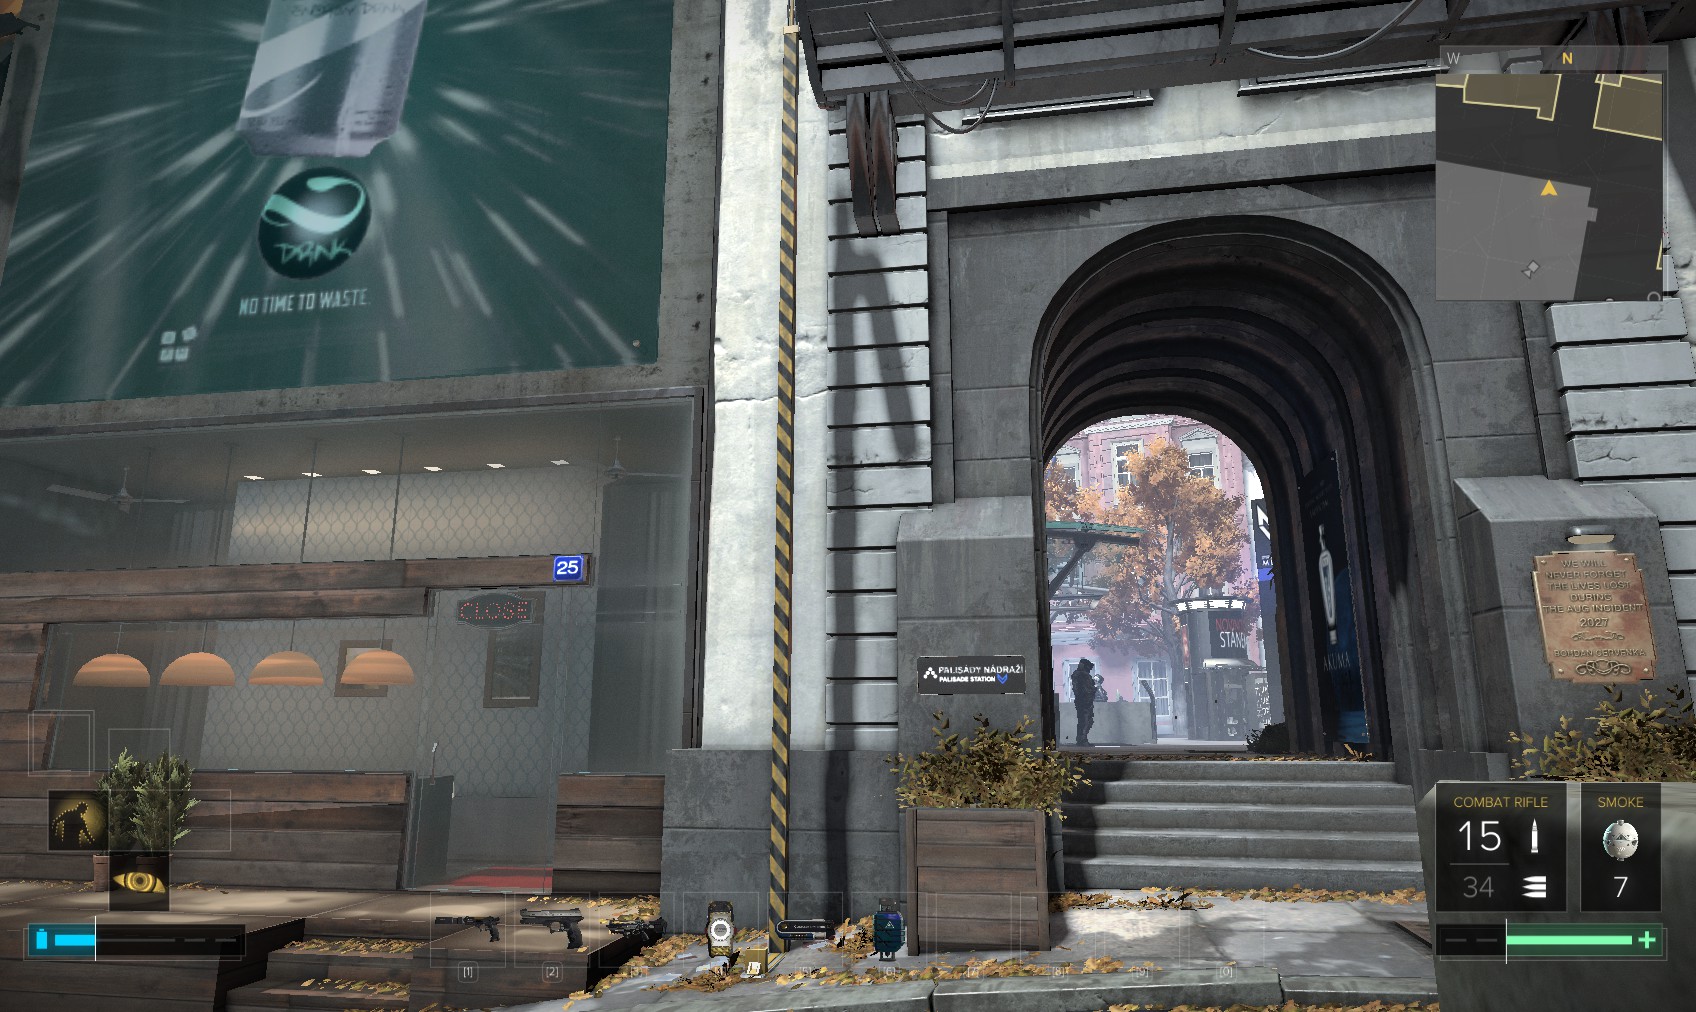
54. Ok, we haven’t completely exhausted the nooks and crannies of the Překážka district (in fact if you go back to the forger's room in the Toy Factory, you will find a Triangle Code under the refrigerator, now that you can lift heavy objects), but it really is time for work now. Head to the metro, and travel to Palisade station in Čistá Čtvrť.
55. When you arrive, Miller contacts you to say you’re off to Golem city, and you need to call in to TF29 before you go.

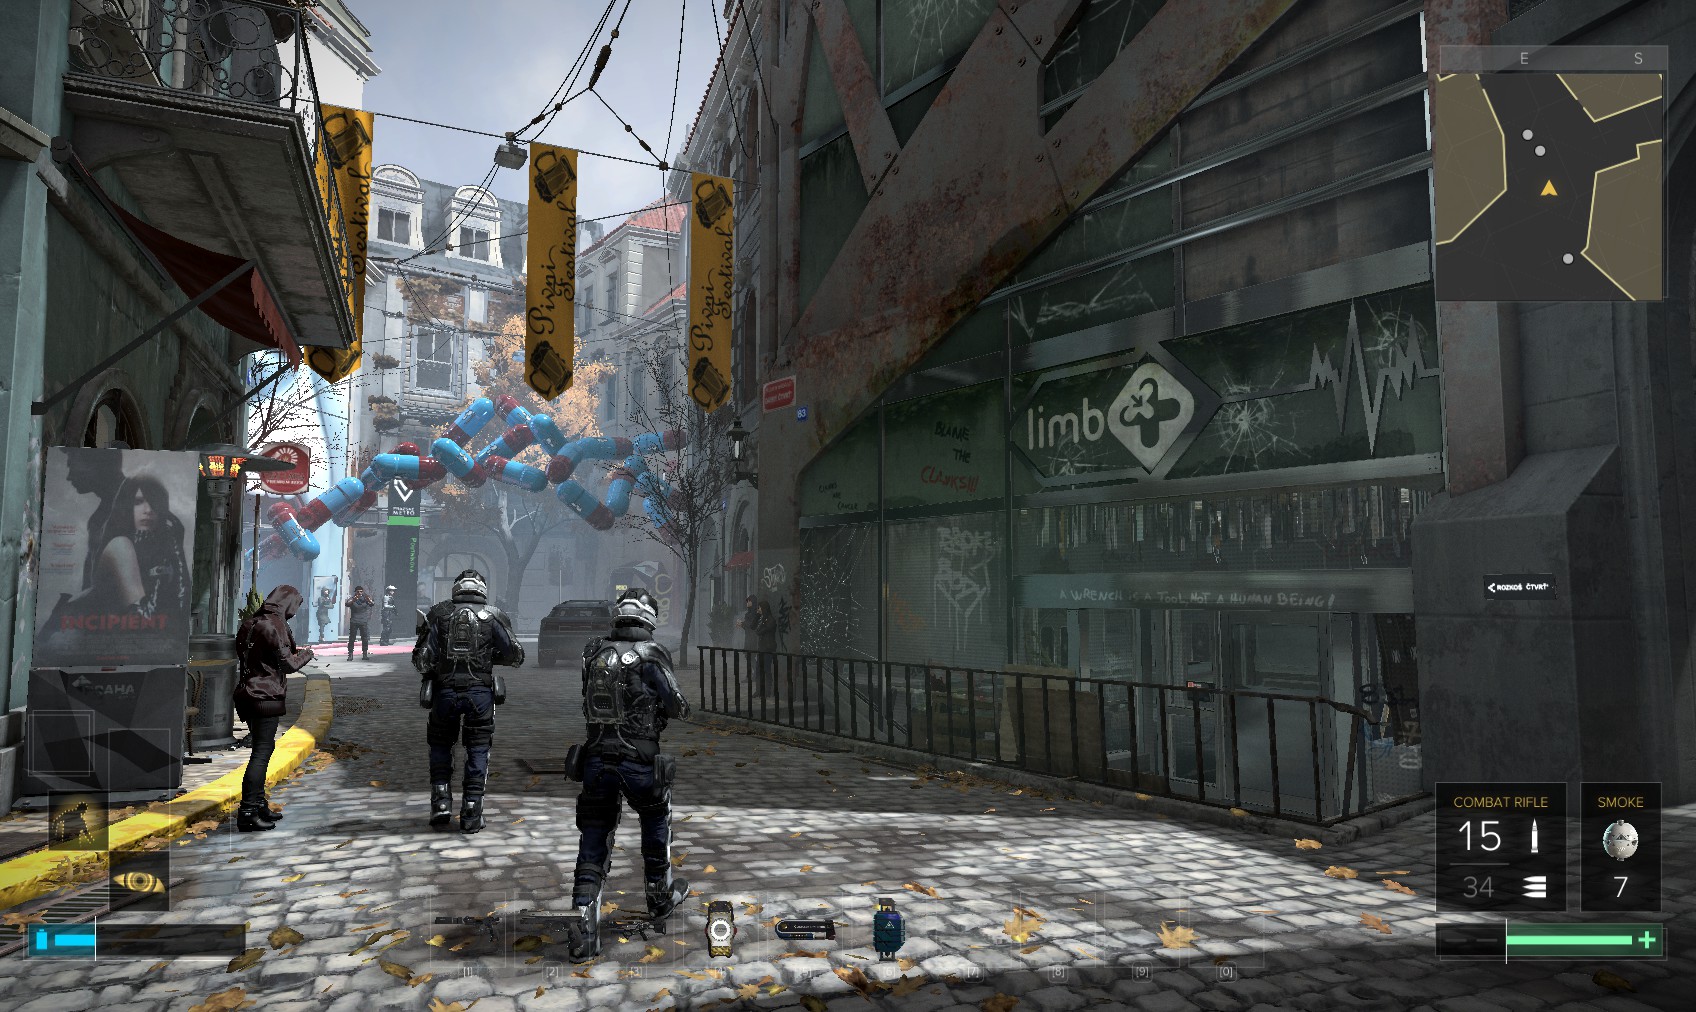
56. First we need to deal with Samizdat - 'K' wants us to effectively rob a bank!. Head South from the Metro to this little place.
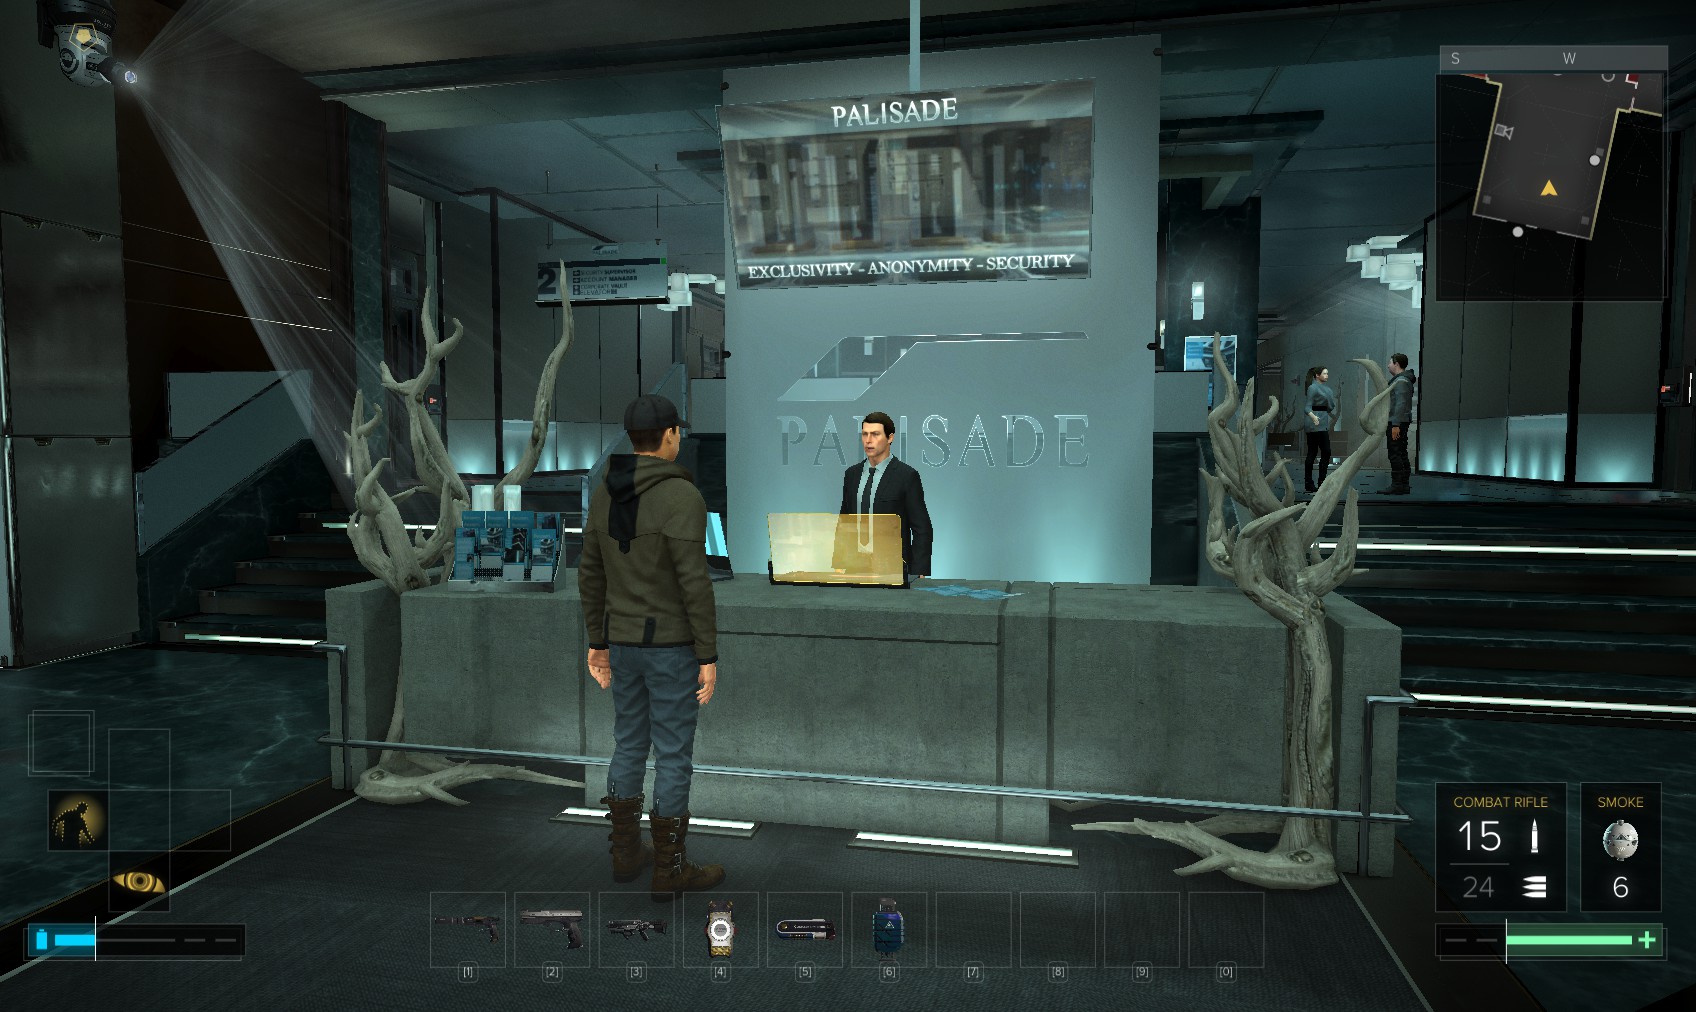
57. There are multiple ways in, but we’ll try the direct approach first. Talk to the receptionist for some gushy talk about how secure the place is. We’re going to put it to the test. Don’t miss a nearby EBook about Bob Page for background.

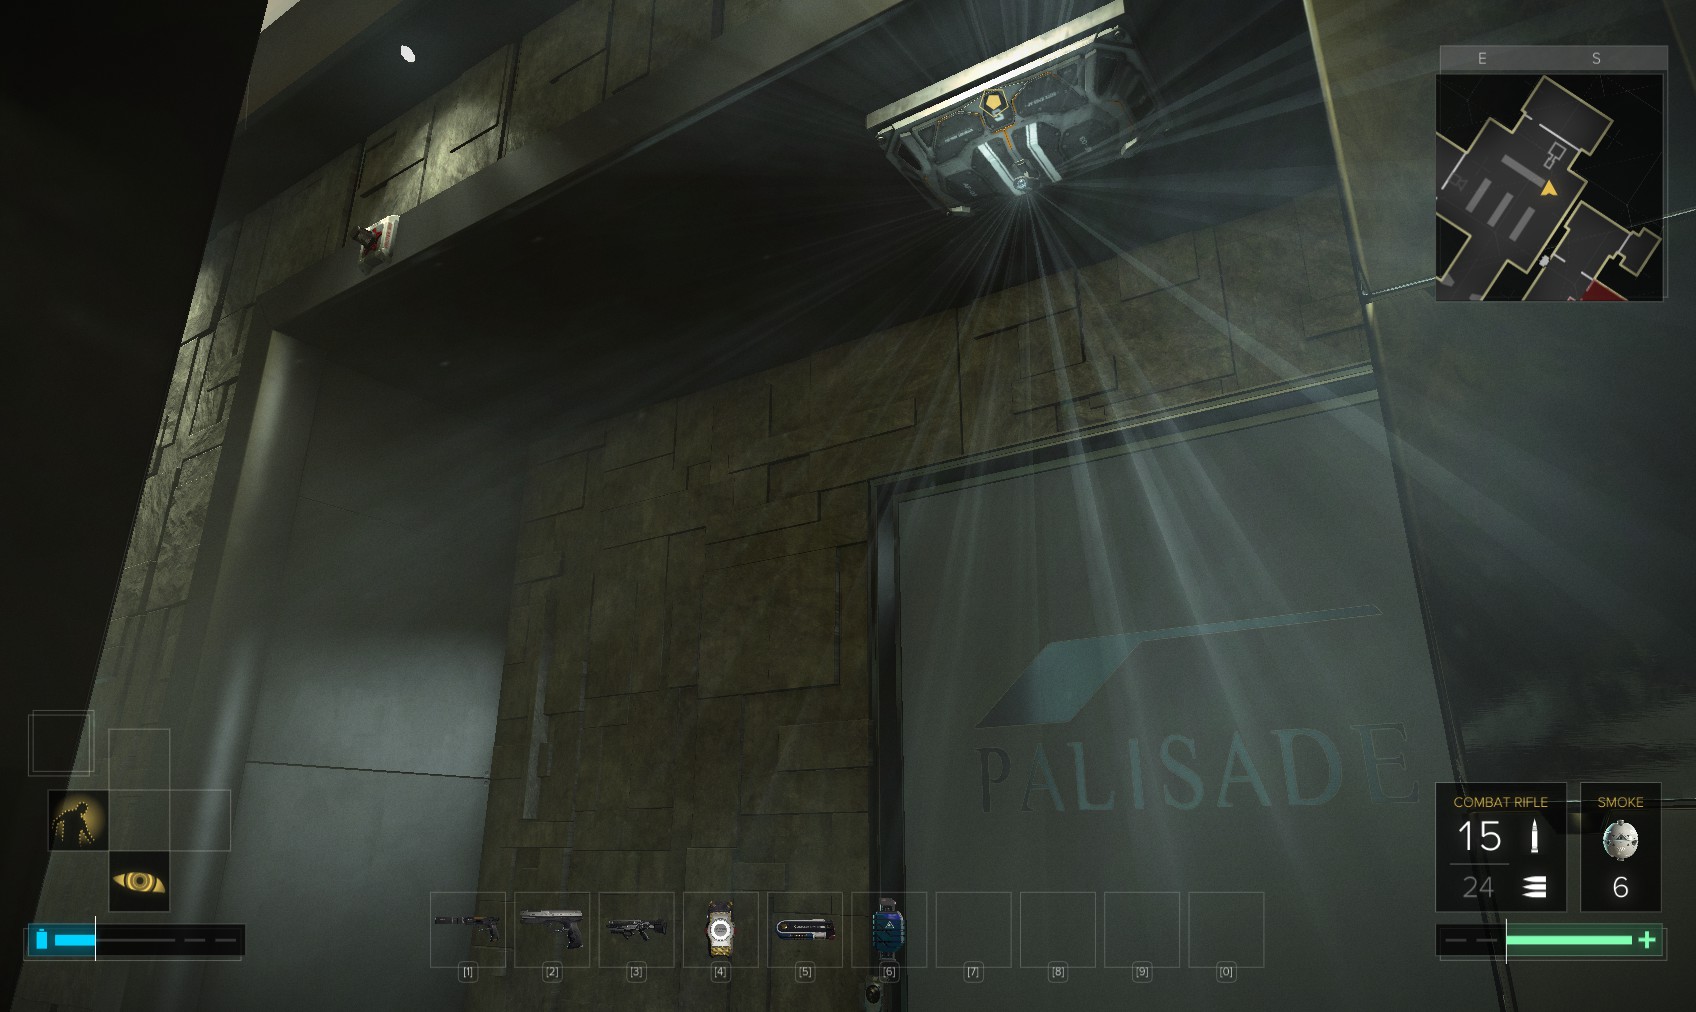
58. Security certainly looks impressive.
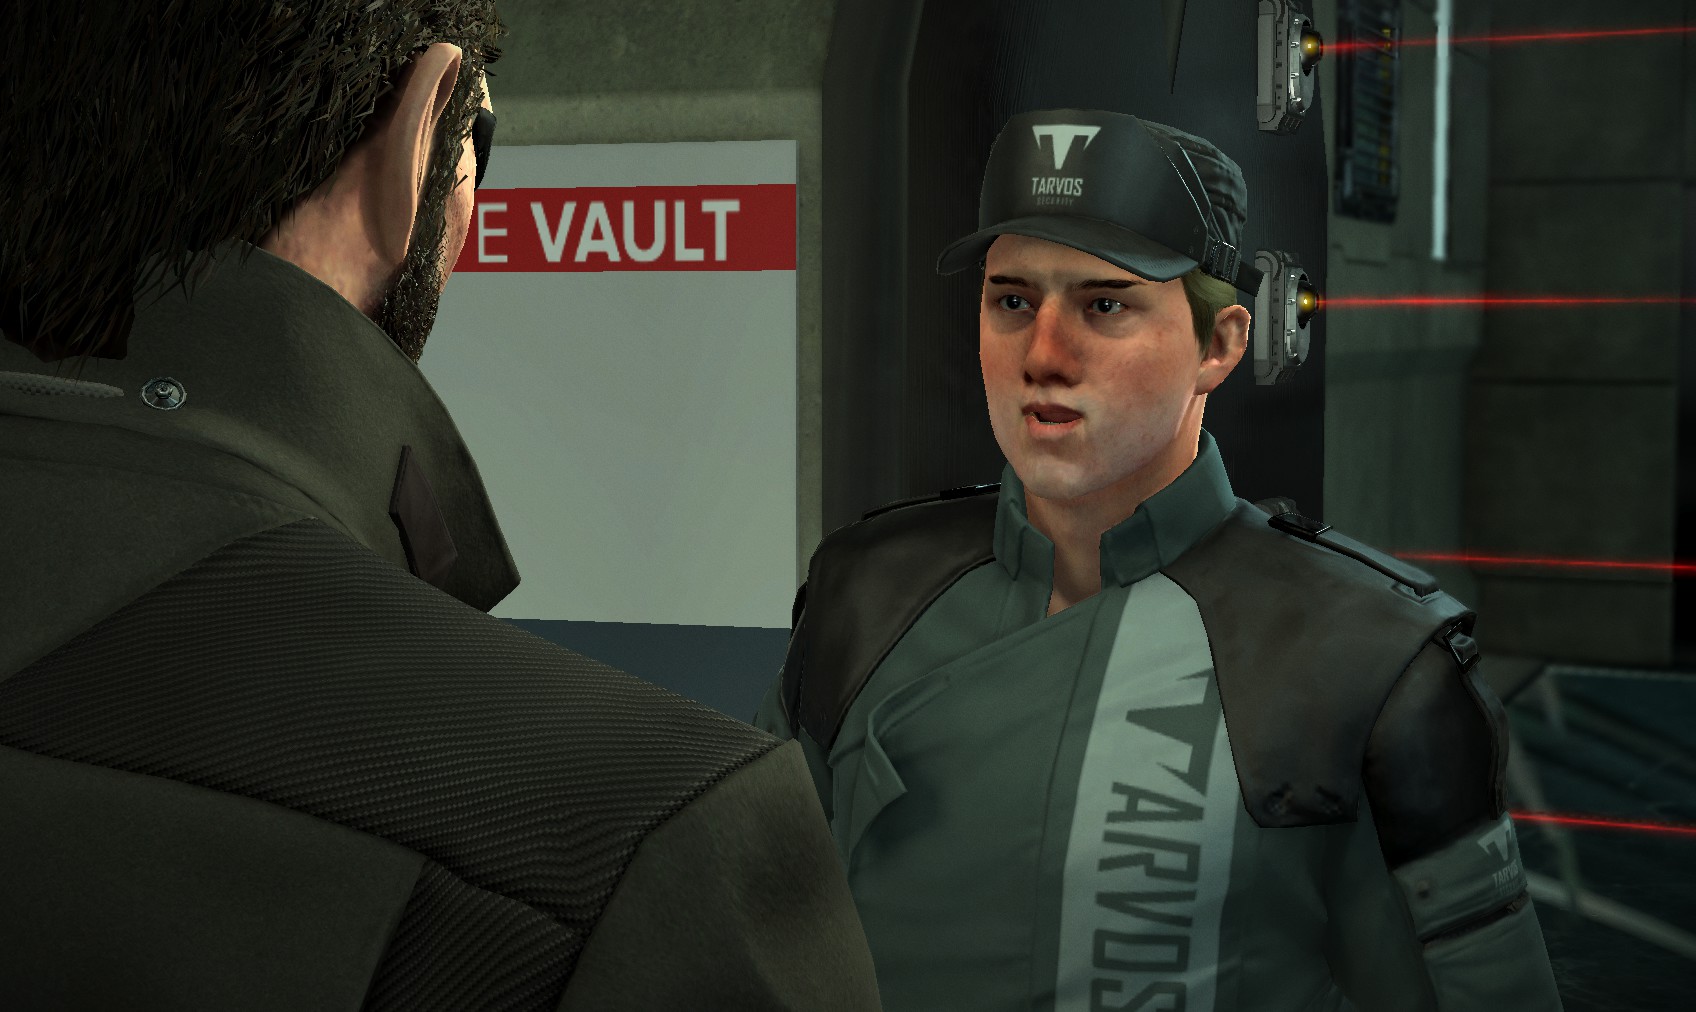
59. Approach the guard in front of the corporate vaults to get told you can’t go in. "You need an appointment, and there are no appointments today." That’s you told! We haven’t got time to go raiding the corporate vaults on this visit anyway.

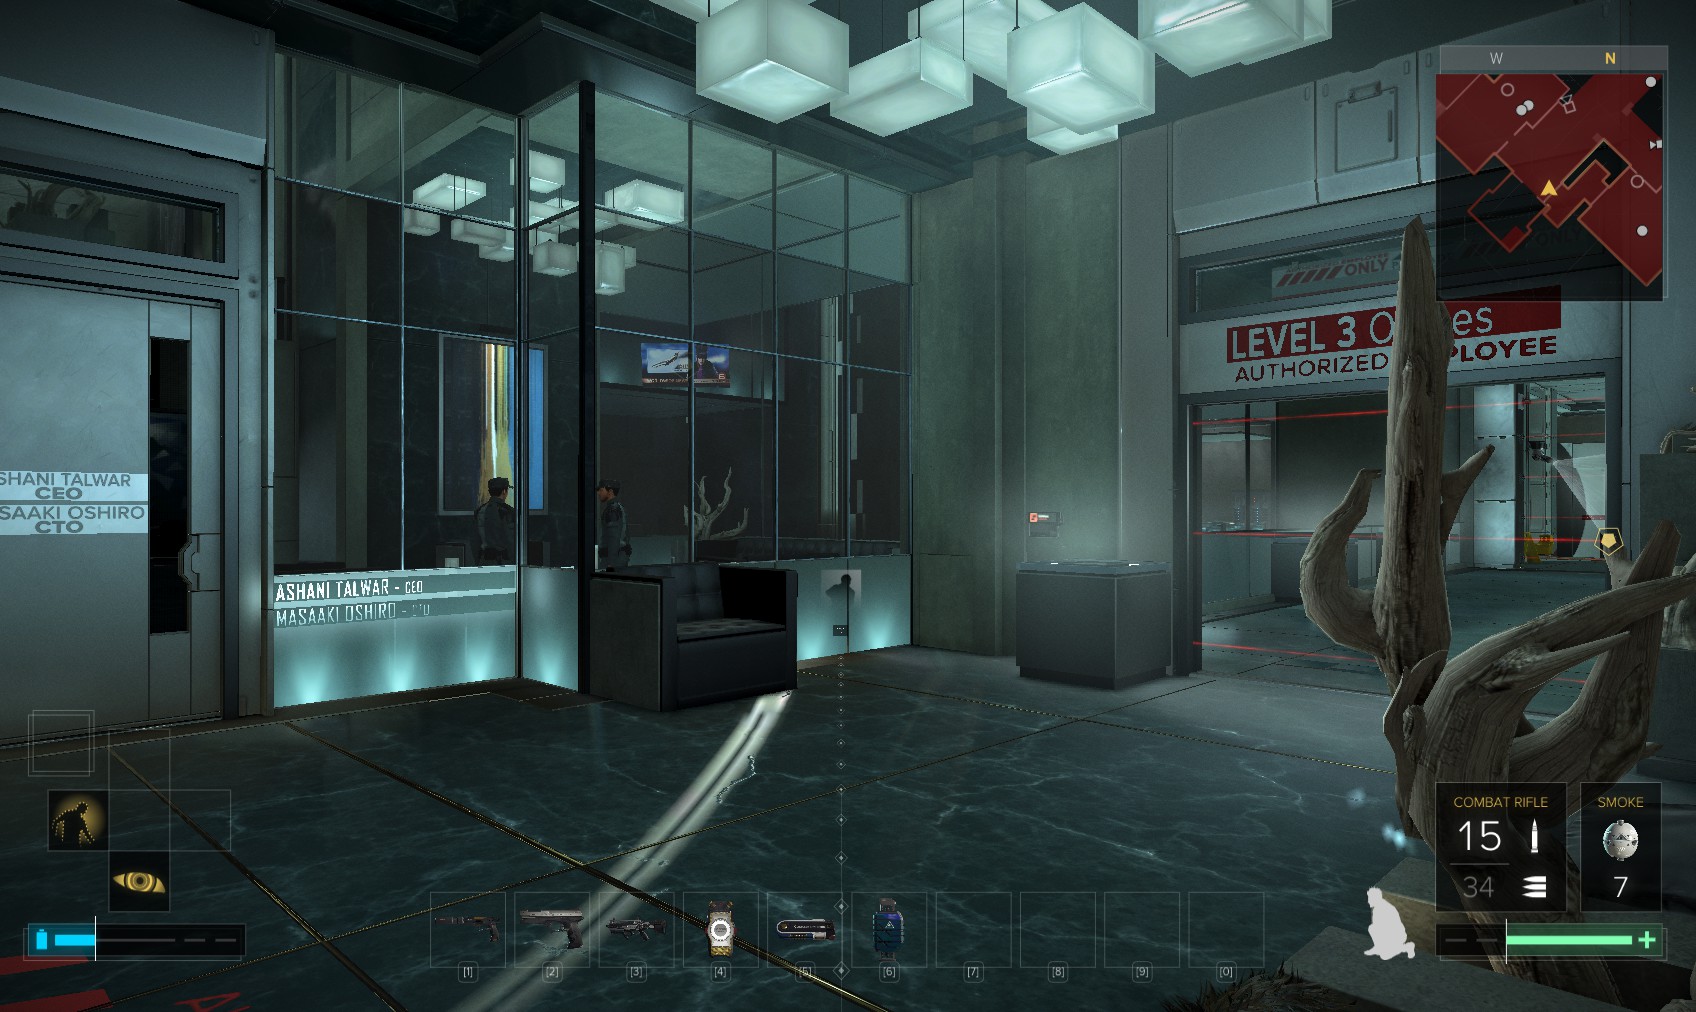
60. The CEO’s office is accessed on the North side, but it’s guarded. No stealthy way in the entrance. Likewise the other offices on this level - no chance of hacking our way in without raising an alarm.
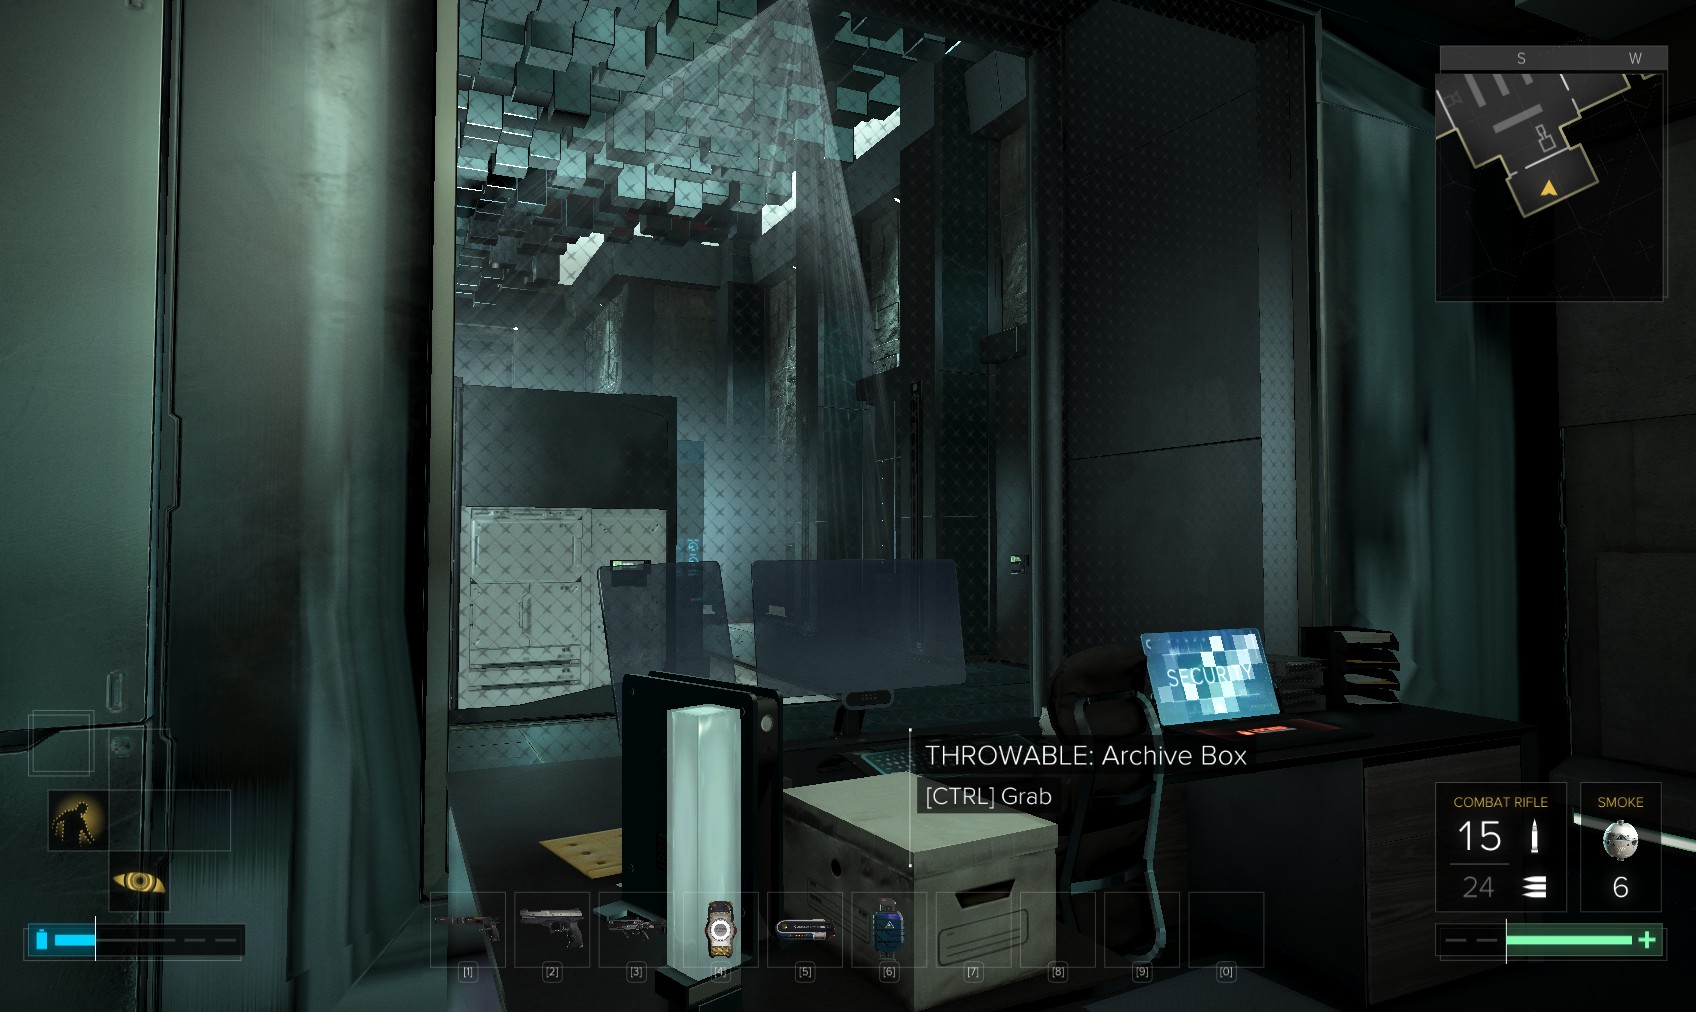
61. The Executive Boardroom is open, and has this pocket secretary from Tomas Romanek to Ivana Drahos with the code 0831. We note the weakened wall, just in case there’s no other option.
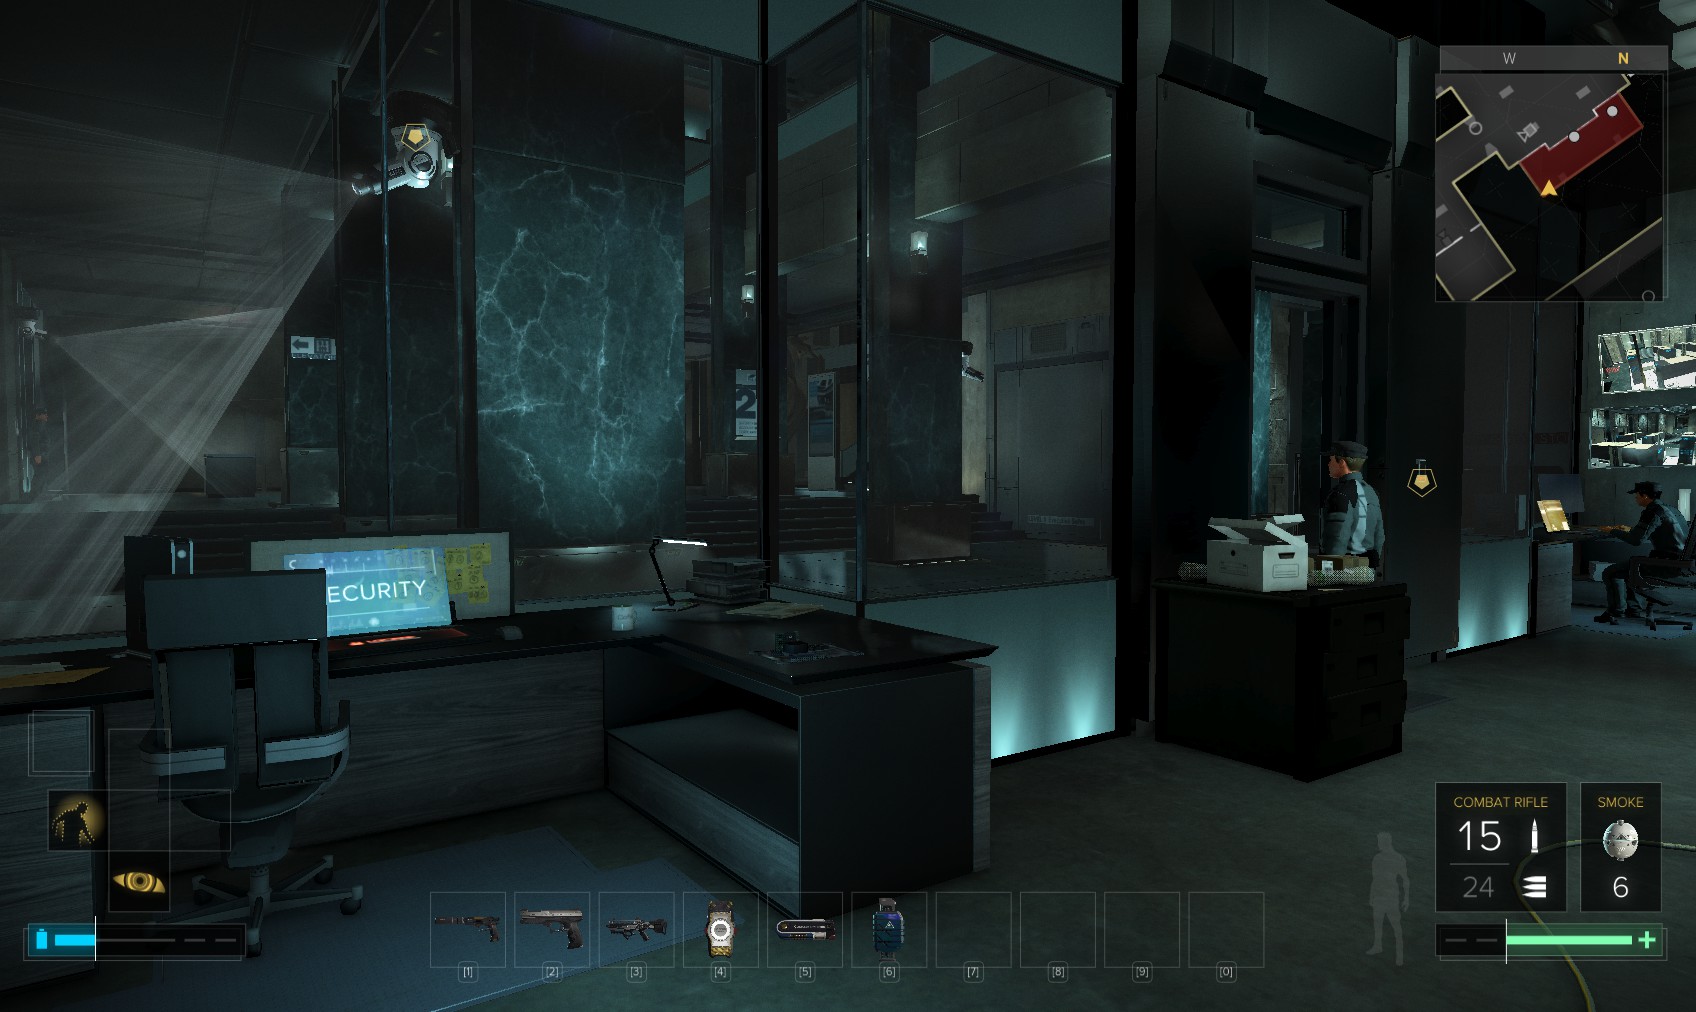
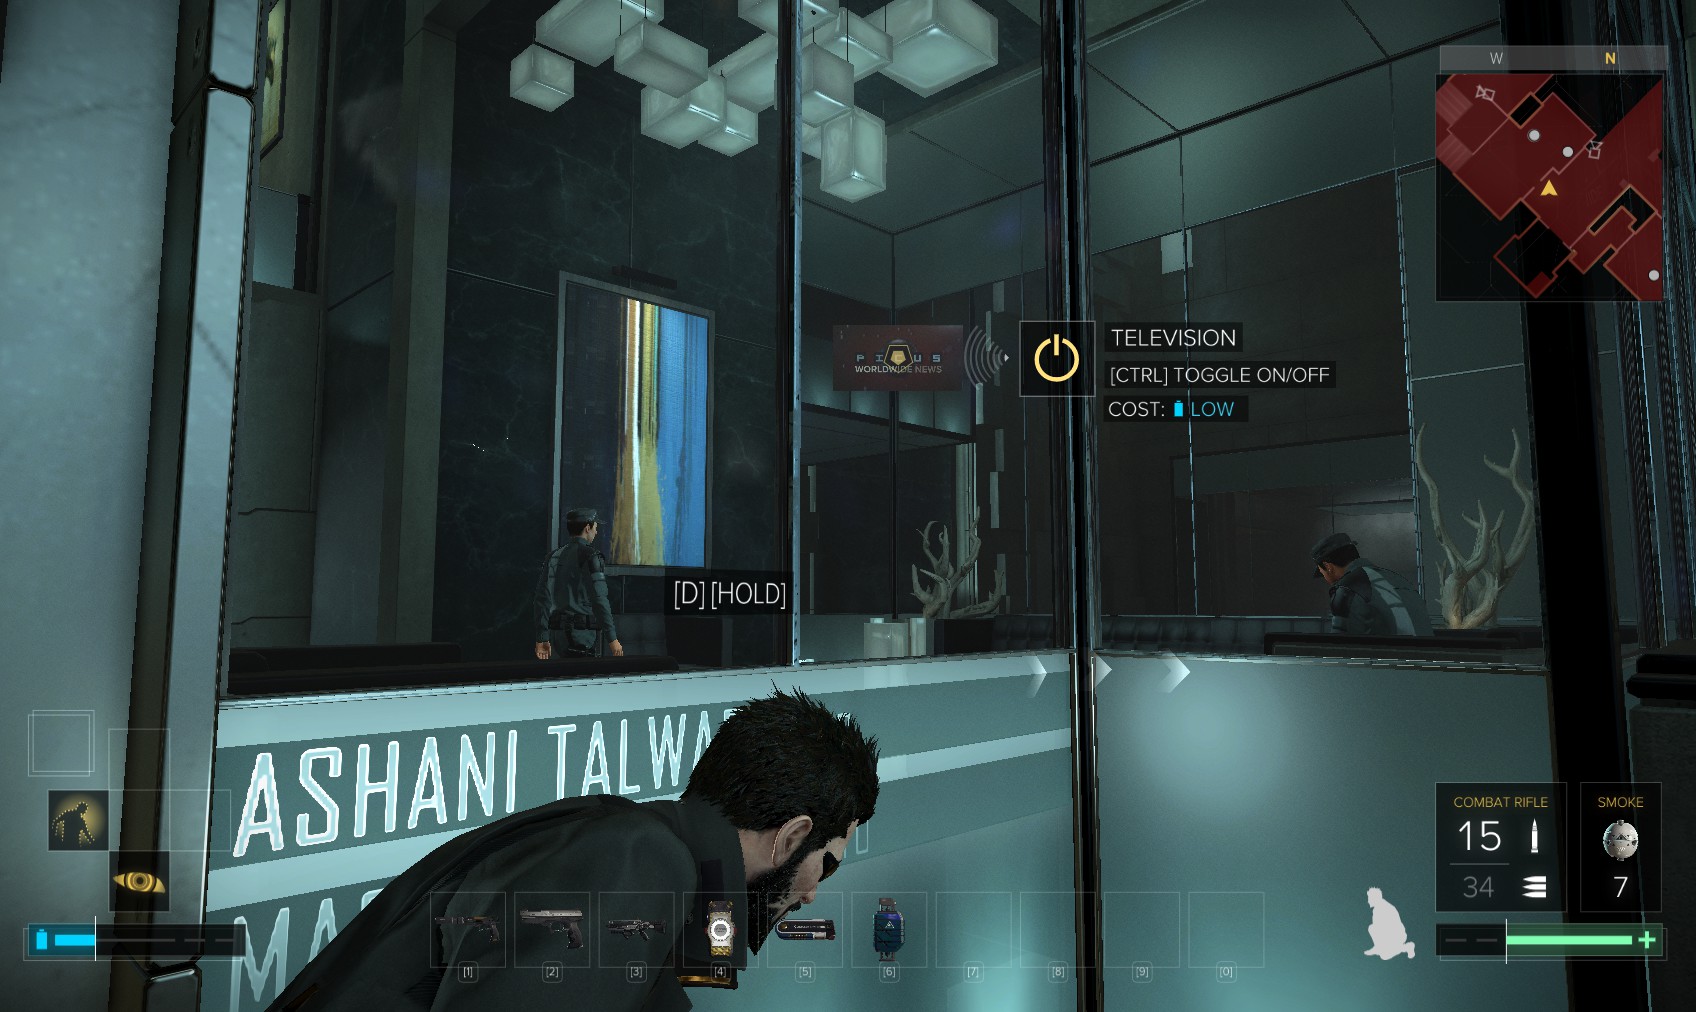
62. Tomas Romanek’s office is across the hall. Talk to everyone you see.
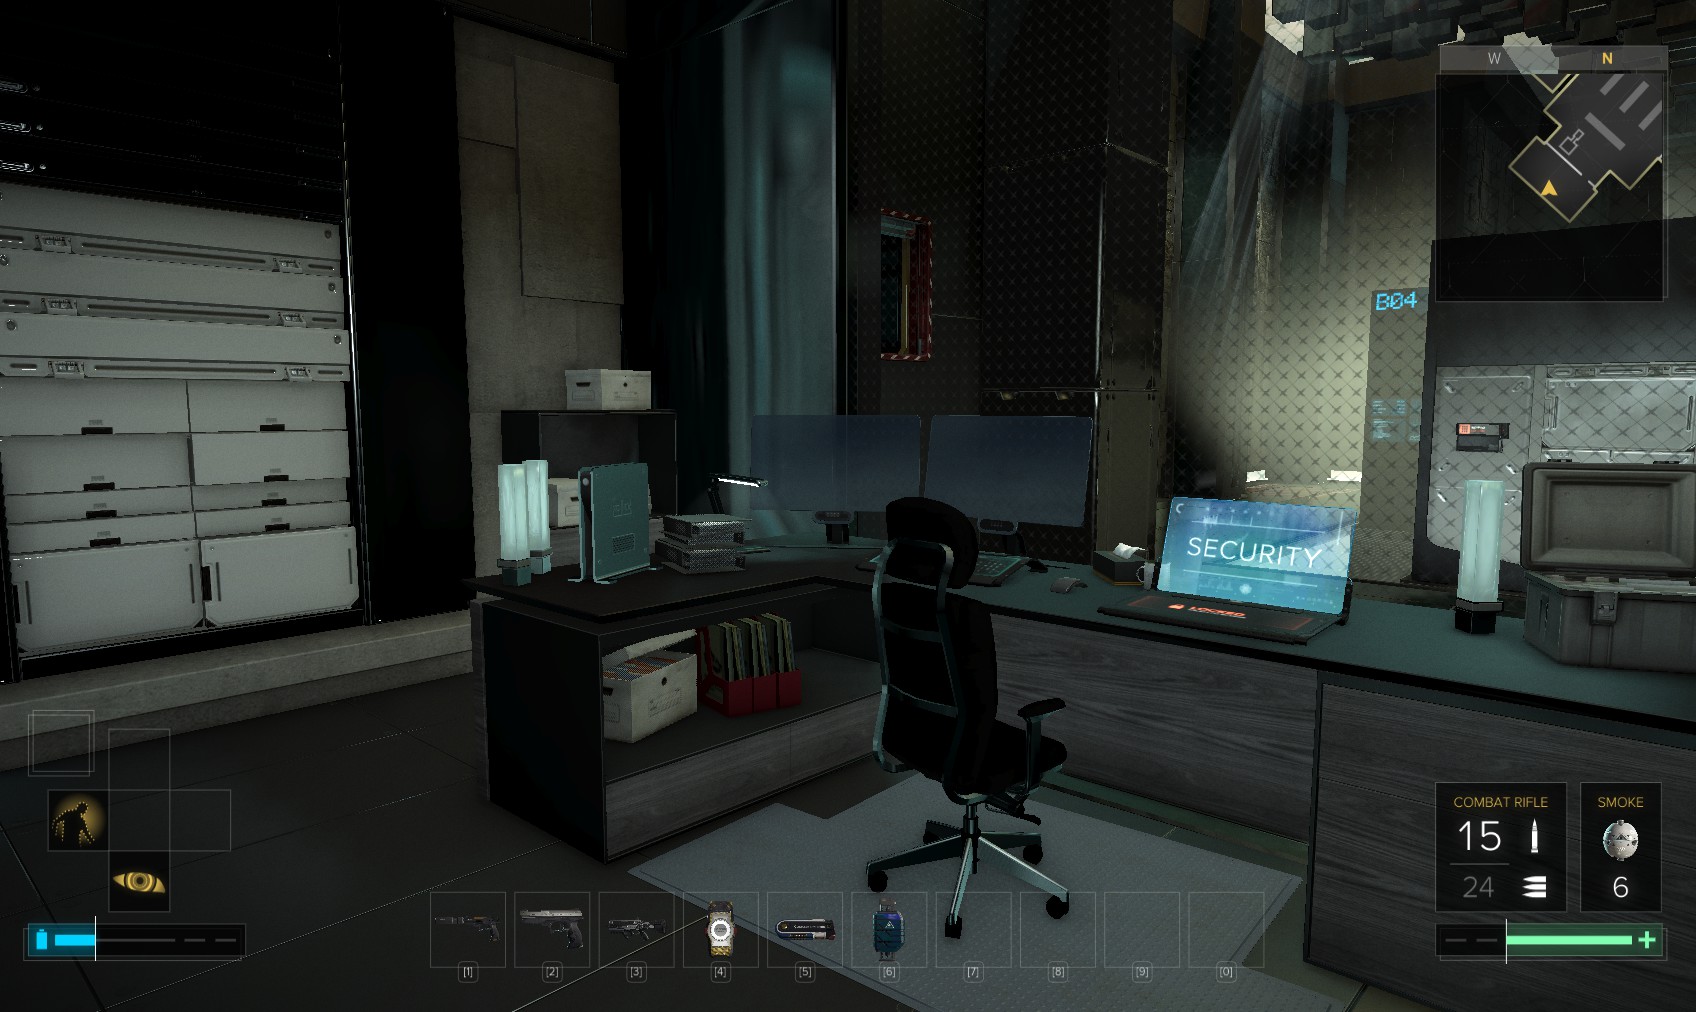
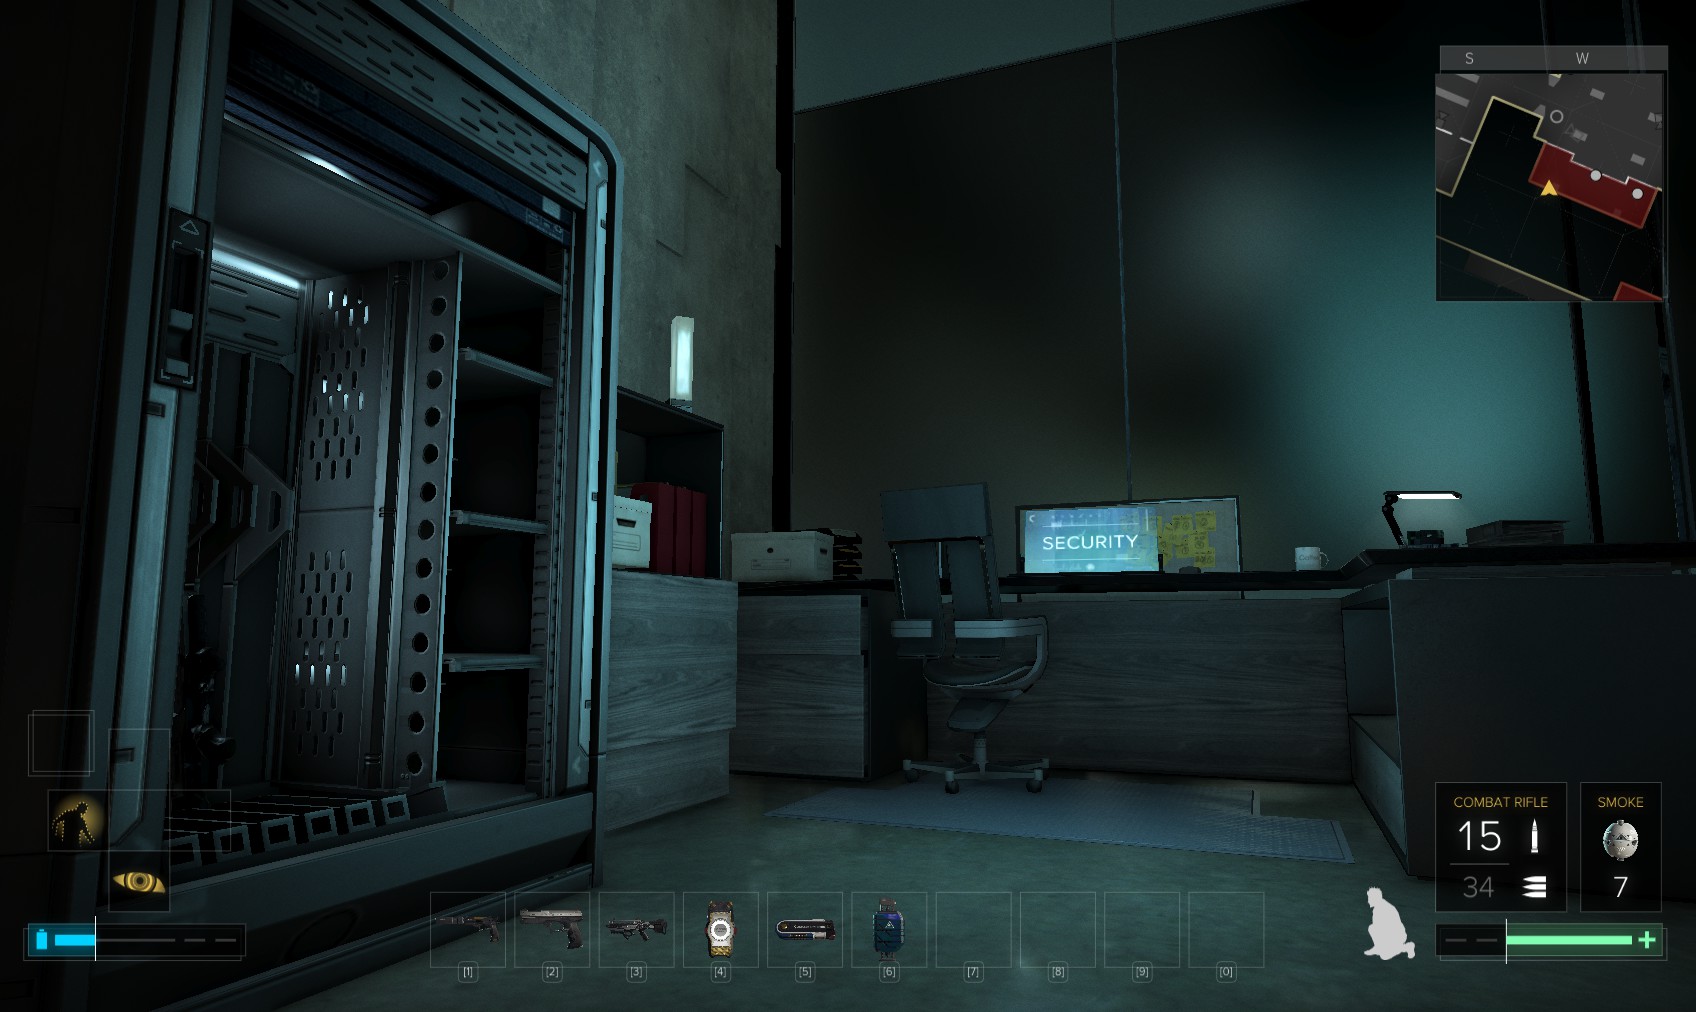
63. Wait for this guard to move away and a camera further left to face away. It actually does give you time to hack Romanek’s level 1 office door. Alternately use the code 0831 for an XP bonus. Read an EBook on a nearby table while you wait. Note that if anyone sees you entering, even if you used the code, the alarm will be raised.
64. Inside, this pocket secretary provides the code 1114 to the bank’s SDB in room A (whatever that is).
65. On the desk is an elevator card. Swipe that.
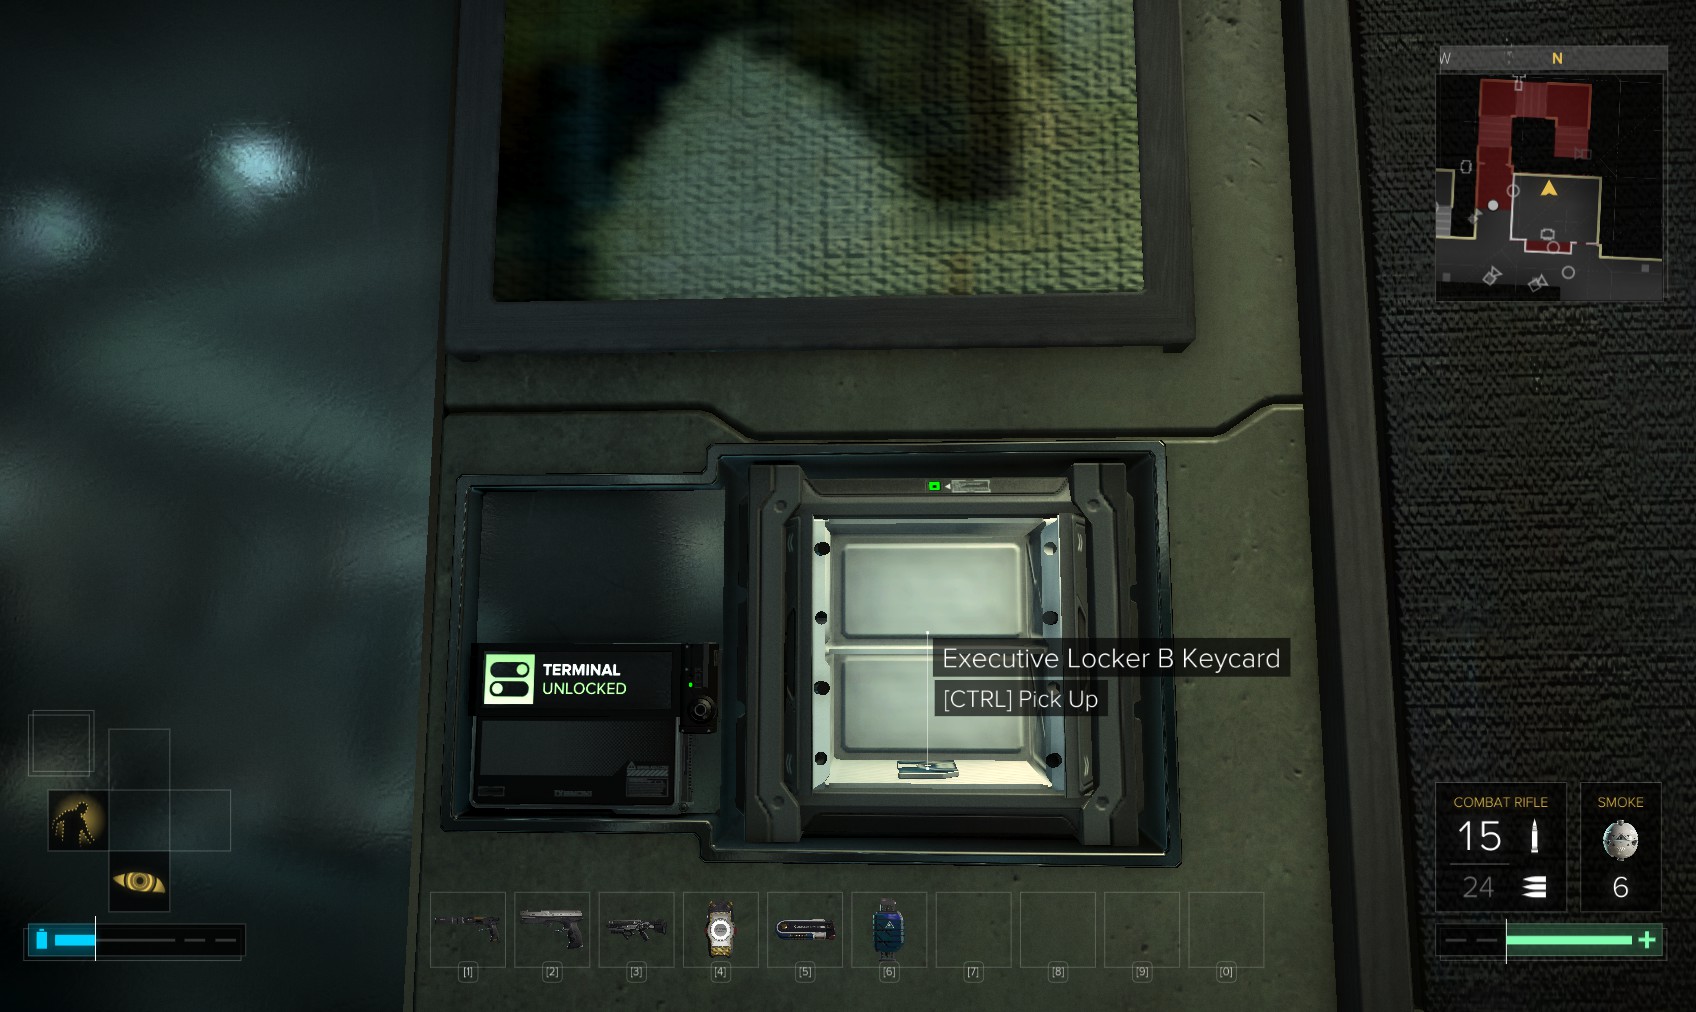
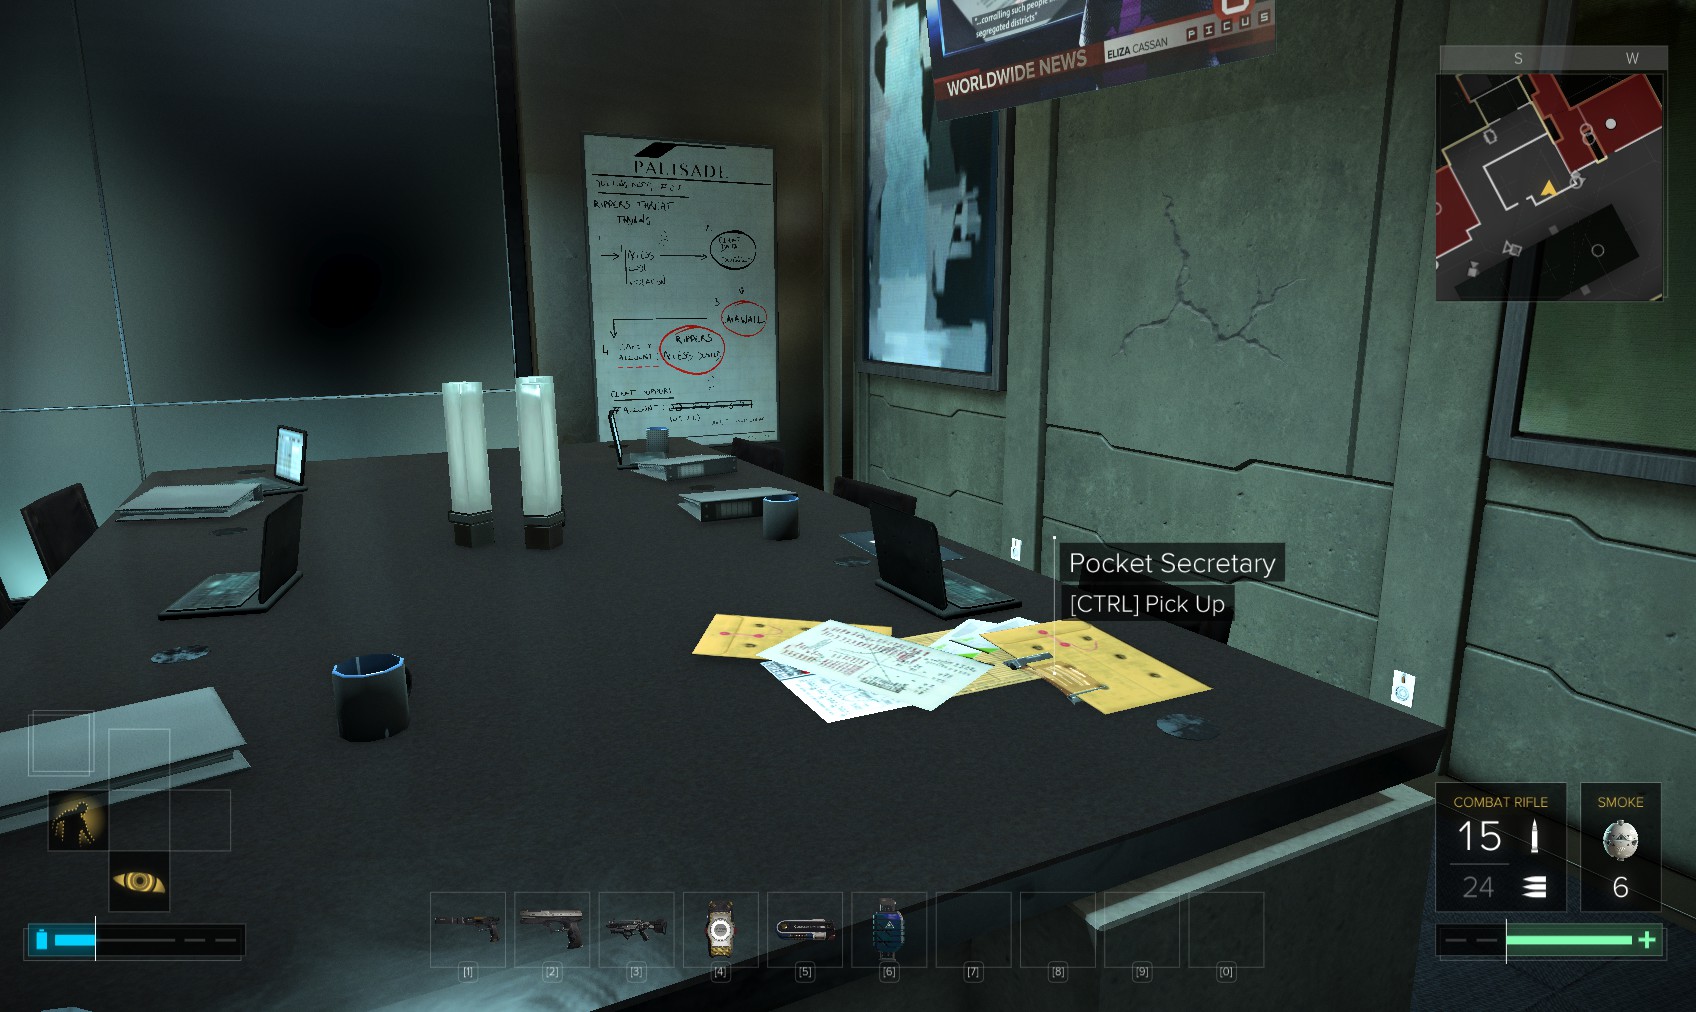
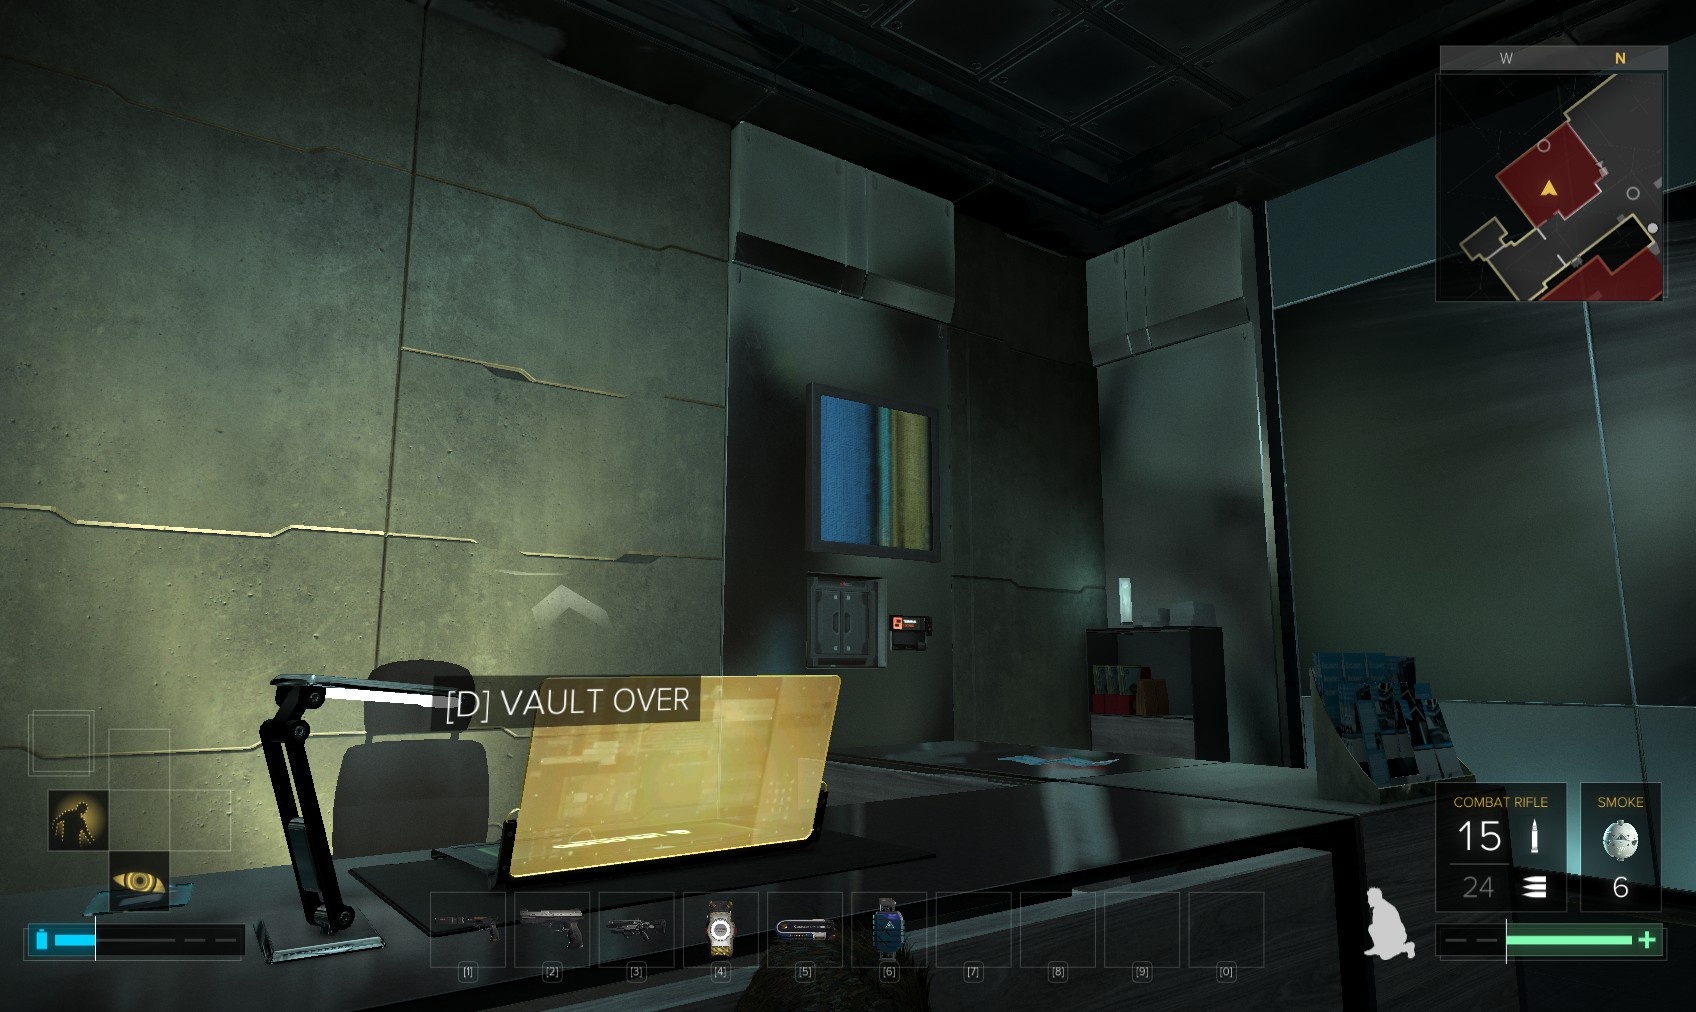
66. Under the desk, a button reveals this level 2 safe (200c) containing an access card to the Executive Locker B.
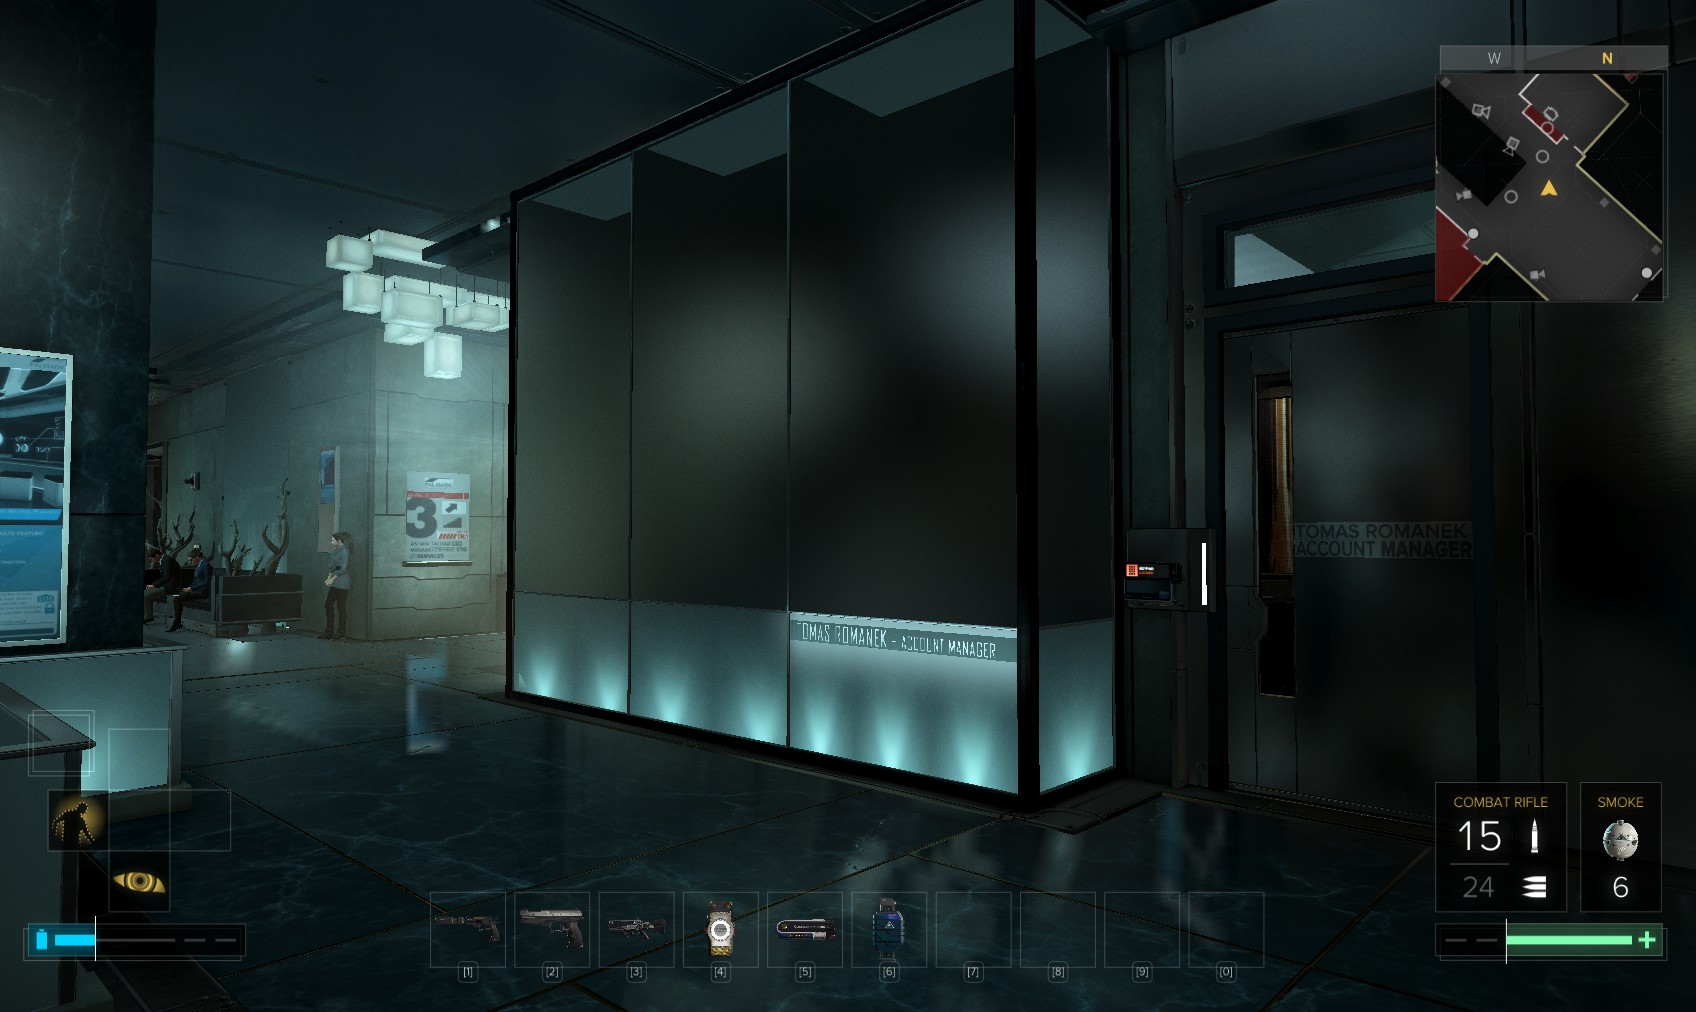
67. Exit carefully then head down the stairs to Executive Services straight ahead.
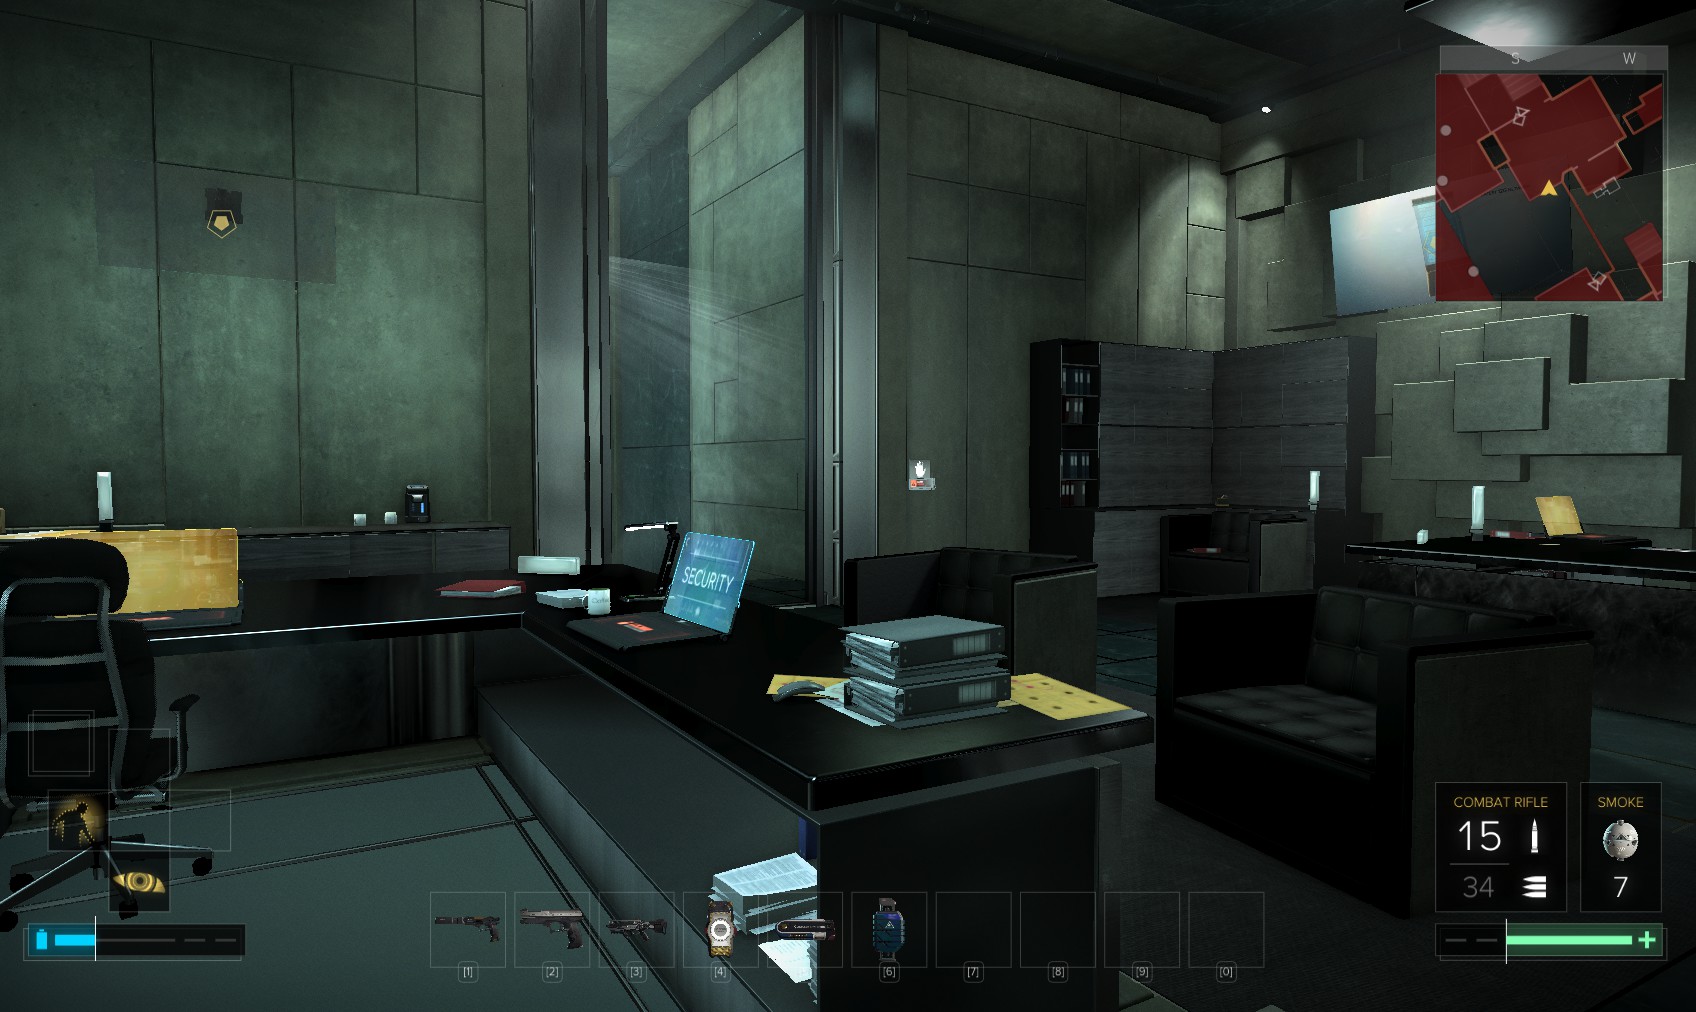
68. This office is nicely out of view for an easy level 1 hack for 95c. Inside is another elevator keycard and a PC. The electrochromic glass was already shuttered when I came in, and I intend to keep it that way. Note however that you can still be heard from outside, which will raise an alarm.
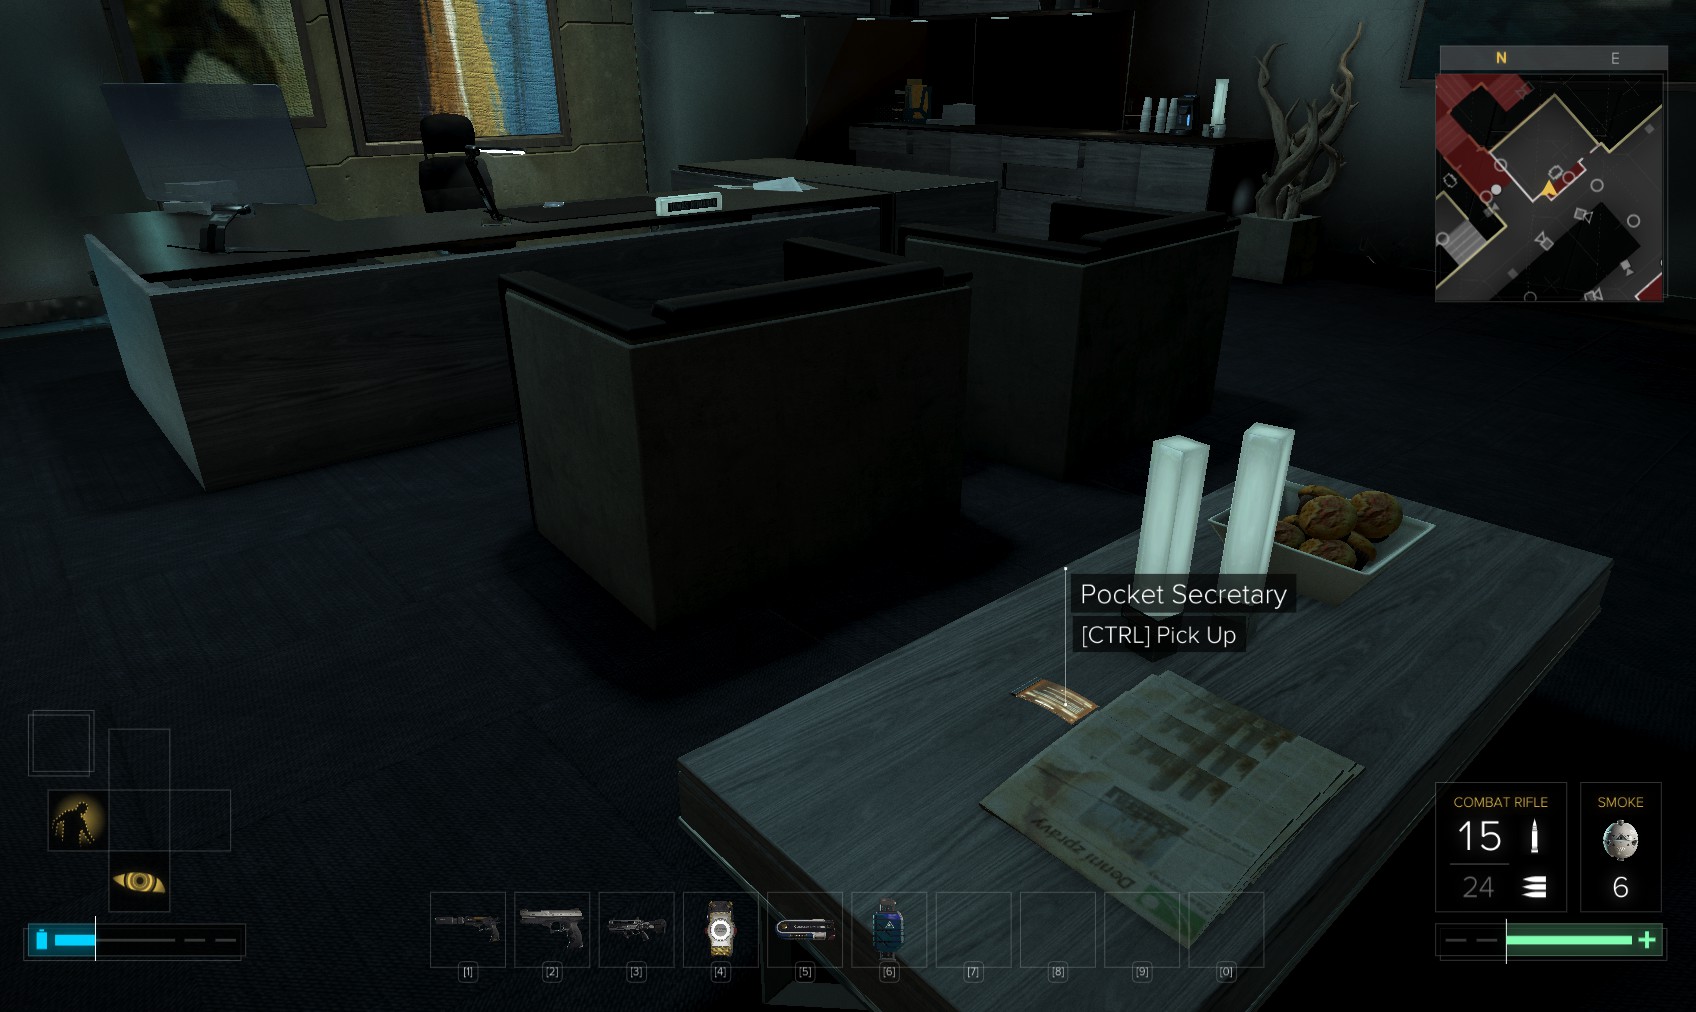
69. Bartosz Wlodek’s level 3 PC isn’t very interesting except for the 300c you get for hacking it, and stay away from the Messenger app. A button under the desk beneath the computer reveals this level 2 safe (175XP for using the code 6477, 160c for hacking it) which contains the Executive Locker A keycard. Now we have the full set. An eBook is next to the laptop.

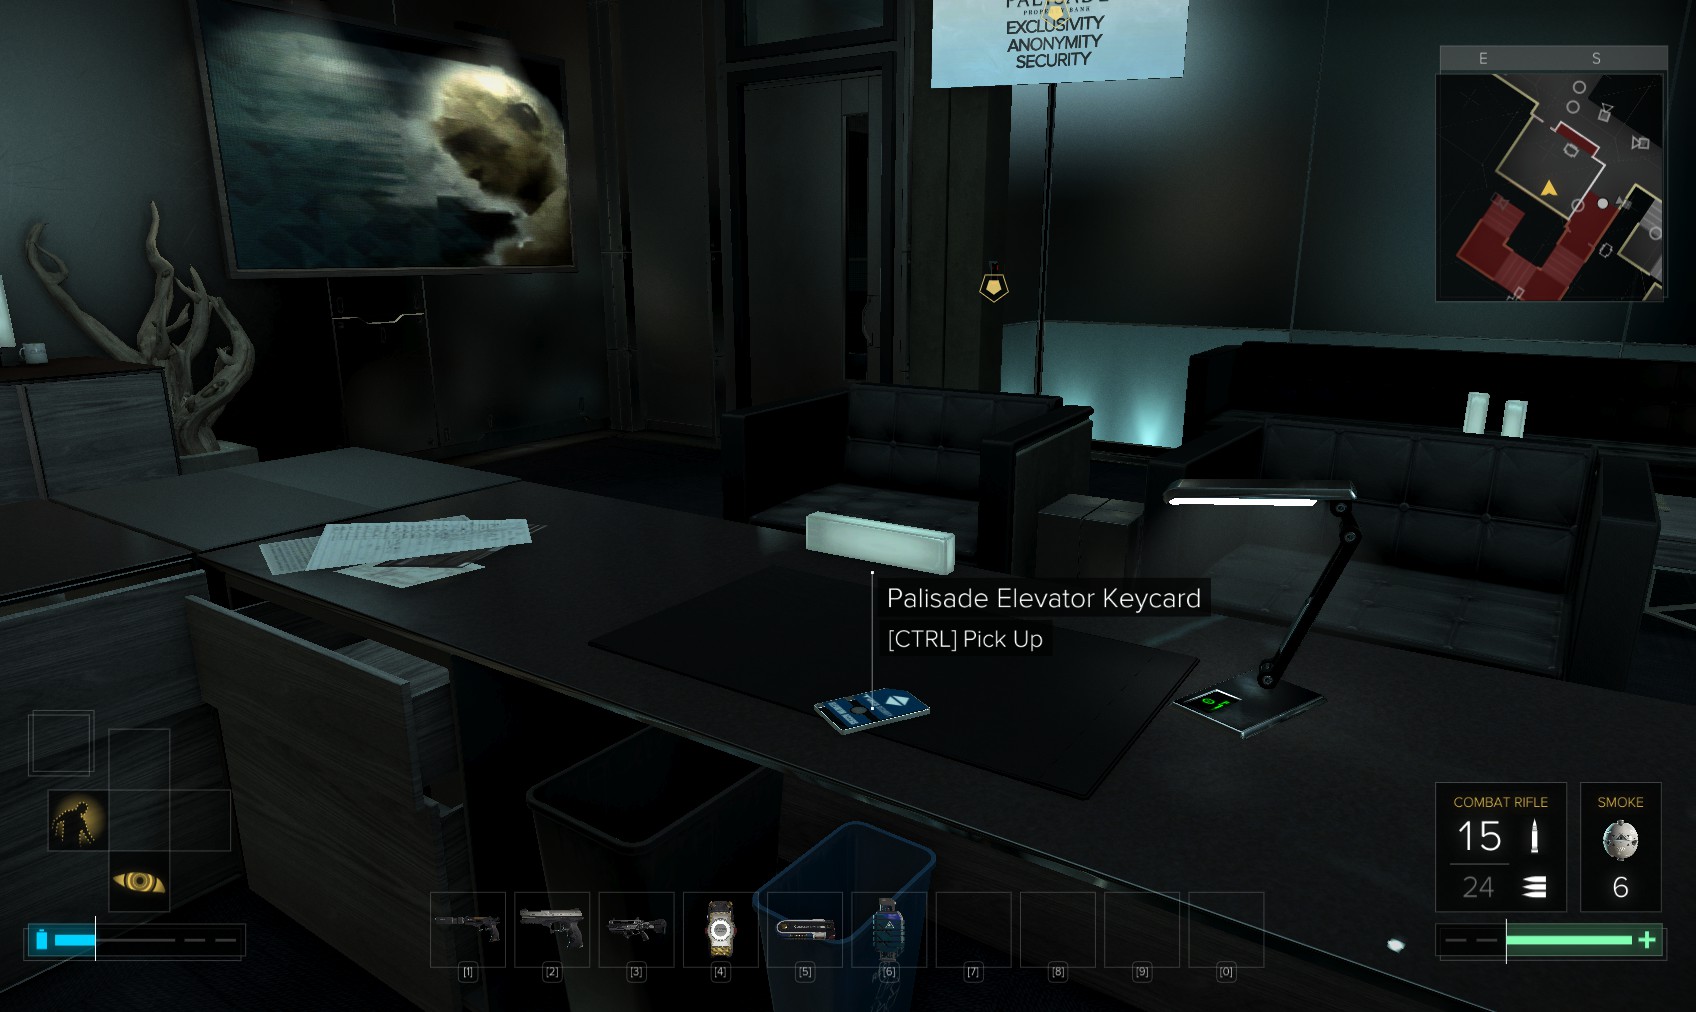
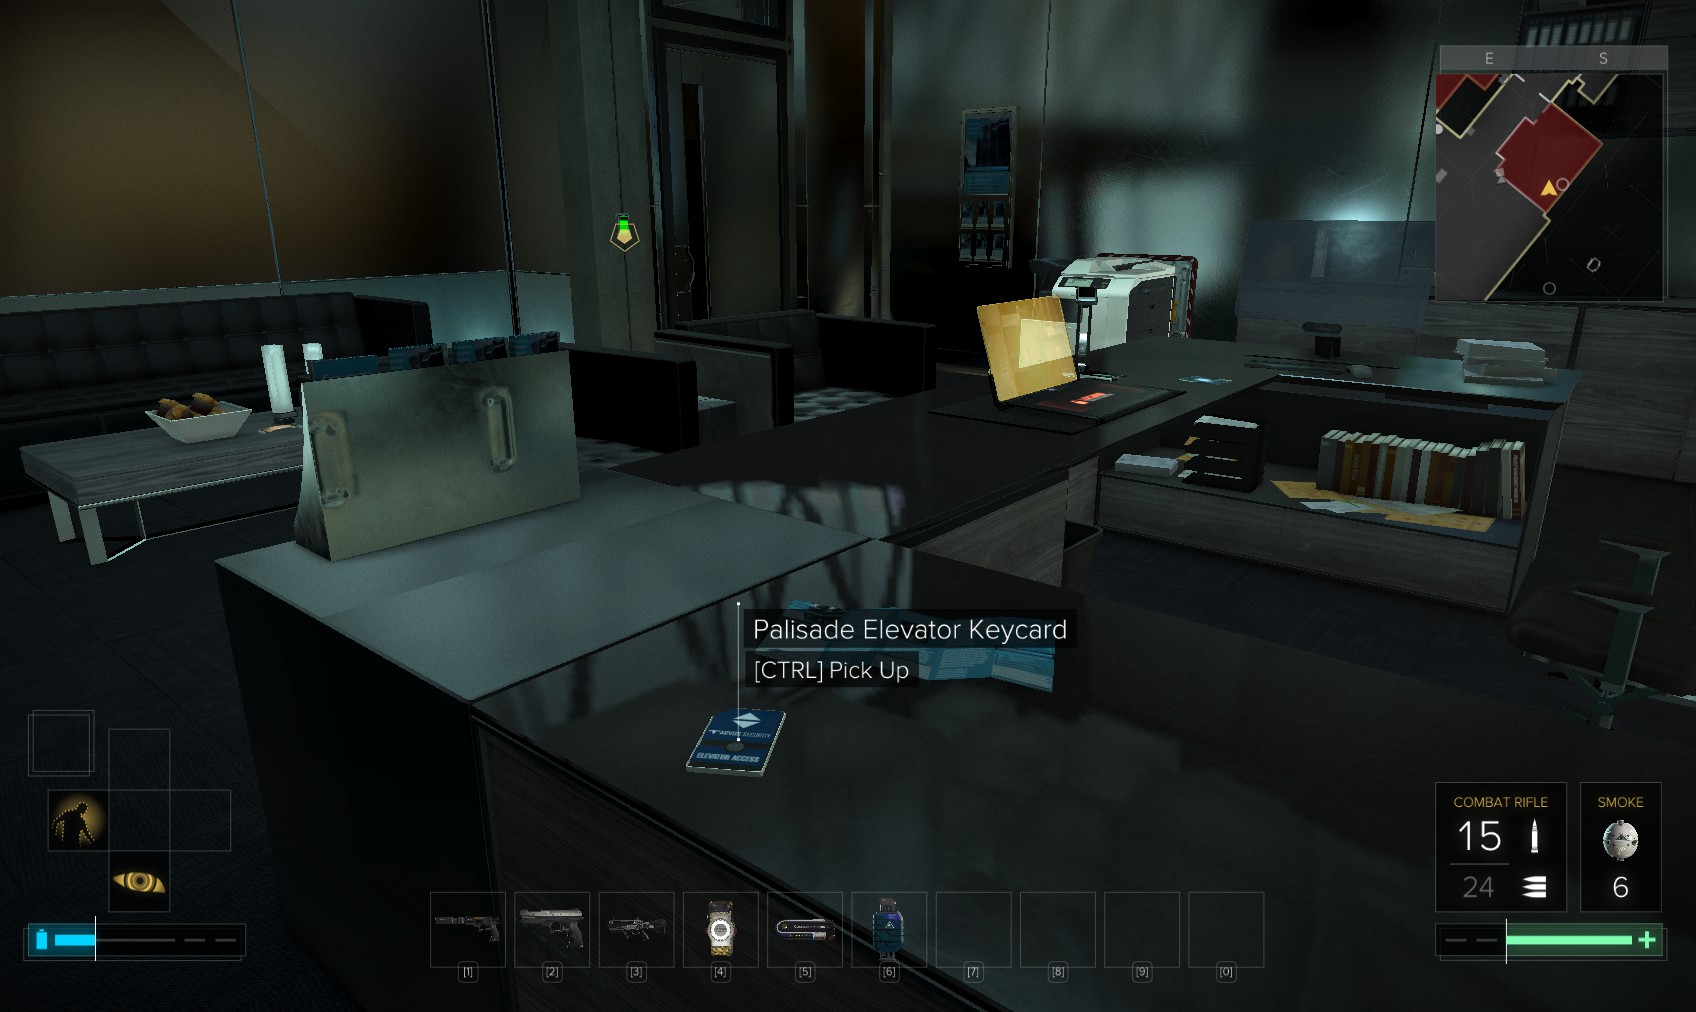
70. This pocket secretary has the code 6477 to the safe we just hacked. Head back outside.
71. It’s possible to get to these safes via back-routes, but the advantages of using the cards is that the fearsome security gets disabled.
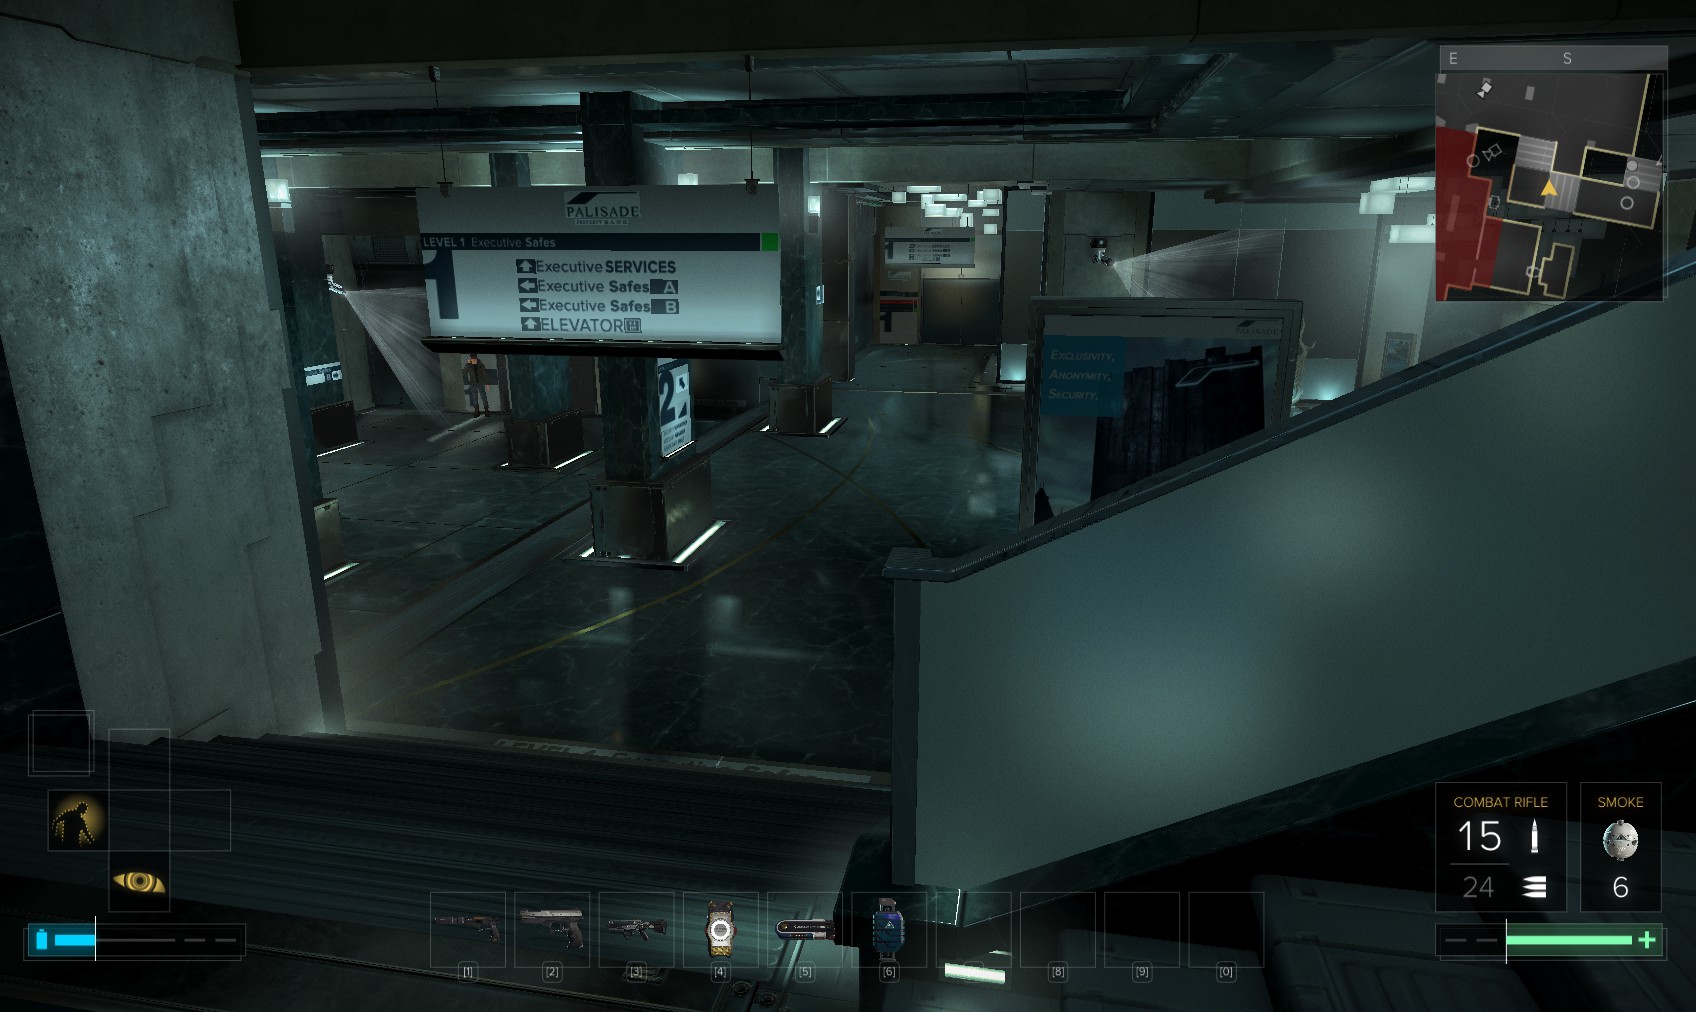
72. You can just about hack this level 2 door out of sight for 45XP. You can get the code for it here to boost that to 125XP.
73. Inside is a pocket secretary with the code 3020 to one of the lockers, and not much else…except this cable duct. Here we go.
74. You come out behind the turret! Must be a one-way window. I really want to knock out that turret and raid the safes, so I’ll need to upgrade my hacking skills, then hack the level 2 security computer for 55c. I can close the vault’s door too from here which is handy.

75. This level 2 safe offers up stealth software for hacking it, or use the code for 50XP, and contains Breach Software and money.
76. Exit using the button next to the window. I notice that closing the vault doors has re-enabled the lasers. Tut. Another job to do! At least the turret remains disabled. It’s also lowered the safes so I re-raise them from the security console. Note that the room is now a hostile area.
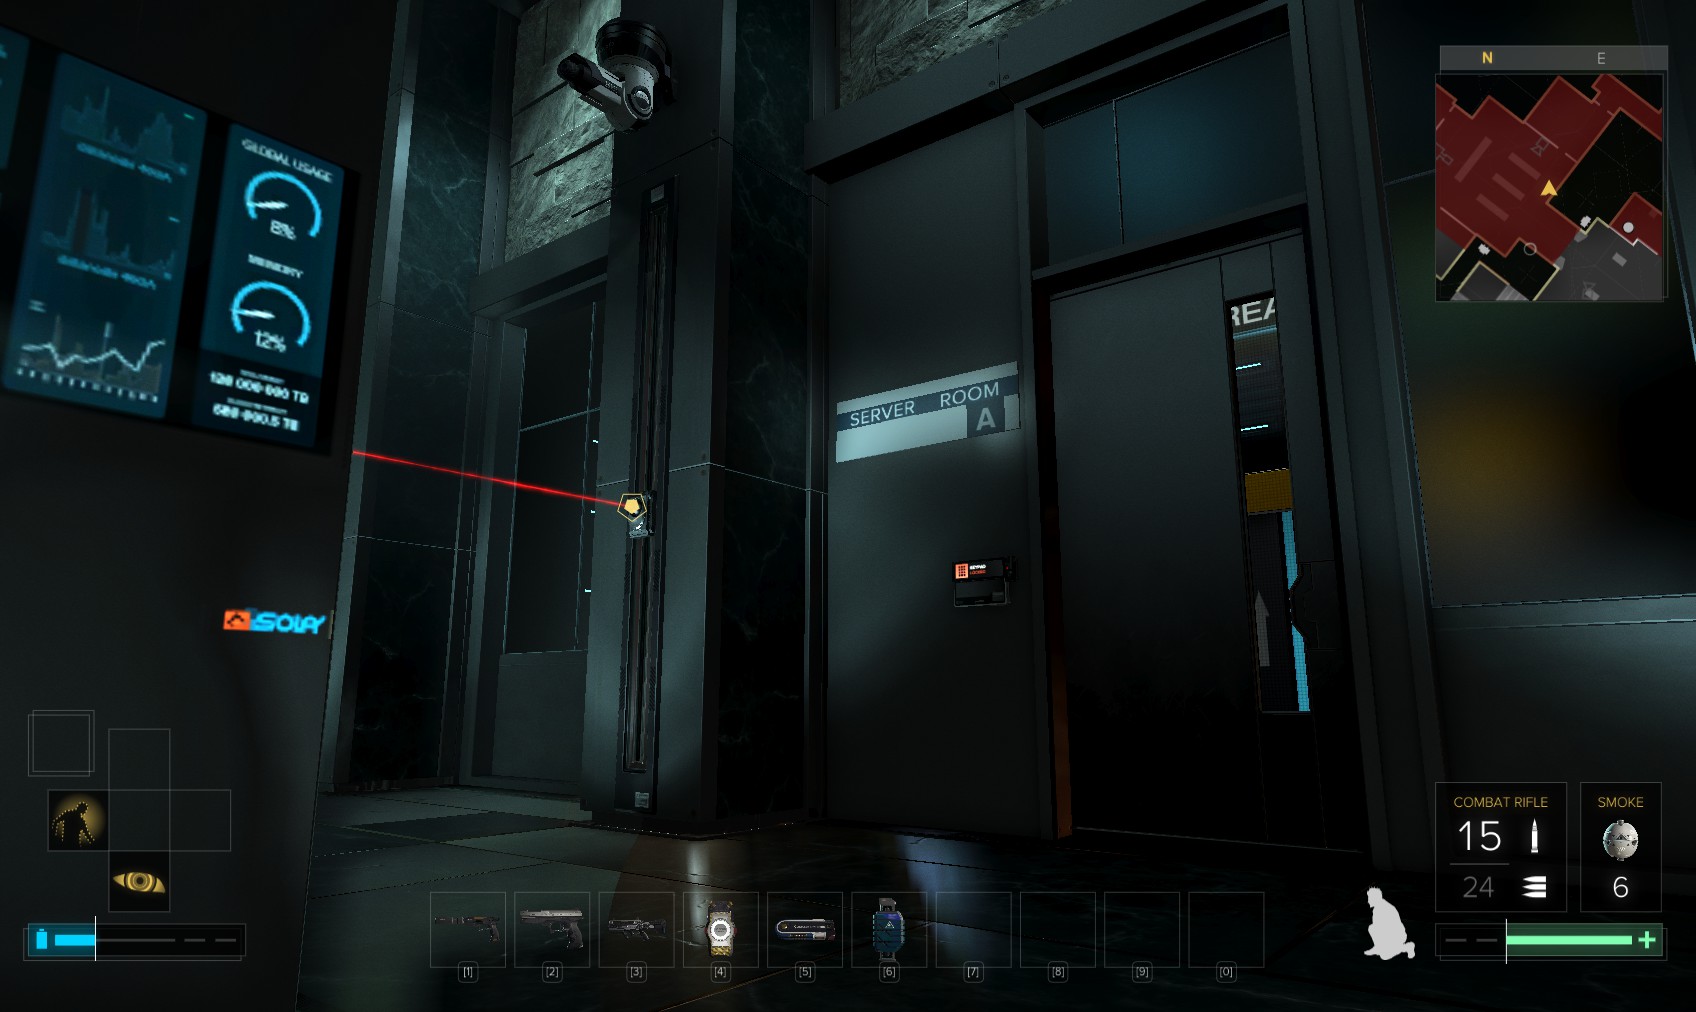
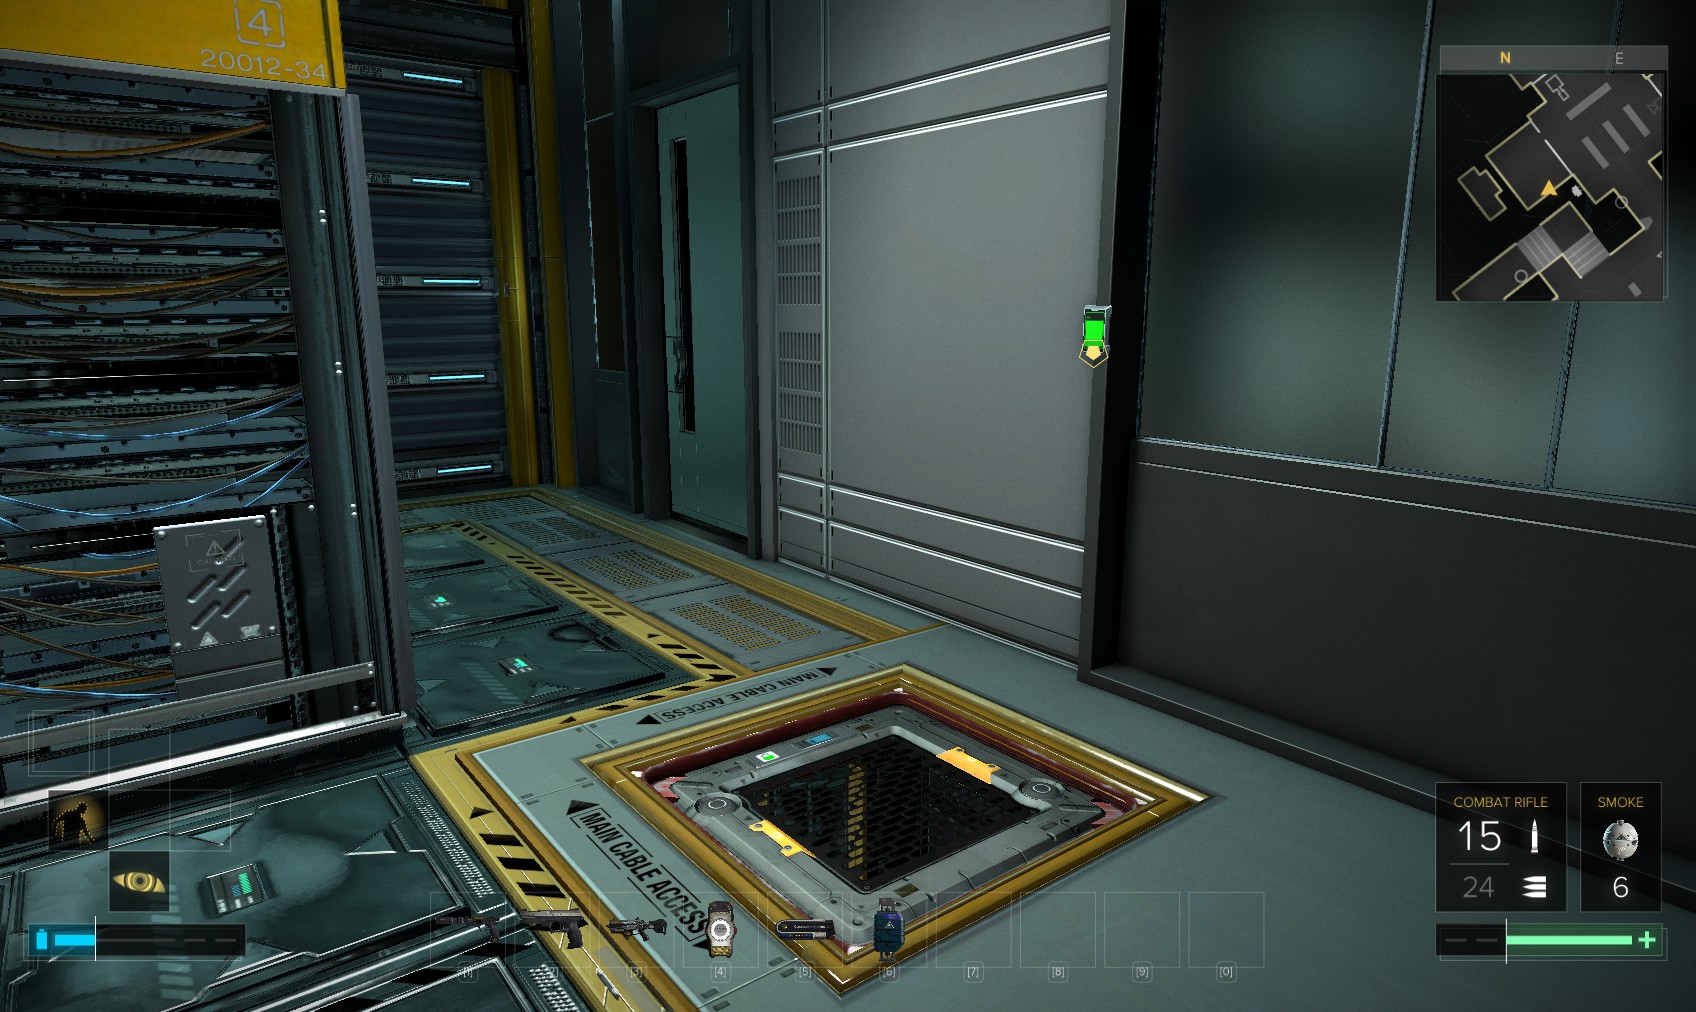
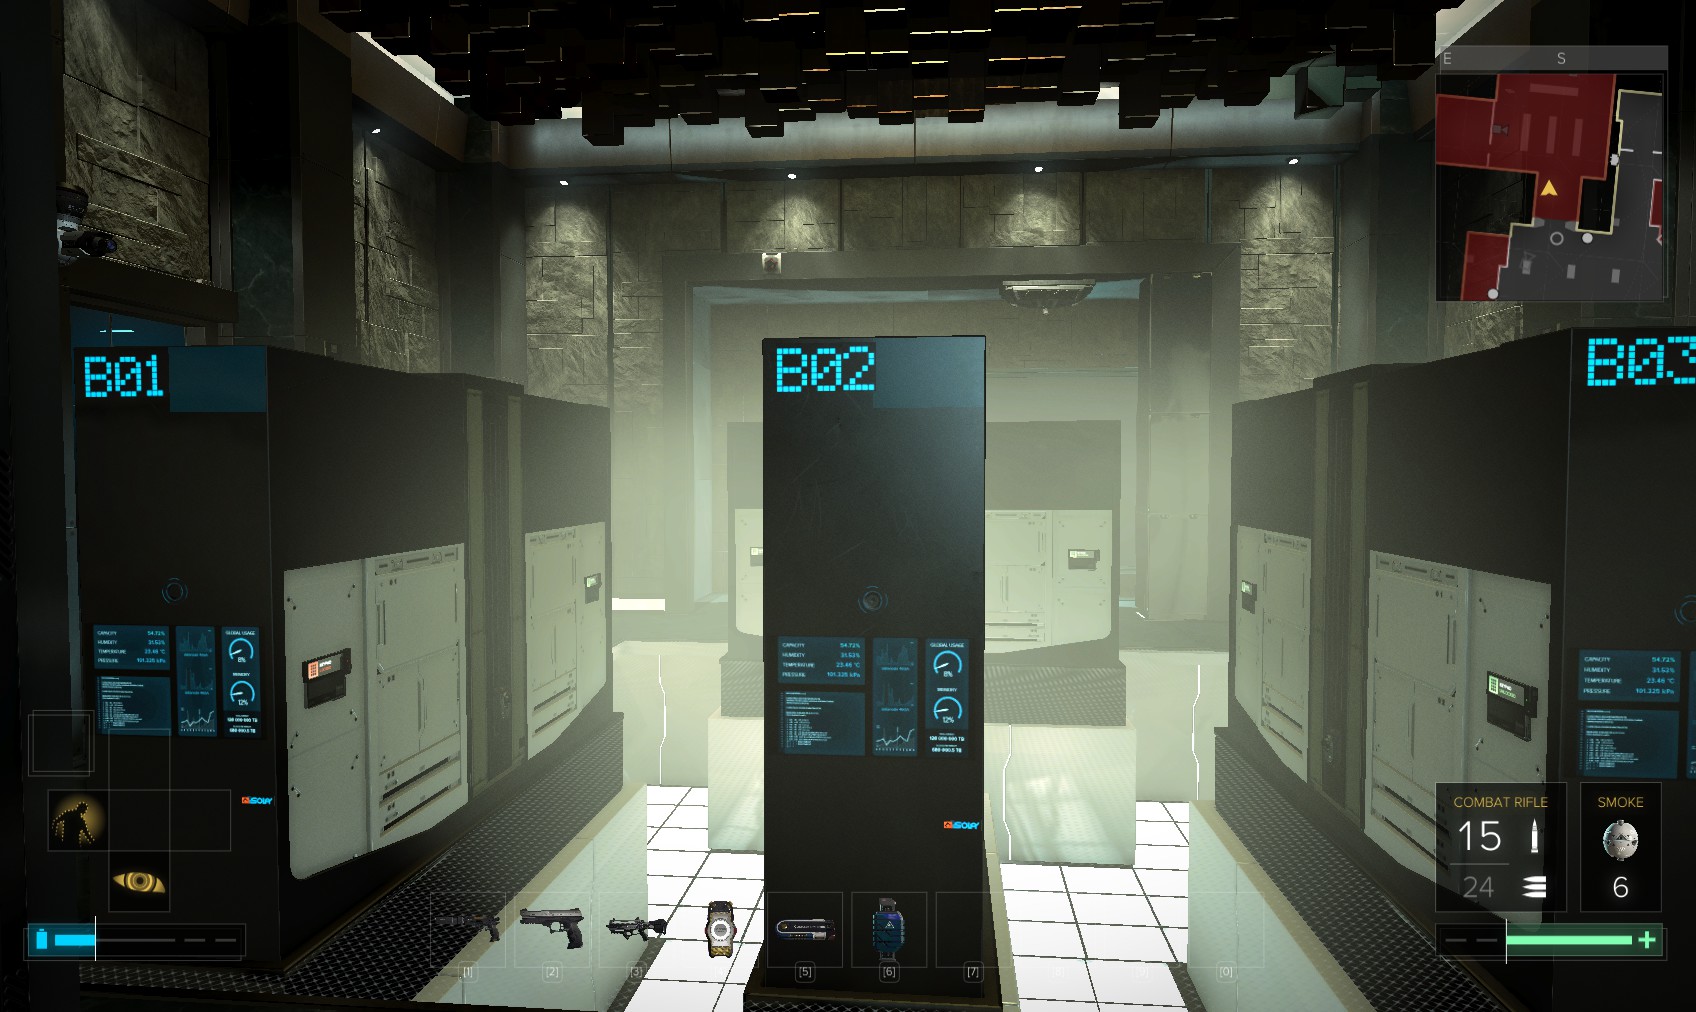
77. You can disable the lasers with a keypad in server room A. Navigating the room past the lasers is simple enough. Alternately, you can remote hack each one for some XP. I hack the level 1 door to server room A anyway.
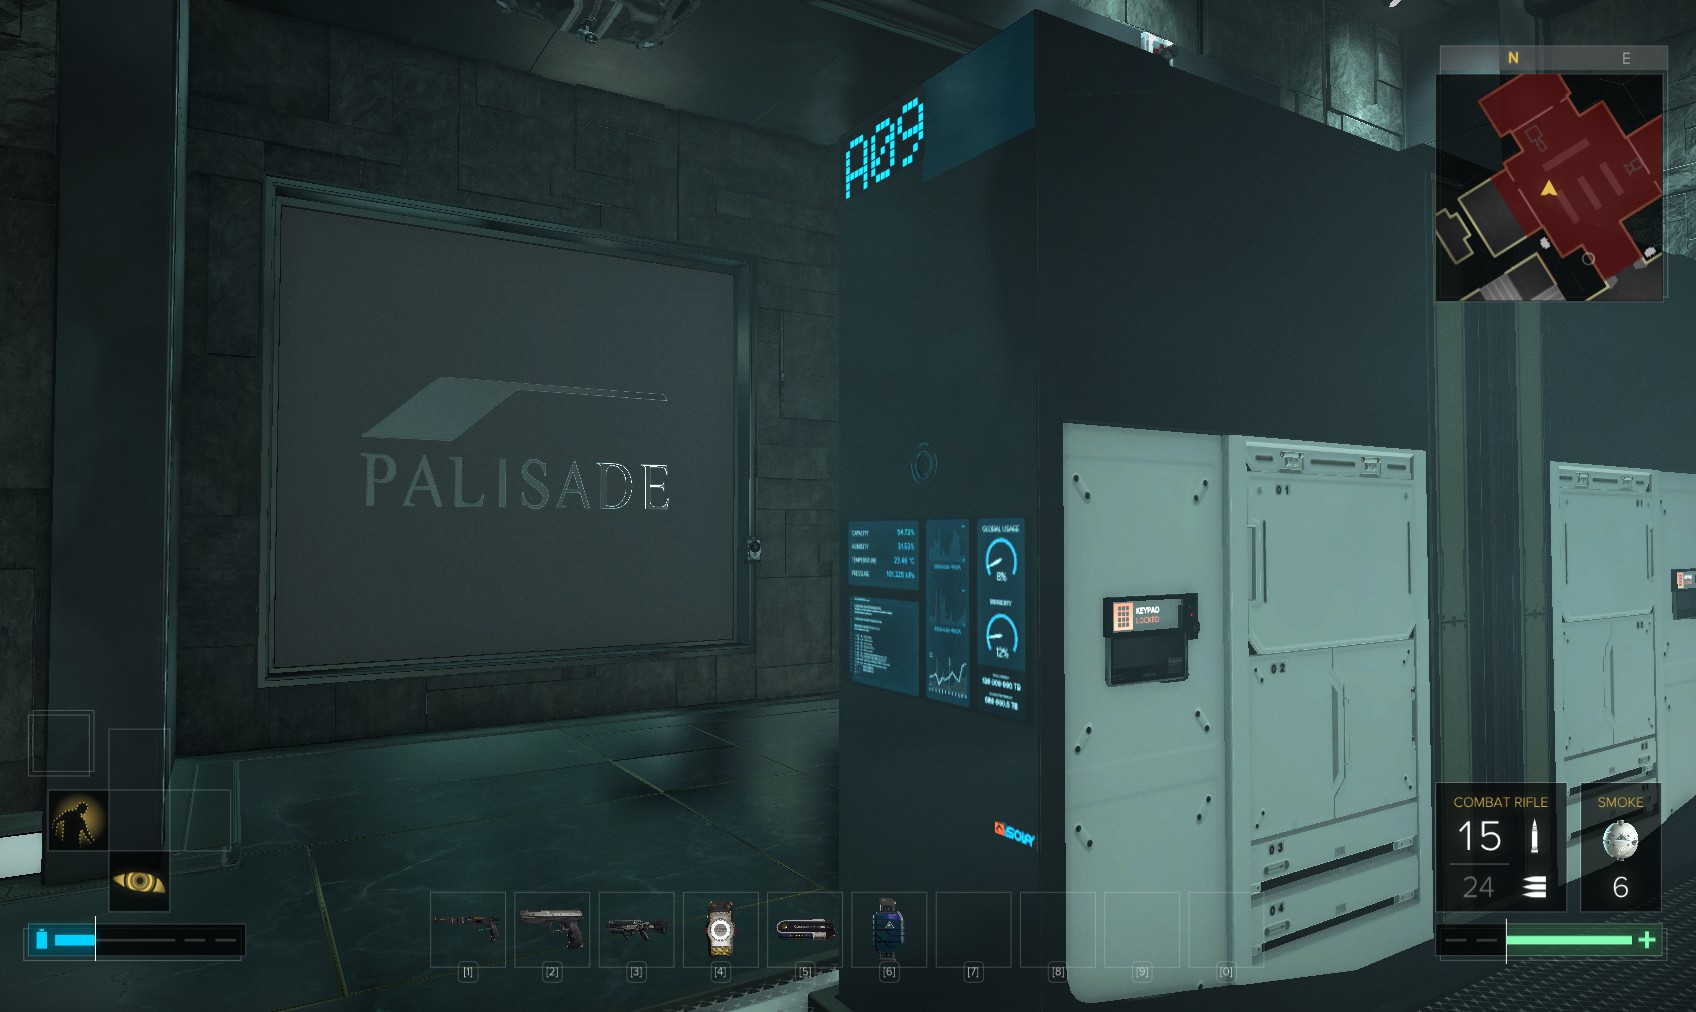
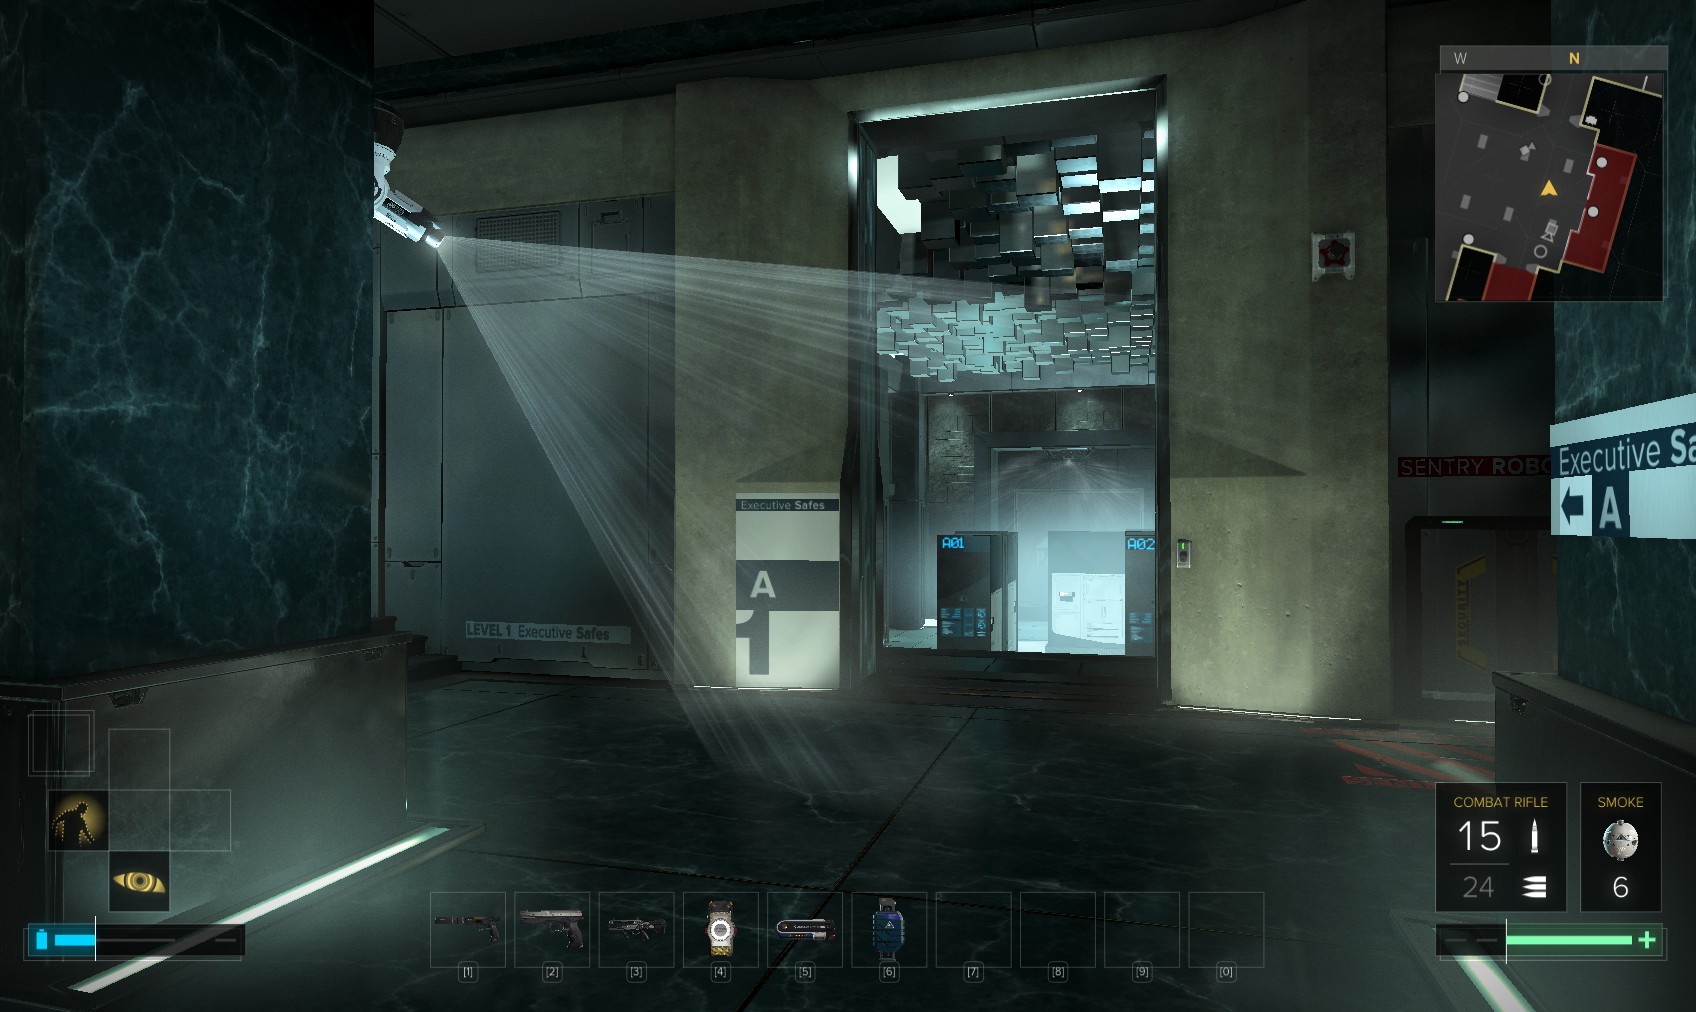
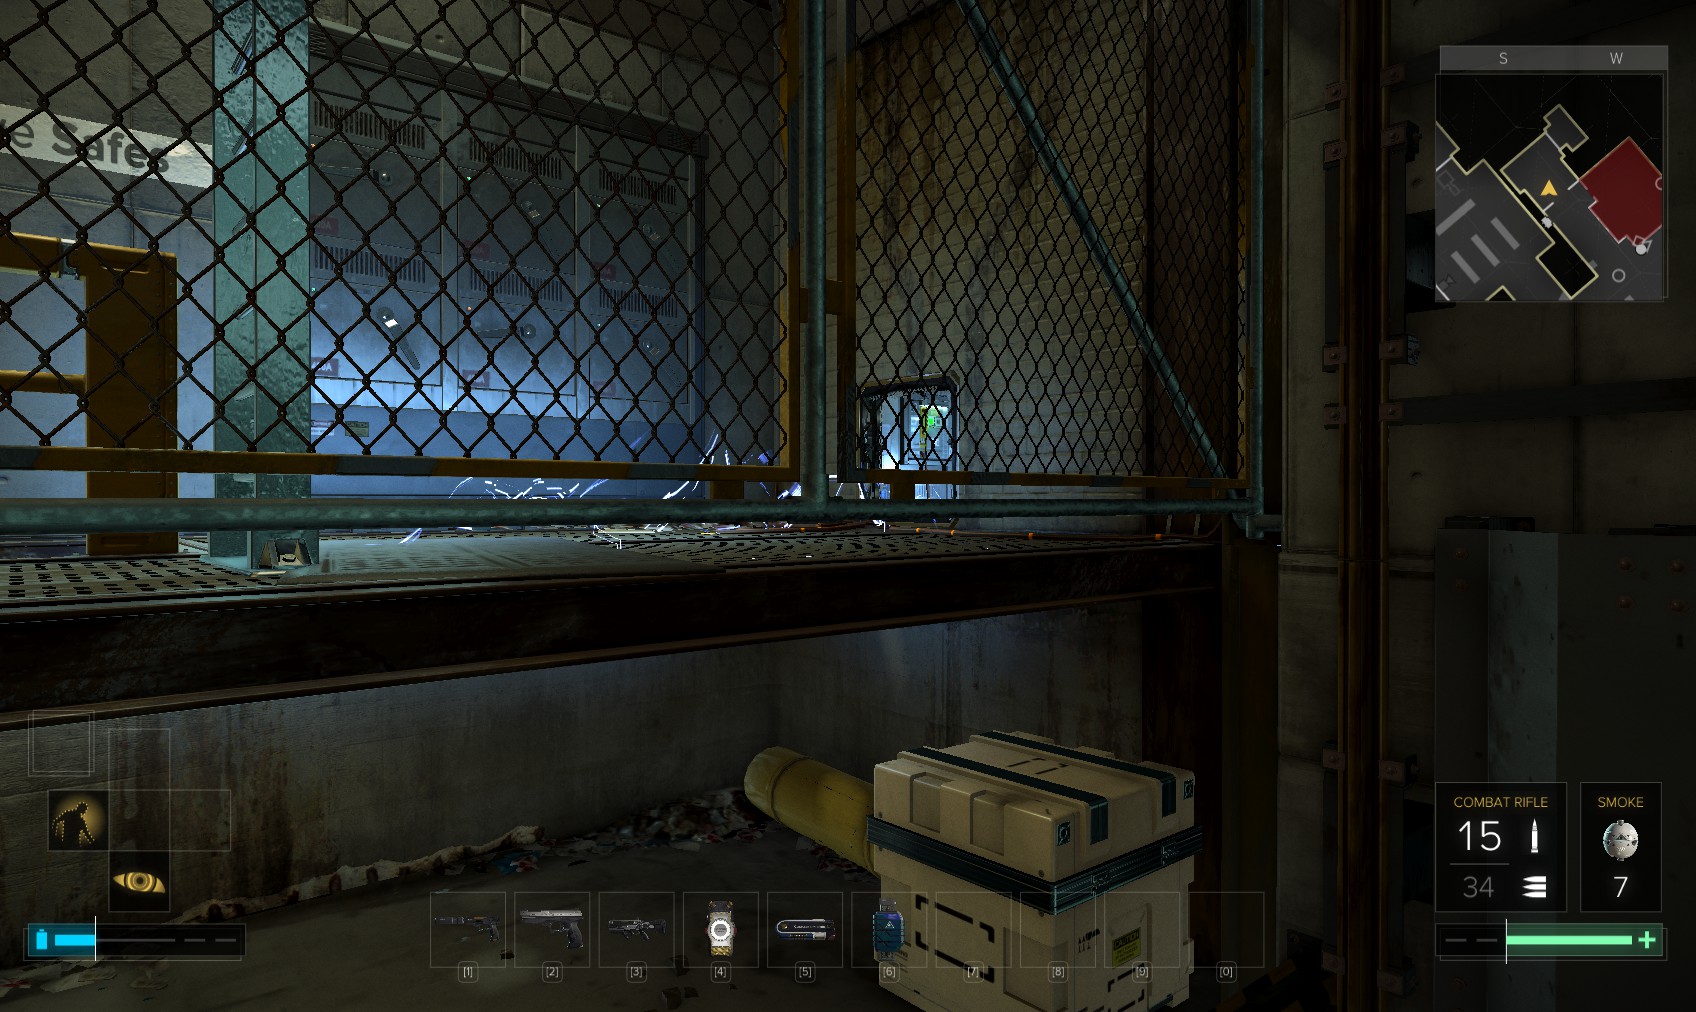
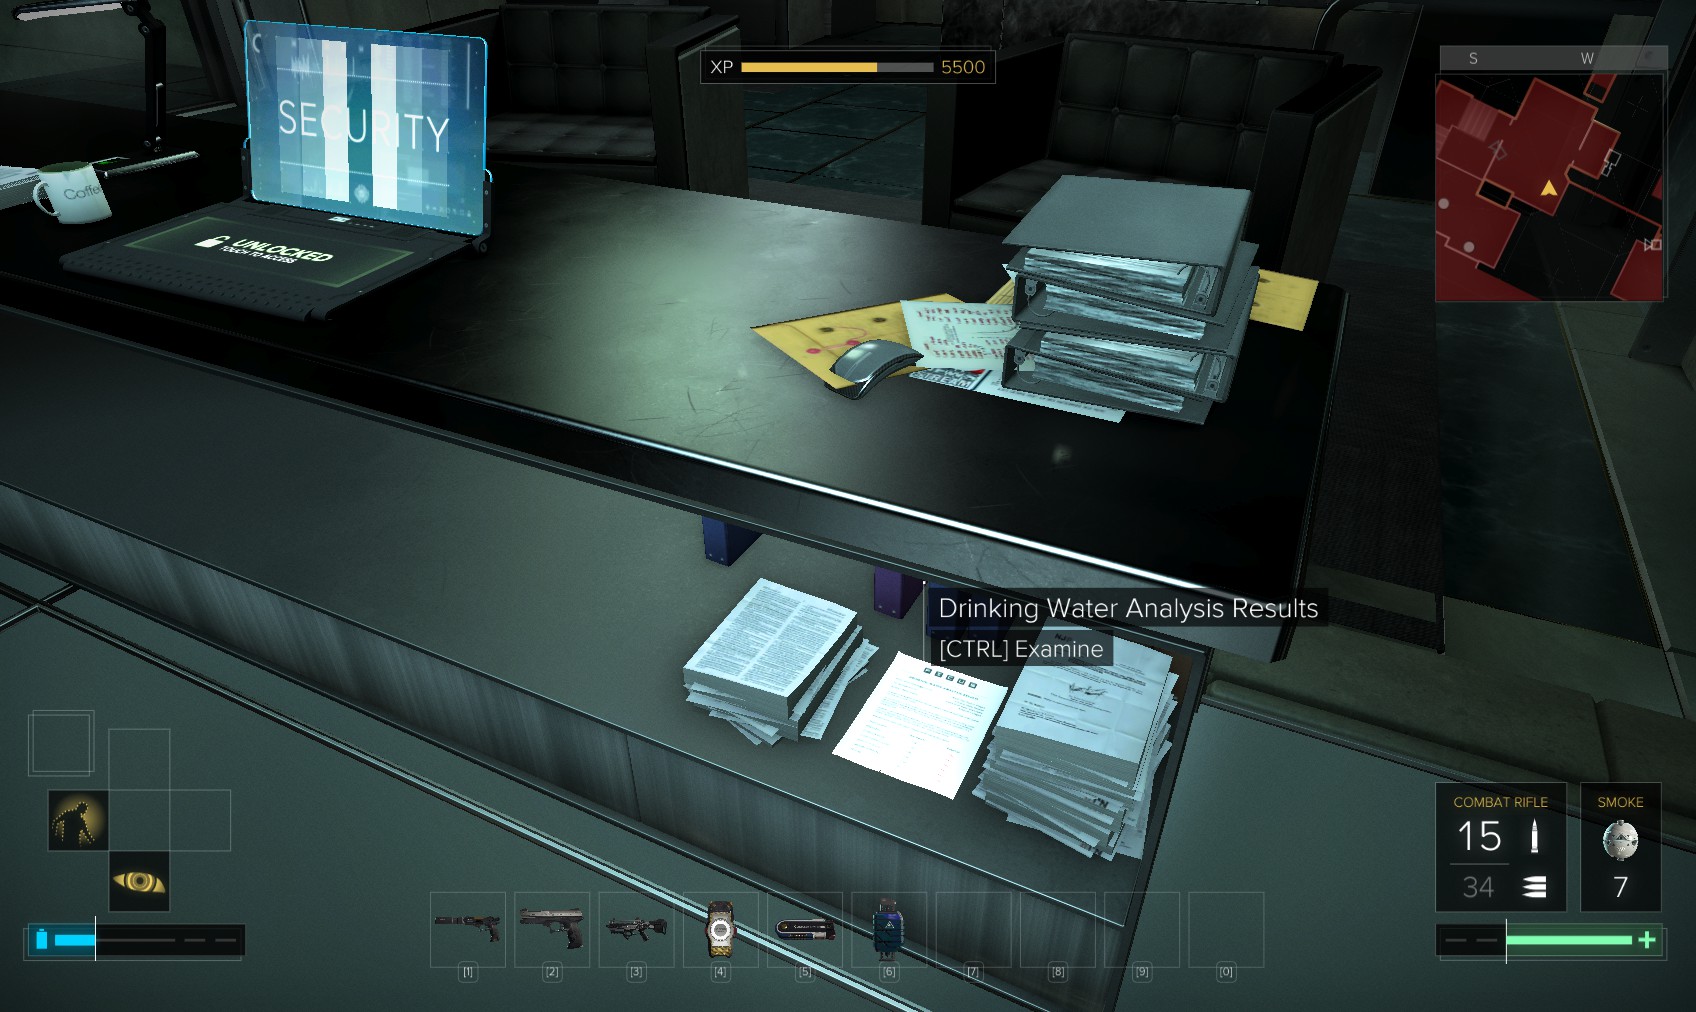
78. Unsurprisingly all the unlocked safes are indeed empty. The locked ones are all level 4 except for this level 5 safe. You can get the code here and use it for 125XP; you get nothing for hacking it. It contains a pocket secretary to Daniel Janecek from Anatoli Harashimov with security concerns. A01 (no downloads) contains Neuropozyne. A04 has stealth software, and contains Tesla, Nanoblade and Typhoon ammo. A08 has nuke software, and contains credits (get the code from a computer in a 4th floor apartment on the Eastern side of the market square outside the bank, use it for 150XP). Tread carefully in here because if you’re heard when the door is closed, guards will investigate with guns.

79. Time to raid Executive Safes Suite B.
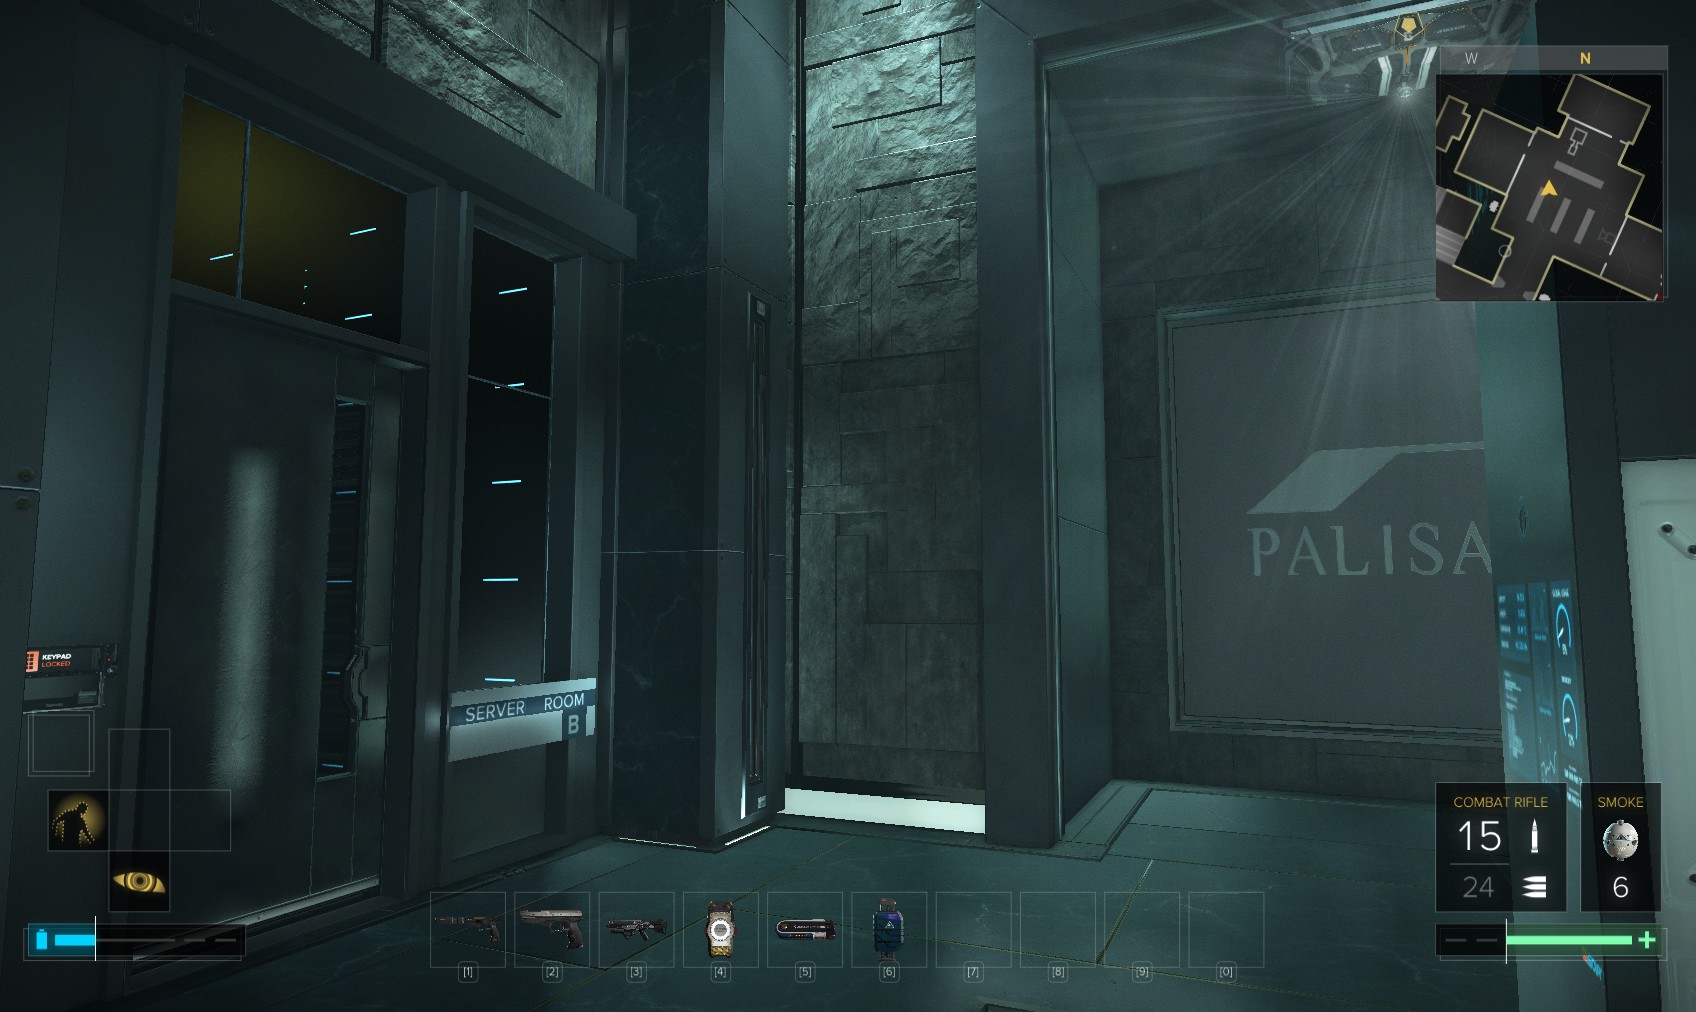
80. Only one server room (level 1, no downloads) in this suite, but it too has a cable duct. Instead of security for the vault, however, it comes out here.
81. I remote hack the electrochromic glass shields, and go back to the vault while the suspicion wears off. I really need to disable that turret if I want to hack the safes…
82. Smart Vision reveals that there is a security console back there, so there must be another way in.
83. Quite by accident I stumble across this secret button (suite A has a similar one).
84. And I’m in. An almost identical set up to the one in the other suite. The cabinet on the left contains credits and Neuropozyne. The level 2 (100c) security computer allows me to switch off cameras and the turret and close the door. Don’t forget to re-deploy the safes. A level 2 safe (100c) behind you has a multitool and some credits. Time to play the laser game again.
85. I work my way round the room as quick as I can. B01 is a level 5 with no downloads (you could skip ahead and get the code 6641 which will get you 225XP) with credits. B04 is level 4 (no downloads) and has multitools and Breach Software. B07 also has no downloads (again, there is a code ahead at 0310, but hacking gets you an extra 5 XP if you do it first time) is level 5 and has a Praxis Kit. Time to revisit the other security room through the duct in the server room.
86. Back along the vent to here, I raid the weapons cabinet. It’s possible to hack the level 3 security PC for 135c without being noticed, but only does turrets and doors for both vaults. A biocell can be found in a cabinet at the far end of the room and a level 1 alarm panel to hack for reveal software. I head back to the vault. It’s time to try and find the CEO’s office.
87. Back in the vault, near the turret is this duct.
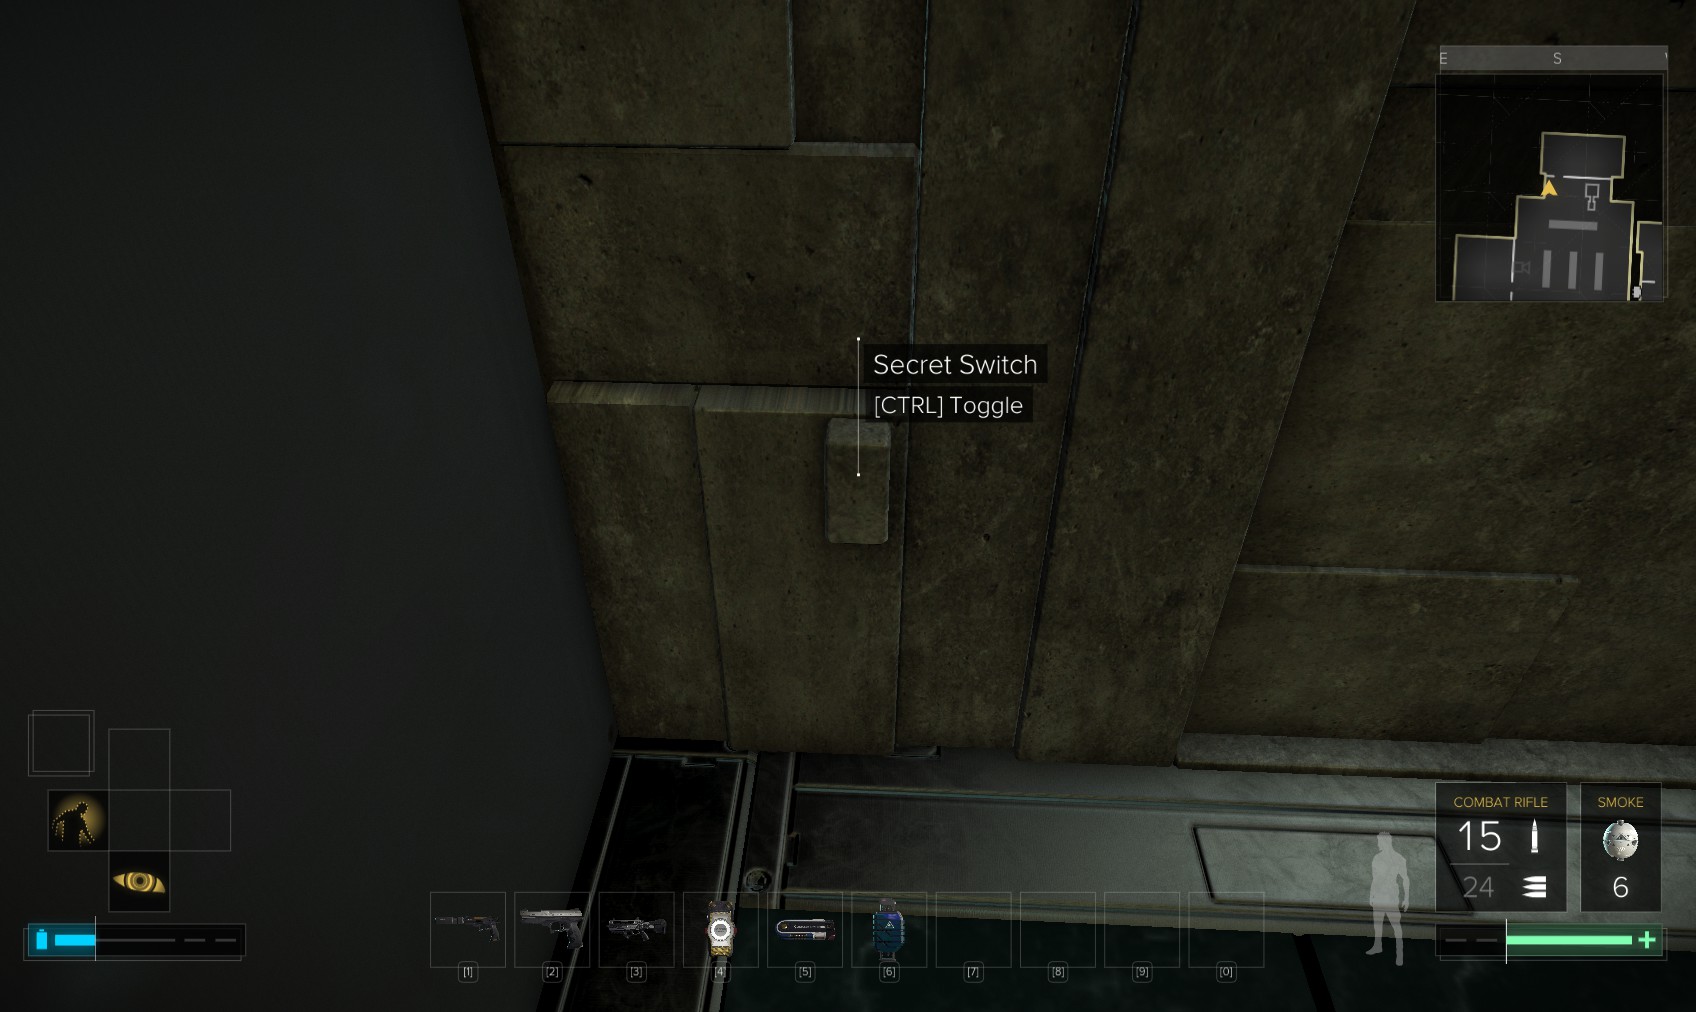
88. It leads to a lift shaft. Once again it’s possible to reach the breaker on the other side of that vent without losing too much health.
89. The small room with the breaker in it has another vent revealing an alternate - and probably safer - way in: Bartosz Wlodek’s office (Executive services). The vent comes out behind the photocopier in that room. I have an elevator pass, so I exit this office through the door and take the lift to level 3.
90. It comes out right next to the CEO’s office! What luck. Guards patrol beyond the lasers, and two guards are chatting in the office, so I sneak over and wait for them to finish.
91. The guy on the left here patrols, while the other one stays seated where he is. I open the door and head left to hide by a desk when it’s clear.
92. A pocket secretary under this desk has the code 0211, and makes a reference to a biometric encoder. A nearby drawer contains some hacking software (you probably need it after the executive suites!). The PC can just about be hacked, but isn’t worth the trouble. Head up the stairs.
93. I could disable the camera, but the door lock there is not in its line of sight. That’s the CEO’s office, and the code is 0211. You can hack the level 1 door for Nuke software and 30XP or use the code for 100XP, and slip inside.
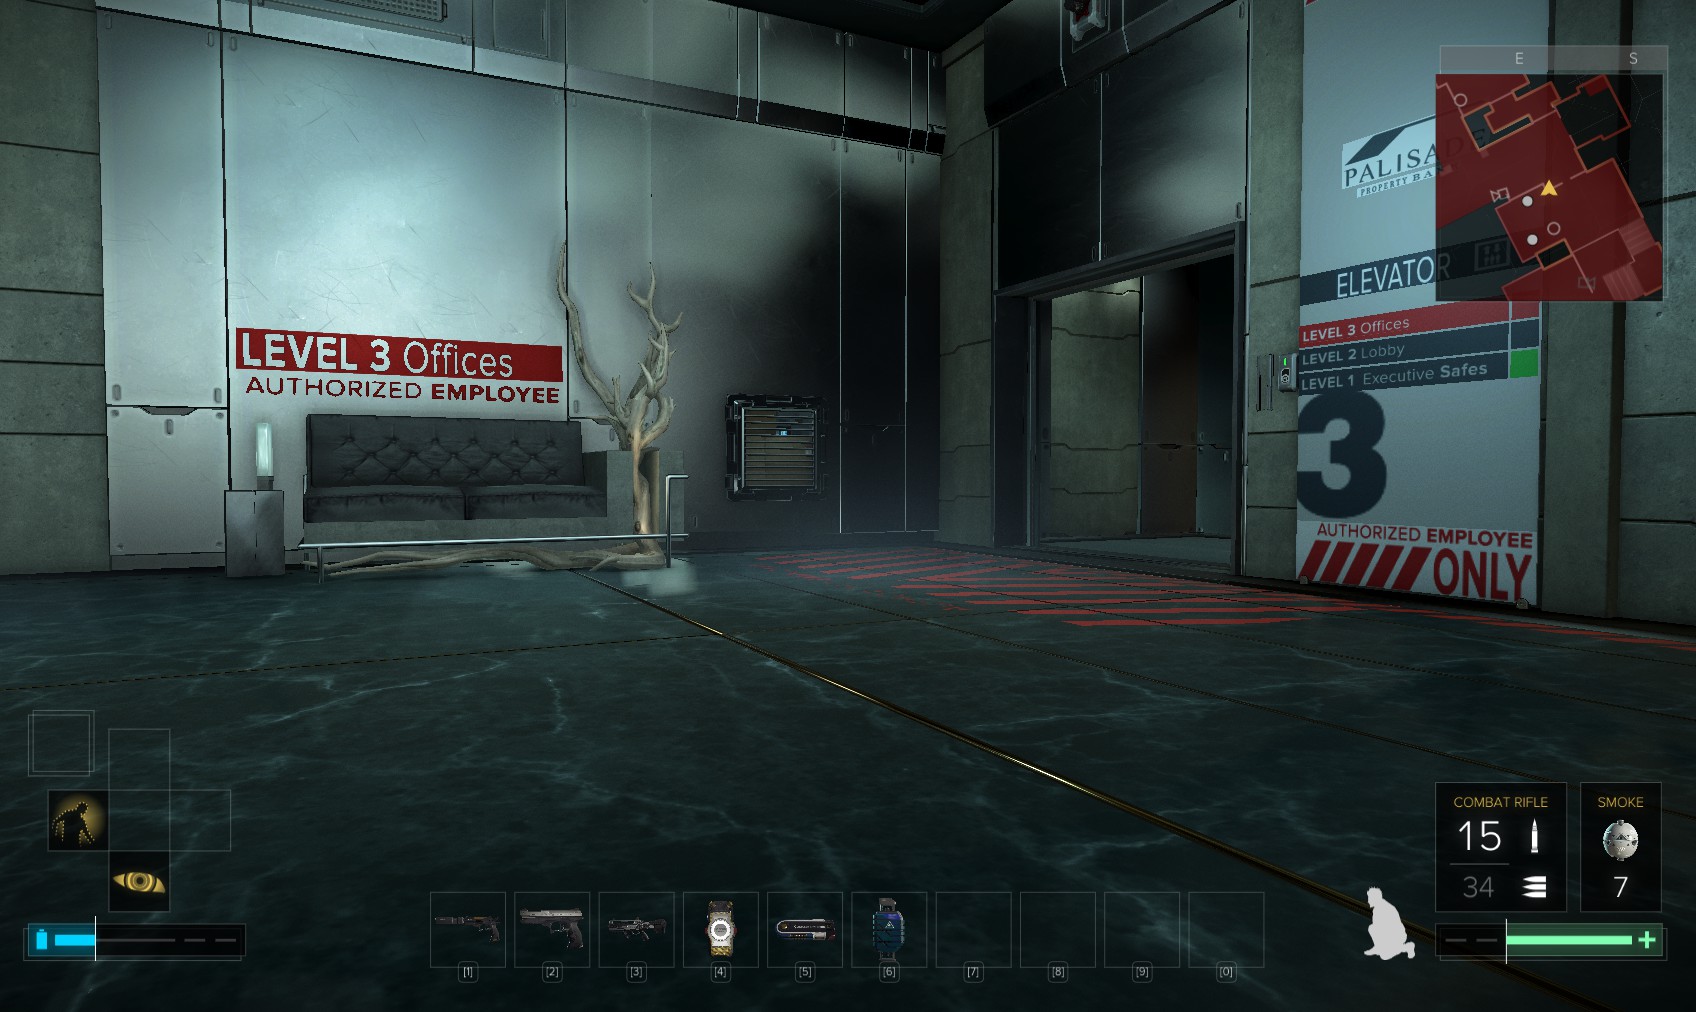
94. As before, I don’t want to make too much noise. Talwar’s level 3 PC (120XP and 240c) on the left has more background about Bartosz Wlodek, references to Picus, and something about a modern art sculpture "combination". Oshiro’s level 1 PC (200c) on the other side of the room has another email about Wlodek.
95. The level 1 (125c) security computer allows me to disable cameras, lasers and alarms. Beneath it is what I came for.
96. I happen to look up and see these vents. Ceiling one first.
97. It leads to this view. I reckon it’s too well-guarded to deal with quietly.
98. I return to the office, and try the vent behind the TV. I follow my nose to here. The left vent leads out to the corporate vaults (which I’m consciously ignoring for now).
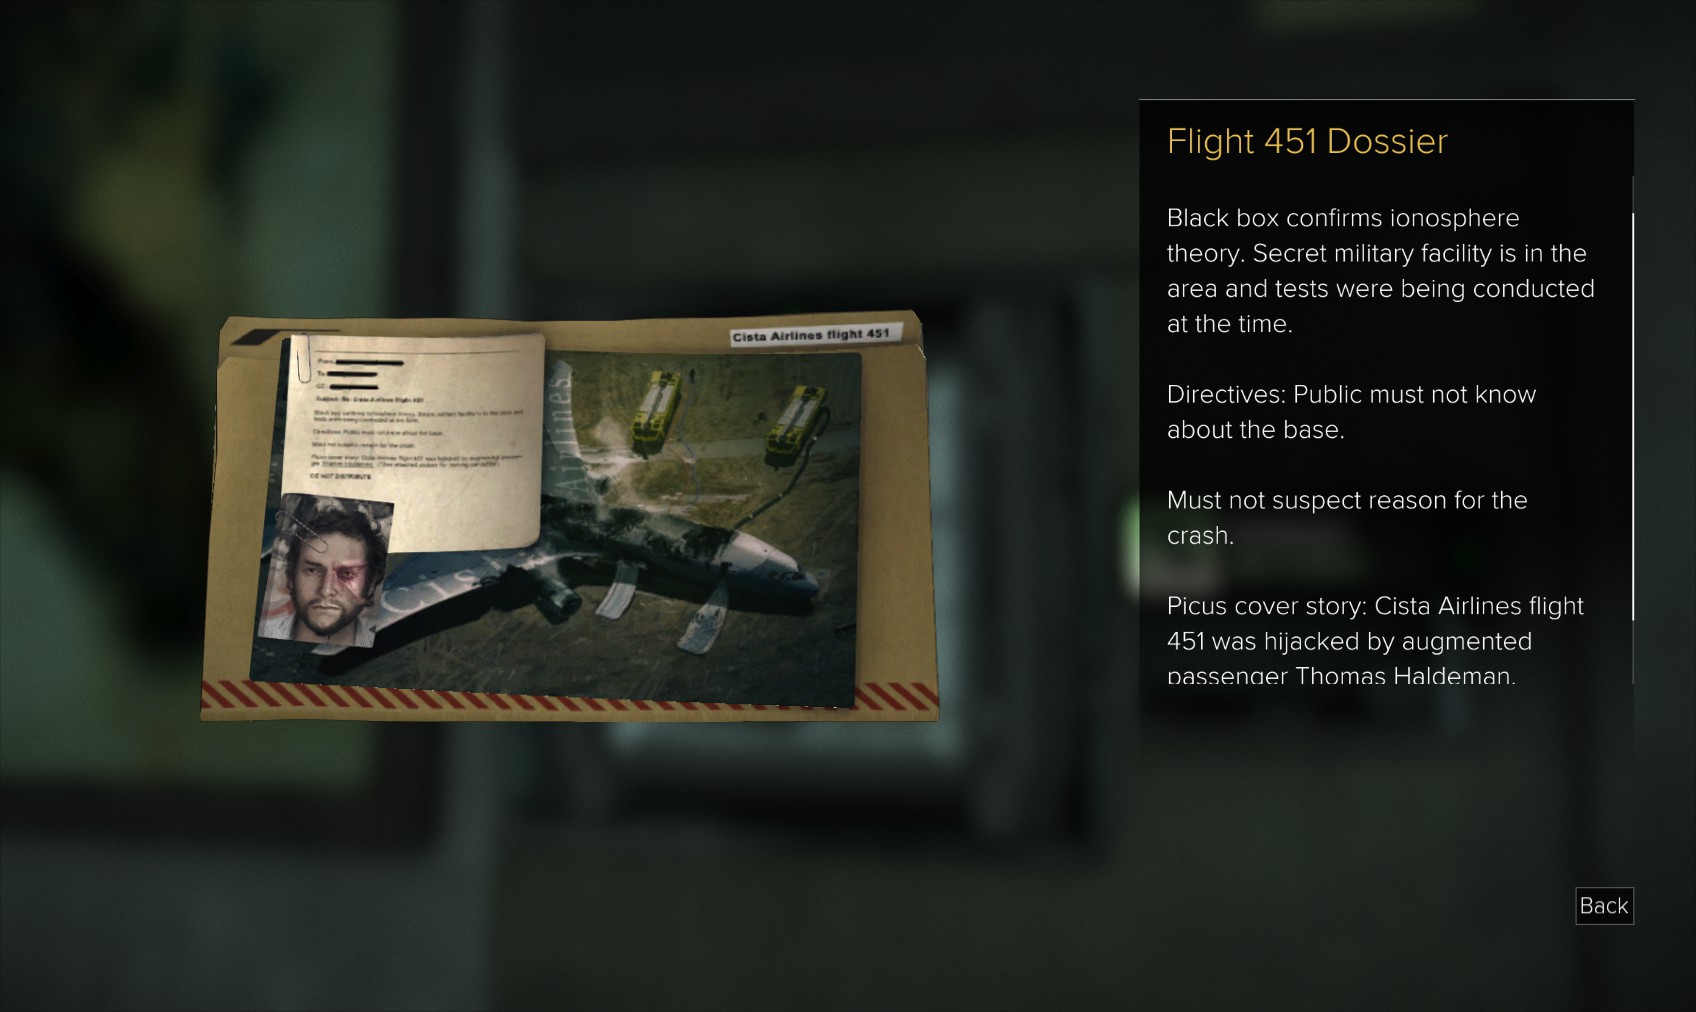
99. The one in the ceiling leads you to a secret room behind the CEO’s office. An EBook makes bold claims about Palisade’s security (yeah, right!). The pocket secretary from Masaaki Oshiro to Ashani Talwar provides the code 1293 to a locker. There is Breach Software on the desk.
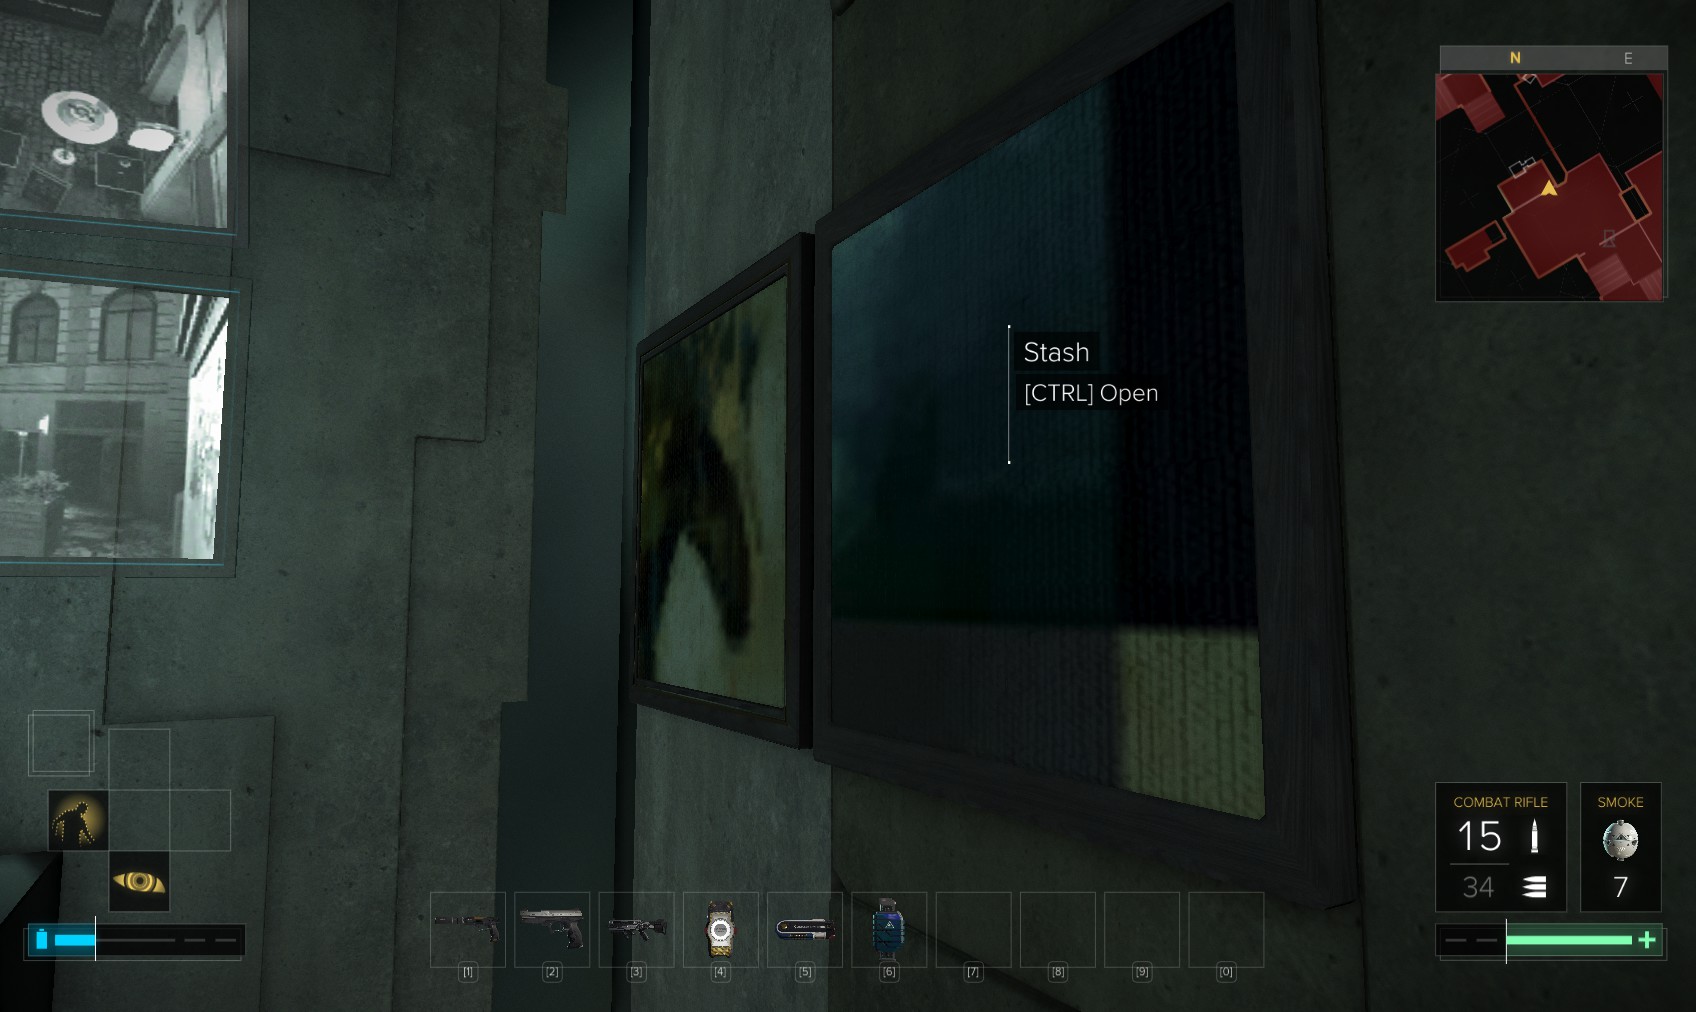
100. Don’t miss the level 1 safe behind this picure for 100c.
101. Credits and a Triangle Code are there, along with a Praxis Kit and yet more news for 'K'.
102. Head back to the CEO’s office. I wonder what this is? Could it be related to this is?

103. Some sort of game. Get it into the right configuration and it opens the door to the room we just left.

104. That’s enough mucking about, we have got what we came for, and more. Exit the office, and back to here carefully.
105. As I exit the room I see this vent. I’ll maybe investigate that later. For now take the elevator back to the lobby and out to the street.

106. A look at my todo list shows that I need to return to 'K' at the sewers near Zelen, which can wait. I need to revisit TF29 to hand over the evidence I got from Růžička station, and see the psycholgist to get signed off for active duty before I head to the Útulek Complex - A.K.A. Golem City.
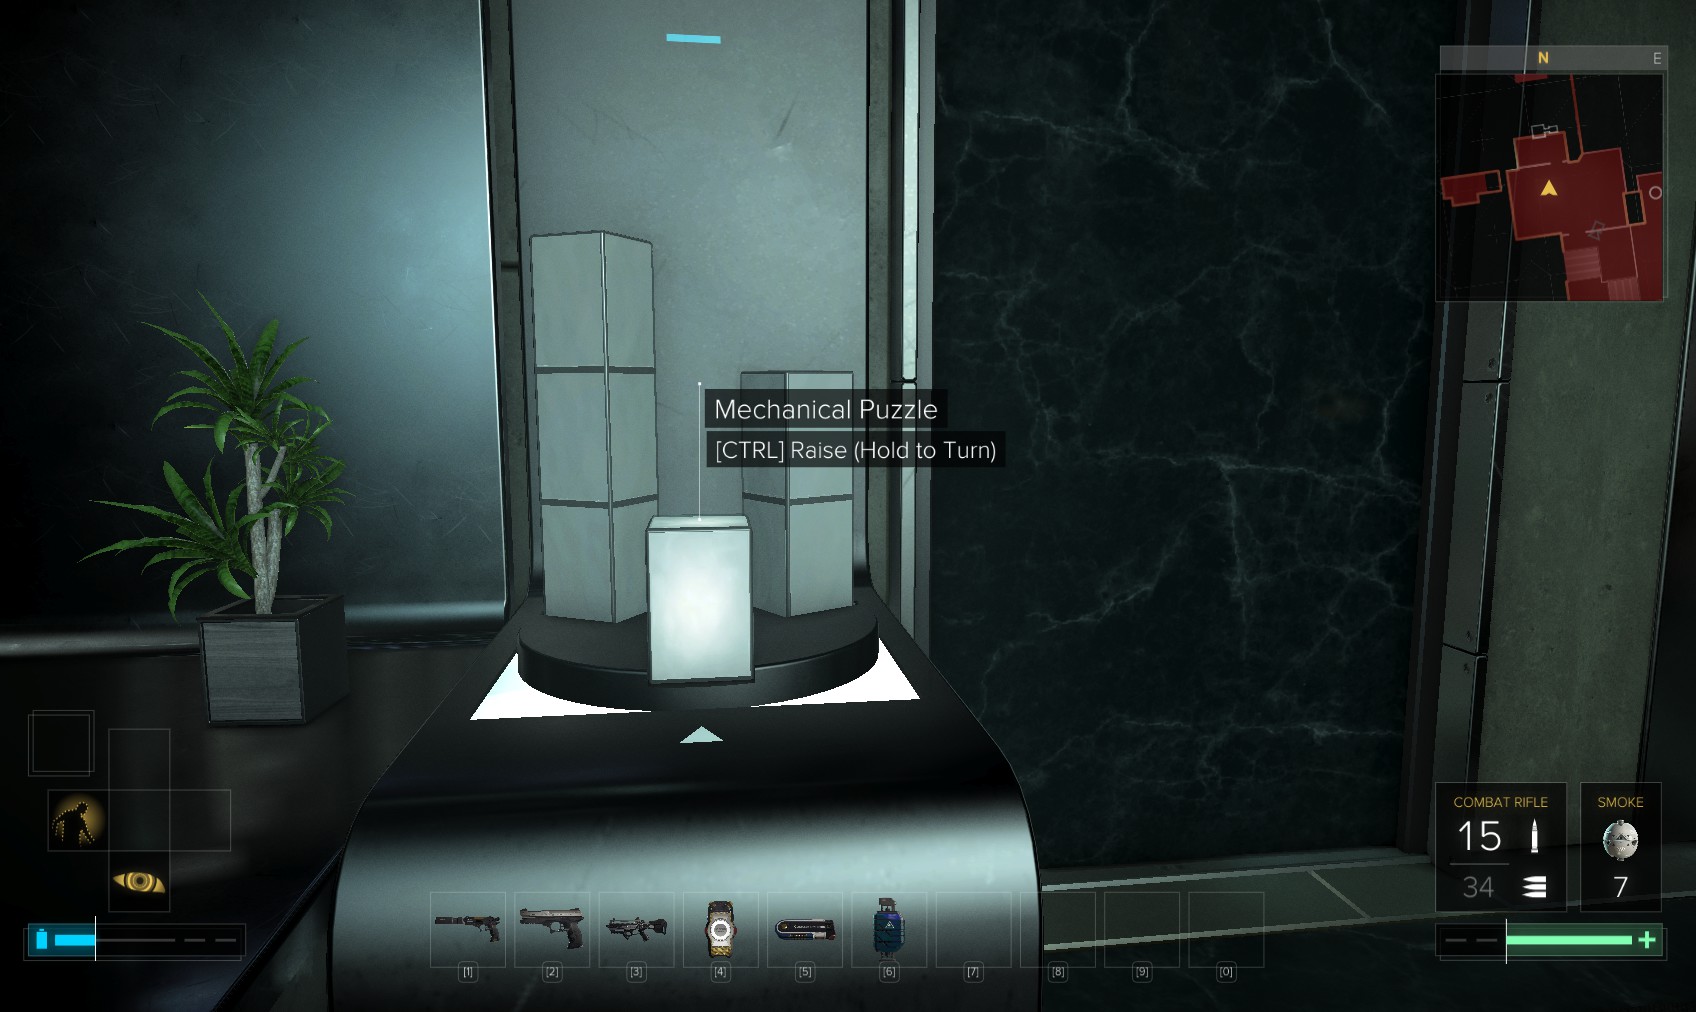
107. Through this arch is Palisade station. On the way to TF29 I’ll visit the nearby merchants to offload some stuff, and then into TF29’s HQ.
108. On your way down Alex contacts you and asks to meet at the LIMB clinic in Dávný District. She provides the door code - 4464. When the lift arrives, go talk to Aria.
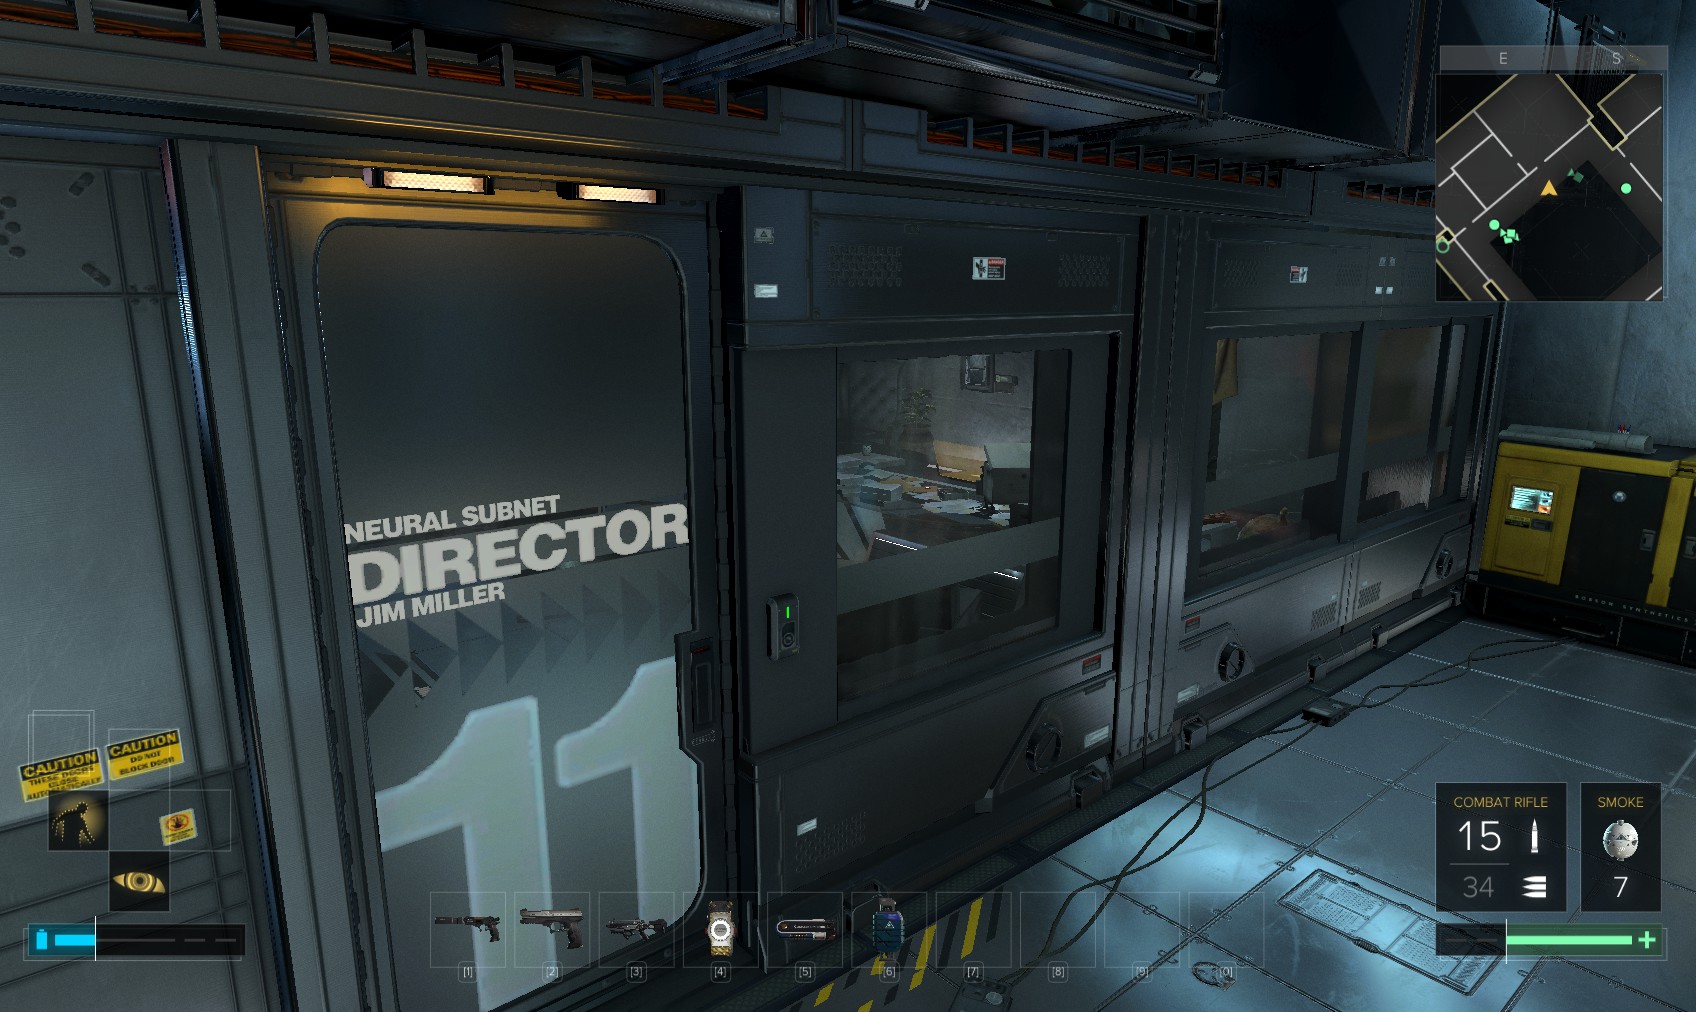
109. Hack any PCs you missed last time. Head upstairs. With Miller out, you have an opportunity to hack his level 3 PC for 335c and 150XP to read Macready’s thoughts about you. Head over to Cyber Crime and talk with Chang about Janus.
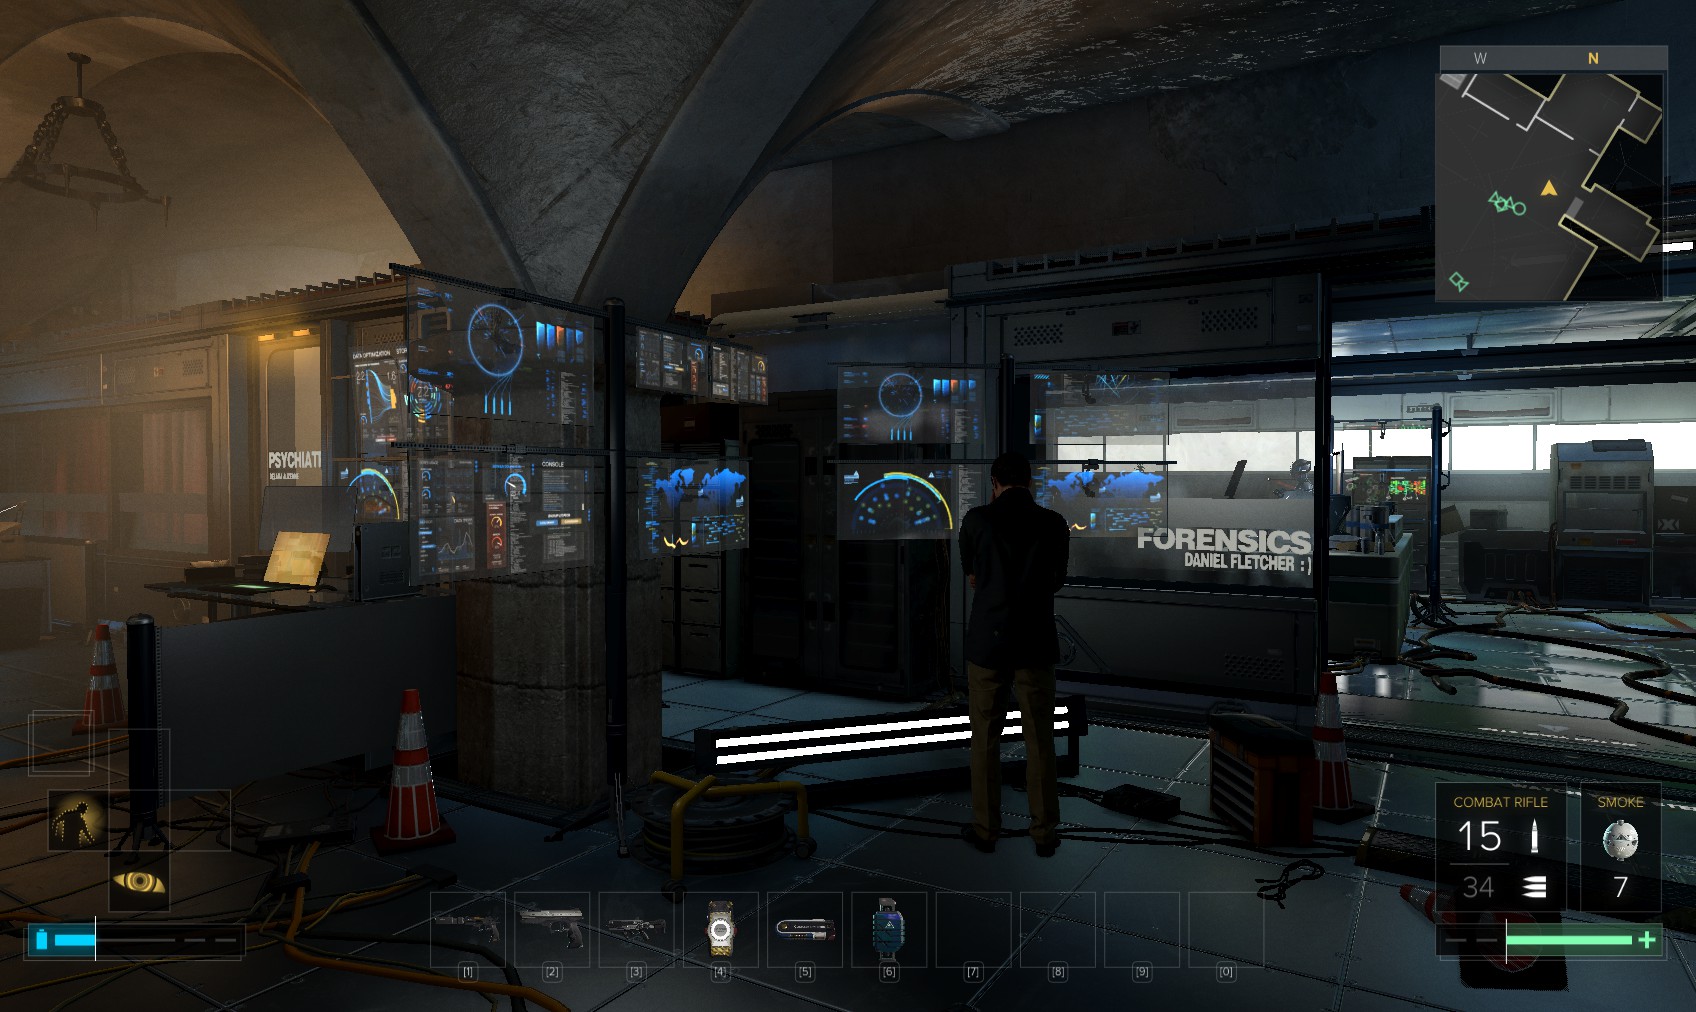
110. Then head back downstairs to Forensics to speak with Smiley. Learn that he doesn’t think ARC was responsible for the bombing. Head next door to see Dr Auzenne. That wraps it up for TF29, time to go to the Dávný district and meet Alex. She’ll remind you about that as you ride the elevator to the surface.
111. There it is. Alex will have given you the code - 4464 - which gets you 125XP. If you prefer to hack it, it’s level 5 and provides overclock software and 5XP more. Beware the patrols if you hack it. Head inside.
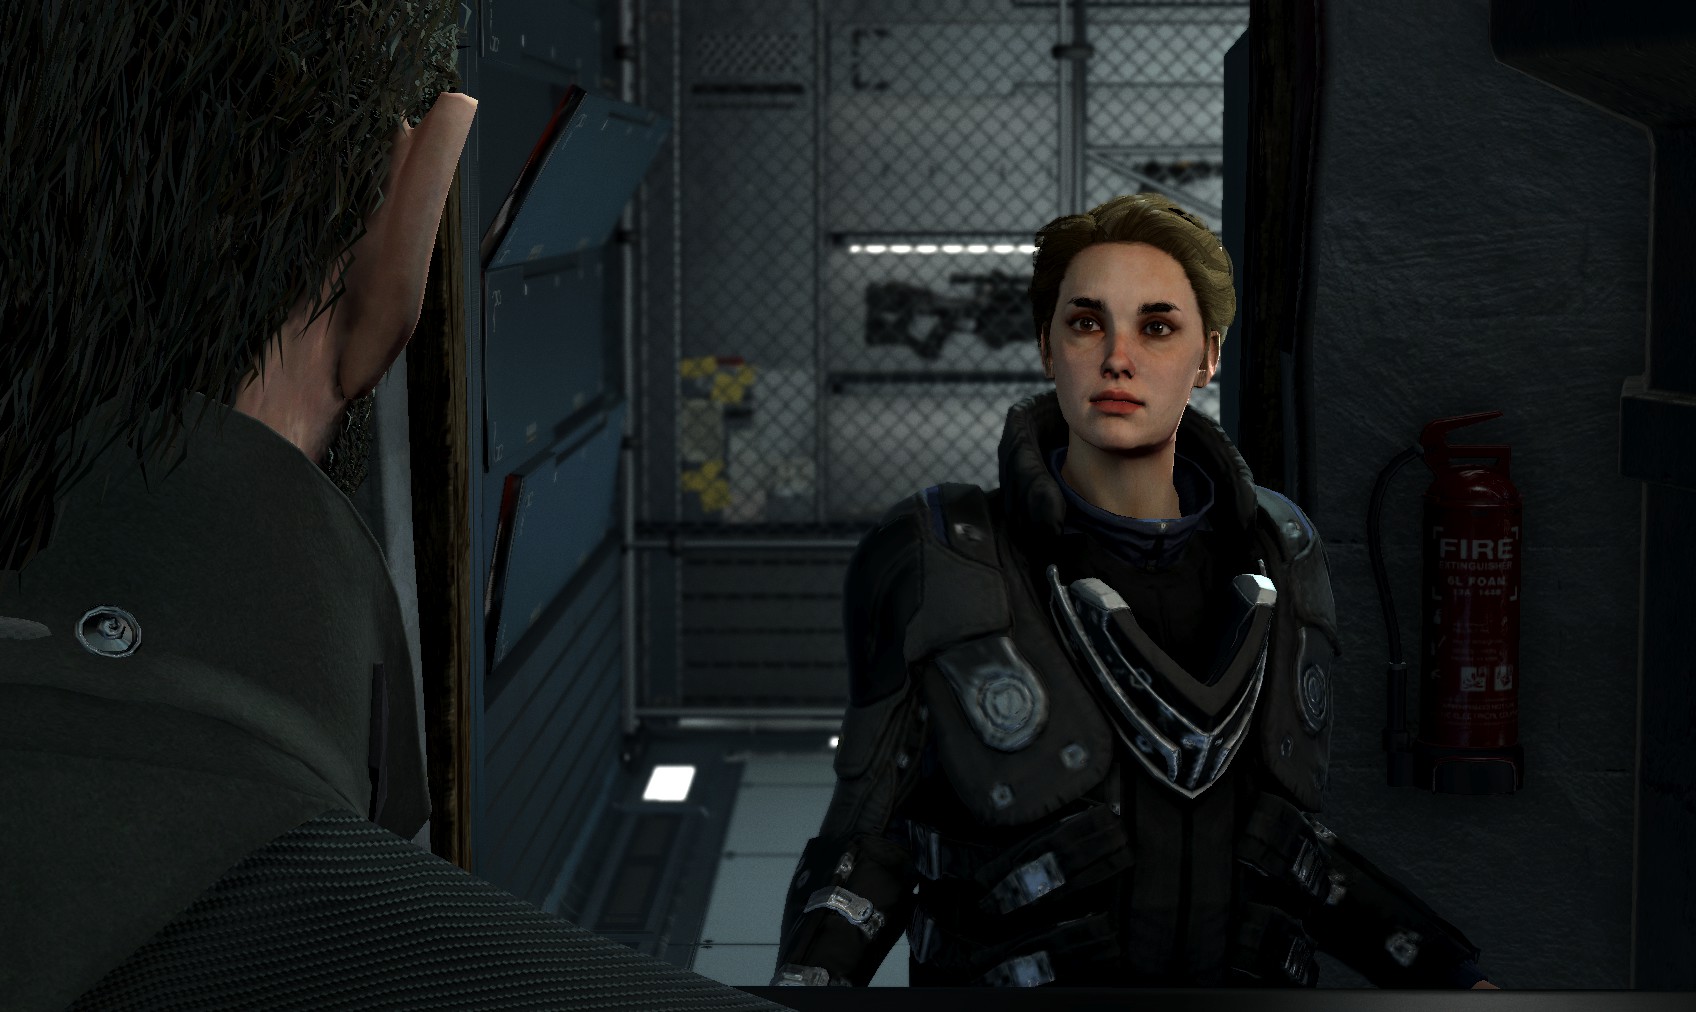
112. Go downstairs to chat with Alex. Eventually you get to the whisper chip recording of Miller, which seems to indicate that ARC is being set up for the bombings…and that Miller is in on it.
113. When you’re finished, Miller gives you the code 4465 for the puppet shop nearby, where you’ll meet your pilot to take you to Golem. Hunt around for stuff. In particular, the hacking software behind these boxes is easily missed. An eBook is on the side.

114. Up the stairs, I notice the ceiling is suspended. I look for a way up there - one of the diamond shapes above the desk is a hatch.
115. Lots of goodies up here, including a Triangle Code, Neuropozyne, a biocells, hacking software, Breach Software and a Praxis Kit. This pocket secretary to Linda Fletwick is about shutting the premises. They missed some stuff up here!

116. Another vent in the real ceiling comes out here.
117. The Kopecky Puppet workshop is just over the street to the North.
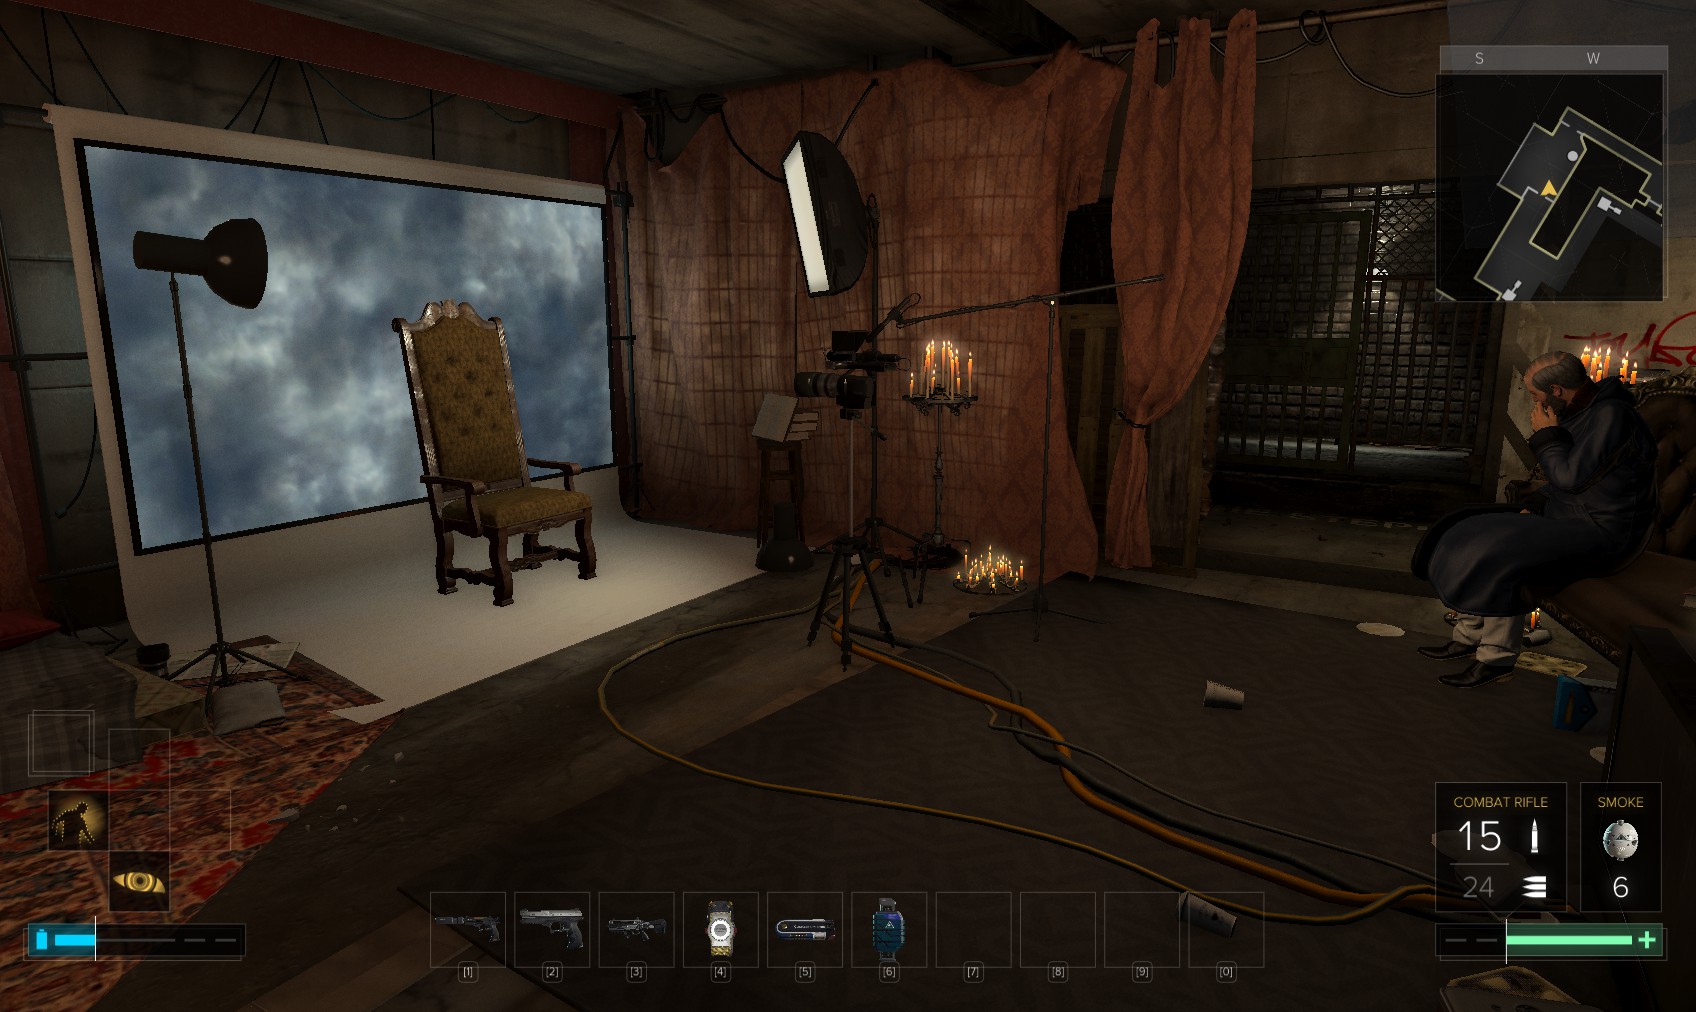
118. You were given the code - 4465 (125XP) - by Miller for this level 5 (extra 5XP for first try bonus) door. I love the broken mannikins in here.
119. Inside hunt around for minor goodies. A weapons case in the rafters has a battle rifle.
120. There’ll be plenty of time for snooping when you return. For now head to the landing pad on the left.
121. If you keep your distance, you get to eavesdrop on Miller making a personal call. Snoop in the abandoned apartments on the right. You get a 200XP bonues for entering the upper floor.
122. This refrigerator conceals a level 3 safe (165c) if you have heavy lifting. There are also minor goodies downstairs.
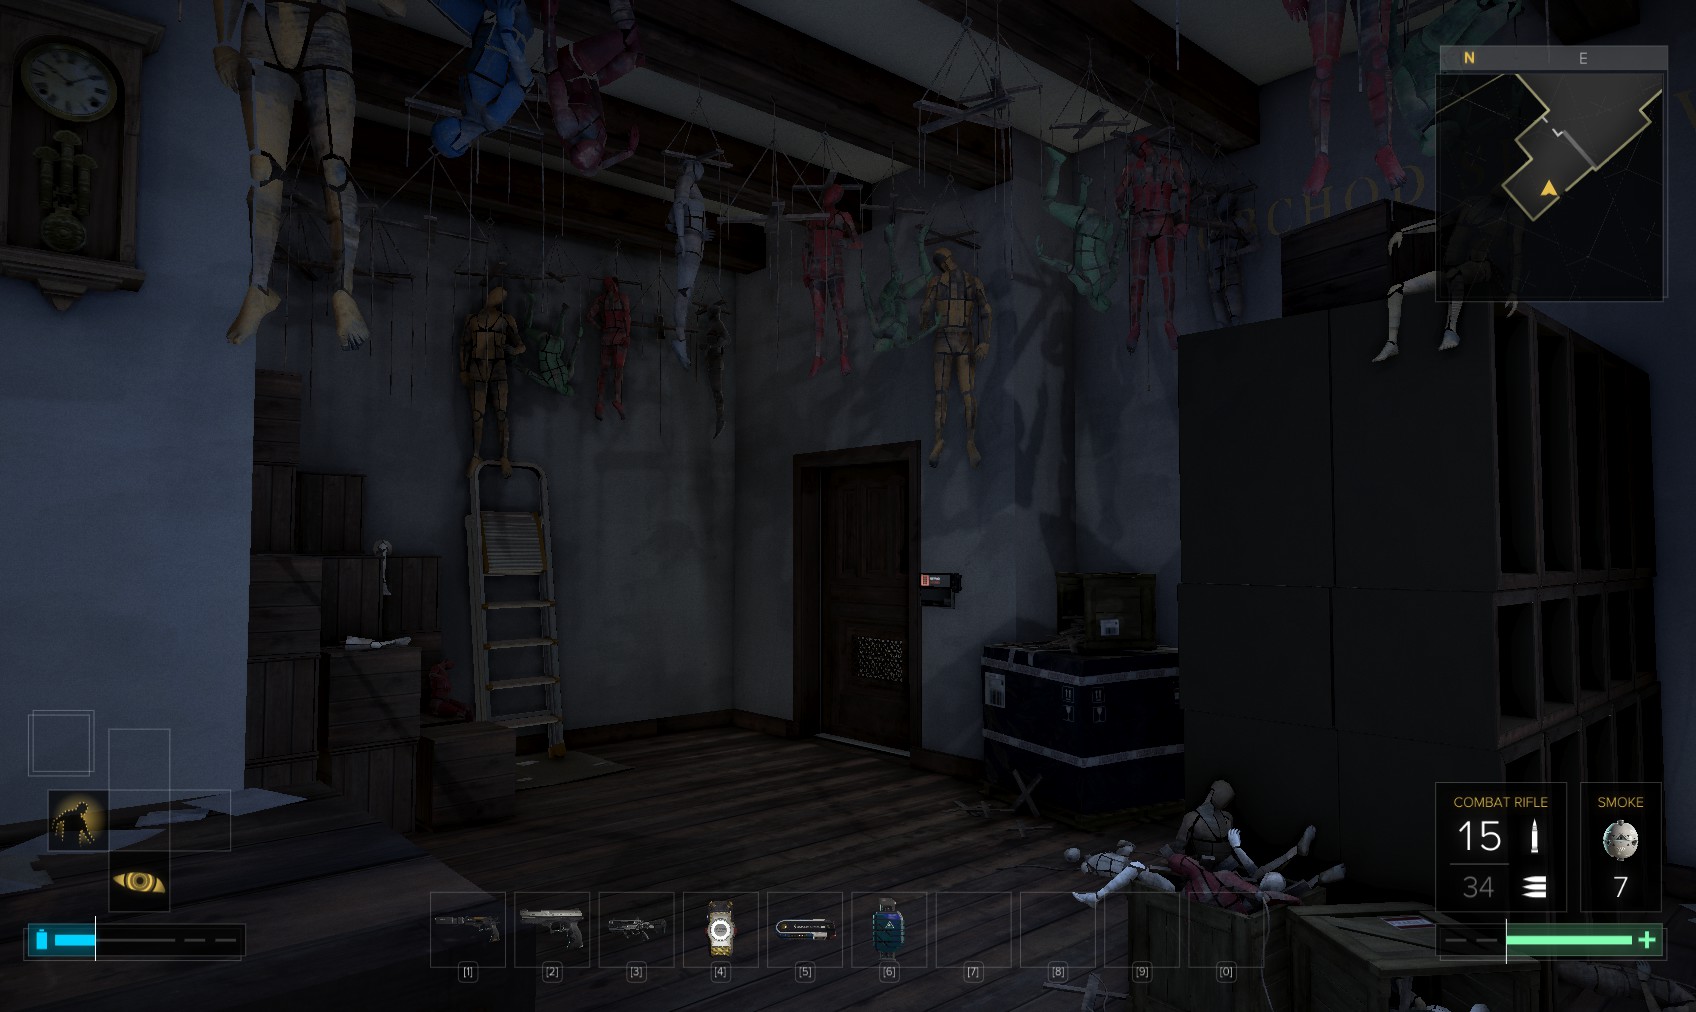
123. This level 3 door provide Nuke software and leads to another 200XP bonus and some cabinets. A vent in the floor reveals another way in under the landing pad. Up those stairs are also more minor goodies.
124. Time to speak with Miller now he’s off the phone, and then Chicane makes his entrance. Miller gives you the name of a contact - Tibor Sokol - who’ll guide you into the heavily guarded ARC controlled area of Útulek.

125. Only one side mission is outstanding, but that can be finished up when you return. I chose not to wind Chicane up about his experience or attitude: I’m ready to go.

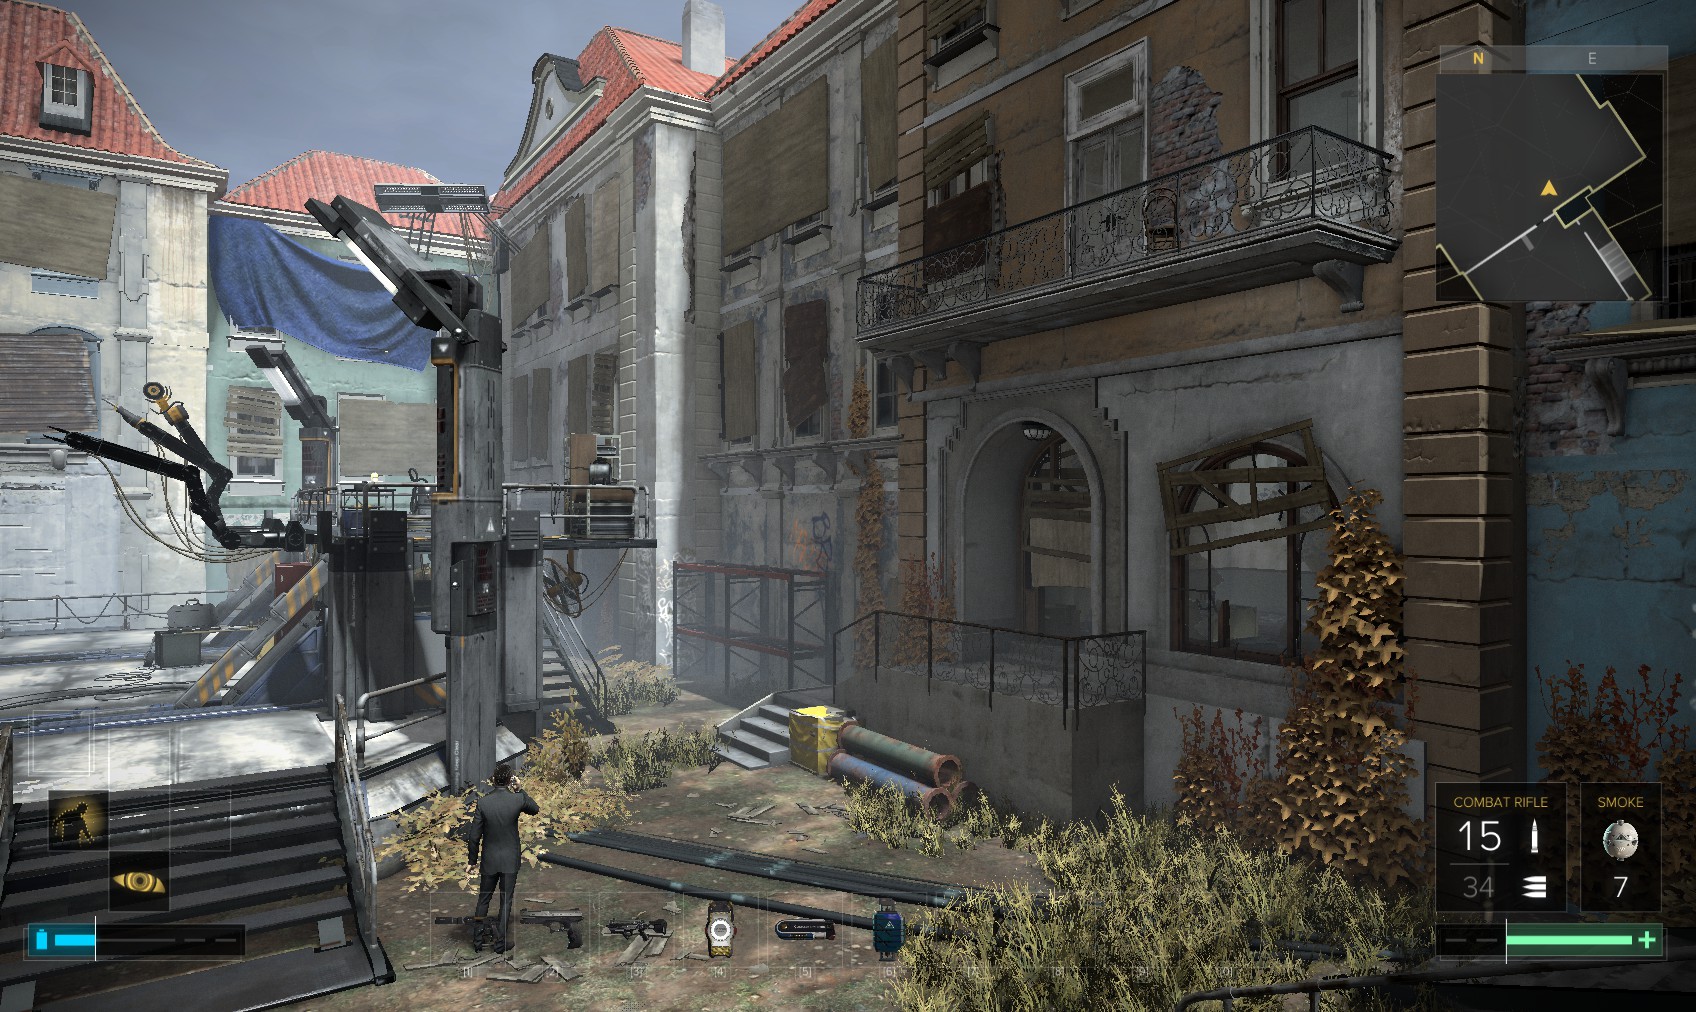
126. You head for the Útulek Complex - Golem City.