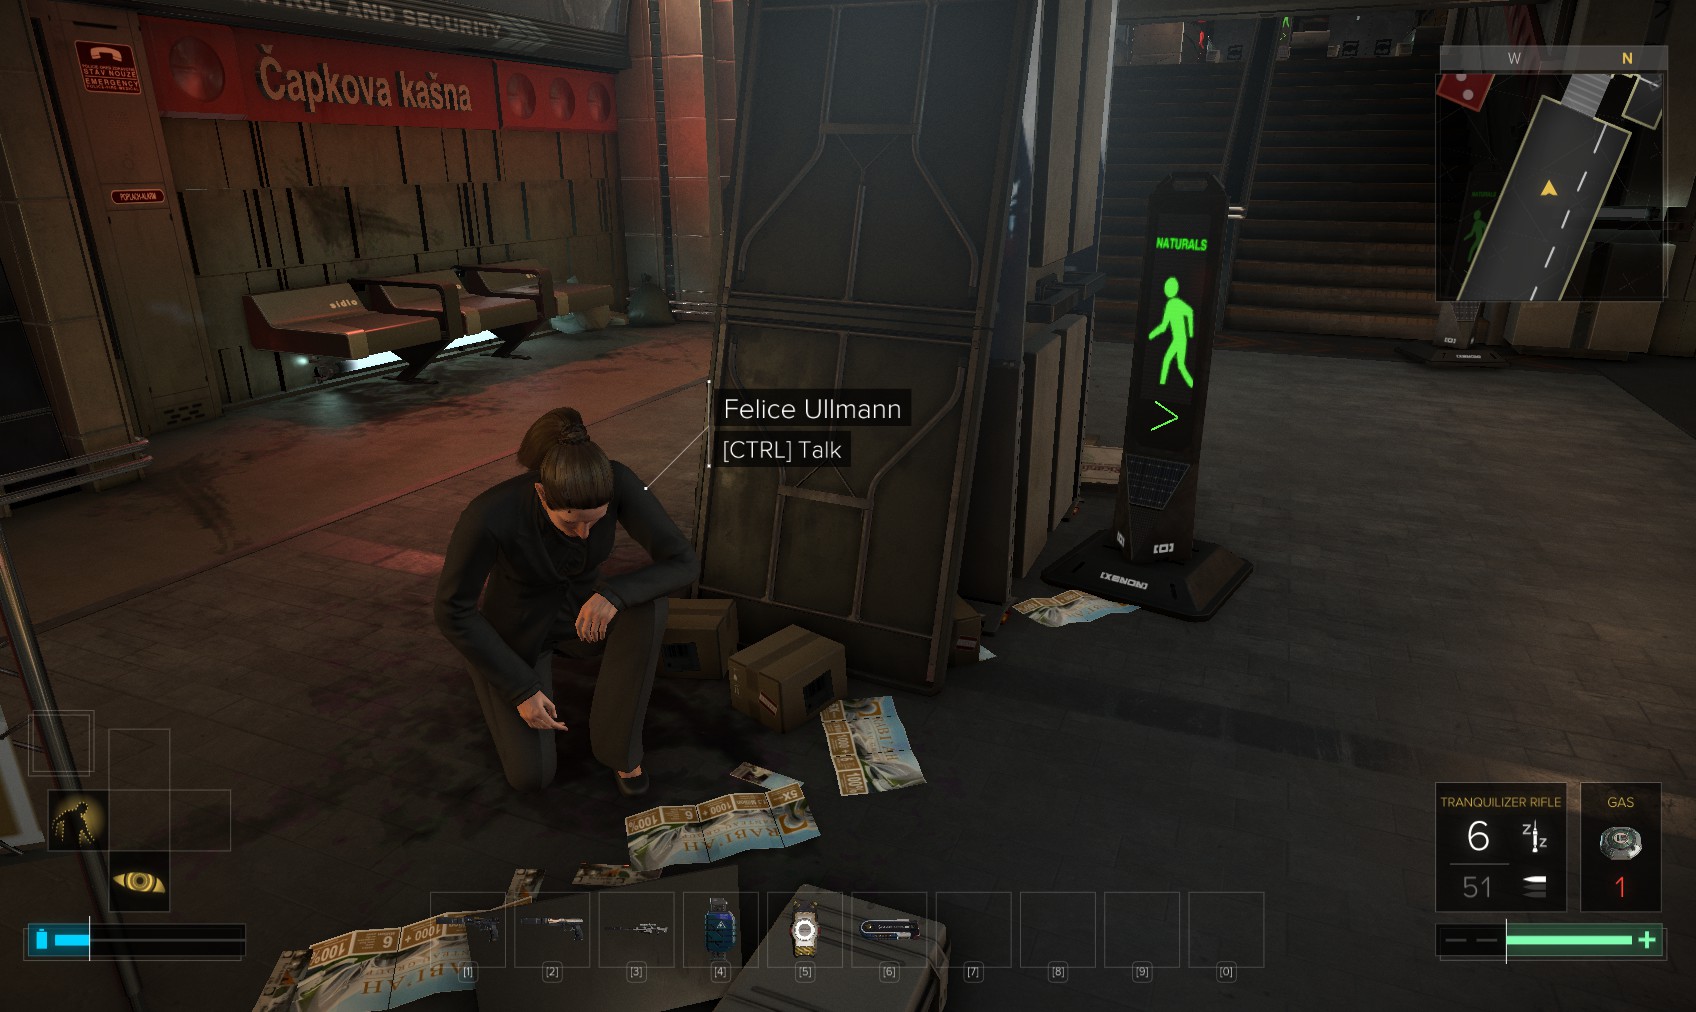
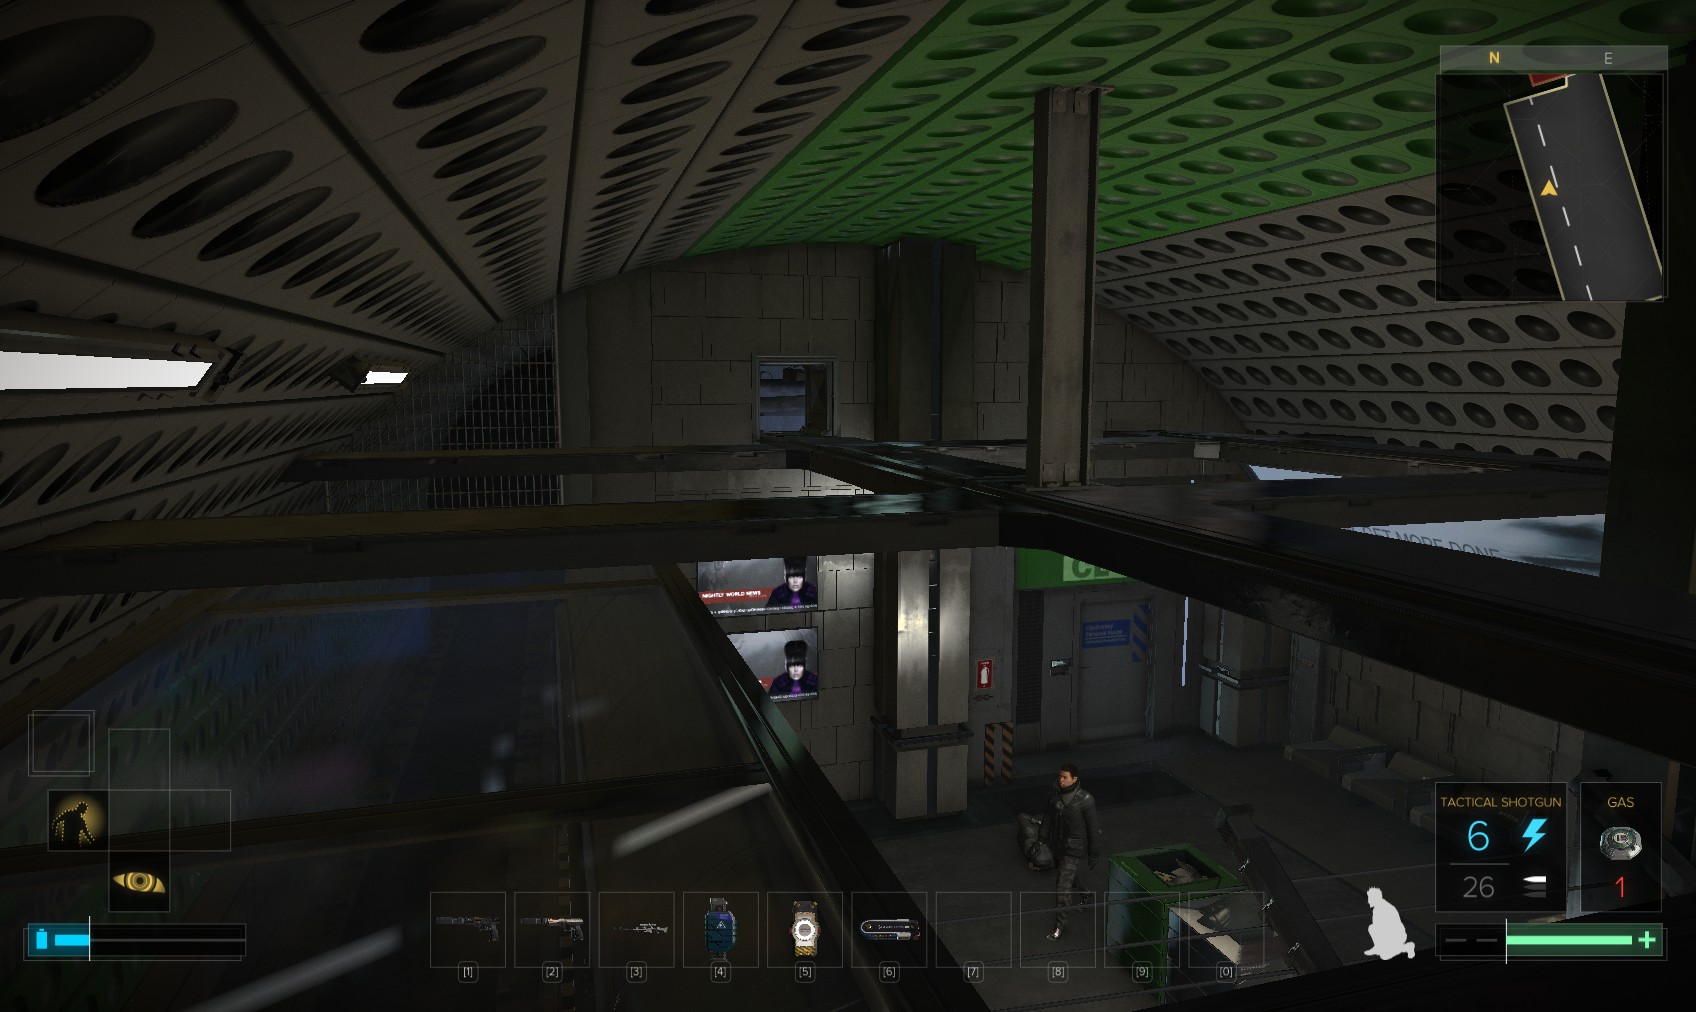
1. As I head up the platform on arrival, I spot Felice Ullmann, so I stop for a chat.
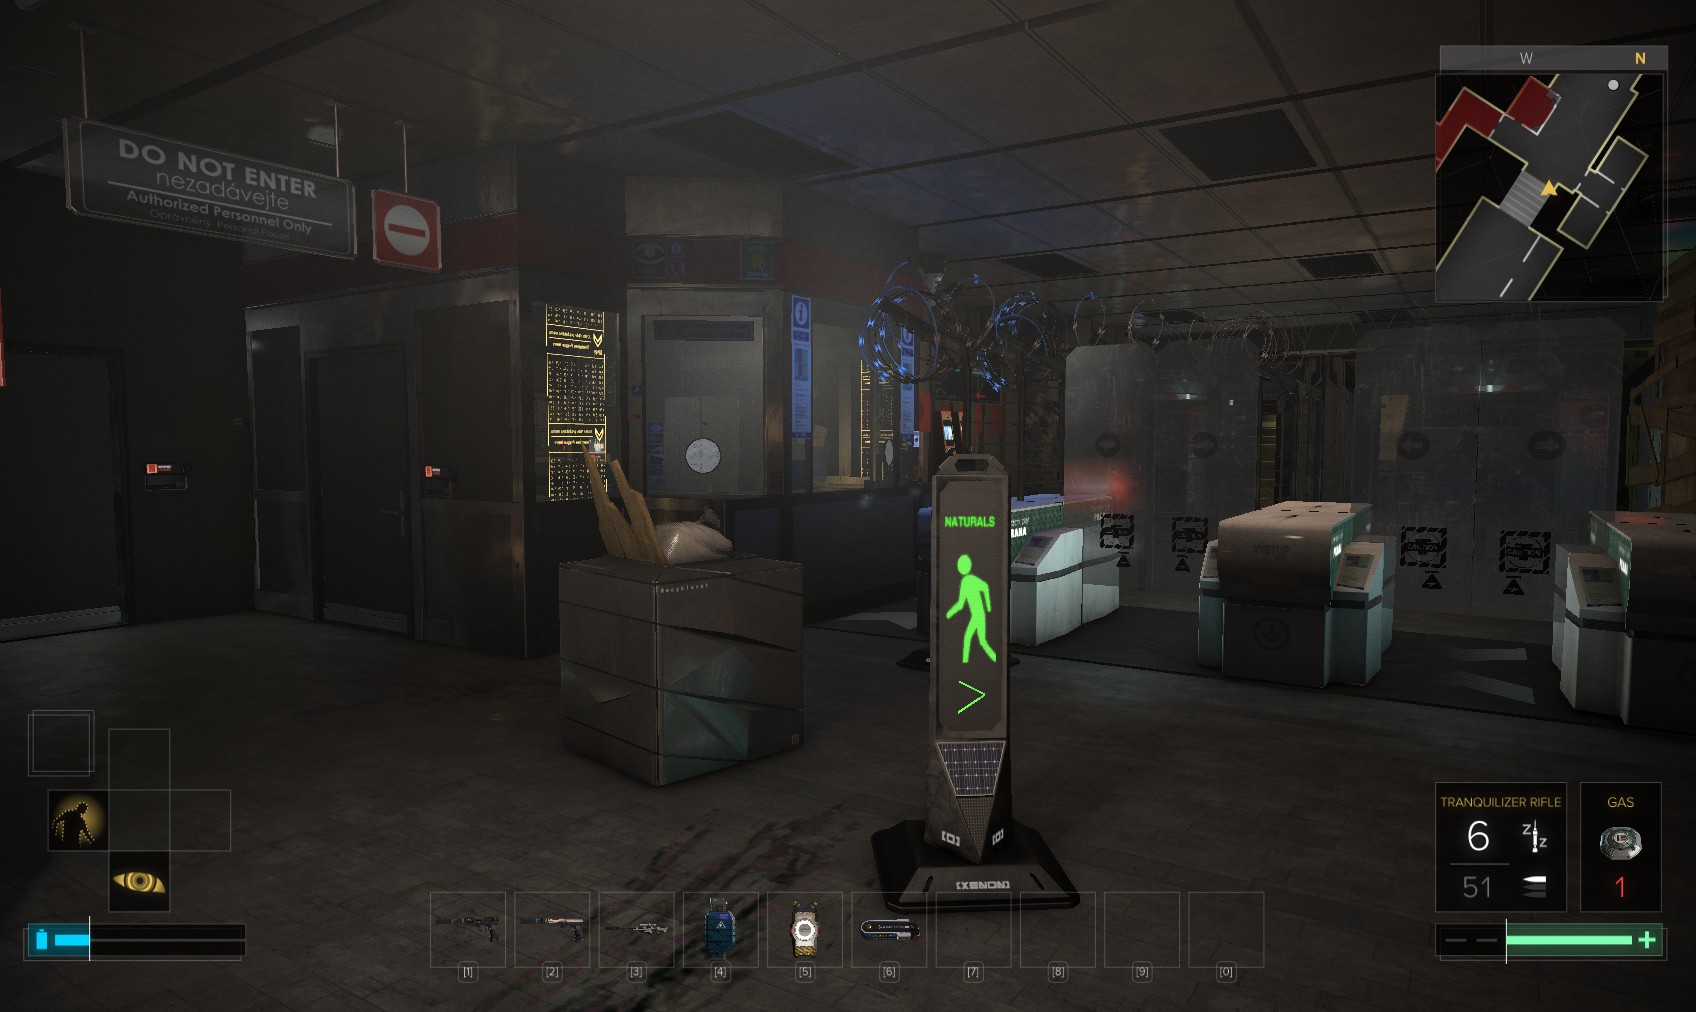
2. At the head of the stairs, I notice all the doors are locked. I wonder why? The booth we already have the code 3998 which yields an XP bonus. Similarly the rest-rooms across the concourse.
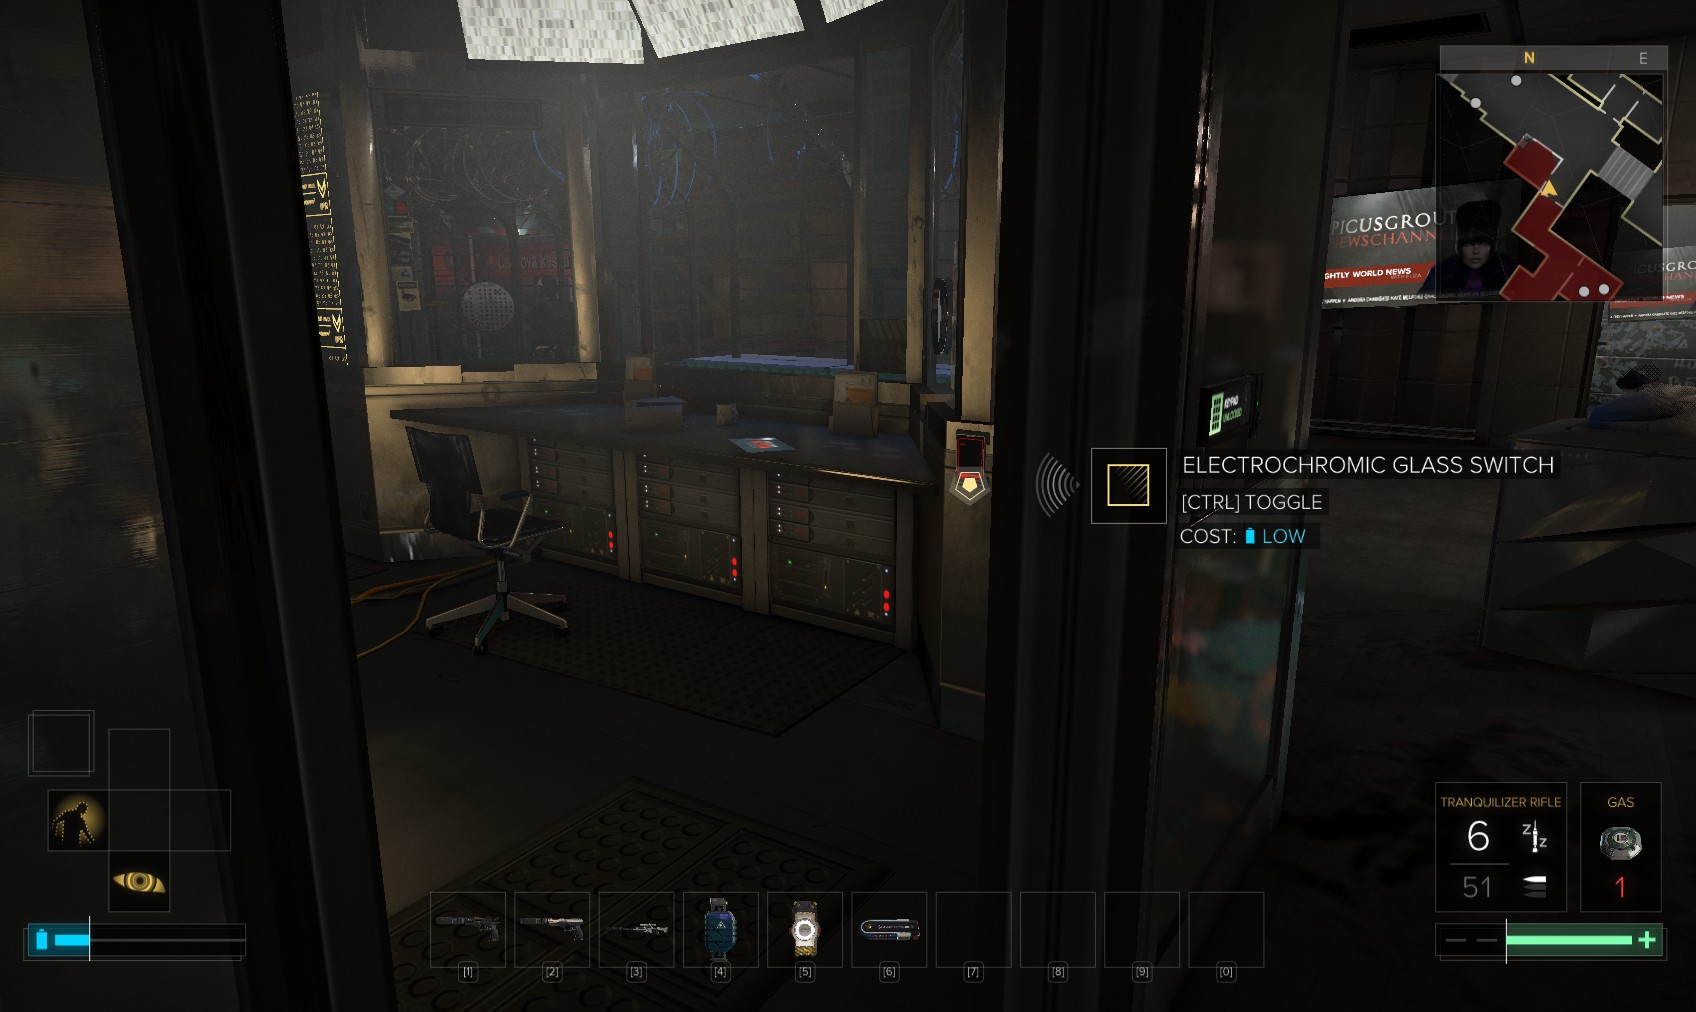
3. The door to the back requires hacking (level 1, stop worm). You’ll need to shut the blinds to prevent the cop outside from observing you. Inside, it’s patrolled by a couple of cops, and I’m in no mood for trouble so I head out.
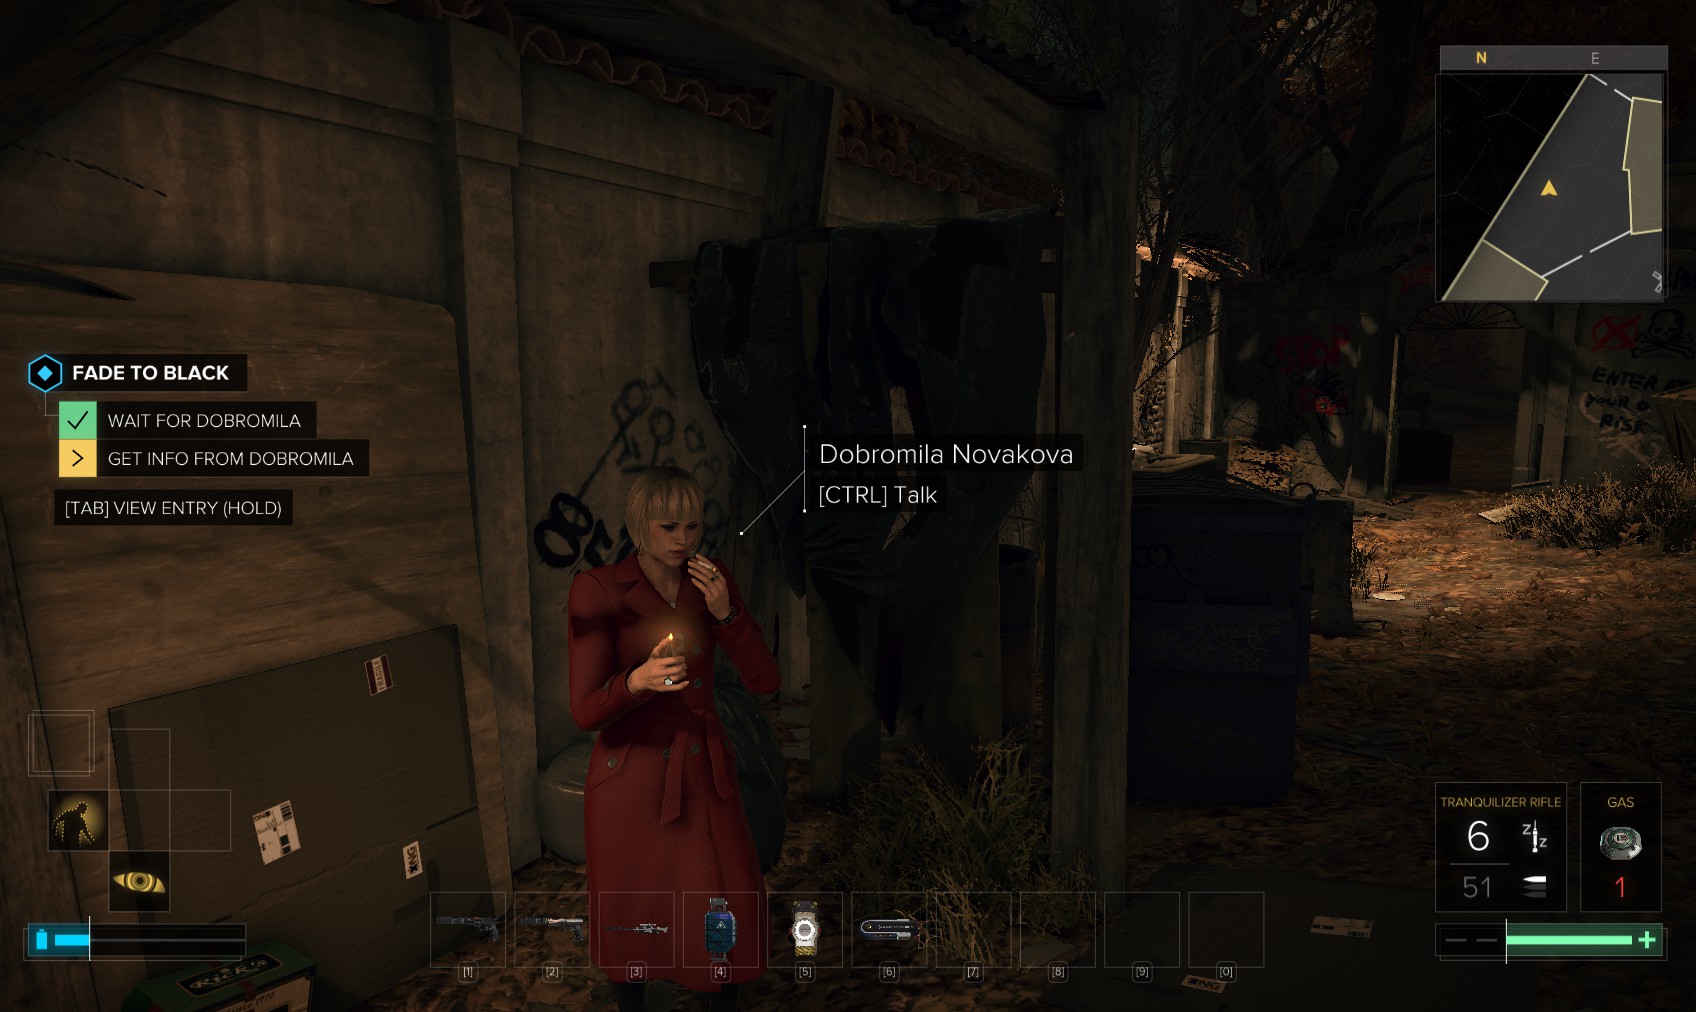
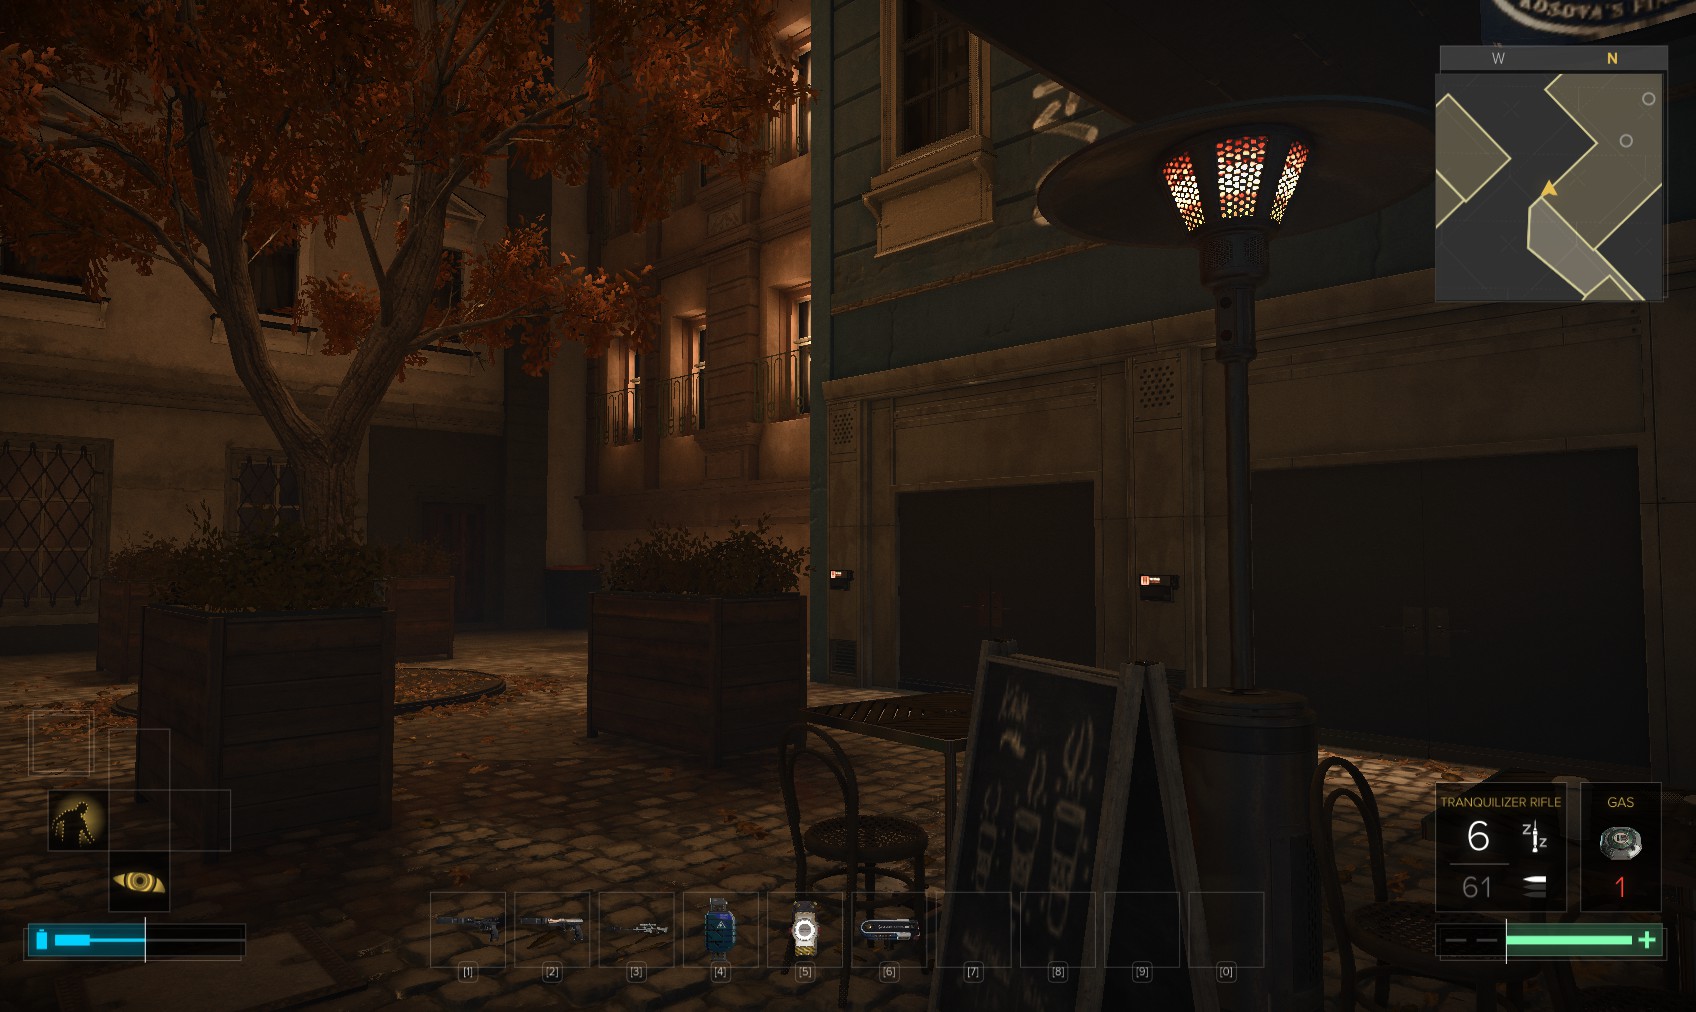
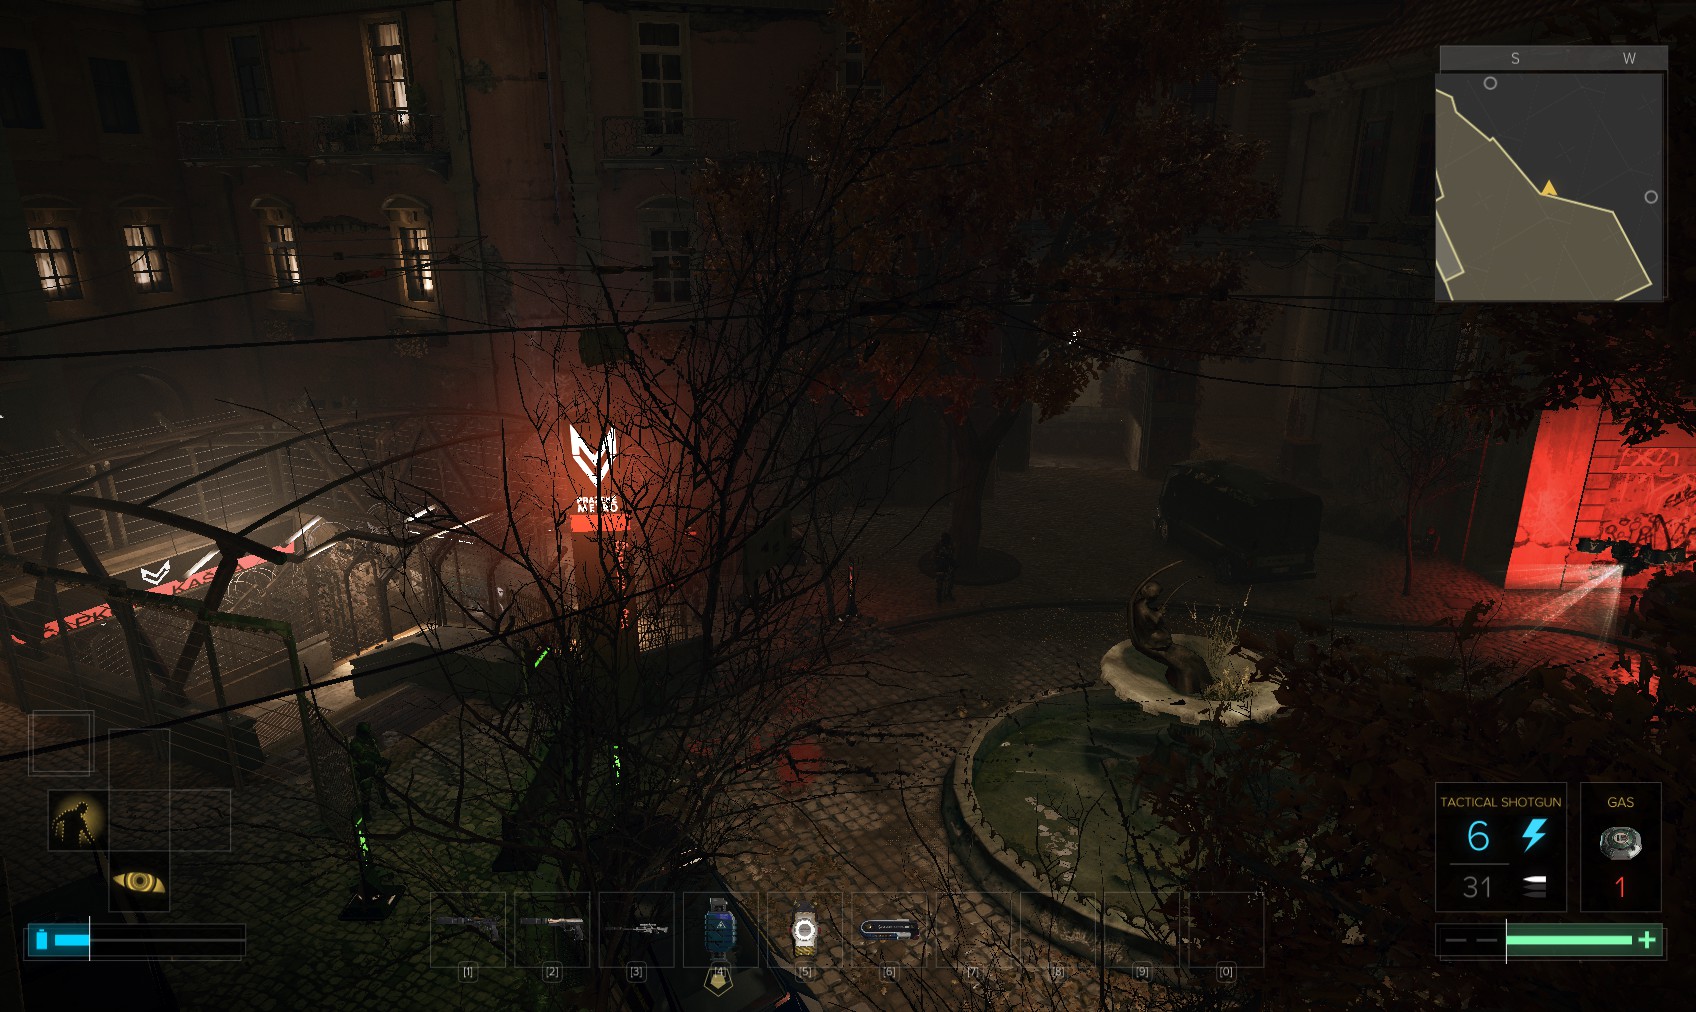
4. The first order of business is to meet Dobromila. The courtyard is the same one you found a drug dealer in earlier. Talk with Dobromila.
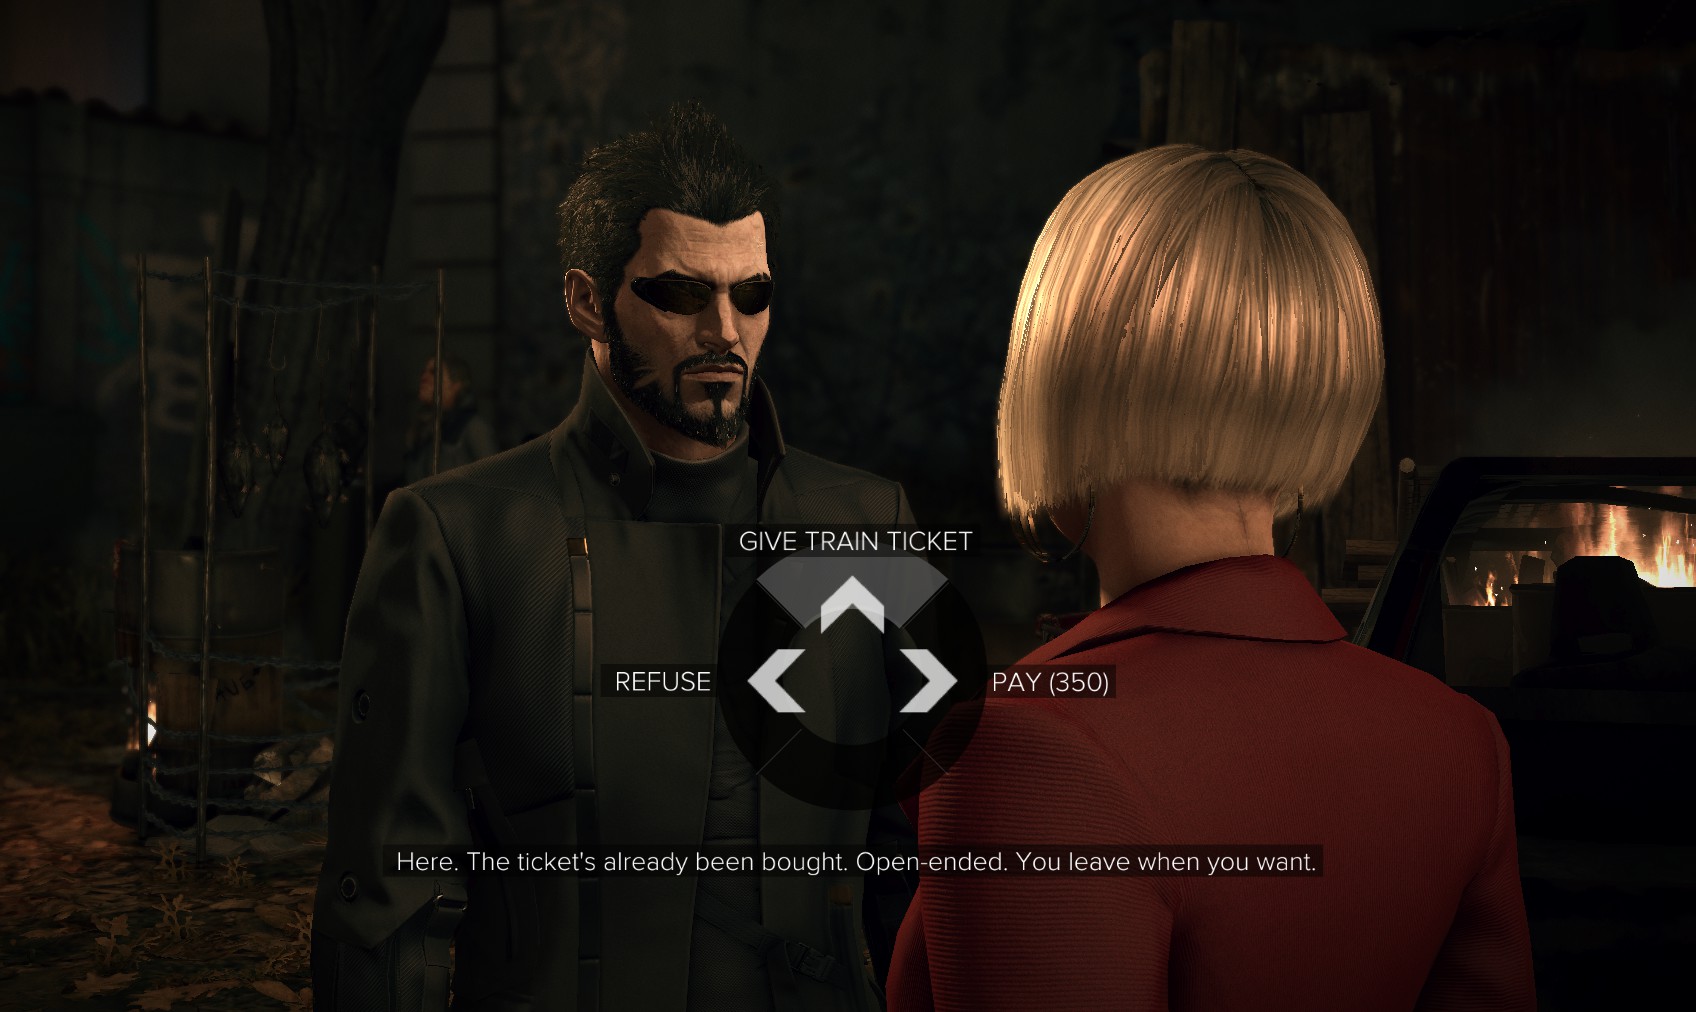
5. The price for her information is a ticket to Berlin. Luckily, you have one. She gives you the location and code (2565) for a storage locker near Palisade Bank.
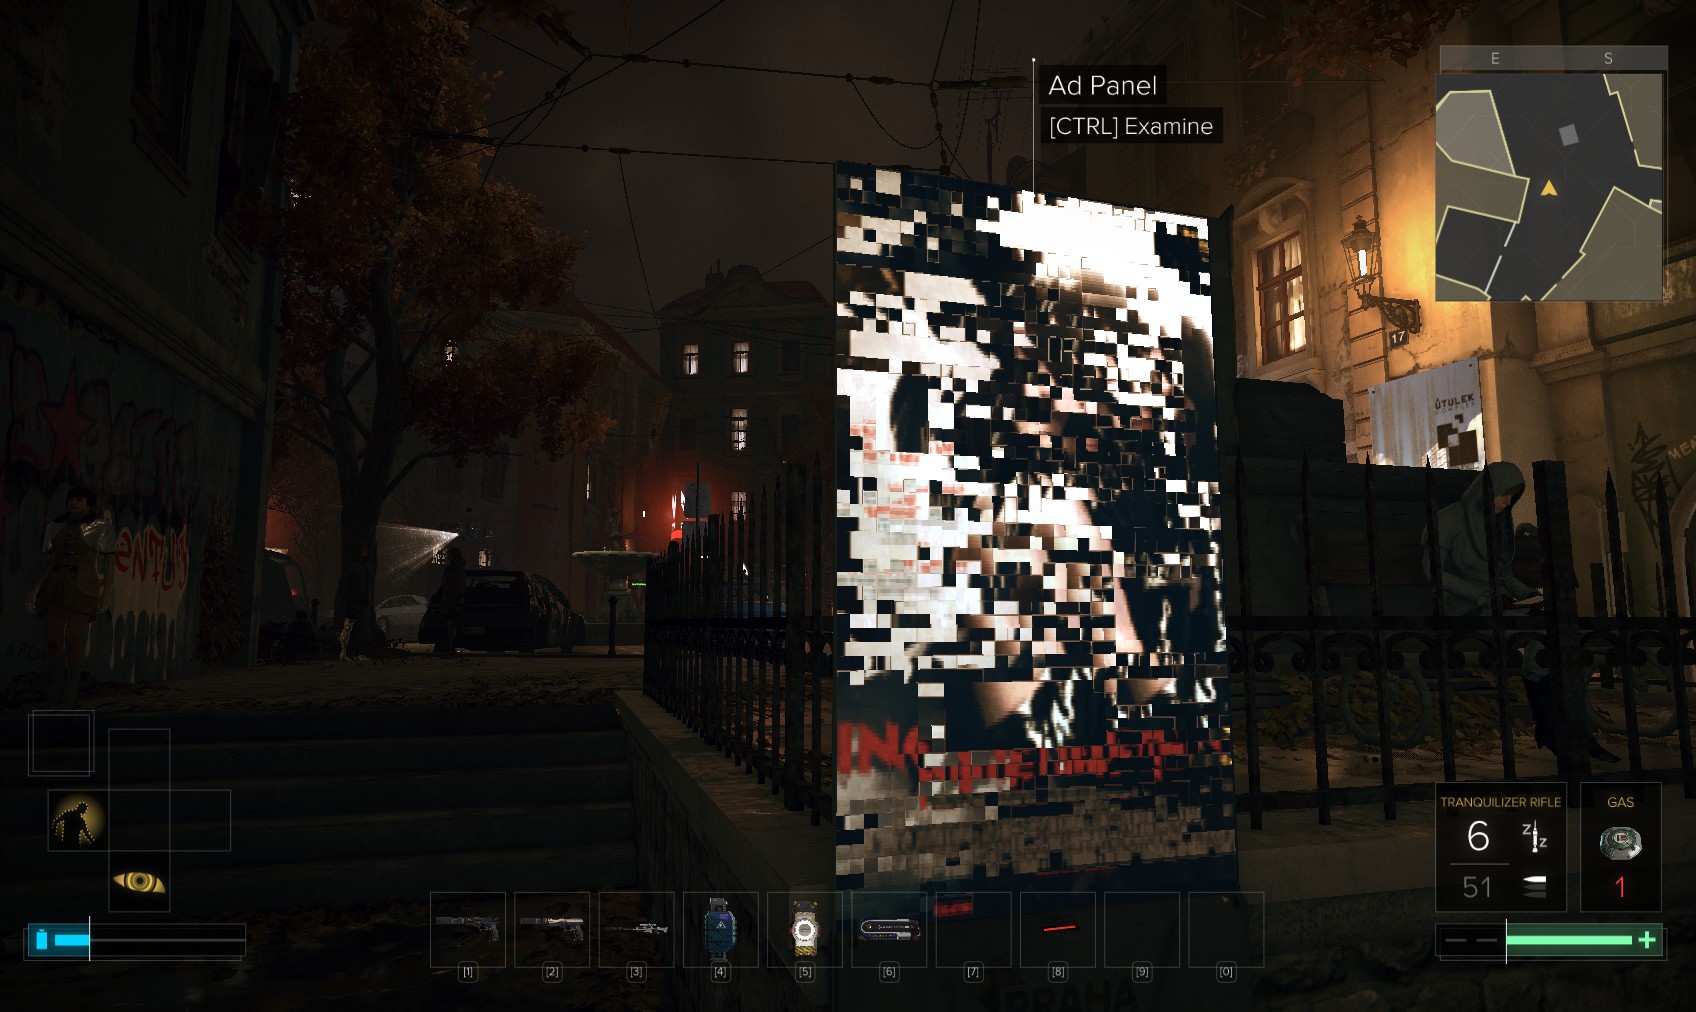
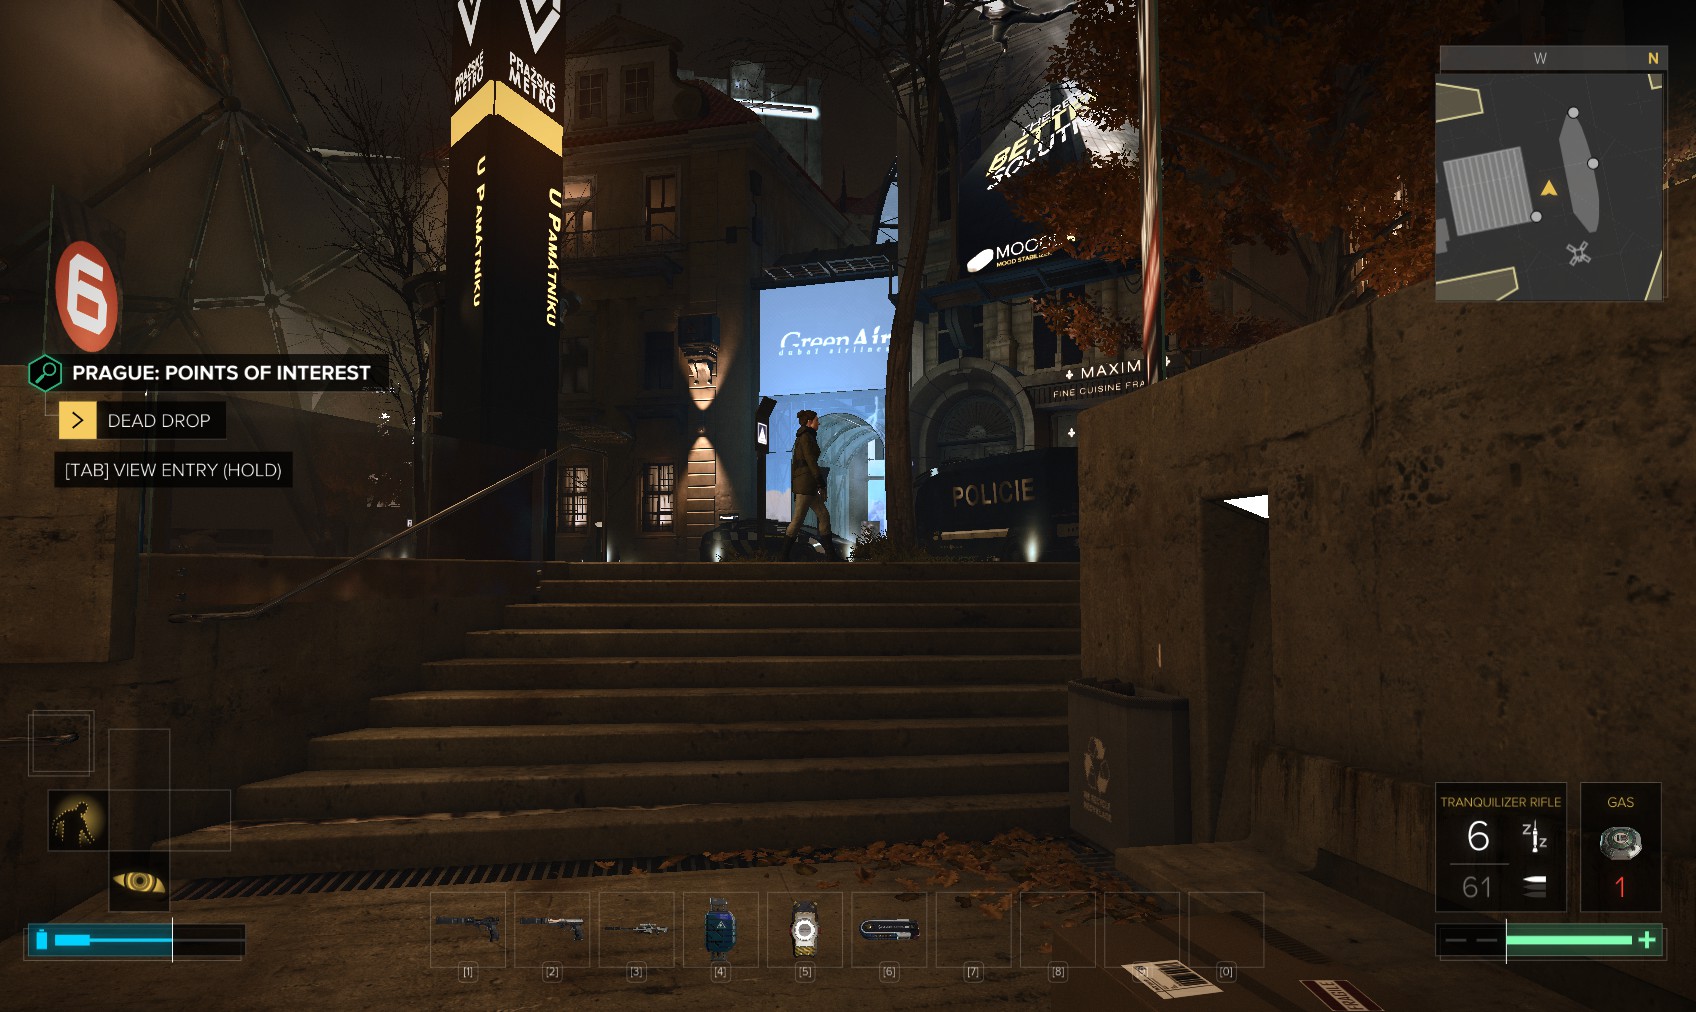
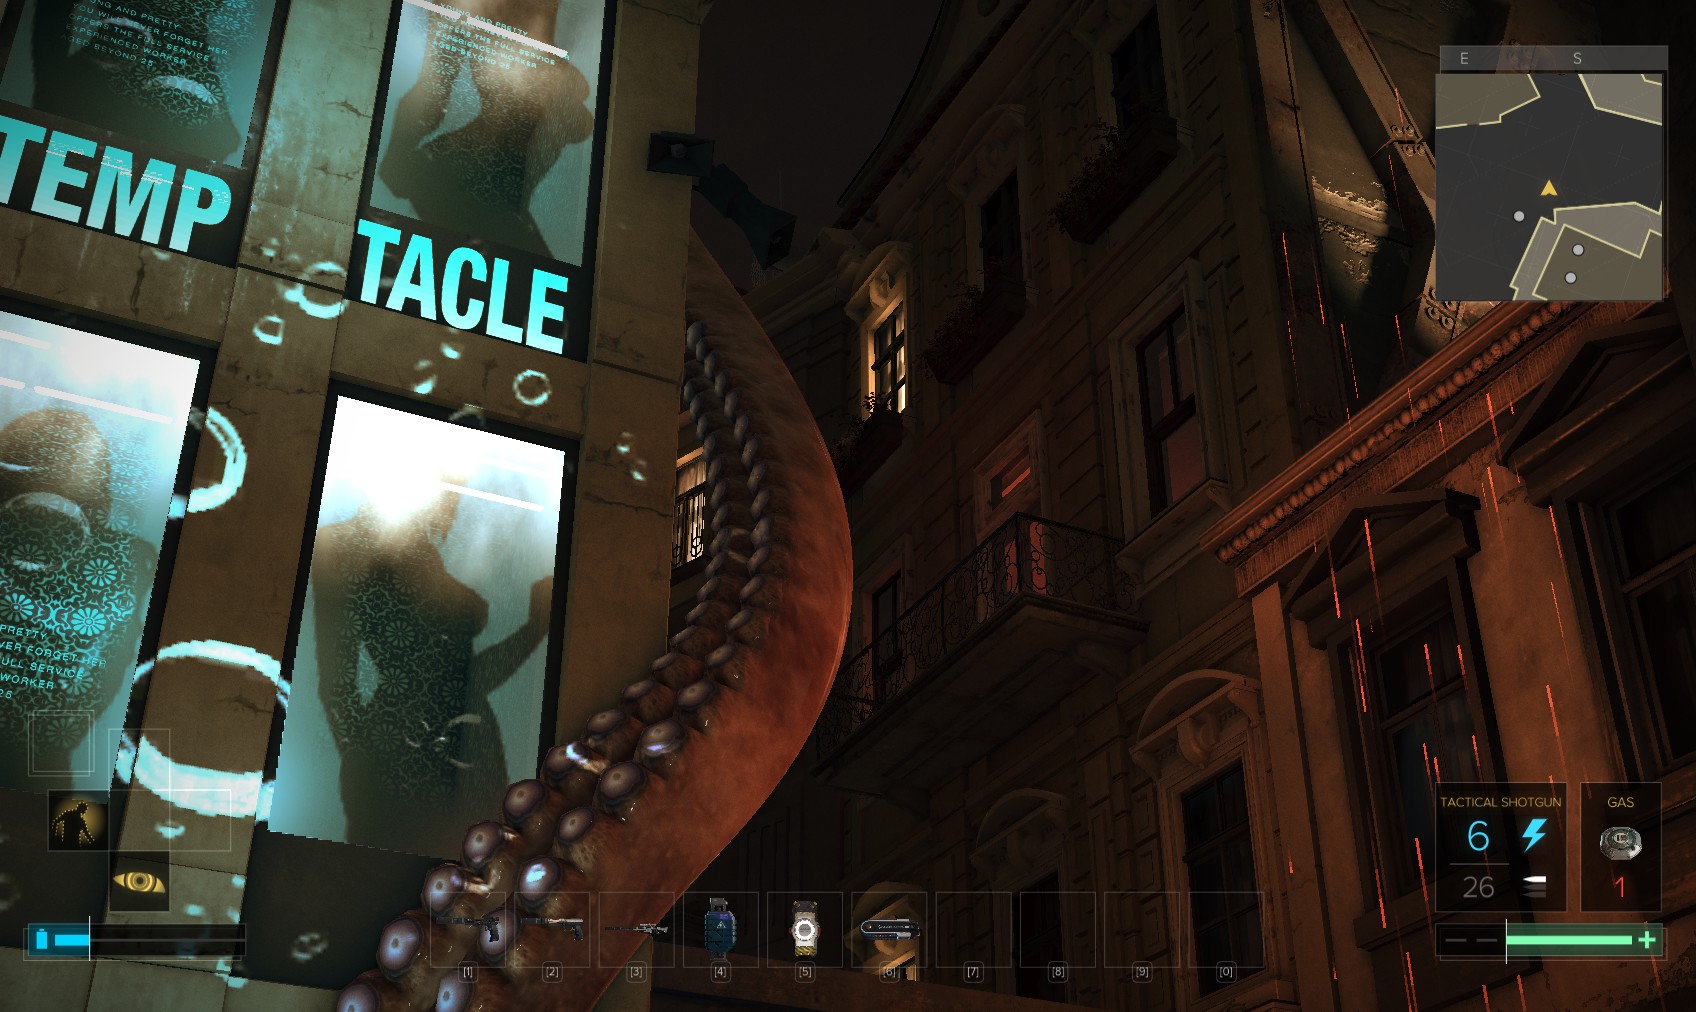
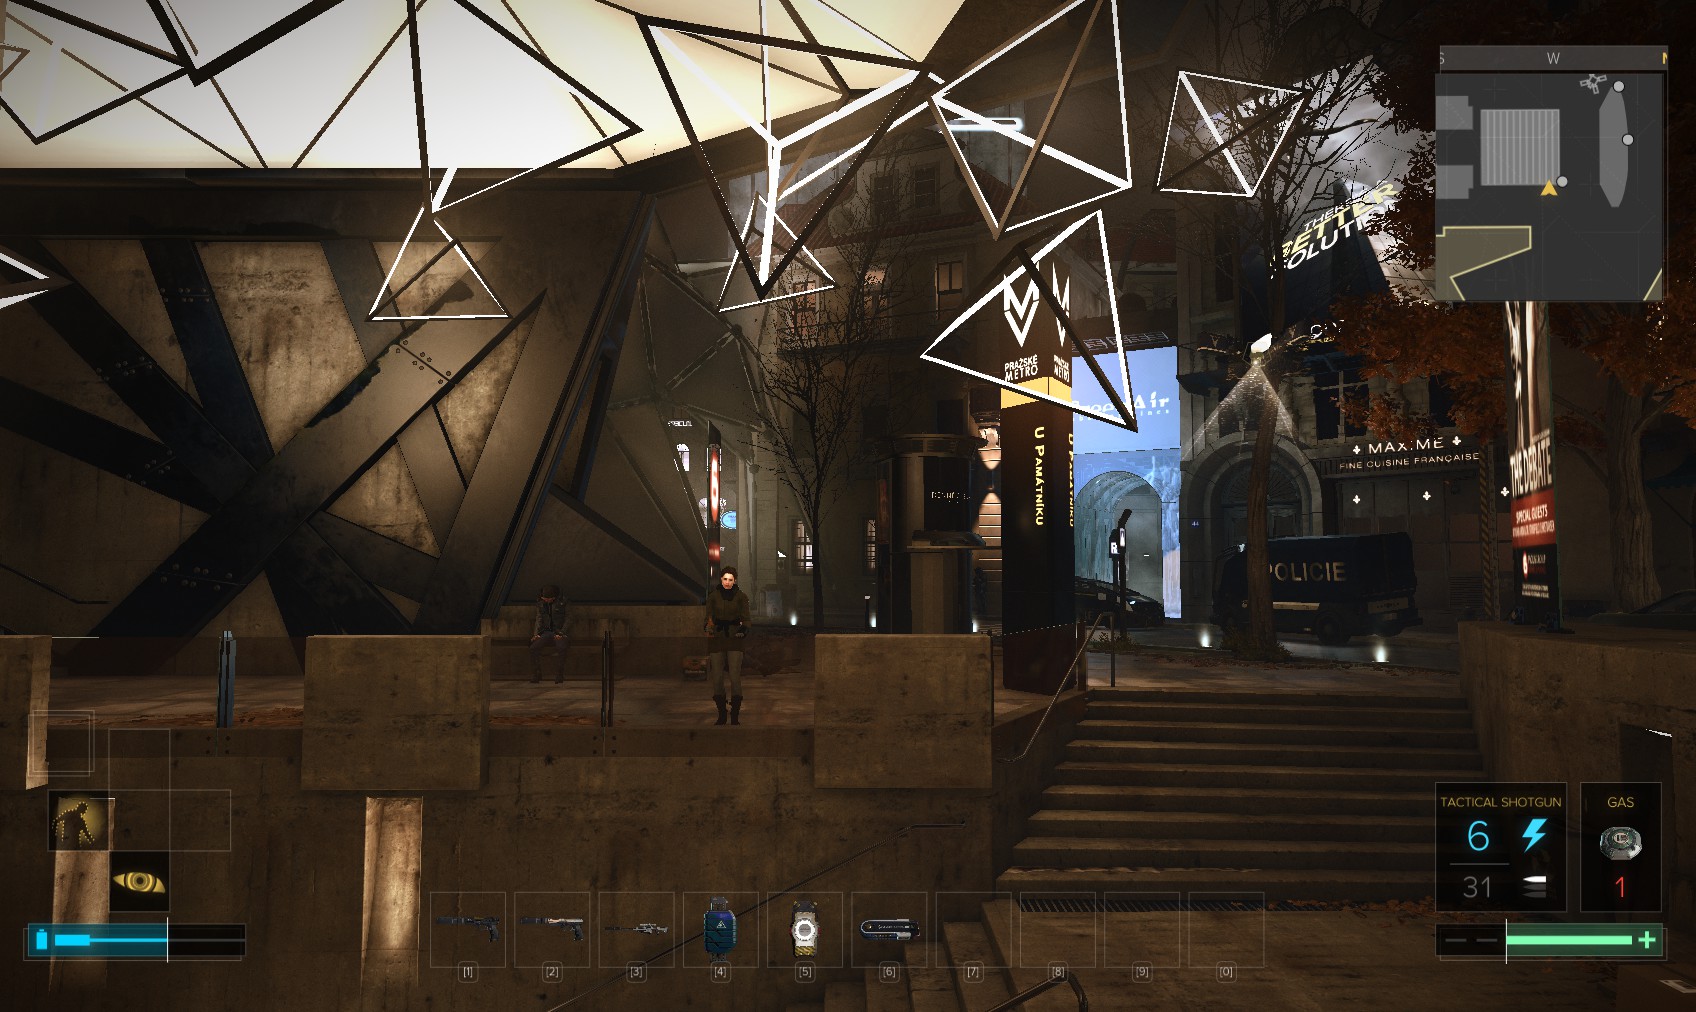
6. My business in Překážka is done for now, so I’ll head back the metro. On my way there, this glitching advertisement board attracts my attention. I interact with it and get a very strange mission.
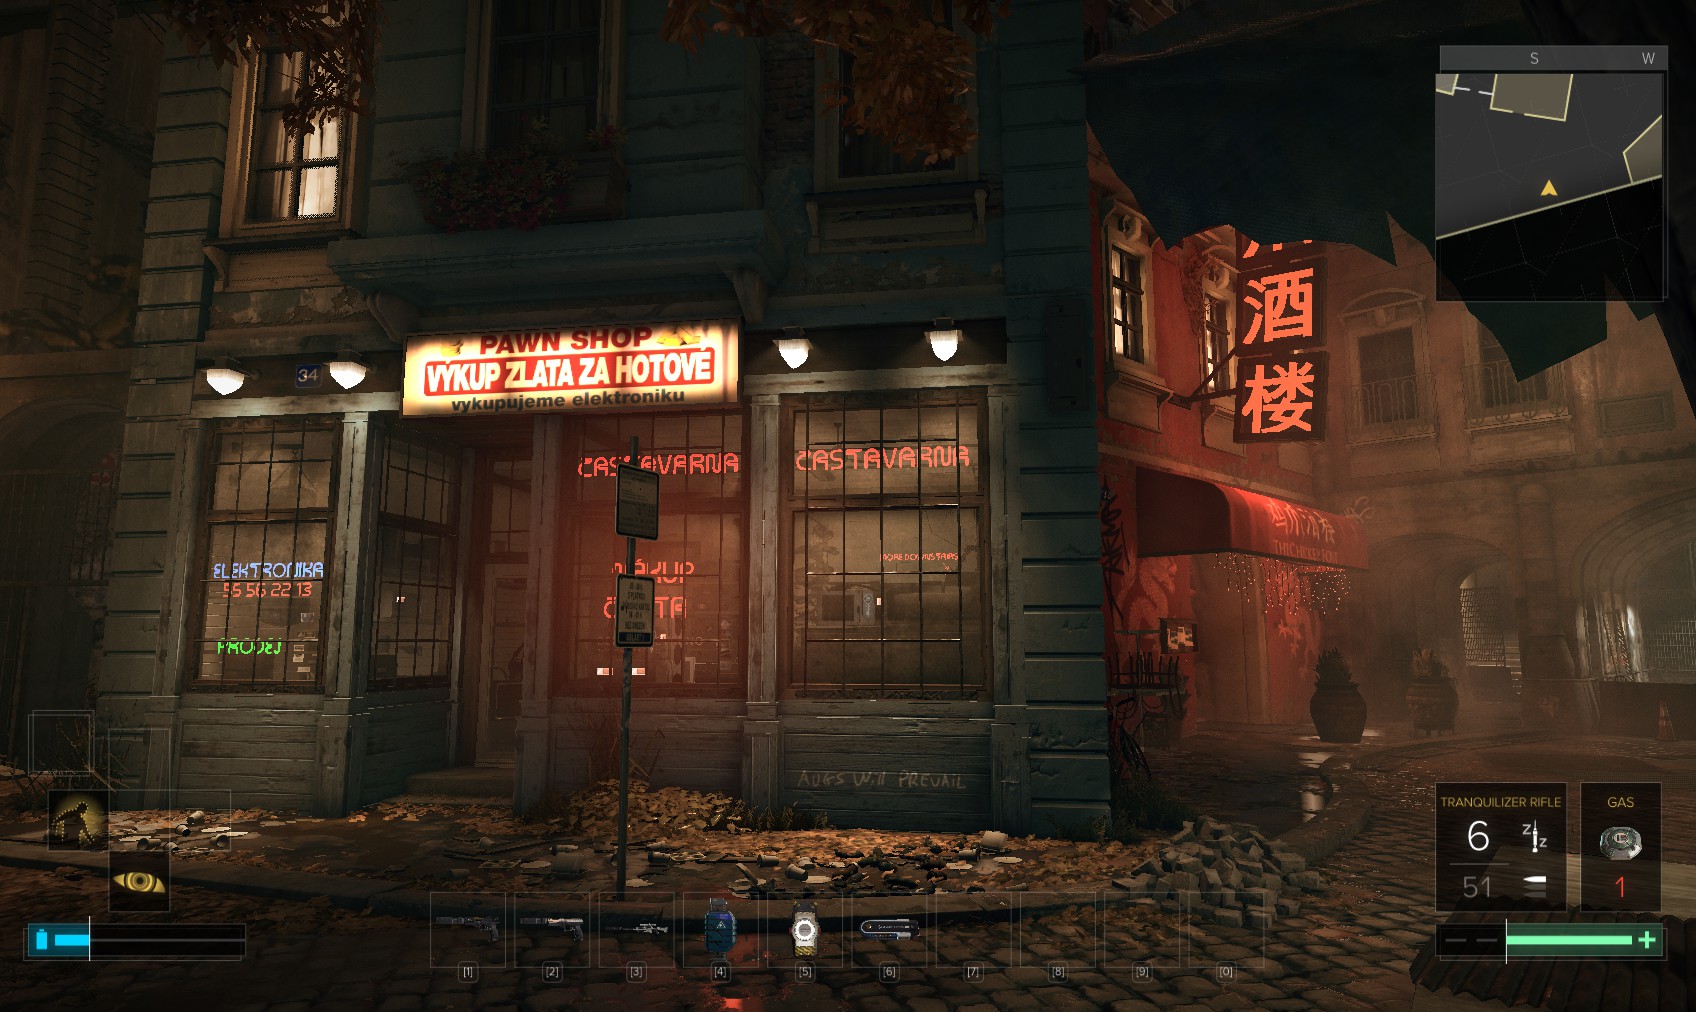
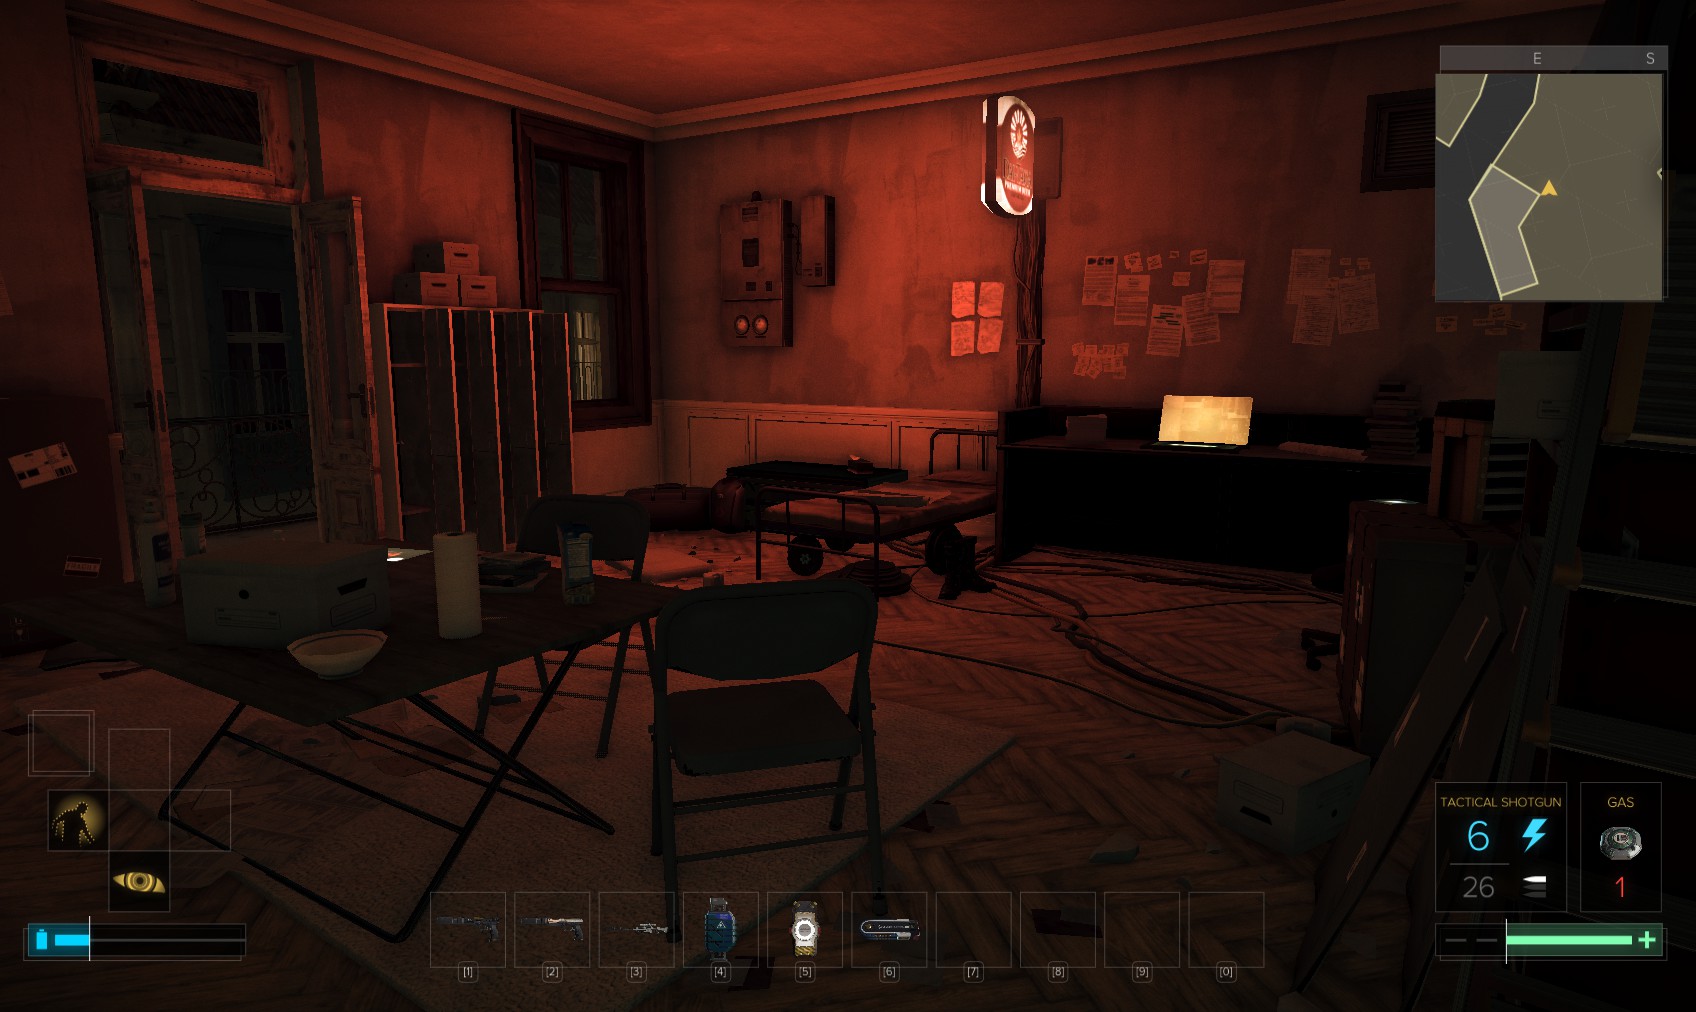
7. I’m directed to here, the pawn shop beyond what was once a Police checkpoint. The doors are all open - we’ve been here before. I head downstairs and use one of the computers.

8. I choose the Messenger app, and get to chat with Helle. You get the code 1591 to the nearby tourist centre. It appears to be urgent.
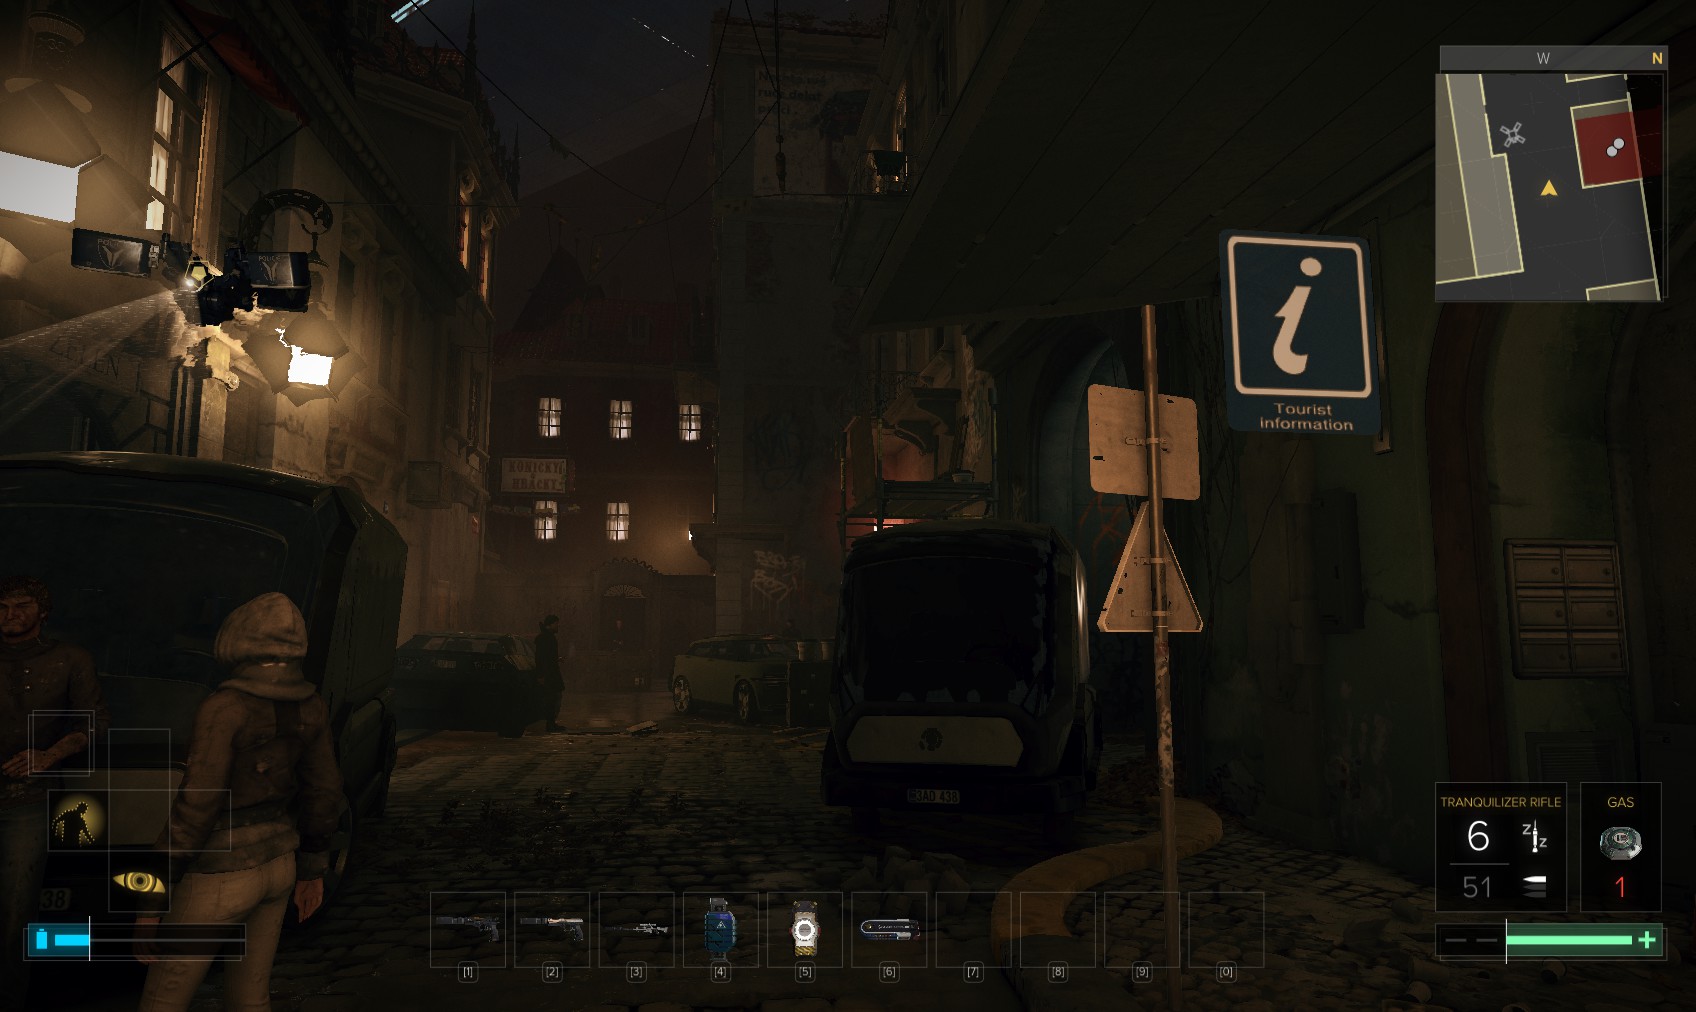
9. Here it is, with the Toy Factory in the background. We’ve been here before, too. Enter by the underground vent…
10. ...or climb up to the apartment above. I choose this way, and quietly descend when they move away.
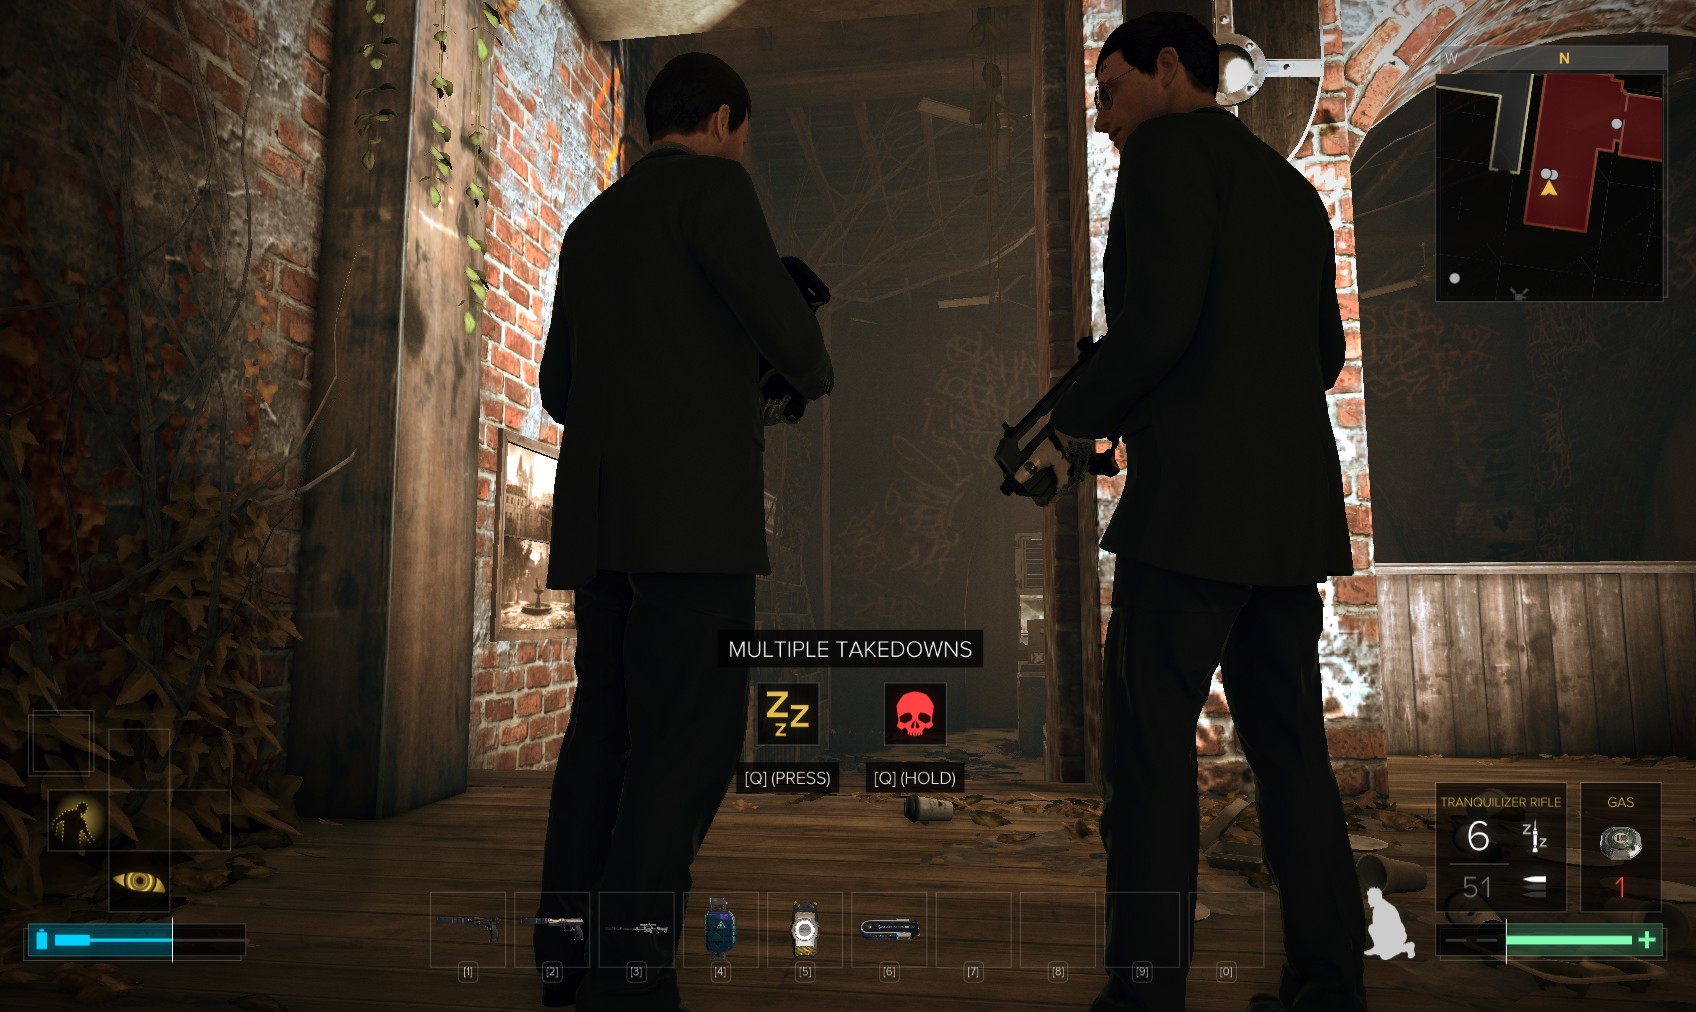
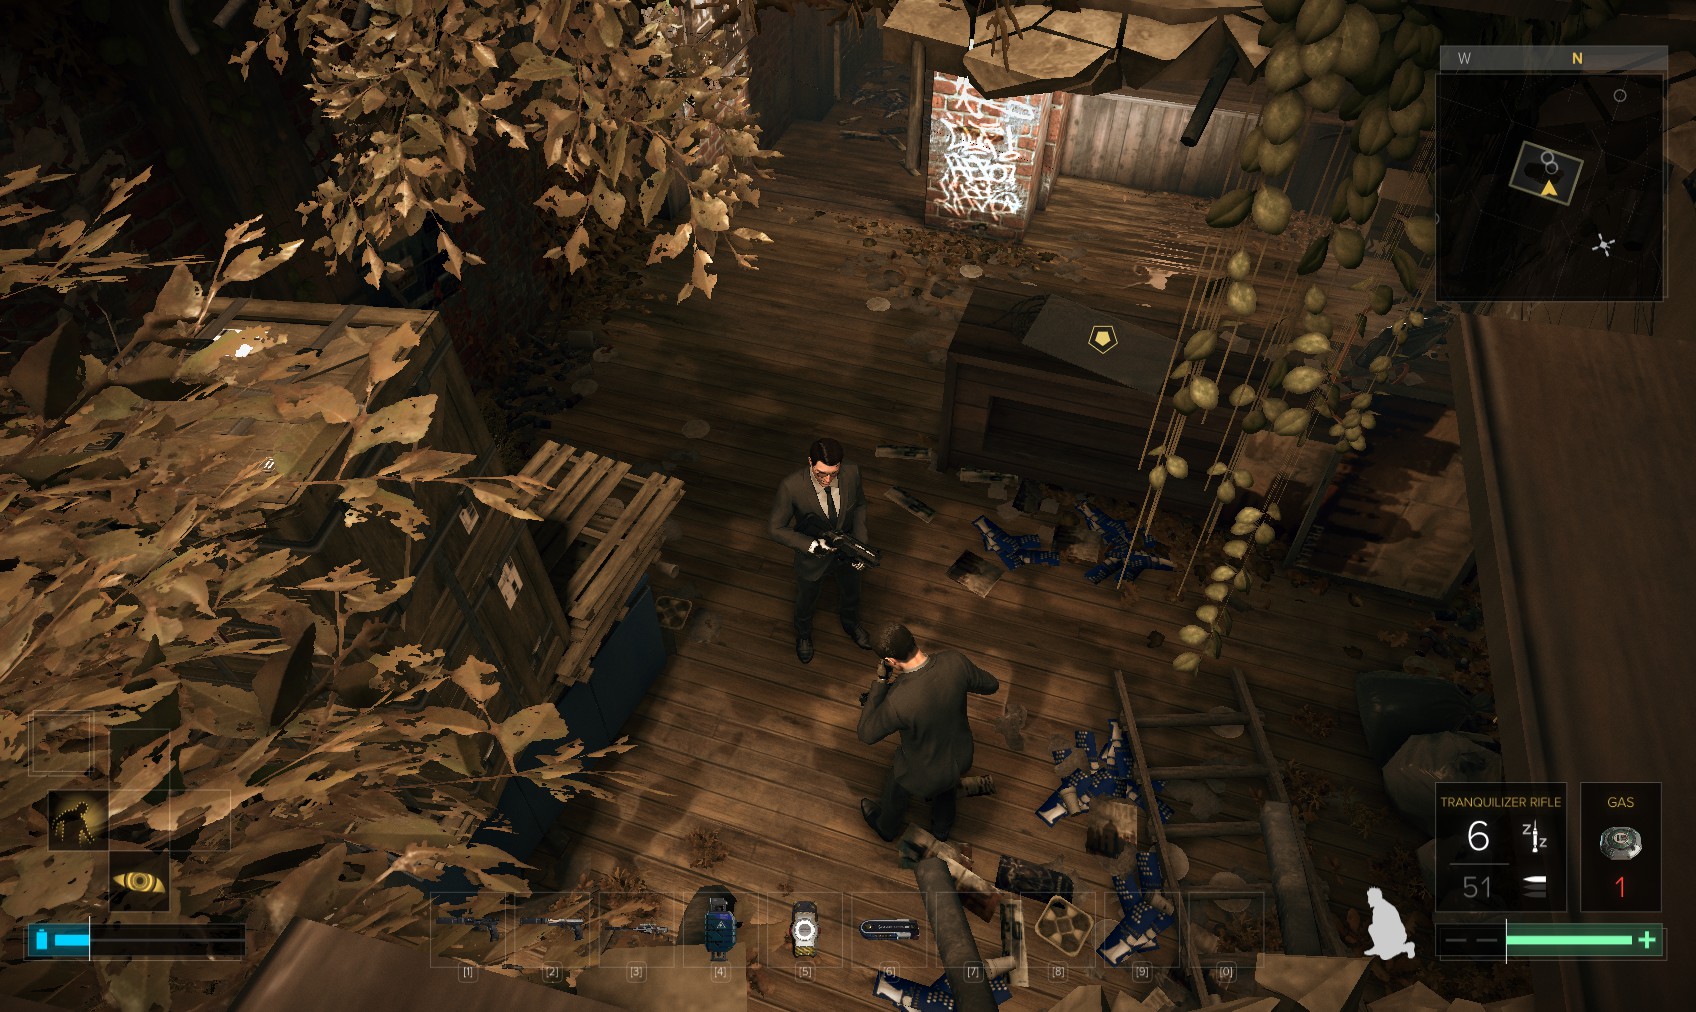
11. This seems like a good time to get the Quicksilver reflex booster and take both of these out at once.
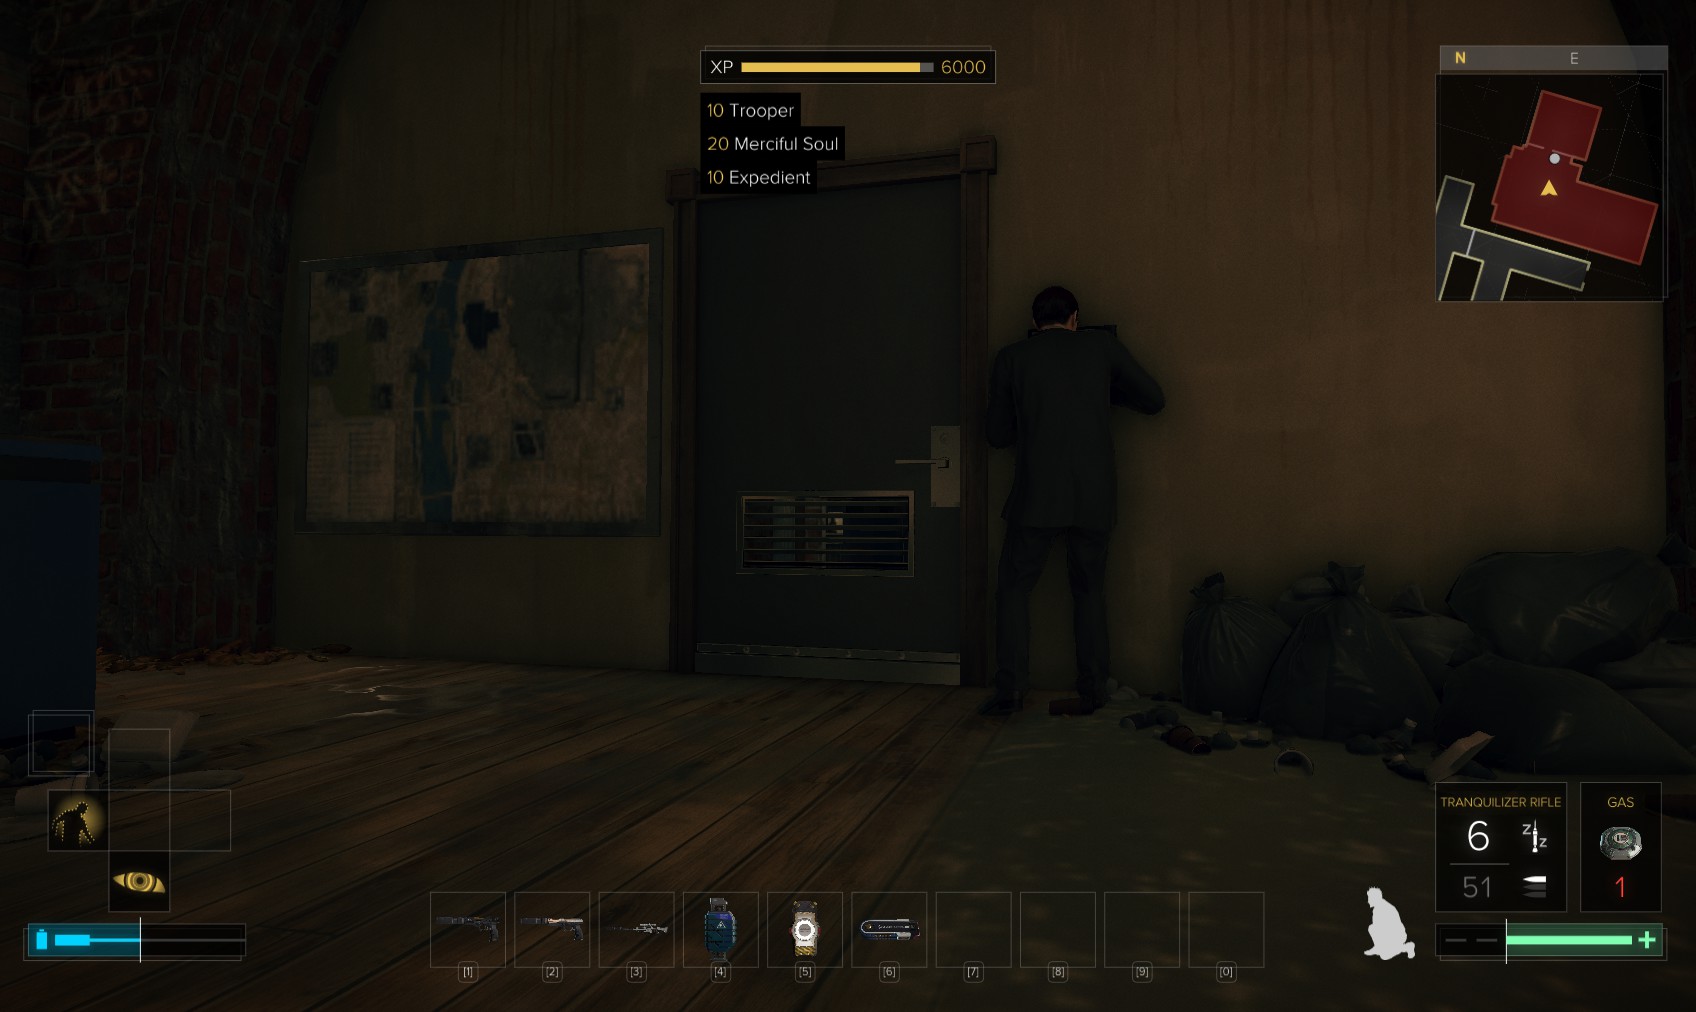
12. Then the third gentleman is for it. Loot the bodies for ammo and a pocket secretary implicating Morgan Everett and Picus in a plot to kill "Walker". Then use the code 1591 for 125XP, or hack it (level 5, stop worm, reveal software) for 130XP.
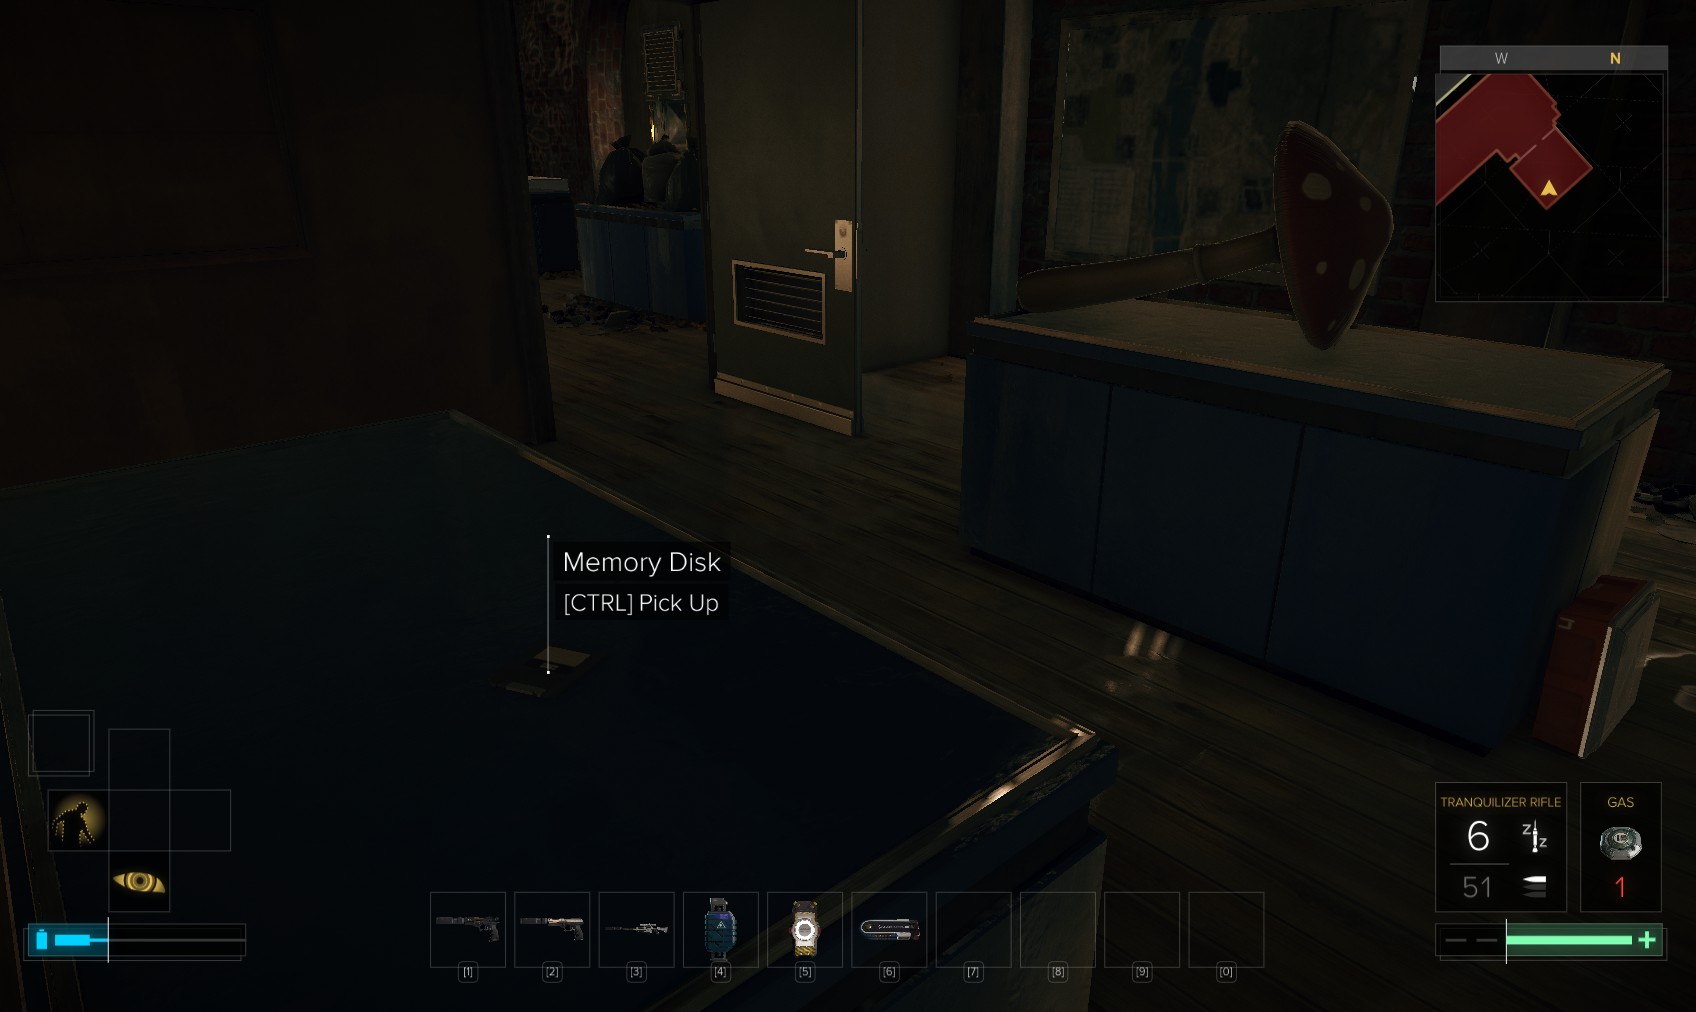
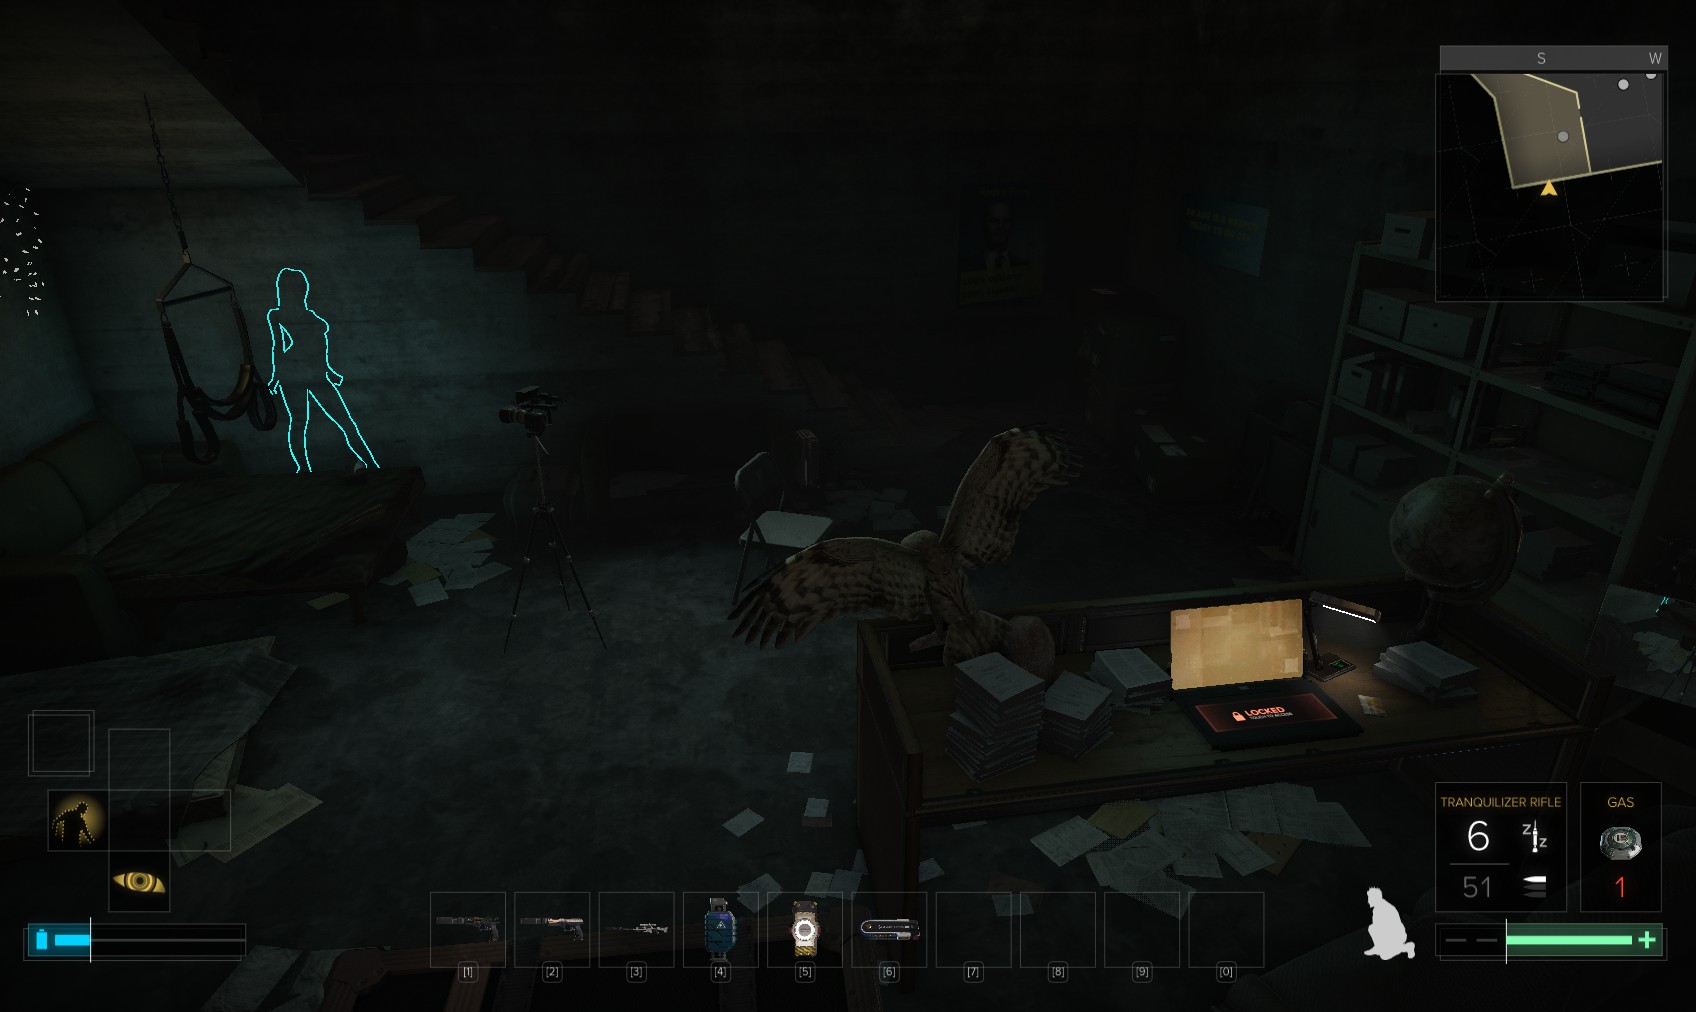
13. Inside is a slightly surreal scene, but this memory disk is clearly what you need to get. You get directed to a place in Dávný district called Future Past.

14. I head back out through the vent and get to re-loot some storage cabinets. Seeing the toy factory reminds me - I wanted to return here and check out that weakened wall. I head through Zelen apartments and out of the Southern exit to this scene. I talk to the scandalmonger.
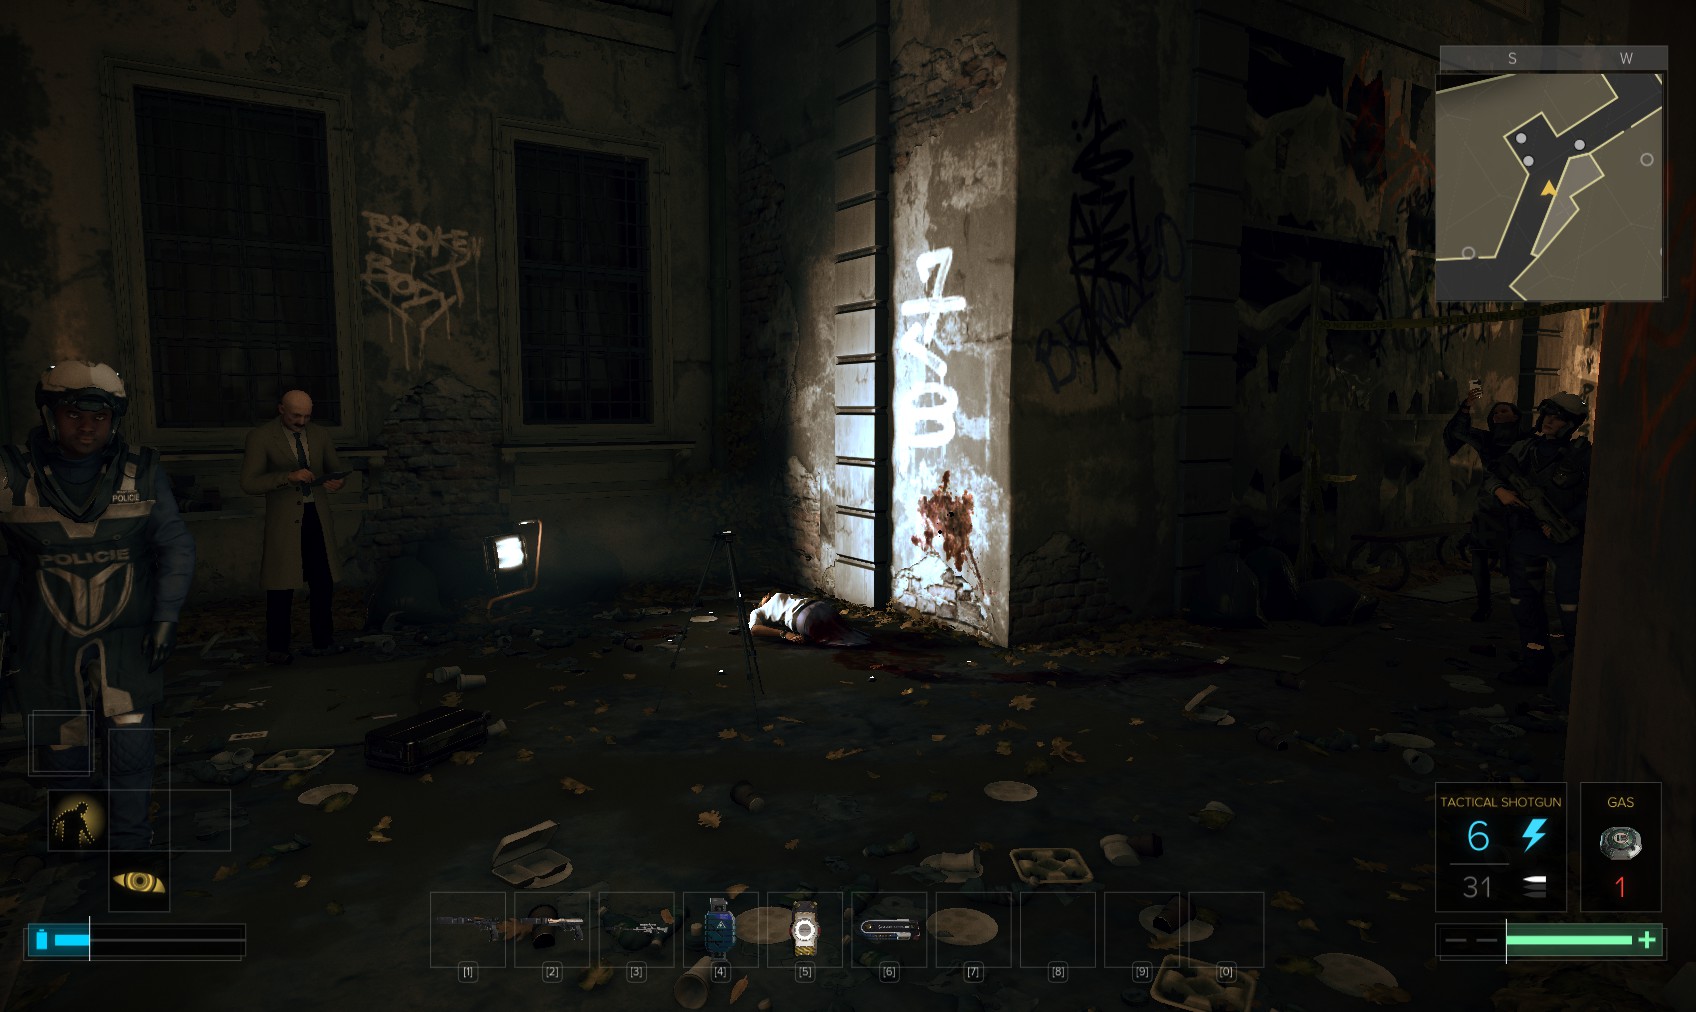
15. You learn that a journalist has been murdered, and there seems to be a link with Radko Perry, a local politician with anti-aug sensibilities. I decide to egg him on.
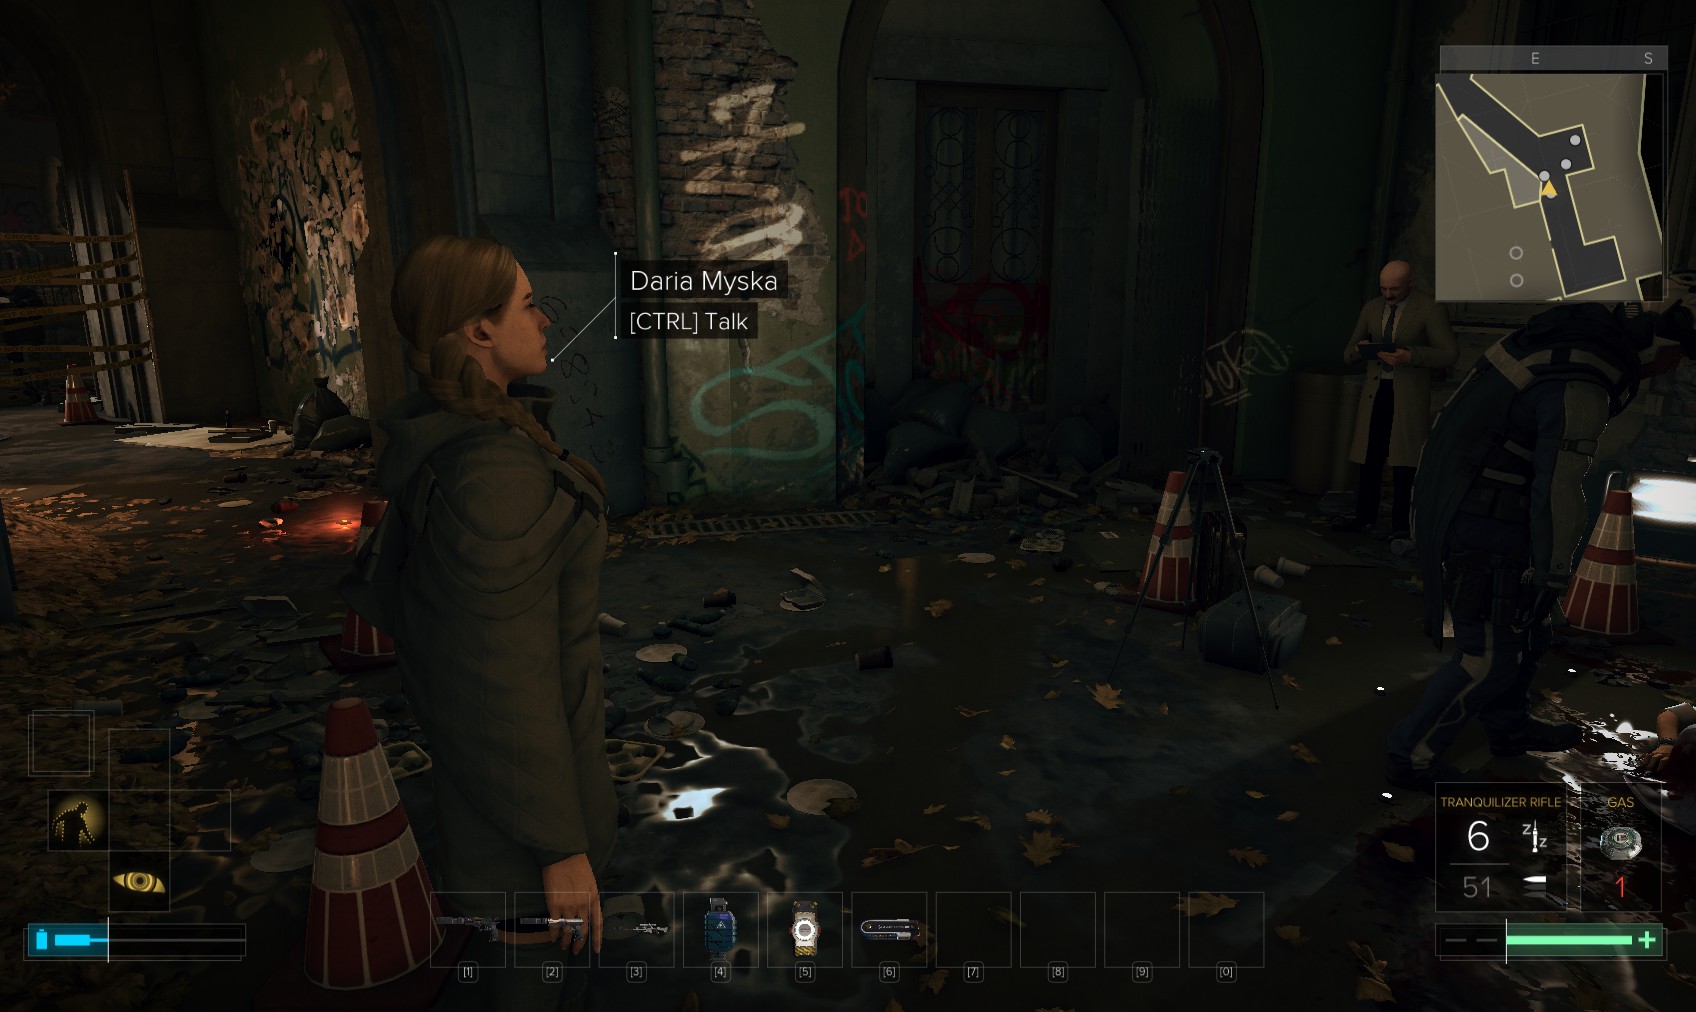
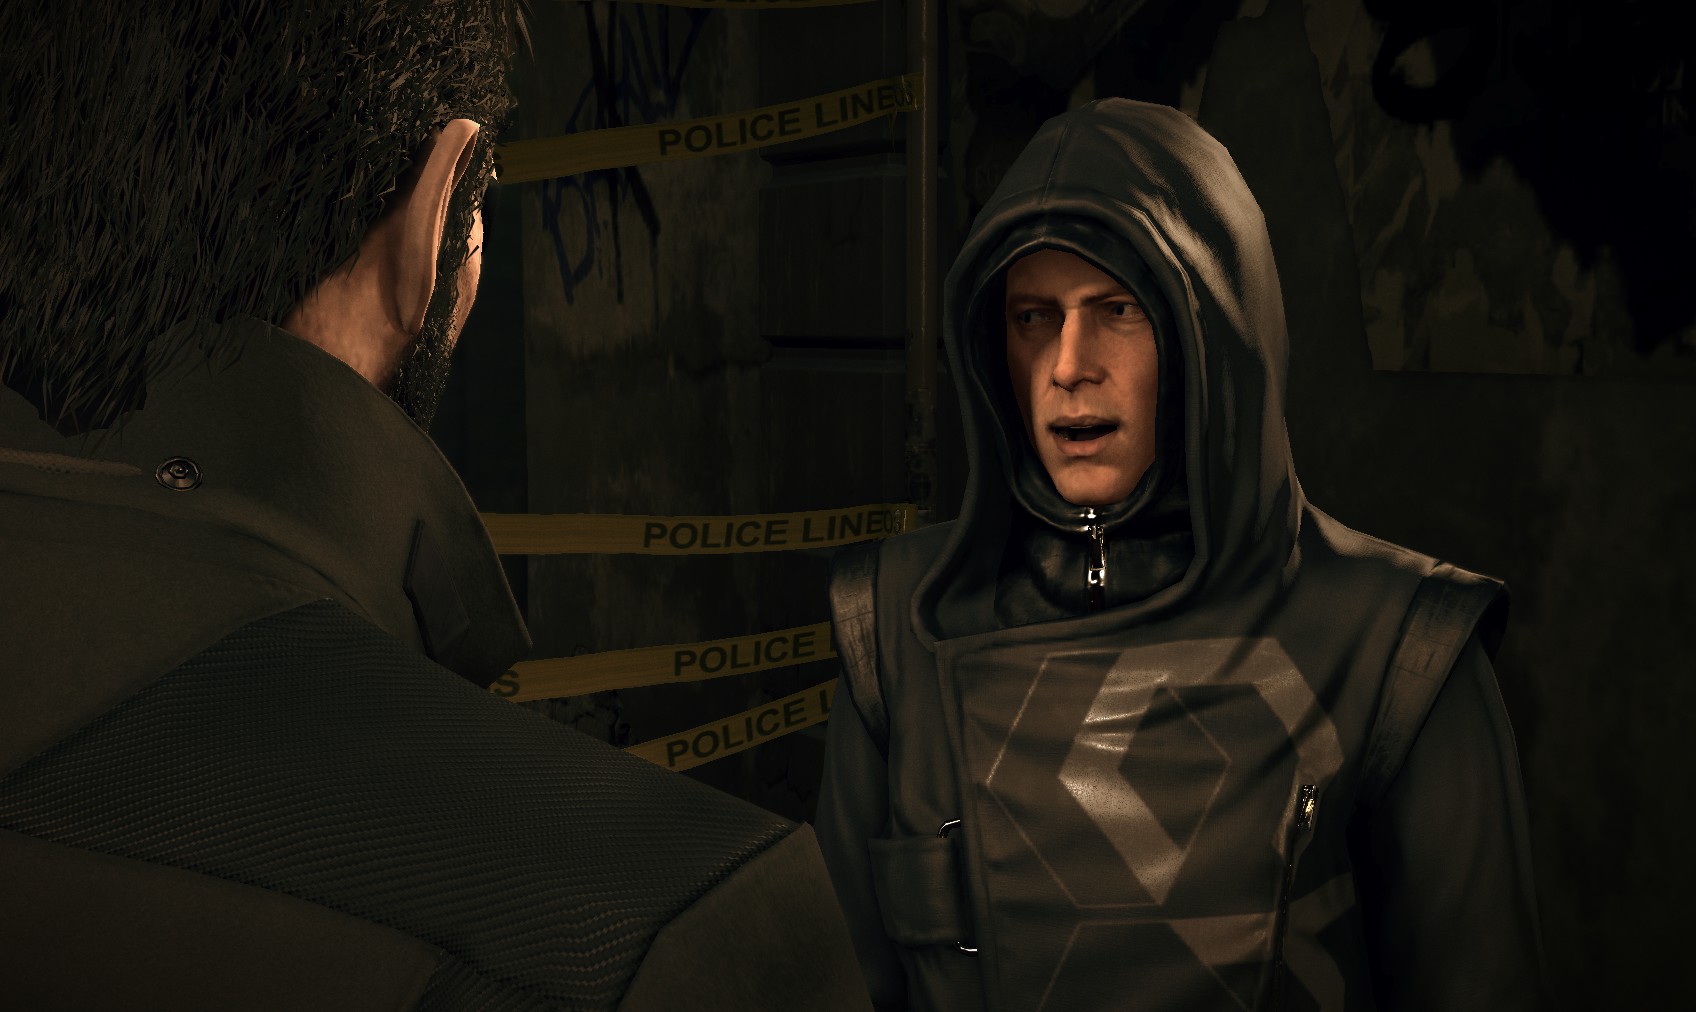
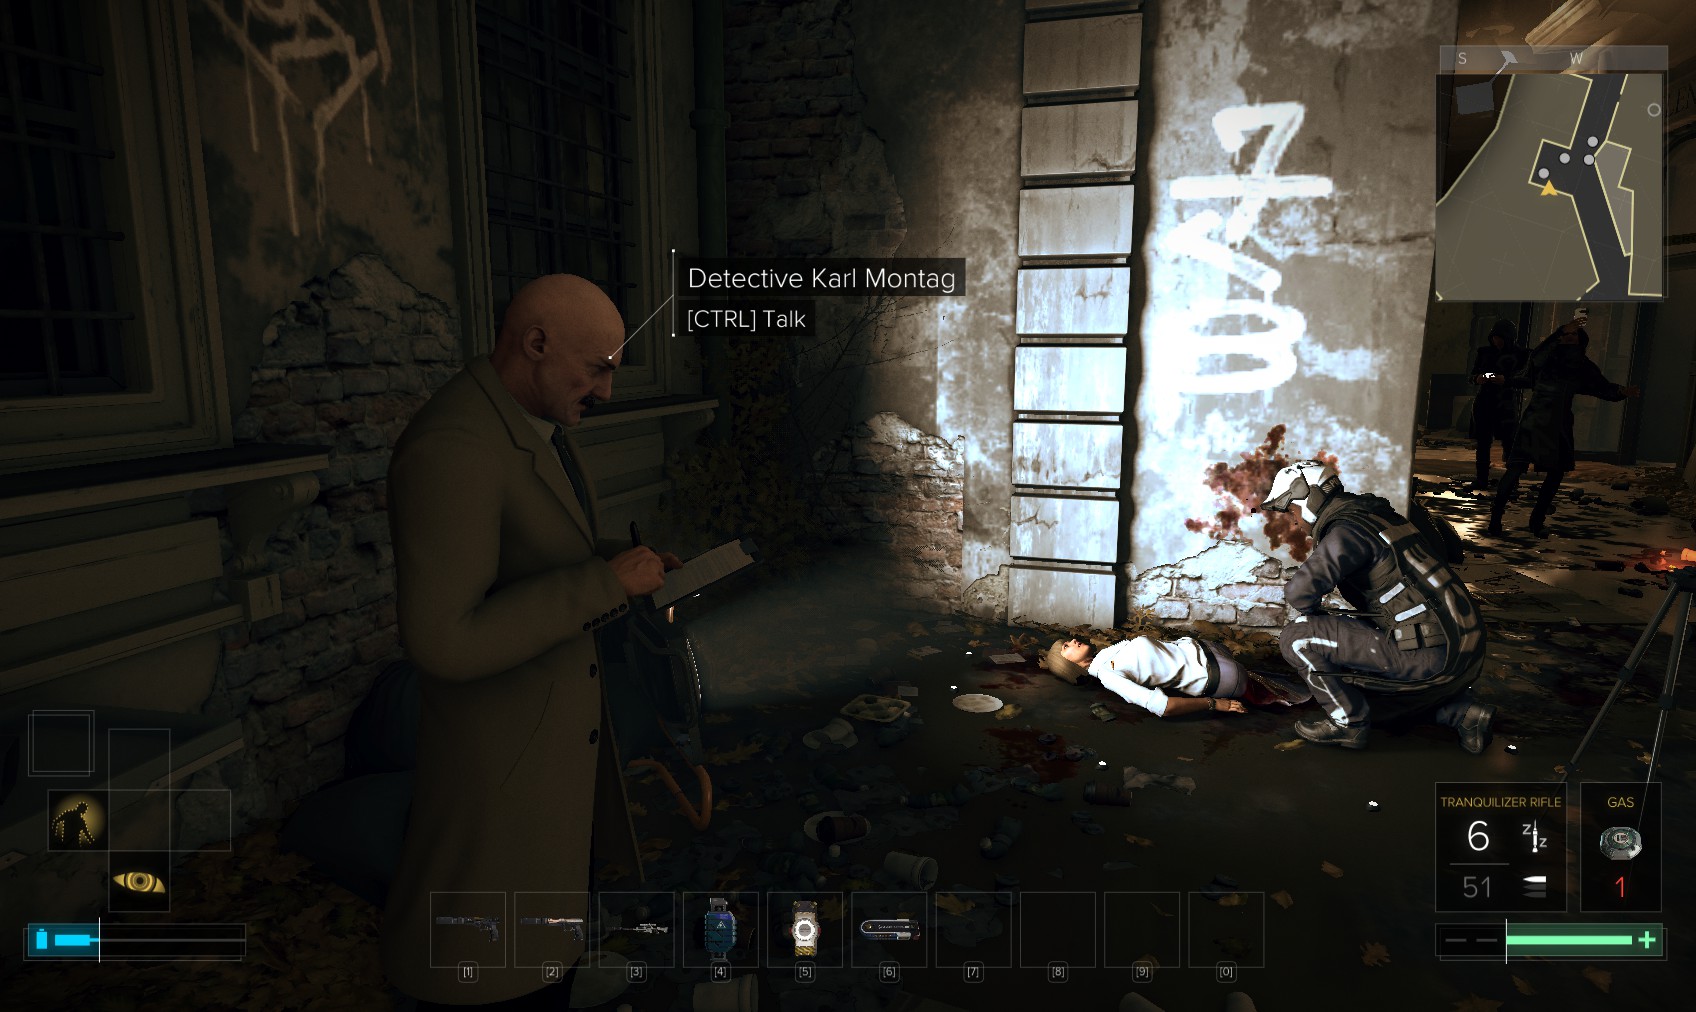
16. Since I’m an ex-cop, so to speak, of course I’m going to cross the police line. As I do, Daria Myska attracts my attention. That name rings a bell, so I stop and talk with her. I own up that I was once a cop, and she opens up about Detective Montag (that’s him in the background). It’s clear she doesn’t trust him, or any police for that matter.
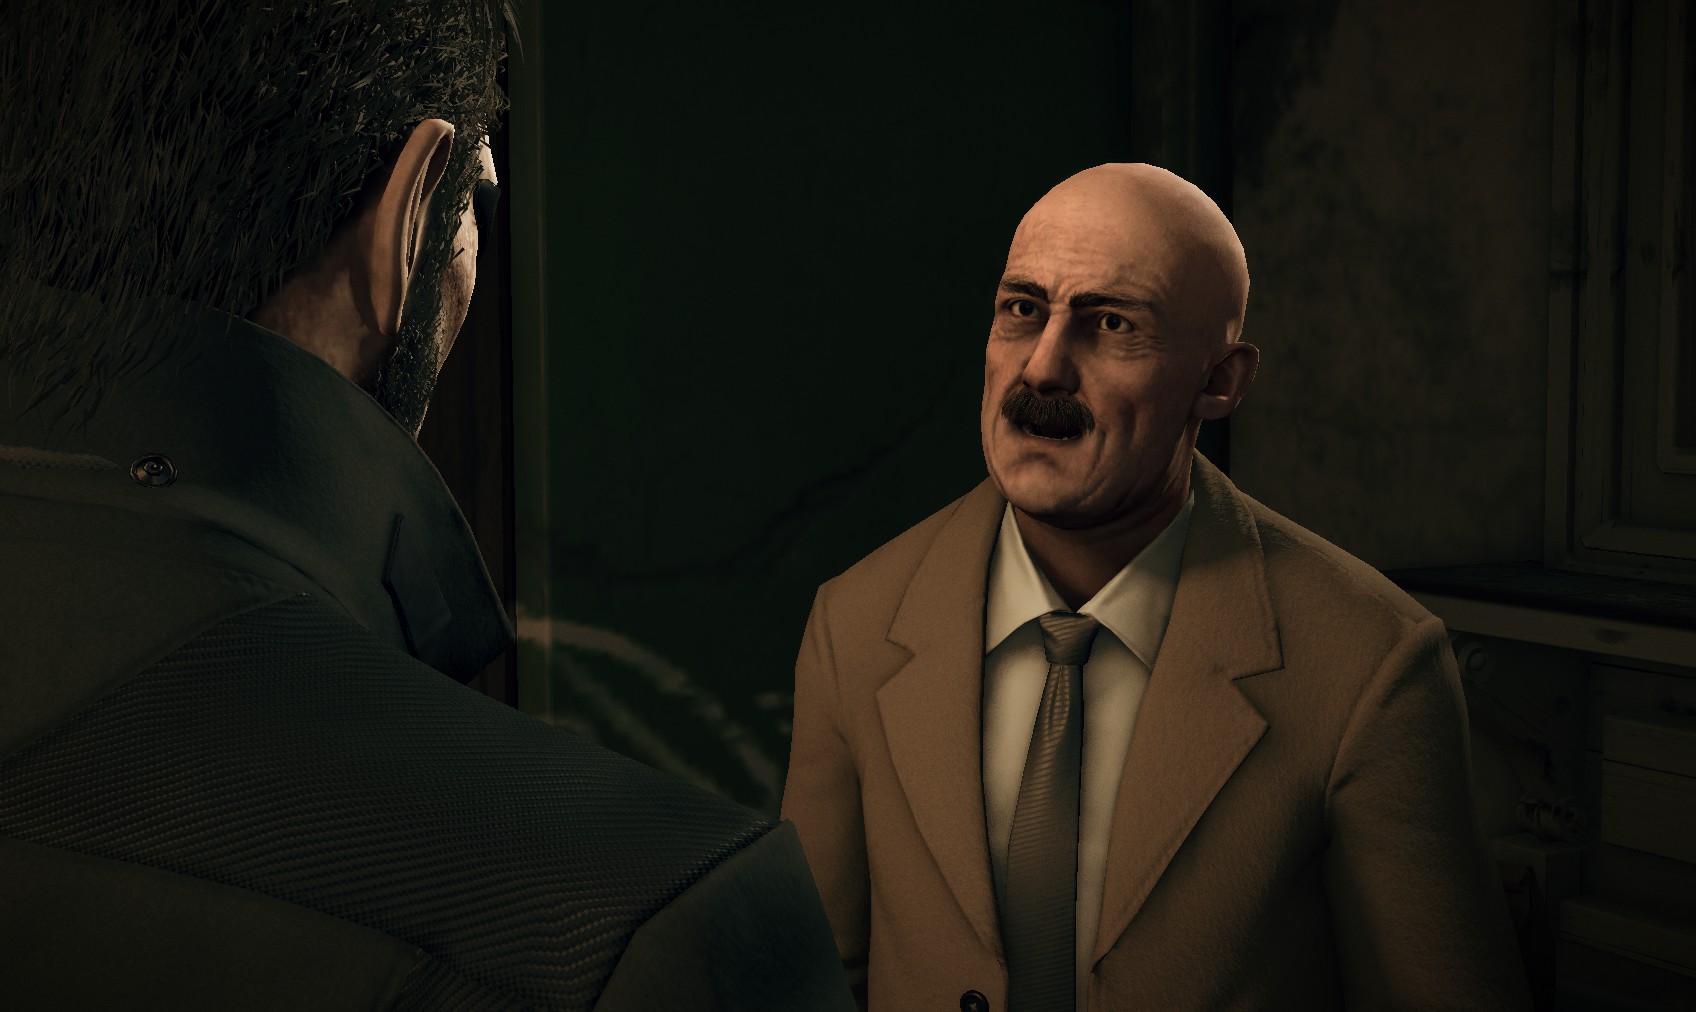
17. I agree to talk to Montag. Although he’s a bit brusque, he actually seems honest. I play along. He points to Johnny Gunn as the perpetrator. That’s two suspects in 5 minutes!
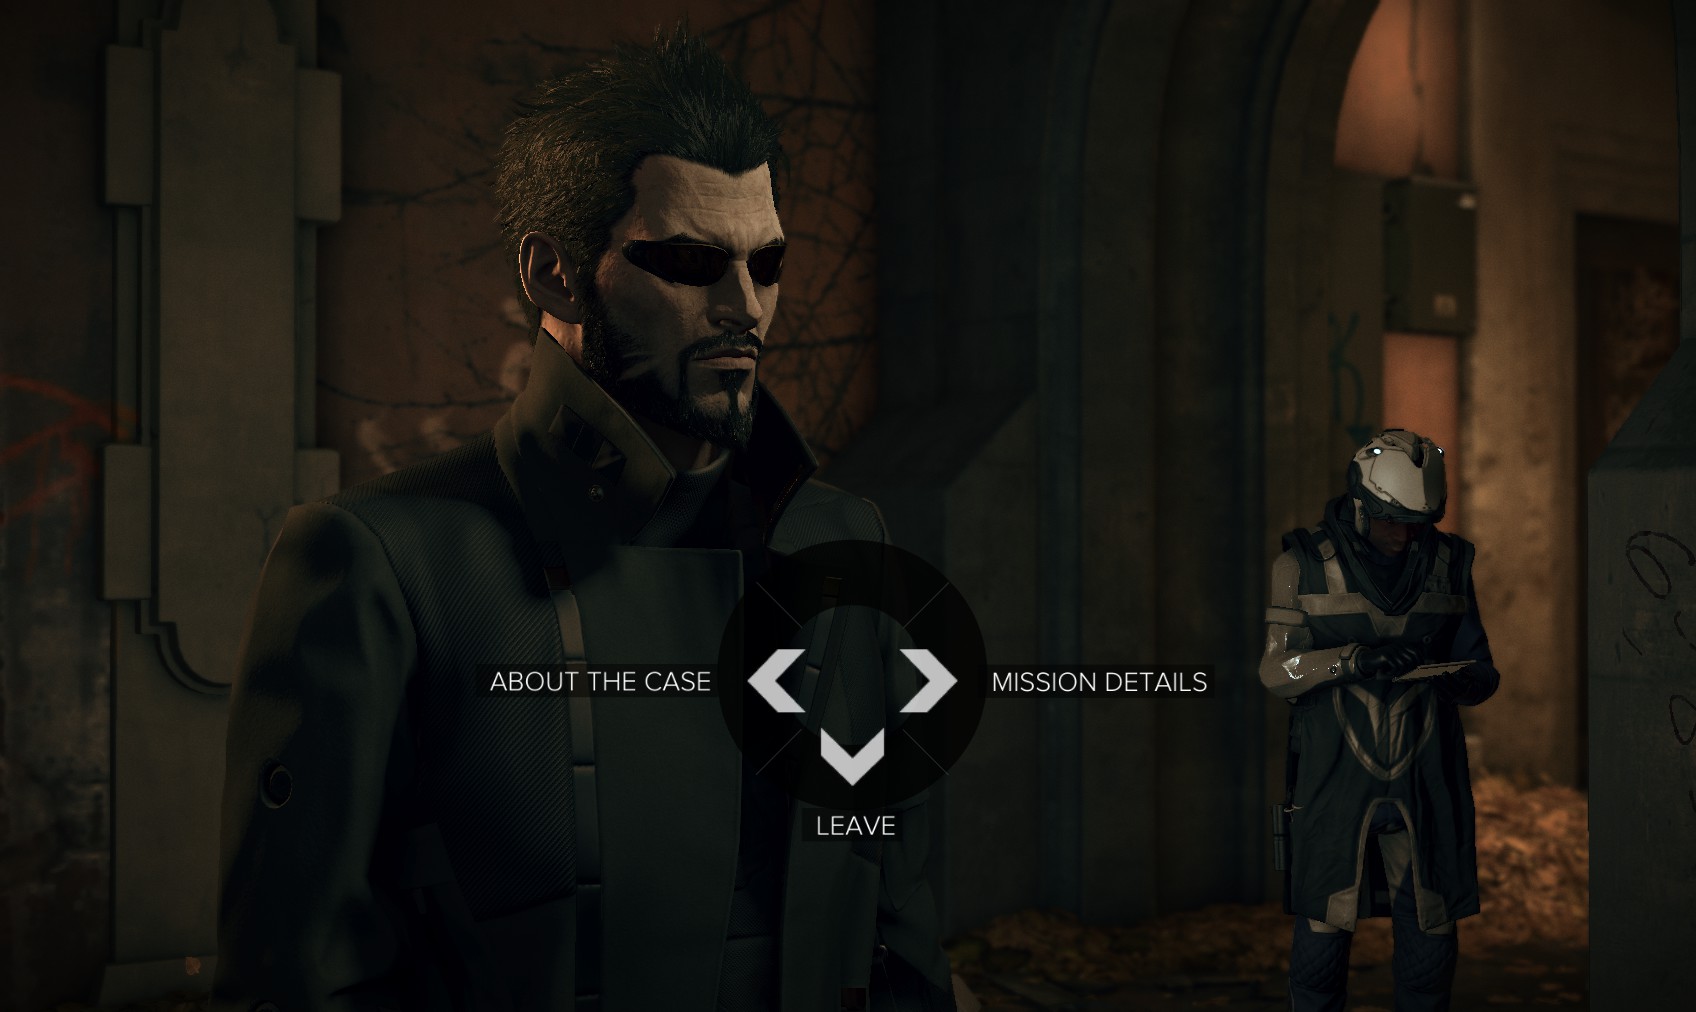
18. Talk to him again and plug him for as much info as you can get. Then question Daria again.
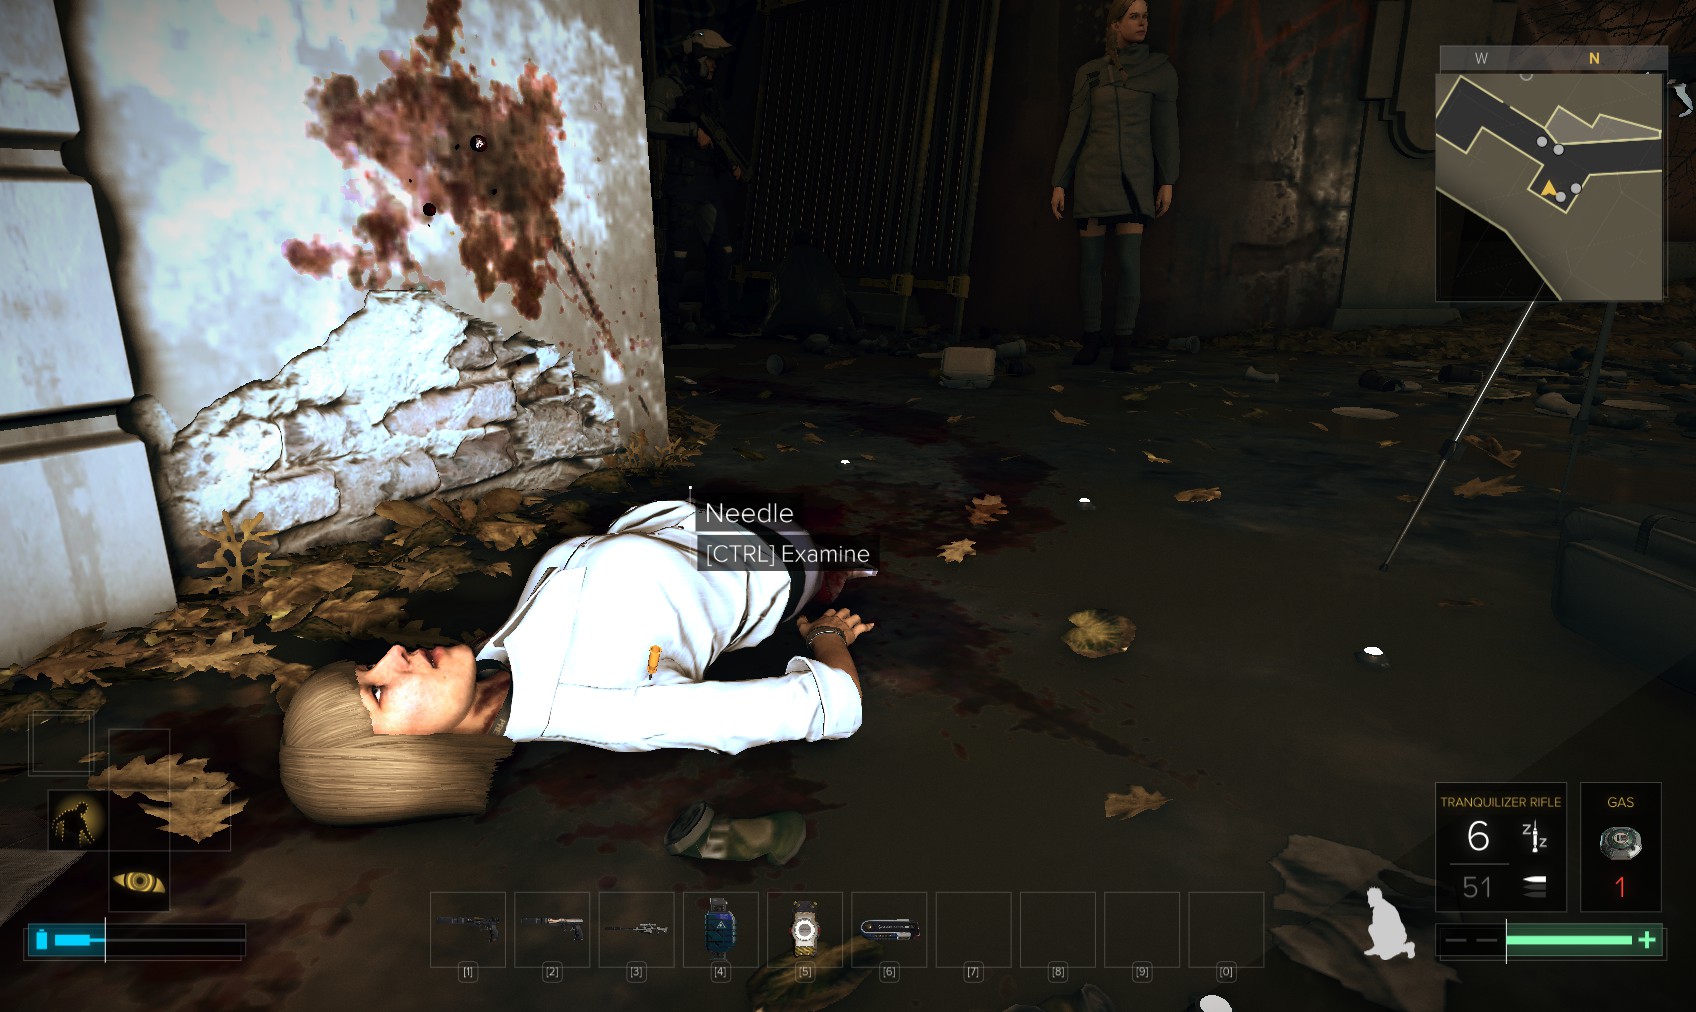
19. Next check out the body, and the scene. Smart vision can help here. There are 7 bits of evidence to collect: a needle, bruises on the neck, cutting marks on her arm, an augment stuck in the wall, an EMP fragment nearby close to a police cone, Angela Gunn’s press ID card isn’t far away, close to some broken glasses.
20. Speak to Montag again when you’ve collected them all. Present your evidence and he’ll recall a cop called Smolinski who had a theory about a copy-cat killer. It may be a connection, but he gives you a lead to check out some old case files. He also mentions Radko Perry if you follow up every item.

21. It’s time to pay Perry a visit. His place is near the pawn shop, at the end of the street. The bodyguard inside will shoot at you if he sees you attempt to go into the basement.
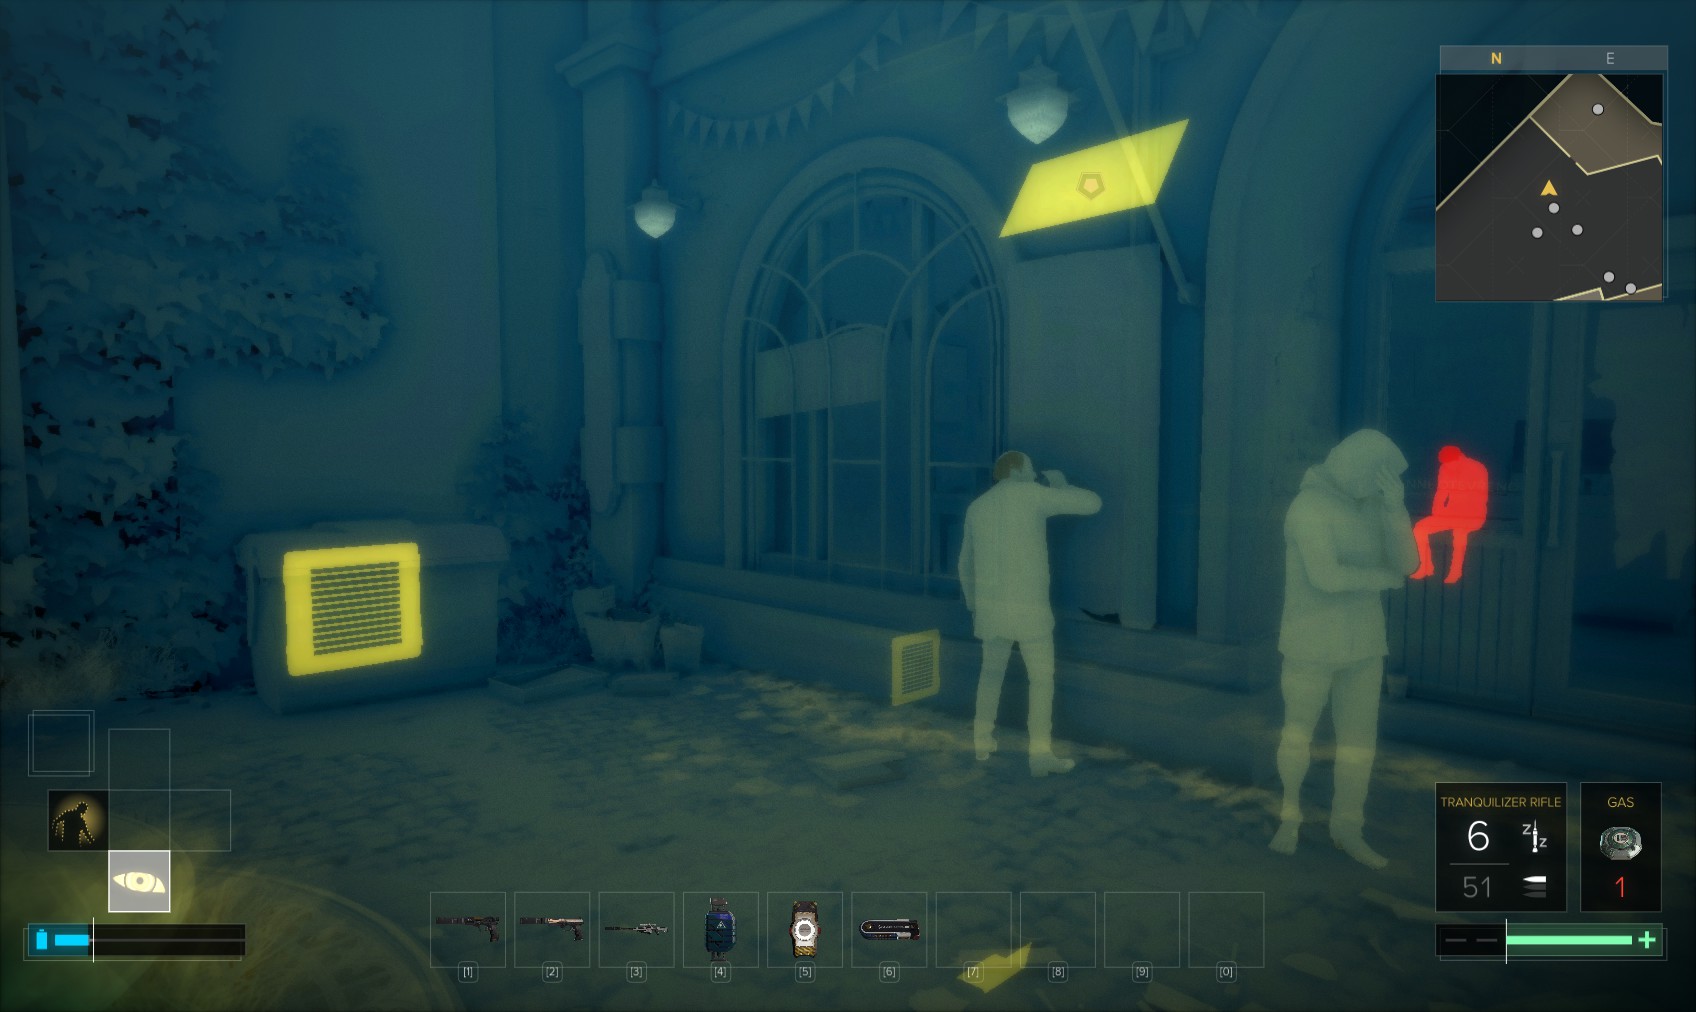
22. Smart vision reveals a vent behind the large dumpster. Maybe that’s a sneakier way in?
23. The bodyguard routinely comes down here too. It’s just possible to hack the PC (level 3, 100XP and 250c) when he’s out of the room (wait for him to come and go), but as soon as you’re in scan the emails then hide under the desk and wait again. You can read them while you wait.
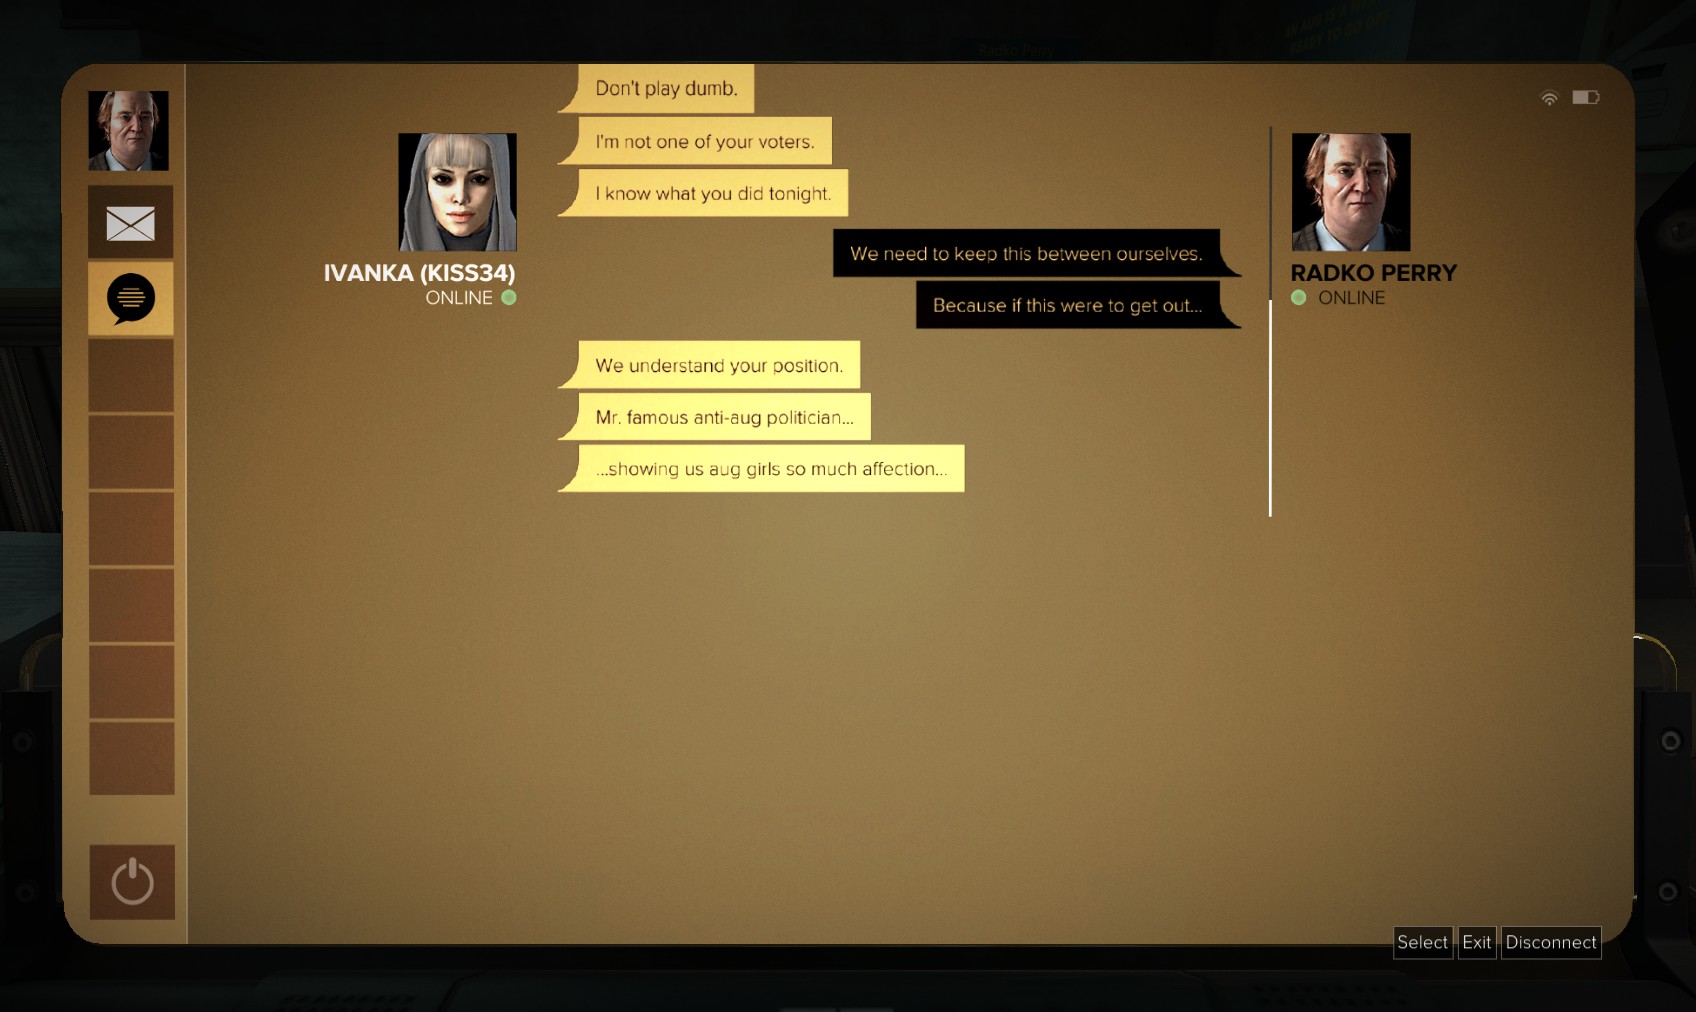
24. Next time you log on, use the Messenger app (you can escape and go back to it as many times as it takes). Play dumb, and then bluff, followed by either choice to get Ivanka to give you the evidence you need. Leave by the vent.
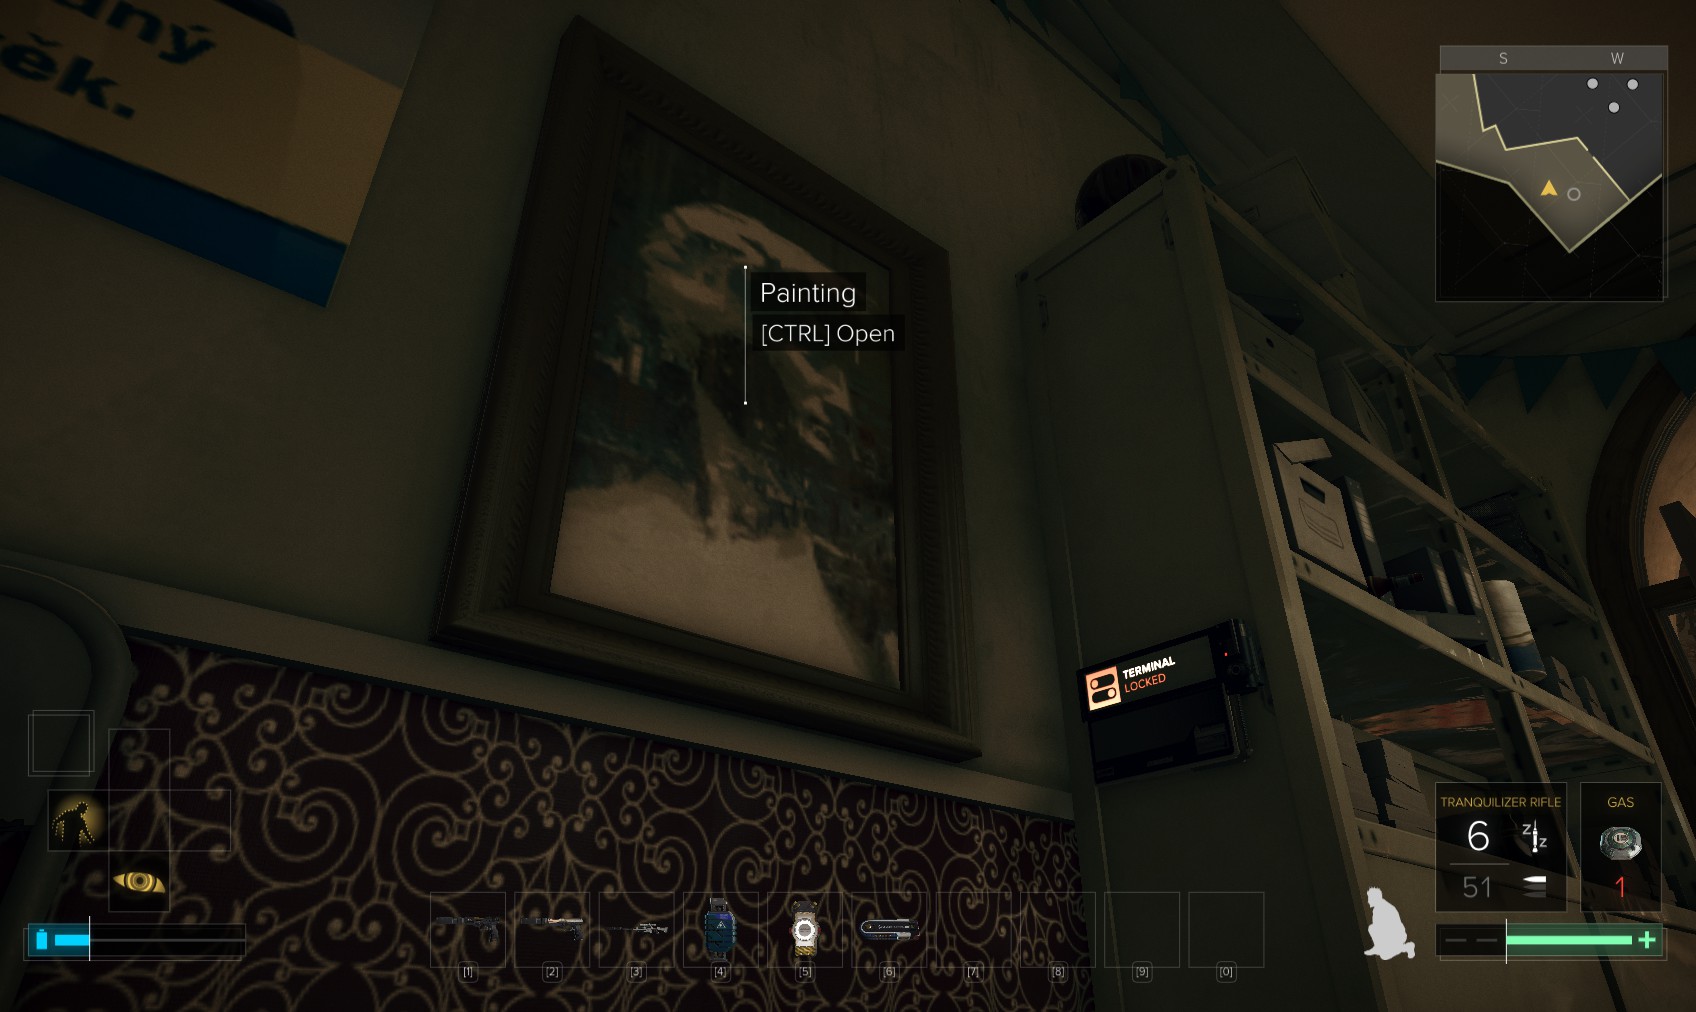
25. Back upstairs, wait for the bodyguard to go down, and then "use" this painting to reveal a safe. Hack it (level 1, 150XP).
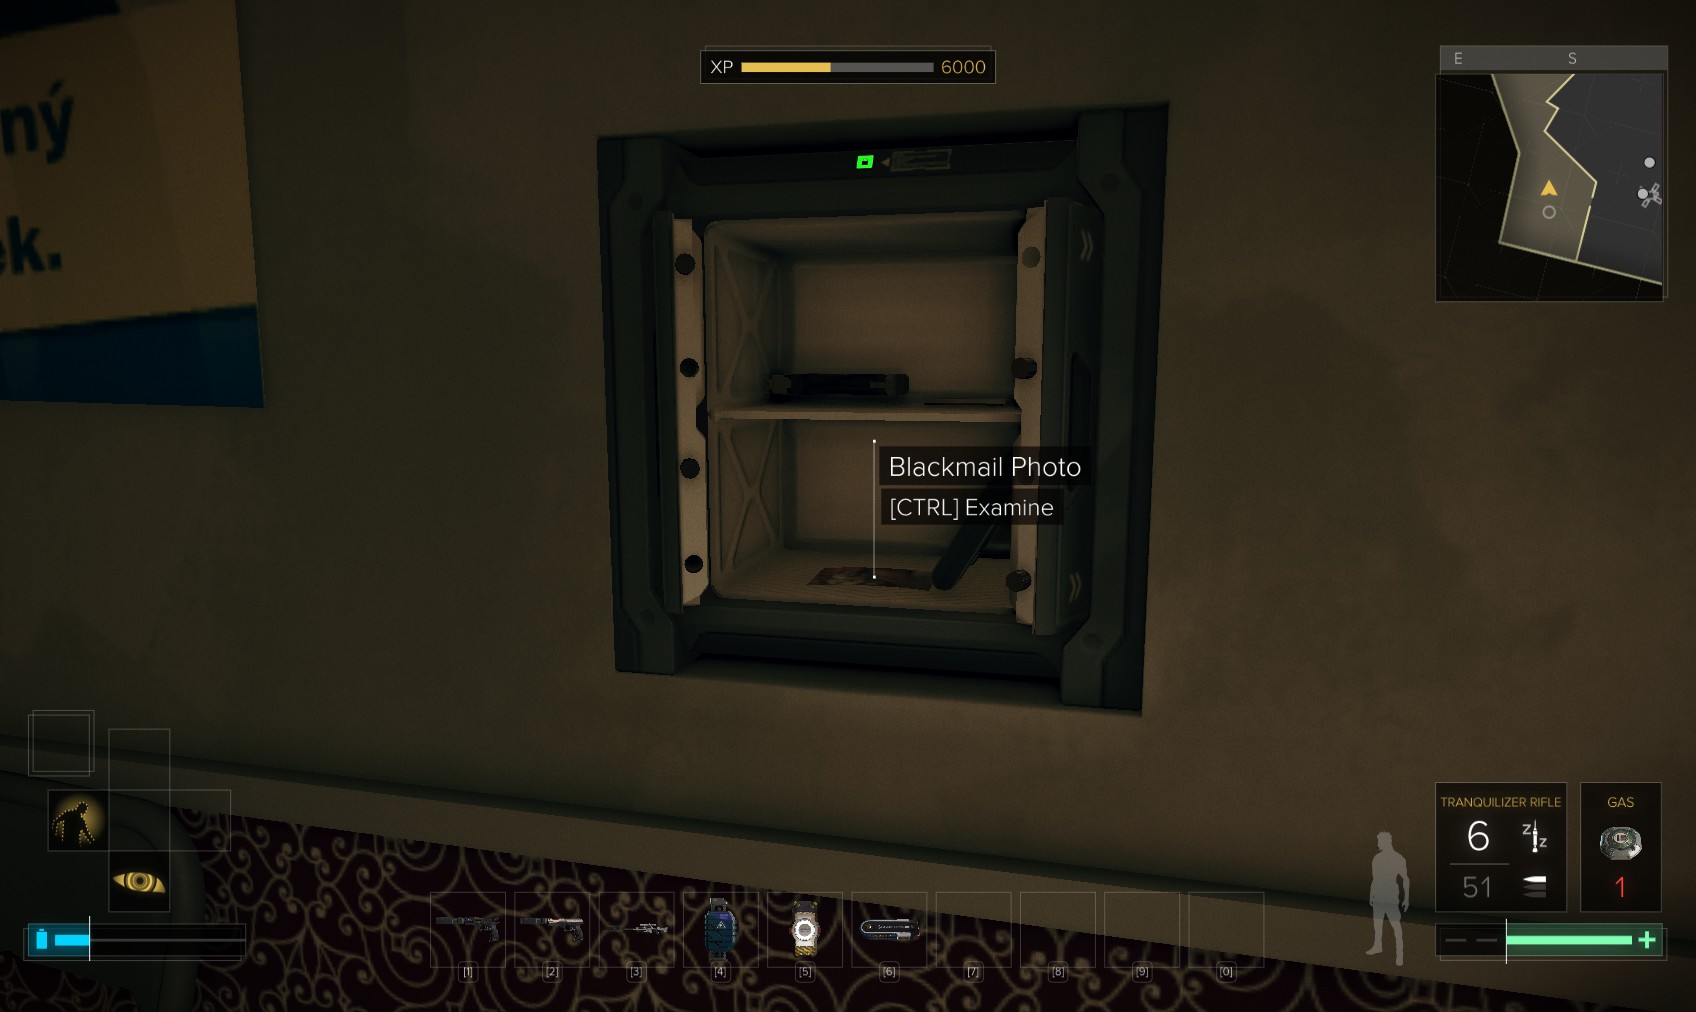
26. Snaffle the blackmail photo and other goodies. Read the eBook on the desk, then leave.

27. Now you can confront Radko Perry. With the blackmail photo, you can get Perry to reveal his alibi. It’s time to go back to the Northern districts and mop up some missions. I head back to the Metro, and choose Dávný, Pilgrim station.
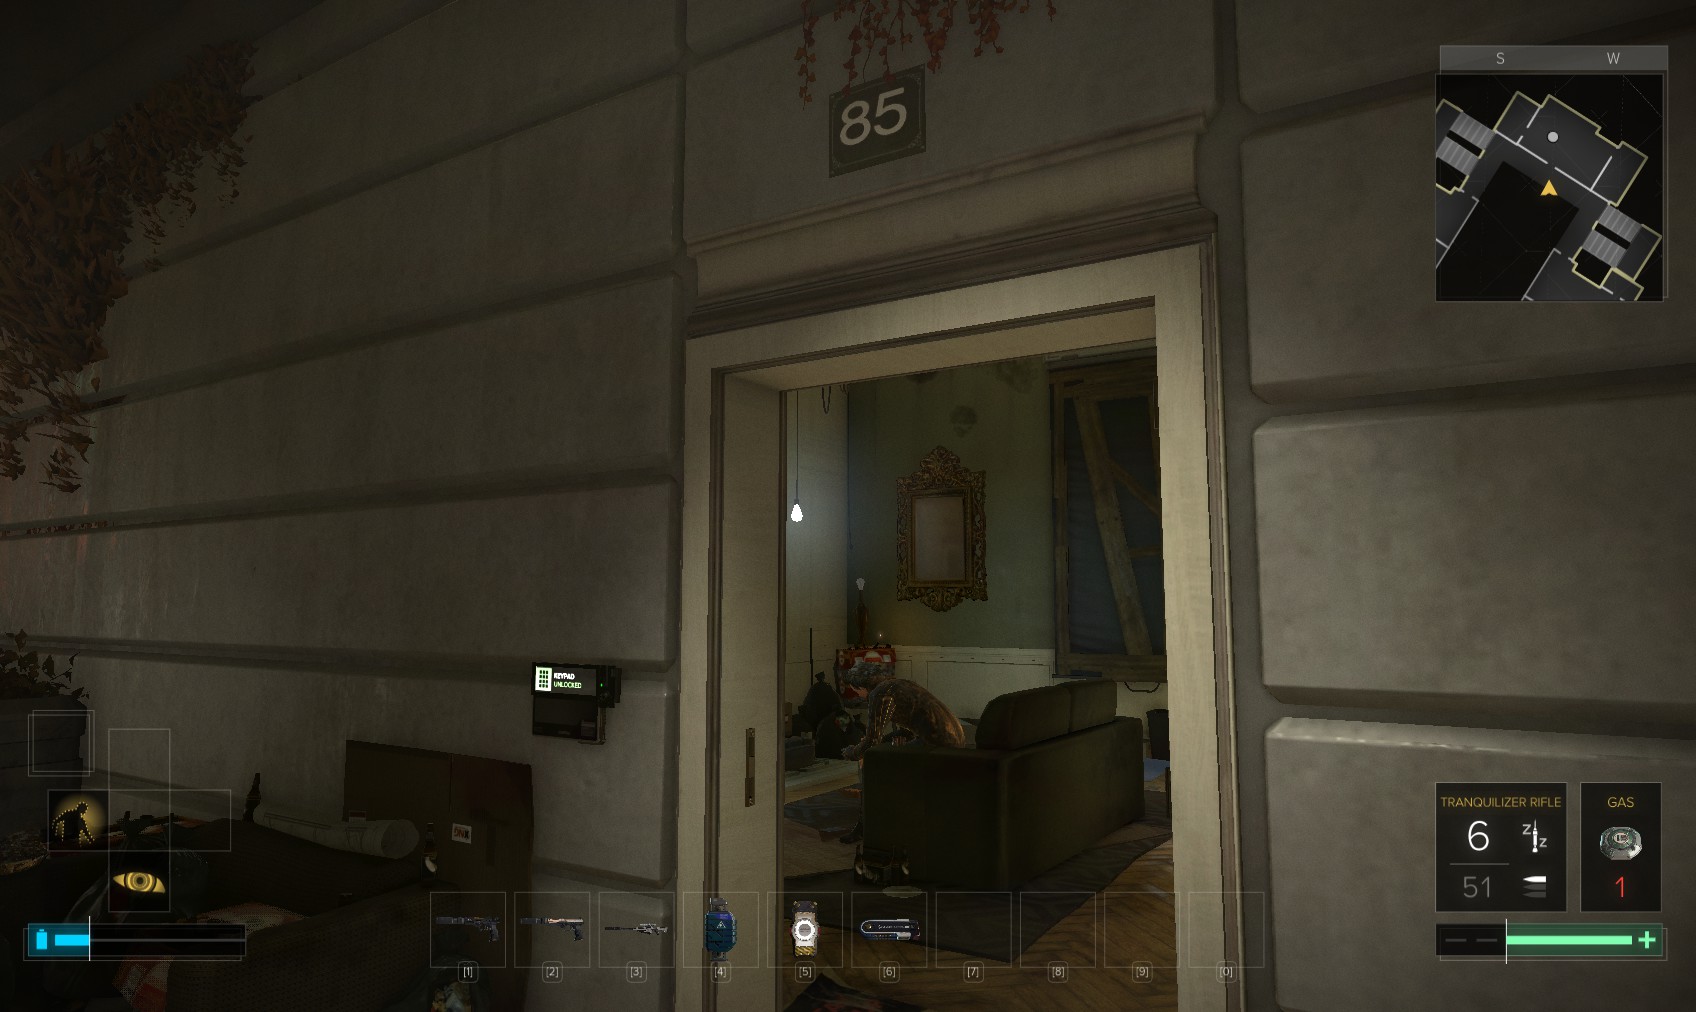
28. First up, I’ll go and talk with Johnny Gunn at Libuse apartments. He lives at #85.
29. Talk to him first, and learn he’s a bitter man. Follow up on the Belltower cue - after questioning him about other things - and the CASIE aug should give you the clues you need (assuming you’d actually failed to notice his hands!)
30. Hunt around his apartment for stuff. In particular, this gives you some physical evidence to hand to Montag. There’s an eBook in here, too.
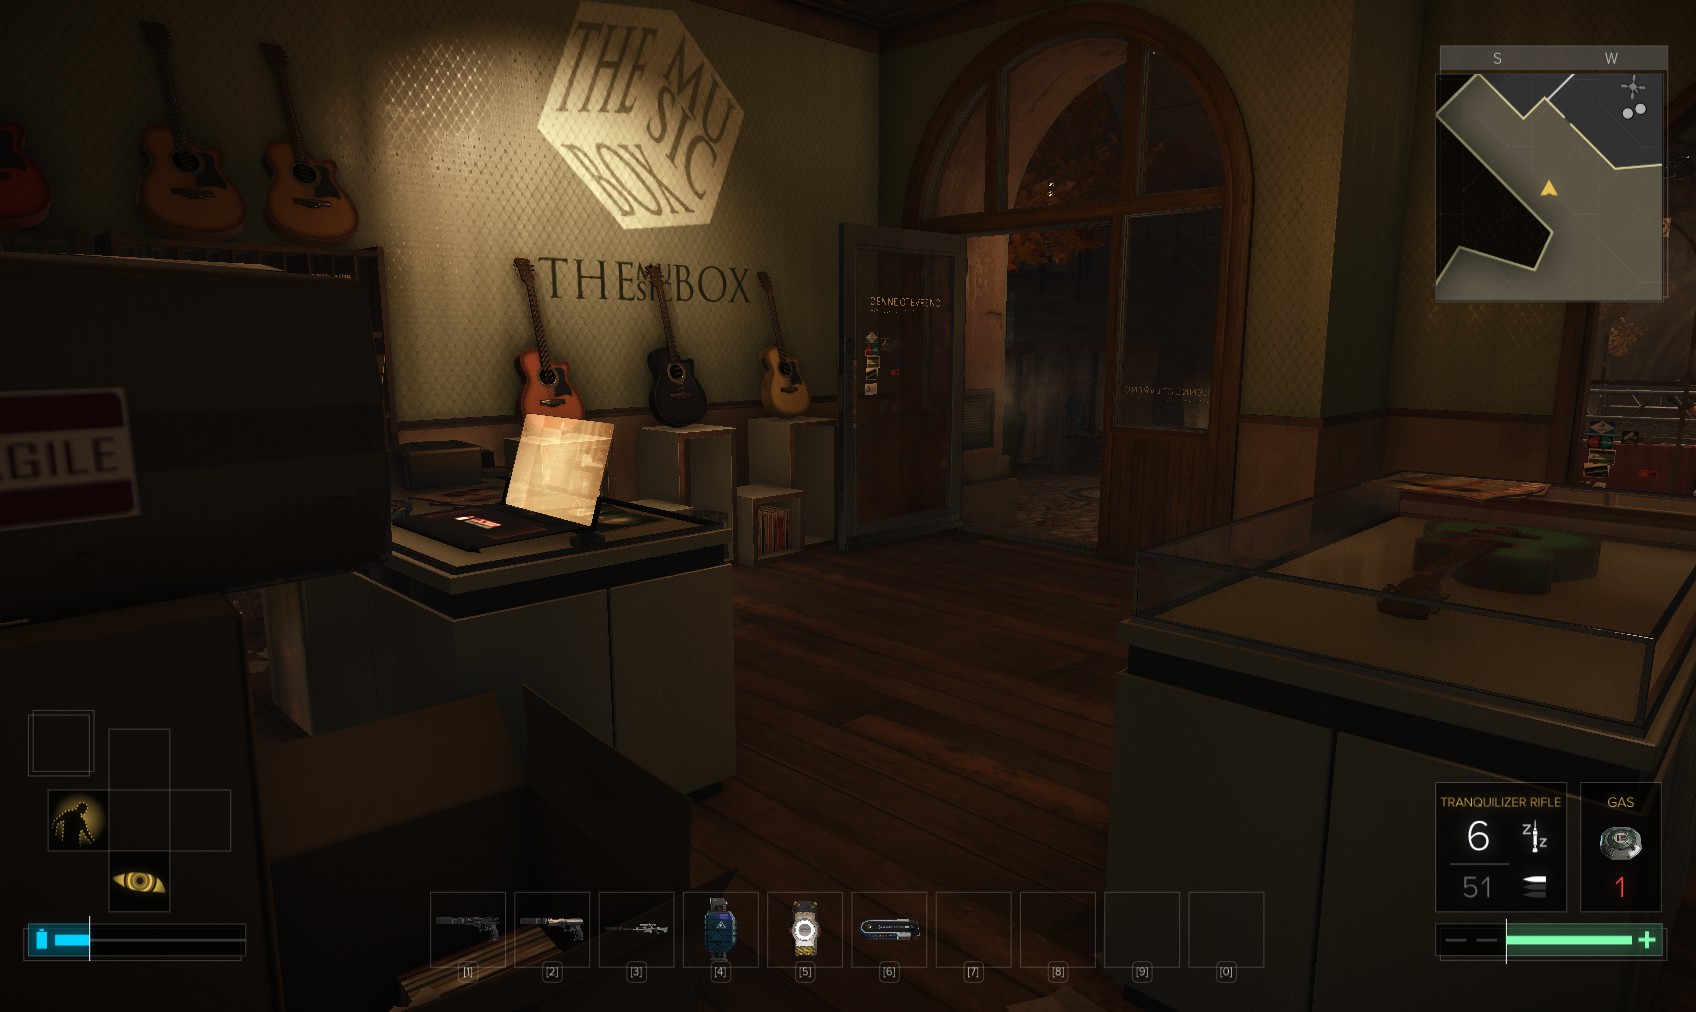
31. Next I want to finish up with 'K' and Samizdat, so I head South towards the Music Box. On the way, I notice another apartment I can enter. Opposite is an awning I can deploy, and just about jump from it to this balcony.

32. Inside, an unlocked PC reveals emails between the owner, Robin Johannes, and Koller and Radko Perry. More interesting is this vent.
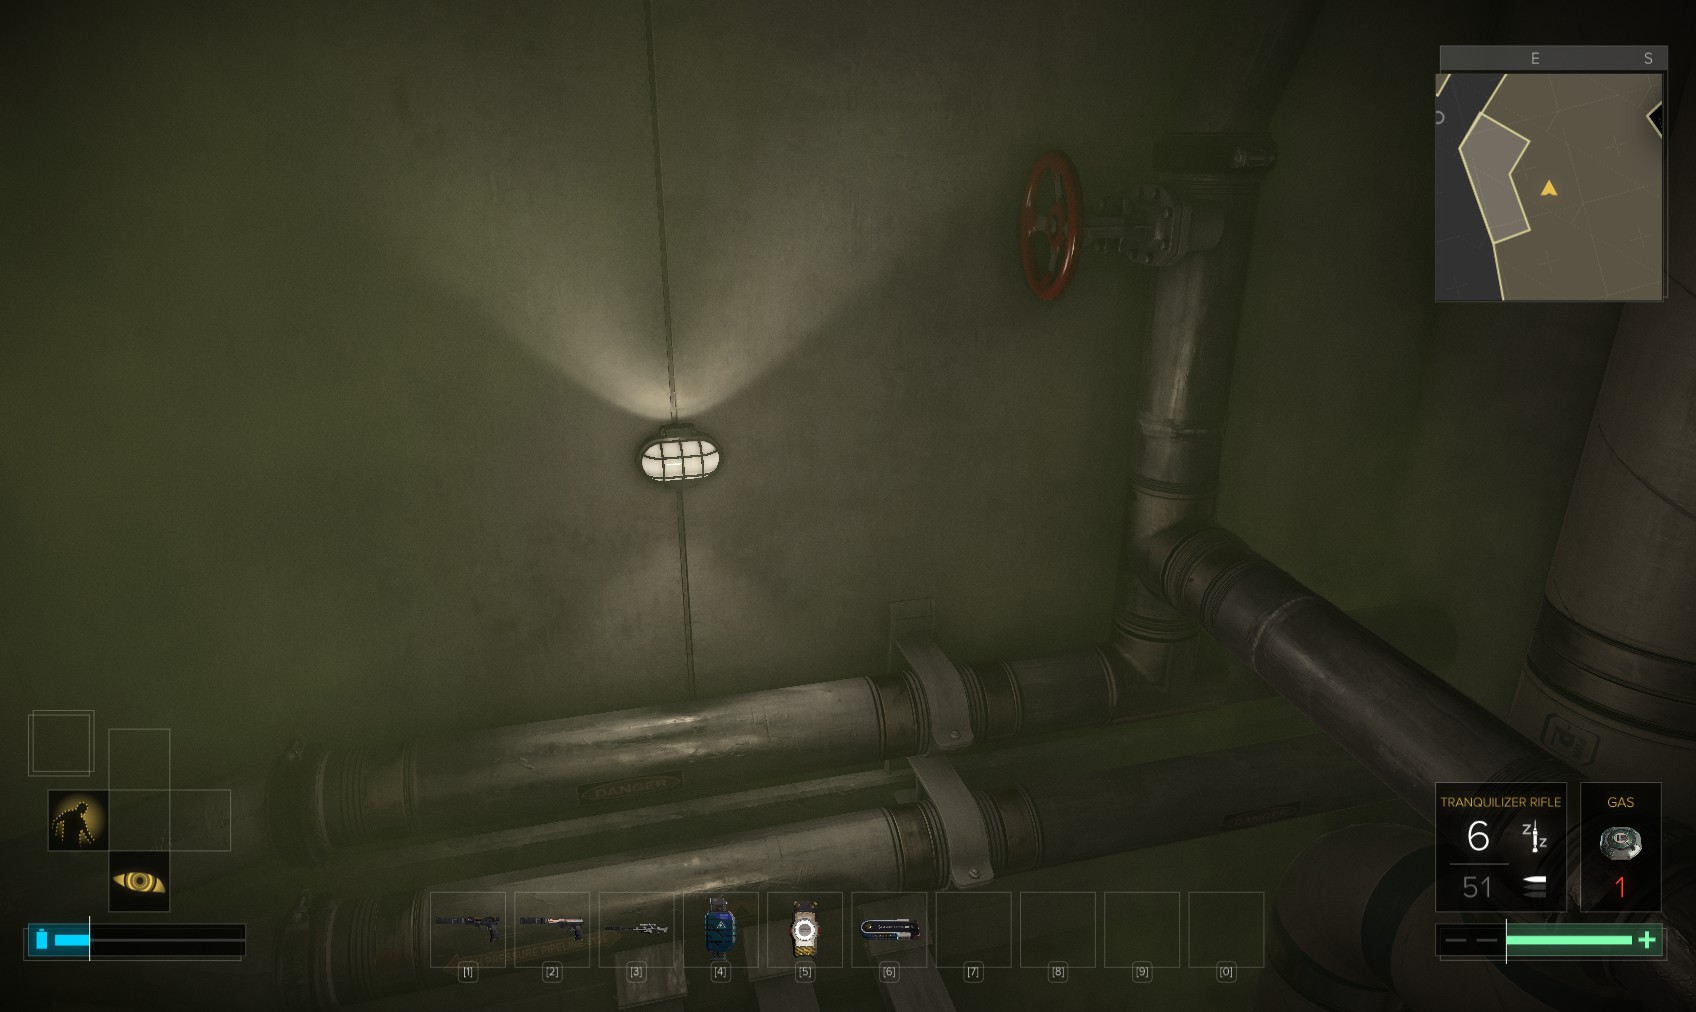
33. After hunting for minor goodies, I head in. It comes out here. The valve was unreachable from below.
34. Sure enough, out into the Music Box. Nobody seems to mind if you hack the level 2 PC for its 75XP. Head outside, and down the drain.

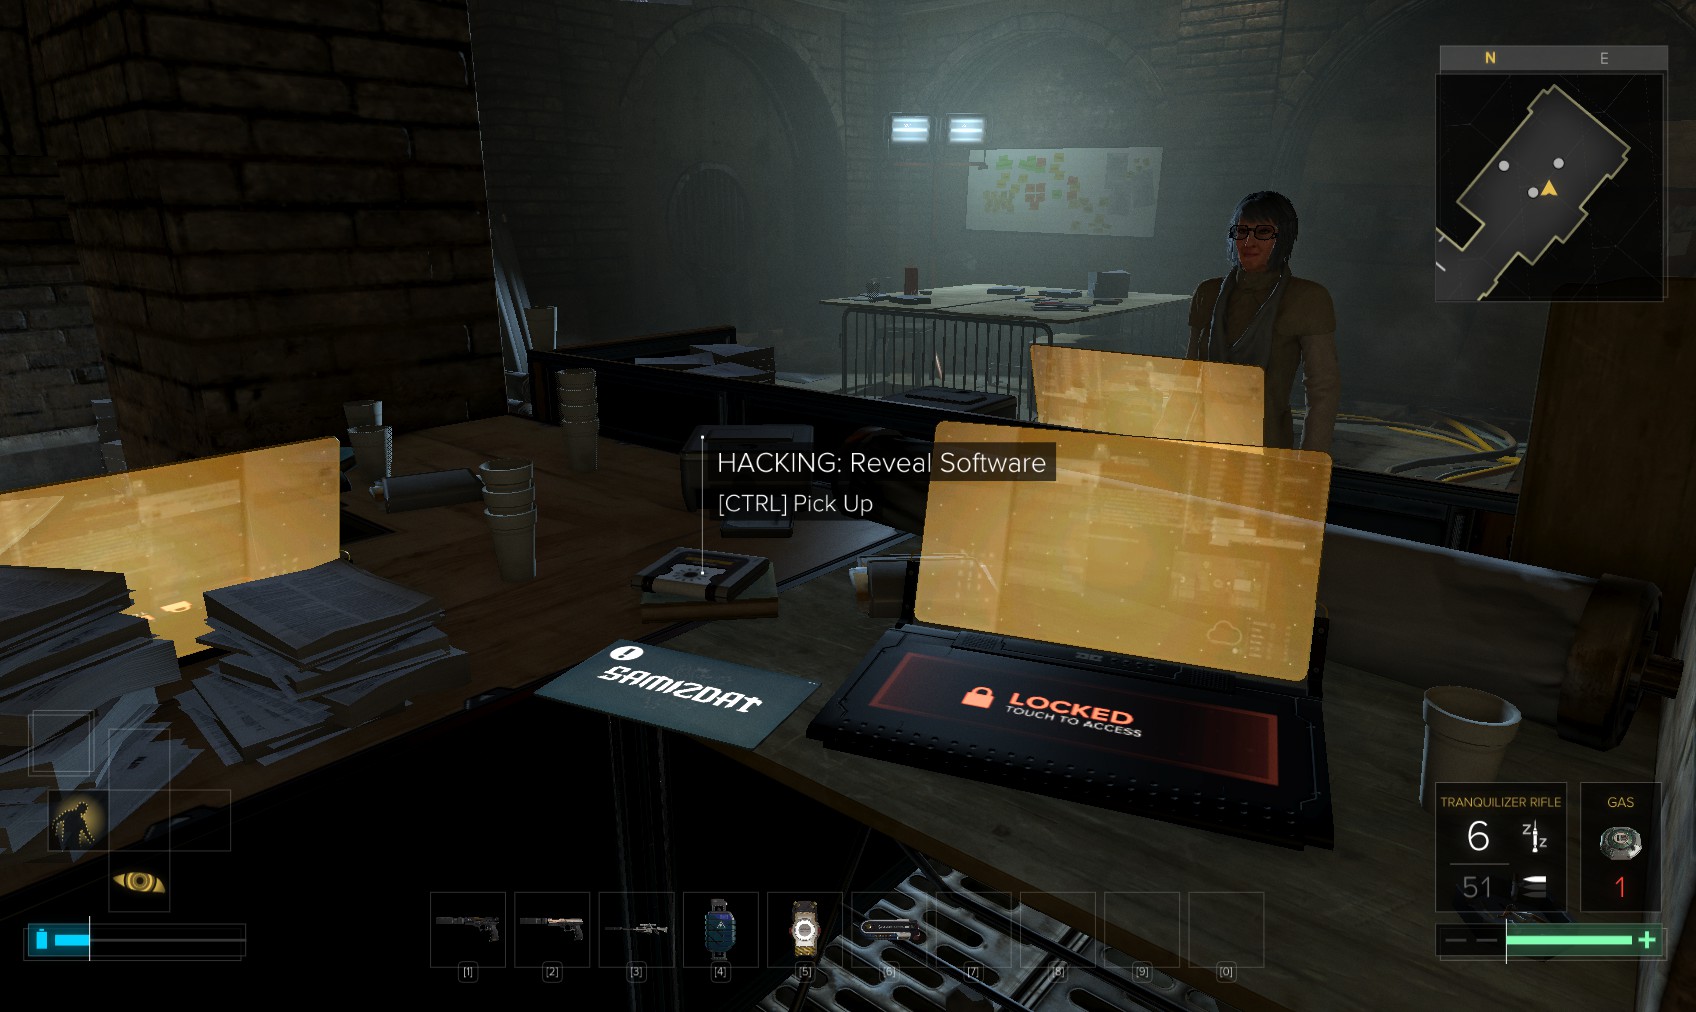
36. You can hack Little K’s level 2 PC for 100c and some background. 'K’s level 5 (300XP) is also do-able. Don’t forget to swipe the hacking tools lying around. The third PC can’t be hacked without drawing attention to yourself. Time to take my leave.
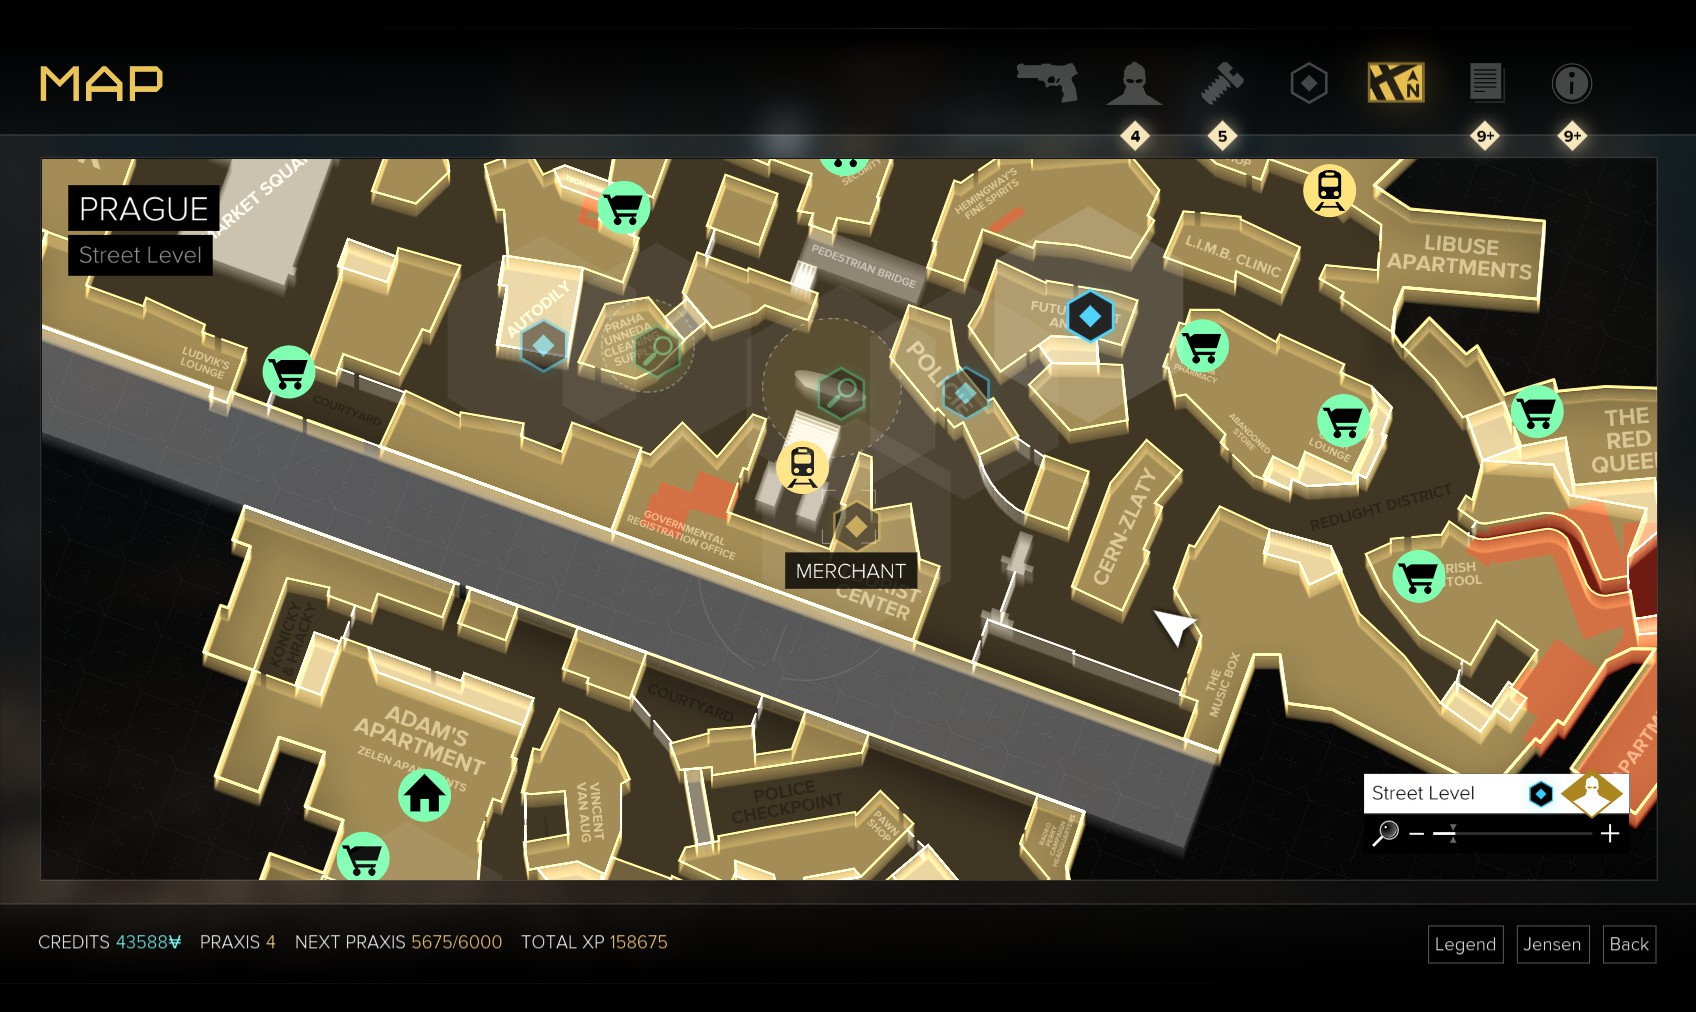
37. Time to take stock of what’s left to do. Future Past is quite close to follow up for Helle, as is the old Police station to investigate Smolinski’s notes. Future Past first.
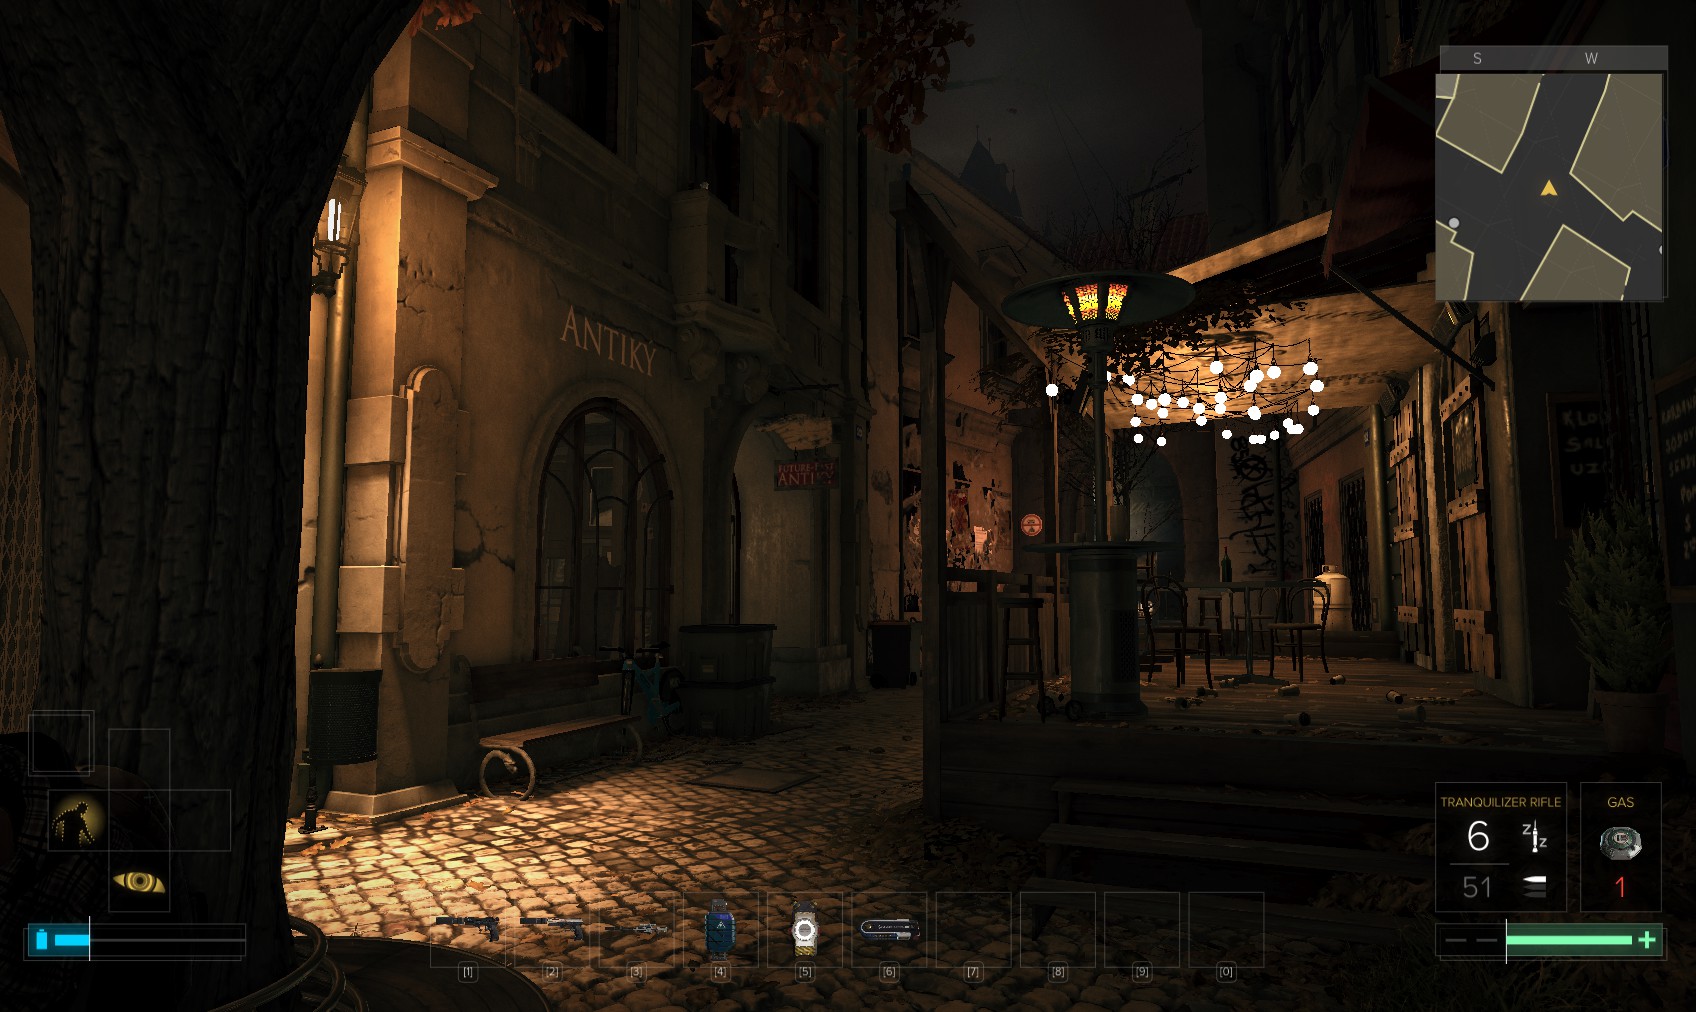
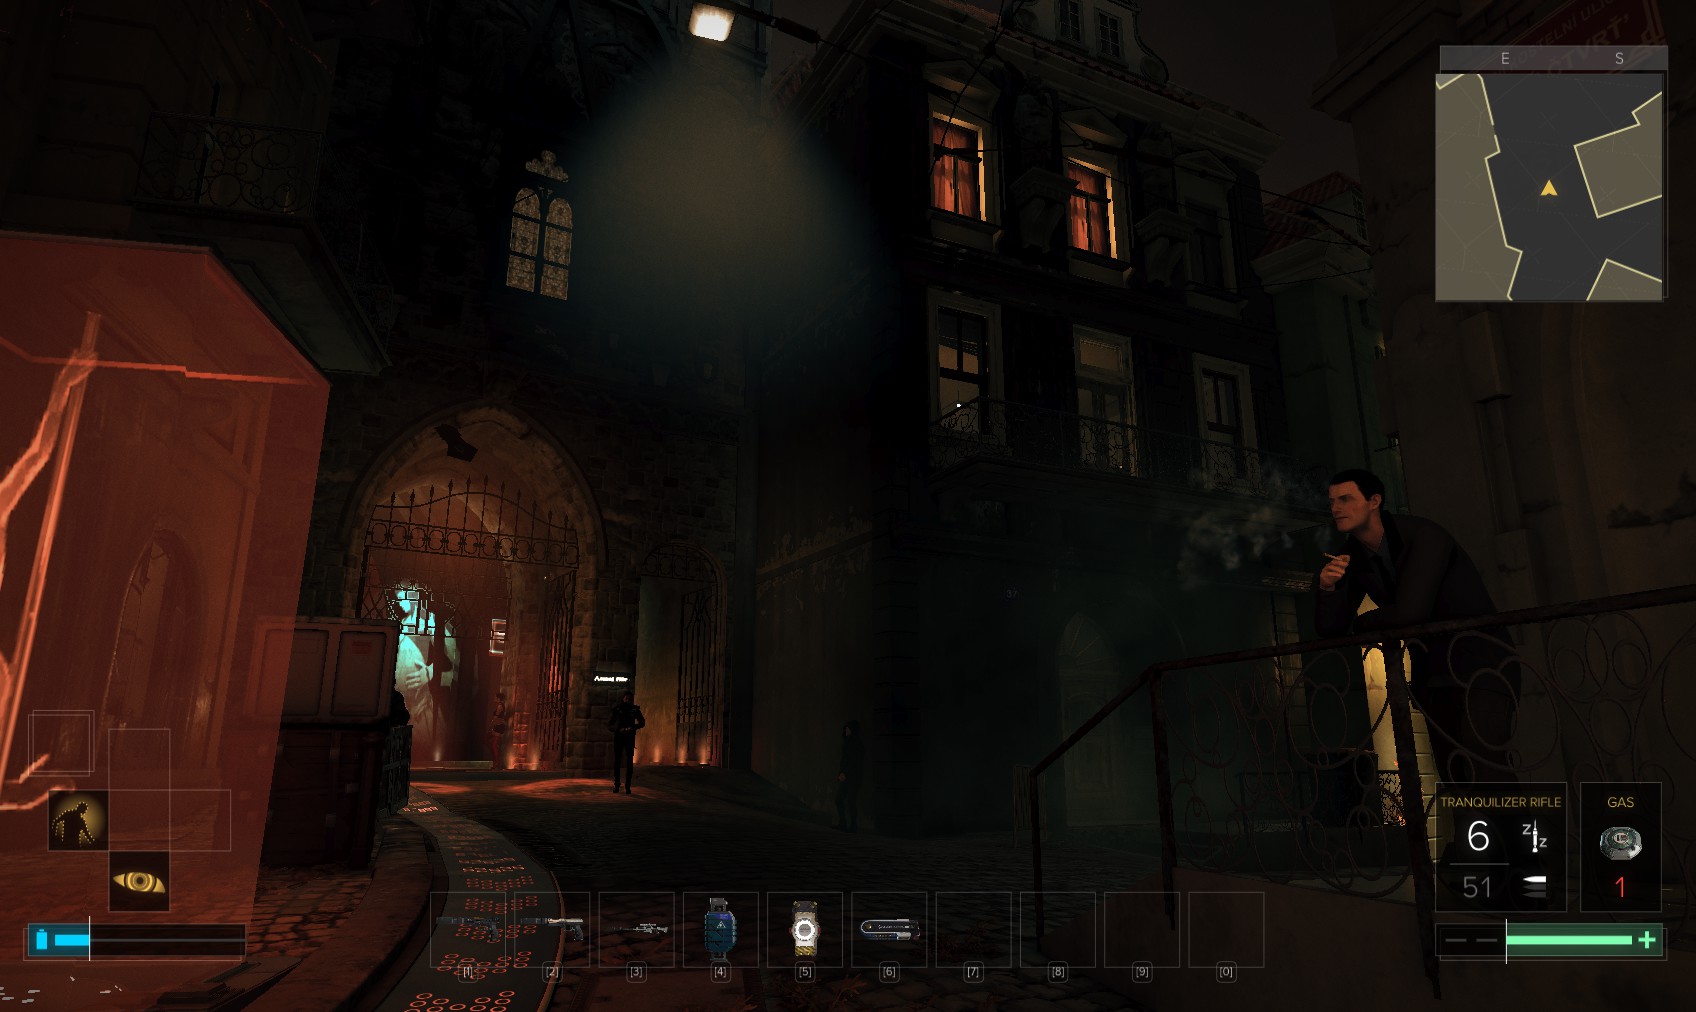
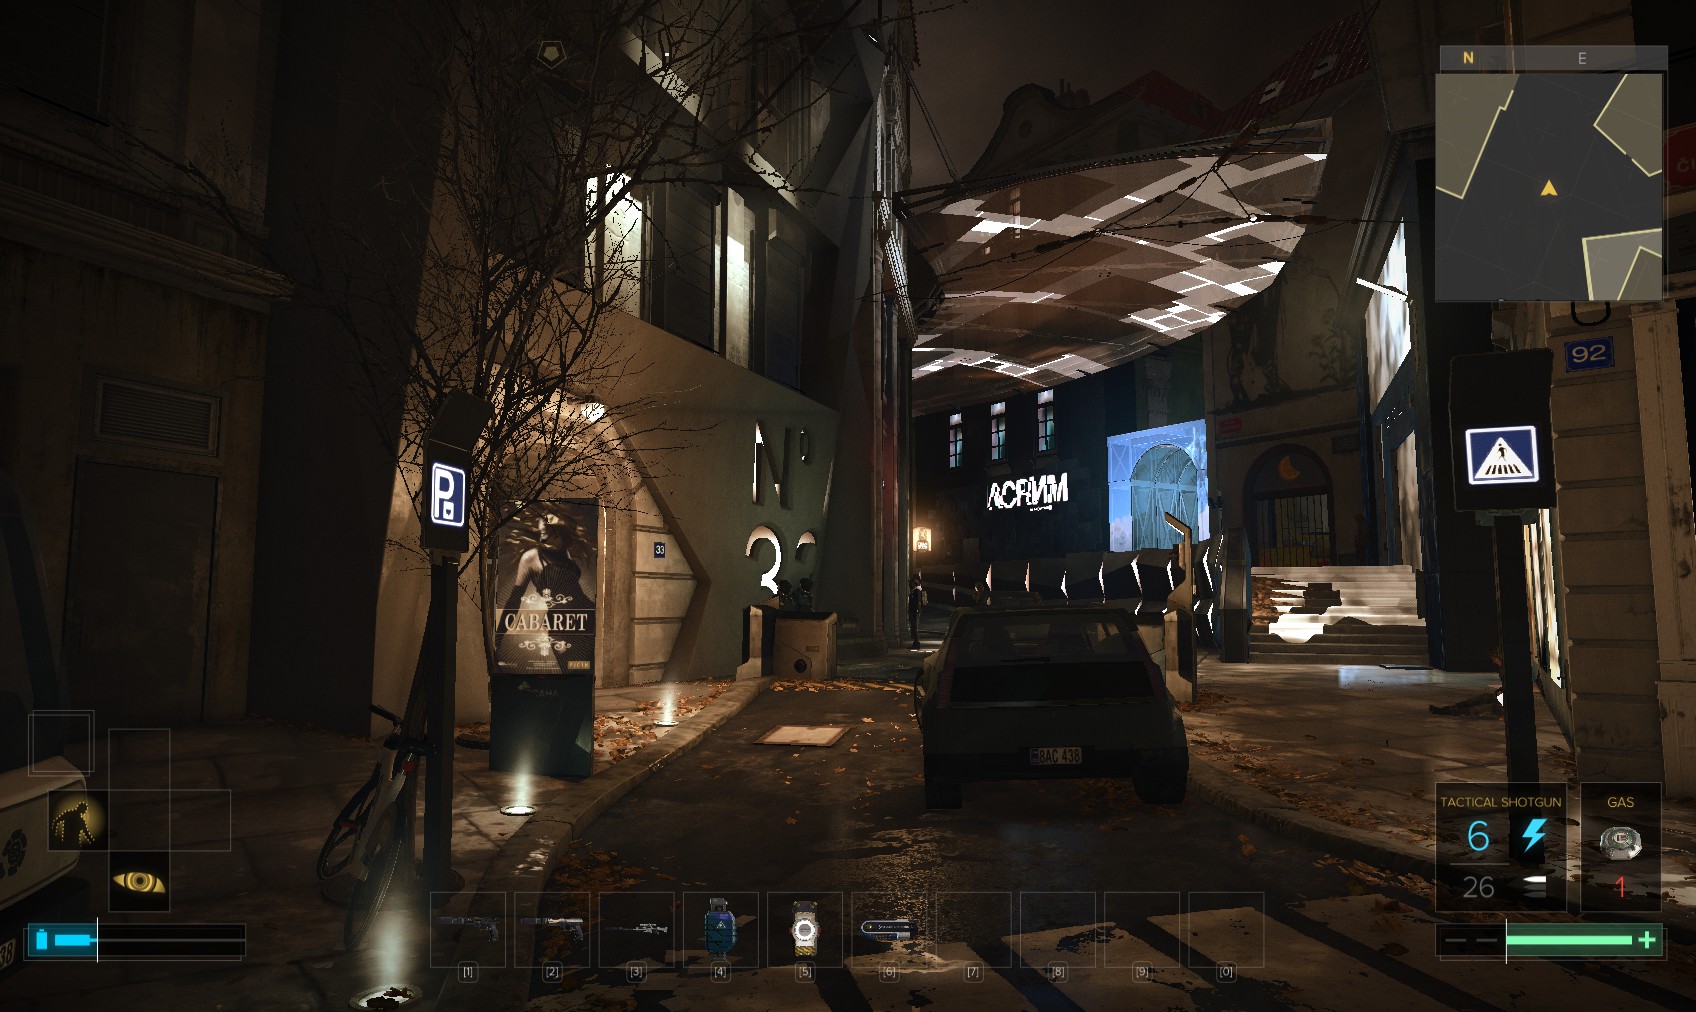
38. Heading roughly North, I find it on this alley, and head inside.
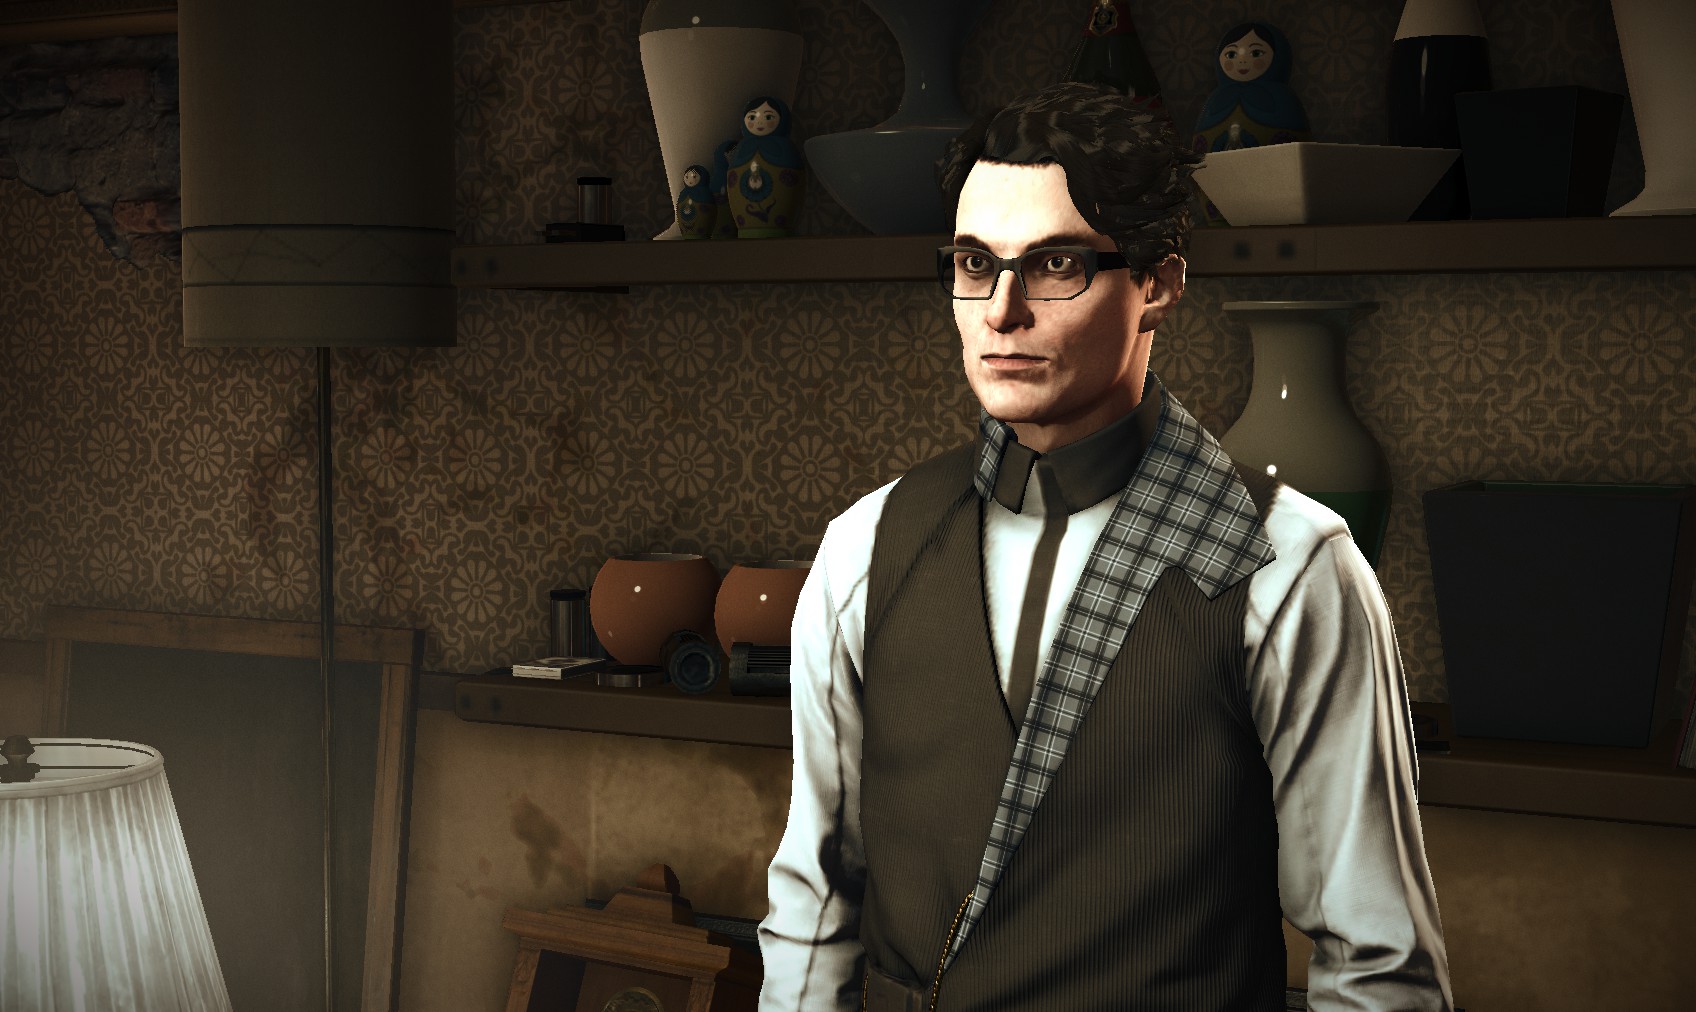
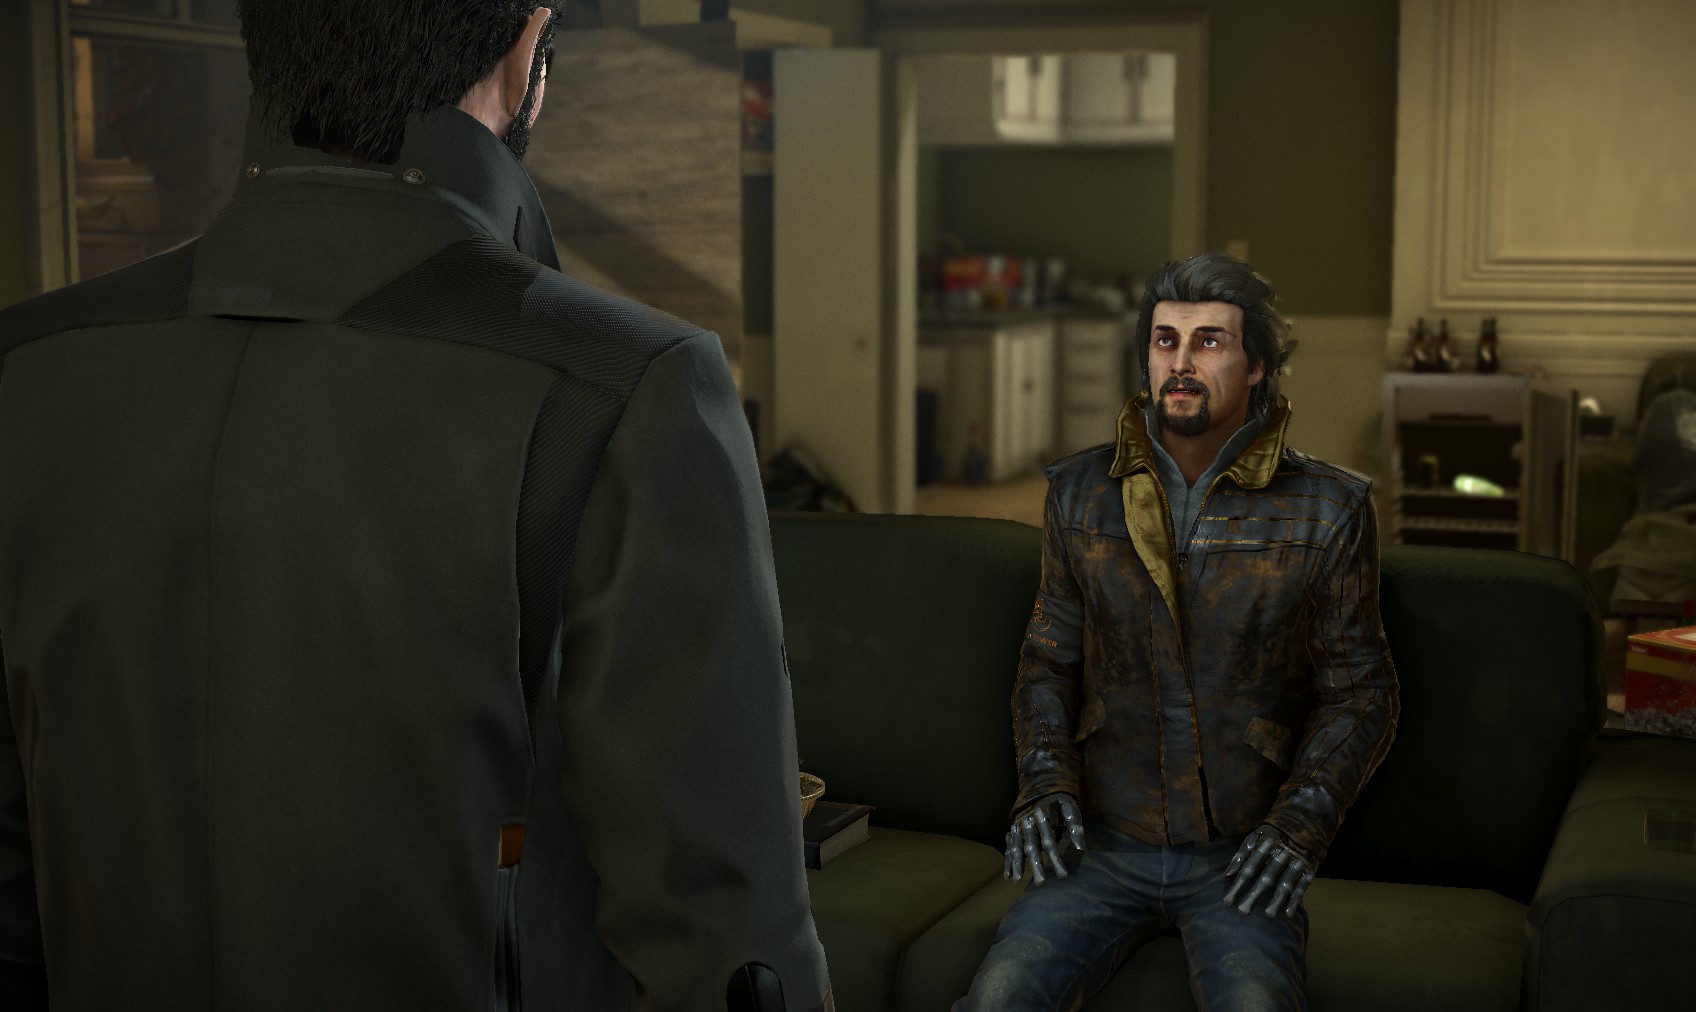
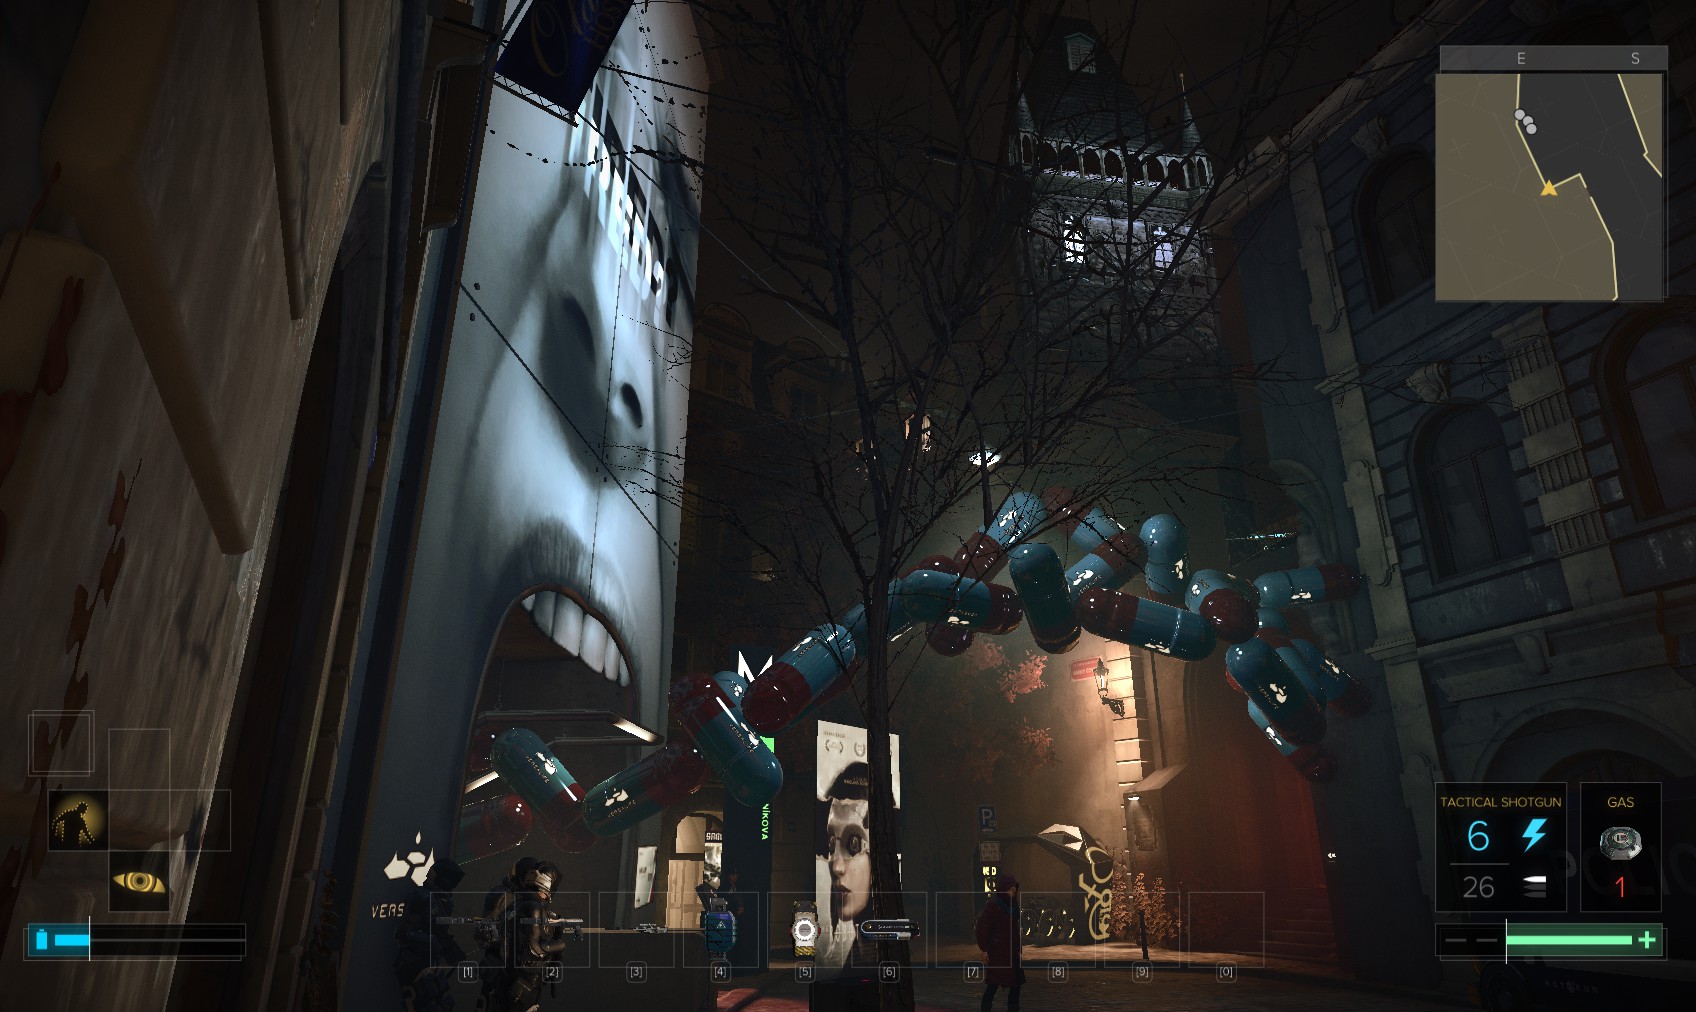
39. It’s a bit odd that the vendor keeps referring to Future Last, not Past. This guy is not who he says he is, so I keep pressing about the name.
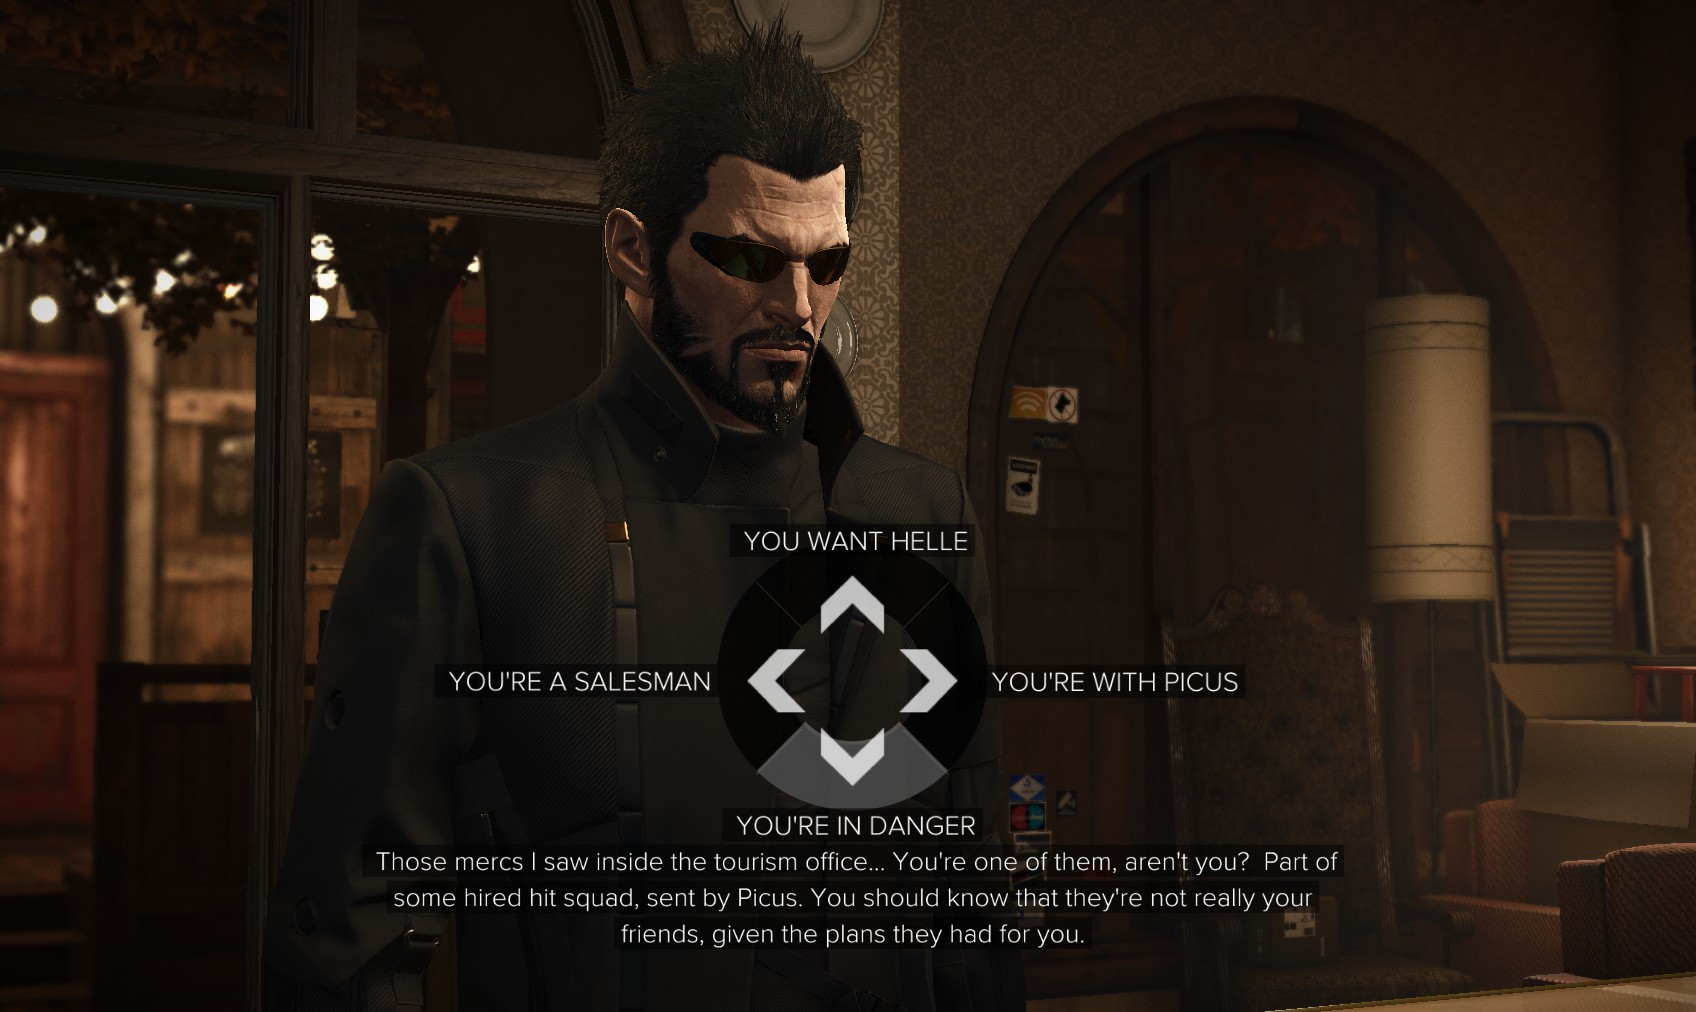
40. Eventually he pulls a gun. I decide that he’s the guy being referred to on the pocket secretary in the basement and give him a chance to back off. I tell him he’s in danger, and then he does. I let him go. I wonder what will come of that?
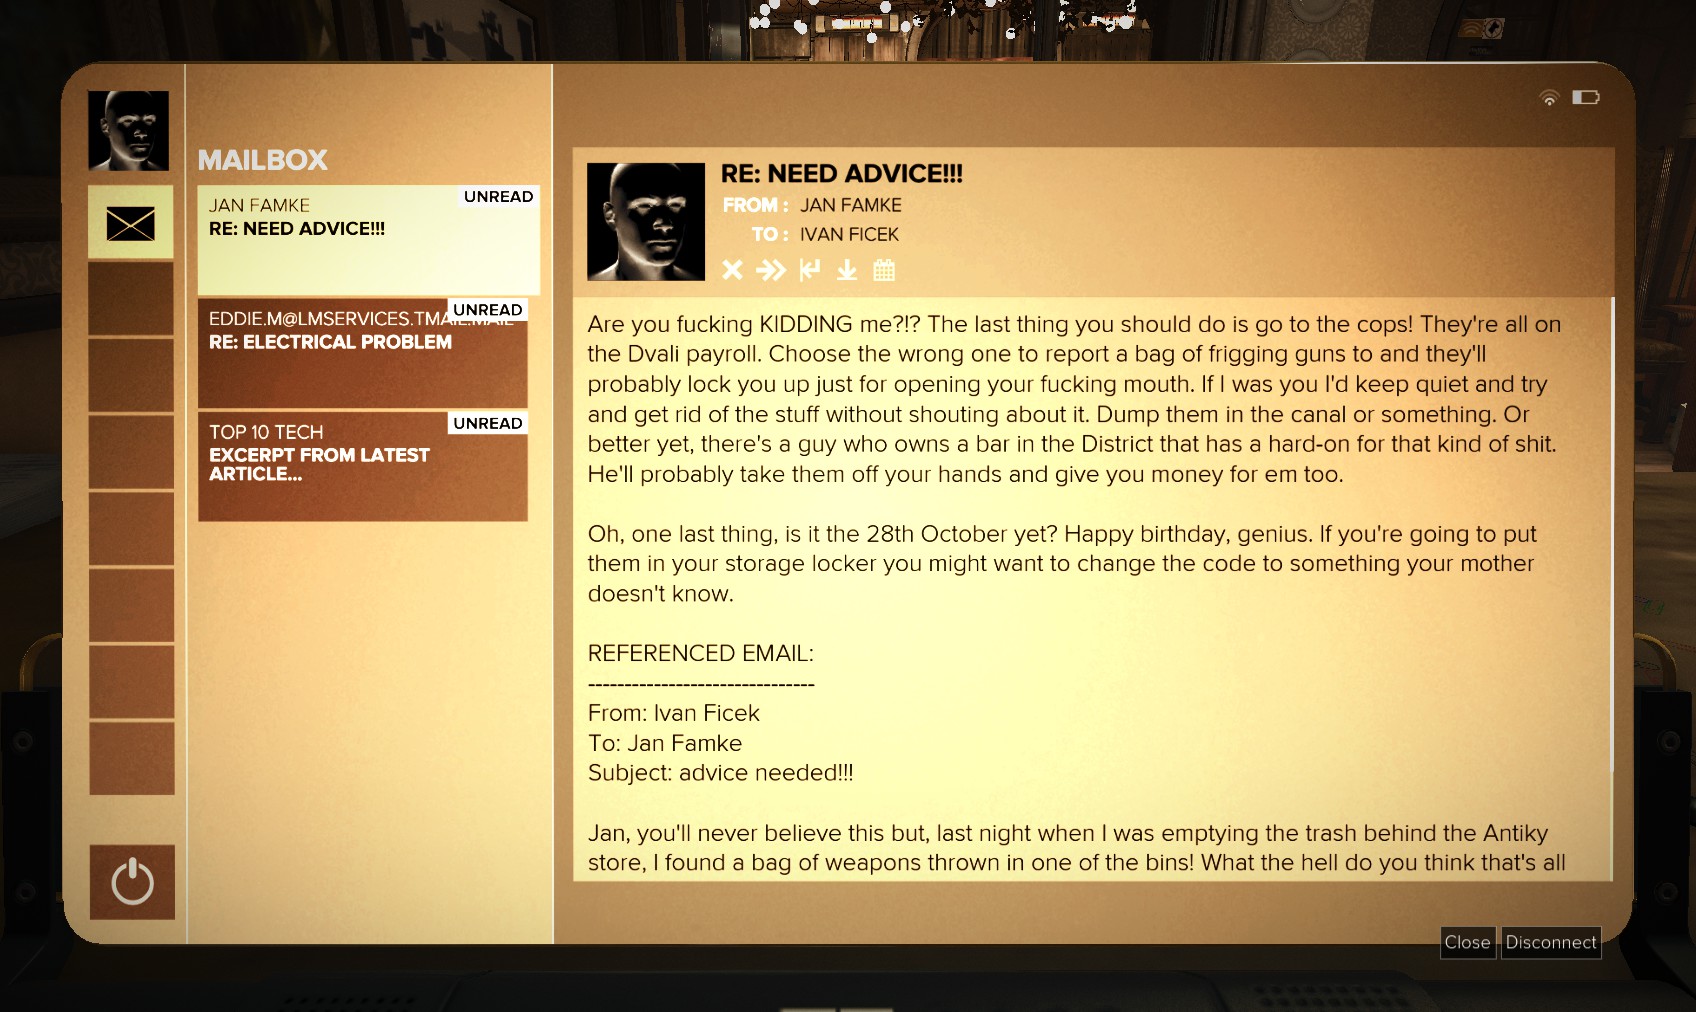
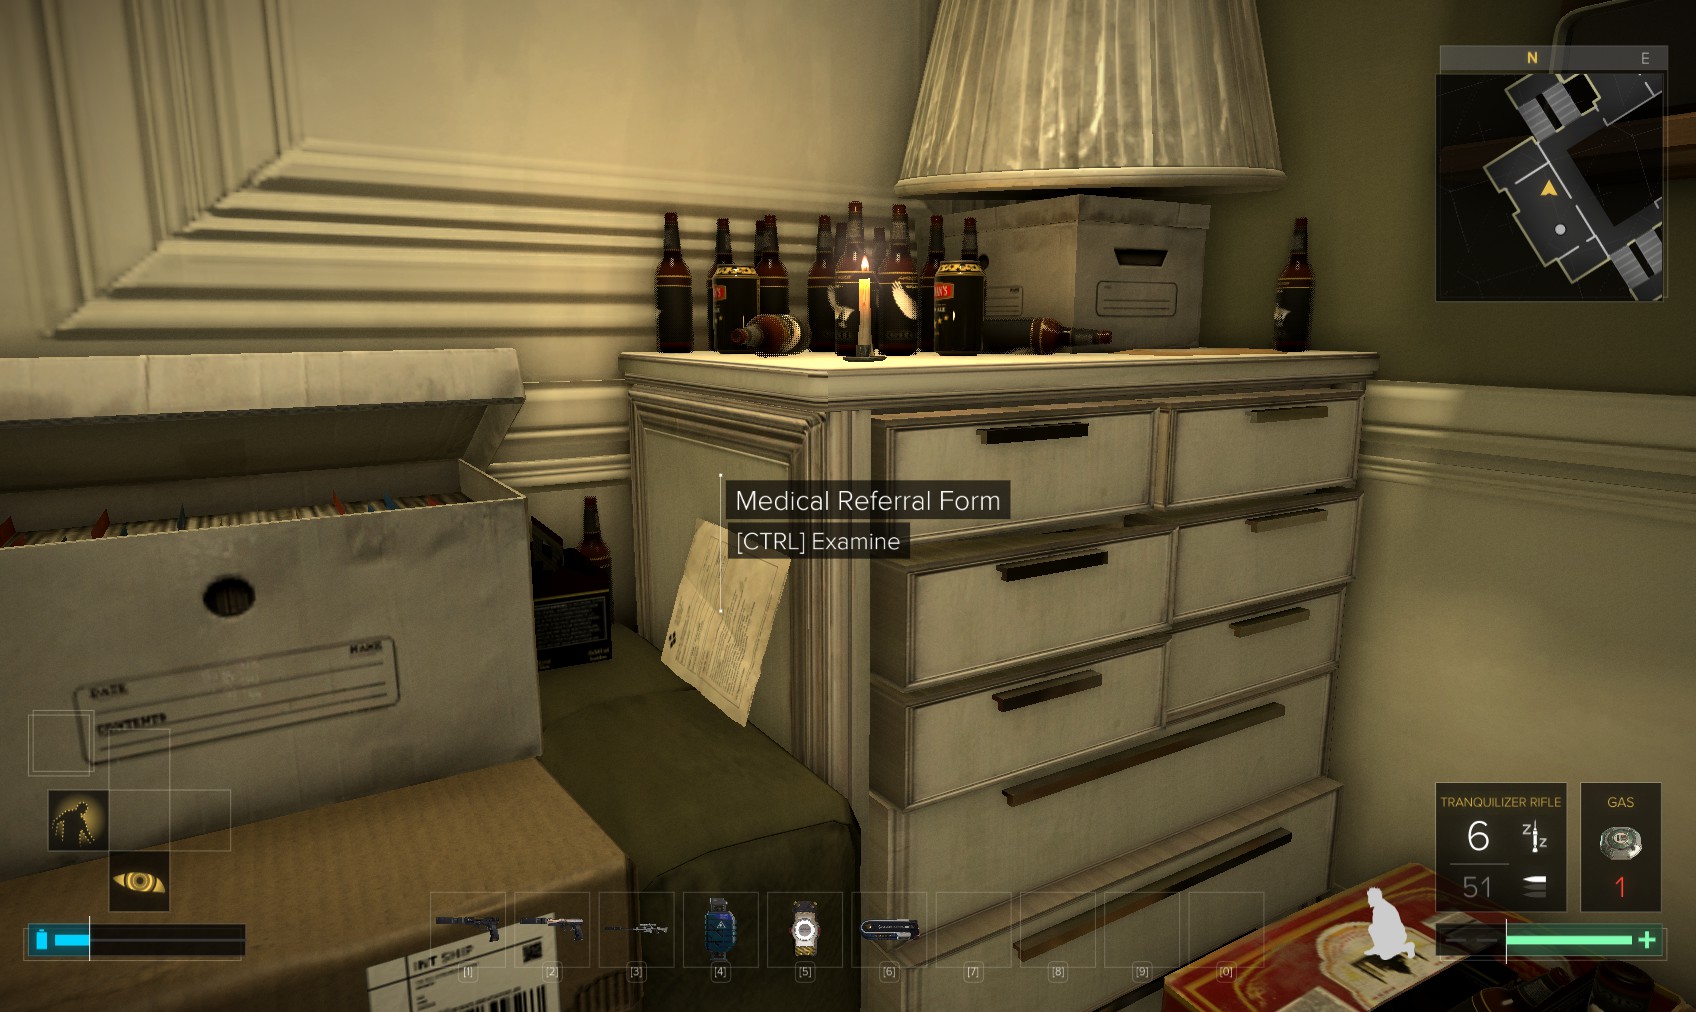
41. The PC is unlocked, and reveals the code (possibly 2810, possibly 1028?) to a storage locker, plus the code 3458 to a door. It also has an amusing background to floppy disks. Anyone know what that is? :)
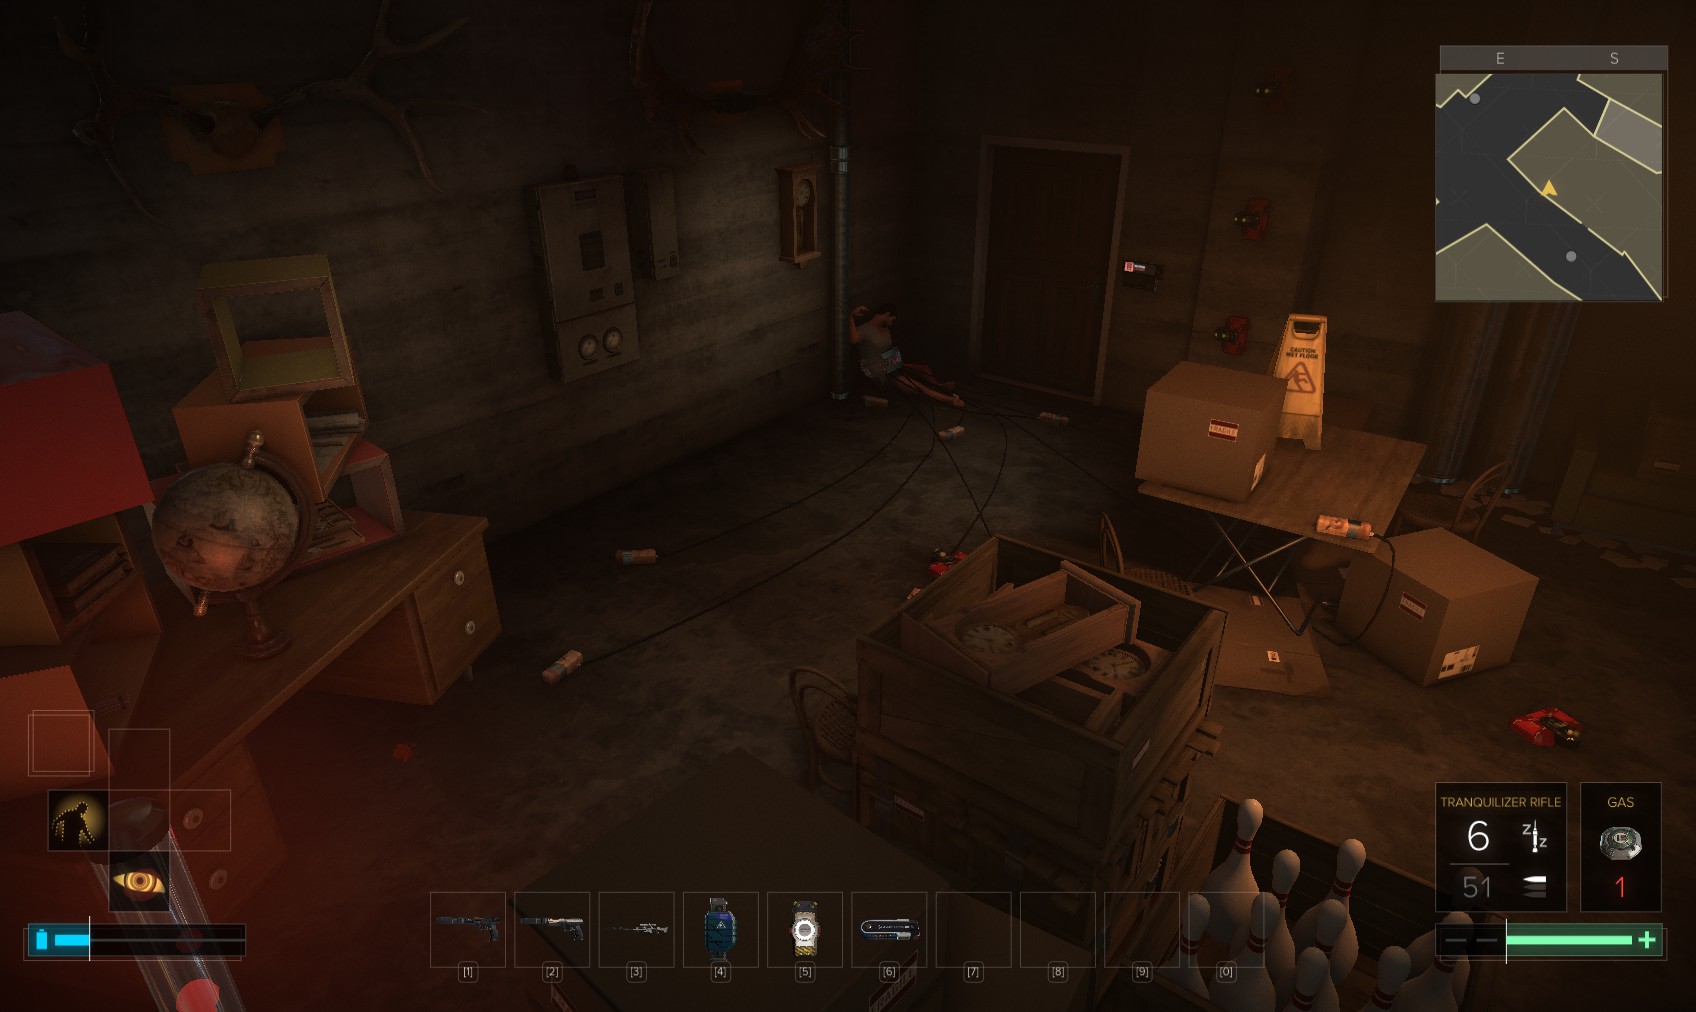
42. I head to the basement to look around. It definitely looks like Walker was setting me up in a most peculiar and imaginitive way. The door is a level 5 and yields stealth software, or you can use the code 3458 for the extra XP.
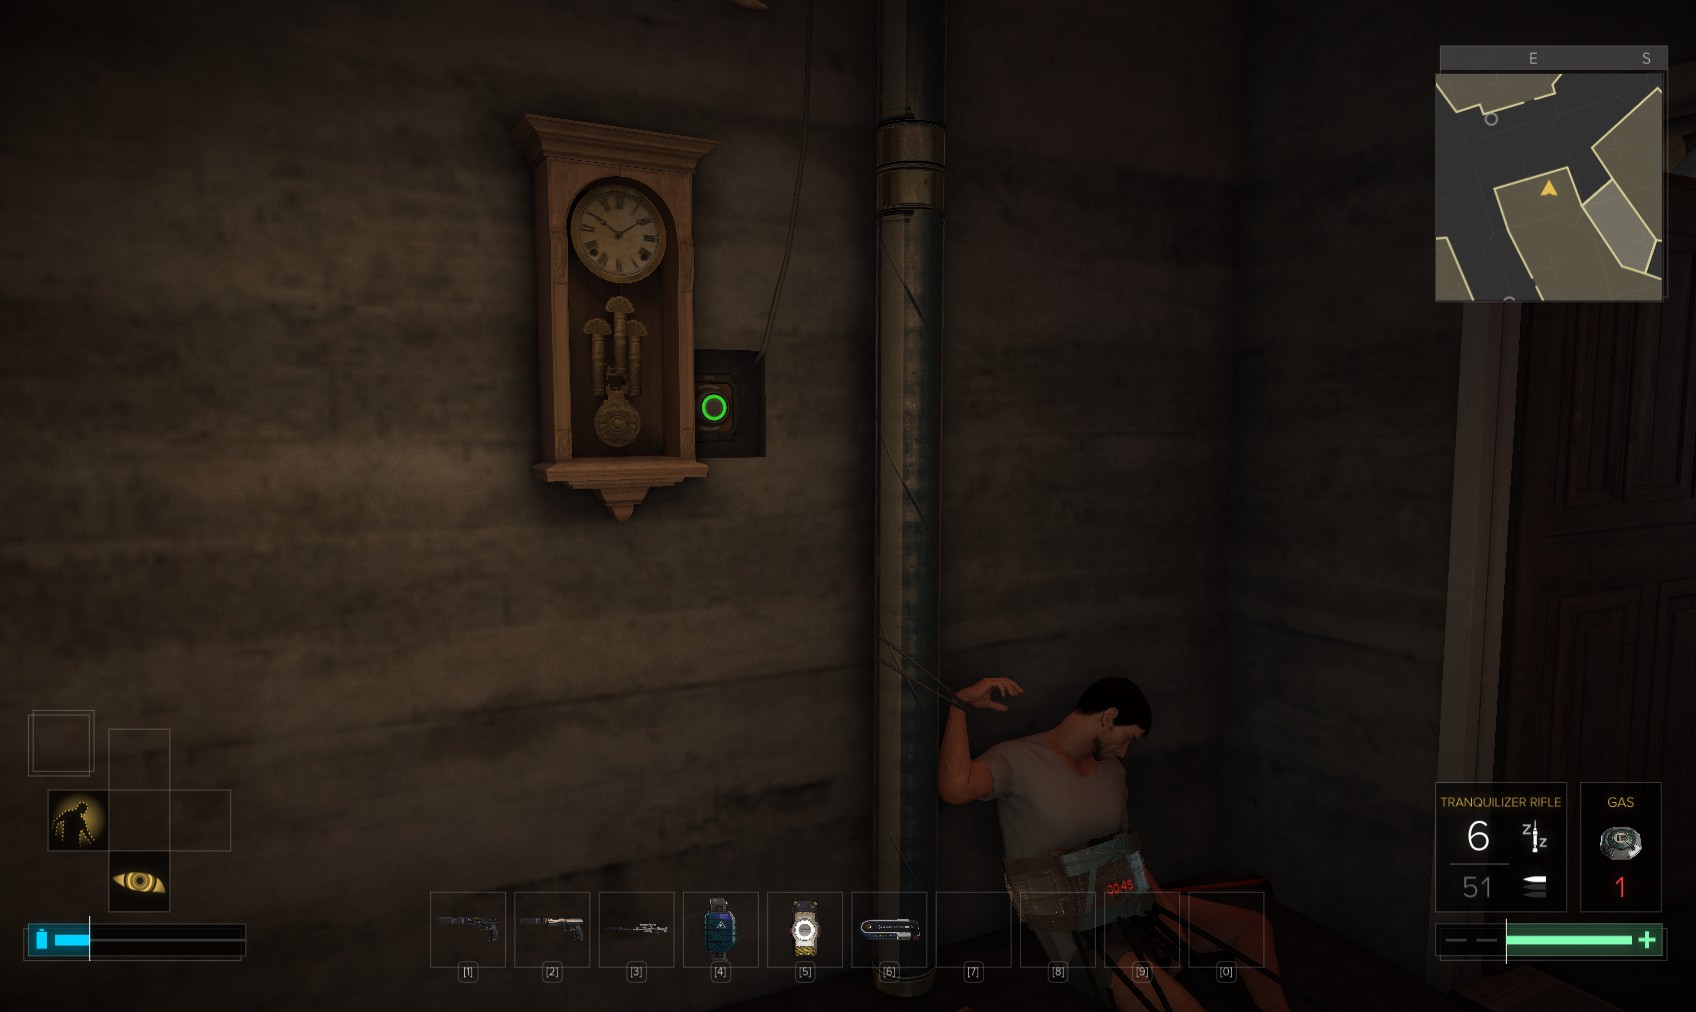
43. The clock on the wall above the body hides a button which also opens the door - so I can use the code, re-lock it, and hack it for the software. With the trap disabled, there’s not much in here.
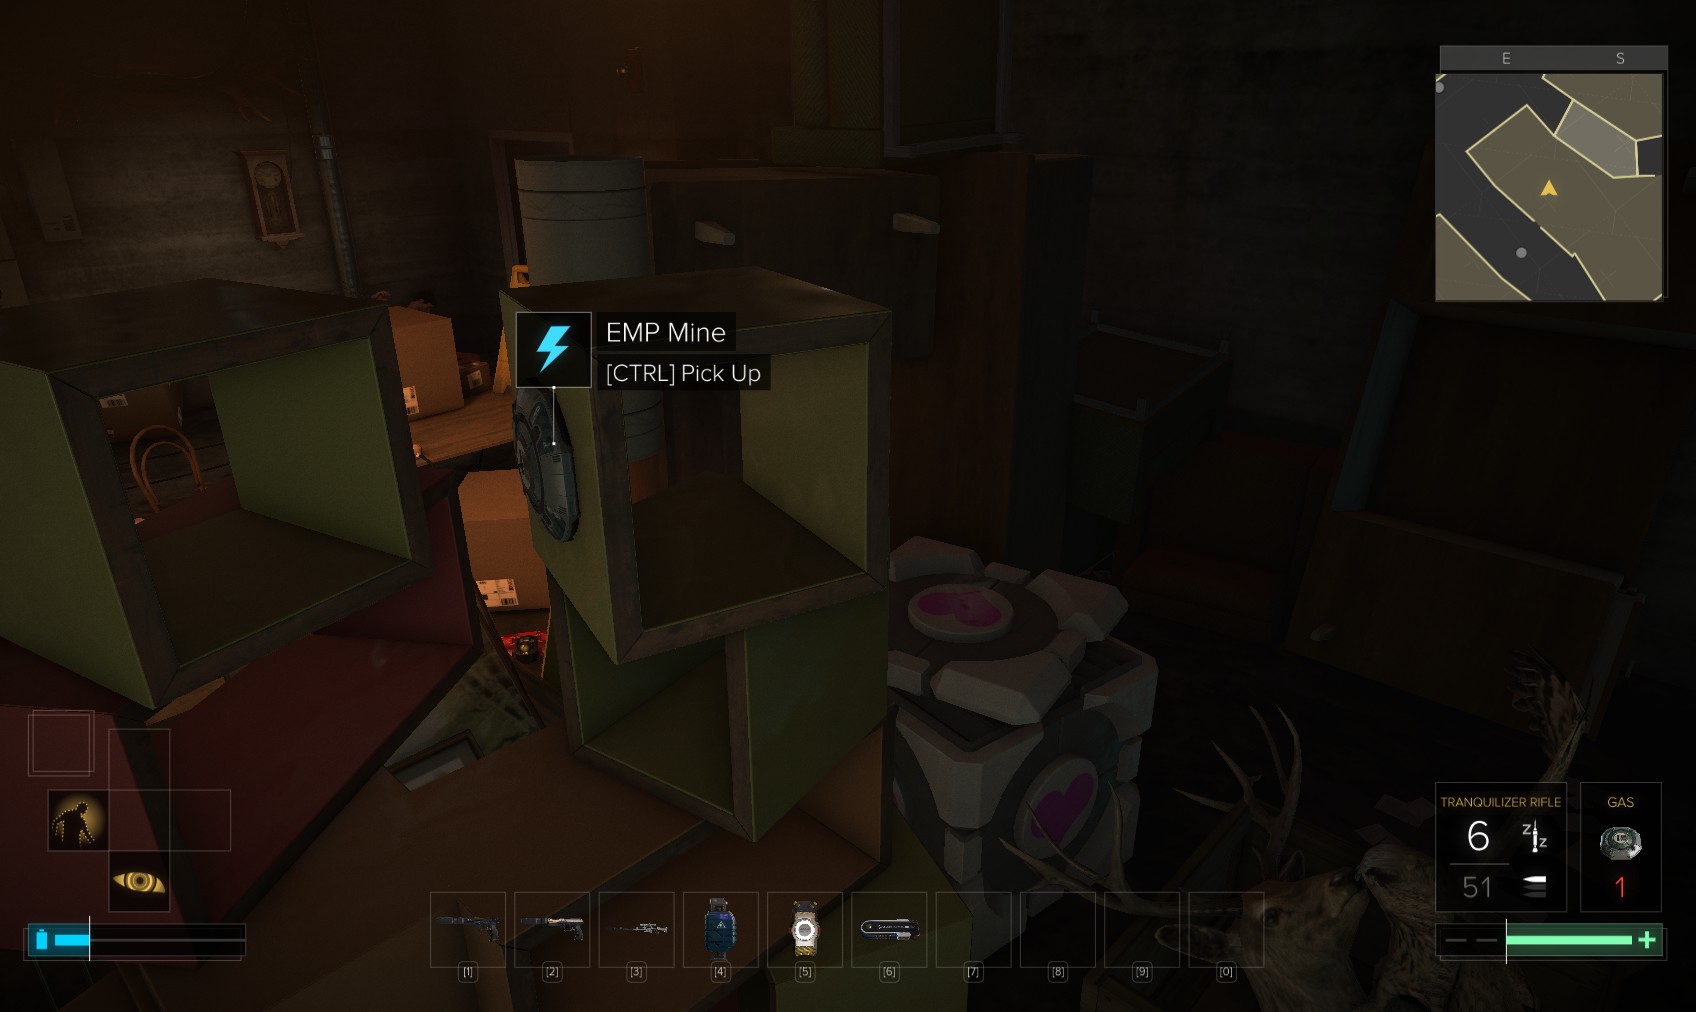
44. I hunt around, and can nab some of the booby traps Walker left. Here’s a nice Easter egg, too. Time to go and look up the Police file.
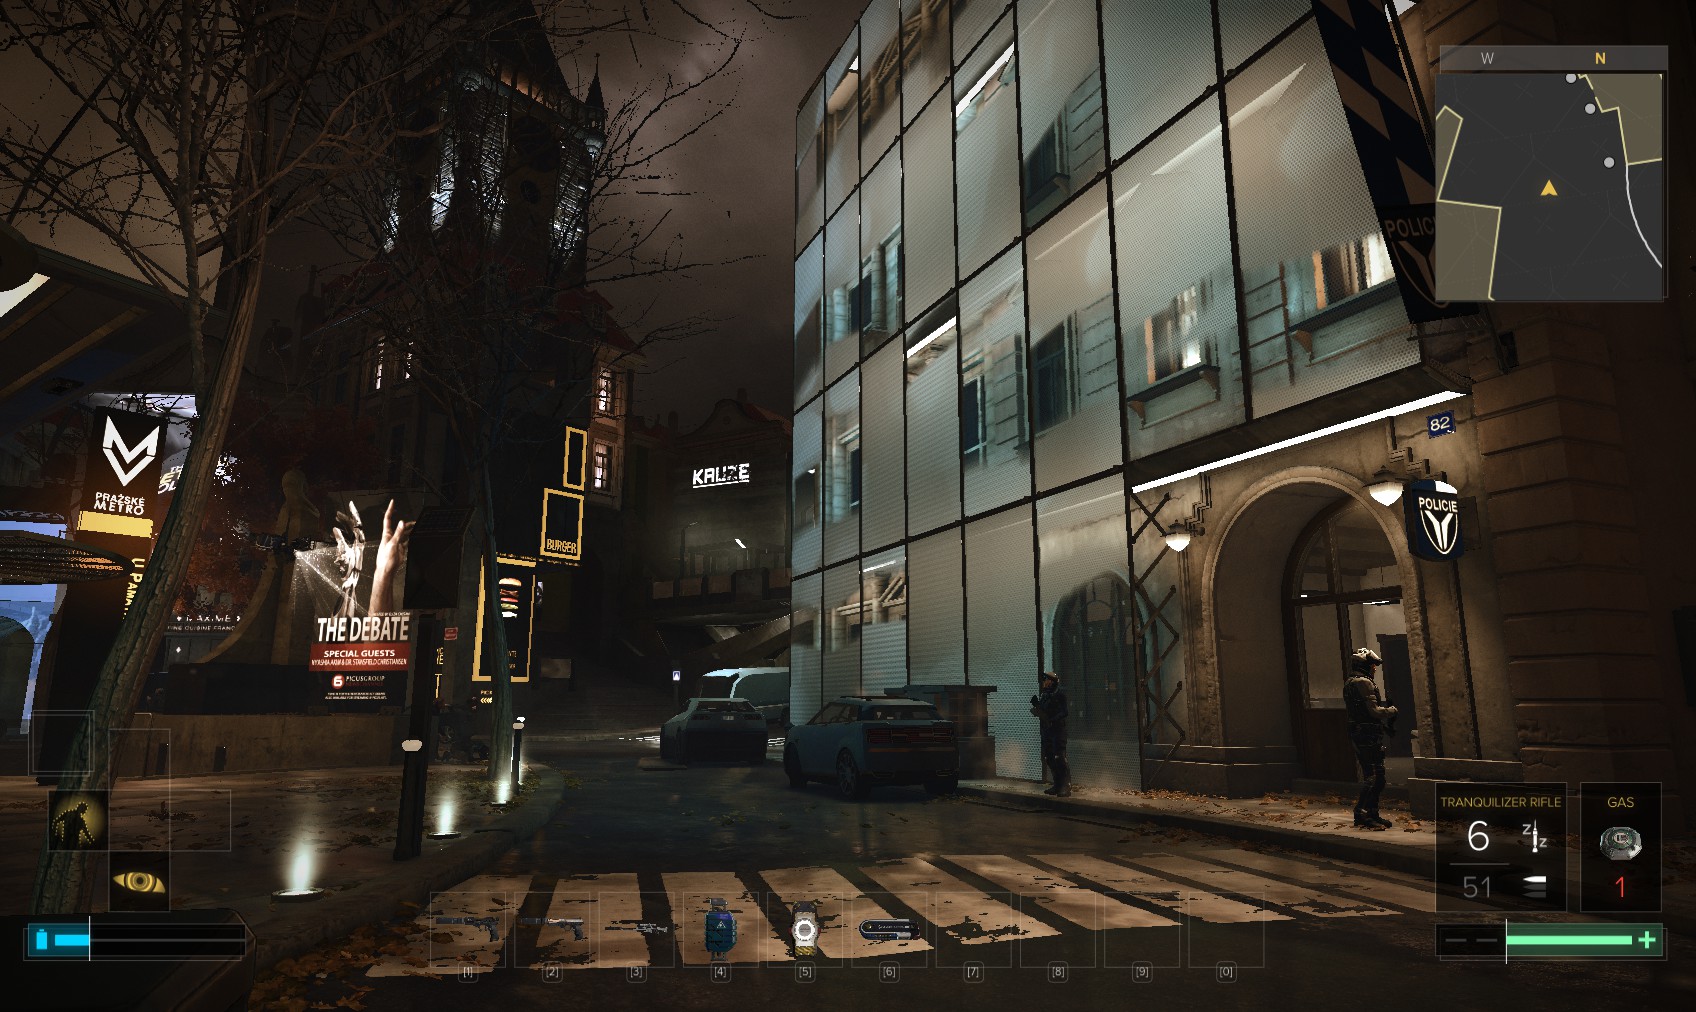
45. The old Police station is here, by the Monument metro station. I head inside and carefully hack the level 1 PC for 200c. You get the code 0010 to the door nearby. There are a couple of very strange requests from Daria - almost like a cry for help or attention. I use the doorcode to get to the basement (the level 3 hack doesn’t get you anything).
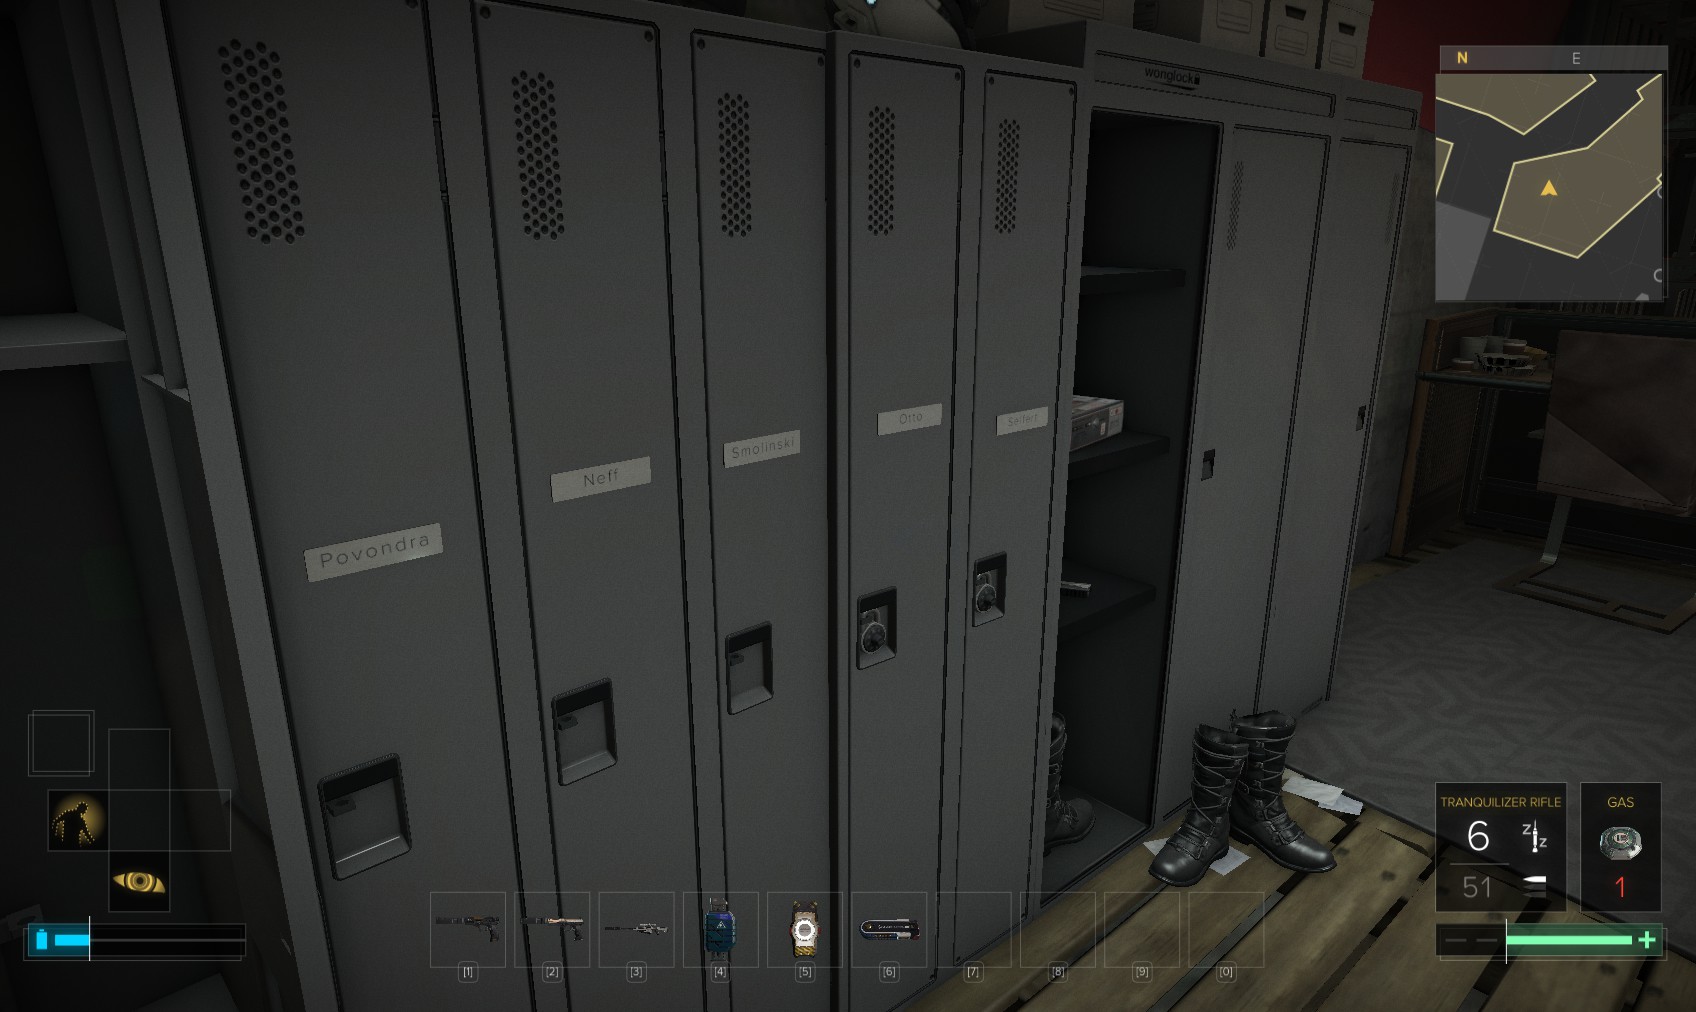
46. At least everything is tidy down here…Smolinski has a locker at the rear. I hunt around for useful stuff and head back outside.
47. Heading West from here, I remember that Alex has left me some info on Marchenko. Here’s a chalk mark near Monument station. Inside is a pocket secretary with some background on Marchenko.
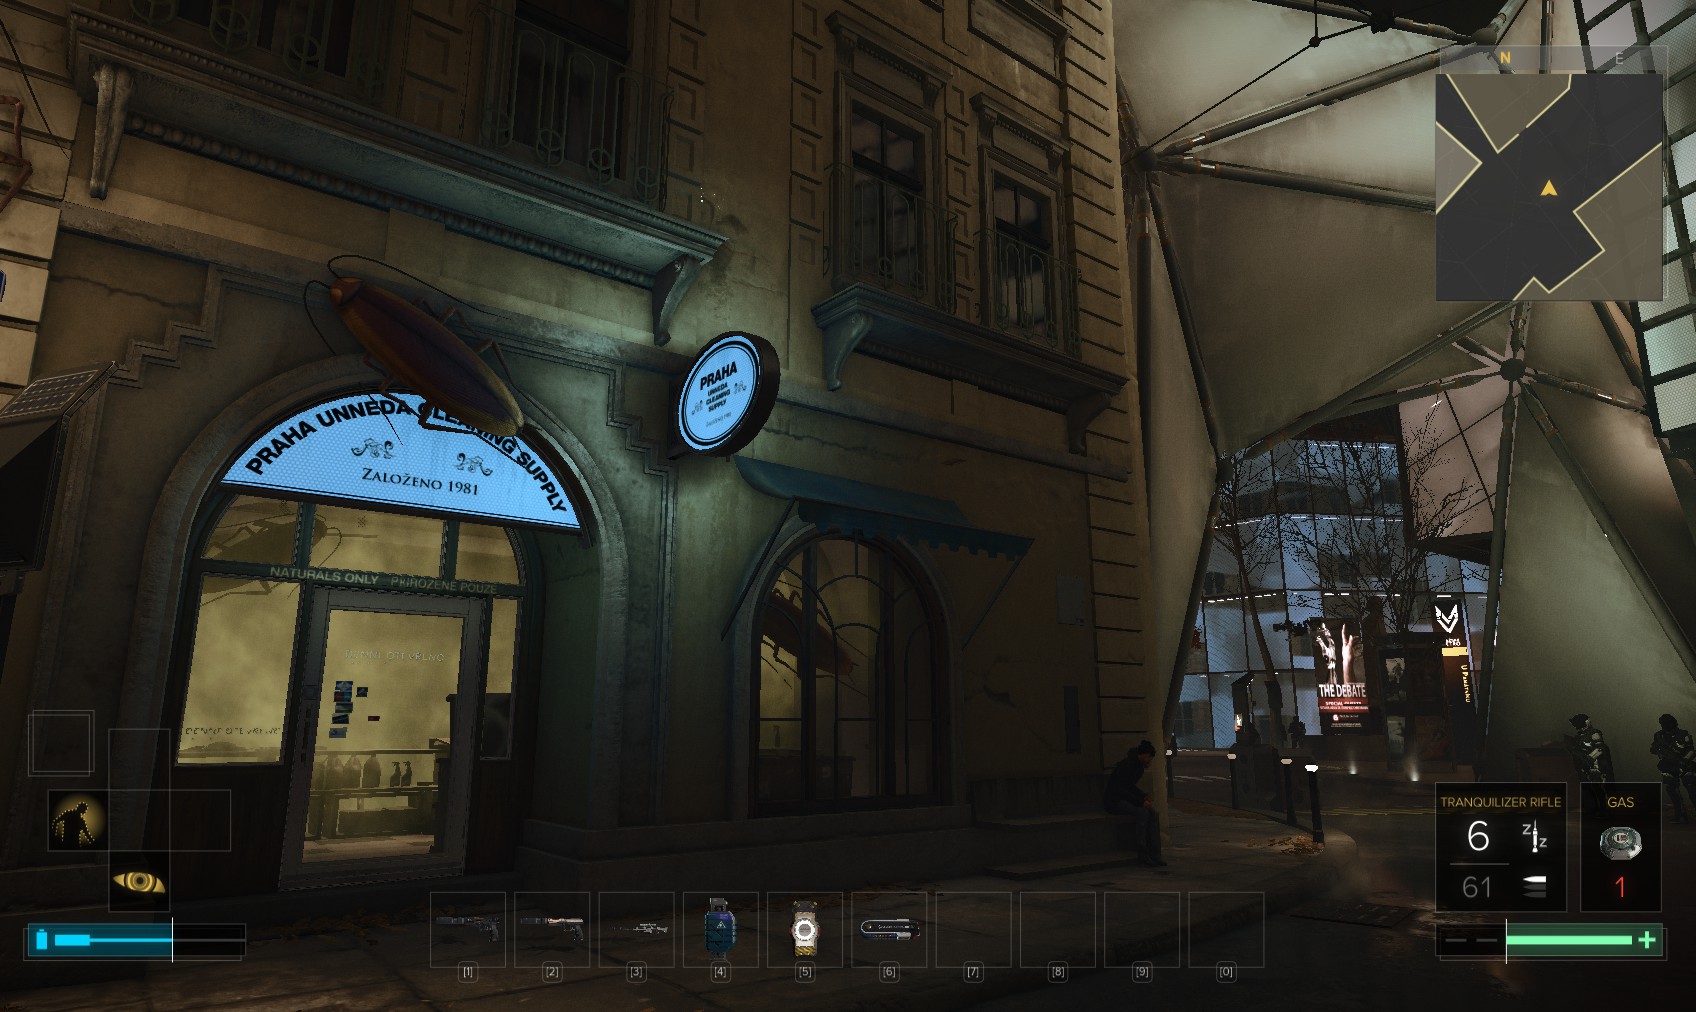
48. I continue West to deal with another Point of Interest at the cleaning supplies. It’s possible to hack your way in past the level 2 door which has no prizes, and even do it out of sight of the patrolling cops, but it’s the apartment above it we need.
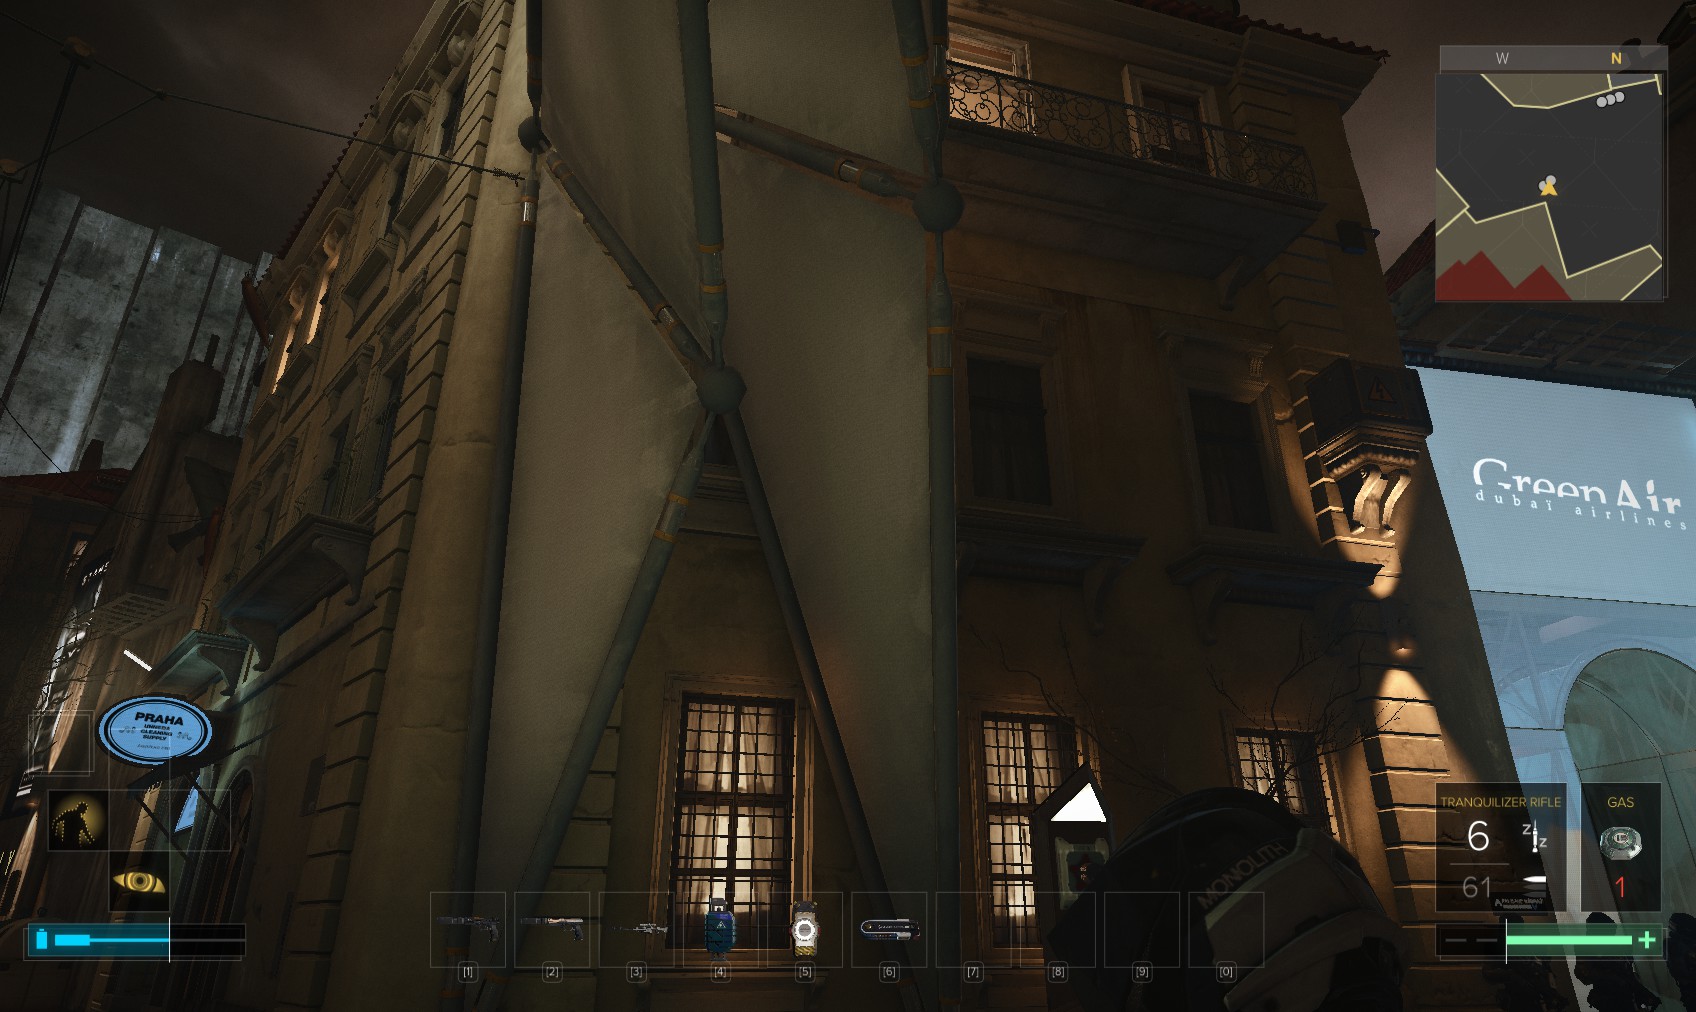
49. We’ve been to it before, so I head up the same way. There’s the cleaning service shop on the left and the apartment top-right.
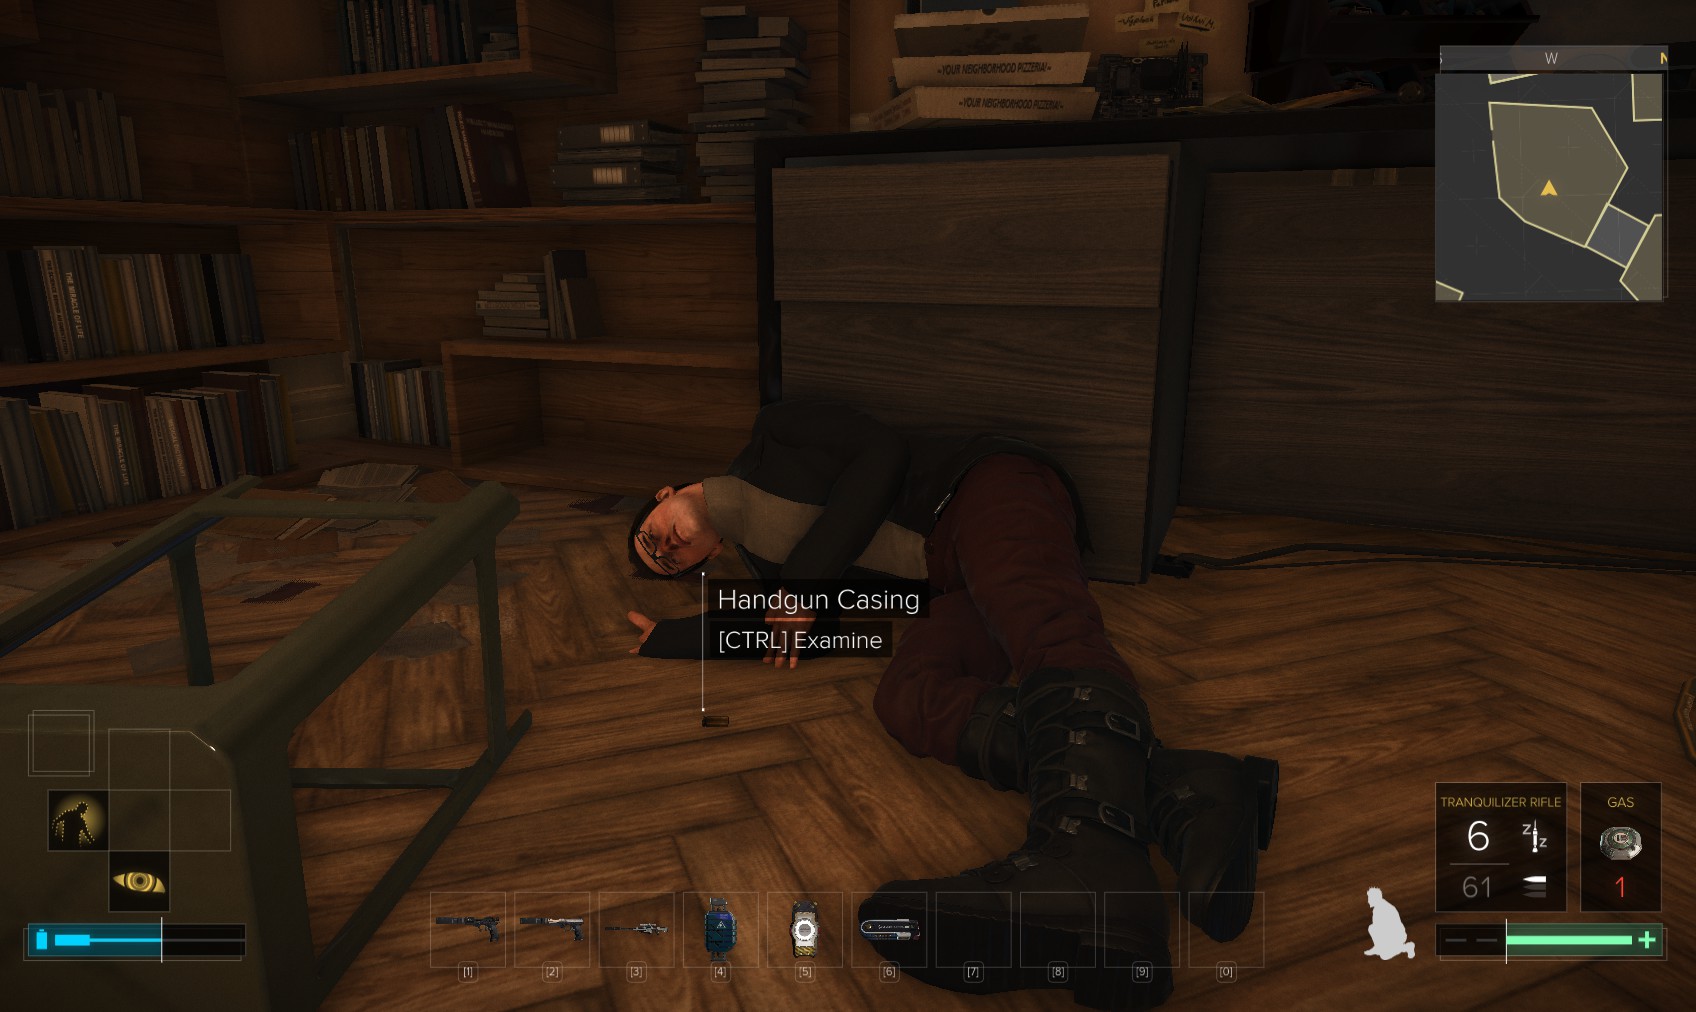
50. Inside I look around carefully - there must be something I missed last time I was here. This shell casing near the body looks interesting, but doesn’t mean anything. There’s nothing new on the PC, so I switch if off and head back down to the street. The shop is still full of gas, but there’s nothing there.
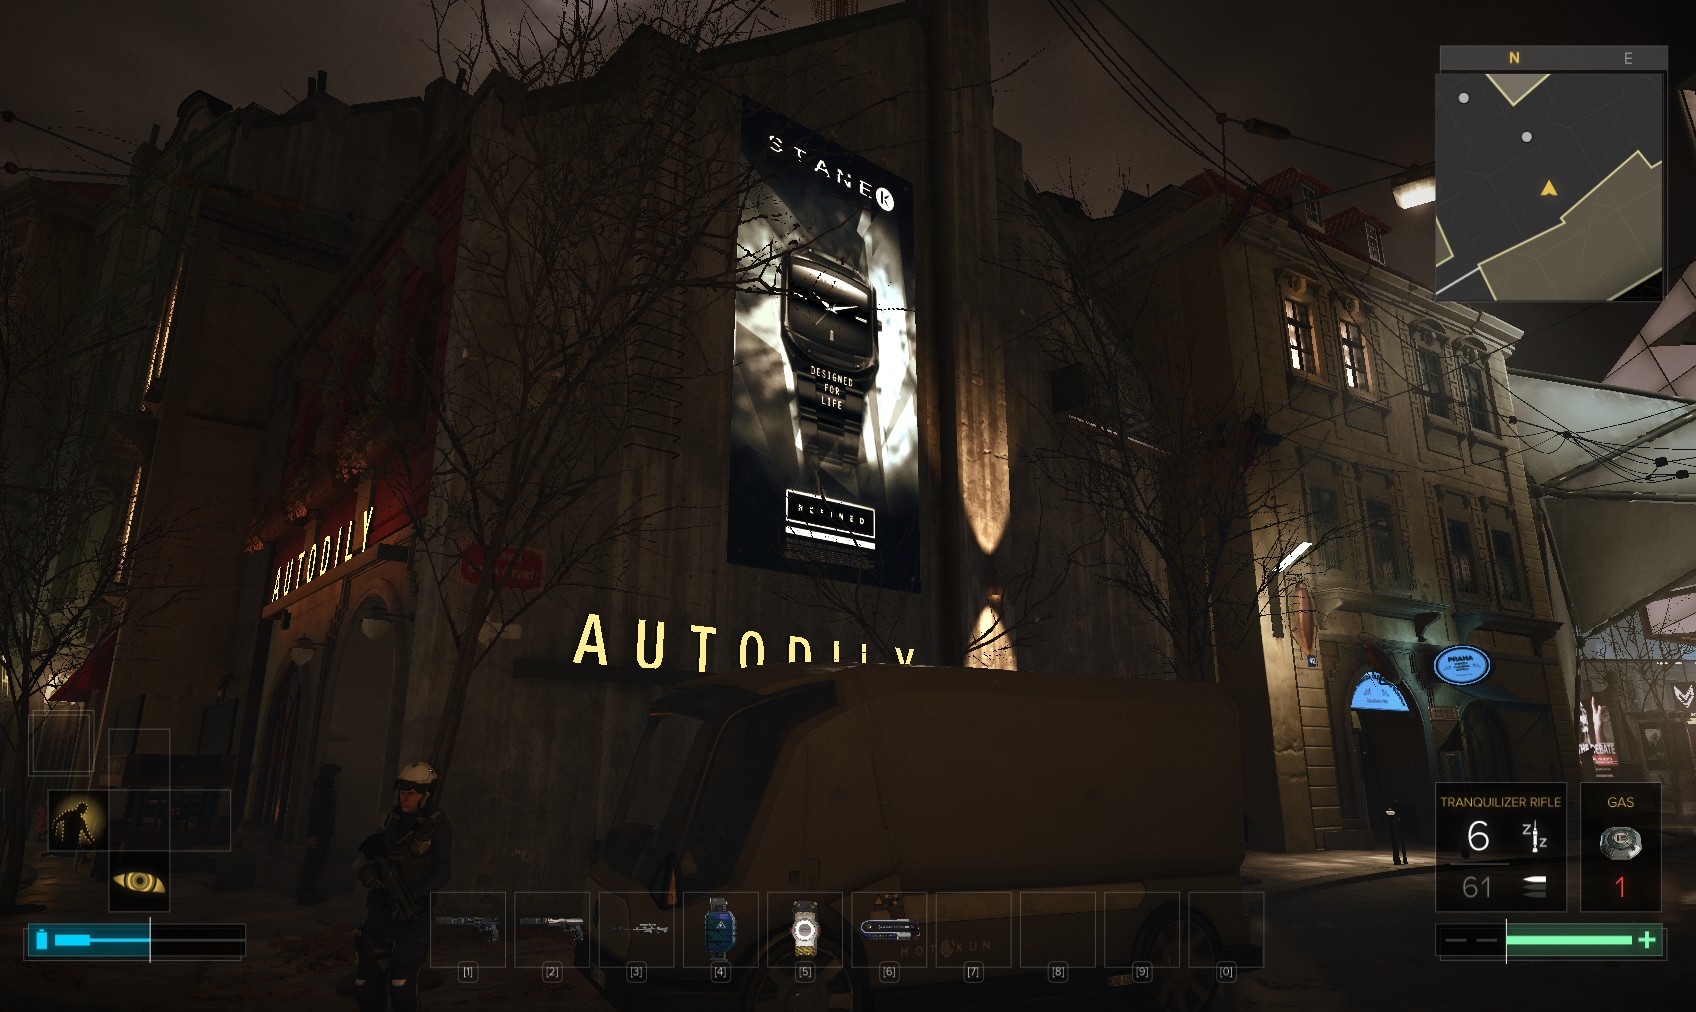
51. Right next door is the Autodilly, on the roof of which is the city’s info hub which 'K' wants me to hack. If you haven’t already done it, read an eBook inside the Autodilly. You can use a biocell on the lift on the left, or there is a ladder just left of the ad which is just reachable from the roof of that van.

52. There’s the hub, inside is a level 1 terminal (you can get the code 7777 on a pocket secretary near Costache’s shop but it’s only worth 25XP) to hack for 50c. Enable the remote admin to complete this quest. One last thing to do here: investigate Vlasta’s locker in the North-West near Palisade Bank.
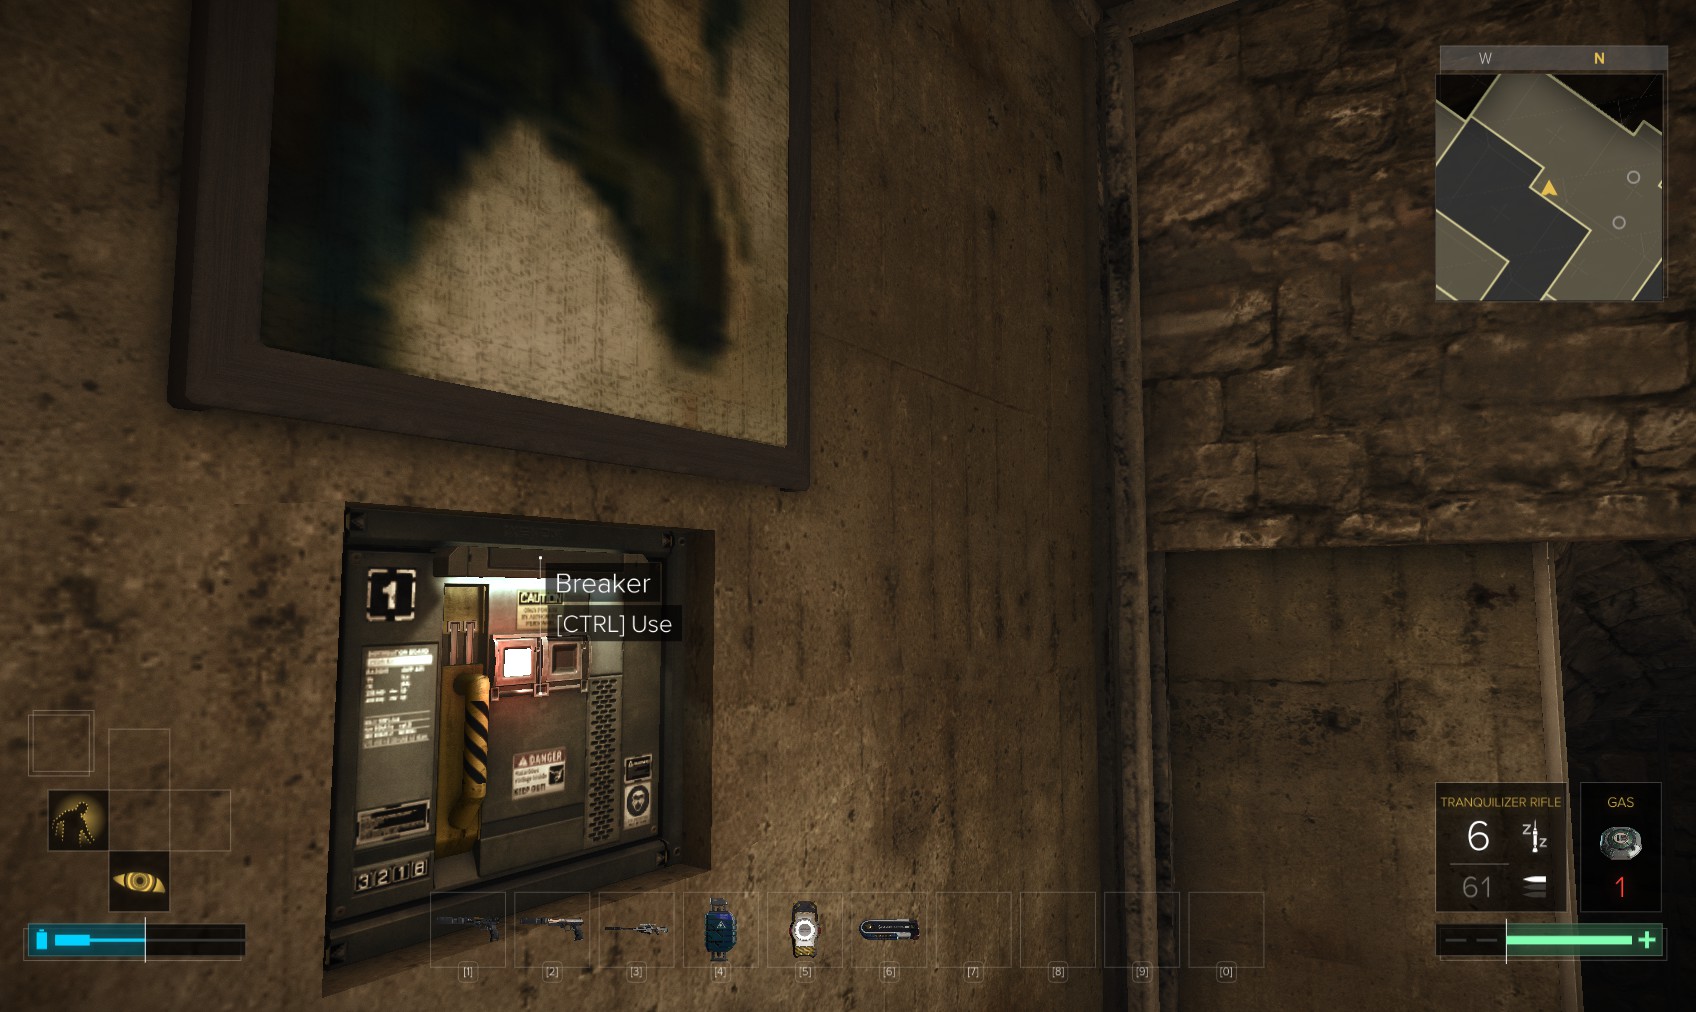
54. A breaker hidden (not very well) behind the picture opens a doorway. Head on down.
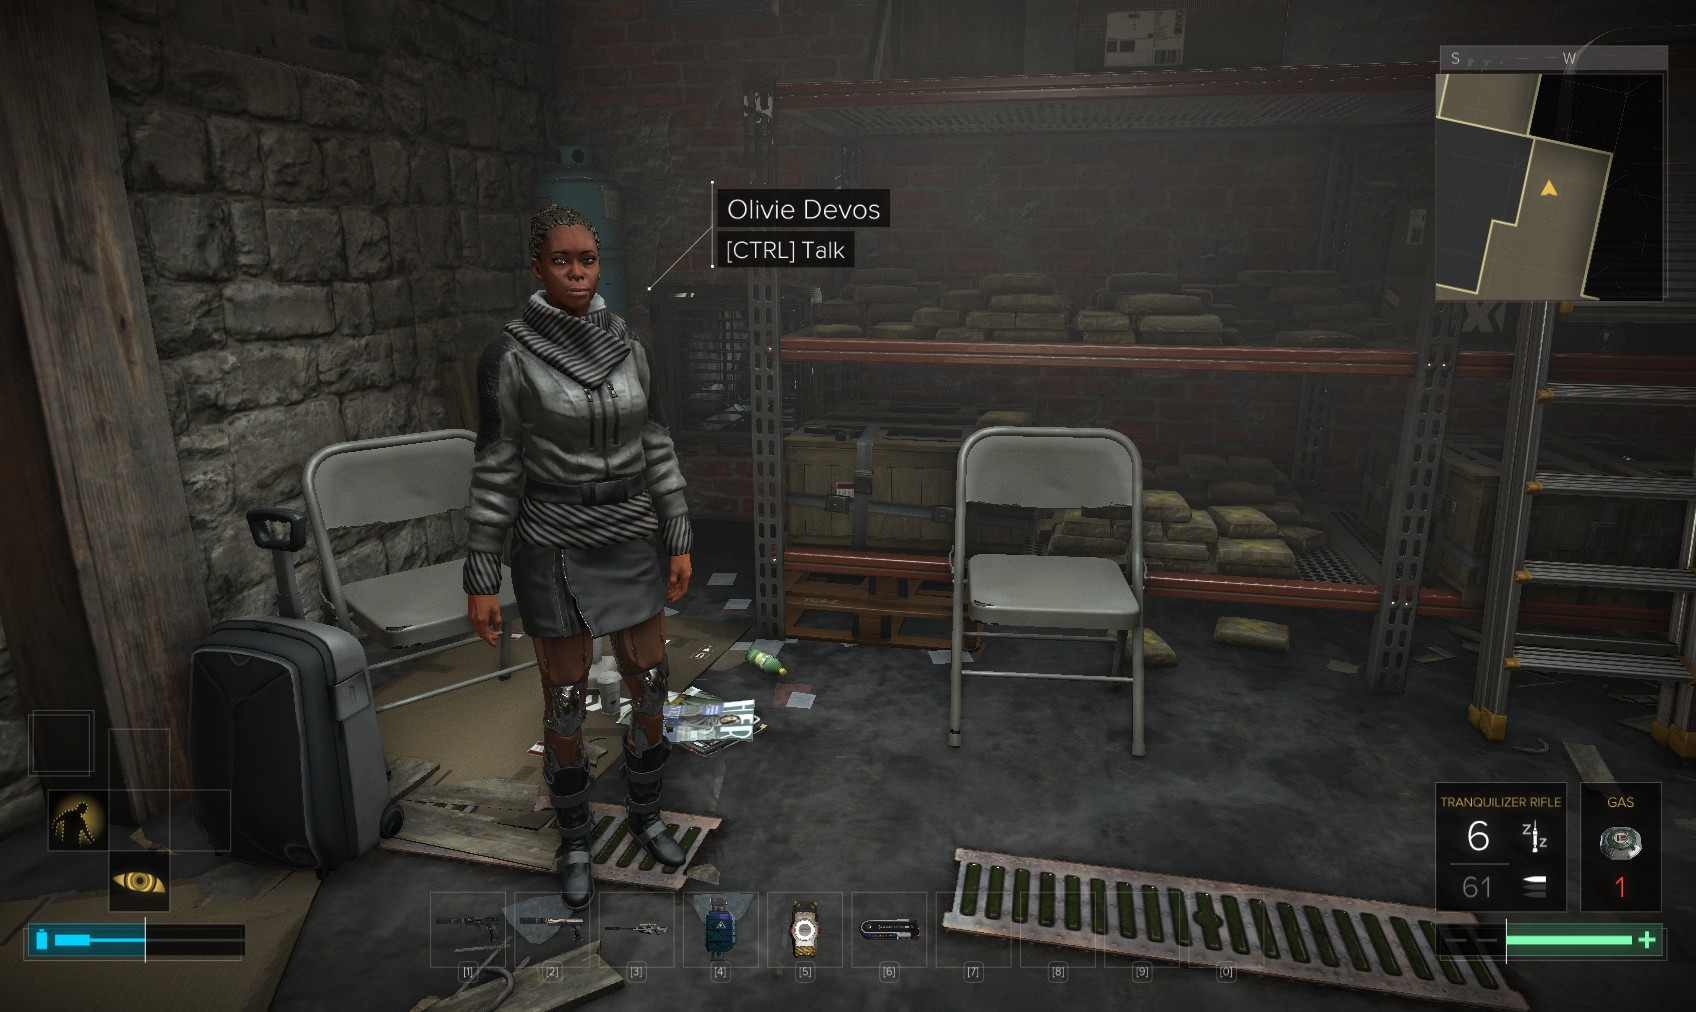
55. Downstairs, talk with Olivie. She ties Vince Black to Vlasta, and gives you the location of a convenience store. She’s pretty straight about the fact there’s nothing you can do to actually stop the Dvali’s people smuggling operation.
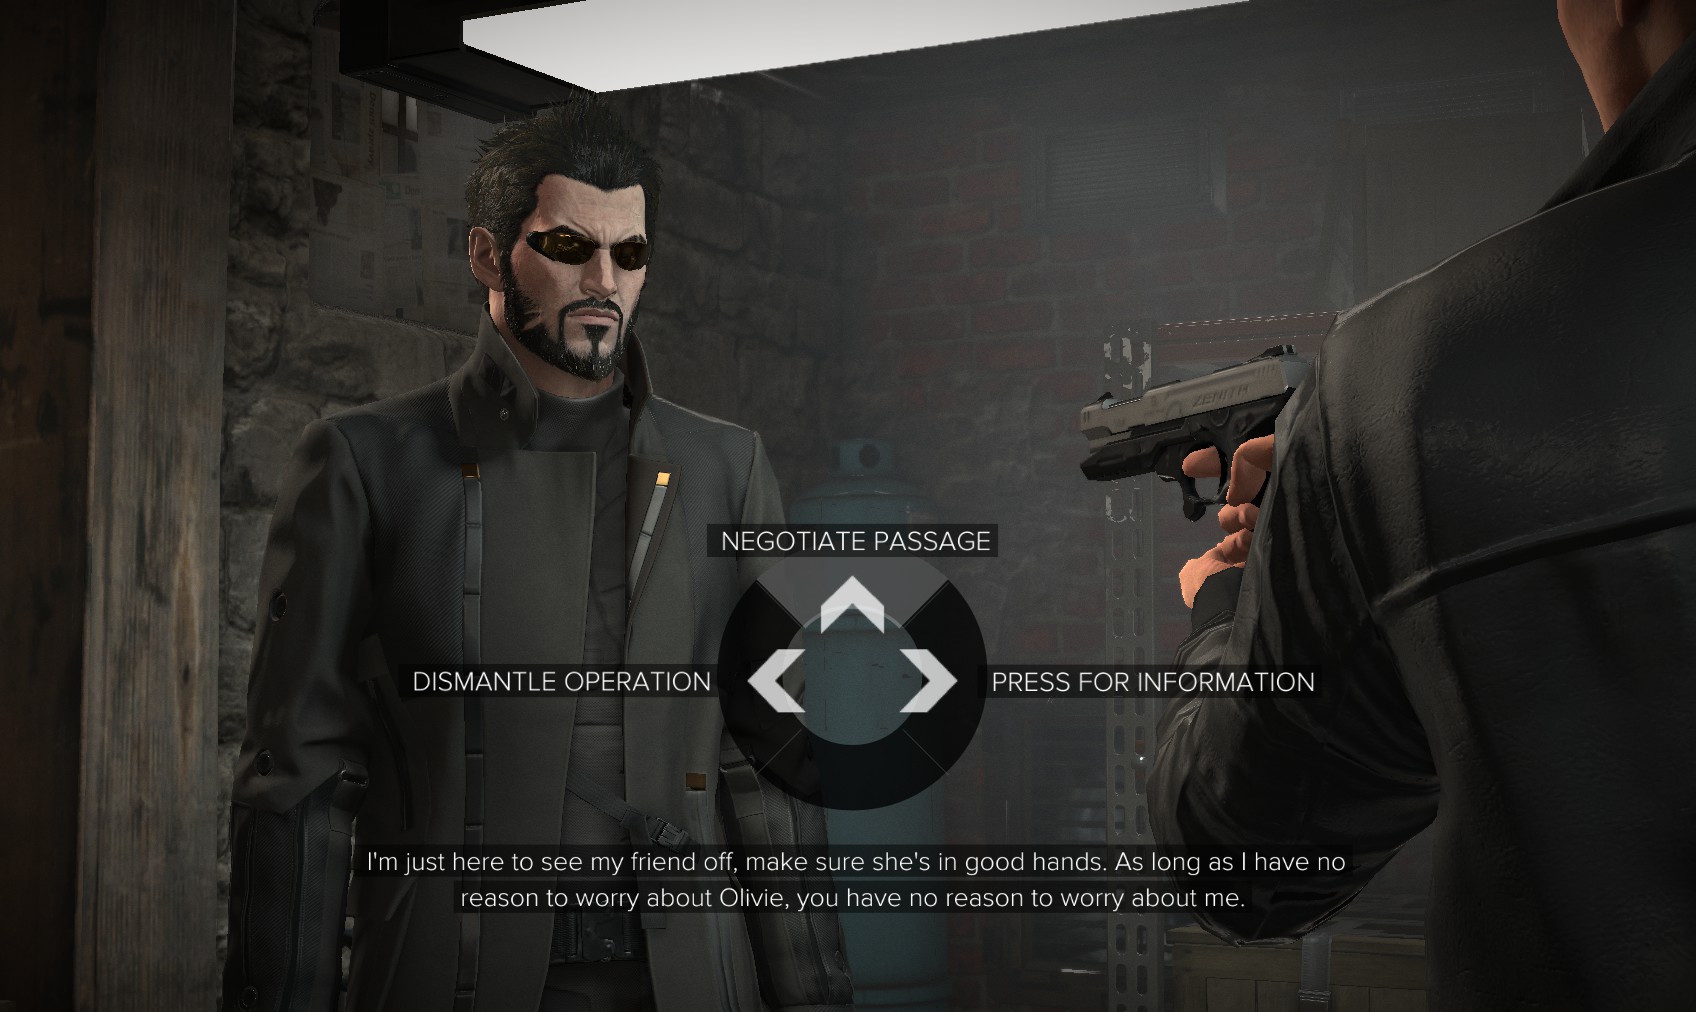
56. Vlasta himself turns up with some mates, armed. If I negotiate on Olivie’s behalf, maybe she’ll get out, and there won’t need to be a fight.
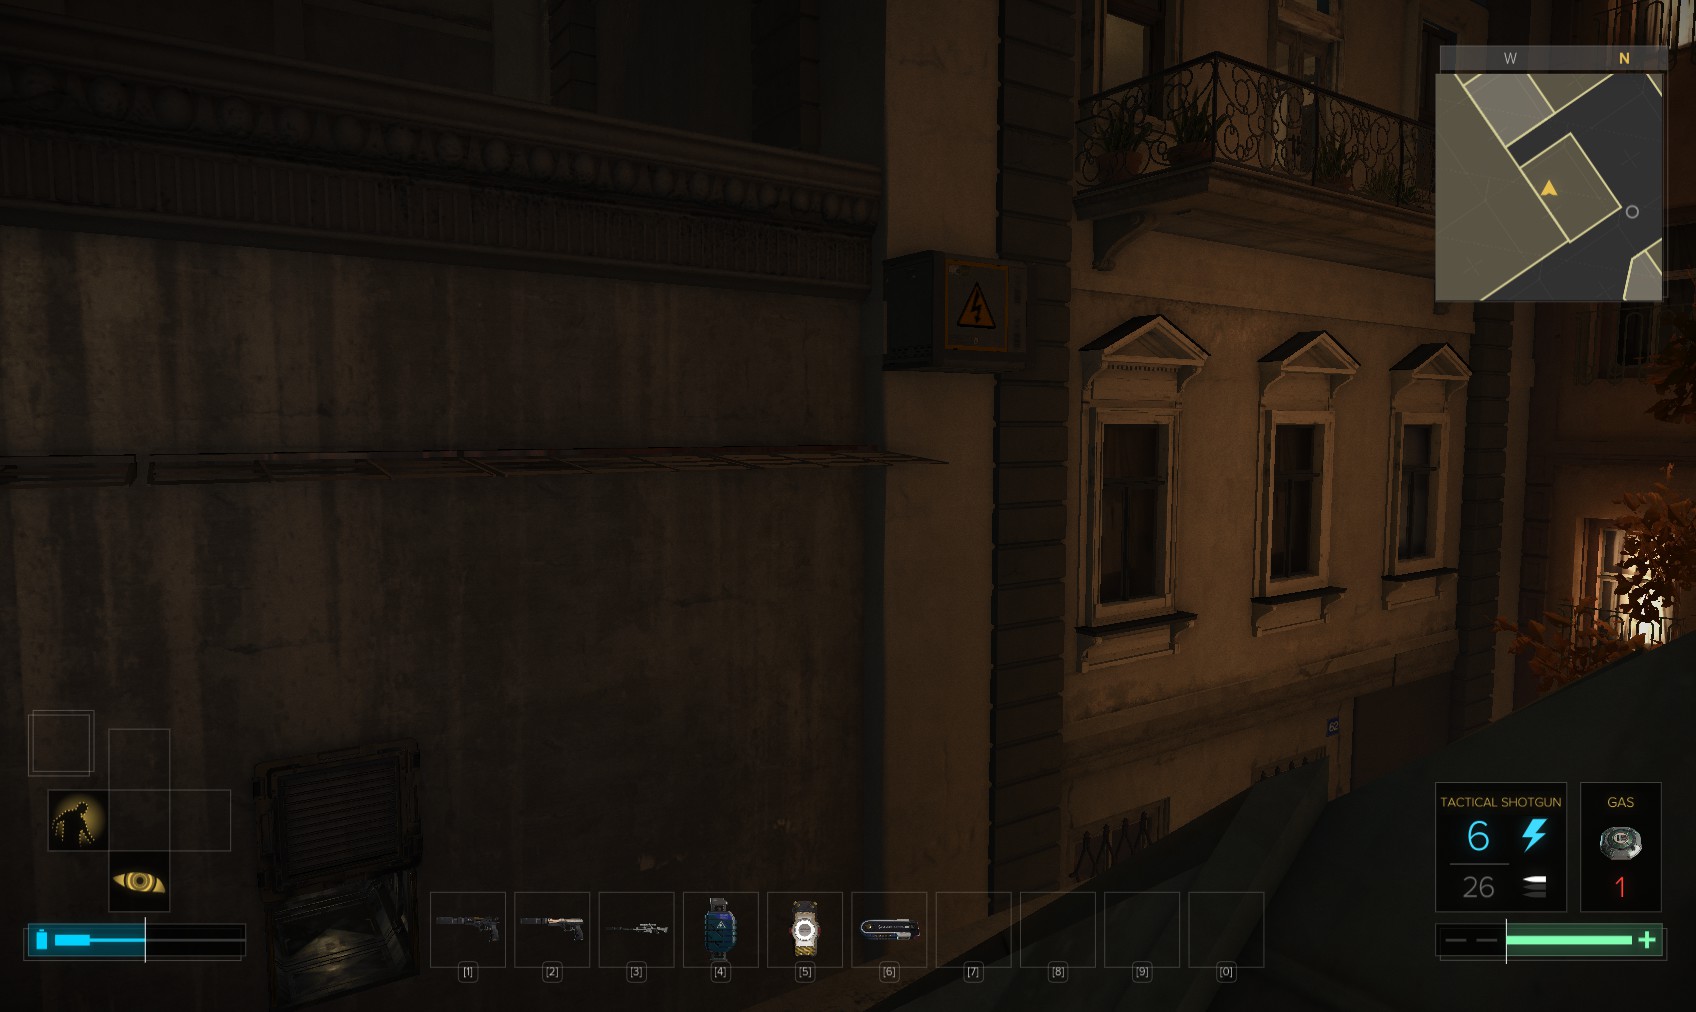
57. When all is done, hunt around for stuff, and speak with Olivie again to earn a Praxis Kit if you negotiated successfully, then head out through the vent behind Olivie for a 200XP bonus. You come out through the vent bottom left, back in the courtyard. Top right is an apartment - climb up to have a look.
58. The 300XP pathfinder bonus is welcome. Julien Bartek’s level 3 PC (no downloads) has emails showing he’s lost favour at the bank (some nearby blueprints suggest he might be planning some kind of revenge!).
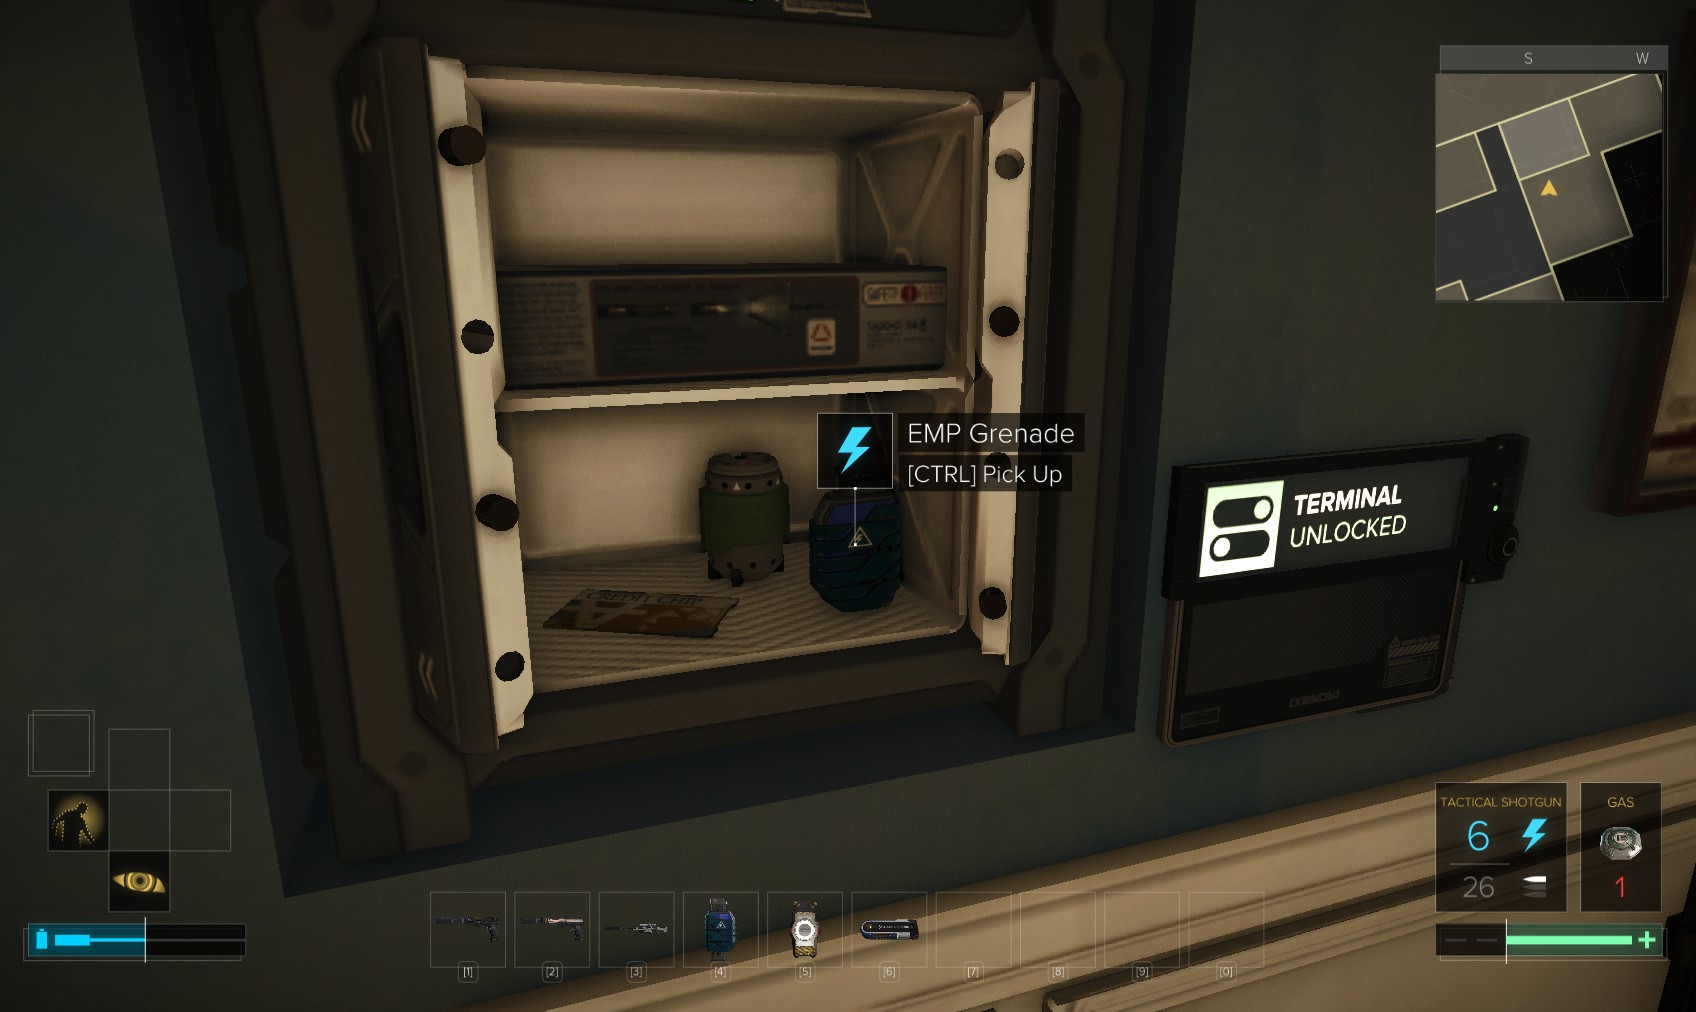
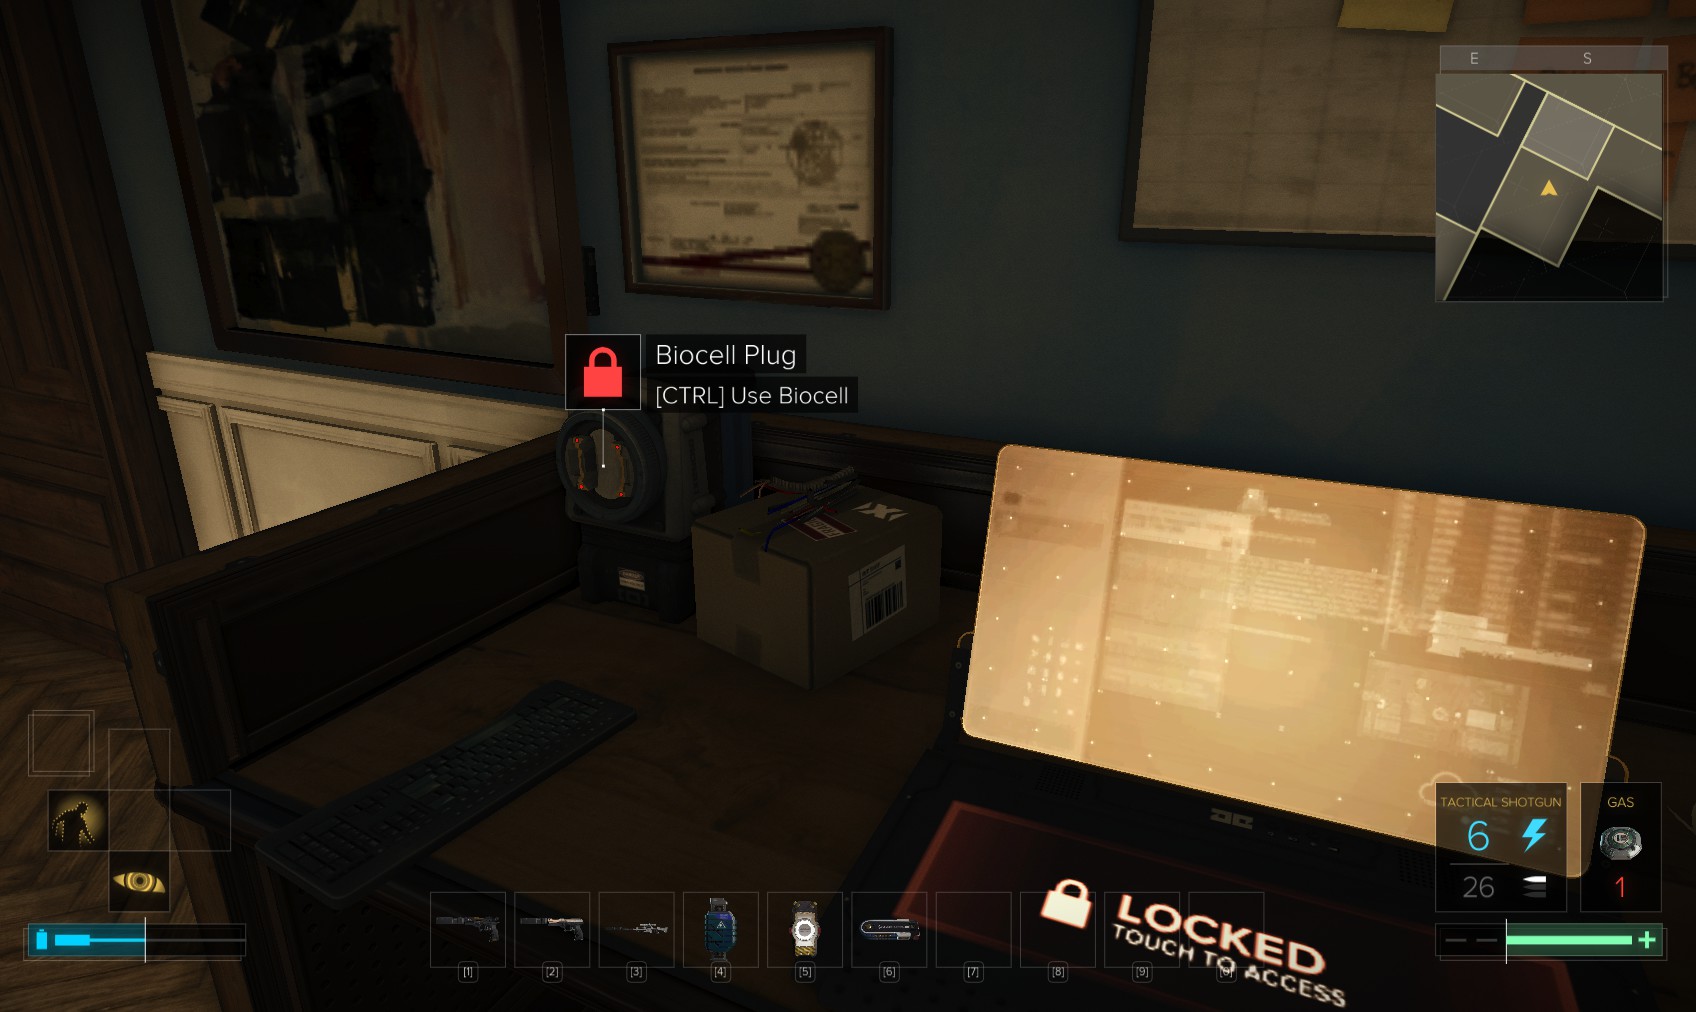
59. Spend a biocell on the plug to reveal a level 3 safe (2 replacement biocells are hidden behind boxes nearby). Inside are lots of goodies.
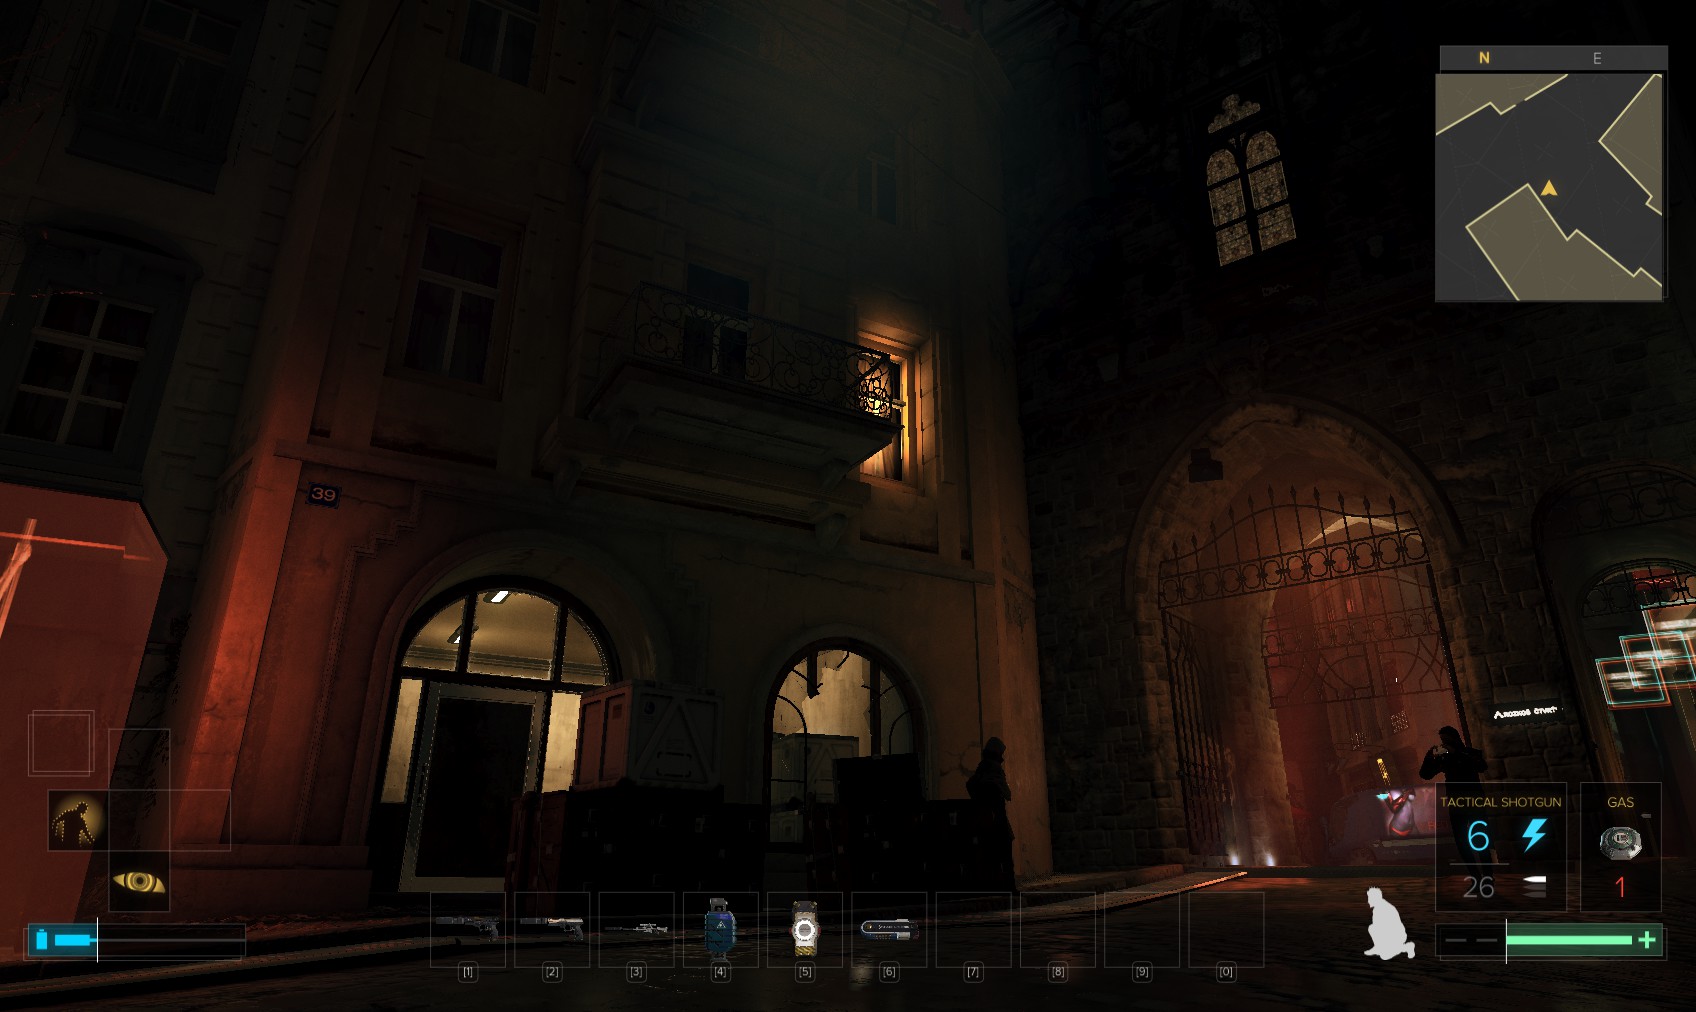
61. The abandoned convenience store is here near the Southern entrance to the Red Light District.
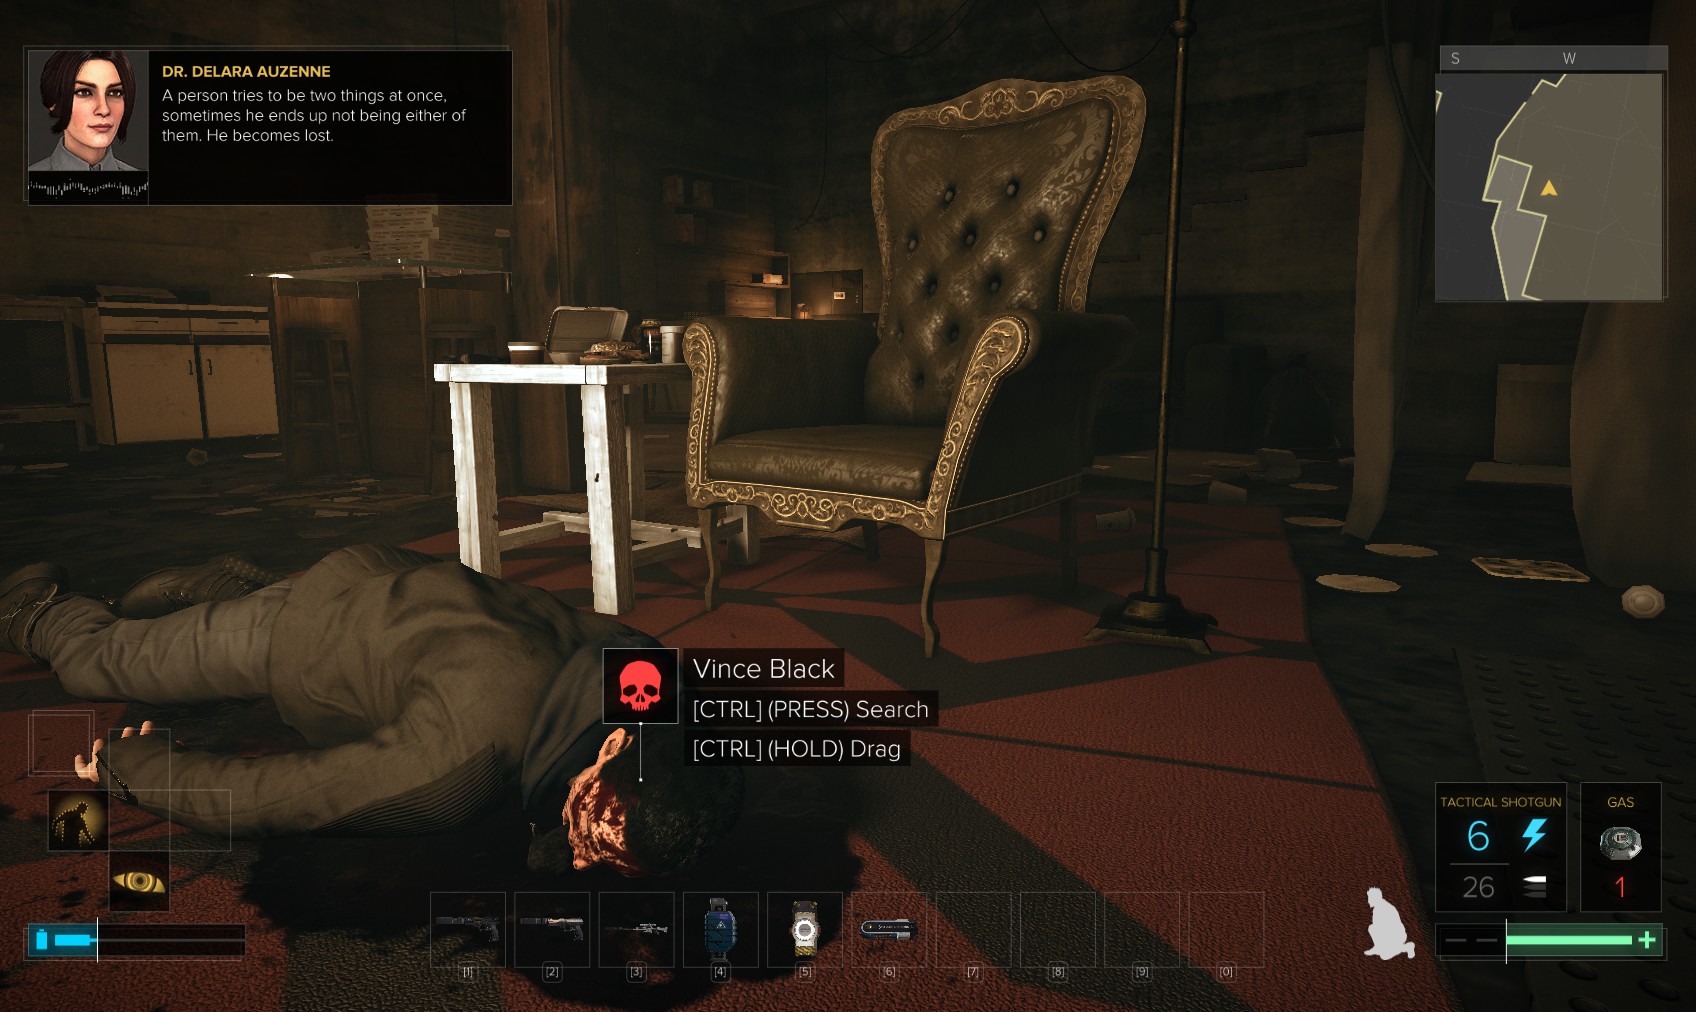
62. Downstairs, Vince Black looks none too well. Search his body for credits and mysterious red shoe.
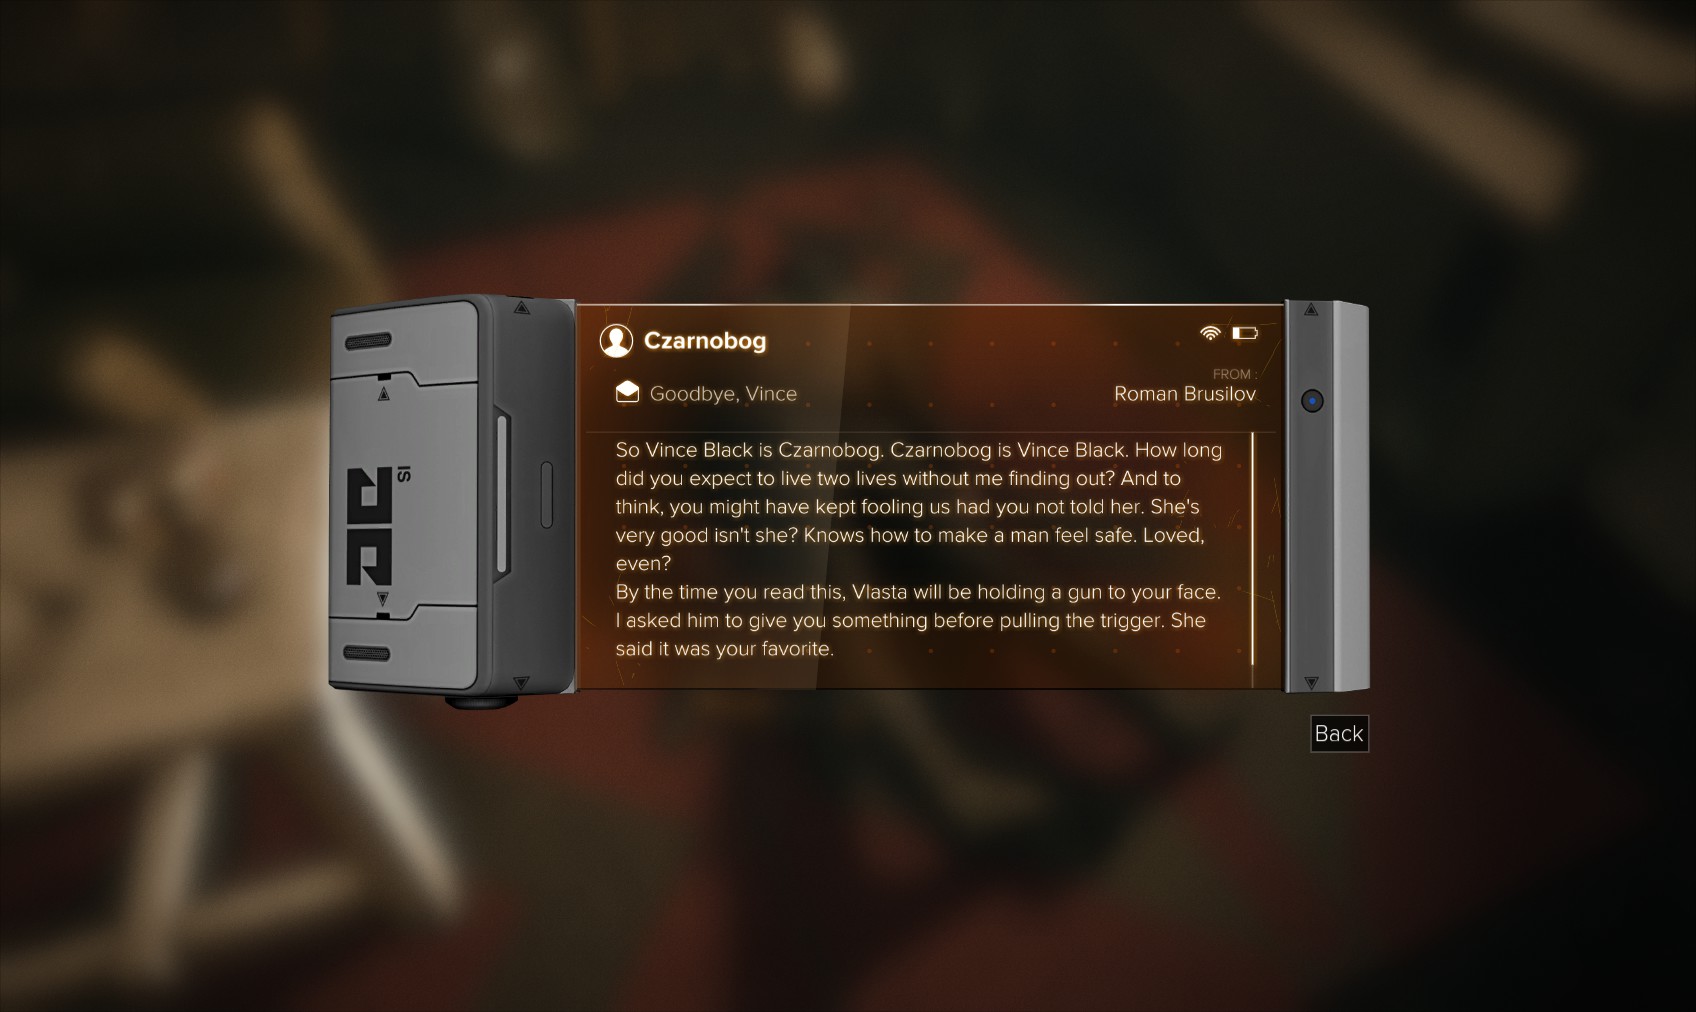
63. Nearby is this pocket secretary, identifying Black as Czarnobog, a name we’ve seen several times in emails and so on. Another pocket secretary almost hidden on top of a nearby dryer has the code 7913 to Black’s safe - which we’ve already raided.
64. It’s time to conclude business in Překážka. The quickest route to the metro is through the Red Light district. I happen to notice yet another balcony to investigate.
65. Inside, Nada Birak’s level 1 PC yields 100c indicates he’s undercutting the Dvali weapons business. Maybe that makes him open to negotiation - he runs the Cigar Lounge right across the street. There’s an eBook and a Triangle Code in here too.

66. Over at the Cigar Lounge, I ask about weapons and play it cool (if I kept the Lancer Rifle, I can trade it. The grenade launcher plus ammo is worth around 3000c), which leads to a CASIE assisted conversation, after which he opens the door to the basement. It’s only an opportunity to buy ammo and crafting parts, which I don’t need so I leave.
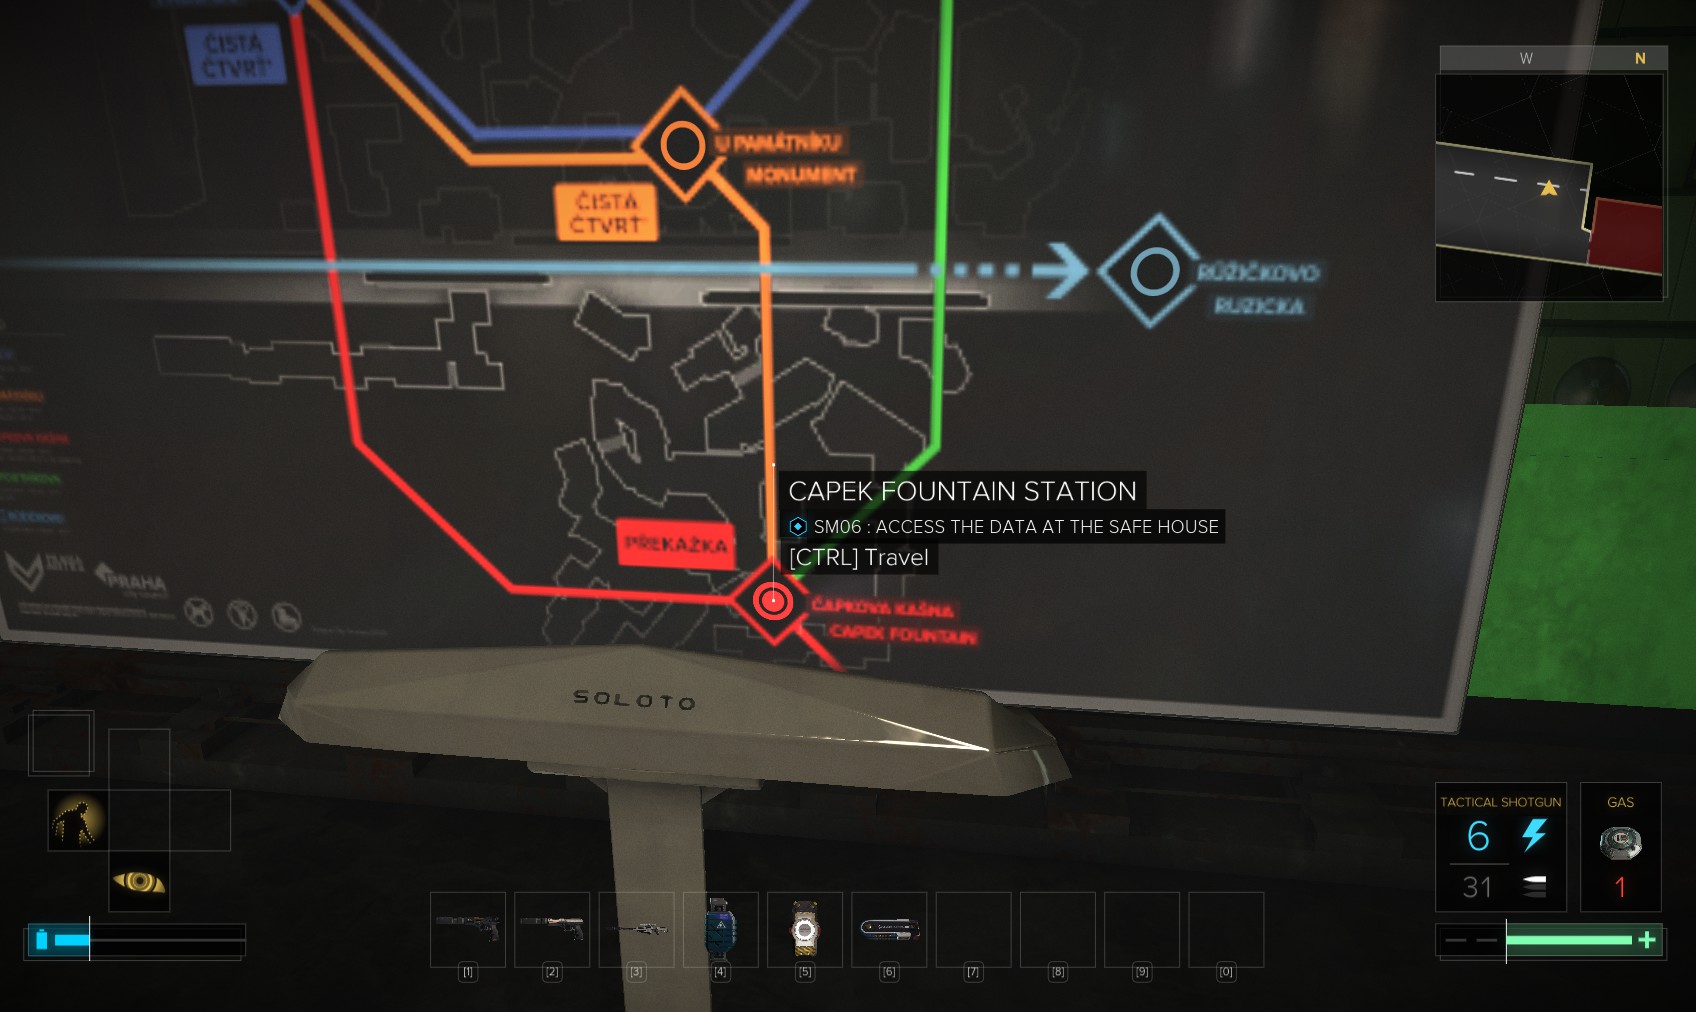
67. Time to head to the metro and Capek Fountain station.
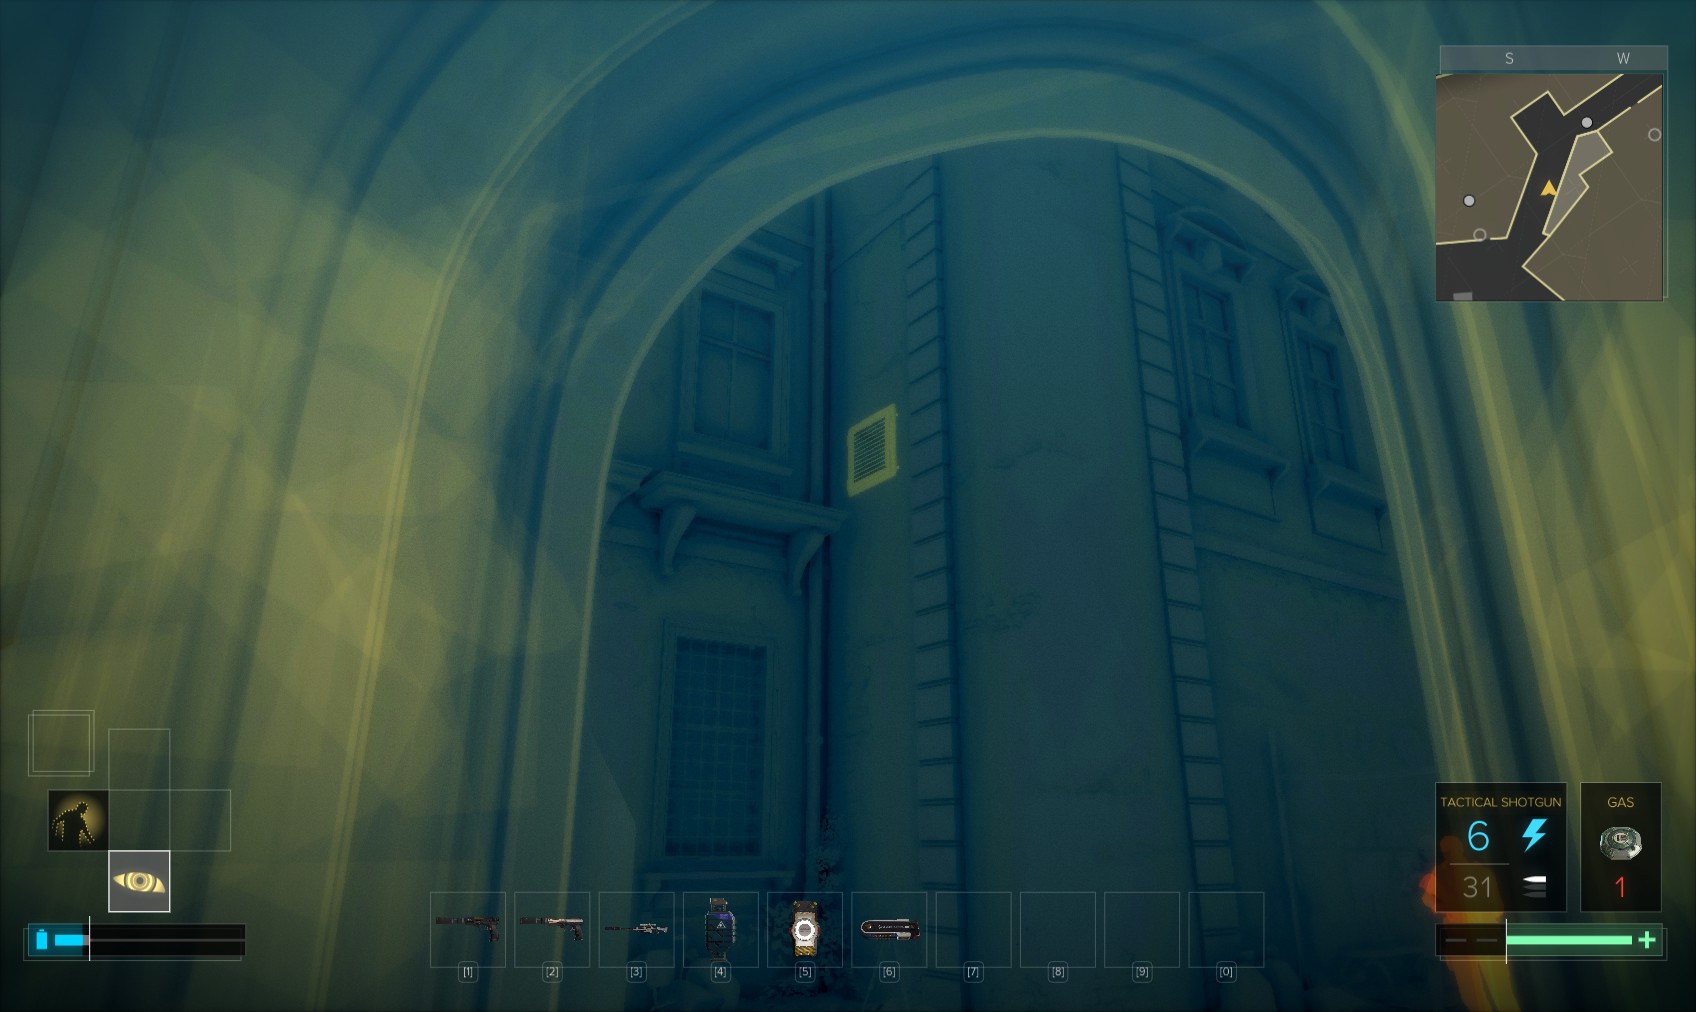
68. On the platform in Pilgrim station, I recall I wanted to revisit something in the basement. If you’re having trouble getting through the door unnoticed, use this vent near the ceiling.

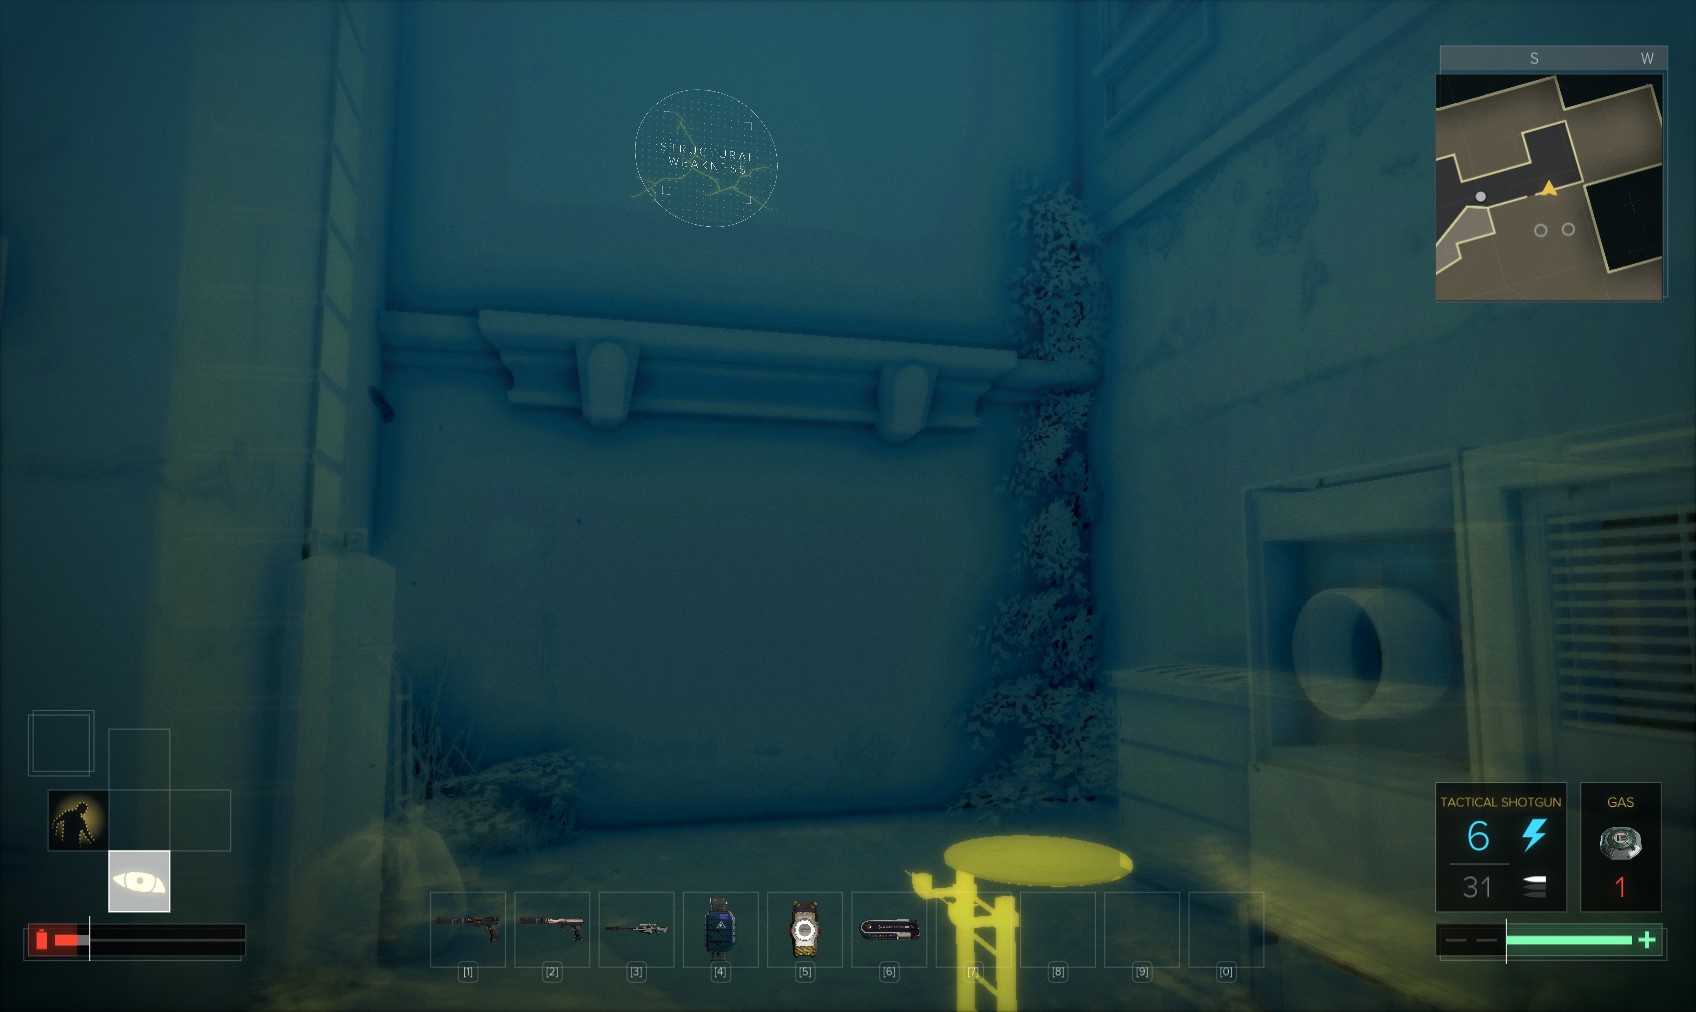
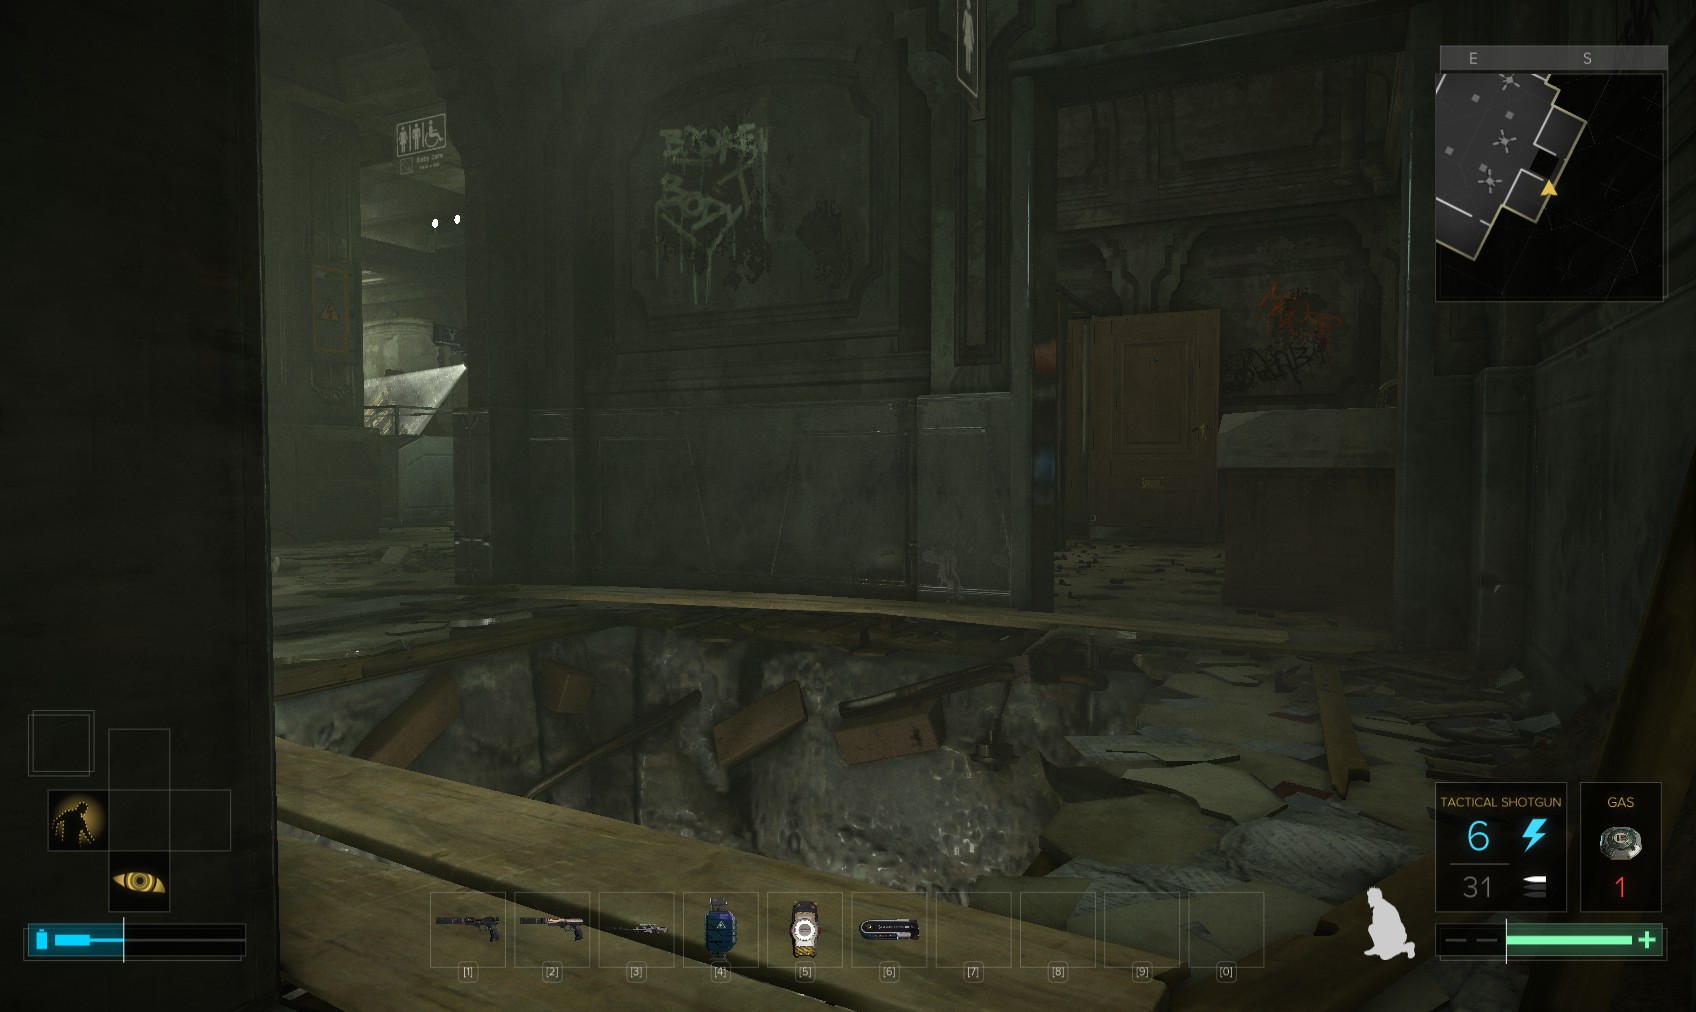
69. Down past a door we hacked earlier is this weakened wall, which I now have the augments to break.
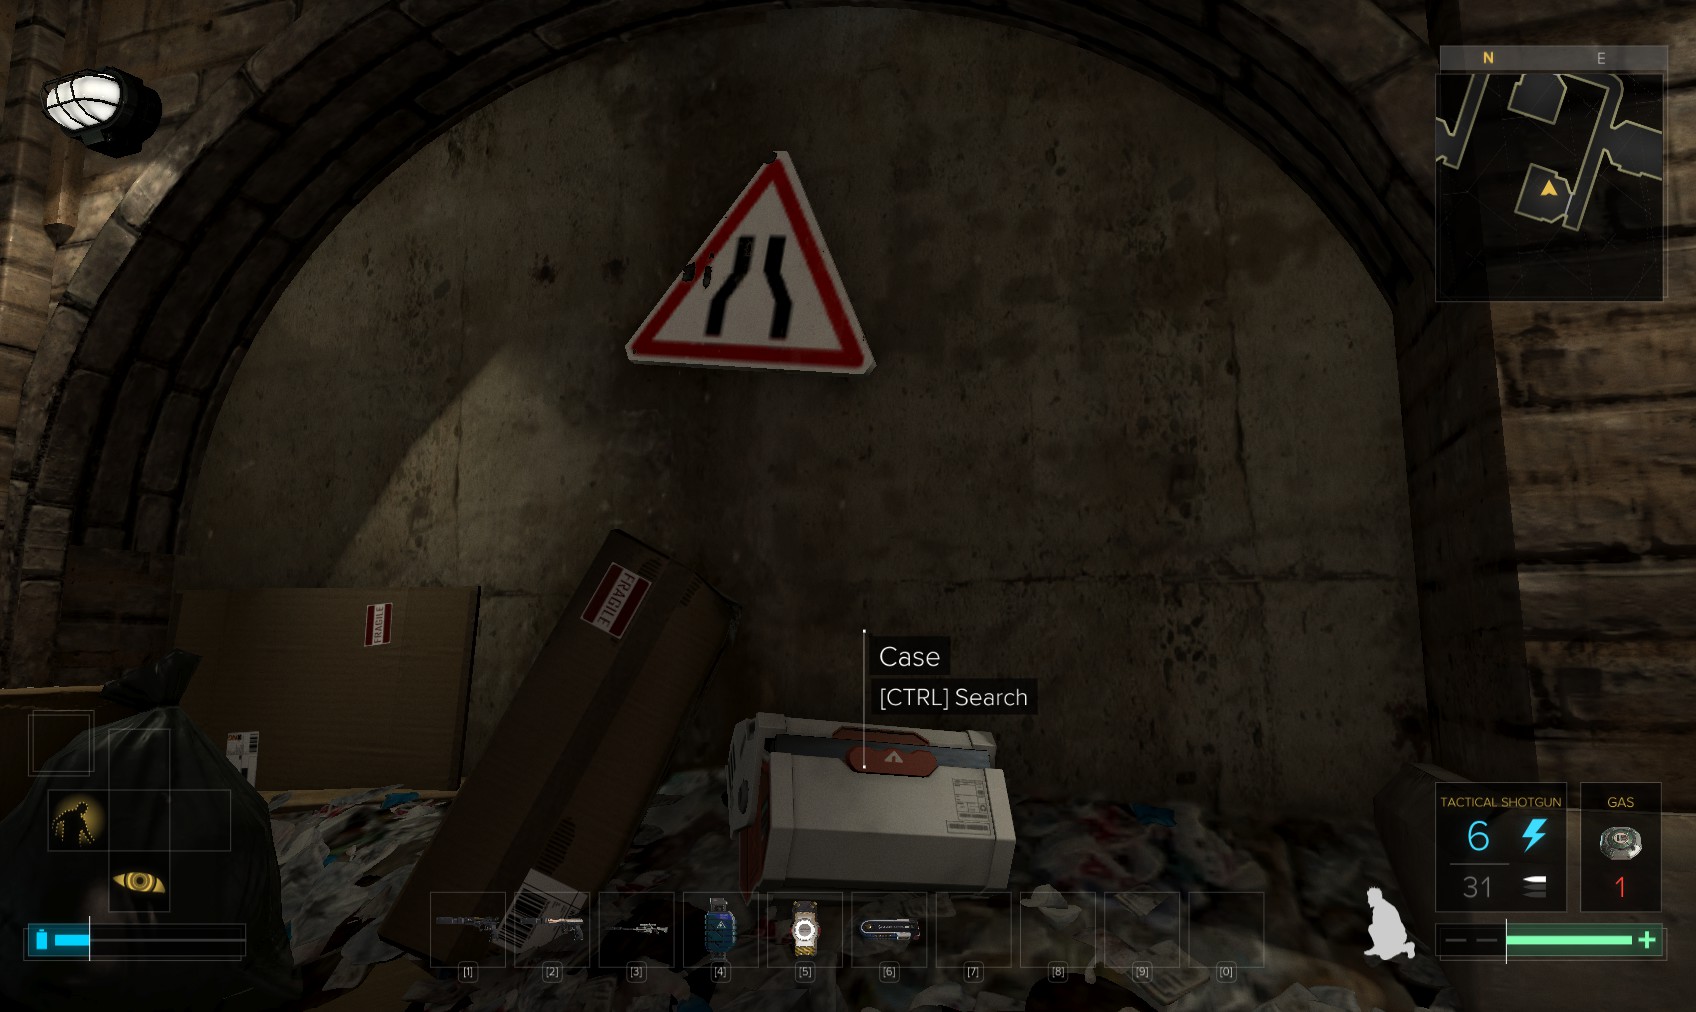
70. Inside there isn’t much but this case has Neuropozyne, a biocell and a hypostim, so not a complete washout.
71. Hack the other door if you didn’t earlier, and go back to the platform - we really are heading for Překážka this time!
72. First order of business is to report back to Montag. I reckon the evidence I’ve collected is more than enough to prove neither Johnny Gunn nor Radko Perry murdered Angela Gunn.
73. Almost hidden in the shadows is this vent. Time for some exploring. Inside are a couple of medical boxes with credits, multitools and crafting parts.
74. There’s a weakened wall that comes out by the sewer entrance. Time to head to a safe place to use this data reader. My own apartment should be safe enough.
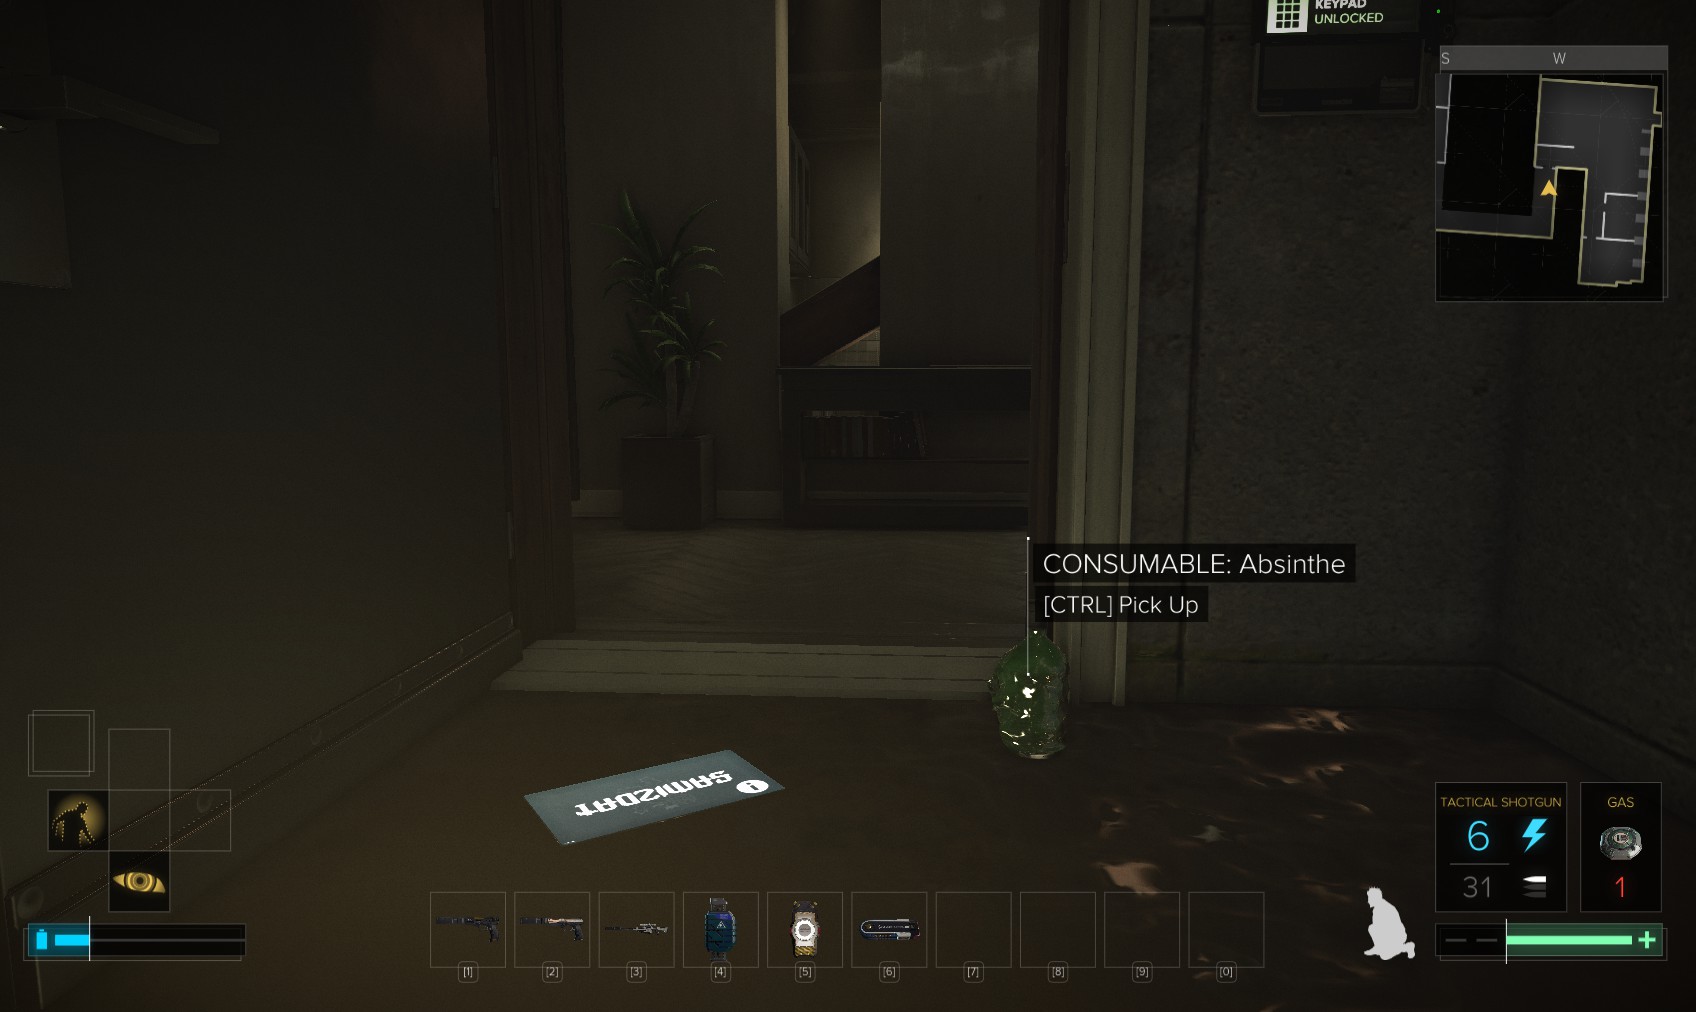
75. In front of my apartment, it seems someone has left me a gift! 'K' maybe.
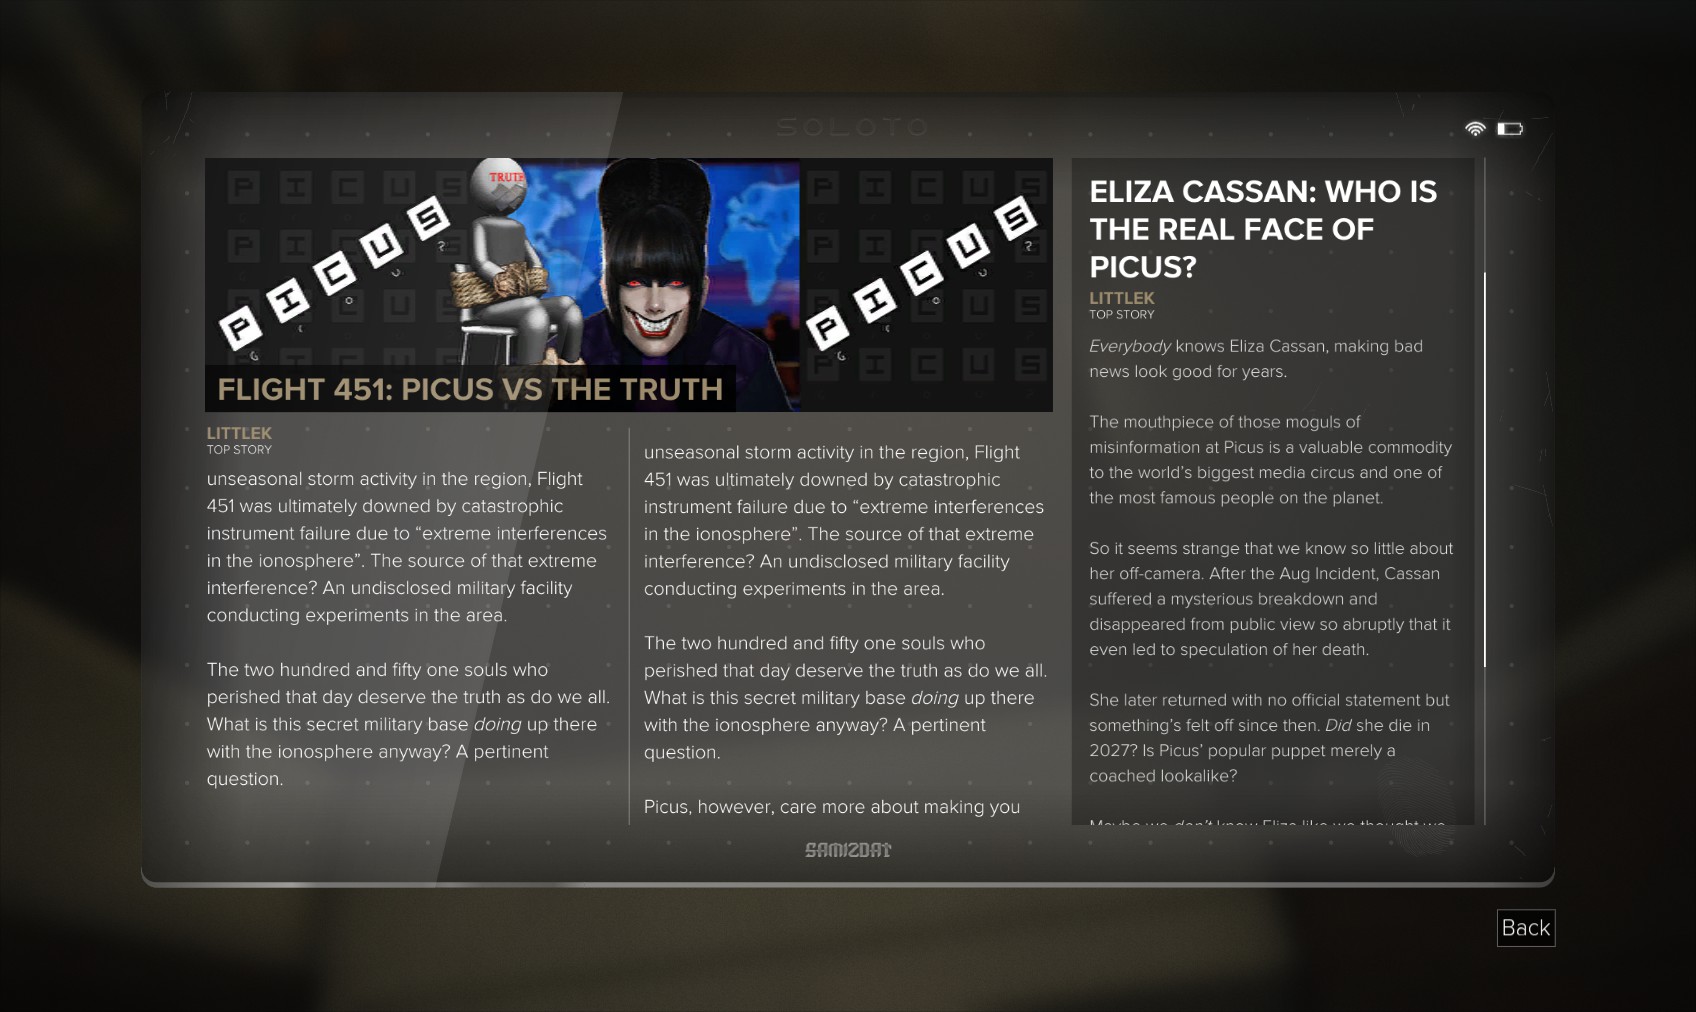
76. Looks like they ran with the Flight 451 story. I head inside.
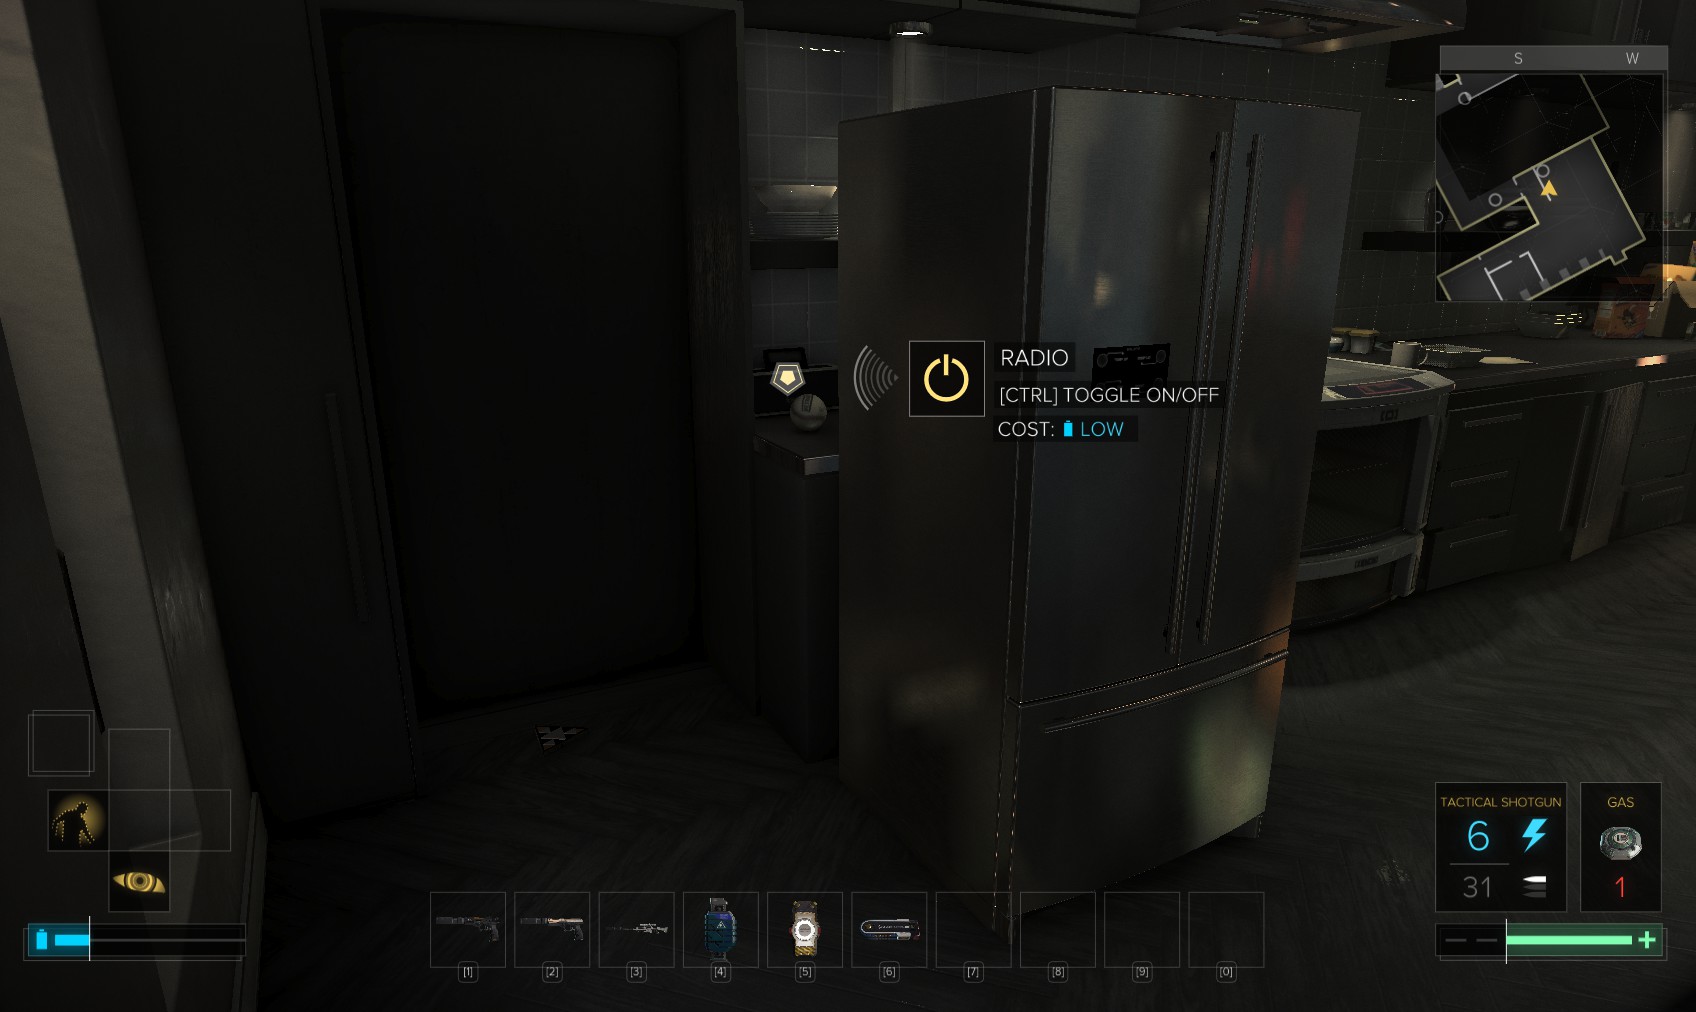
77. My refrigerator has been concealing a Triangle Code all along! Also check nearby for a cereal box you can interact with for a cutscene and gift from Faridah Malik.

78. The disk reader is ready for me to use. Follow along for an exposition of all sorts of interesting ideas about intelligence, artificial or not, and the roots of the conspiracy.
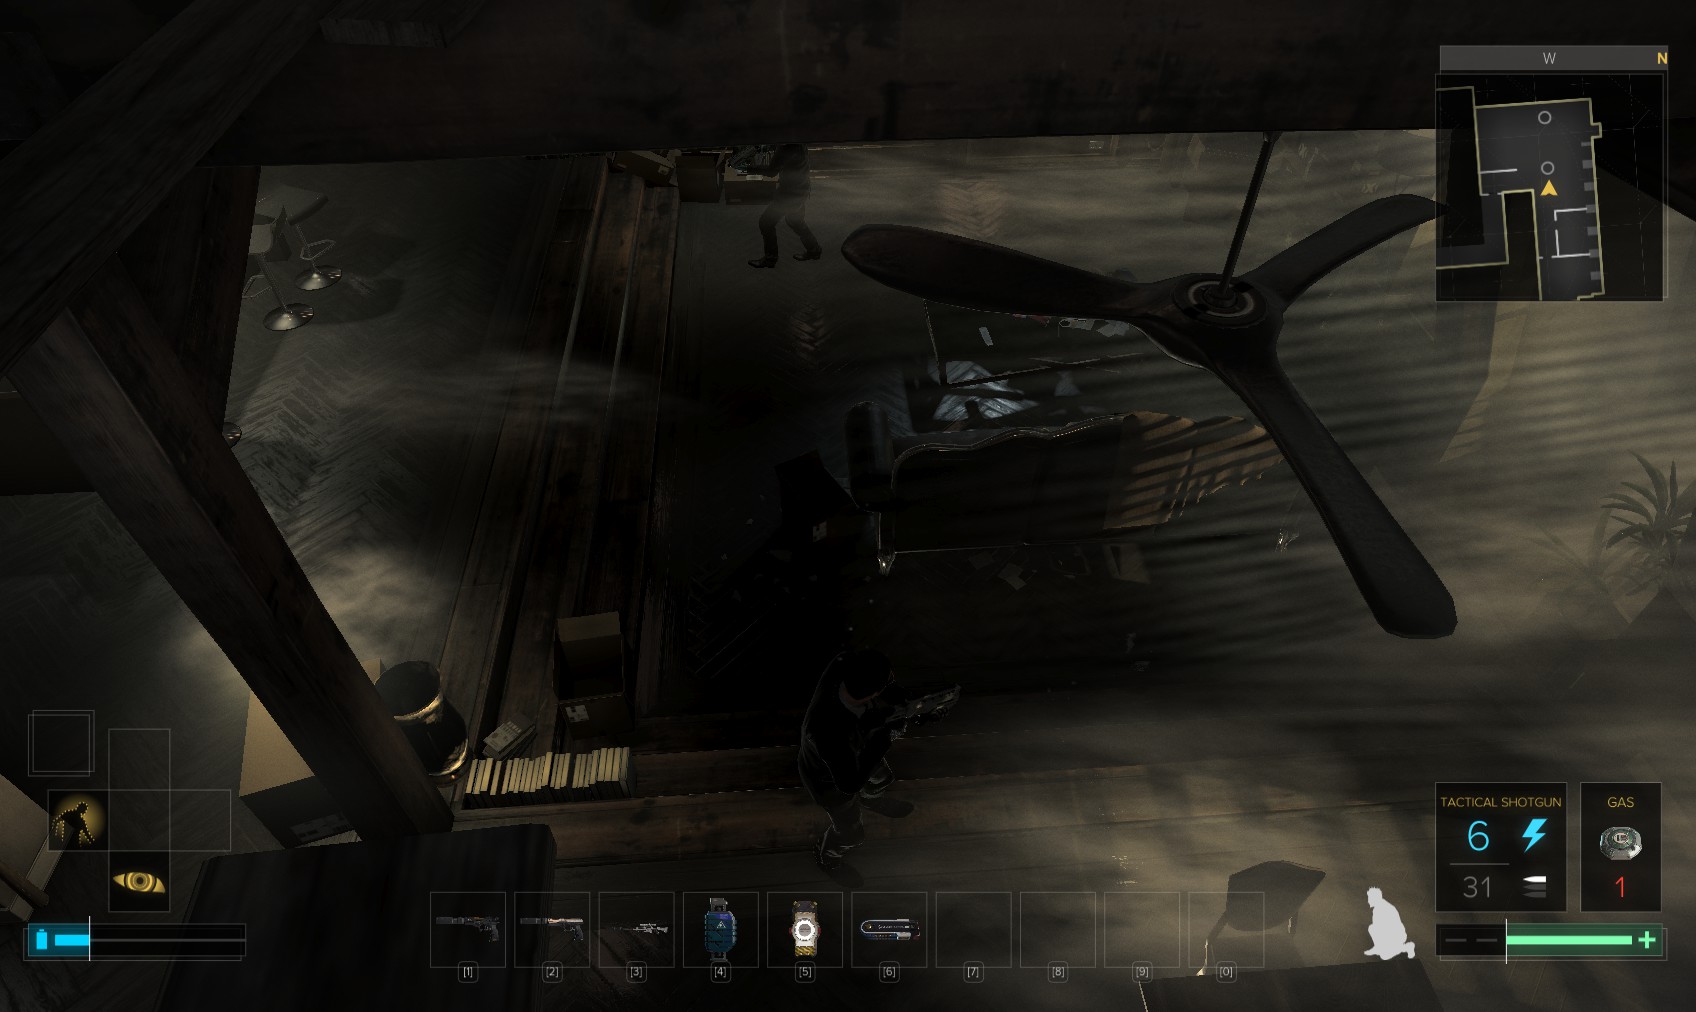
79. When Everett’s men arrive, you have choices: take them out or leave. Having left the men alive when collecting the disk, and also having left Walker alone, I get 4 goons - 2 in my apartment, 2 more downstairs.
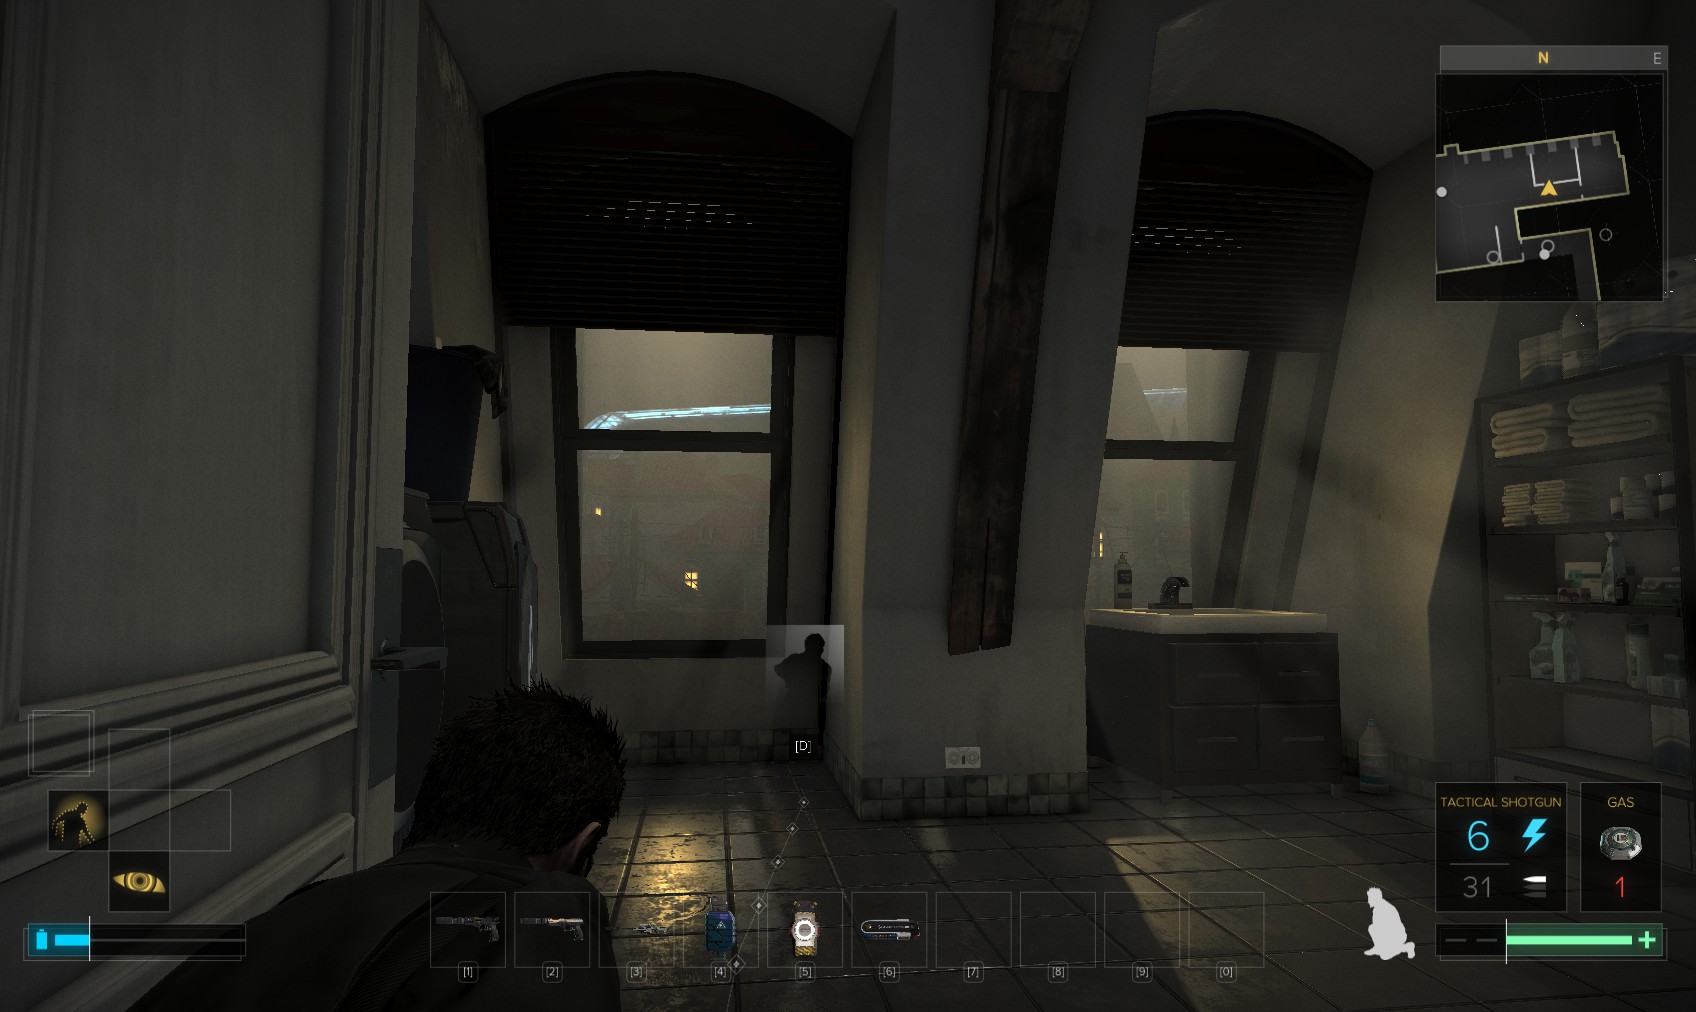
80. The windows in your bathroom open onto the street, which is the easiest way down. I decide not to take on the goons.
81. That wraps it up for Překážka for now, I head back to Monument station for my appointment with Janus.
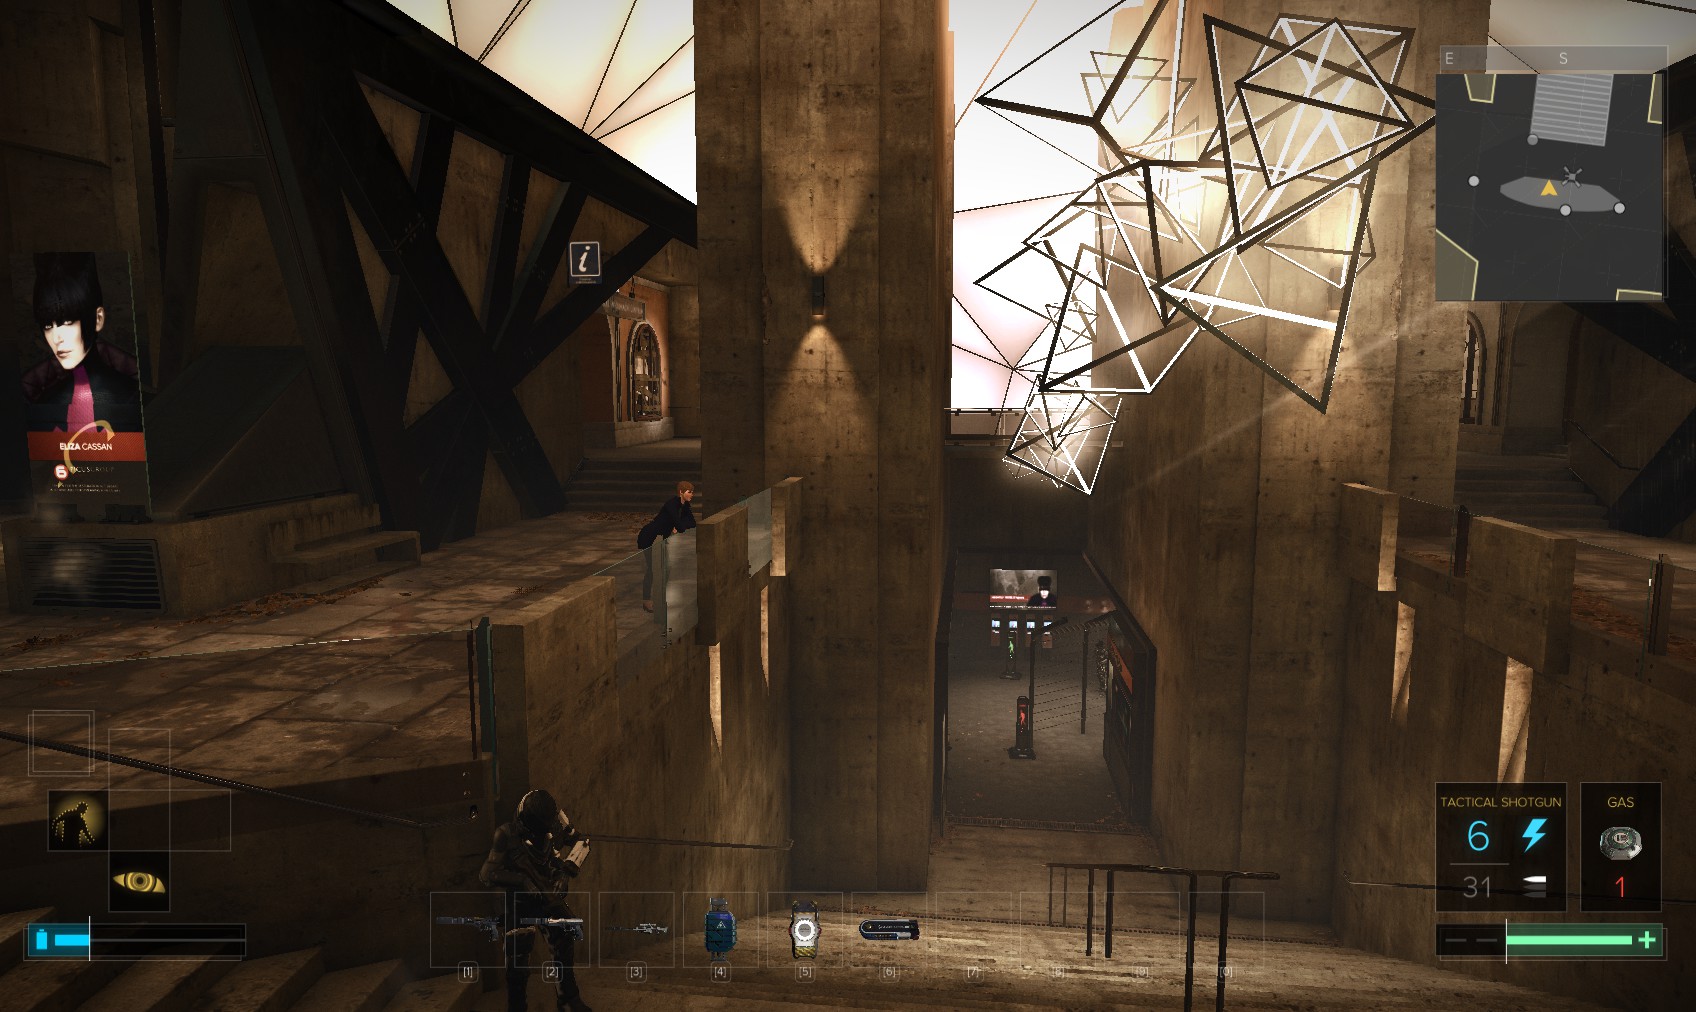
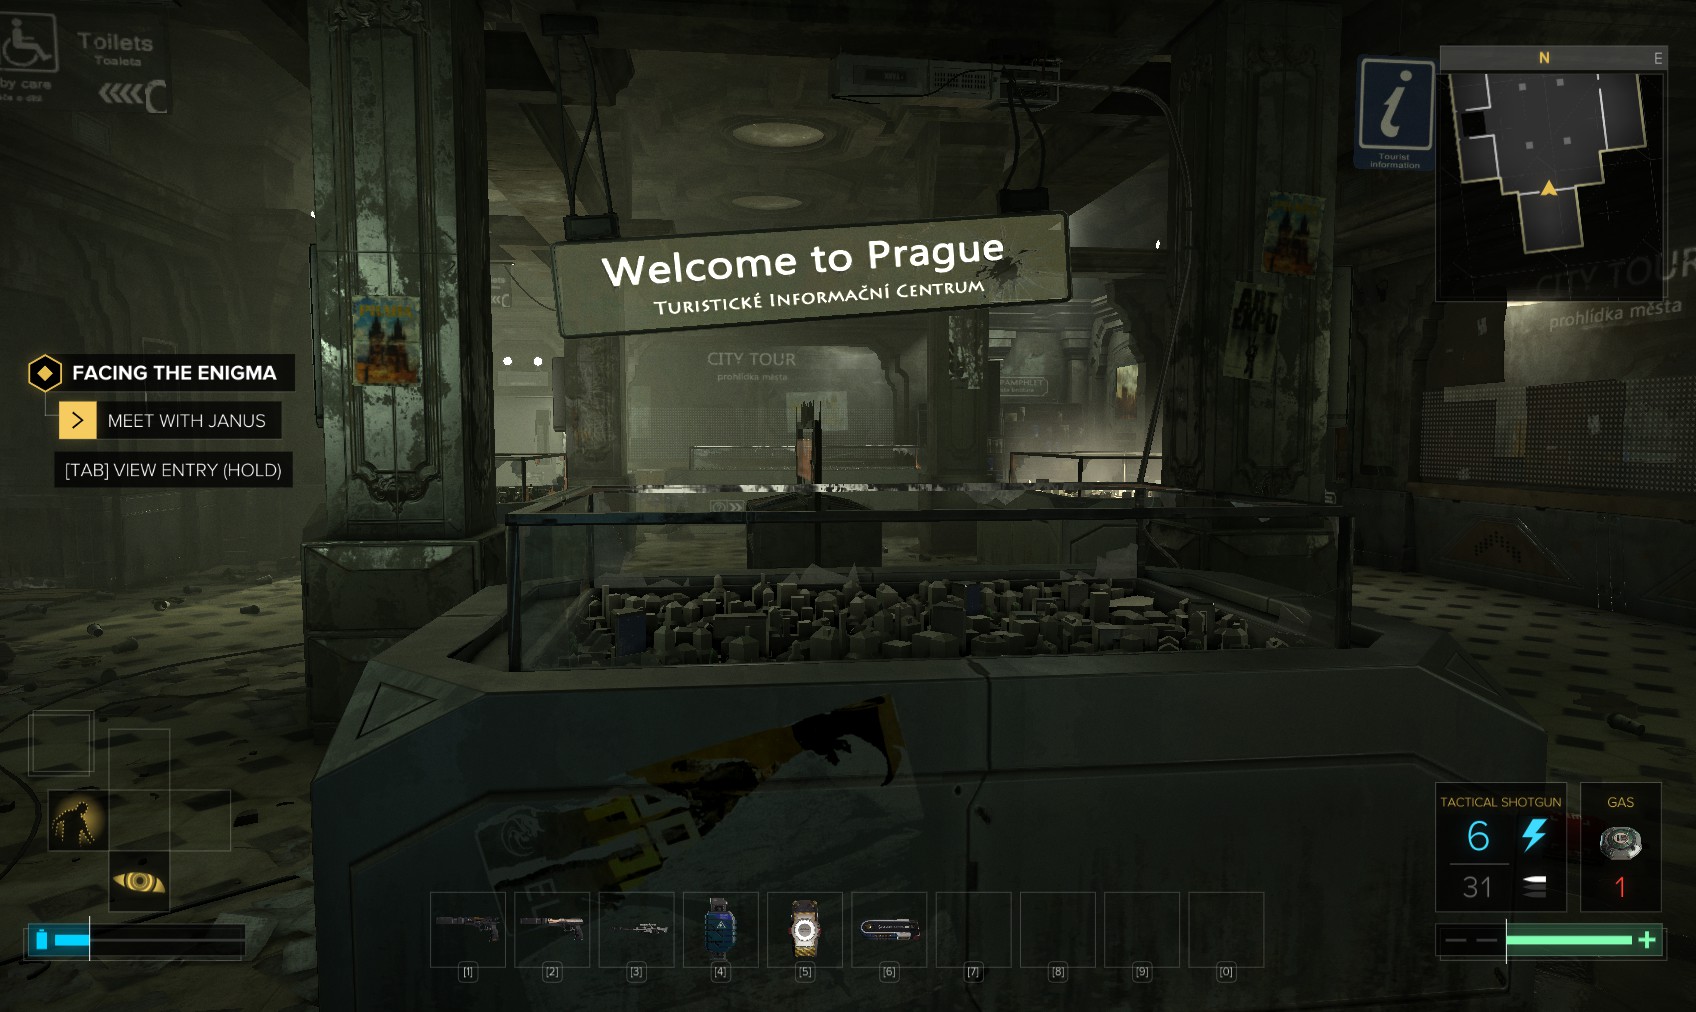
82. The abandoned tourist information centre is tucked away just behind Monument station, up on the left.
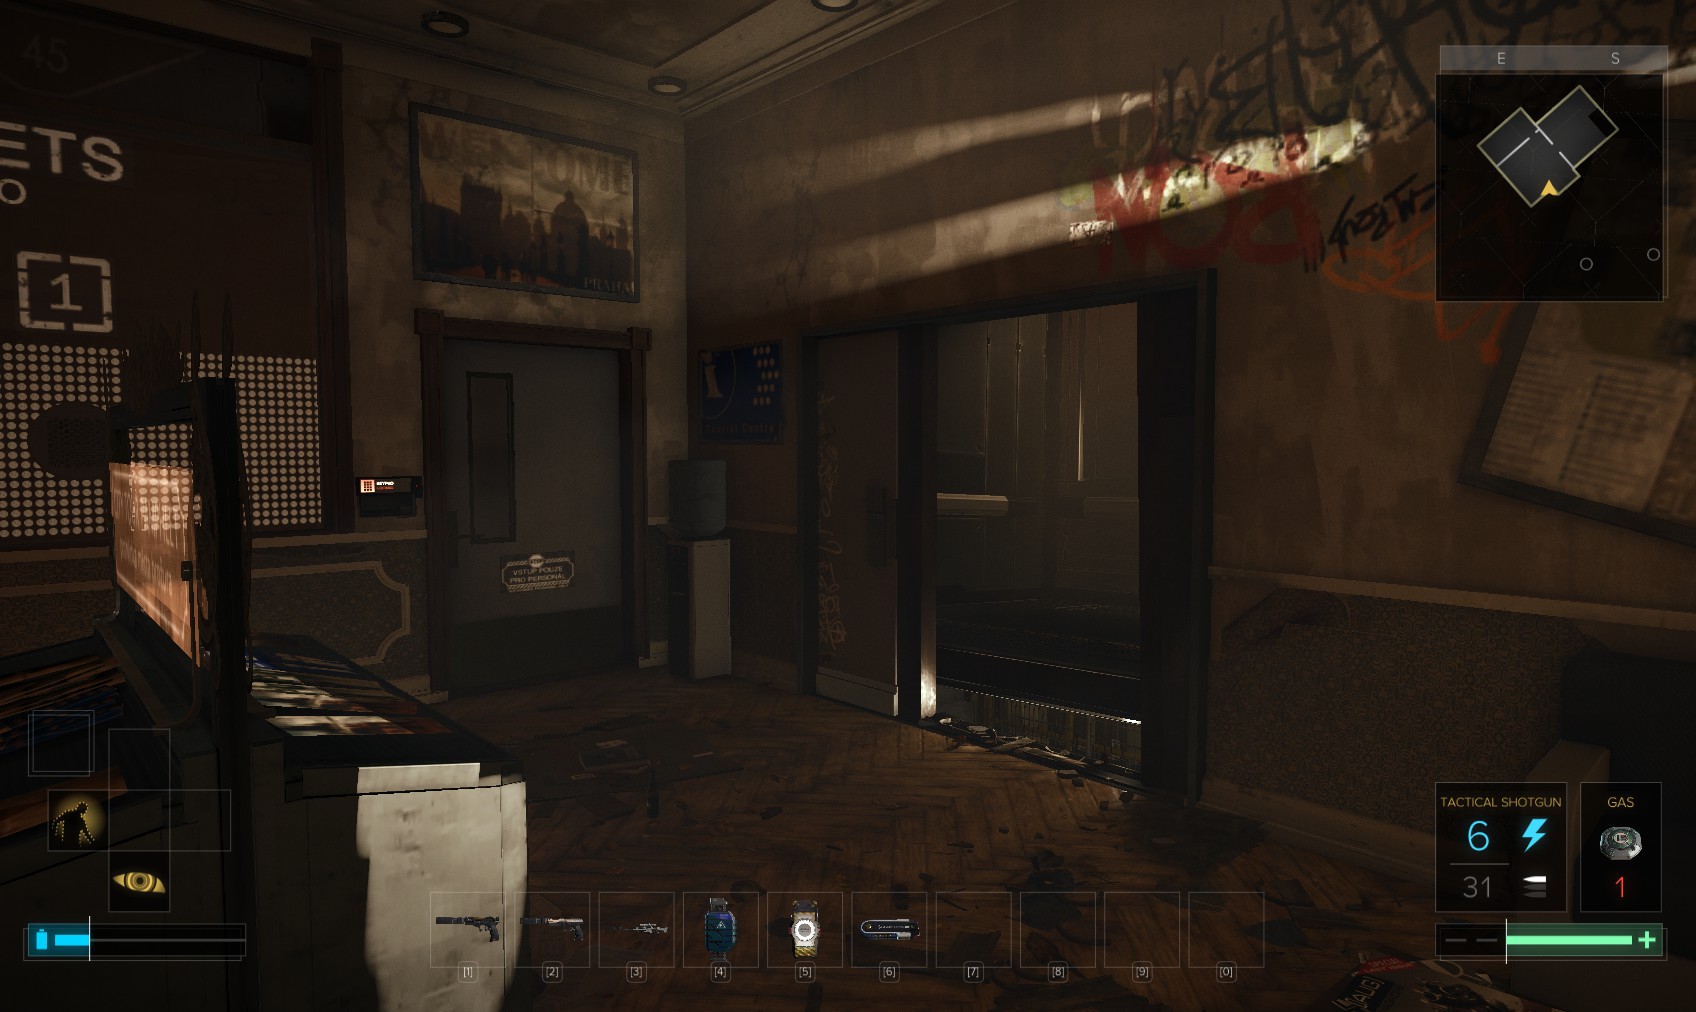
83. Inside is this level 1 door with a stop worm. Don’t miss the eBook, Breach Software and other goodies in the room before you take the only other exit - a vent.
84. As you head down, Janus starts guiding you in. It’s coming from the room on the right, so I head in.
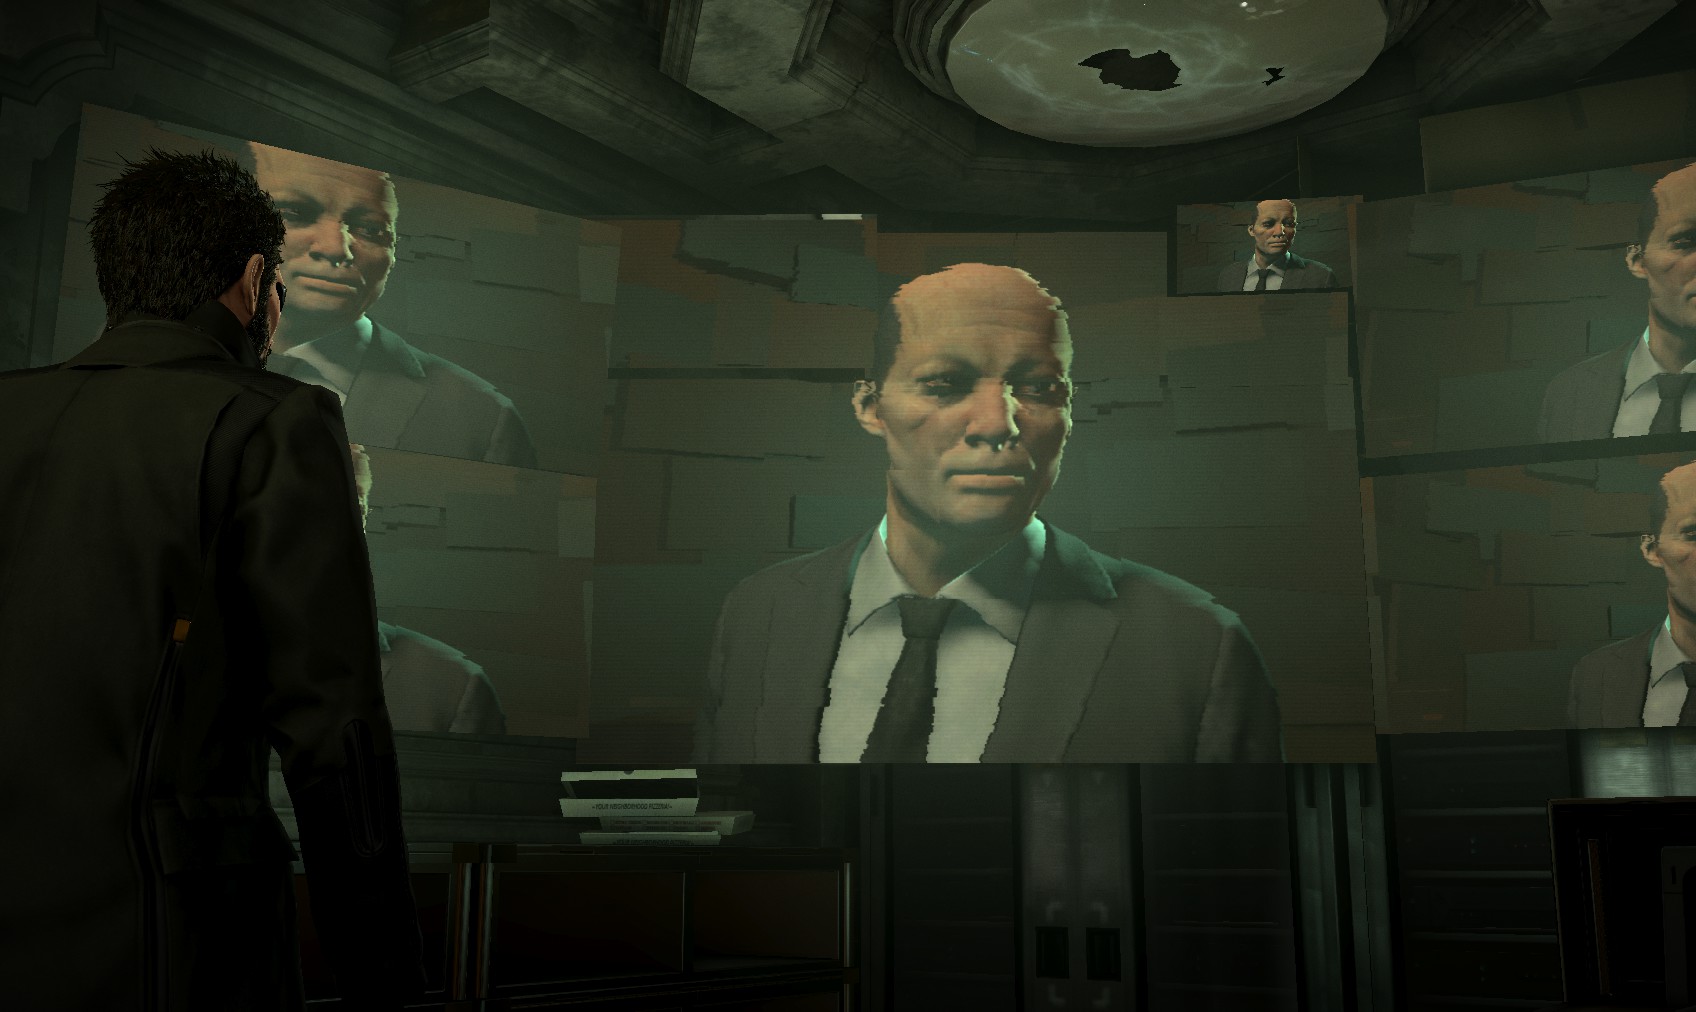
85. Still hiding behind a disguised voice, too. I asked for a meeting! This Janus character is clearly paranoid. Regardless, he fills you in on some of the background to the conspiracy. He instructs you to break into the Palisade Bank (again!) and check out Versalife.

86. Just because you’re paranoid, doesn’t mean they’re not out to get you! Quickly close the door and hunt around for goodies. Leave via a vent in the corner behind some boxes.
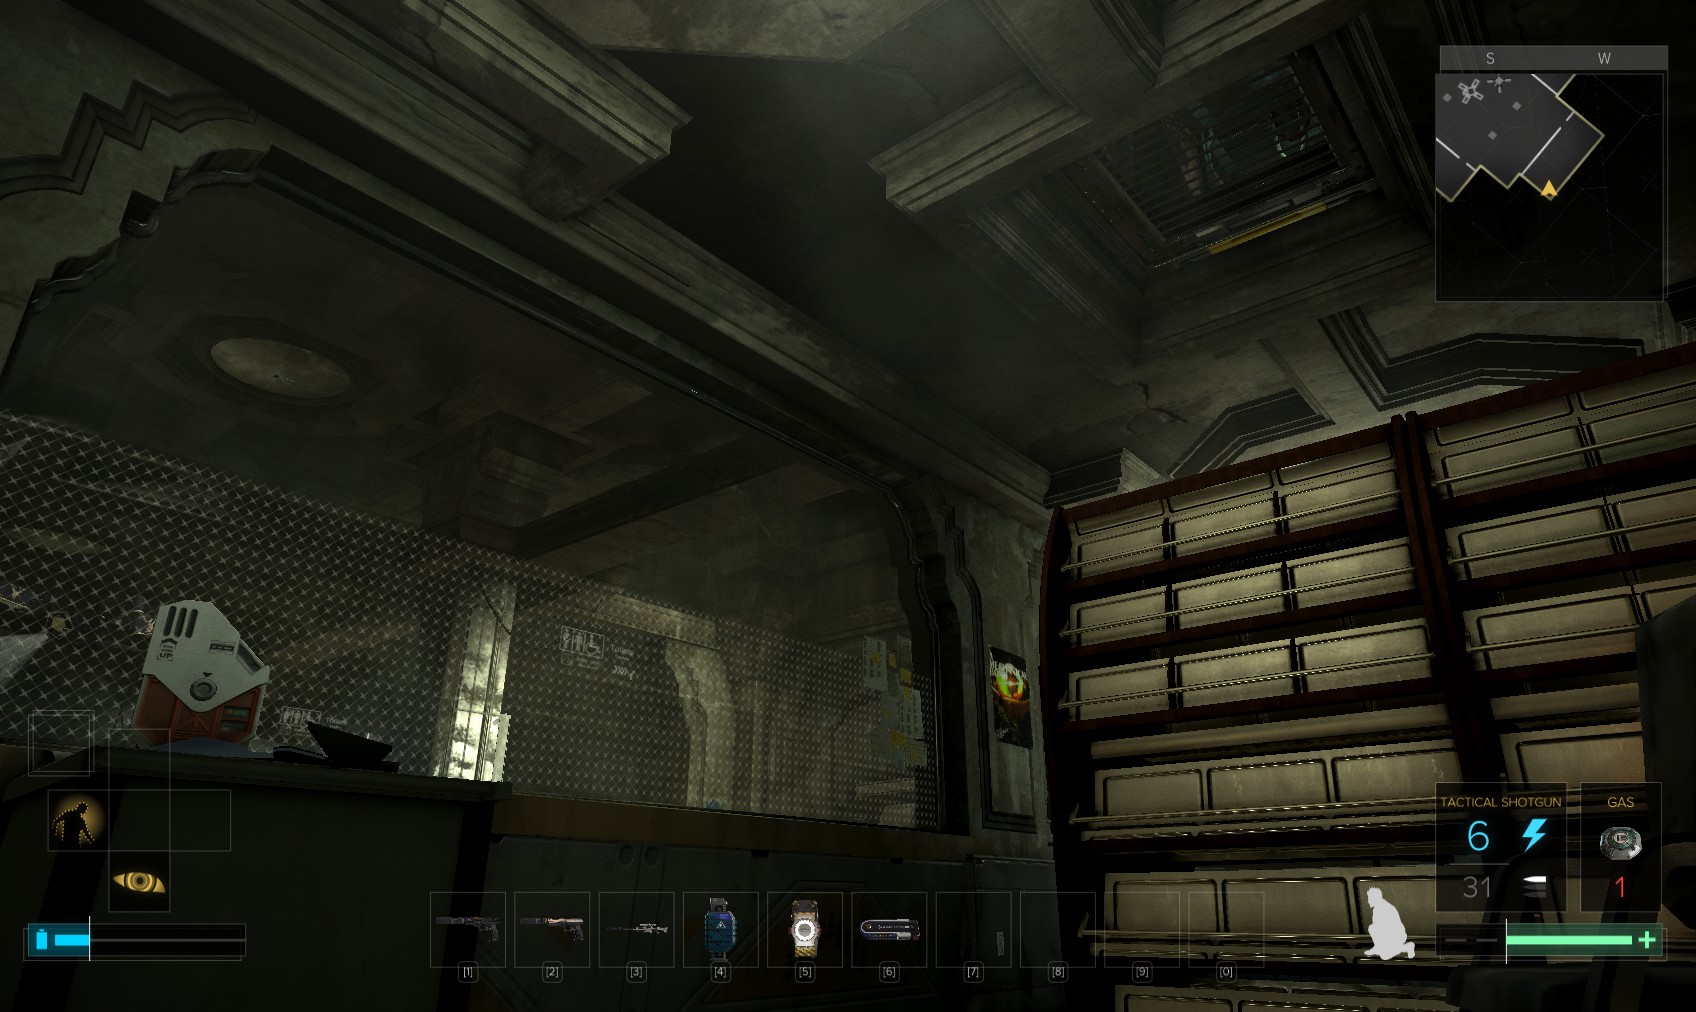
87. It comes out in here. There are goodies here, too, including a Triangle Code on top of the shelving near the vent, if you’re brave enough. Also a vent in the ceiling is reachable just about if you’re careful.
88. That brings you to the toilets, and a great big hole in the ground for one exit, but it will put civilians at risk in the tunnels (and you won’t get Ghost). Instead I skip the hole to the ladies' restroom.

89. This gap into the main room looks promising. I cloak and head into the lift shaft to the right.
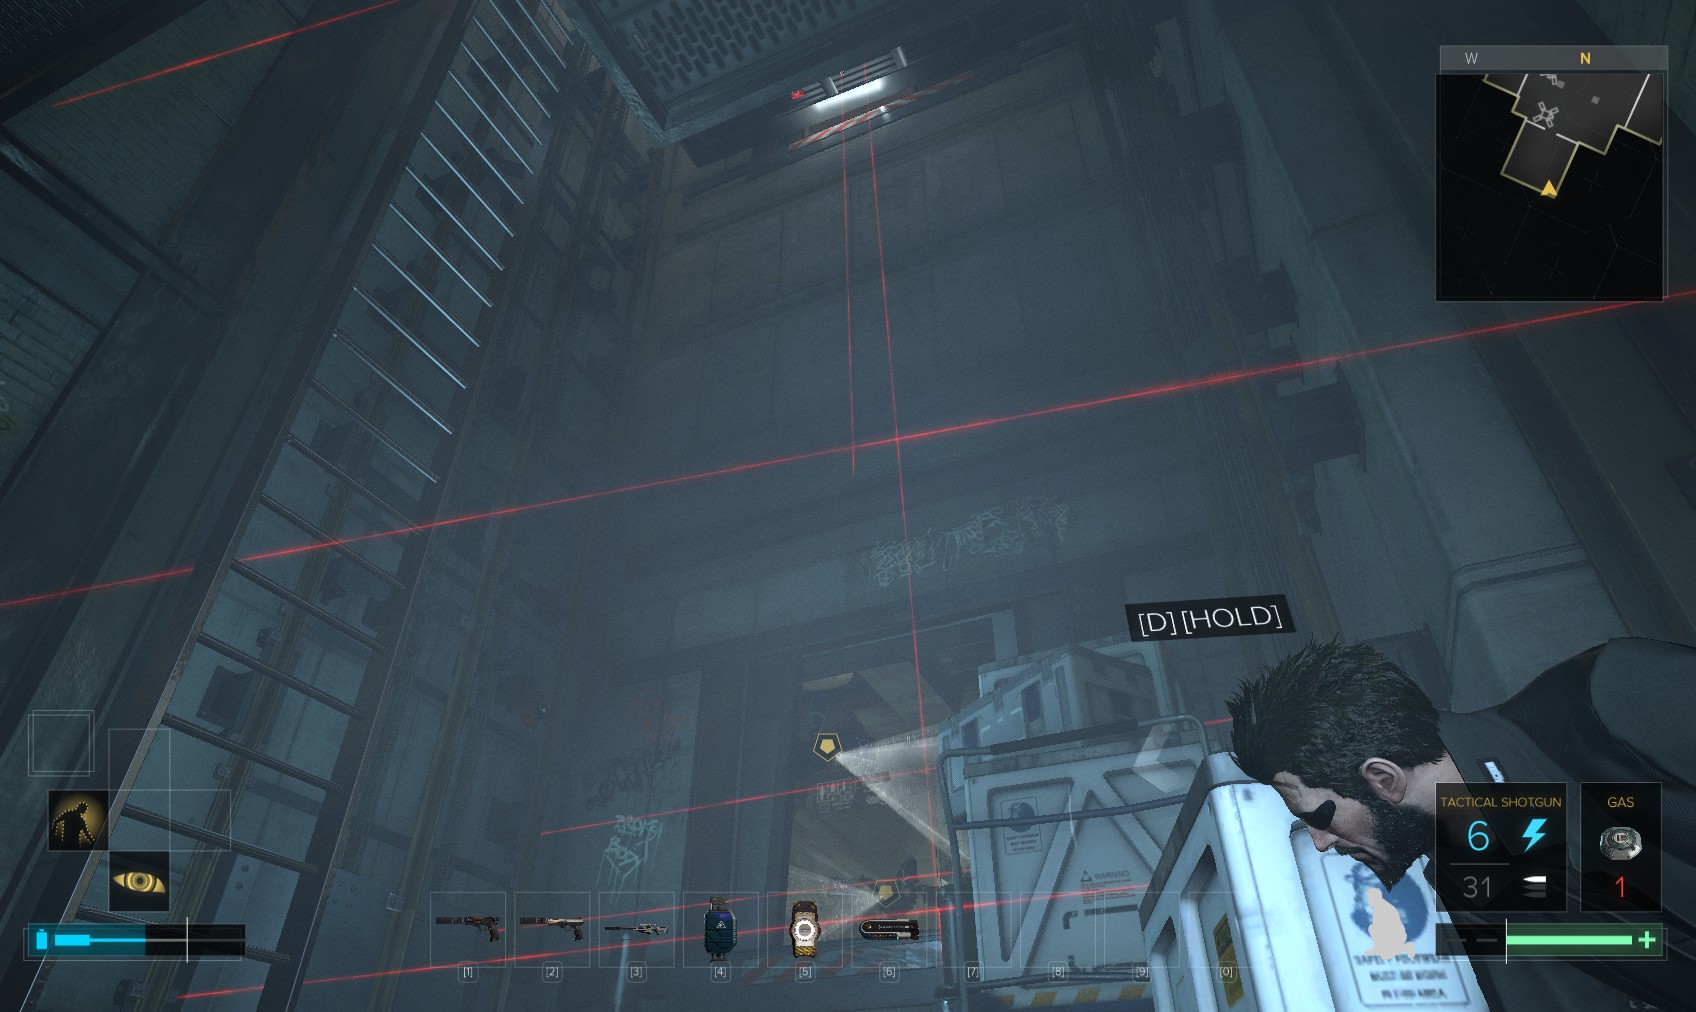
90. From here I can disable many of the lasers, then reposition myself to disable the rest, and head up the ladders.
91. As I leave, Nomad Stanek contacts me: his daughter is in some kind of trouble. Alex also contacts you with information that the Versalife vault at Palisade is about to be closed. You only get to do one of these missions - starting one will cancel the other.